Introduction
Are you craving a refreshing and tangy dessert to beat the summer heat? Look no further than making your own delicious lemon sorbet! Whether you’re a fan of citrus flavors or simply looking for a light and refreshing sweet treat, this homemade lemon sorbet recipe is sure to satisfy your taste buds.
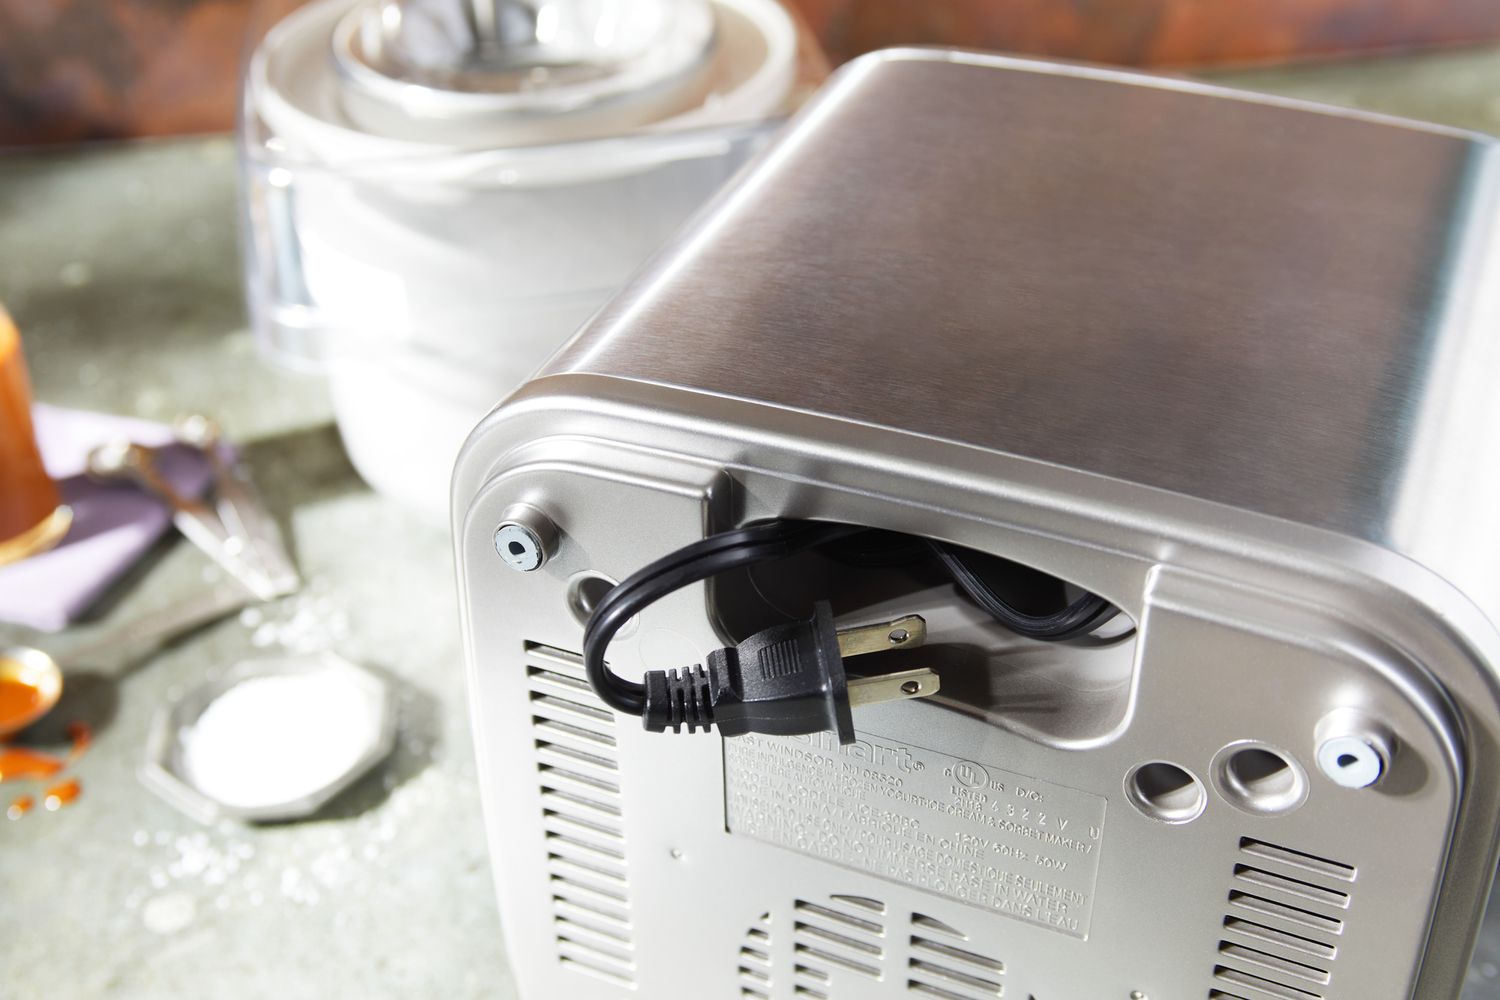
One of the best things about this recipe is that you don’t need an ice cream maker to enjoy a scoop of homemade sorbet. With just a few simple steps and a handful of ingredients, you can create a smooth and creamy lemon sorbet right in your own kitchen.
In this article, we’ll walk you through the step-by-step process of making lemon sorbet without an ice cream maker. We’ll also provide some tips and tricks to ensure your sorbet turns out perfectly every time.
Before we dive into the recipe, let’s take a look at the equipment you’ll need and the ingredients that will give your sorbet that irresistible lemony flavor.
Equipment Needed
Making lemon sorbet without an ice cream maker requires some basic kitchen tools. Here’s what you’ll need to get started:
- A medium-sized saucepan to heat the ingredients.
- A heatproof mixing bowl to combine the lemon syrup and lemon juice.
- A whisk or spoon to mix the ingredients together.
- A fine-mesh sieve or strainer to remove any pulp or seeds from the lemon juice.
- A shallow, freezer-safe container to freeze the sorbet.
- A blender or food processor to blend and smooth out the sorbet mixture.
- An airtight container to store the sorbet in the freezer.
Most of these items are likely already available in your kitchen, making it easy to whip up a batch of lemon sorbet whenever the mood strikes. Once you have all the necessary equipment, gather the ingredients listed below to bring out the vibrant lemon flavor in your sorbet.
Ingredients
To make homemade lemon sorbet, you’ll need the following ingredients:
- 1 cup of granulated sugar
- 1 cup of water
- 1 tablespoon of lemon zest
- 1 cup of freshly squeezed lemon juice (approximately 4-6 lemons)
- Optional: a pinch of salt to enhance the flavor
The star of this recipe is, of course, the zesty and tangy flavor of lemons. It’s important to use fresh lemons for the best taste. The lemon zest adds an extra burst of citrus aroma and flavor to the sorbet.
Additionally, sugar is used to sweeten the sorbet and balance out the tartness of the lemons. You can adjust the amount of sugar to your preference, adding more or less depending on how sweet or tangy you like your sorbet.
If you prefer a hint of saltiness to enhance the overall flavor, you can add a pinch of salt. However, this is completely optional and can be adjusted according to your taste.
With just a few simple ingredients, you can create a refreshing and flavorful lemon sorbet that will surely delight your taste buds.
Step 1: Prepare the Lemon Syrup
To start making your lemon sorbet, you’ll first need to prepare a simple syrup infused with the bright and tangy flavors of lemon. Follow these steps:
- In a medium-sized saucepan, combine the granulated sugar and water over medium heat.
- Stir the mixture until the sugar has fully dissolved, creating a clear syrup.
- Add the lemon zest to the syrup, stirring it in to infuse the syrup with a burst of citrus flavor.
- Allow the mixture to simmer for about 5 minutes, ensuring that the flavors of the lemon zest are fully released into the syrup.
- Remove the saucepan from the heat and set it aside to cool completely. This will allow the syrup to reach room temperature.
Preparing the lemon syrup is an essential step in creating the base of your sorbet. The syrup acts as the sweetener and binds all the flavors together, ensuring a balanced and delicious end product. Once the syrup has cooled down, you’re ready to move on to the next step: mixing in the lemon juice.
Step 2: Mix in Lemon Juice
Now that you have your homemade lemon syrup, it’s time to infuse it with the vibrant flavor of freshly squeezed lemon juice. Follow these simple steps:
- In a heatproof mixing bowl, combine the prepared lemon syrup and the freshly squeezed lemon juice.
- Use a whisk or spoon to thoroughly mix the two together until well combined.
- If desired, add a pinch of salt to enhance the flavors and create a more well-rounded taste profile.
When mixing the lemon syrup and lemon juice, ensure that they are fully incorporated. This will guarantee a consistent lemon flavor throughout the sorbet mixture. The addition of a pinch of salt can help elevate the taste and balance the sweetness and tartness of the lemon juice.
Once the lemon syrup and lemon juice are well mixed, you’re ready to move on to the next step: chilling the mixture.
Step 3: Chill the Mixture
After mixing the lemon syrup and lemon juice together, it’s important to chill the mixture before freezing it. This step helps the flavors meld together and ensures a smoother texture in the final sorbet. Follow these steps to chill the mixture:
- Cover the bowl containing the sorbet mixture with plastic wrap or a lid.
- Place the bowl in the refrigerator for at least 2-4 hours to allow the mixture to chill thoroughly.
- During this time, the flavors will continue to develop and the mixture will become nicely chilled.
Chilling the sorbet mixture not only enhances the taste but also helps prevent large ice crystals from forming during the freezing process. This step is crucial for achieving a smooth and creamy texture in your lemon sorbet.
While waiting for the mixture to chill, you can take this time to prepare the freezer-safe container that you’ll be using to freeze the sorbet. Ensure that the container is clean and dry, ready to hold the frozen sorbet in the next step.
Step 4: Freeze the Sorbet
With the sorbet mixture chilled and ready, it’s time to move on to the freezing stage. Follow these steps to freeze the sorbet:
- Take the chilled sorbet mixture out of the refrigerator.
- Pour the mixture into a shallow, freezer-safe container.
- Spread the mixture evenly in the container to ensure consistent freezing.
- Cover the container with a lid or plastic wrap to prevent any freezer burn.
- Place the container in the freezer and let it freeze for about 2-4 hours, or until the sorbet is mostly solid.
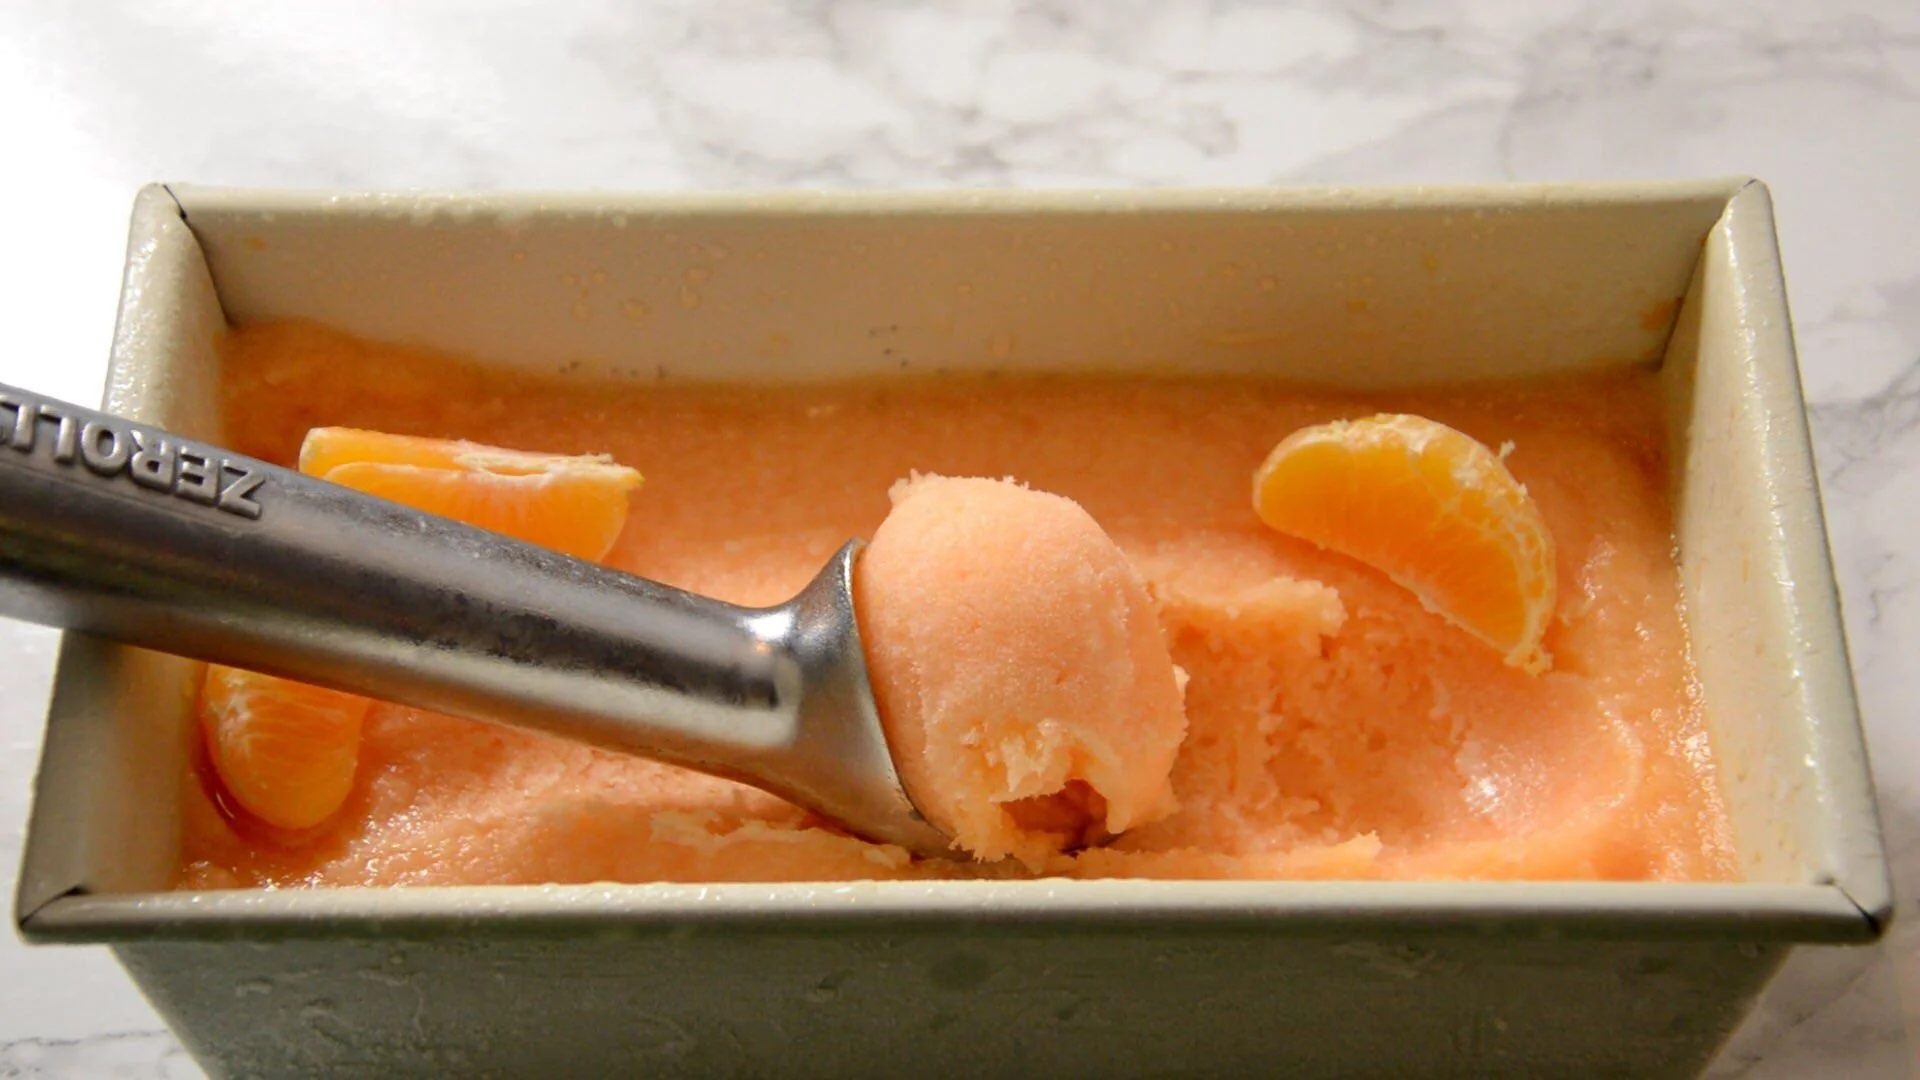
Freezing the sorbet allows it to solidify and take on its characteristic texture. The shallow container helps speed up the freezing process and allows for easy scooping when serving. It’s important to ensure that the sorbet is mostly solid but still slightly soft in the center.
Once the sorbet has reached the desired consistency, it’s time to move on to the next step: blending and freezing again.
Step 5: Blend and Freeze Again
After the initial freezing, it’s time to give your lemon sorbet a smooth and creamy texture by blending and freezing it again. Follow these steps:
- Remove the partially frozen sorbet from the freezer.
- Transfer the sorbet into a blender or food processor.
- Blend the sorbet on high speed until it becomes smooth and creamy.
- Pour the blended sorbet back into the freezer-safe container.
- Cover the container and return it to the freezer to freeze for an additional 3-4 hours, or until fully solid.
Blending the partially frozen sorbet helps break up any ice crystals and creates a smoother texture. It also enhances the overall creaminess of the sorbet, making it more enjoyable to eat. Make sure to blend the sorbet to a consistency that you prefer, whether you like it completely smooth or with a bit of texture.
Once the sorbet has been blended and returned to the freezer, allow it to freeze until it reaches a firm and scoopable consistency. The additional freezing time ensures that the sorbet is fully set and ready to be enjoyed.
Now that your lemon sorbet is fully frozen and ready, it’s time to move on to the final step: serving and enjoying it!
Step 6: Serve and Enjoy!
Congratulations! You’ve made it to the final step of making your homemade lemon sorbet. Now it’s time to indulge in this refreshing and tangy treat. Here’s how to serve and enjoy your sorbet:
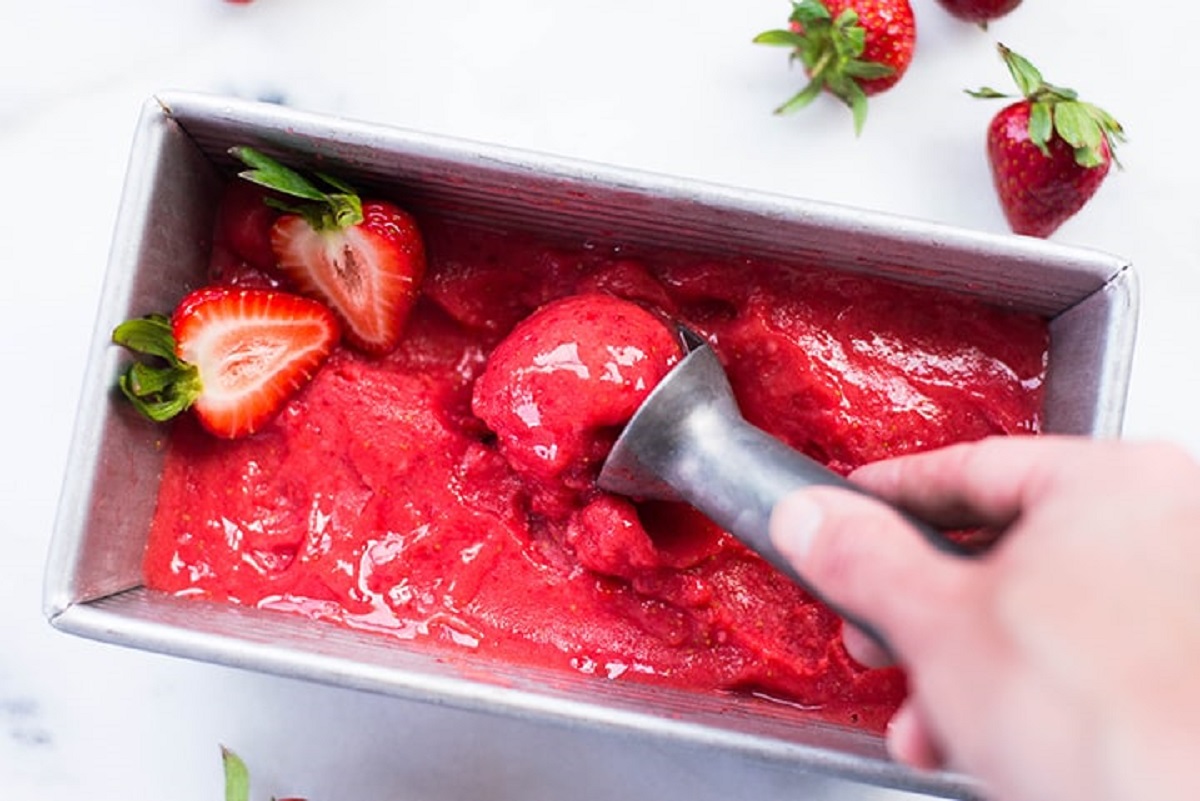
- Remove the fully frozen sorbet from the freezer.
- Allow the sorbet to sit at room temperature for a few minutes to soften slightly, making it easier to scoop.
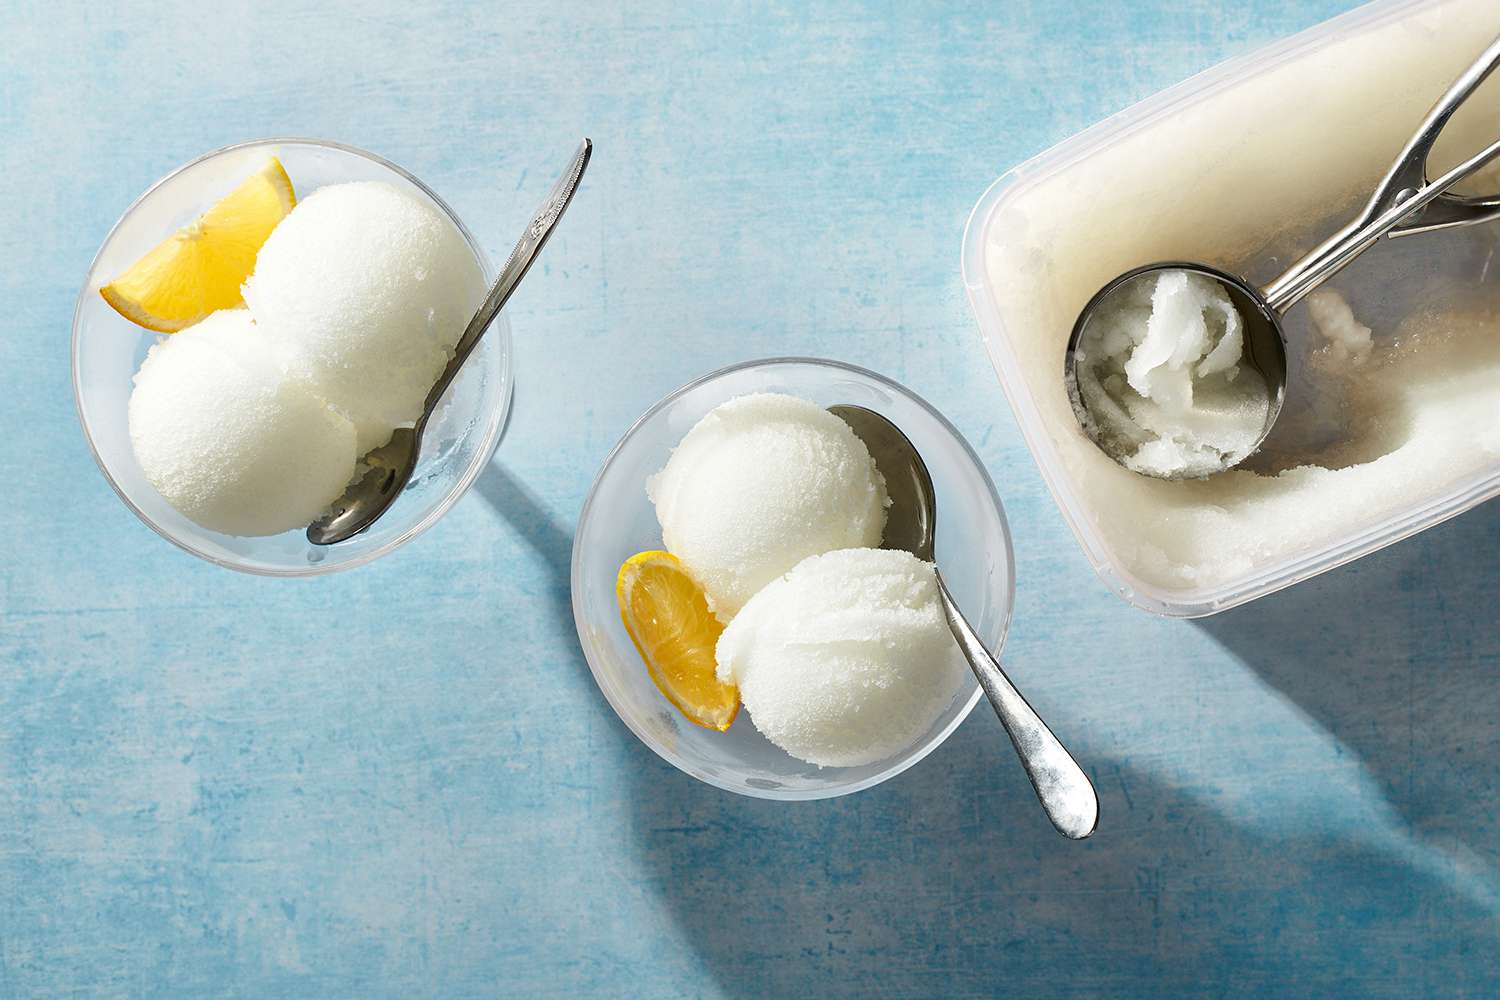
- Using an ice cream scoop or a spoon, portion out the desired amount of sorbet into serving dishes or cones.
- Garnish the sorbet with a sprig of fresh mint, a lemon wedge, or a sprinkle of lemon zest, if desired.
- Serve immediately and enjoy the bright and citrusy flavors of your homemade lemon sorbet!
Each spoonful of this cool and refreshing sorbet will provide a burst of tartness and sweetness, perfect for a hot summer day or a refreshing dessert after a meal.
If you have any leftovers, simply place the remaining sorbet back into an airtight container and store it in the freezer for future enjoyment.
Now that you’ve mastered the art of making lemon sorbet without an ice cream maker, feel free to experiment with different fruits and flavors. You can try using other citrus fruits like lime or orange to create variations of this delightful frozen treat.
So, grab a spoon and savor the taste of your homemade lemon sorbet that is sure to impress your family and friends with its vibrant flavors and impressive texture. Enjoy!
Tips for Success
While making lemon sorbet without an ice cream maker is relatively simple, there are a few key tips and tricks to ensure your sorbet turns out perfectly. Here are some tips for success:
- Use fresh lemons: Opt for freshly squeezed lemon juice to achieve the best flavor. Avoid using bottled lemon juice, as it may lack the natural acidity and freshness.
- Zest for enhanced flavor: Don’t skip adding lemon zest to the syrup. The zest adds intense citrus notes and enhances the overall taste of the sorbet.
- Adjust the sweetness: You can adjust the amount of sugar in the recipe based on your preference. If you like your sorbet sweeter, add a bit more sugar. Similarly, if you prefer a tangier sorbet, reduce the amount of sugar.
- Chill the mixture thoroughly: Ensure that the sorbet mixture is fully chilled before freezing. This helps the flavors meld together and prevents large ice crystals from forming.
- Blend for a smooth texture: Blend the partially frozen sorbet to create a smoother texture. This step will break up any ice crystals and result in a creamier consistency.
- Store properly: If you have leftovers, store the sorbet in an airtight container in the freezer to maintain its freshness and prevent freezer burn. It’s best consumed within a week for optimal flavor and texture.
By following these tips, you’ll be well on your way to creating a refreshing and delicious lemon sorbet that will impress both yourself and your guests.
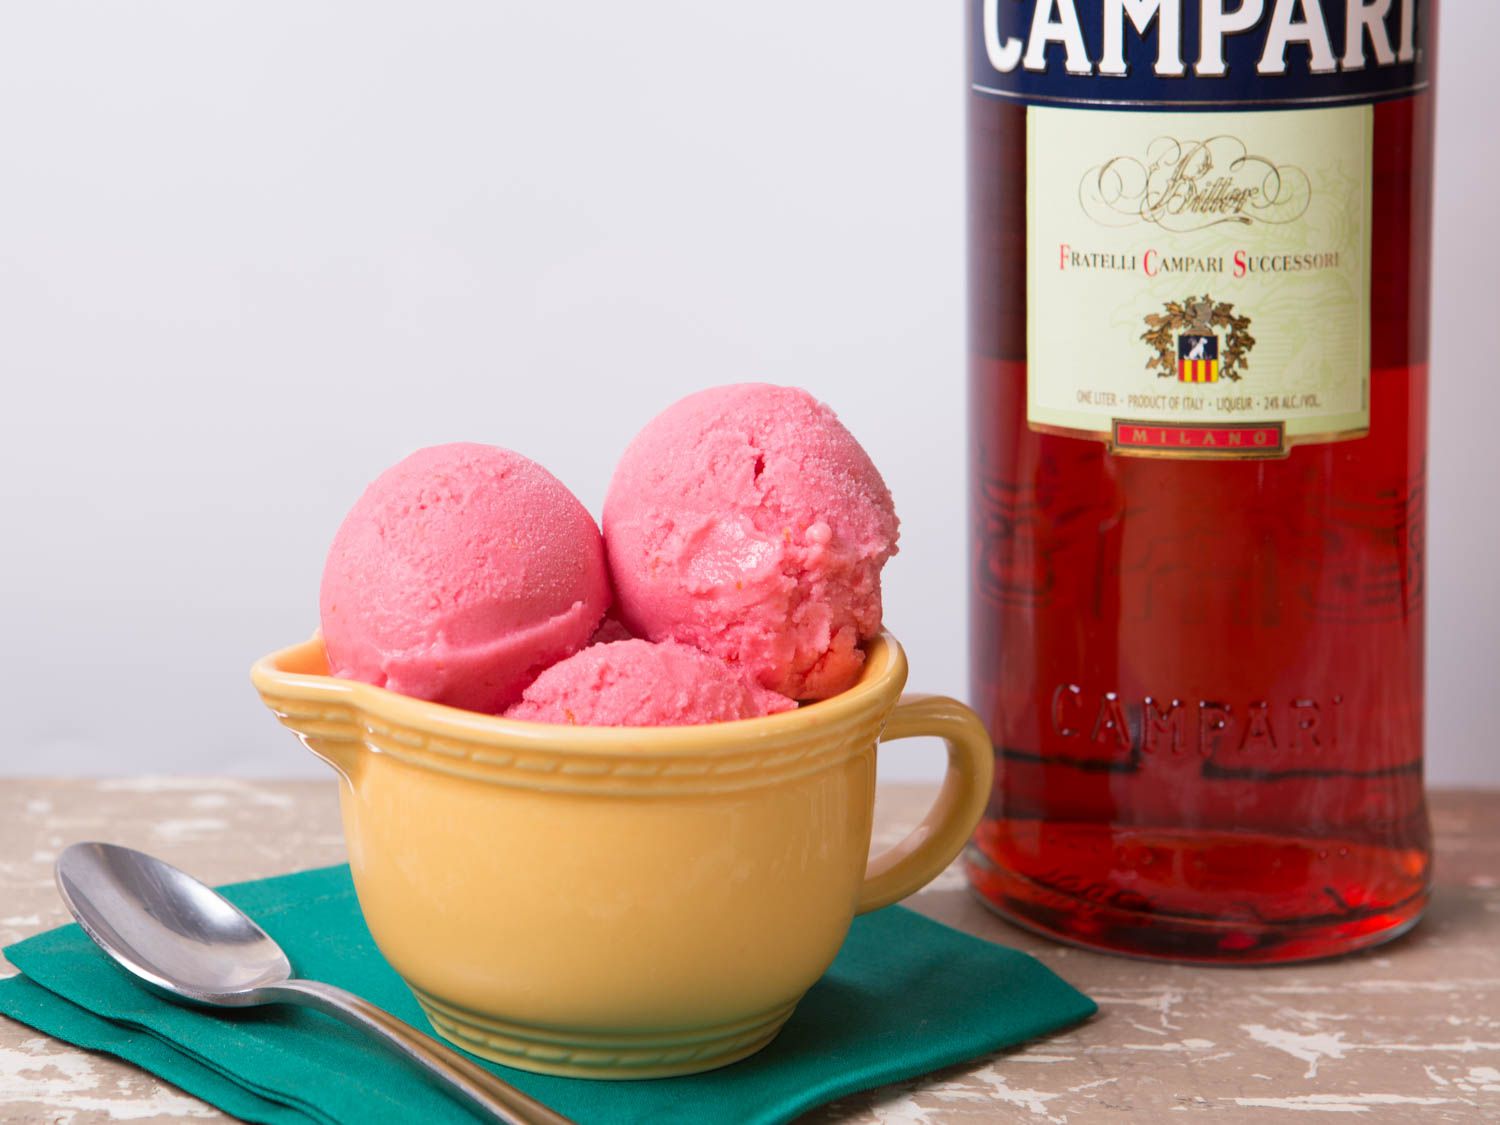
Feel free to get creative and experiment with additional flavors and mix-ins. You can add a dash of vodka or limoncello to your mixture for an adult twist, or even incorporate fresh herbs like mint or basil for a unique flavor combination.
Remember, making sorbet is all about enjoying the process and exploring different flavor combinations. So have fun, be adventurous, and savor the delightful flavors of homemade lemon sorbet!
Conclusion
Creating your own lemon sorbet without an ice cream maker is not only satisfying but also allows you to indulge in a refreshing and tangy dessert whenever you desire. By following the simple steps outlined in this article, you can enjoy the bright and citrusy flavors of homemade sorbet right in the comfort of your home.
From preparing the lemon syrup to mixing in the lemon juice, chilling the mixture, freezing, blending, and finally serving the sorbet, each step contributes to the delicious end result. By using fresh lemons, incorporating the zest for added flavor, and adjusting the sweetness to your liking, you can customize your sorbet to suit your preferences.
Remember to chill the mixture thoroughly before freezing, as this ensures a smoother texture and prevents the formation of large ice crystals. Blending the partially frozen sorbet adds a creamy and velvety consistency that enhances the overall enjoyment of the dessert.
With these tips and tricks in mind, you can confidently embark on your journey of making a perfect batch of lemon sorbet. Experiment with different variations, such as using other citrus fruits or incorporating fresh herbs, to create your own unique flavor combinations.
So, why wait? Treat yourself and your loved ones to a delightful scoop of homemade lemon sorbet, bursting with the bright flavors of summer. Indulge in its tanginess and enjoy the refreshing sensation it provides on a hot day.
Whether you’re hosting a dinner party, craving a refreshing dessert, or simply wanting to cool off, this homemade lemon sorbet is sure to impress. So grab your ingredients, whip up a batch, and let the flavors of this icy delight transport you to a sunny paradise.
Take pride in your culinary skills and enjoy the fruits of your labor. Bon appétit!