Introduction
Welcome to the wonderful world of homemade sorbet! Did you know that you can make a refreshing and tangy orange sorbet right in your own kitchen, even if you don’t have an ice cream maker? That’s right, with just a few simple ingredients and a little bit of patience, you can create a delicious frozen treat that rivals any store-bought sorbet.
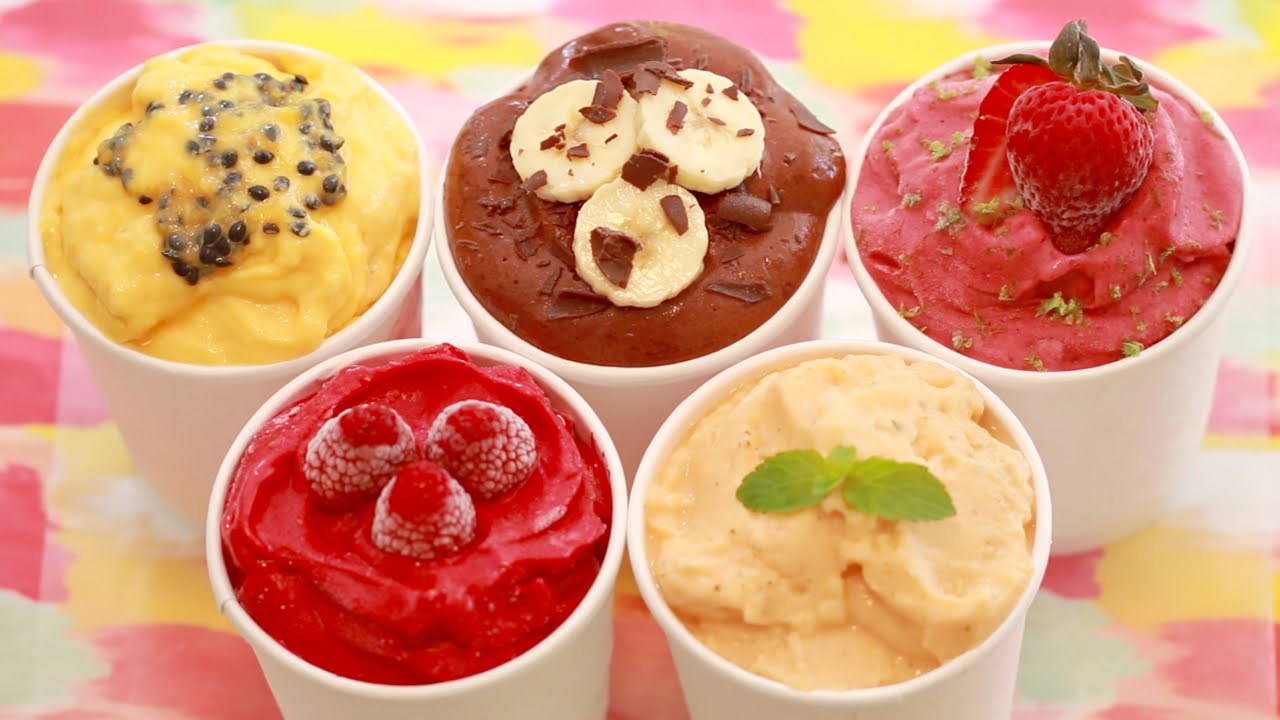
Sorbet is a delightful frozen dessert made from fruit juice or puree, sugar, and water. Its smooth and creamy texture, combined with the bright and zesty flavor of oranges, makes it the perfect choice for those hot summer days or as a light and refreshing dessert after a heavy meal.
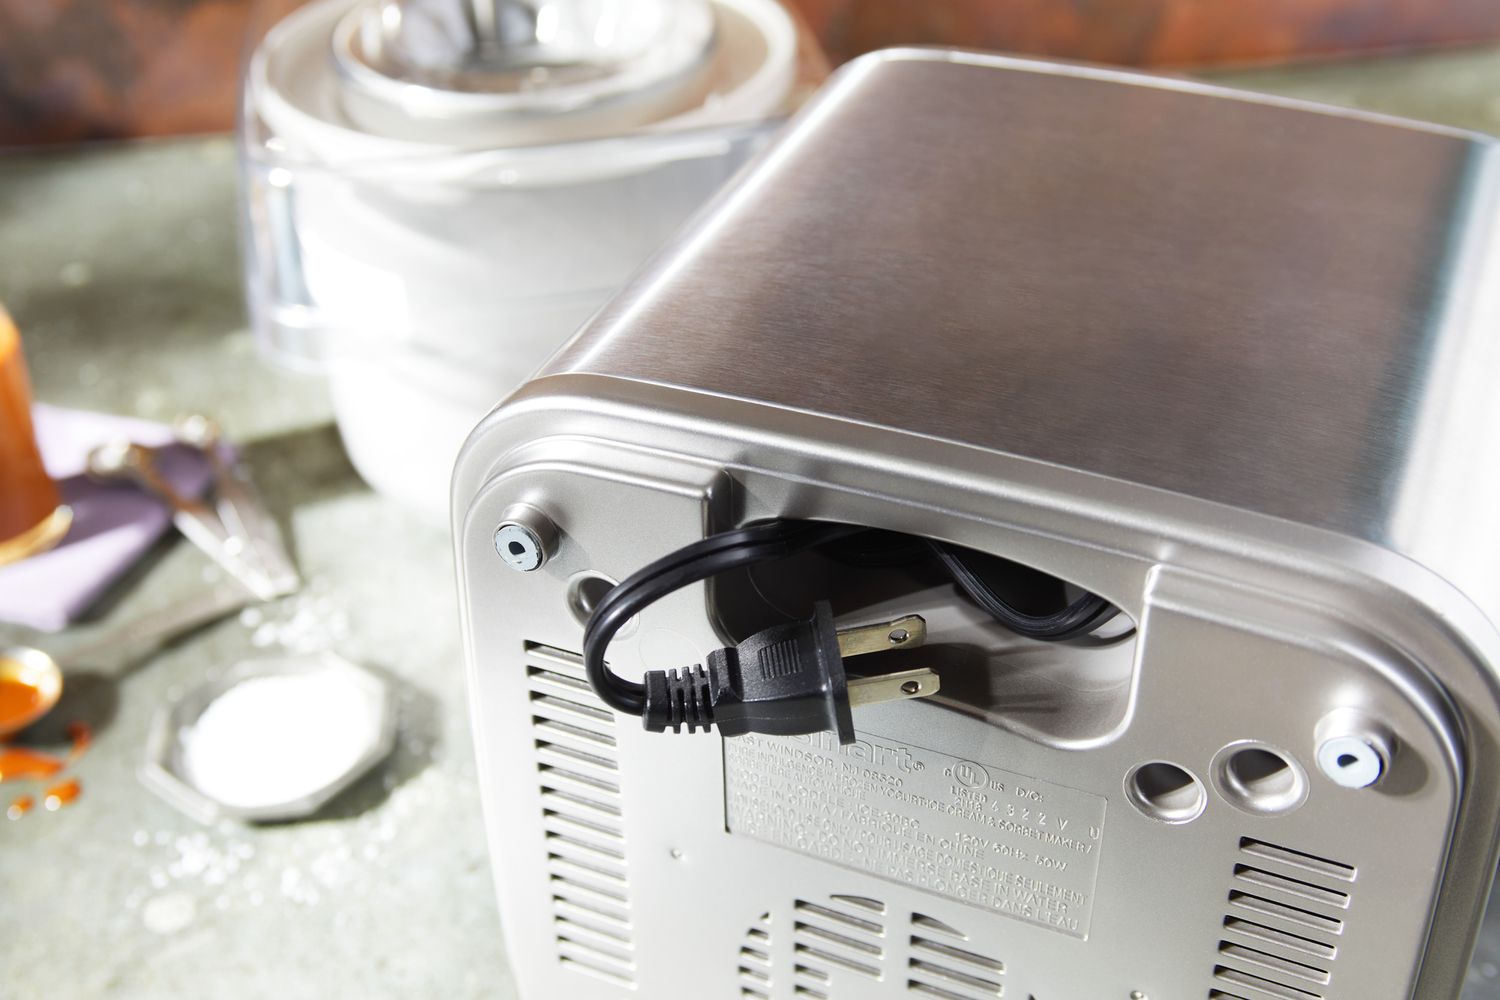
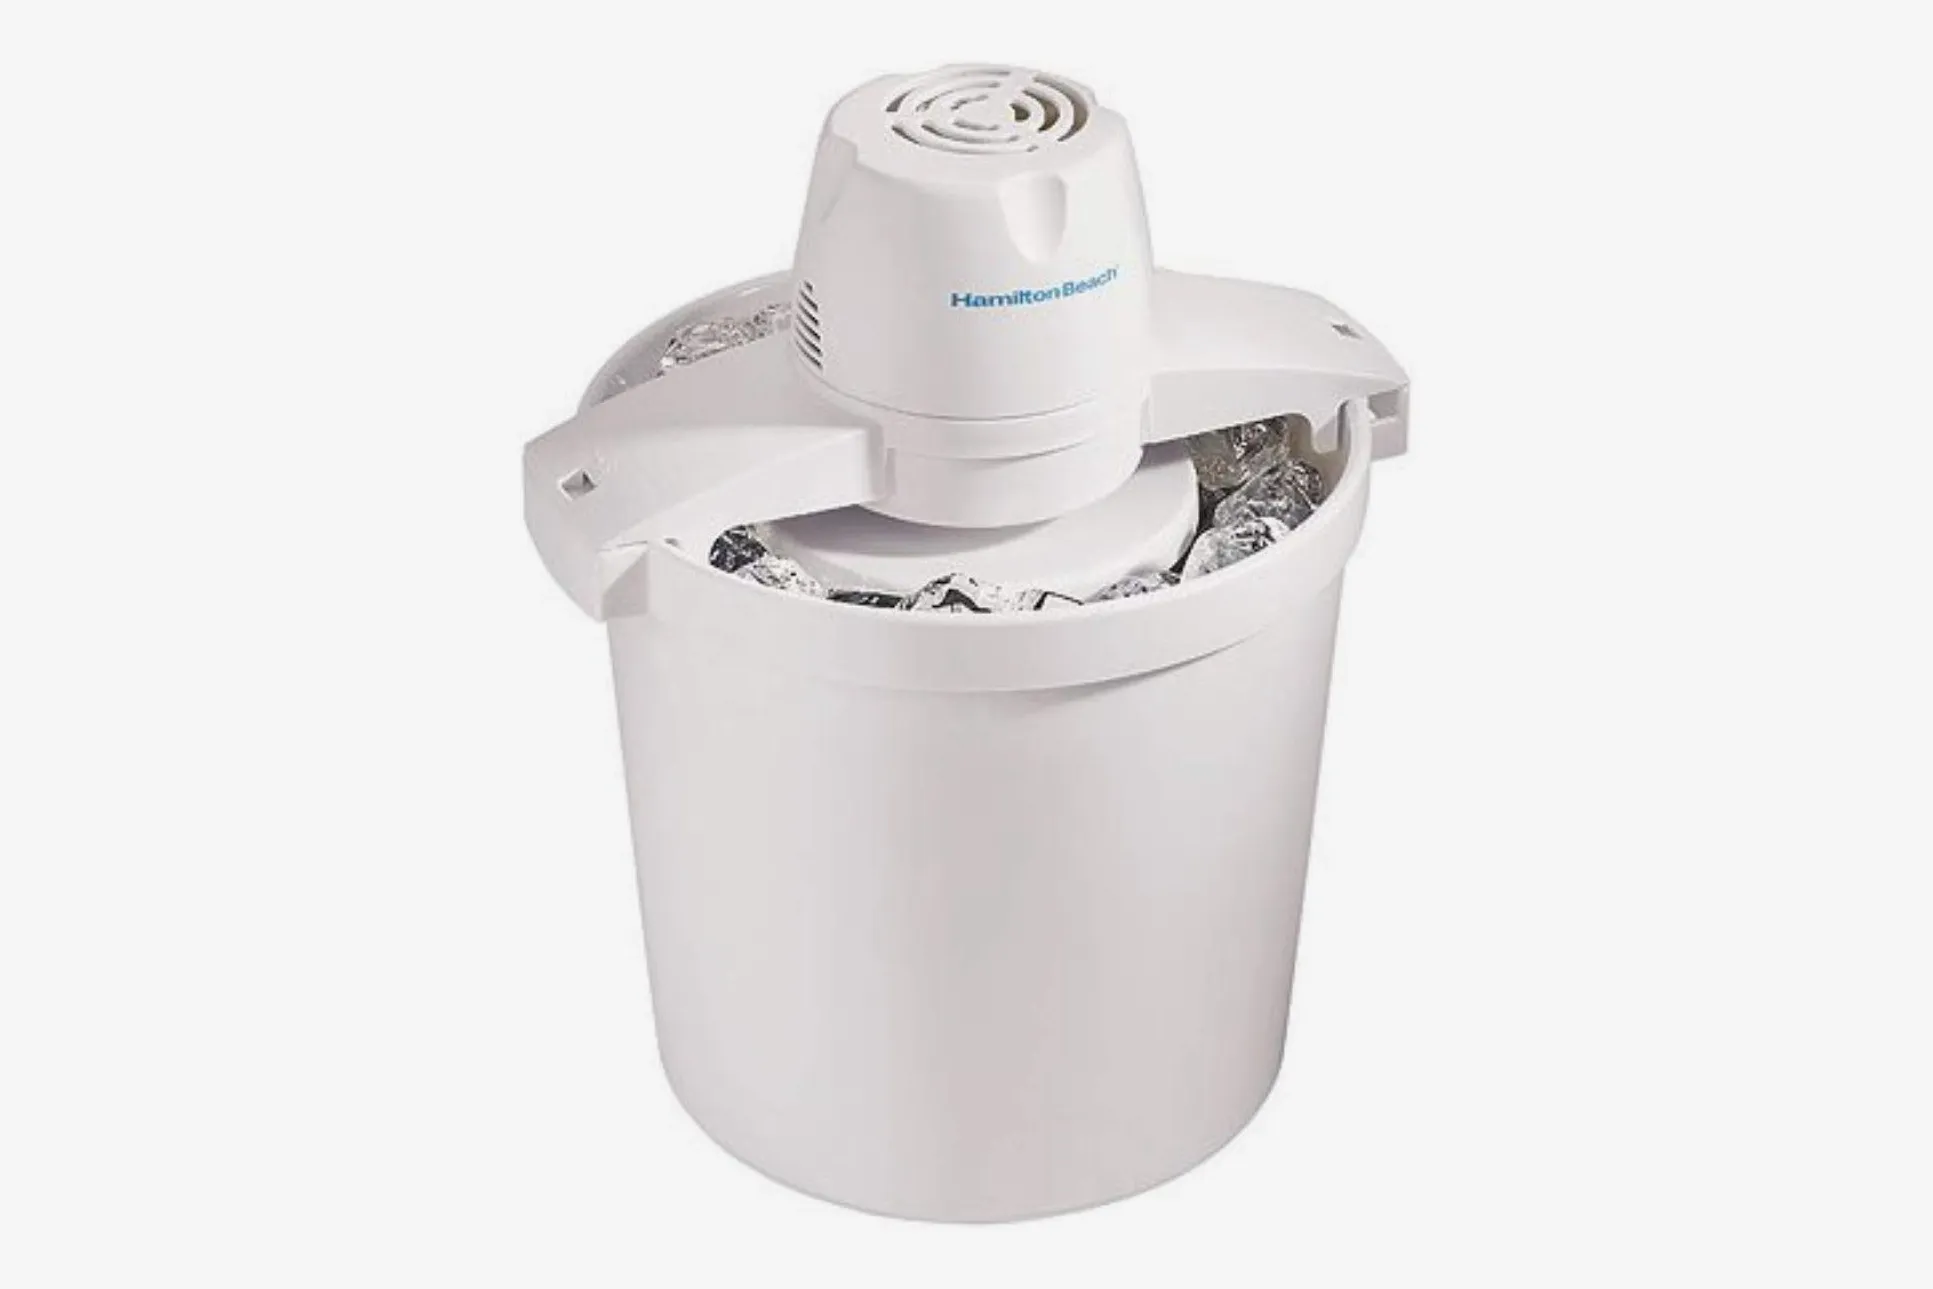
The best part is, you don’t need any fancy equipment to make this orange sorbet. While an ice cream maker can certainly speed up the process, we will show you how to achieve the same delicious results without one. All you’ll need is a blender or food processor and some freezer-safe containers.
In this article, we will guide you through the step-by-step process of making orange sorbet without an ice cream maker. From preparing the oranges to serving the final product, we’ve got you covered. So, let’s roll up our sleeves, put on our aprons, and get ready to embark on this delightful journey of homemade orange sorbet!
Ingredients
Before we get started, let’s gather all the ingredients we’ll need to make our delicious orange sorbet:
- 4-5 large oranges
- 1 cup of granulated sugar
- 1 cup of water
- 1 tablespoon of freshly squeezed lemon juice (optional)
For best results, choose juicy and flavorful oranges. Navel oranges or Valencia oranges work great for this recipe. The sugar will balance the tartness of the oranges and give the sorbet a smooth texture. If you prefer a less sweet sorbet, you can reduce the amount of sugar to your liking.
The water will help create the right consistency for the sorbet. It’s important to use filtered or bottled water to avoid any impurities that could affect the taste of the final product.
The lemon juice is optional, but it adds a hint of brightness and enhances the citrus flavor of the sorbet. If you have a lemon on hand, we highly recommend giving it a squeeze.
Once you have gathered all the ingredients, it’s time to move on to the next step: preparing the oranges.
Step 1: Preparing the Oranges
The first step in making orange sorbet is to properly prepare the oranges. Follow these simple steps:
- Wash the oranges thoroughly under cold running water to remove any dirt or impurities on the skin.
- Using a sharp knife, carefully cut off the top and bottom of each orange.
- Stand the orange upright on one of the flat ends and slice off the peel in a downward motion, following the curve of the fruit. Make sure to remove both the outer orange peel and the white pith, as the pith can add bitterness to the sorbet.
- Once the oranges are peeled, cut them in half horizontally and remove any seeds that are visible. If there are no seeds, you can skip this step.
- Transfer the peeled and de-seeded oranges to a blender or food processor.
- Pulse the oranges a few times until they are pureed. Be careful not to over-blend, as you want to maintain some texture in the sorbet.
- Your orange puree is now ready to be transformed into a delicious sorbet! Set it aside and move on to the next step: making the simple syrup.
By preparing the oranges properly, you ensure that the sorbet will have a smooth and consistent texture without any bitter notes from the pith. Now that our oranges are prepped, let’s move on to making the simple syrup in step 2.
Step 2: Making the Simple Syrup
The next step in our orange sorbet journey is to prepare the simple syrup. This sweet syrup will help enhance the flavor and texture of the sorbet. Follow these simple instructions:
- In a small saucepan, combine the granulated sugar and water.
- Stir the mixture over medium heat until the sugar has completely dissolved.
- Once the sugar has dissolved, simmer the syrup for an additional 2 minutes to allow the flavors to meld together.
- Remove the saucepan from the heat and let the simple syrup cool completely. You can expedite the cooling process by transferring the syrup to a heat-safe container and placing it in the refrigerator.
The simple syrup acts as a sweetener and helps to prevent the formation of large ice crystals in the final sorbet. Cooling the syrup before adding it to the orange puree will ensure that the sorbet freezes evenly and has a smooth texture. Once the simple syrup has cooled down, it’s time to move on to step 3: mixing the orange juice and simple syrup.
Step 3: Mixing the Orange Juice and Simple Syrup
Now that we have our orange puree and simple syrup ready, it’s time to bring them together to create the base of our orange sorbet. Follow these simple steps:
- In a large bowl, combine the orange puree and the cooled simple syrup.
- For an extra pop of citrus flavor, you can add a tablespoon of freshly squeezed lemon juice at this stage. This step is optional and can be adjusted to your preference. If you enjoy a more tangy sorbet, go ahead and add the lemon juice.
- Using a whisk or spatula, gently mix the orange puree and simple syrup until they are well combined.
Make sure to incorporate the simple syrup thoroughly into the orange puree to achieve a consistent flavor throughout the sorbet. The combination of the natural sweetness from the oranges and the sweetened simple syrup will give the sorbet a delightful balance of flavors. Now that the orange juice and simple syrup are mixed, let’s move on to step 4: chilling the mixture.
Step 4: Chilling the Mixture
Once the orange juice and simple syrup are mixed together, it’s time to give the flavors a chance to meld and for the mixture to chill. Here’s how to proceed:
- Cover the bowl containing the orange mixture with plastic wrap or a lid.
- Place the bowl in the refrigerator and allow it to chill for at least 2 hours, or preferably overnight.
Chilling the mixture serves two purposes. First, it allows the flavors to fully develop, resulting in a more intense and well-rounded taste. Second, it helps lower the temperature of the mixture, which will facilitate the freezing process later on.
During the chilling process, the mixture will become slightly thicker, but it won’t freeze completely. This is normal and indicates that you are on the right track. Once the mixture has chilled sufficiently, we can move on to step 5: freezing the mixture.
Step 5: Freezing the Mixture
Now that the orange mixture has chilled and its flavors have developed, it’s time to turn it into a frozen delight! The freezing process will transform our mixture into a smooth and creamy orange sorbet. Follow these steps:
- Remove the chilled orange mixture from the refrigerator.
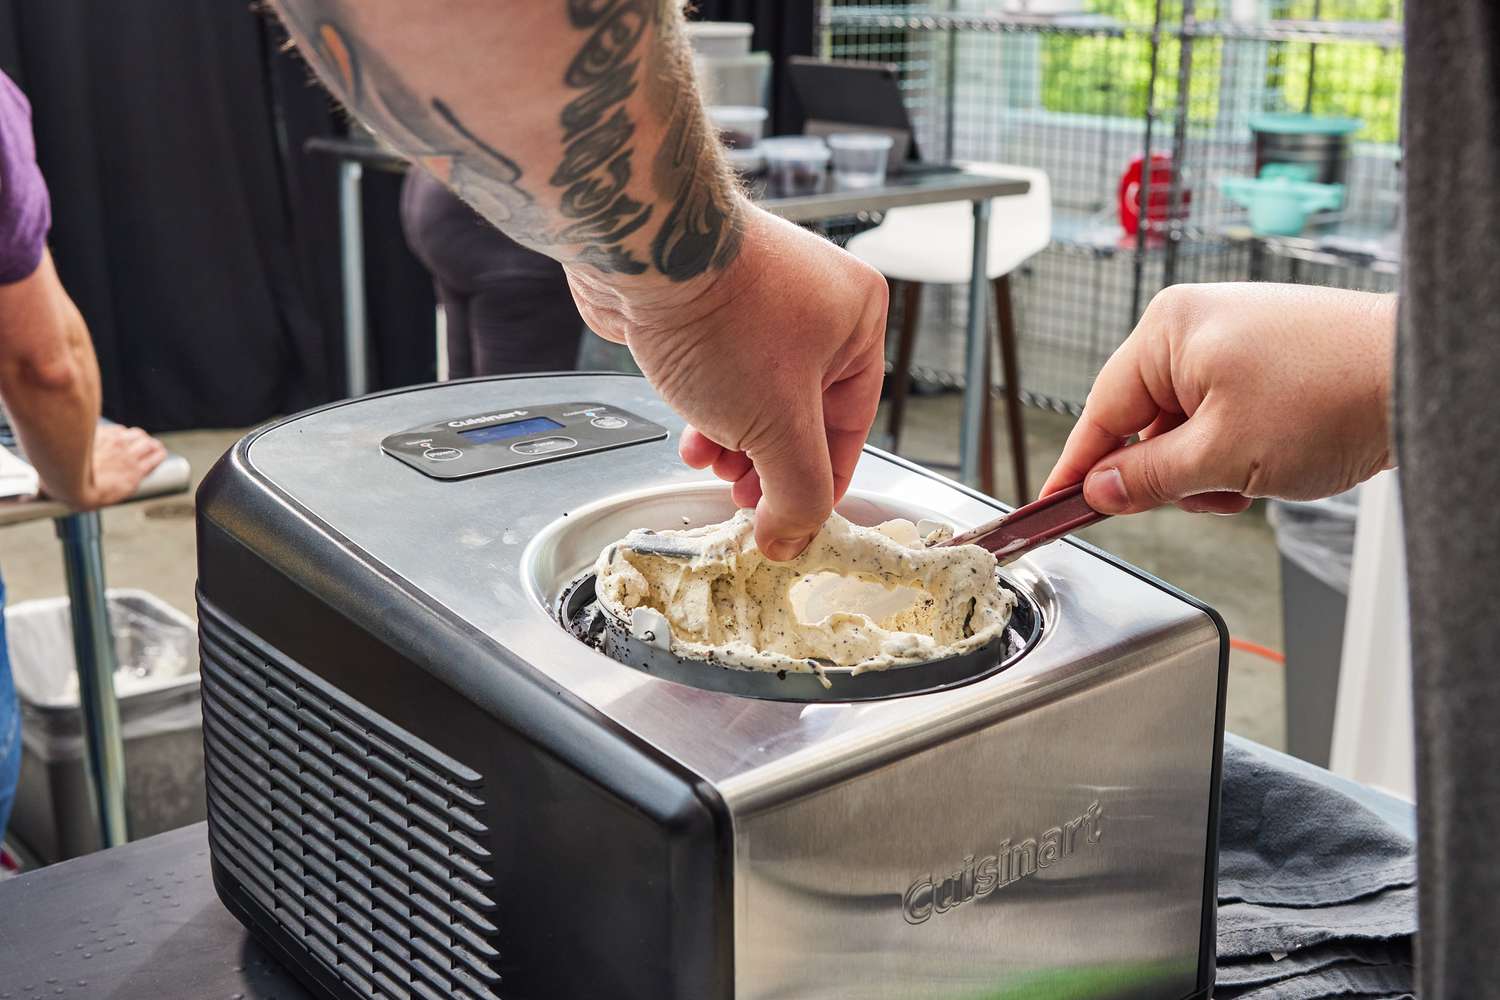
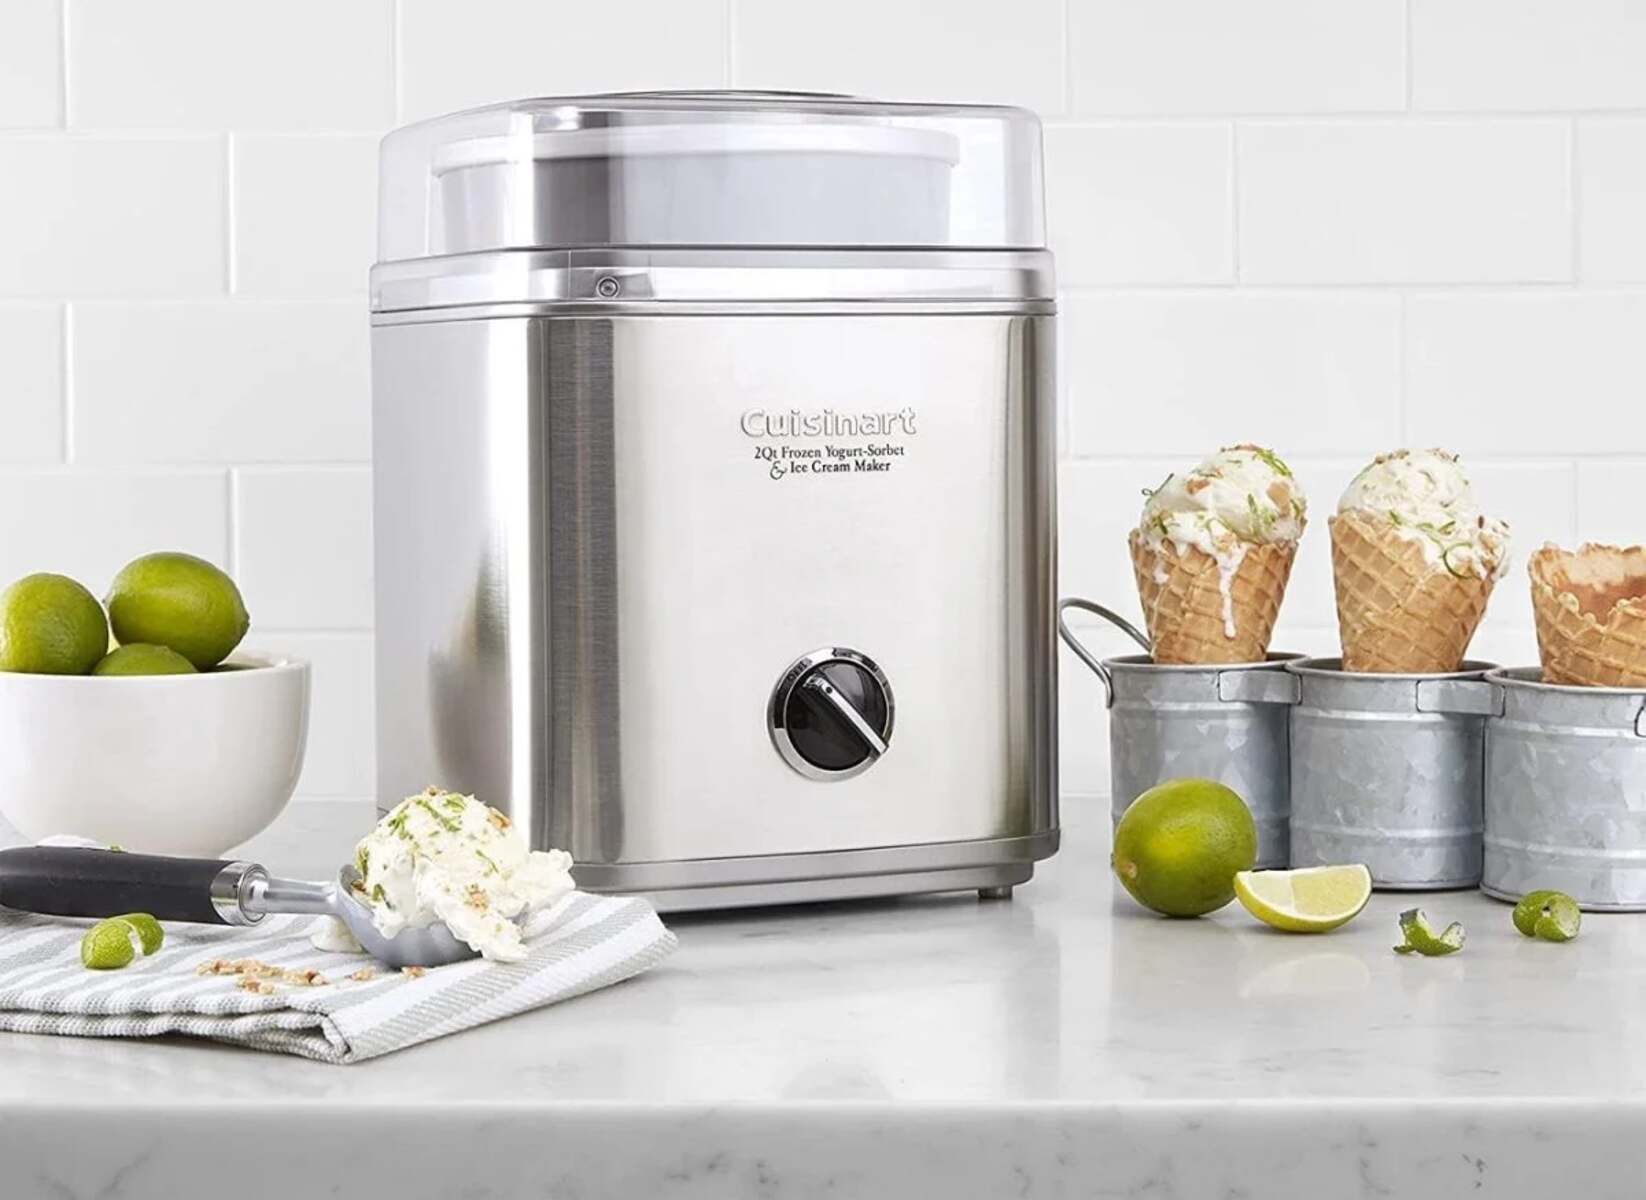
- If you have an ice cream maker, you can pour the mixture into the machine and follow the manufacturer’s instructions for churning. This will yield the best results in terms of texture and consistency.
- If you don’t have an ice cream maker, don’t worry! You can still make delicious sorbet. Pour the chilled mixture into a shallow, freezer-safe container.
- Place the container in the freezer, making sure it’s on a level surface.
- Allow the mixture to freeze for about 2 to 4 hours, or until it becomes firm around the edges and semi-solid in the center. The exact freezing time may vary depending on your freezer’s temperature.
During the freezing process, ice crystals will start to form. By periodically stirring or whisking the mixture every 30 minutes, you can prevent large ice crystals from forming and ensure a smoother texture. This step is optional if you’re using an ice cream maker.
Once your orange sorbet mixture is frozen to the desired consistency, it’s time to move on to step 6: breaking up the frozen mixture.
Step 6: Breaking up the Frozen Mixture
Now that our orange sorbet mixture is semi-solid, it’s time to break up any ice crystals that may have formed during the freezing process. Breaking up the mixture at this stage will help achieve a smoother and creamier texture. Follow these steps:
- Remove the container of semi-frozen sorbet from the freezer.
- Using a fork or a sturdy spoon, vigorously stir and break up the frozen mixture. Make sure to scrape any frozen bits from the edges of the container.
- Continue to stir and break up the mixture until it becomes slushy and smooth. This process will help break down any large ice crystals and create a velvety consistency.
This step is essential if you’re not using an ice cream maker. By manually breaking up the frozen mixture, you’re ensuring that the sorbet remains light and airy without being overly icy. Once you’ve achieved a slushy texture, it’s time to move on to step 7: blending the frozen mixture.
Step 7: Blending the Frozen Mixture
Now that we have broken up the semi-frozen sorbet mixture into a slushy texture, it’s time to take it to the next level of smoothness by blending it. Follow these steps:
- Transfer the slushy mixture into a blender or food processor.
- Blend the mixture on high speed until it becomes smooth and creamy, with no visible chunks of frozen fruit.
- Scrape down the sides of the blender or food processor as needed to ensure even blending.
Blending the semi-frozen mixture will help break down any remaining ice crystals and create a silky-smooth consistency. The result should be a luscious and velvety orange sorbet base that is ready for its final freezing stage. Now that the mixture is thoroughly blended, let’s move on to step 8: refreezing the blended mixture.
Step 8: Refreezing the Blended Mixture
After blending the sorbet mixture to a smooth and creamy consistency, it’s time to refreeze it and allow it to fully set. This will give our orange sorbet the perfect texture and ensure that it’s ready to be served. Follow these steps:
- Transfer the blended sorbet mixture back into the freezer-safe container.
- Smooth out the surface of the sorbet with a spatula or the back of a spoon to create an even layer.
- Cover the container tightly with plastic wrap or a lid to prevent any freezer burn or absorption of unwanted odors.
- Place the container back into the freezer and let the sorbet refreeze for at least 4 to 6 hours, or until it becomes firm.
During the refreezing process, the sorbet will reach its final frozen state, becoming scoopable and ready to be served. The longer you let it freeze, the firmer the sorbet will become.
Now that the blended mixture is back in the freezer, it’s time to be patient and allow it to reach the ideal consistency. Once the sorbet has refrozen, we can move on to the exciting final step: serving the orange sorbet!
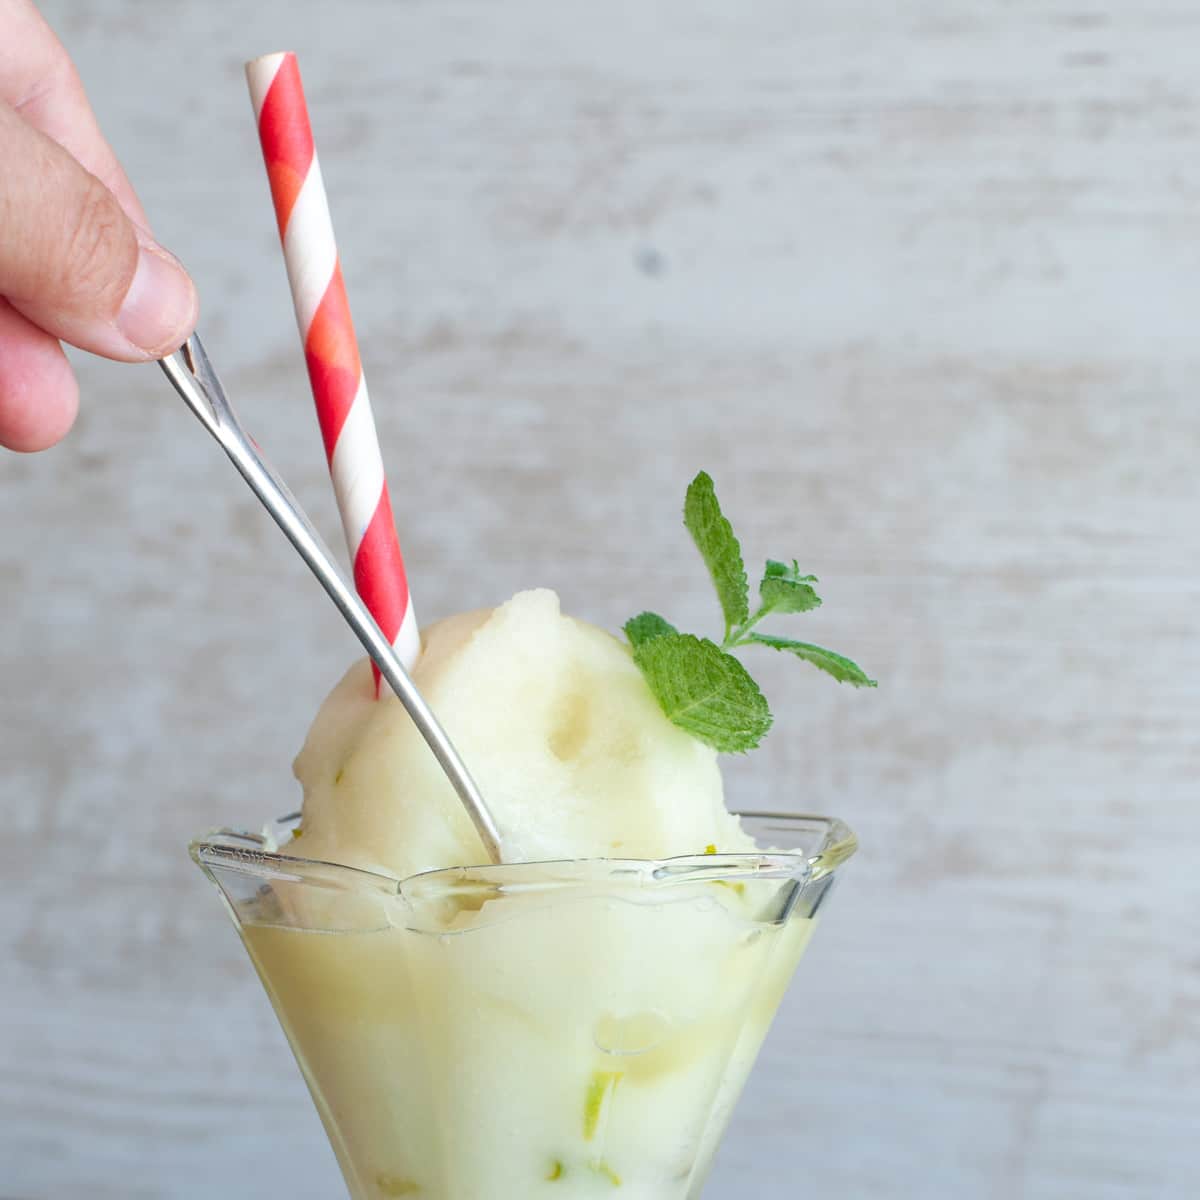
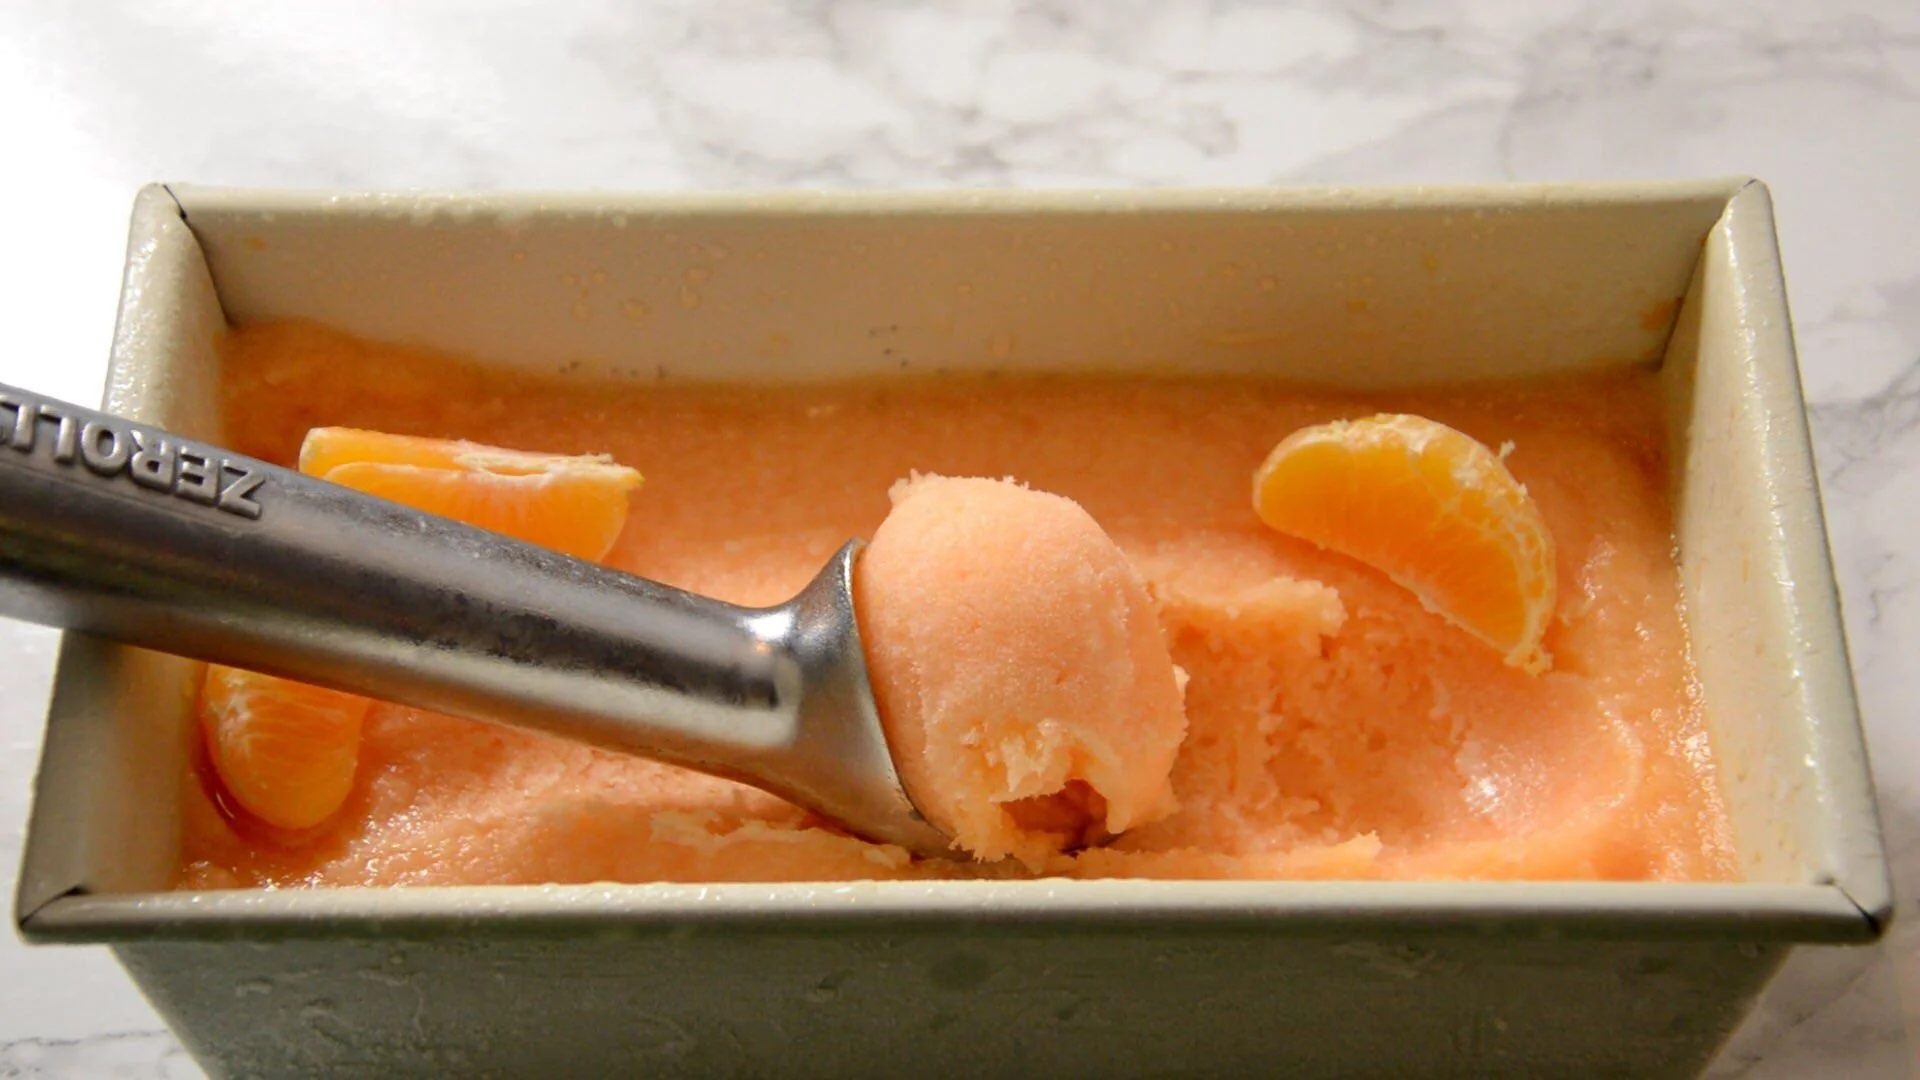
Step 9: Serving the Orange Sorbet
Finally, it’s time to enjoy the fruits of our labor and savor the delicious homemade orange sorbet! Follow these steps to serve a delightful bowl of frozen goodness:
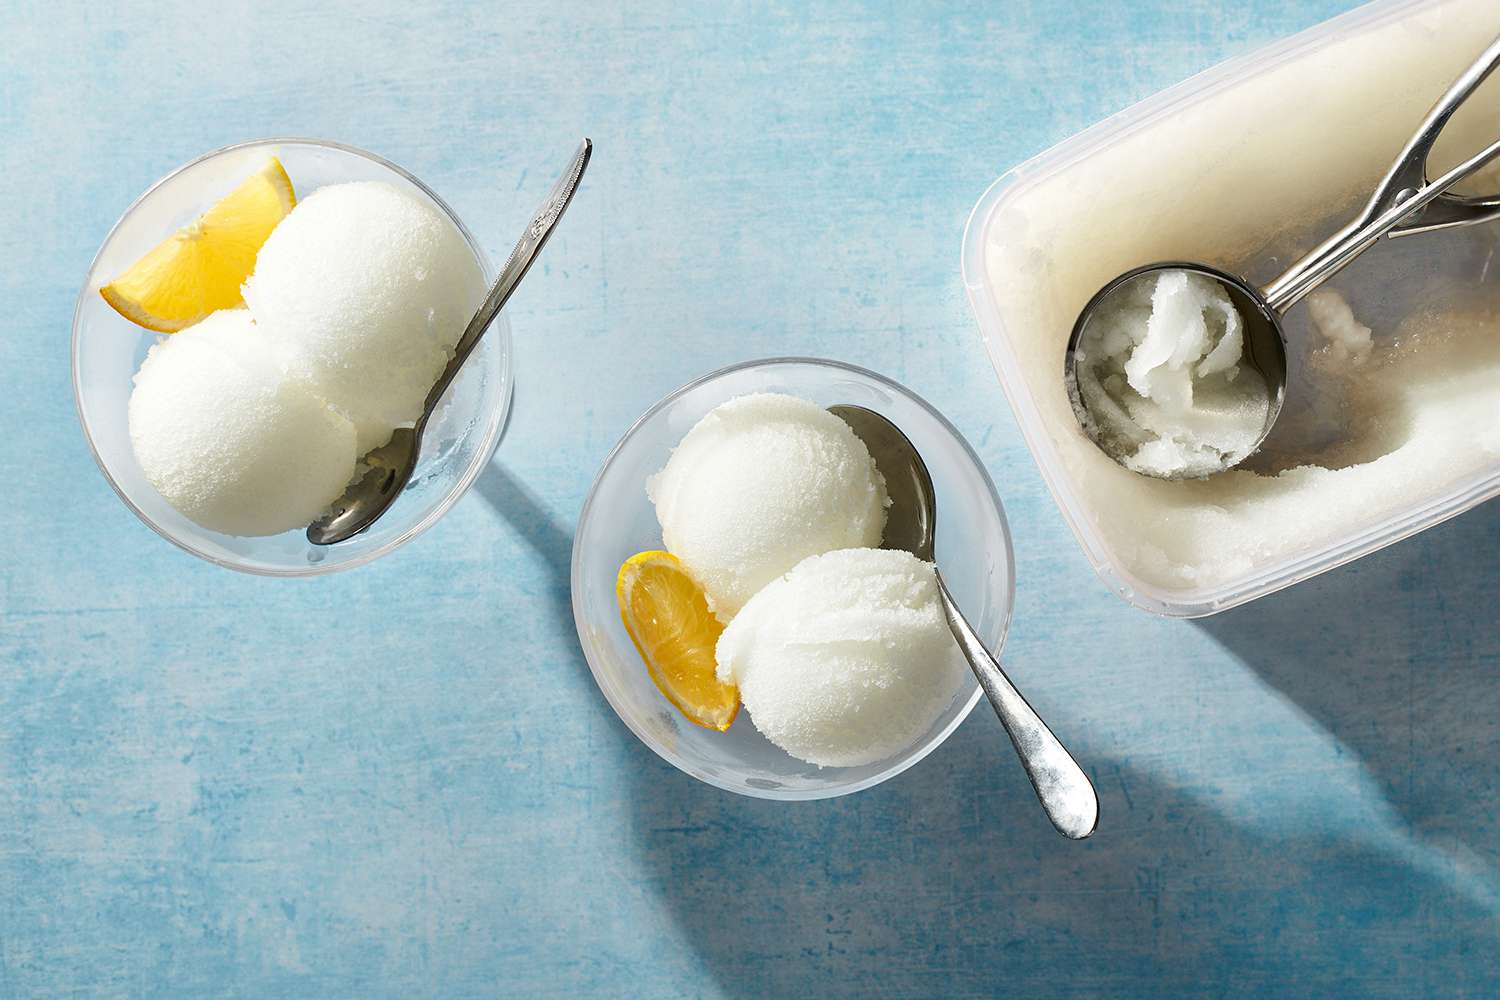
- Remove the container of fully frozen sorbet from the freezer.
- Let the sorbet sit at room temperature for a few minutes to soften slightly, making it easier to scoop.
- Using an ice cream scoop or a spoon, carefully scoop out portions of the orange sorbet and transfer them to individual serving bowls or cone.
- If desired, garnish the sorbet with fresh orange slices or a sprinkle of grated orange zest to enhance the presentation and add an extra burst of citrus flavor.
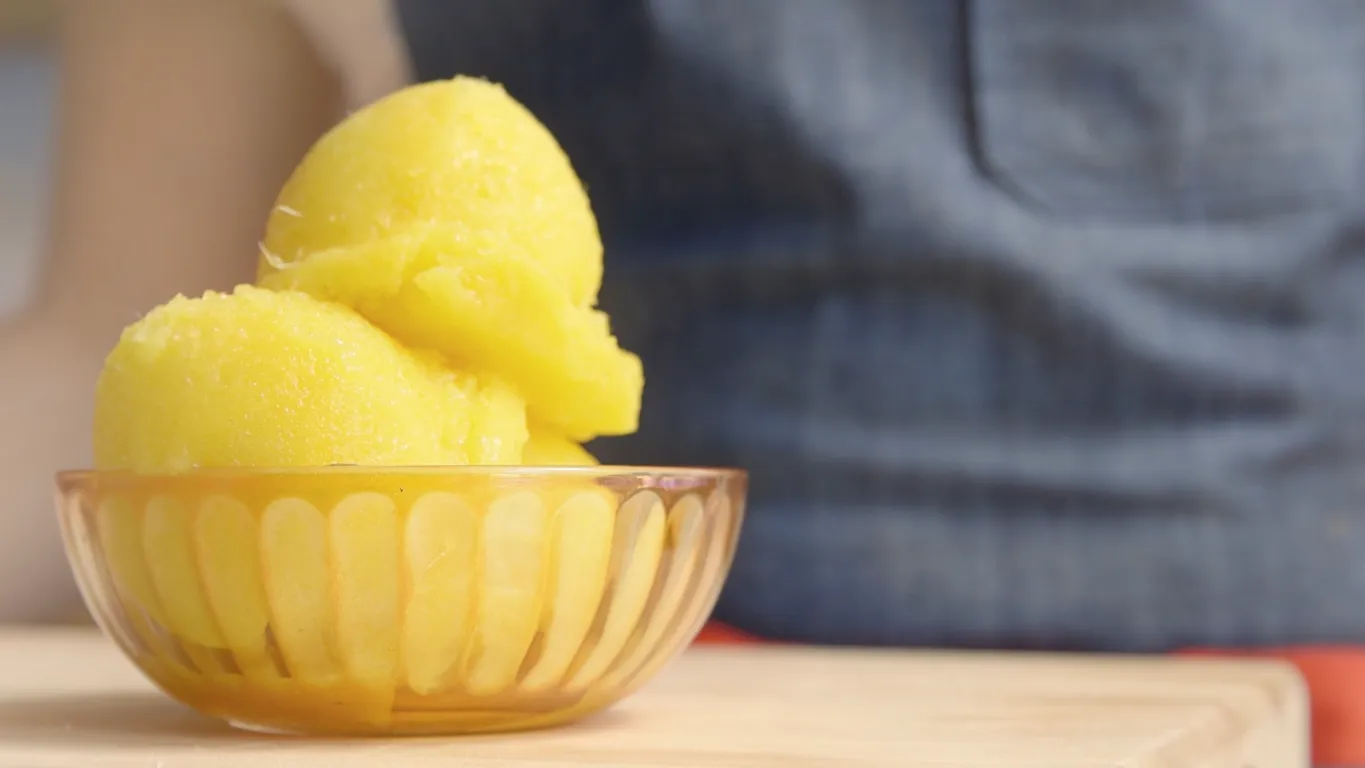
Orange sorbet is best enjoyed immediately after scooping, while it’s still at its creamy and refreshing peak. The vibrant color and tangy taste of this frozen treat are sure to impress anyone who indulges in it.
Whether you’re serving the orange sorbet as a standalone dessert or as a delightful accompaniment to a fruit salad, it is guaranteed to be a crowd-pleaser.
So, grab a spoon and dig in! The homemade orange sorbet is ready to be savored and shared with family and friends.
Conclusion
Congratulations! You have successfully learned how to make delicious and refreshing orange sorbet without the need for an ice cream maker. The journey from preparing the oranges to serving the final scoops of creamy goodness has been filled with simple steps and rewarding moments.
By following this homemade sorbet recipe, you have unlocked the ability to create a delightful frozen treat using just a few basic ingredients. The combination of juicy and flavorful oranges, sweet simple syrup, and a touch of lemon juice creates a sorbet that is bursting with vibrant citrus flavors.
Remember to take your time during each step, whether it’s preparing the oranges, making the simple syrup, or blending and refreezing the sorbet mixture. These little details truly make a difference in the final texture and taste of your homemade creation.
Now that you have mastered the art of making orange sorbet without an ice cream maker, feel free to experiment with different fruits and flavors. You can try substituting the oranges with other citrus fruits like lemons or grapefruits, or even explore the world of tropical fruits like mangoes or pineapples.
Enjoy your homemade orange sorbet on its own, or get creative by using it as a topping for other desserts, a sidekick to fresh fruit salads, or as a delightful addition to summery beverages. The possibilities are endless!
So, invite your loved ones over, scoop out the velvety orange goodness, and revel in the joy of sharing a homemade frozen treat that is both refreshing and incredibly satisfying.
Remember, making sorbet at home allows you to control the quality of ingredients, adjust the sweetness to your liking, and indulge in a guilt-free frozen delight. So, why not treat yourself to a scoop or two of this homemade orange sorbet? You deserve it!