Introduction
Welcome to the wonderful world of homemade ice cream! Making your own ice cream is not only a fun and delicious experience, but it also allows you to customize your flavors and ingredients to suit your taste buds. With the help of an ice cream maker, you can create endless variations of creamy and delightful frozen treats right in the comfort of your own home.
In this article, we will guide you through the process of making homemade ice cream using an ice cream maker. We will provide step-by-step instructions, tips, and tricks to help you achieve the perfect scoop every time. Whether you’re a beginner or an experienced home cook, this guide will ensure that you have all the information you need to create mouthwatering ice cream that will impress your family and friends.
Gone are the days of settling for store-bought ice cream with limited flavor options and unknown ingredients. By making your own ice cream, you have full control over the quality of ingredients, allowing you to create healthier alternatives or indulge in rich and decadent flavors. Plus, the process itself is incredibly satisfying and rewarding.
Before we dive into the ice cream-making process, let’s take a moment to gather all the materials and equipment you’ll need for this sweet endeavor. Ensuring you have everything on hand will make the process smoother and more enjoyable, allowing you to fully immerse yourself in the world of homemade ice cream.
Gathering the Materials
Before you embark on your ice cream-making journey, it’s essential to gather all the necessary materials and equipment. Having everything prepared and within reach will make the process much more efficient and enjoyable. Here’s a list of items you’ll need:
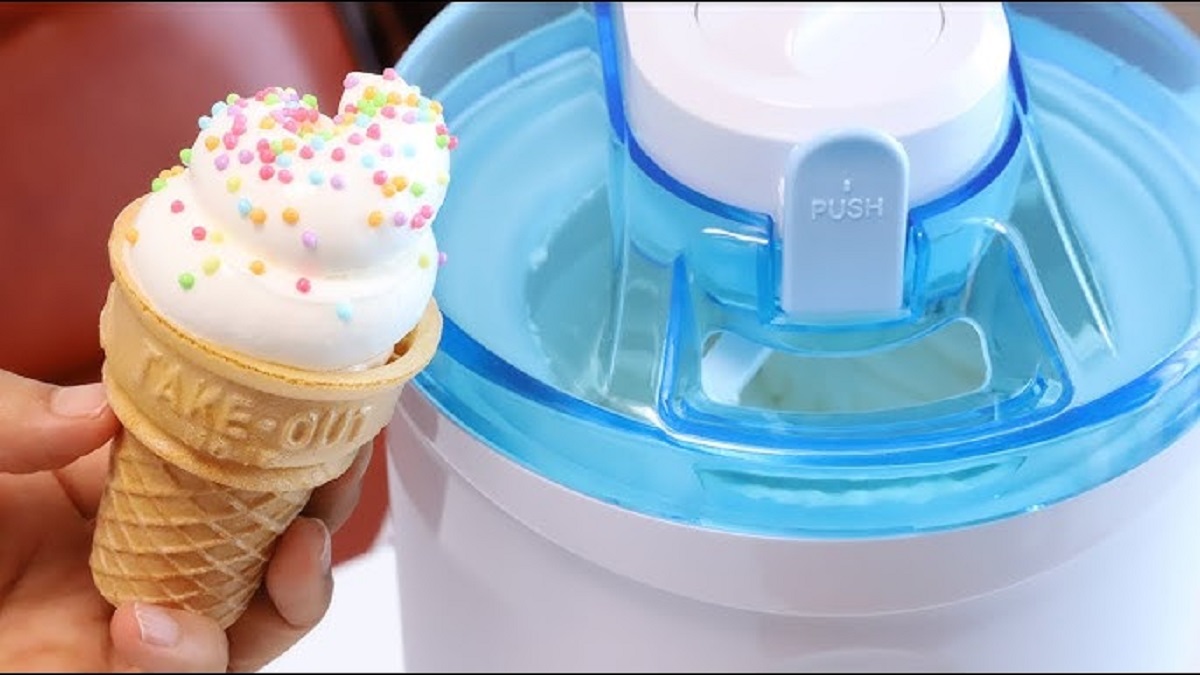
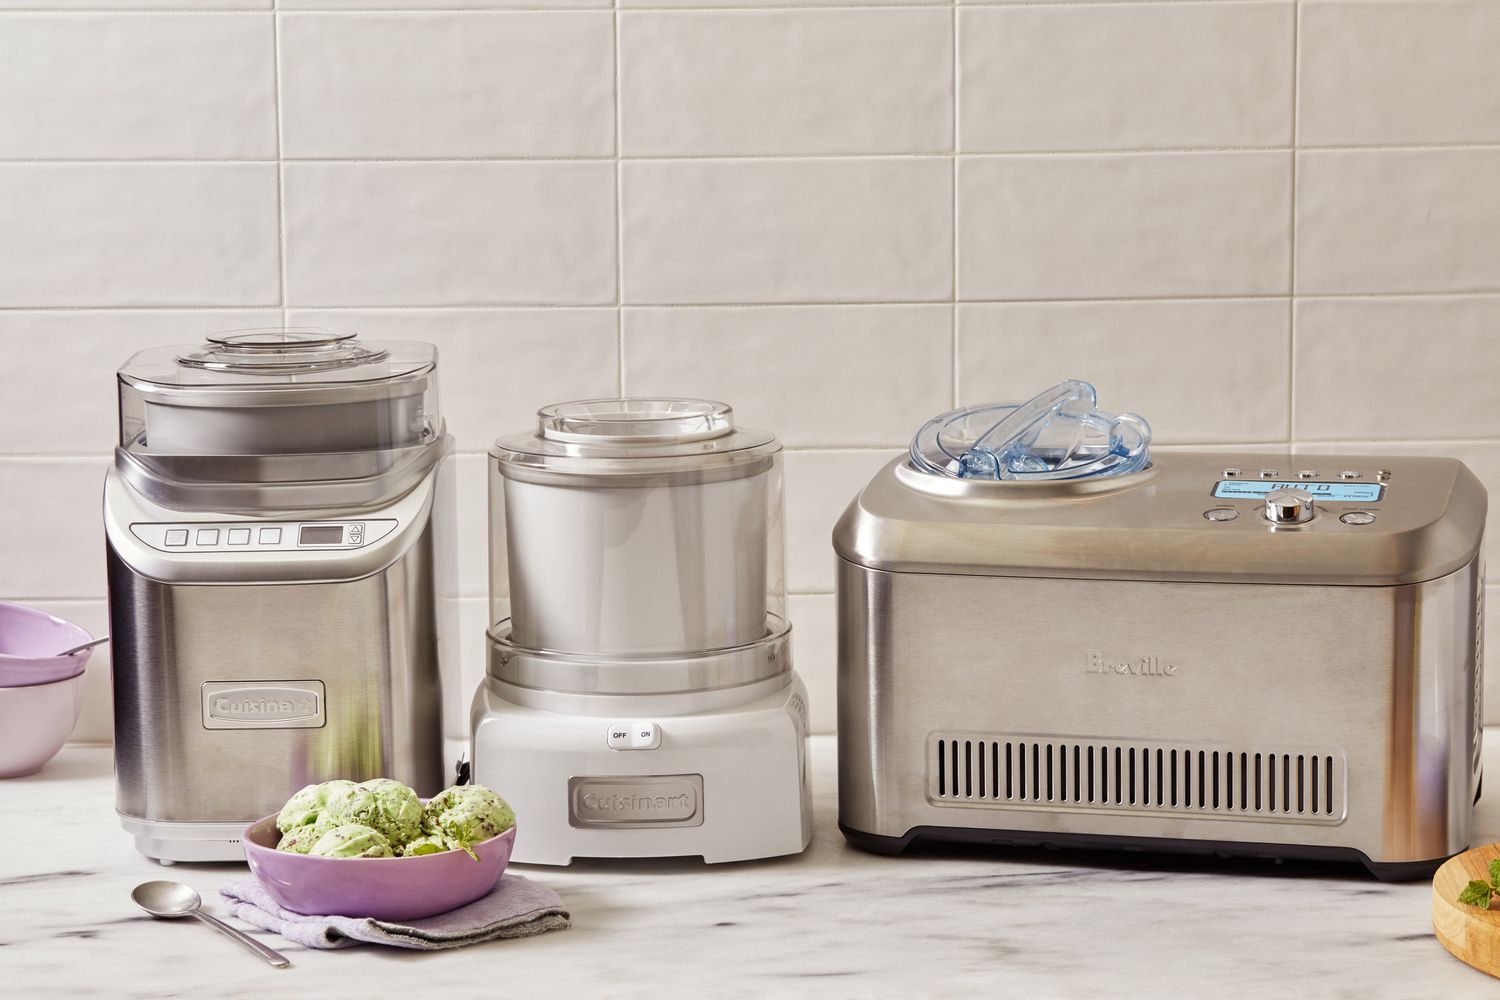
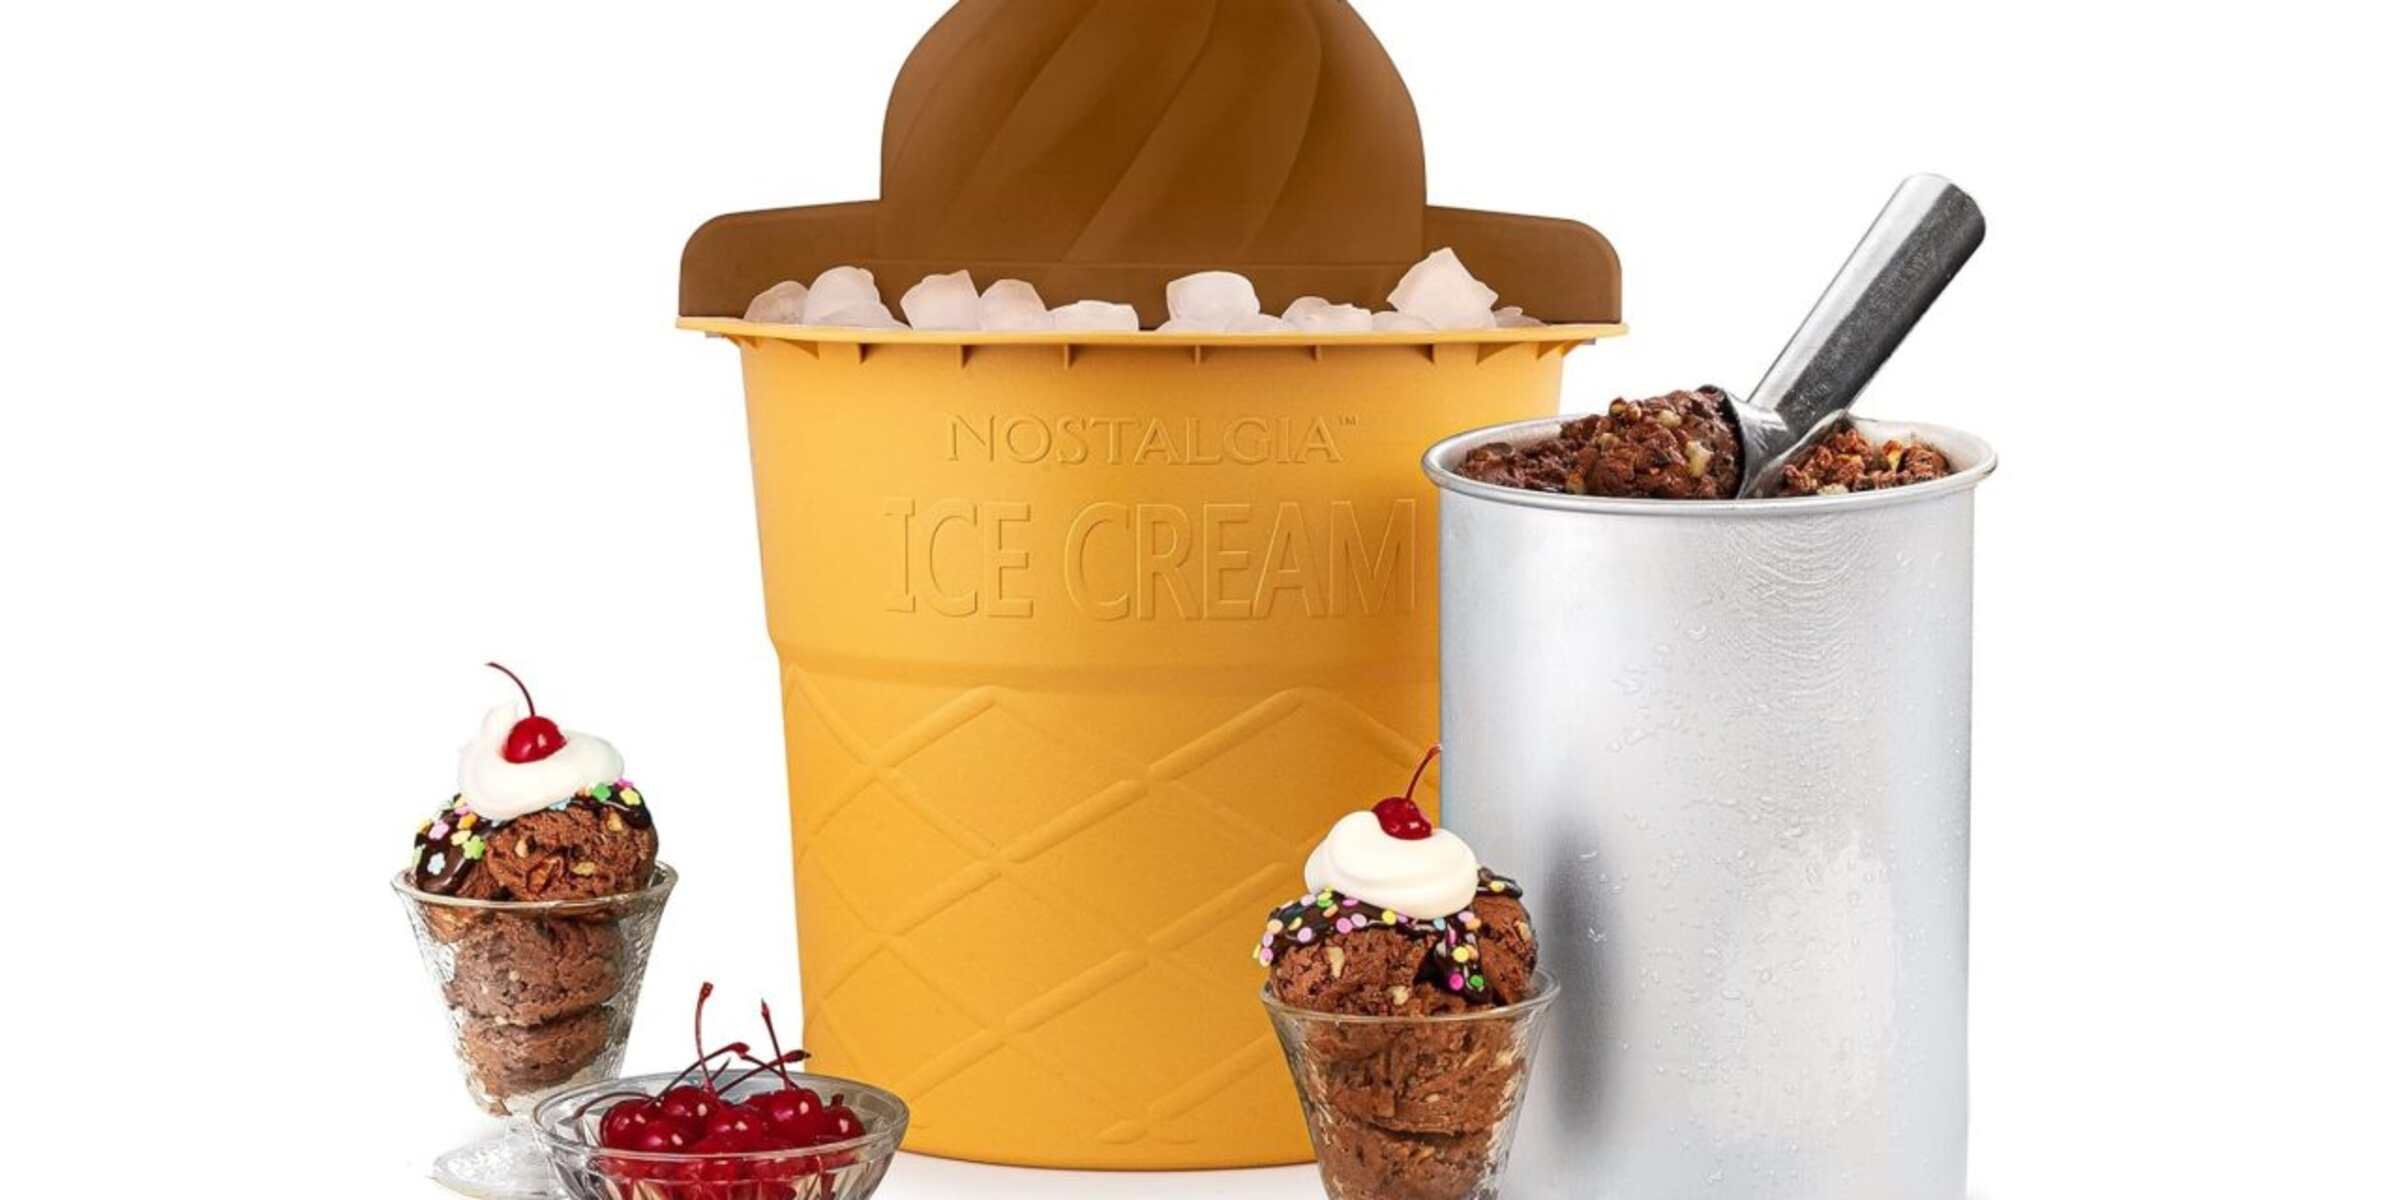
- Ice Cream Maker: The most crucial piece of equipment is, of course, the ice cream maker itself. There are various types available, including manual crank models and electric machines. Choose the one that best suits your needs and budget.
- Freezer: The ice cream maker typically requires a pre-freezing step, so ensure you have enough room in your freezer to accommodate the freezing bowl or canister required for your specific machine.
- Ingredients: To make delicious ice cream, you’ll need a base mixture consisting of cream, milk, sugar, and flavorings. Depending on the recipe you choose, you may also require additional ingredients such as eggs, vanilla extract, or fruit puree.
- Mixing Bowls and Utensils: Have a few bowls on hand for mixing the ice cream base and any additional ingredients. You’ll also need a whisk or a spatula for combining the mixture thoroughly.
- Measuring Tools: Accurate measurements are crucial for a successful batch of ice cream. Make sure you have measuring cups and spoons on hand to measure the ingredients precisely.
- Freezer Safe Containers: Once your ice cream is made, you’ll need containers to store it. Choose containers that are freezer-safe, airtight, and appropriately-sized to hold your desired quantity of ice cream.
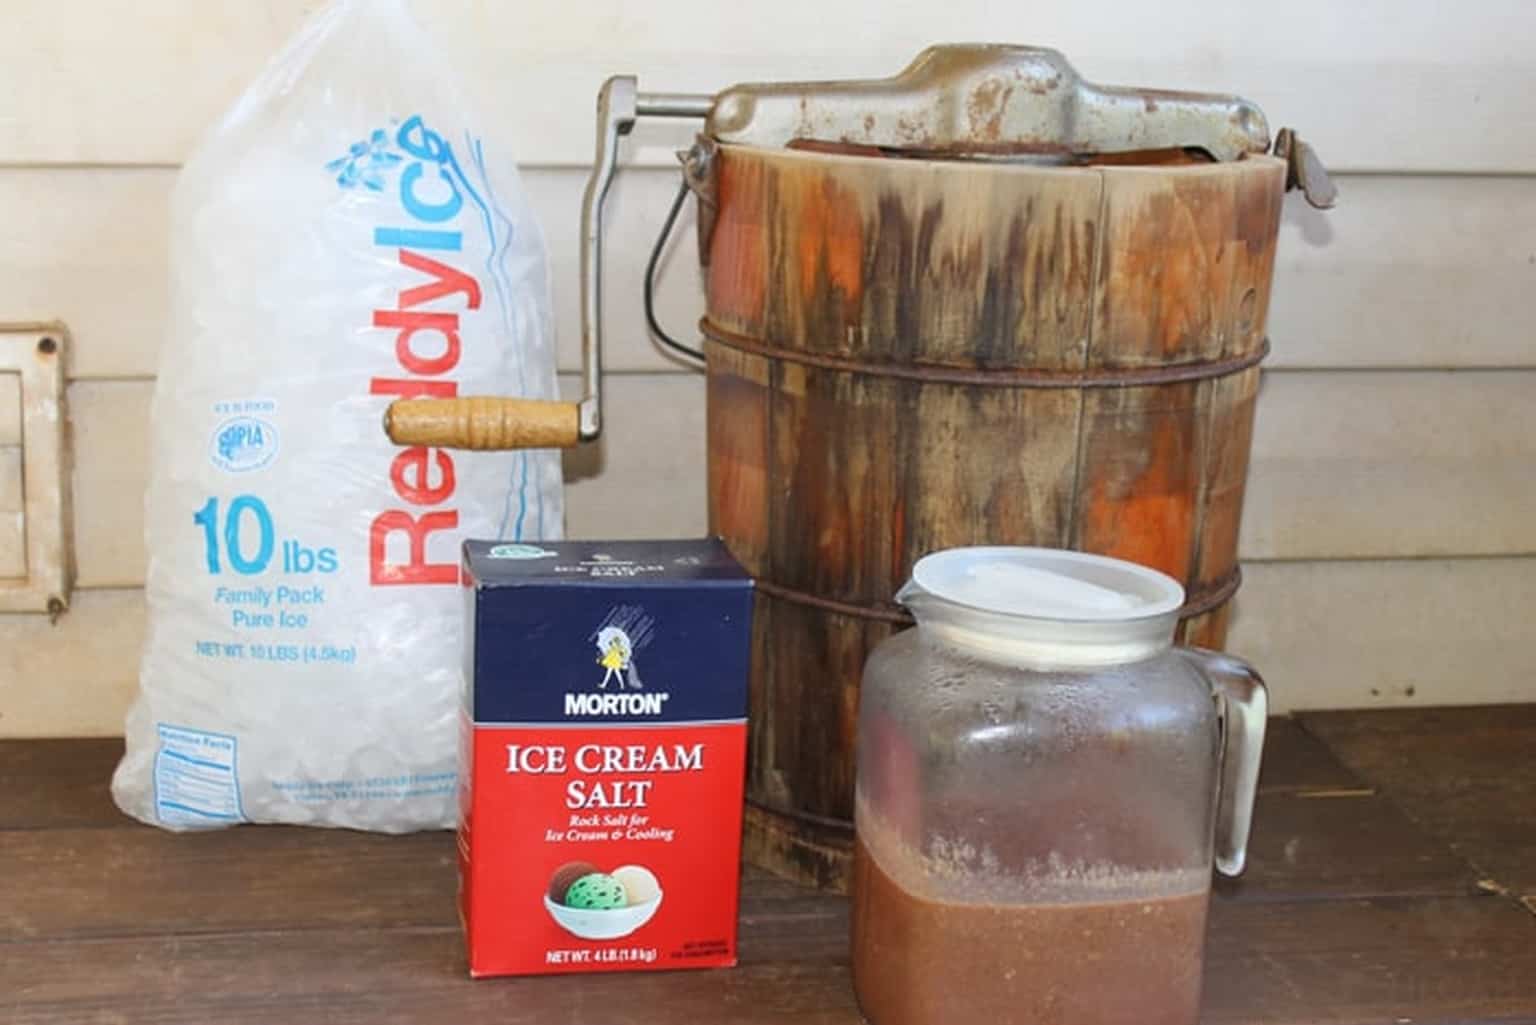
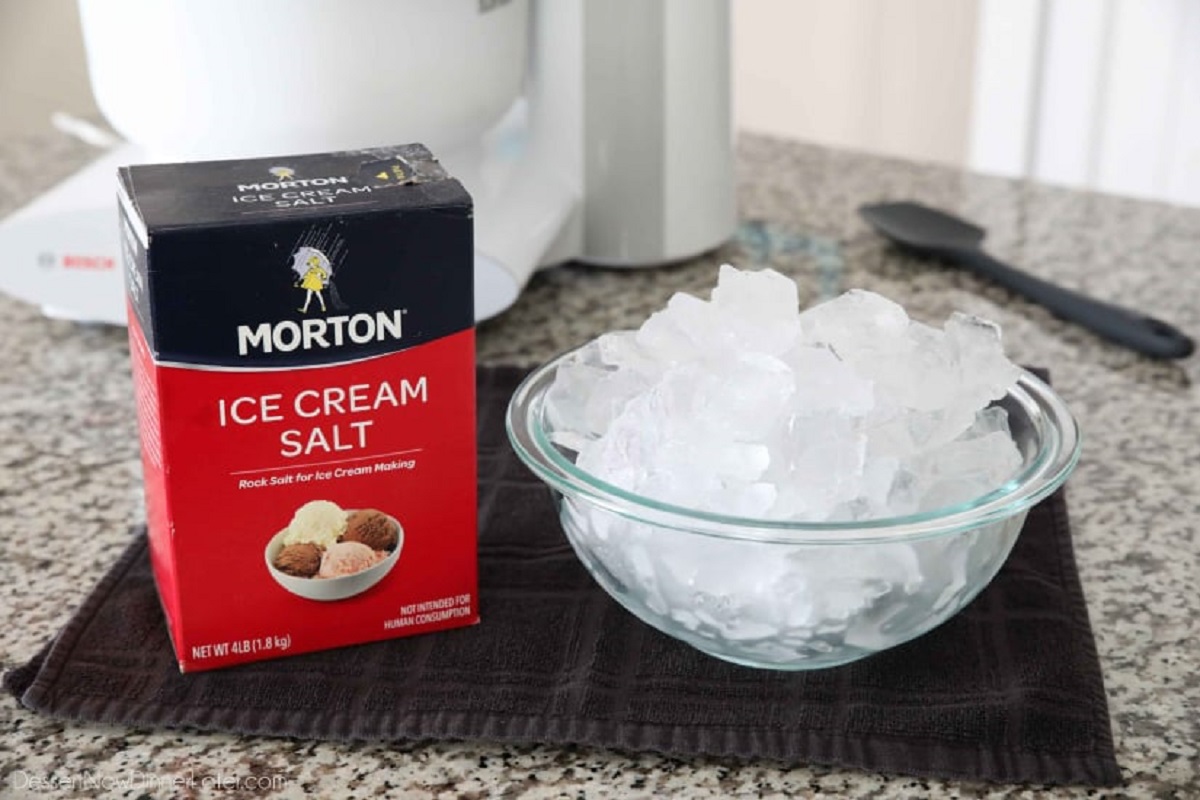
- Ice and Salt: Some ice cream makers require ice and salt for the churning process. Check your machine’s instructions to see if this is necessary.
- Optional Extras: Depending on your preferences, you might want to have additional ingredients on hand for mix-ins or toppings. This could include chocolate chips, nuts, sprinkles, or sauces.
With all the needed materials at your fingertips, you’re now ready to proceed to the next step: assembling your ice cream maker. Stay tuned for our next section, where we provide detailed instructions on how to put your ice cream maker together.
Assembling the Ice Cream Maker
Now that you have gathered all the necessary materials, it’s time to assemble your ice cream maker. While the specific assembly steps may vary depending on the model you have, the general process is relatively straightforward. Here’s a general guide to help you assemble your ice cream maker:
- Read the Instructions: Before starting, carefully read the instruction manual that came with your ice cream maker. Each model has specific guidelines and assembly steps that you need to follow.
- Freeze the Bowl or Canister: If your ice cream maker has a freezing bowl or canister, ensure it is properly frozen according to the manufacturer’s instructions. This freezing step is crucial for achieving the desired consistency in your ice cream.
- Attach the Paddle or Dashers: Most ice cream makers come with a paddle or dashers that help in churning the ice cream mixture. Attach this component to the machine as per the instructions provided. It typically involves inserting and securing the paddle in place.
- Secure the Lid: Place the lid onto the ice cream maker, ensuring it is properly aligned and securely fastened. This will prevent any leaks or spills during the churning process.
- Plug in (if applicable): If your ice cream maker is electric, plug it into a power source. If it’s a manual crank model, you can skip this step.
Once you’ve assembled your ice cream maker, it’s important to allow it to run for a few minutes to ensure everything is working correctly. This will also help to stabilize the temperature of the machine, especially if you’re using a freezing bowl or canister. Consult your instruction manual on how to perform this test run.
Now that your ice cream maker is assembled and ready to go, it’s time to move on to the next step: making the ice cream base. Stay tuned for our upcoming section, where we’ll share our favorite recipe for a creamy and luscious ice cream base that you can customize to suit any flavor profile.
Making the Ice Cream Base
Now that your ice cream maker is assembled, it’s time to prepare the ice cream base. The base is the foundation of your ice cream and determines its creamy texture and overall flavor. Here’s a step-by-step guide to making a basic ice cream base:
- Gather Your Ingredients: Refer to your chosen recipe to gather all the ingredients needed for the ice cream base. This typically includes heavy cream, whole milk, sugar, and flavorings such as vanilla extract.
- Mix the Sugar and Cream: In a mixing bowl, combine the heavy cream and sugar. Stir well until the sugar is completely dissolved. This mixture will provide the richness and sweetness to your ice cream.
- Add Milk and Flavorings: Pour in the whole milk and any flavorings specified in your recipe, such as vanilla extract or other extracts like chocolate or fruit flavors. Mix well to ensure all the ingredients are evenly combined.
- Chill the Mixture: Cover the mixing bowl with plastic wrap or a lid and place it in the refrigerator to chill for at least 2 hours or overnight. This chilling process allows the flavors to meld together and creates a better texture for the ice cream.
Once your ice cream base is thoroughly chilled, it’s time to move on to the next step: churning the ice cream. Churning incorporates air into the mixture, creating a soft and creamy texture. Stay tuned for our next section, where we’ll guide you through the churning process with your ice cream maker.
Churning the Ice Cream
With the chilled ice cream base prepared, it’s time to start churning the mixture in your ice cream maker. The churning process is what transforms the liquid base into a creamy and frozen delight. Follow these steps to churn your ice cream:
- Preparation: Ensure that your ice cream maker is assembled and ready to go. If your machine requires pre-freezing the bowl, make sure it has been in the freezer for the recommended amount of time.
- Turn on the Ice Cream Maker: If you have an electric ice cream maker, plug it in and turn it on. For a manual crank model, position the dasher inside the machine and secure the lid.
- Pour in the Ice Cream Base: Slowly pour your chilled ice cream base into the ice cream maker. Be careful not to overfill it, as the mixture will expand during the churning process.
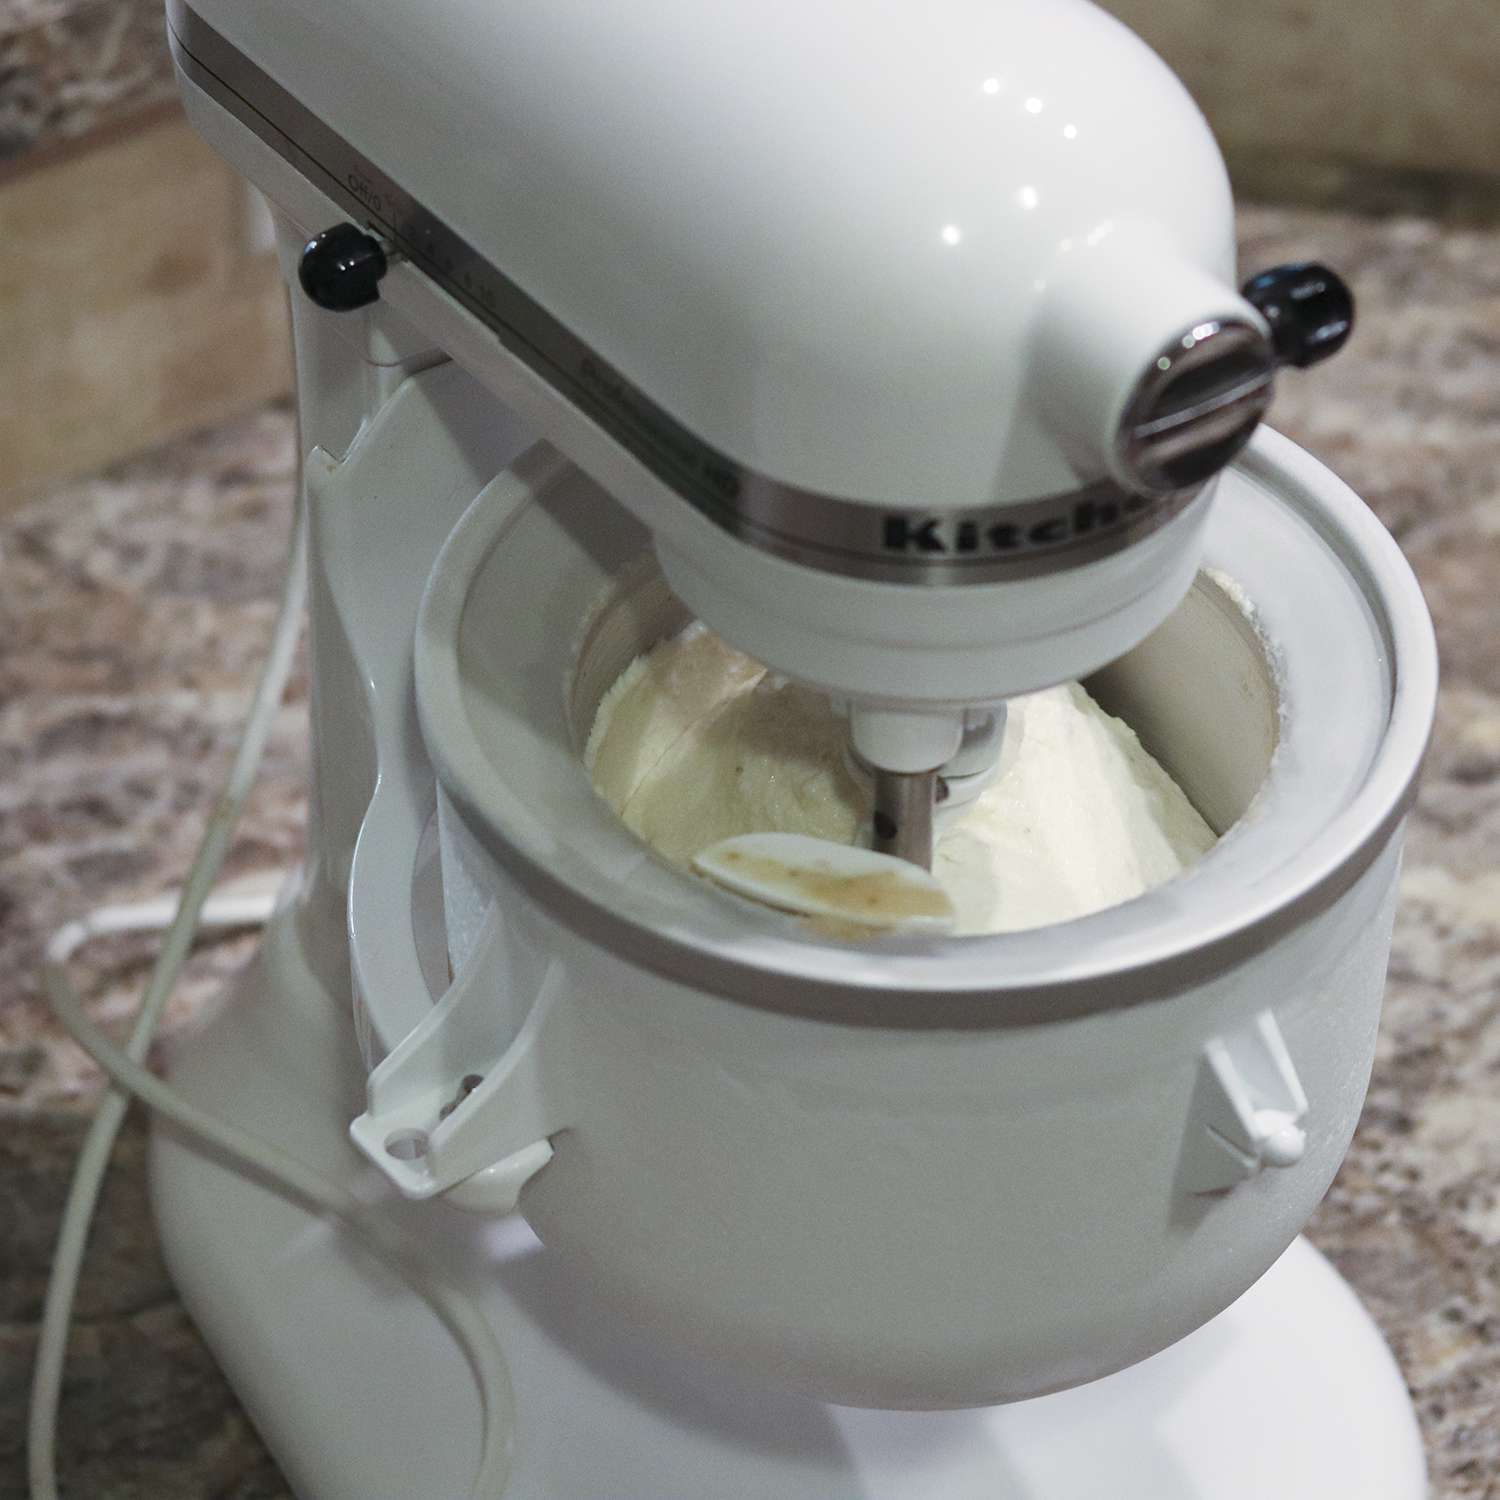
- Churn According to Instructions: Follow the manufacturer’s instructions for your specific ice cream maker to determine how long it should churn. Generally, it takes about 20-30 minutes for the mixture to reach a soft-serve consistency.
- Monitor the Churning: Keep an eye on the churning process and listen for any changes in the machine’s sound. As the ice cream thickens, the churning sound may become slower or quieter, indicating that it’s reaching the desired consistency.
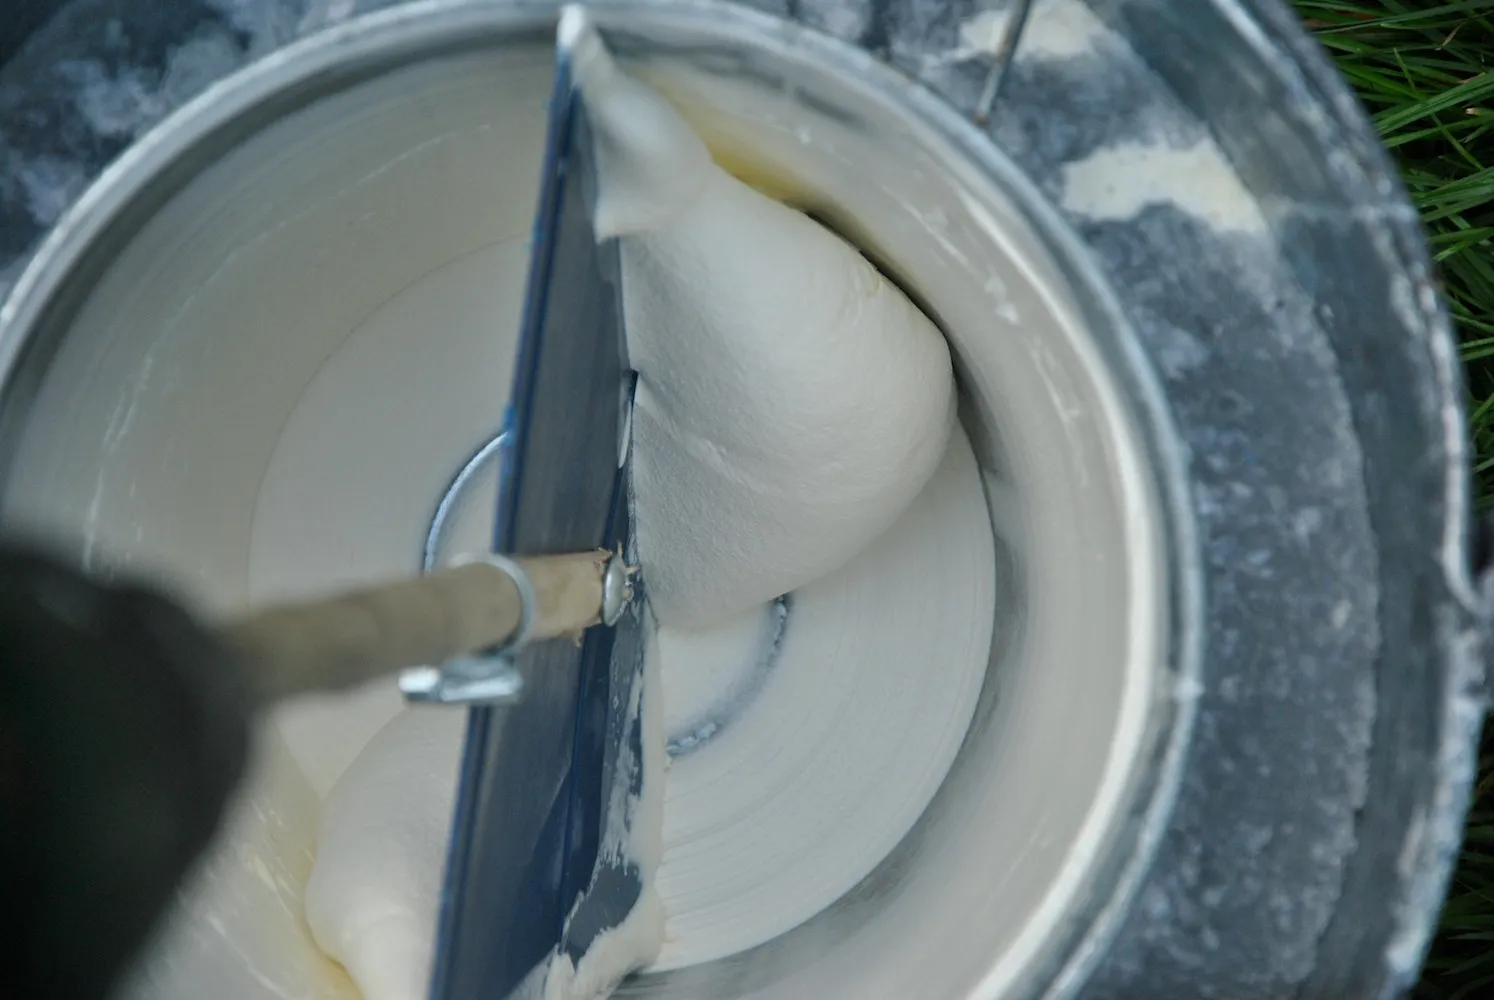
- Check the Ice Cream: After the recommended churning time, check the consistency of the ice cream by lifting the lid or pausing the machine briefly. It should be thick, creamy, and resemble soft-serve ice cream at this stage.
Remember that the churning time can vary depending on factors such as the temperature, ingredients, and your ice cream maker. It’s always a good idea to refer to the manufacturer’s instructions for specific guidance.
Once the ice cream has reached the desired consistency, promptly transfer it to a freezer-safe container, cover it tightly, and place it in the freezer to firm up. Congratulations! You’ve successfully churned your homemade ice cream. Stay tuned for our next section, where we’ll explore how to add mix-ins and flavorings to customize your ice cream creations.
Adding Mix-ins and Flavorings
Now that you have churned your ice cream to the desired consistency, it’s time to take it up a notch by adding mix-ins and flavorings. This step allows you to get creative and customize your ice cream with a variety of delicious add-ins. Here’s how you can elevate your ice cream with mix-ins:
- Prepare Your Mix-ins: Decide on the mix-ins you want to incorporate into your ice cream. Popular options include chocolate chips, crushed cookies, nuts, fruit chunks, or swirls of caramel or fudge. Measure and prepare your mix-ins ahead of time, ensuring they are chopped, crushed, or prepared as necessary.
- Pause the Churning Process: Interrupt the churning process of your ice cream maker a few minutes before it reaches the desired consistency. This will give you an opportunity to add the mix-ins without them being completely mixed in.
- Add the Mix-ins: Open the lid of the ice cream maker and carefully sprinkle or fold in your chosen mix-ins using a spatula or a spoon. Ensure they are evenly distributed throughout the ice cream base.
- Resume Churning (Optional): If desired, you can continue churning the ice cream for a few more minutes after adding the mix-ins. This will help distribute them even further and enhance the incorporation of flavors.
Remember to exercise caution when adding mix-ins, as adding too many or overly chunky mix-ins may interfere with the churning process or affect the texture of the ice cream. It’s always a good idea to start with smaller quantities and adjust according to your preferences.
In addition to mix-ins, you can also experiment with various flavorings to customize your ice cream experience. Consider adding extracts like mint, almond, or coconut, or incorporating spices such as cinnamon or nutmeg to enhance the flavor of your ice cream. The possibilities are endless, so feel free to get creative and try different combinations!
Once you have added your mix-ins and flavorings, transfer the ice cream to a freezer-safe container and place it in the freezer to firm up for a few hours or until it reaches the desired scooping consistency. And there you have it – your very own homemade ice cream, personalized with delicious mix-ins and flavorings!
In the next section, we’ll share tips on serving and storing your freshly made ice cream to ensure it stays flavorful and maintains its delightful texture.
Serving and Storing the Ice Cream
Now that your homemade ice cream is ready, it’s time to enjoy the fruits of your labor. Here are some tips on serving and storing your ice cream to ensure maximum flavor and texture:
- Serving Suggestions: Scoop the ice cream into bowls or cones and serve them with your favorite toppings. You can add a dollop of whipped cream, sprinkle some chocolate shavings, or drizzle a sauce over the top for added indulgence.
- Let it Soften: If your ice cream has been in the freezer for a long time and has become too hard to scoop, allow it to sit at room temperature for a few minutes to soften slightly. This will make serving easier and ensure a creamier texture.
- Store Properly: To maintain the quality of your homemade ice cream, store it in an airtight container to prevent the formation of ice crystals and the absorption of unwanted flavors in the freezer. Ensure that the container is specifically designed for freezer storage.
- Use within a Reasonable Time: While homemade ice cream can be stored for several weeks, it is best consumed within one to two months for optimal freshness and flavor. Remember that the longer it stays in the freezer, the more the quality may deteriorate.
- Avoid Frequent Thawing and Refreezing: Try to avoid multiple cycles of thawing and refreezing the ice cream, as this can affect its texture and lead to freezer burn. Take out only the amount you plan to serve and return the remaining portion to the freezer promptly.
- Label and Date: To keep track of your ice cream’s storage time, label the container with the date it was made and the flavor. This will help you ensure you consume it within a reasonable timeframe.
Keep in mind that homemade ice cream may have a slightly different texture compared to store-bought varieties due to the lack of stabilizers and preservatives. Embrace the creamy and authentic nature of your creation, knowing that it is made with love and the finest ingredients.
Now that you know how to serve and store your ice cream, it’s time to indulge in the frozen bliss you’ve created. Share it with family and friends or savor it all to yourself. The satisfaction of enjoying your very own homemade ice cream is truly a treat like no other.
In our final section, we’ll share some troubleshooting tips to help you overcome common challenges and ensure success in your ice cream-making endeavors.
Troubleshooting Tips
Making homemade ice cream can sometimes come with challenges, but fear not! Here are some common troubleshooting tips to help you overcome any obstacles and achieve the best possible results:
- Ice Cream Not Freezing: If your ice cream is not freezing properly, it could be due to an issue with the temperature of your freezing bowl or canister. Make sure it has been frozen for the recommended amount of time and that your freezer is set to the appropriate temperature.
- Ice Crystals: If you notice ice crystals forming in your ice cream, it may be because it took too long to freeze. Ensure that your ice cream maker is properly chilled and that the mixture is cold before churning. Also, be careful not to over-churn the ice cream, as this can introduce too much air and cause crystallization.
- Grainy Texture: A grainy texture in your ice cream could be a result of undissolved sugar or not properly incorporating the ingredients. Make sure to thoroughly dissolve the sugar in the cream, and mix the ice cream base until all the ingredients are well combined before chilling.
- Ice Cream Too Soft: If your ice cream turns out softer than desired, it could be due to a shorter churning time or a higher fat content in the recipe. Adjust the churning time based on your ice cream maker’s instructions, and consider lowering the fat content in future batches.
- Flavor Not Strong Enough: If you find that the flavor of your ice cream is not as intense as you’d like, try adding more flavorings or extracts. Increase the amount of spices, fruit puree, or extracts in the recipe to enhance the taste.
- Sweetness Level: If your ice cream is too sweet or not sweet enough, adjust the amount of sugar or sweetener in the recipe to suit your taste. Remember, sweetness can be subjective, so feel free to experiment and find the perfect balance for you.
Remember that practice makes perfect, and don’t be discouraged if your first attempts don’t turn out exactly as planned. Troubleshooting and adjusting recipes is part of the learning process, and with each batch, you’ll gain more experience and improve your ice cream-making skills.
With these troubleshooting tips in mind, you’re well-equipped to tackle any challenges that may arise in your ice cream-making journey. Enjoy the process, be creative, and savor the delightful rewards of homemade ice cream!
Thank you for joining us on this delicious adventure. Now go forth and indulge in the wonderful world of homemade ice cream!
Conclusion
Congratulations! You have now become well-versed in the art of making homemade ice cream with an ice cream maker. By following the steps outlined in this guide and incorporating your own creativity, you can create endless variations of delicious frozen treats.
We began with gathering the necessary materials and assembling your ice cream maker. Then, we walked through the process of making the ice cream base, churning it to perfection, and adding mix-ins and flavorings to customize your creations. We also shared tips on serving and storing your homemade ice cream, as well as troubleshooting common issues that may arise.
Creating your own ice cream allows you to control the ingredients, flavors, and texture, opening up a world of possibilities. From classic flavors like vanilla and chocolate to exotic combinations and inventive mix-ins, your imagination is the only limit.
Remember, practice makes perfect, and don’t be afraid to experiment and make adjustments along the way. Take note of your successes and learn from any challenges you encounter to continuously improve your ice cream-making skills.
We hope this guide has inspired you to embark on delightful ice cream-making adventures and create frozen treats that bring joy to your taste buds. So, gather your ingredients, assemble your ice cream maker, and let your creativity run wild as you indulge in the sweet satisfaction of homemade ice cream!
Thank you for joining us on this delicious journey. Now, go ahead and enjoy the creamy and mouthwatering rewards of your homemade ice cream!