Introduction
When it comes to making homemade ice cream, using an ice cream maker is a game-changer. However, one common question that arises is: how long does it take for ice cream to churn in an ice cream maker? The answer varies based on several factors, including the type of ice cream maker, the ingredients used, the desired texture, and even the climate. Understanding these factors can help you achieve the perfect creamy consistency and avoid any churn time mishaps.
Making ice cream is a delightful culinary adventure, and having an ice cream maker can make the process even more enjoyable. While the anticipation of the final product can be exciting, it’s important to understand that the churn time can significantly impact the outcome. Churning is the process of freezing and blending the mixture simultaneously to create a smooth and creamy consistency.
In this article, we will explore the various factors that can affect the churn time of ice cream in an ice cream maker. By understanding these factors, you will be able to adjust and optimize your ice cream making process to achieve the desired results. Whether you are a novice or an experienced ice cream enthusiast, this comprehensive guide will provide you with the information you need to make delicious homemade ice cream every time.
We will examine different types of ice cream makers and the impact they can have on churn time. Additionally, we will delve into how the ingredients used, the recipe, and the desired texture can influence the time it takes for the ice cream to churn. Furthermore, we will discuss the effects of temperature and climate on the churn time. By the end of this article, you will have a better understanding of the factors at play and will be equipped to make ice cream with confidence, knowing exactly how long it will take to churn.
Factors Affecting Churn Time
Several factors can influence the churn time of ice cream in an ice cream maker. Understanding these factors is crucial for achieving the desired texture and consistency in your homemade ice cream. Let’s explore the key factors that can affect the churn time:
Type of Ice Cream Maker: The type of ice cream maker you have plays a significant role in churn time. There are two main types of ice cream makers: electric and manual. Electric ice cream makers use a built-in motor to churn the ice cream, resulting in faster churn times. Manual ice cream makers, on the other hand, require manual effort to churn the ice cream, which can take longer. The type of ice cream maker you have will determine the overall churn time.
Ingredients Used: The ingredients used in the ice cream mixture can also affect the churn time. The ratio of fat to liquid, the sugar content, and the overall composition can impact the freezing and blending process. Ice cream mixtures with a higher fat content, such as those made with heavy cream, tend to freeze faster, resulting in shorter churn times. On the other hand, mixtures with a high water content or low-fat content may take longer to freeze and achieve the desired consistency.
Recipe and Texture Preference: The specific recipe and the desired texture of the ice cream can also impact the churn time. Some recipes may require additional time to churn due to the presence of additives such as fruits, chocolate chips, or nuts. These added ingredients can affect the freezing process and require more churn time to evenly distribute them throughout the ice cream. Additionally, the desired texture, whether it’s a soft-serve consistency or a firmer scoop, can also influence the churn time.
Temperature and Climate: The ambient temperature and climate in your kitchen can affect the ice cream’s churn time as well. Warmer temperatures can lead to faster freezing, resulting in shorter churn times. On the other hand, colder temperatures may require more time for the ice cream mixture to freeze, lengthening the churn time. It’s important to consider the temperature and adjust accordingly to achieve optimal results.
Considering these factors and making necessary adjustments will help you achieve the perfect churn time for your homemade ice cream. The next sections will delve into the time range for churning and signs that indicate the ice cream is ready.
Type of Ice Cream Maker
The type of ice cream maker you choose can have a significant impact on the churn time and the overall ice cream-making experience. There are two main types of ice cream makers available: electric and manual.
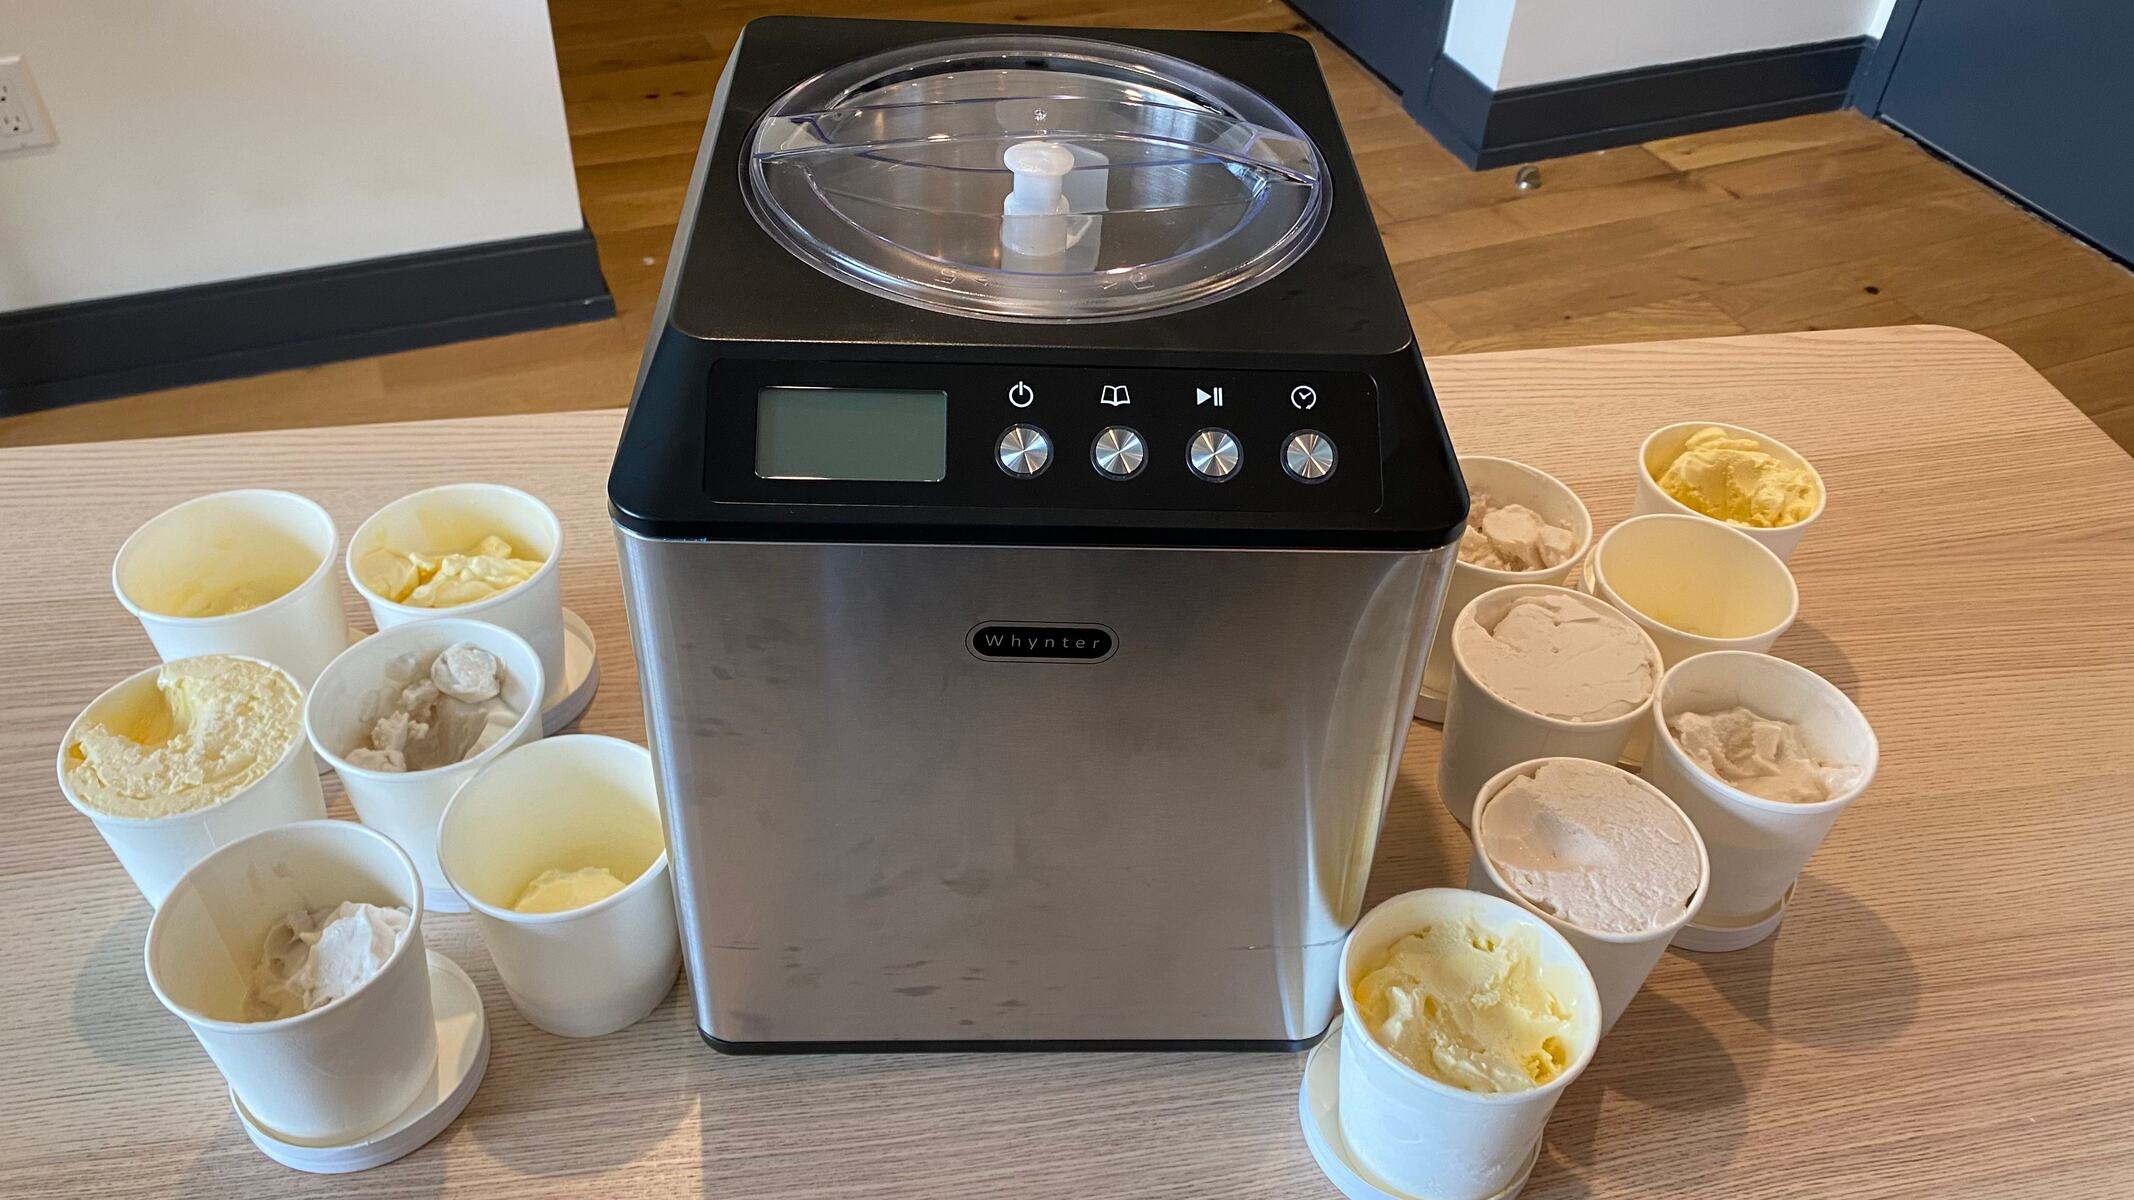
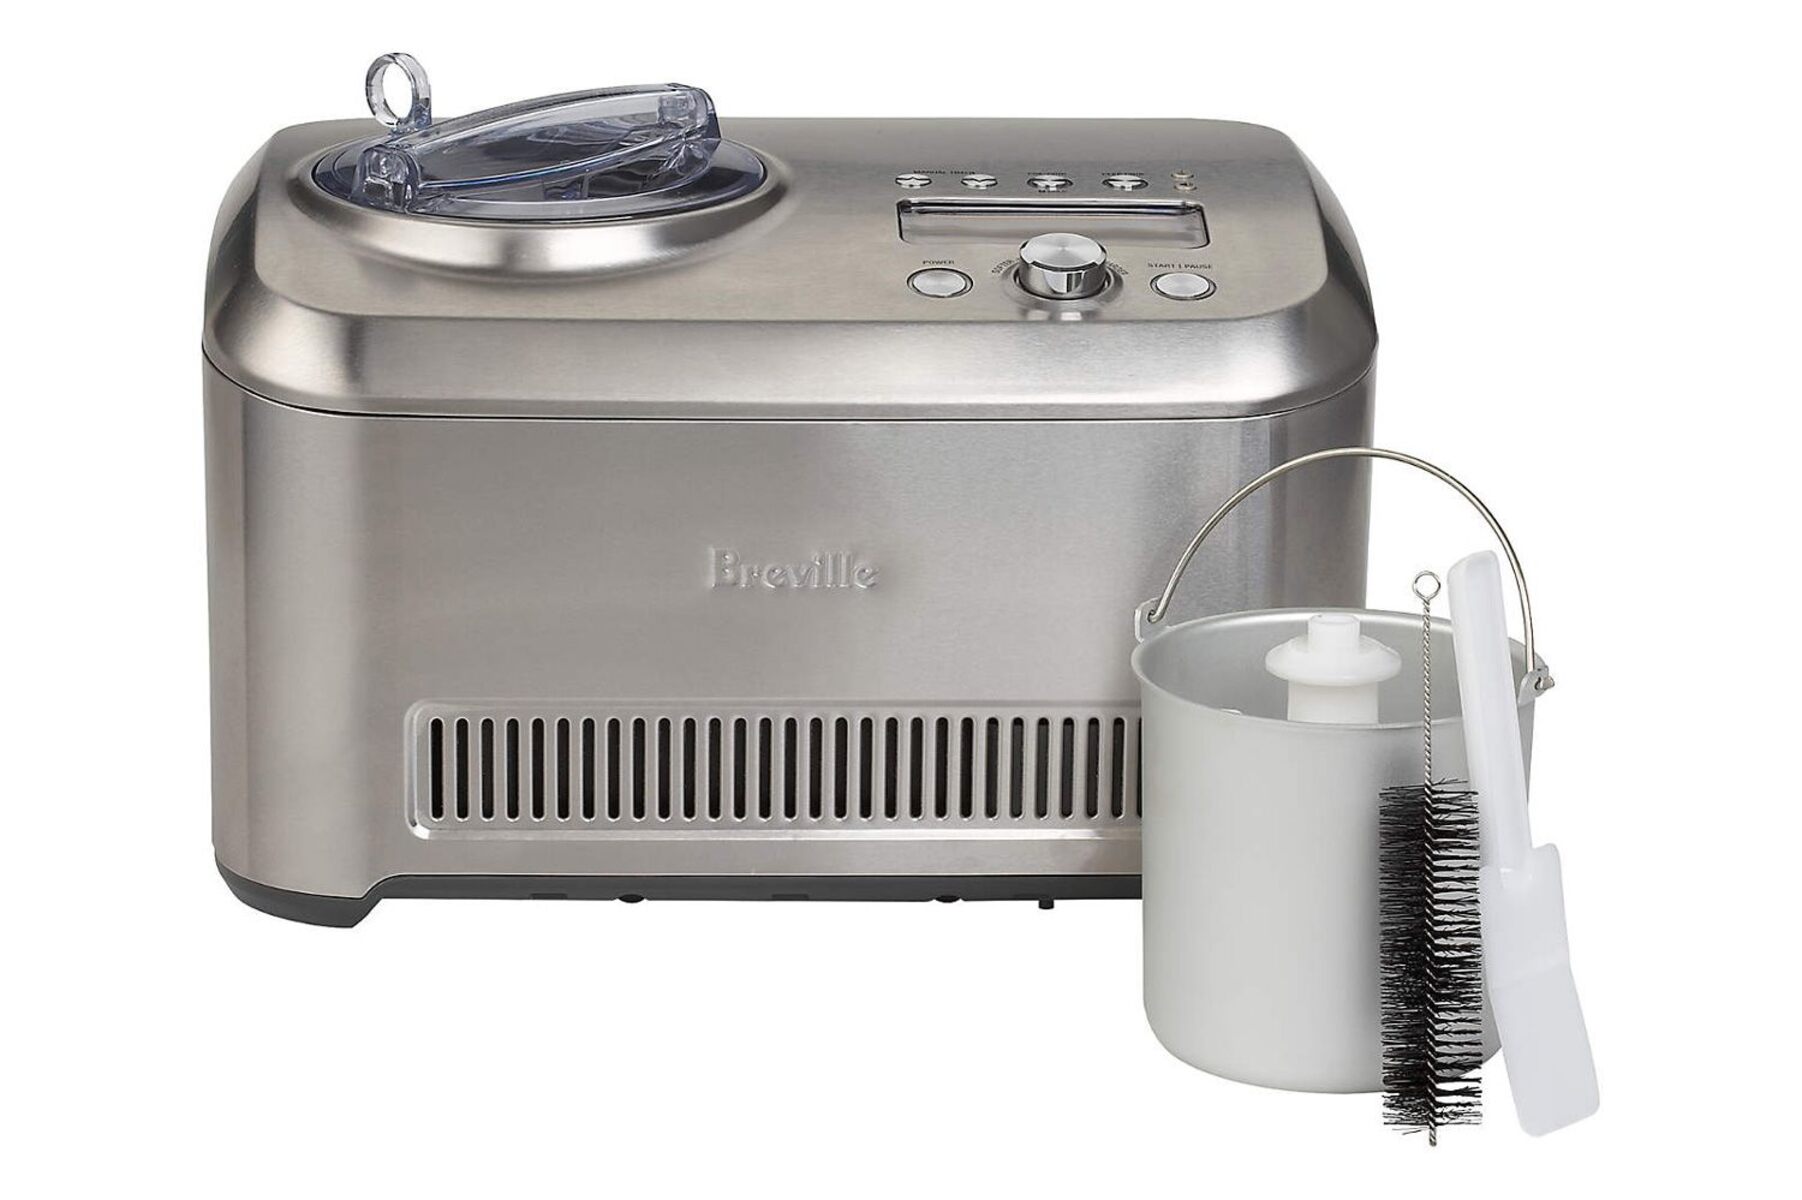
Electric Ice Cream Maker: Electric ice cream makers are the most common type found in households. They are equipped with a built-in motor that automatically churns the ice cream mixture, eliminating the need for manual effort. The electric motor continuously rotates the mixing paddle, creating a smooth and consistent texture. These machines are convenient and efficient, as they typically churn the ice cream faster than manual models. The churn time for electric ice cream makers can range from 20 minutes to an hour, depending on the recipe and desired consistency.
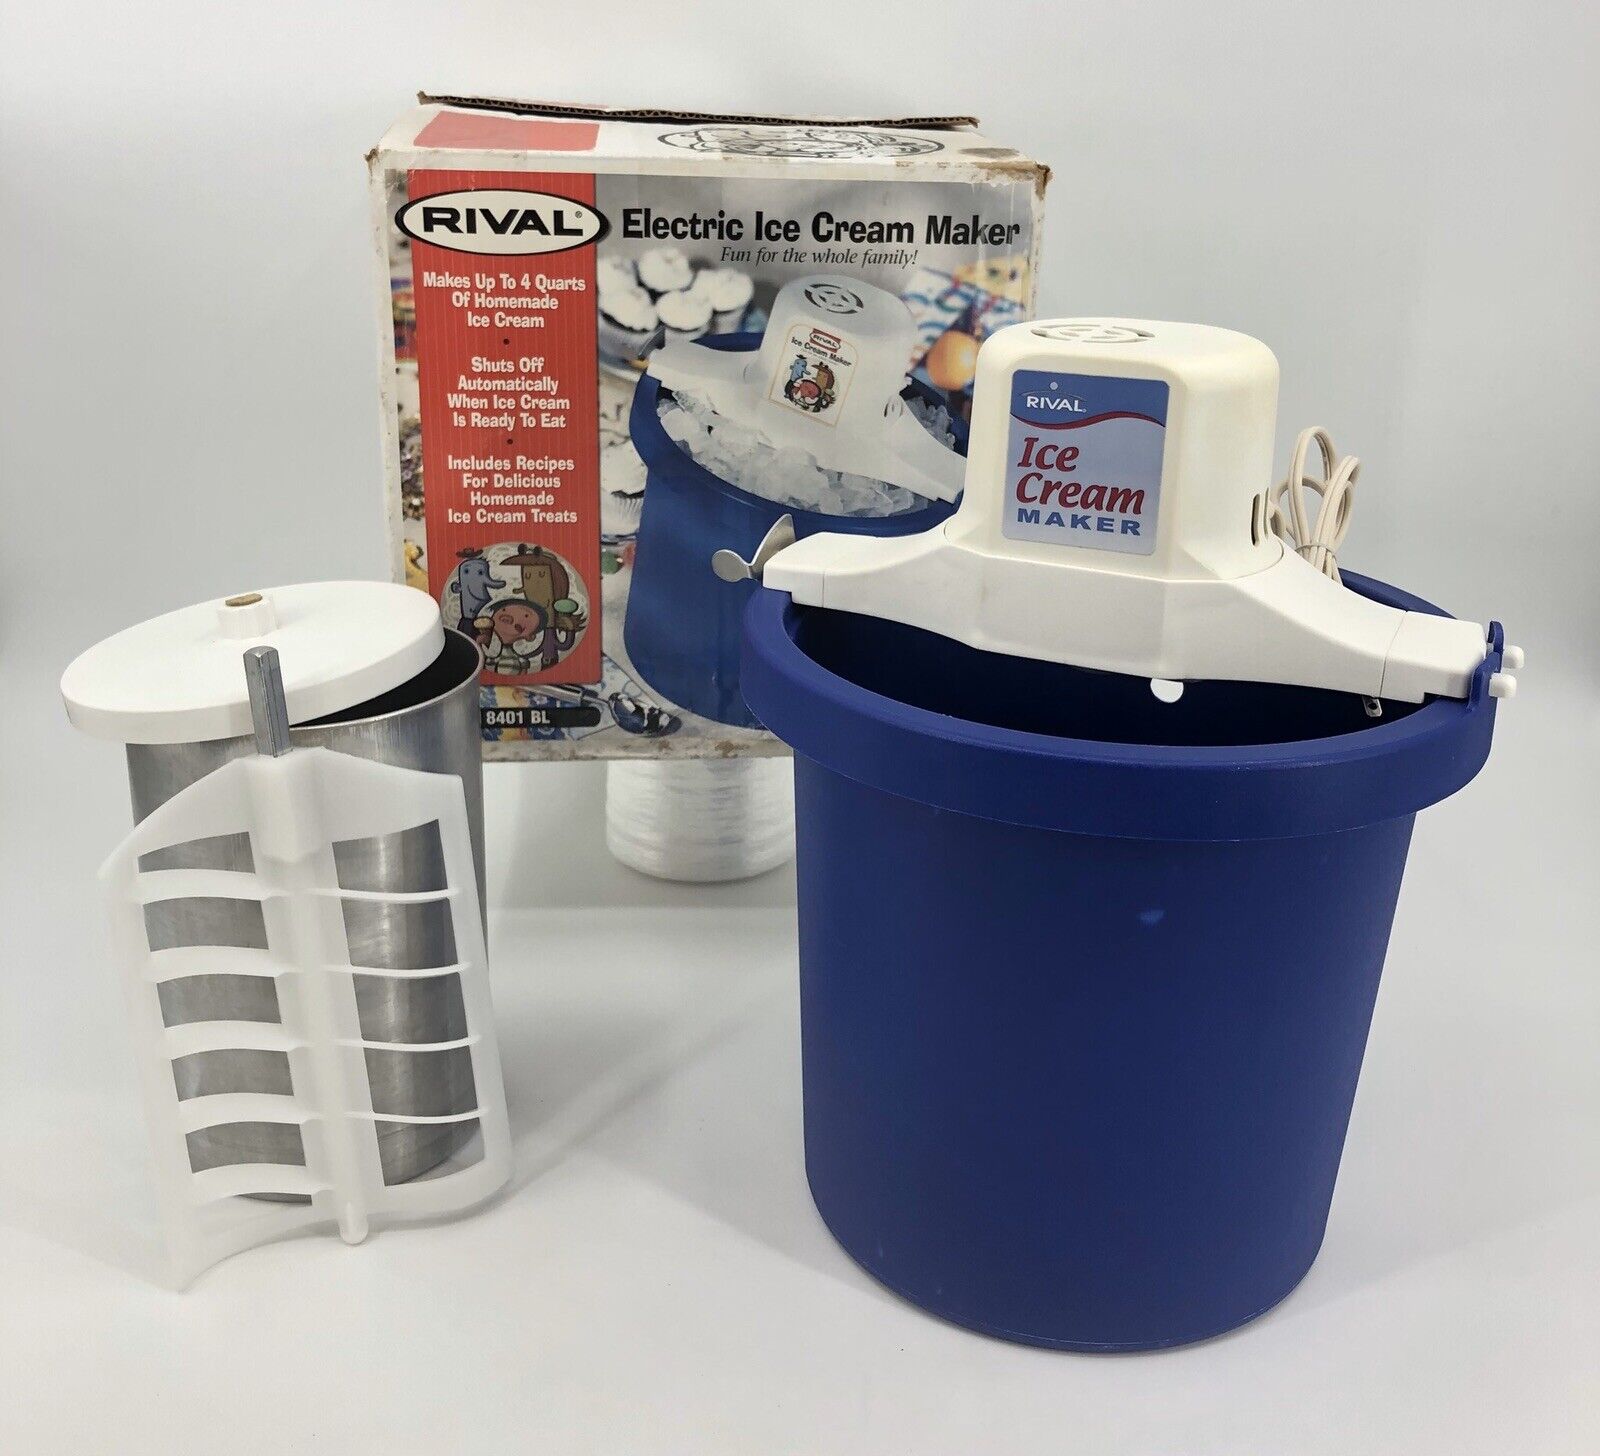
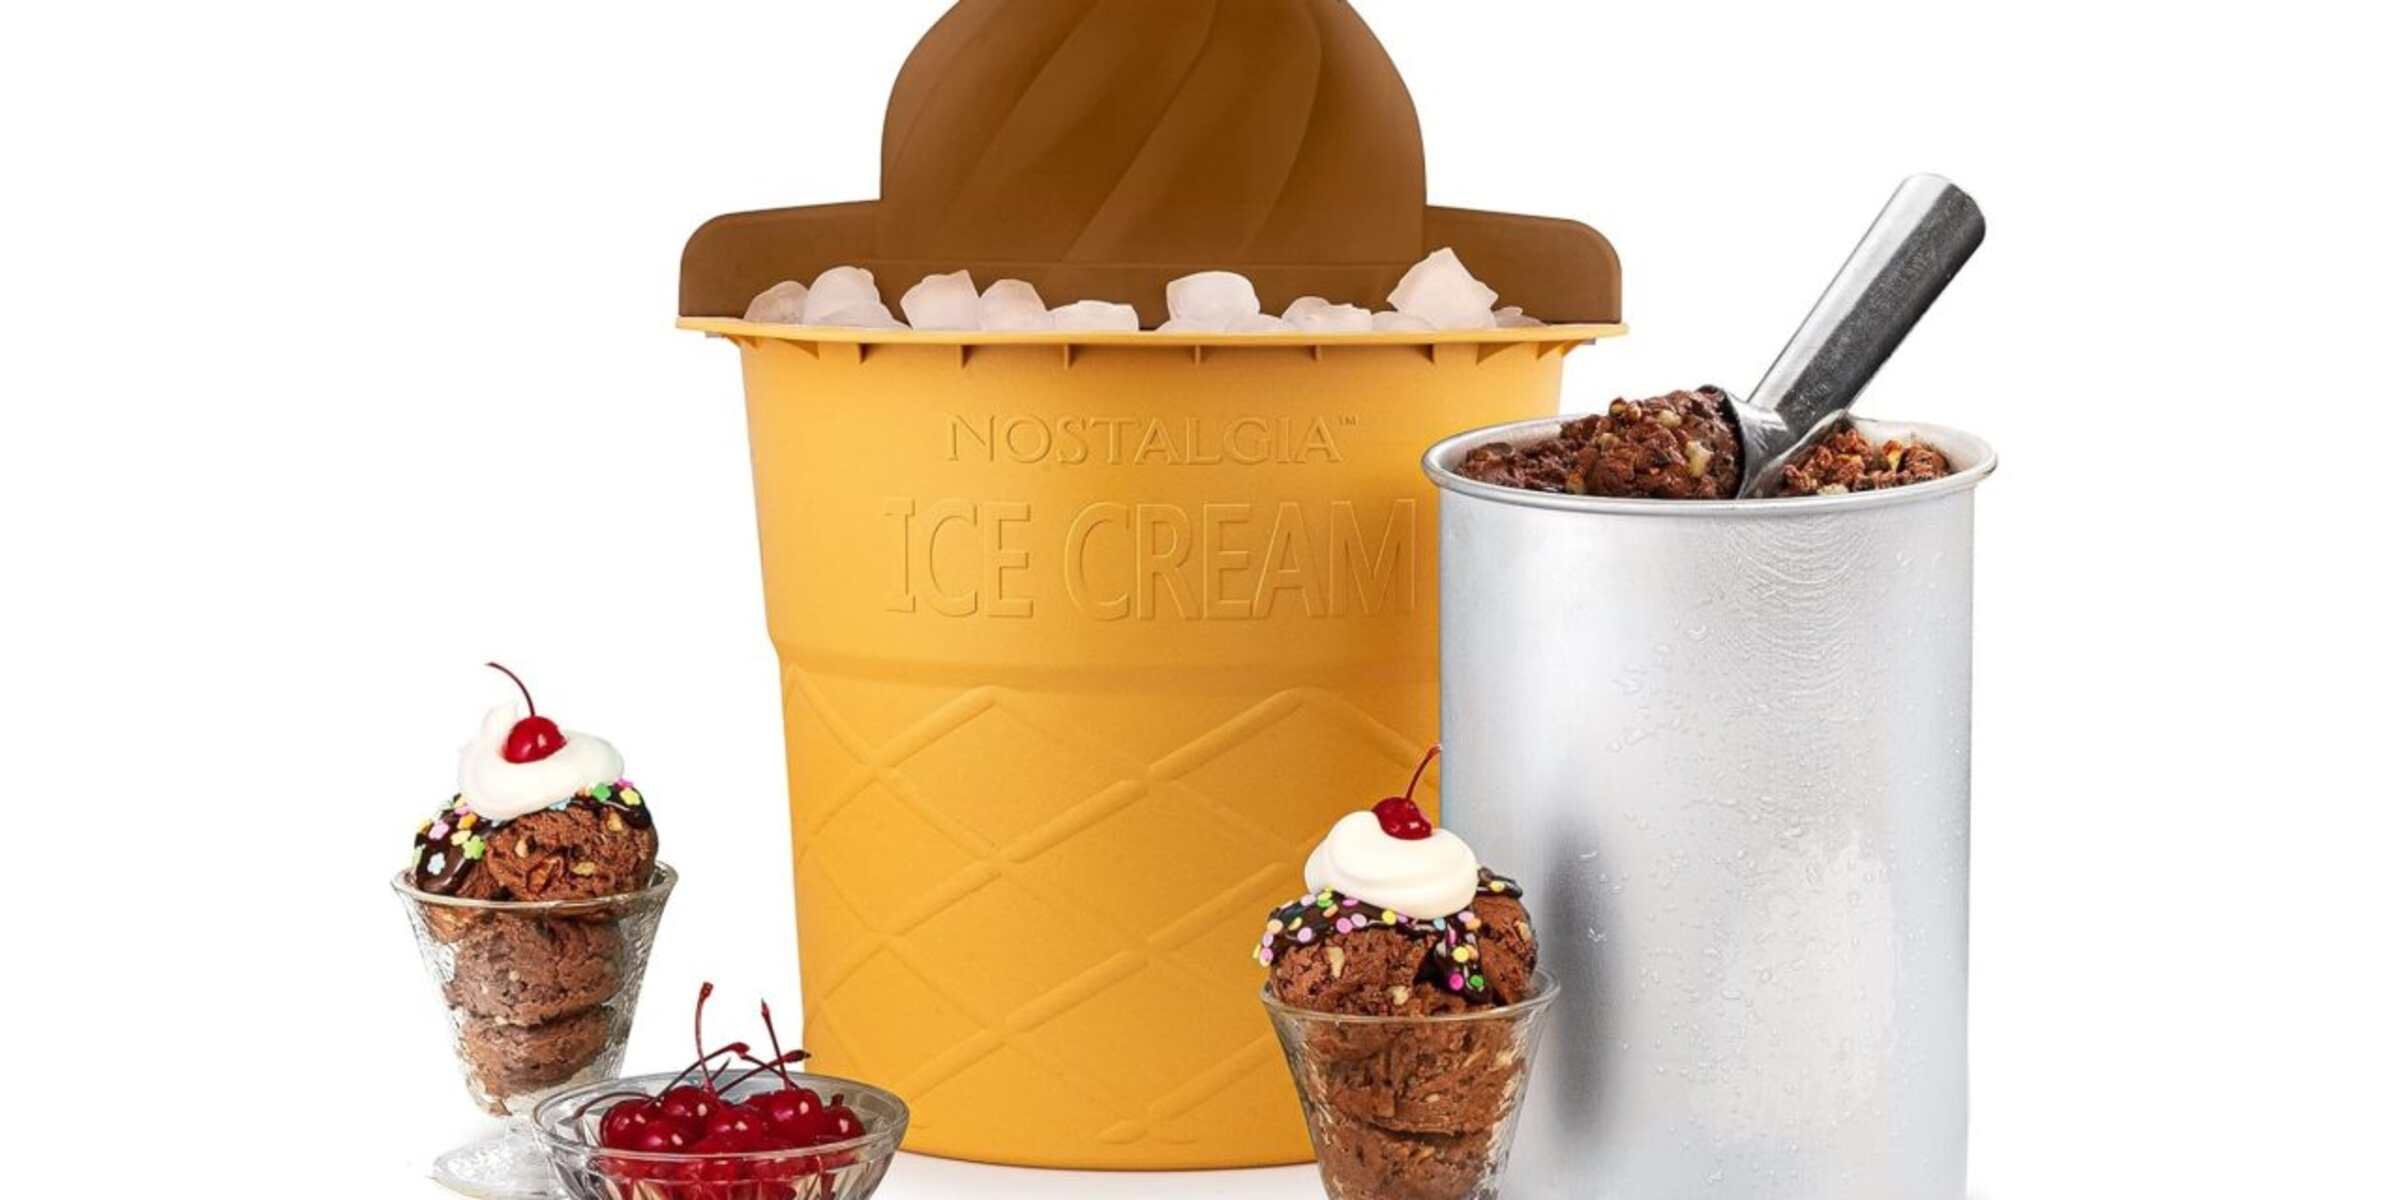
Manual Ice Cream Maker: Manual ice cream makers, also known as hand-cranked models, require more manual effort but can be a fun and nostalgic way to make ice cream. These machines consist of a canister that holds the ice cream mixture and a hand-cranked mechanism that rotates the mixing paddle. As you turn the crank, the mixture is churned, gradually freezing and blending to create a creamy texture. Manual ice cream makers typically have a longer churn time compared to electric models since the churning process relies on your physical effort. Churn times for hand-cranked ice cream makers can range from 30 minutes to over an hour, depending on the mixture and desired consistency.
When choosing an ice cream maker, consider factors such as convenience, speed, and desired consistency. If you prefer a hands-free and faster churning process, an electric ice cream maker may be the better option. On the other hand, if you enjoy the experience of manually cranking the machine and are willing to invest more time and effort, a manual ice cream maker can provide a nostalgic and interactive experience.
Regardless of the type of ice cream maker you choose, it’s essential to follow the manufacturer’s instructions for optimal results. Regular maintenance, proper cleaning, and careful handling will ensure that your ice cream maker lasts for years to come, allowing you to enjoy homemade ice cream whenever cravings strike.
Ingredients Used
The ingredients you use in your homemade ice cream can affect both the flavor and the churn time. Understanding how different ingredients interact during the freezing and churning process is essential for achieving the desired texture and taste.
Dairy Base: The dairy base is one of the primary components of ice cream, and its composition can impact the churn time. Cream, milk, or a combination of the two are typically used to create a rich and creamy base. These dairy products contain a certain amount of fat, which helps to stabilize the ice cream and create a smooth texture. Ice cream mixtures with a higher fat content, such as those made with heavy cream, can freeze faster, resulting in shorter churn times. On the other hand, mixtures with a lower fat content, such as those made with skim milk or low-fat yogurt, may take longer to freeze and require additional churn time.
Sugar: Sugar not only adds sweetness to the ice cream but also plays a role in the freezing process. It lowers the freezing point of the mixture, preventing it from becoming solid ice. The amount of sugar used can affect the churn time, as a higher sugar content can result in faster freezing. However, be cautious not to exceed the recommended amount of sugar, as it can cause the ice cream to become overly sweet and affect the overall texture.
Flavorings and Mix-Ins: Along with the dairy base and sugar, ice cream recipes often include various flavorings and mix-ins to enhance the taste and texture. These can include vanilla extract, cocoa powder, fruit purees, chocolate chips, nuts, or any other desired ingredients. When adding flavorings and mix-ins, consider their impact on the churn time. Ingredients that have a high water content, such as fresh fruits, may take longer to freeze, requiring additional churn time. Similarly, bulky mix-ins like nuts or chocolate chunks may need more time to distribute evenly throughout the ice cream mixture.
Stabilizers and Emulsifiers: Some recipes may call for stabilizers and emulsifiers, such as cornstarch, gelatin, or egg yolks. These ingredients help improve the texture of the ice cream by preventing the formation of ice crystals and creating a smoother consistency. While stabilizers and emulsifiers can affect the churn time to some extent, the impact is generally minimal.
When making homemade ice cream, it is essential to follow the recipe instructions and measurements precisely. Altering the proportions of the ingredients can significantly impact the churn time and the final texture of the ice cream. Experimenting with different ingredient combinations and ratios can provide a fun and creative ice cream-making experience but be sure to keep track of the changes made to adjust the churn time accordingly.
Recipe and Texture Preference
When making homemade ice cream, the recipe you choose and your desired texture preference play a crucial role in determining the churn time. Different recipes and variations can result in varying textures, from creamy and soft to firm and scoopable. Understanding the relationship between the recipe and texture preference can help you achieve the perfect homemade ice cream.
Recipe Variations: Ice cream recipes can vary based on the ratios of ingredients used, such as the amount of dairy, sugar, and flavorings. Some recipes use a higher proportion of dairy, resulting in a richer and creamier texture. On the other hand, recipes with a higher sugar content can yield a softer consistency. Additionally, variations like custard-based ice cream (made with egg yolks) tend to have a denser texture compared to recipes without eggs. It’s important to follow the recipe instructions carefully to achieve the intended texture and churn time.
Texture Preference: The desired texture of ice cream can affect the churn time. If you prefer a softer and more delicate texture, the churn time may be shorter. Soft-serve style ice creams typically need less time to churn due to their high air content. However, if you prefer a firmer and scoopable ice cream that holds its shape, the churn time may be longer. Firmer textures require more time for the mixture to freeze and set properly. Experimenting with different churn times and freezing techniques can help you find the ideal texture that suits your taste.
It’s important to note that the churn time can vary even with the same recipe, depending on the specific ice cream maker being used, the temperature conditions, and other factors mentioned earlier. Therefore, it’s recommended to start with the suggested churn time in the recipe and monitor the ice cream closely during the process.
To achieve your desired texture, it may be helpful to periodically check the consistency of the ice cream mixture as it churns. You can do this by pausing the machine and using a spoon to scoop a small amount of the mixture. If it holds its shape and is smooth but still soft, it may be ready. However, if it is too runny or too firm, adjust the churn time accordingly.
Experimenting with different recipes, flavor combinations, and texture preferences is part of the joy of making homemade ice cream. By understanding the relationship between the recipe and texture preference, you can customize your ice cream to suit your tastes and create delightful frozen treats.
Temperature and Climate
The temperature and climate in your kitchen can have a significant impact on the churn time of your ice cream. It is important to consider these factors to ensure that your ice cream freezes properly and achieves the desired texture.
Ambient Temperature: The ambient temperature of your kitchen can affect the freezing process of the ice cream. Warmer temperatures can lead to faster freezing, resulting in shorter churn times. On the other hand, colder temperatures may slow down the freezing process, prolonging the churn time. It is important to keep in mind that ideal ice cream freezing temperatures range from around 0°F to 25°F (-18°C to -4°C). If your kitchen is excessively warm, you may need to adjust your churn time accordingly to compensate for the faster freezing.
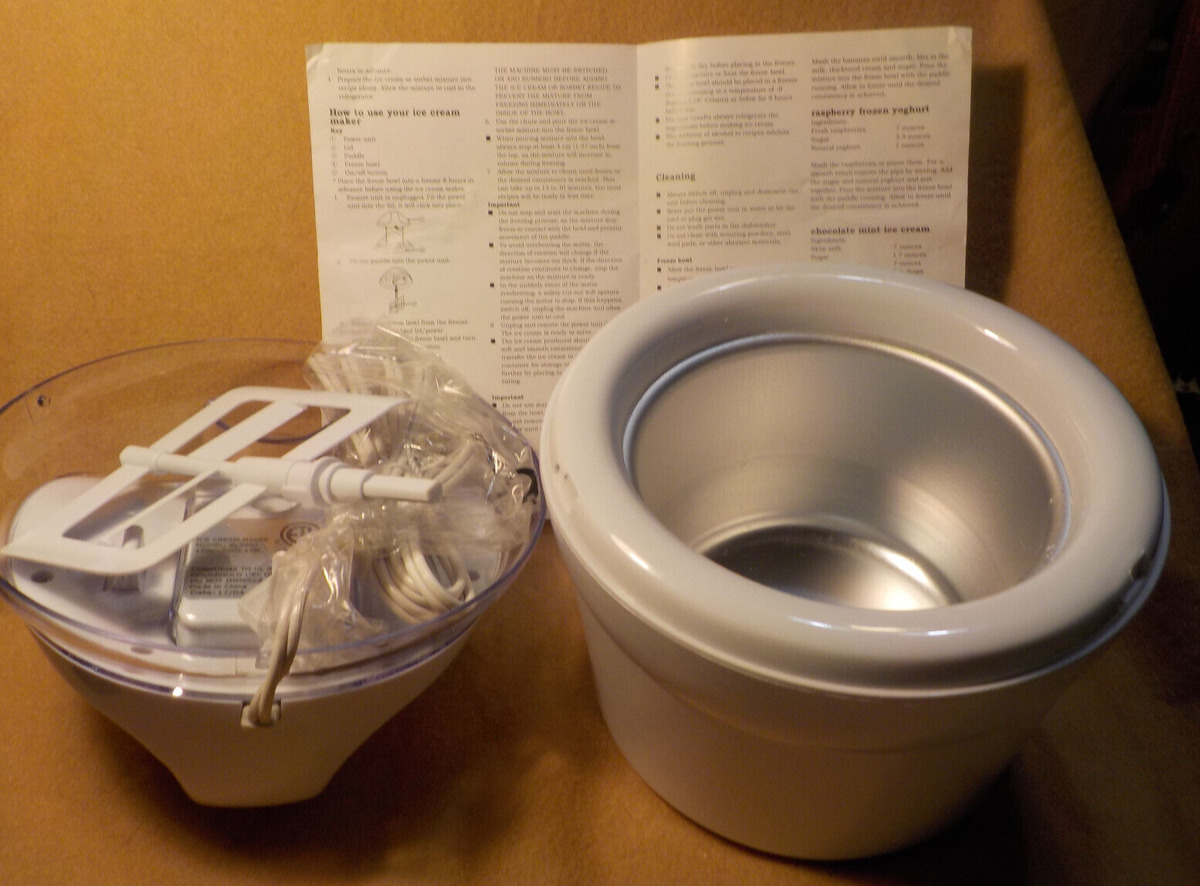
Pre-chilling: Pre-chilling the ice cream mixture and the ice cream maker can help lower the overall temperature and reduce the churn time. To pre-chill the ice cream mixture, refrigerate it for a few hours or overnight before churning. This will ensure that the mixture is already chilled and closer to freezing temperature when it goes into the ice cream maker. Similarly, if your ice cream maker has a removable canister, make sure to freeze it overnight before using it. A pre-chilled mixture and canister will speed up the freezing process and result in shorter churn times.
Climate: The climate and humidity levels in your geographical location can also affect the churn time of ice cream. In humid climates, the excess moisture in the air may impede the freezing process. As a result, ice cream may take longer to freeze and reach the desired texture. To overcome this, you may need to extend the churn time accordingly or take additional measures to reduce the humidity level in the kitchen, such as using a dehumidifier or sealing off the surroundings.
Monitoring the temperature and adapting to your kitchen’s climate is crucial for successful ice cream making. In particularly warm climates or during hot summer months, you may want to consider making ice cream during cooler times of the day or in air-conditioned environments to achieve optimal results.
Keep in mind that these temperature-related factors can vary from kitchen to kitchen. It’s important to experiment and find the right balance of churning time and temperature that works best for your specific environment. By understanding the impact of temperature and climate, you can adapt your ice cream-making process to create delicious frozen treats with the desired texture and consistency.
Time Range for Churning
The time required for ice cream to churn can vary depending on several factors, including the type of ice cream maker, the ingredients used, and the desired texture. While there is no one-size-fits-all answer, understanding the general time range for churning will help you gauge when your ice cream is ready to be enjoyed.
For electric ice cream makers, the average churn time typically ranges from 20 minutes to an hour. This time frame is influenced by factors such as the type of ice cream maker, the composition of the mixture, and the desired texture. It’s important to follow the manufacturer’s recommendations and specific recipe instructions when determining the churn time for your particular ice cream maker.
Manual ice cream makers, which require manual effort to churn the ice cream, usually have a longer churn time. It can range anywhere from 30 minutes to over an hour, depending on the recipe and the physical effort applied. With manual machines, the actual churn time may vary depending on factors such as the consistency of the mixture and how vigorously you turn the crank. Keep a close eye on the texture and consistency of the ice cream to determine when it’s fully churned.
It’s important to note that while there is a general time range for churning, the actual time may differ based on individual preferences and the desired texture. Some people prefer a softer, more delicate texture and may opt for a shorter churn time, while others may prefer a firmer and more scoopable texture, which may require a longer churn time.
To determine if your ice cream is ready, you can use visual and tactile cues. Keep an eye on the consistency of the mixture as it churns – it should thicken and become smooth. You can also perform a “spoon test” by stopping the machine and scooping a small amount of the mixture with a spoon. If the ice cream is firm enough to hold its shape and has a smooth and creamy texture, it’s likely ready. However, if it is still too soft or runny, continue churning for a bit longer.
Remember that the churn time may also be influenced by external factors such as temperature and humidity. Warmer temperatures can speed up the freezing process and shorten the churn time, while cooler temperatures may require additional churn time. Adapt your approach based on these environmental conditions to achieve the desired results.
Experimentation is key when it comes to determining the optimal churn time for your ice cream. By adjusting the variables and paying close attention to the texture and consistency, you can fine-tune the churn time for your specific preferences. Enjoy the process and savor the delicious homemade ice cream you create along the way!
Signs that Ice Cream is Ready
Determining when your ice cream is ready to be enjoyed can be an exciting moment in the ice cream-making process. While the churn time can provide a general guideline, there are specific signs to look out for to ensure that your ice cream is perfectly churned and ready to be served.
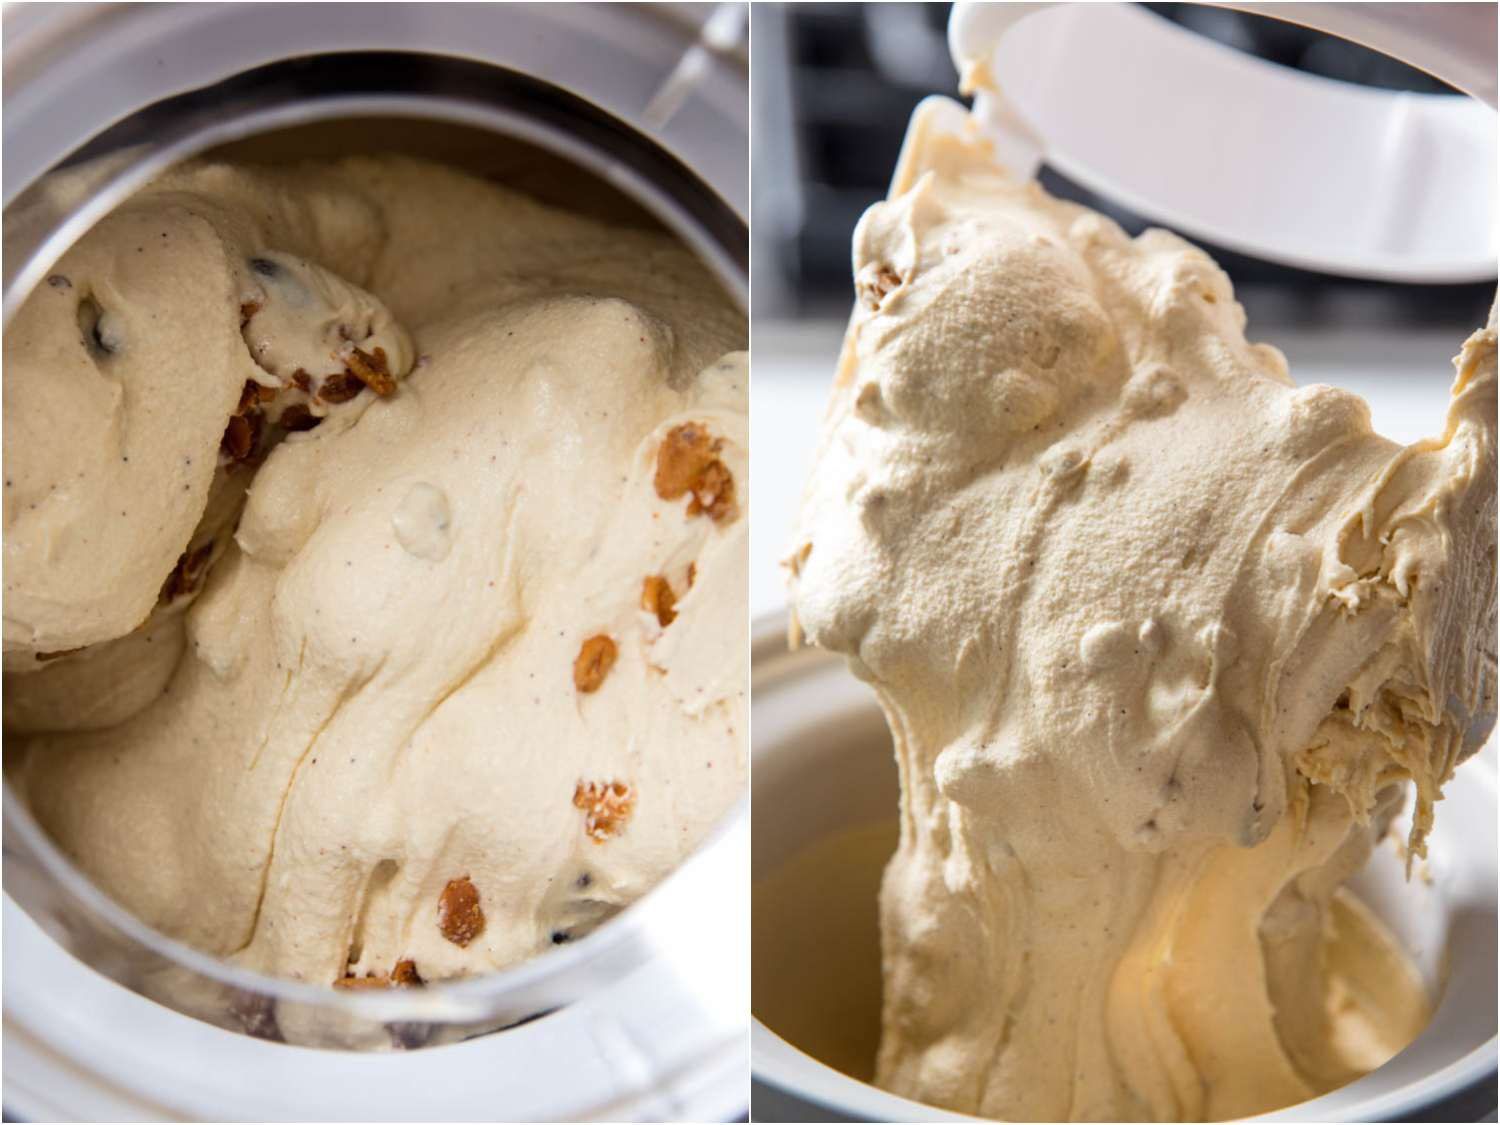
Texture: One of the key indicators that your ice cream is ready is the texture. As the mixture churns and freezes, it should start to thicken and become creamy. The consistency should be smooth and velvety, without any ice crystals or graininess. If the texture is still too liquid or runny, it indicates that the ice cream needs more churn time to freeze and set properly. When the texture is smooth and holds its shape, it’s a good sign that your ice cream is ready.
Appearance: Another visual cue to look for is the appearance of the ice cream as it churns. It should transition from a liquid to a semi-solid state during the churning process. The mixture will increase in volume and become lighter in color and fluffier in texture. Once it reaches a noticeably thicker consistency and appears more solid, it’s a positive indication that the ice cream is nearing completion.
Side Resistance: When the ice cream nears the end of the churn time, you may notice increased resistance on the sides of the ice cream maker. As the mixture freezes and thickens, it will cling to the sides of the canister or bowl. This is a good sign that the ice cream is close to being fully churned. If you observe this resistance, it’s a signal to continue churning for a bit longer to ensure proper freezing and the desired consistency.
Temperature: The temperature of the ice cream can also be an indicator of its readiness. When your ice cream is fully churned, it should be quite cold due to the freezing process. Carefully touch the sides of the ice cream maker or take a small sample of the ice cream with a spoon and check its temperature. If it feels chilled and cold to the touch, it is likely ready to be removed from the ice cream maker.
Ultimately, fine-tuning the churn time and determining the readiness of your ice cream may require some trial and error. It’s important to trust your instincts and rely on the visual cues, texture, appearance, and temperature to determine when your ice cream is ready to be enjoyed. Remember, each ice cream recipe and machine can have slight variations, so be patient and embrace the process of creating your own homemade frozen delight.
Troubleshooting Churn Time
Sometimes, despite your best efforts, you may encounter challenges with the churn time of your ice cream. Luckily, there are a few troubleshooting tips and tricks that can help you overcome common issues and achieve the perfect churn time.
Problem: Ice Cream Takes Too Long to Churn: If your ice cream is taking significantly longer to churn than the recipe suggests, there could be a couple of reasons. First, check the temperature of your ice cream maker and the mixture. Ensure that the mixture is adequately chilled before starting the churning process. If the mixture is too warm, it may take longer to freeze and set. Additionally, consider the quantity of mixture in the ice cream maker. Overfilling the machine can limit airflow and impede the freezing process. Adjust the quantity to allow proper circulation and faster freezing.
Problem: Ice Cream Freezes Too Quickly: On the other hand, if your ice cream freezes too quickly, resulting in a shorter churn time than expected, you may need to adjust the temperature conditions. Lowering the ambient temperature of the kitchen can slow down the freezing process. If necessary, place the churning canister or bowl in the refrigerator for a few minutes before adding the mixture to slightly lower its temperature. This will help lengthen the churn time and achieve a smoother, creamier texture.
Problem: Ice Cream is Overly Soft or Runny: If your ice cream is consistently coming out too soft or runny, it may be due to the composition of the mixture. First, ensure that you are using the correct ratios of dairy, sugar, and other ingredients as specified in the recipe. Adjusting the fat content by adding more cream or increasing the sugar content can help stabilize the mixture and result in a firmer texture. Additionally, check the freezing temperature of your ice cream maker. Lowering the freezer temperature can promote better freezing and ensure a more solid consistency.
Problem: Ice Cream is Too Firm or Hard: If your ice cream turns out too firm or hard, it may mean that it has been over-churned. Over-churning can lead to excessive air incorporation and result in a dense and icy texture. Pay close attention to the churn time and the visual cues mentioned earlier to prevent this issue. Experiment with shorter churn times or adjust your desired texture preference to achieve a creamier consistency.
Remember, troubleshooting churn time is all about understanding the variables at play and making adjustments accordingly. Be sure to take notes and keep track of your modifications to fine-tune the process and achieve the perfect churn time and texture for your homemade ice cream.
Conclusion
Making homemade ice cream with an ice cream maker is a delightful and rewarding experience. Understanding the factors that affect churn time is key to achieving the perfect texture and consistency in your frozen treat. By considering the type of ice cream maker, the ingredients used, the recipe and texture preference, the temperature and climate, and troubleshooting common issues, you can create delicious ice cream that surpasses store-bought varieties.
The type of ice cream maker you choose, whether electric or manual, will impact the churn time. Electric models provide convenience and faster churn times, while manual models offer a more nostalgic and interactive experience.
The ingredients used in your ice cream mixture, such as the dairy base, sugar, flavorings, and mix-ins, will affect both the taste and the churn time. Experimenting with different ratios and variations can lead to unique creations.
The recipe and your desired texture preference play a crucial role in determining the churn time. Following recipe instructions closely and adjusting the churn time based on texture goals will result in the perfect consistency.
The temperature and climate in your kitchen can influence the churn time. Monitoring the ambient temperature, pre-chilling ingredients and equipment, and adapting to your climate will help ensure optimal freezing conditions.
Recognizing the signs that indicate your ice cream is ready, such as the texture, appearance, side resistance, and temperature, will guide you towards achieving the desired outcome.
Troubleshooting churn time is part of the ice cream-making process. With adjustments to temperature, ingredient ratios, and churn time, you can overcome challenges and refine your technique.
Ultimately, through experimentation, observation, and refinement, you will become more adept at determining the ideal churn time for your homemade ice cream. Enjoy the journey of creating your own frozen delights and relish every spoonful of your delicious, homemade ice cream.