Introduction
Welcome to the wonderful world of homemade ice cream! There’s nothing quite like the joy of creating your own frozen treat from scratch and savoring every creamy spoonful. If you’re a fan of ice cream and have always wanted to try making it at home, you’re in for a treat. With an ice cream maker and a few simple ingredients, you can whip up delicious and customized flavors that will rival your favorite ice cream shop.
Making ice cream at home not only gives you control over the ingredients but also allows you to experiment with unique flavors and textures. Whether you fancy classic vanilla, decadent chocolate, or adventurous combinations like salted caramel swirl or raspberry cheesecake, the possibilities are limitless.
In this guide, we’ll take you through the step-by-step process of making ice cream in an ice cream maker. We’ll cover everything from preparing the ice cream base to churning it to perfection, and even adding mix-ins for an extra burst of flavor.
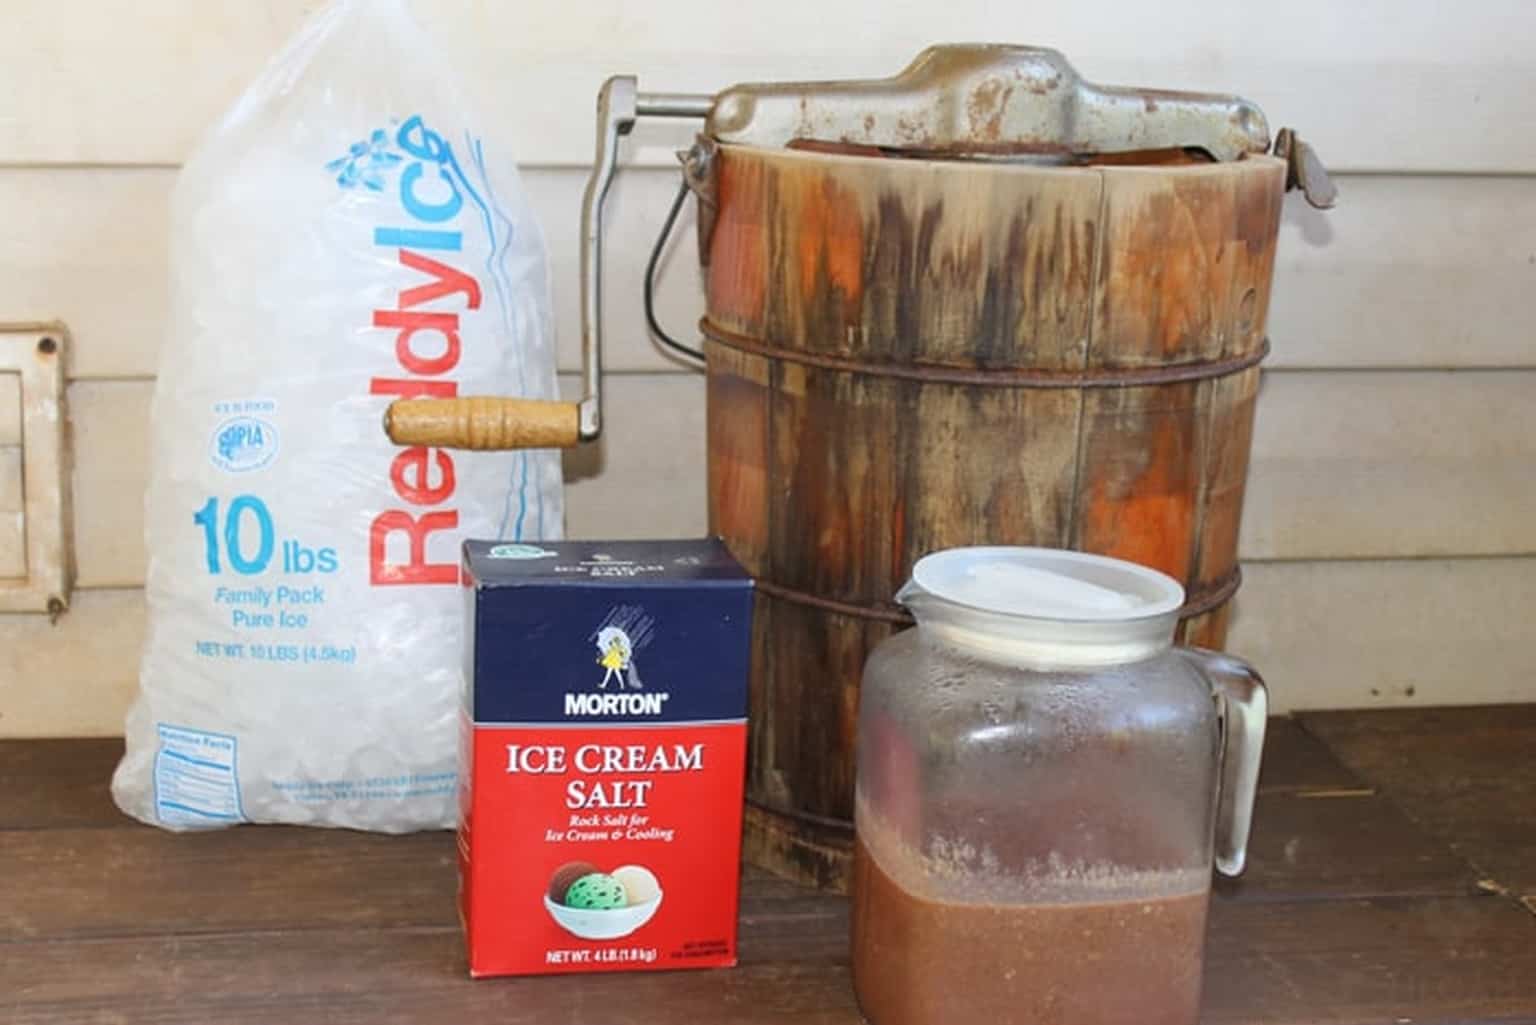
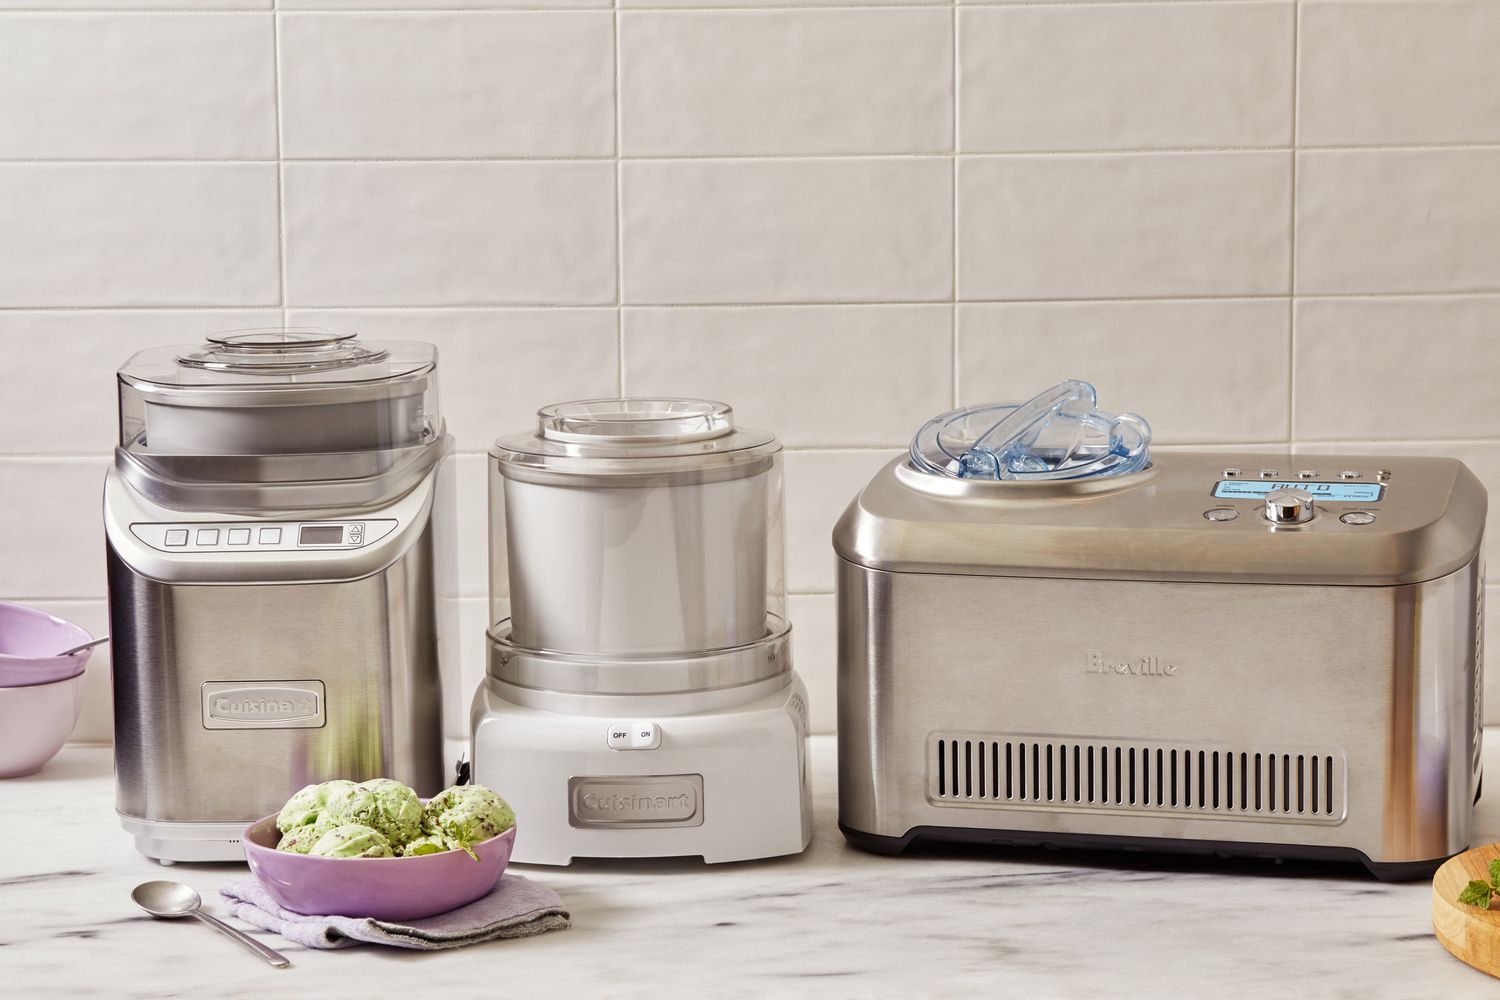
Before we dive in, it’s important to note that there are different types of ice cream makers available in the market, such as electric and manual ones. The instructions provided here will generally apply to most ice cream makers, but be sure to consult your specific machine’s manual for any unique features or requirements.
So let’s get started on this chilly adventure and learn how to create homemade ice cream masterpieces that will have you craving for more!
Ingredients
Making homemade ice cream requires a handful of simple ingredients that you may already have in your kitchen. Here are the basic ingredients you’ll need to gather before starting:
- Heavy cream or whipping cream: This is the key ingredient that gives ice cream its rich and creamy texture. Look for a high-fat content (around 36%) for the best results.
- Whole milk: Whole milk adds a smooth and creamy consistency to the ice cream.
- Granulated sugar: Sugar is necessary not only for sweetness but also to lower the freezing point of the ice cream base, preventing it from becoming rock solid.
- Egg yolks: Egg yolks add richness and help create a smooth and stable ice cream base. They also contribute to the creaminess and texture of the final product.
- Vanilla extract: A splash of vanilla extract enhances the flavor of the ice cream base. You can also experiment with other extracts, such as almond or mint, for different flavors.
- Salt: A pinch of salt helps balance the sweetness and enhances the overall flavor profile of the ice cream.
These are the basic ingredients for a classic vanilla ice cream recipe. However, feel free to get creative and add other ingredients like cocoa powder, fruit puree, crushed cookies, or nuts to create your own unique flavors. You can also experiment with alternative sweeteners like honey, maple syrup, or agave nectar to suit your taste preferences.
Now that you have your ingredients ready, let’s move on to the next step: preparing the ice cream base.
Step 1: Preparing the Ice Cream Base
The first step in making homemade ice cream is to prepare the ice cream base, also known as the custard. This is the mixture that will give your ice cream its creamy and luscious texture. Follow these simple steps to create the perfect base:
- Heat the milk and cream: In a saucepan, pour the heavy cream and whole milk. Place the saucepan over medium heat and heat the mixture until it starts to steam. Do not let it boil.
- Whisk the egg yolks and sugar: While the milk and cream mixture is heating, in a separate bowl, whisk together the egg yolks and granulated sugar until they are well combined and slightly pale in color.
- Temper the eggs: To prevent the eggs from curdling, slowly pour about 1/2 cup of the hot milk and cream mixture into the bowl with the egg yolks and sugar, whisking constantly. This process is called tempering and helps bring the eggs to a similar temperature as the hot liquid.
- Combine the mixtures: Pour the tempered egg mixture back into the saucepan with the remaining milk and cream mixture. Cook over low heat, stirring constantly with a wooden spoon or heat-resistant spatula, until the mixture thickens enough to coat the back of the spoon. This should take about 5-7 minutes.
- Remove from heat and add flavorings: Once the mixture has thickened, remove the saucepan from heat. Add in the vanilla extract and a pinch of salt, stirring gently until well incorporated. At this stage, you can also add any other desired flavorings, such as cocoa powder, fruit puree, or extracts.
Your ice cream base is now ready! The custard should have a smooth and velvety texture. It’s important to let the base cool completely before moving on to the next step. You can either let it cool at room temperature or speed up the process by placing the saucepan in an ice bath, stirring occasionally to release the heat.
Now that you’ve prepared the ice cream base, it’s time to move on to the next step: chilling the base to ensure it’s ready for churning in the ice cream maker.
Step 2: Chilling the Ice Cream Base
After preparing the ice cream base, it’s important to chill it thoroughly before moving forward. This step allows the flavors to meld together and ensures a smooth and creamy end result. Follow these steps to properly chill your ice cream base:
- Transfer the base to a container: Once the ice cream base has cooled to room temperature, transfer it to a clean and airtight container. A shallow container or a bowl with a lid works best for this purpose.
- Cover and refrigerate: Seal the container tightly with a lid or plastic wrap. Place it in the refrigerator for a minimum of 4 hours, but preferably overnight. Chilling the base thoroughly will help it develop a deeper and smoother flavor.
- Pre-chill your ice cream maker: While the ice cream base is chilling, it’s a good idea to pre-chill your ice cream maker according to the manufacturer’s instructions. This ensures that the machine is at the optimal temperature for churning the ice cream.
Chilling the ice cream base is essential for several reasons. Firstly, it allows the flavors to meld together and intensify, resulting in a more delicious final product. Additionally, when the base is thoroughly chilled, it will freeze more evenly and quickly in the ice cream maker, creating a smoother and creamier texture.
Once your ice cream base is fully chilled and your ice cream maker is pre-chilled, you’re ready to move on to the next step: preparing the ice cream maker for churning!
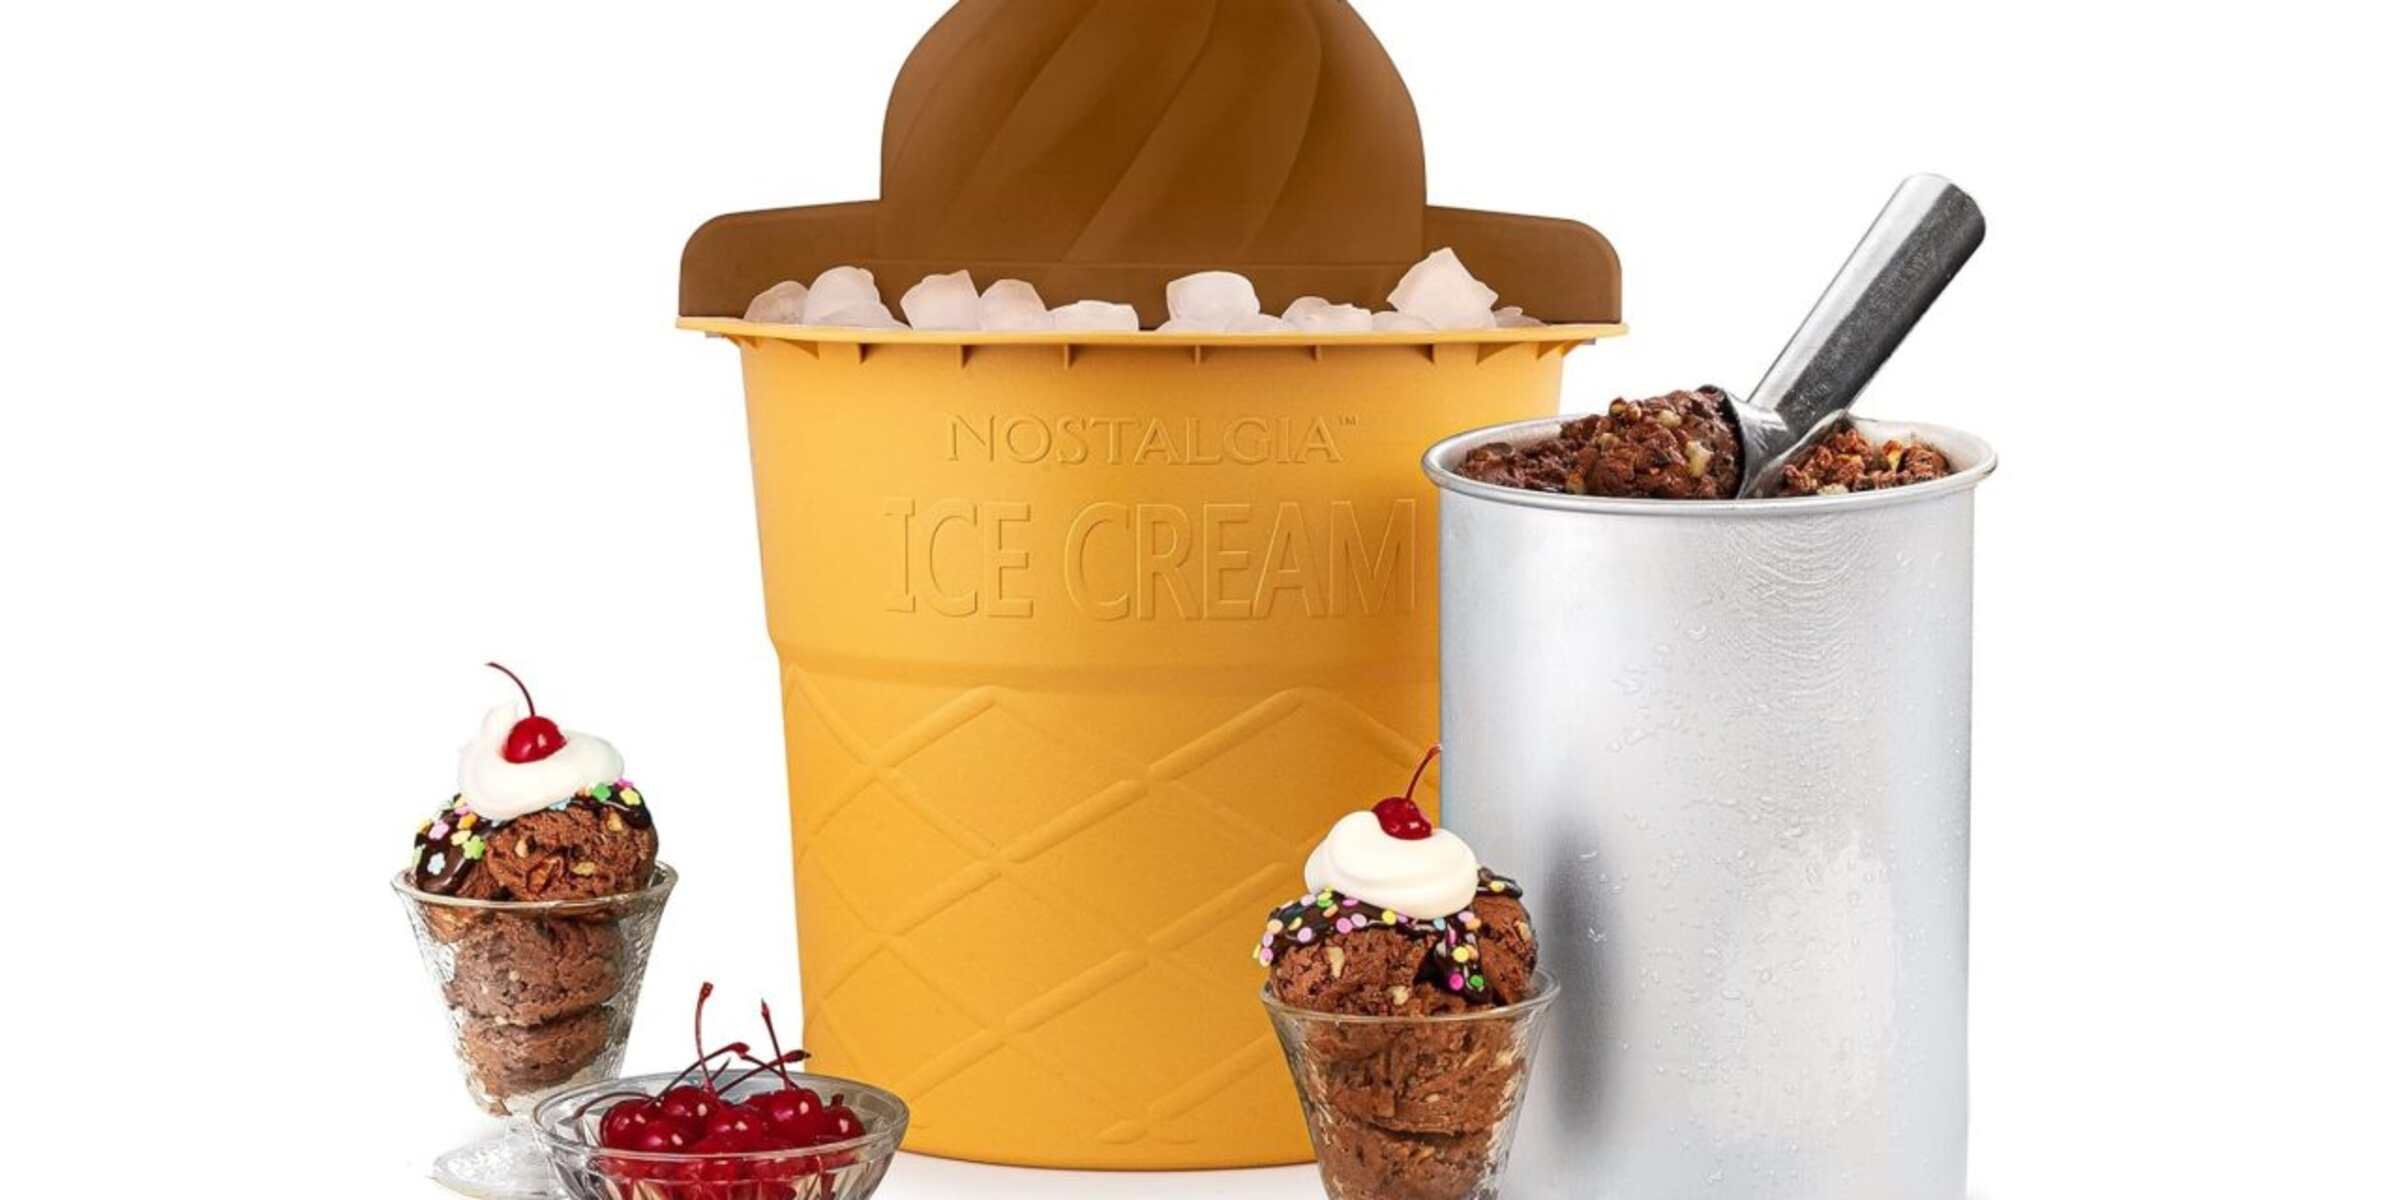
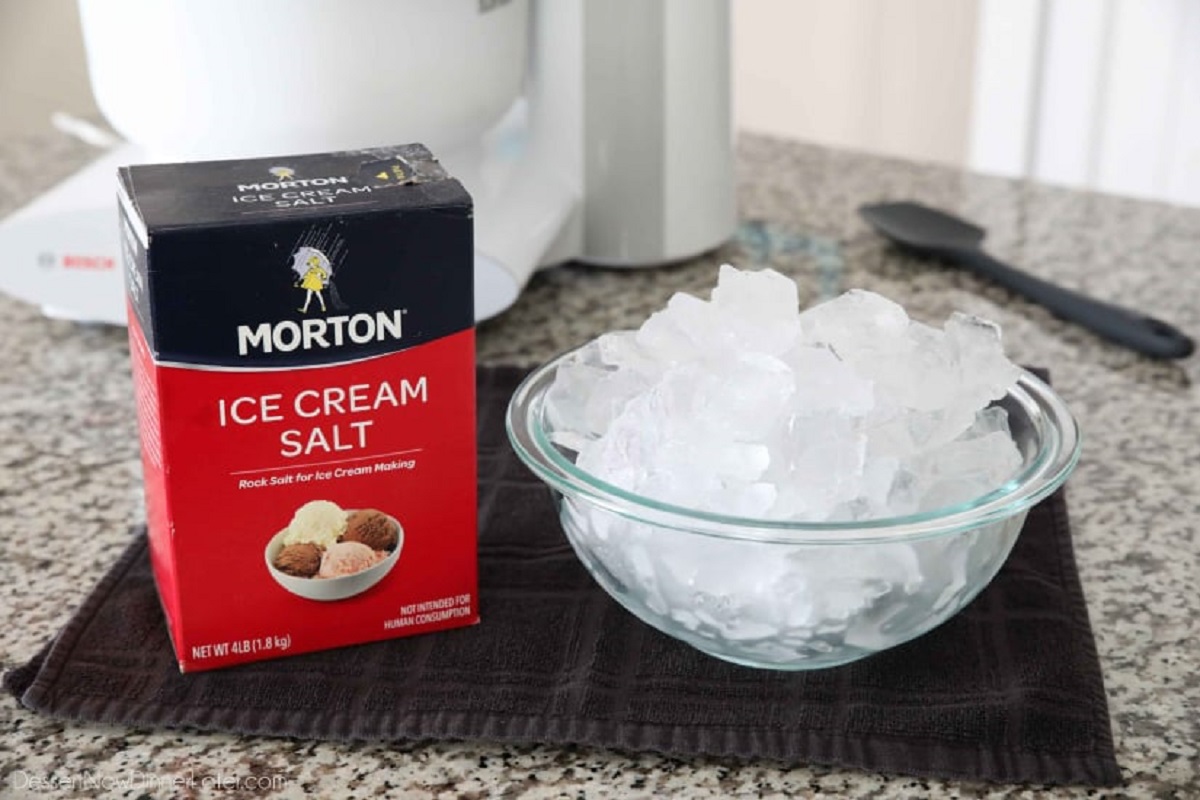
Step 3: Preparing the Ice Cream Maker
Now that your ice cream base is thoroughly chilled, it’s time to prepare the ice cream maker for the churning process. Follow these steps to ensure your ice cream maker is ready to create the perfect frozen treat:
- Assemble the ice cream maker: If your ice cream maker has removable components, ensure that they are properly assembled according to the manufacturer’s instructions. This usually involves attaching the mixing paddle or dasher and placing the freezing canister into the machine.
- Freeze the canister: Most ice cream makers require a frozen canister to churn the ice cream. Make sure the canister has been thoroughly frozen in the freezer according to the manufacturer’s instructions. This usually takes about 24 hours, so it’s best to plan ahead.
- Place the canister in the machine: Once the canister is frozen, carefully remove it from the freezer and place it securely into the ice cream maker. Ensure that it fits snugly and is properly aligned with the machine’s motor.
- Turn on the ice cream maker: Plug in the ice cream maker and turn it on. The machine will start rotating the freezing canister and the paddle or dasher inside.
- Quickly pour in the chilled ice cream base: Remove the chilled ice cream base from the refrigerator and quickly pour it into the spinning freezing canister through the machine’s opening. The base will start to freeze and churn as it comes into contact with the cold canister.
It’s important to note that the freezing time may vary depending on the specific ice cream maker you’re using. Generally, it takes around 20-30 minutes for the ice cream to reach a soft-serve consistency. However, be sure to consult your ice cream maker’s manual for the recommended churning time.
Now that your ice cream maker is properly prepared, and the ice cream base is churning away, you’re well on your way to enjoying a delightful homemade frozen treat! In the next step, we’ll discuss how to achieve the perfect texture by churning the ice cream.
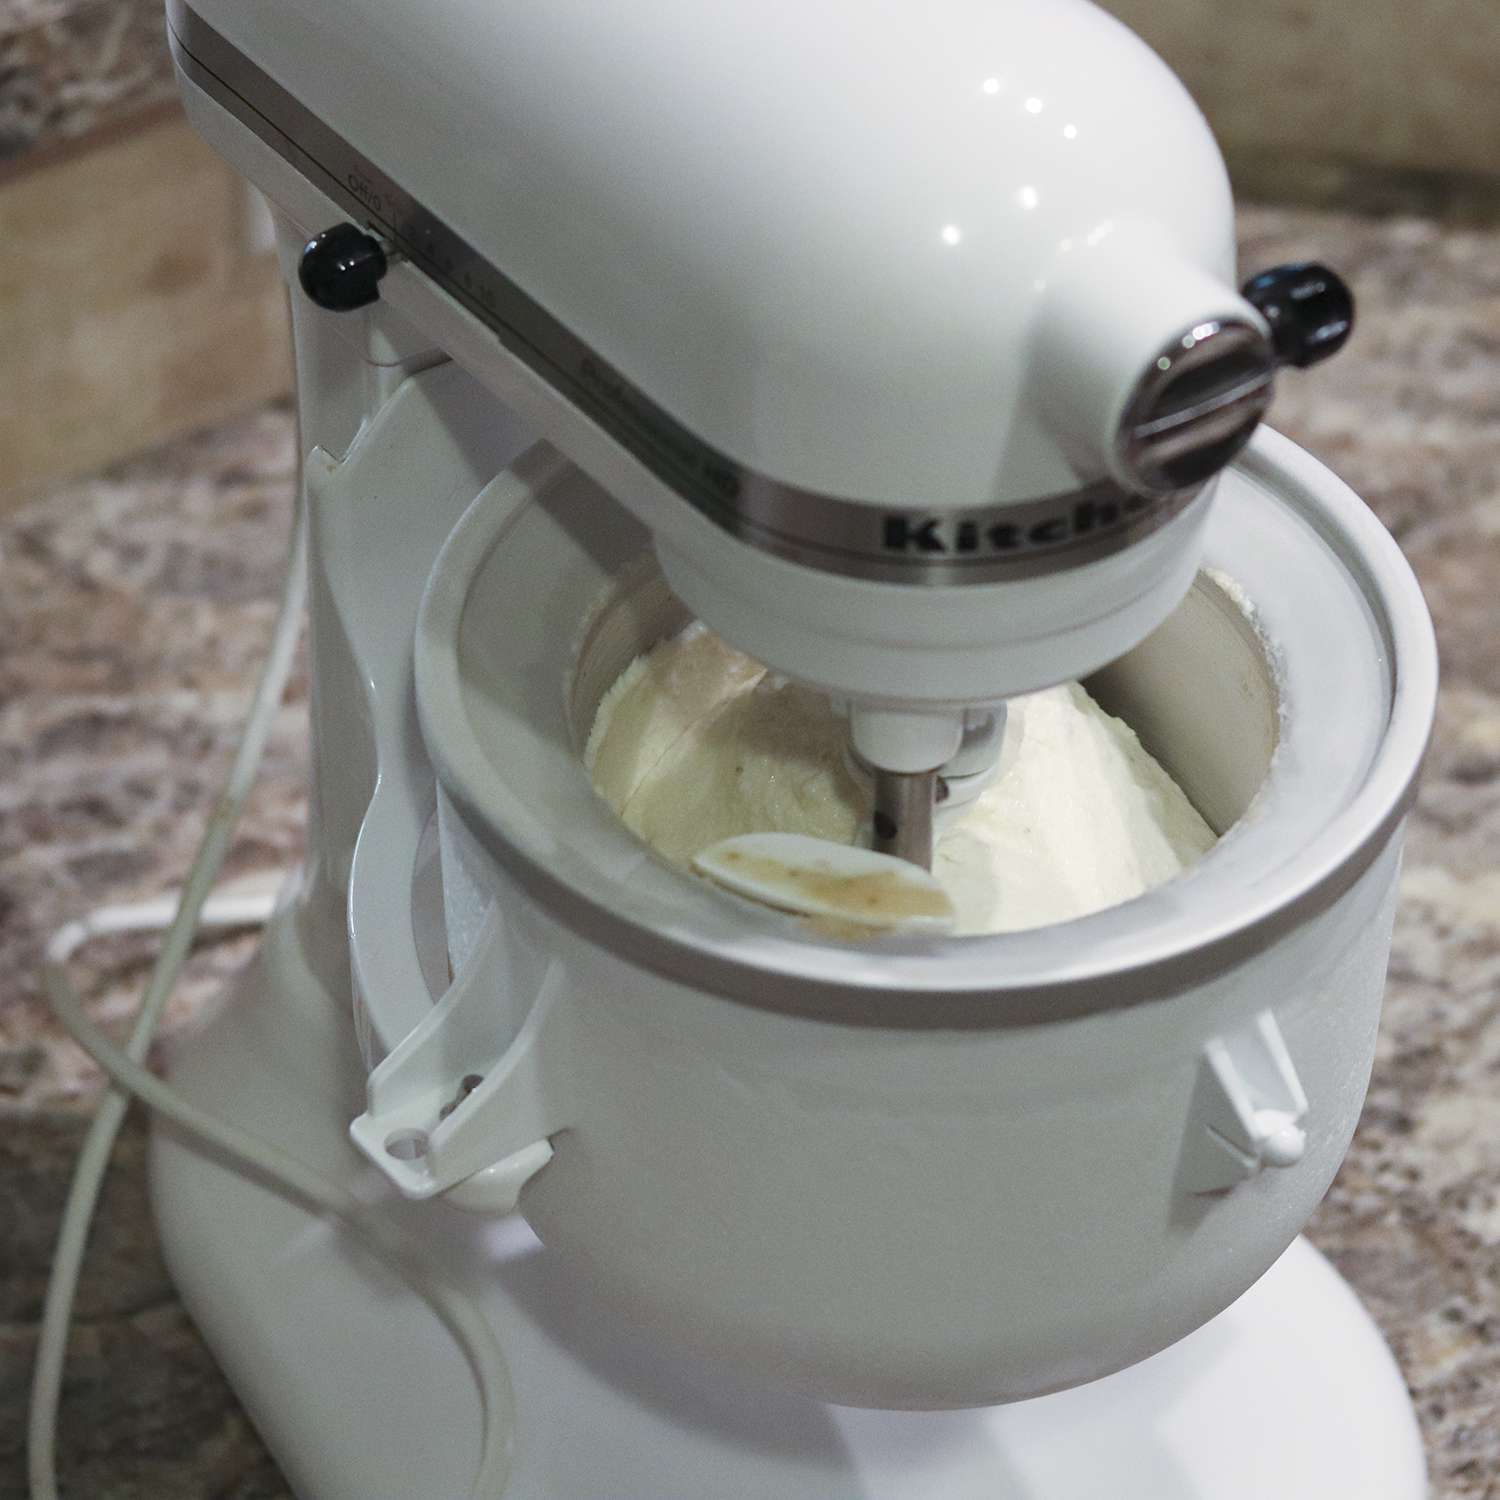
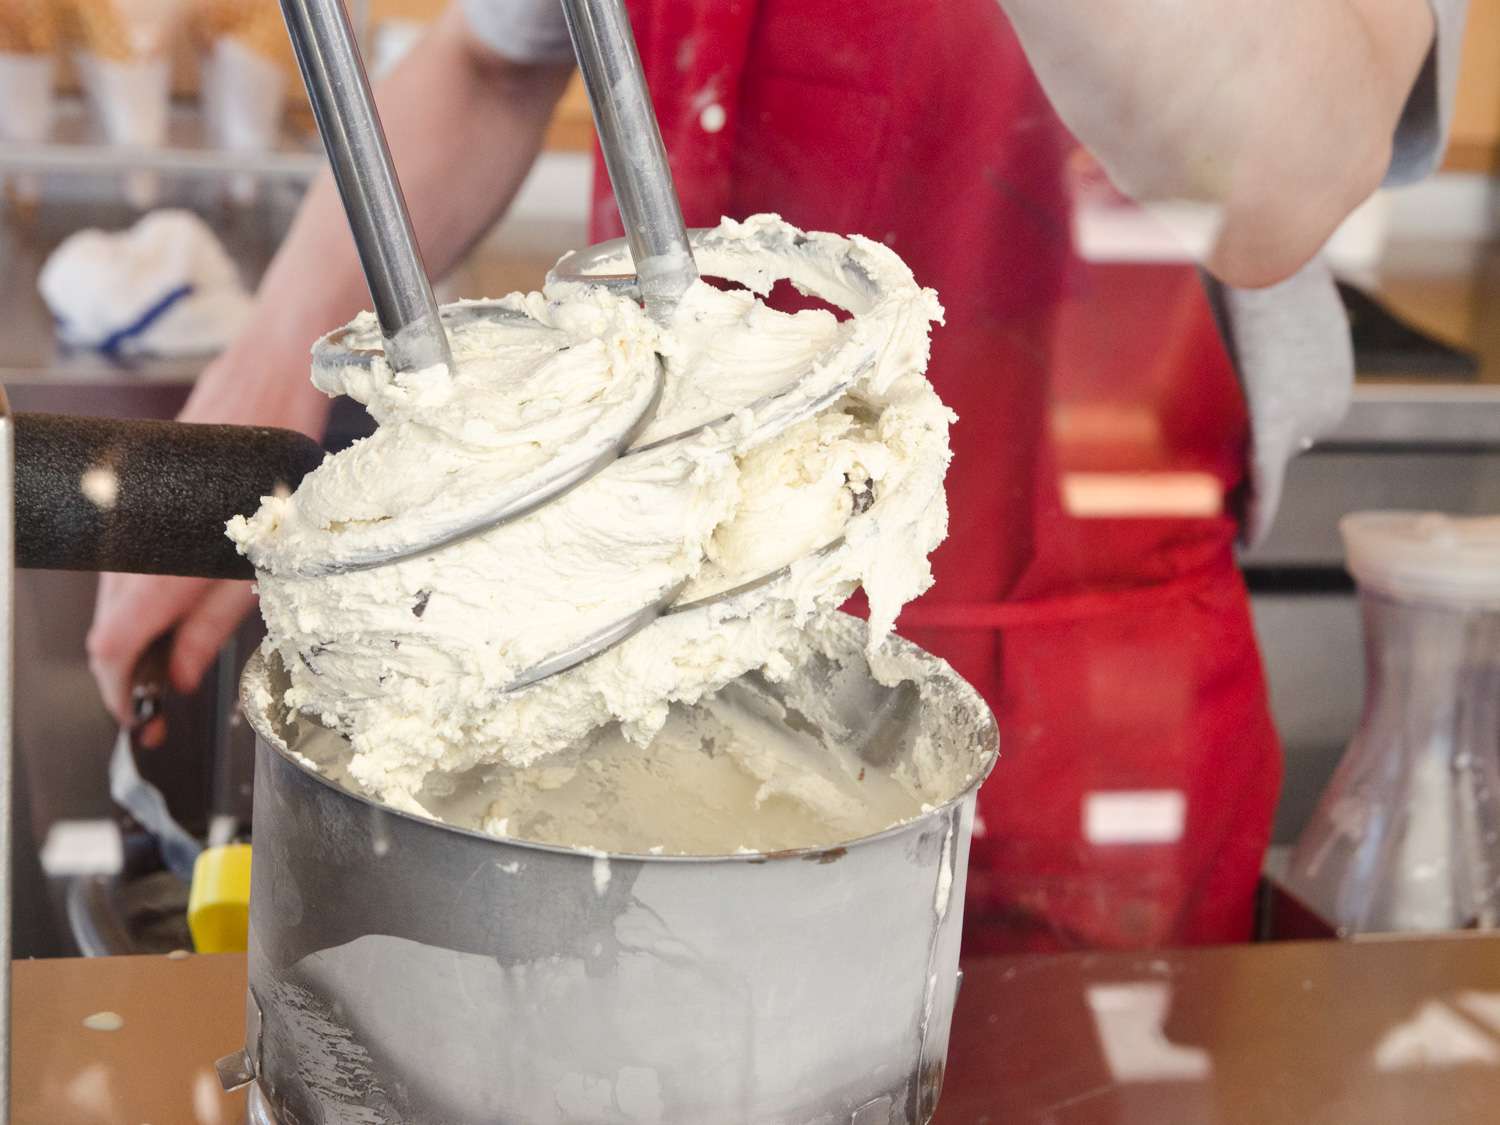
Step 4: Churning the Ice Cream
Now that you’ve prepared the ice cream base and set up the ice cream maker, it’s time to churn the mixture into creamy goodness. Churning incorporates air into the ice cream, giving it a smooth and light texture. Follow these steps to achieve the perfect consistency:
- Allow the machine to churn: Let the ice cream maker do its magic and allow it to churn the mixture for the recommended amount of time. This typically ranges from 20 to 30 minutes, but it’s crucial to follow the instructions specific to your ice cream maker.
- Monitor the progress: Keep an eye on the ice cream during the churning process. As time passes, you’ll notice the mixture thickening and increasing in volume. This is a sign that it’s transforming into creamy ice cream.
- Check for the desired consistency: After the initial churn time, check the consistency of the ice cream by opening the ice cream maker and taking a look. It should be soft and smooth but not yet fully frozen.
- Adjust the churning time if needed: If the ice cream hasn’t reached the desired consistency, continue churning for a few more minutes. Be mindful not to over-churn, as this can result in a grainy texture. Aim for a texture similar to soft-serve ice cream.
Remember, the churning time may vary depending on the specific ice cream maker and recipe you’re using. It’s essential to refer to the manufacturer’s instructions and trust your judgment when determining the ideal consistency.
Once the ice cream reaches the desired consistency, it’s time to move on to the next step: adding mix-ins to enhance the flavor and texture of your homemade ice cream!
Step 5: Adding Mix-ins (optional)
Adding mix-ins to your homemade ice cream is a fun and creative way to customize your frozen treat. Whether you prefer a burst of flavor, a delightful crunch, or a touch of sweetness, mix-ins can take your ice cream to the next level. Follow these steps to incorporate delicious mix-ins into your ice cream:
- Choose your mix-ins: Select your favorite mix-ins to complement the base flavor of your ice cream. Some popular options include chocolate chips, crushed cookies, nuts, fruit chunks, caramel swirls, or even sprinkles. Get creative and experiment with different combinations!
- Prepare the mix-ins: Chop or crush your desired mix-ins into small pieces, ensuring they are bite-sized and evenly distributed within the ice cream. This will help ensure a consistent texture and maximize the flavor in each scoop.
- Add the mix-ins: Towards the end of the churning process, when the ice cream is nearly finished, slowly sprinkle in the mix-ins through the opening of the ice cream maker. Allow the machine to churn for an additional minute or two to evenly distribute the mix-ins throughout the ice cream.
Adding mix-ins to your ice cream allows you to create unique flavor combinations and add delightful surprises in every bite. Get creative and think outside the box. Whether it’s a swirl of caramel, a sprinkle of toasted nuts, or chunks of your favorite cookies, the mix-ins will elevate your homemade ice cream to new heights.
Once the mix-ins are incorporated, it’s time to move on to the next step: transferring and freezing your freshly churned ice cream.
Step 6: Transferring and Freezing
After churning your ice cream and incorporating any desired mix-ins, it’s time to transfer the freshly churned goodness into a container and prepare it for the final freezing process. Follow these steps to ensure your ice cream achieves the perfect texture:
- Prepare a storage container: Choose a freezer-safe container with an airtight lid. Make sure the container is large enough to hold the entire batch of ice cream with some room for expansion as it freezes.
- Transfer the ice cream: Using a spatula or ice cream scoop, carefully transfer the churned ice cream from the ice cream maker to the prepared storage container. Smooth the surface with the back of a spoon or spatula to create an even layer.
- Press plastic wrap onto the surface: To help prevent ice crystals from forming on the surface of the ice cream, press a piece of plastic wrap directly onto the surface. This creates a barrier and helps maintain the creamy texture.
- Seal the container: Place the lid securely onto the container to create an airtight seal. This will prevent any unwanted odors or flavors from affecting your ice cream.
- Transfer to the freezer: Carefully place the container in the coldest part of your freezer where it won’t be disturbed. Allow the ice cream to freeze for at least 4-6 hours, or preferably overnight, until it reaches a firm and scoopable consistency.
It’s important to note that homemade ice cream does not contain the same stabilizers as store-bought alternatives. As a result, it may harden more quickly and become slightly icy if left in the freezer for an extended period. To combat this, it’s recommended to let the ice cream sit at room temperature for a few minutes to soften slightly before serving.
Now that your freshly churned ice cream is safely stored in the freezer, it’s time for the final step: enjoying your homemade ice cream creation!
Step 7: Enjoying Your Homemade Ice Cream
After patiently waiting for your homemade ice cream to freeze, it’s finally time to savor the fruits of your labor. Follow these steps to enjoy your delicious and creamy creation:
- Remove the ice cream from the freezer: Take the container of ice cream out of the freezer and allow it to sit at room temperature for a few minutes. This will soften the ice cream slightly, making it easier to scoop.
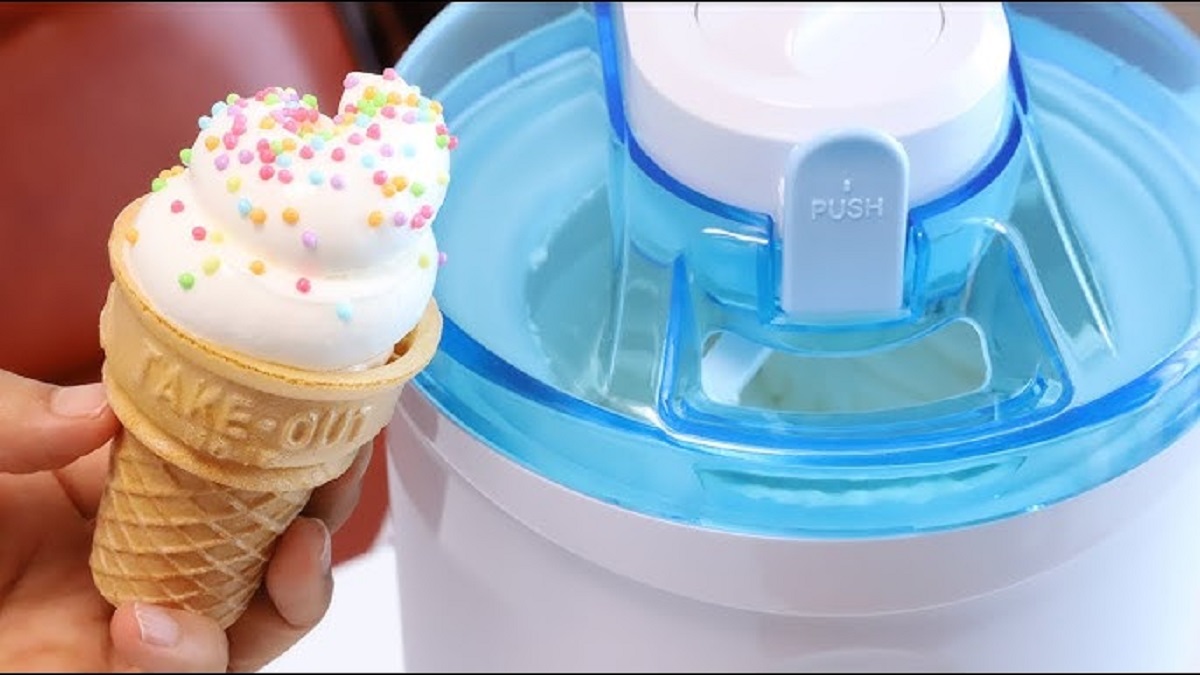
- Scoop and serve: Using an ice cream scoop or a spoon, carefully scoop out portions of your homemade ice cream into bowls or cones. For an extra-special touch, garnish with toppings like chocolate syrup, fresh fruits, whipped cream, or sprinkles.
- Enjoy and savor: Indulge in the creamy, homemade goodness of your ice cream creation. Take your time to savor each bite, allowing the flavors to unfold on your taste buds.
- Store any leftovers: If there are any leftovers after your ice cream feast, quickly return the remaining ice cream to the freezer. Always remember to cover the surface with plastic wrap before sealing the container to maintain its freshness and texture.
Homemade ice cream is best enjoyed fresh and within a few days of freezing. The longer it sits in the freezer, the more it may develop ice crystals and lose some of its smooth consistency. So, savor your creation with family and friends while it’s at its peak of deliciousness.
Experiment with different flavors, mix-ins, and toppings to create endless flavor combinations. From classic vanilla and chocolate to exotic fruit blends and indulgent caramel swirls, the world of homemade ice cream is yours to explore and enjoy.
Now that you know the process from start to finish, have fun creating your own unique ice cream recipes and delighting in the delectable results. Homemade ice cream is a true treat that can be enjoyed year-round, bringing joy and sweetness to any occasion or celebration!
Tips and Variations
Creating homemade ice cream is a delightful and customizable process. Here are some tips and variations to help you elevate your ice cream-making game:
- Experiment with flavors: Don’t be afraid to get creative with flavors. Try adding extracts like mint, almond, or coconut to infuse unique tastes into your ice cream. You can also use spices like cinnamon or cardamom for a warm and aromatic twist.
- Add texture with mix-ins: Beyond traditional mix-ins, consider adding crunchy elements like crushed cookies, nuts, or even pretzels for an interesting texture contrast.
- Try different sweeteners: Explore sweetening options beyond white granulated sugar. Experiment with honey, maple syrup, or even agave nectar for alternative flavor profiles.
- Be patient with the churning process: Churning times can vary depending on the machine and ingredients used. Pay close attention to the instructions and monitor the ice cream closely to ensure you achieve a creamy and smooth consistency.
- Pre-freeze mix-ins: If you’re using mix-ins like chocolate chips or nuts, it’s a good idea to pre-freeze them beforehand. This will prevent them from melting too quickly during the churning process and result in better distribution throughout the ice cream.
- Make it dairy-free or vegan: If you have dietary restrictions, you can still enjoy homemade ice cream. Substitute the heavy cream and milk with non-dairy alternatives like coconut milk or almond milk. There are also vegan-friendly egg substitutes available for creating a creamy base.
- Control the sweetness: Adjust the amount of sugar according to your taste preferences. Remember that the sweetness may intensify slightly once the ice cream is frozen, so you can slightly reduce the sugar in the base if desired.
- Store properly: To maintain freshness and prevent freezer burn, always store your homemade ice cream in an airtight container. Pressing plastic wrap directly onto the surface before sealing the container can help minimize ice crystal formation.
- Share and enjoy: Homemade ice cream is best enjoyed with friends and family. Share your creations and savor the joy of seeing loved ones delight in your delicious homemade treats.
With these tips and variations, you can unleash your creativity and experiment with endless flavor combinations. Don’t be afraid to try new ingredients and techniques, as it’s all part of the fun and discovery of making your own ice cream at home.
Now that you have a variety of tips and variations to inspire you, go forth and create your own ice cream masterpieces! The only limit is your imagination. Enjoy the process, and most importantly, enjoy indulging in your homemade icy delights.
Conclusion
Congratulations! You’ve now learned the step-by-step process of making delicious homemade ice cream in an ice cream maker. From preparing the ice cream base to churning it to perfection, and adding mix-ins for added flavor and texture, you have all the knowledge and tools to create your very own frozen masterpieces.
Making ice cream at home is a delightful and rewarding experience that allows you to unleash your creativity and customize flavors to suit your taste preferences. With a few simple ingredients and the right equipment, you can create endless varieties of creamy, dreamy ice cream flavors that will have you reaching for seconds.
Remember to have fun with the process and feel free to get creative with flavors, mix-ins, and toppings. Whether you prefer classic combinations like vanilla and chocolate or more adventurous blends like mint chocolate chip or strawberry cheesecake, the possibilities are endless.
So, gather your ingredients, pull out your ice cream maker, and get ready to embark on a tasty journey that will have you enjoying homemade ice cream like never before. Share your creations with loved ones, savor every creamy scoop, and take pride in the fact that you’ve mastered the art of making ice cream from scratch.
Once again, congratulations on venturing into the world of homemade ice cream. Now go forth and create frozen wonders that will make your taste buds dance with delight!