Introduction
Welcome to the wonderful world of antique engine ice cream makers! If you’re a fan of ice cream and have a soft spot for vintage machinery, then you’re in for a treat. In this guide, we’ll show you how to make the most out of your antique engine ice cream maker, bringing it back to its former glory and creating delicious homemade ice cream in the process.
Antique engine ice cream makers are not only functional but also hold a significant historical value. These magnificent machines transport us back in time, reminding us of a simpler era when ice cream was a rare and cherished treat.
Before we dive into the steps of making antique engine ice cream, let’s take a moment to appreciate the unique features and craftsmanship of these vintage machines. The rusted metal, the intricate gears, and the beautiful wooden handles are all testaments to the ingenuity and craftsmanship of the past.
Now, let’s gather our tools and materials and embark on a journey to restore and revive our antique engine ice cream maker to its former glory.
Tools and Materials Needed
Before we begin the restoration and ice cream-making process, we need to ensure we have the necessary tools and materials for the job. Here’s a list of what you’ll need:
- Antique engine ice cream maker
- A soft cloth
- Mild dish soap
- Warm water
- Steel wool or a wire brush
- Rust remover
- Foam brushes
- Food-safe lubricant
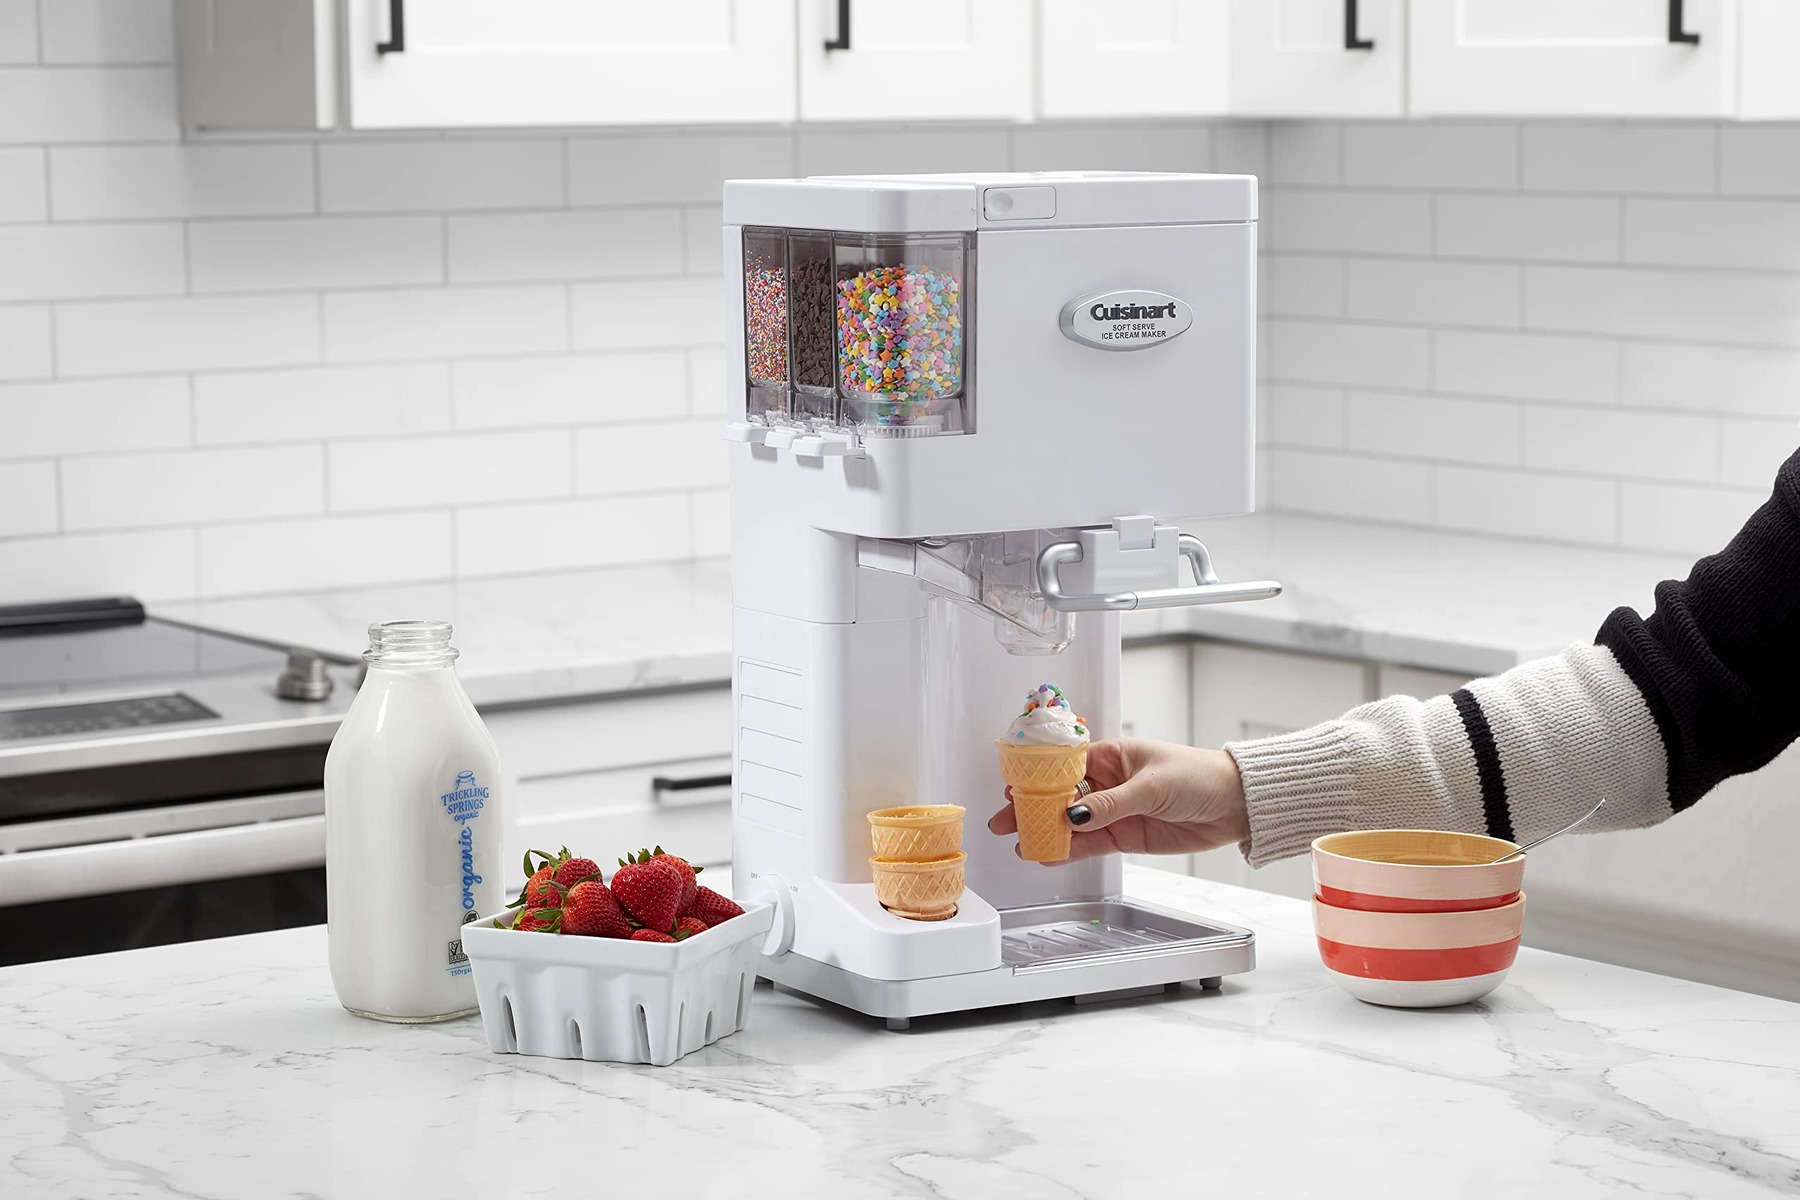
- Ice cream ingredients (milk, cream, sugar, flavorings, etc.)
- Ice
- Rock salt
- Ice cream scoops and bowls
- Toppings (sprinkles, chocolate syrup, fresh fruits, etc.)
Make sure you have all these items on hand before proceeding. Having everything prepared in advance will make the restoration and ice cream-making process much smoother and more enjoyable.
Remember, safety should always be a top priority when working with tools and machinery, especially when restoring antique pieces. Wear appropriate protective gear, such as gloves and eye protection, as needed.
Now that we’re equipped with the necessary tools and materials, let’s move on to the next step: cleaning and restoring the antique engine ice cream maker.
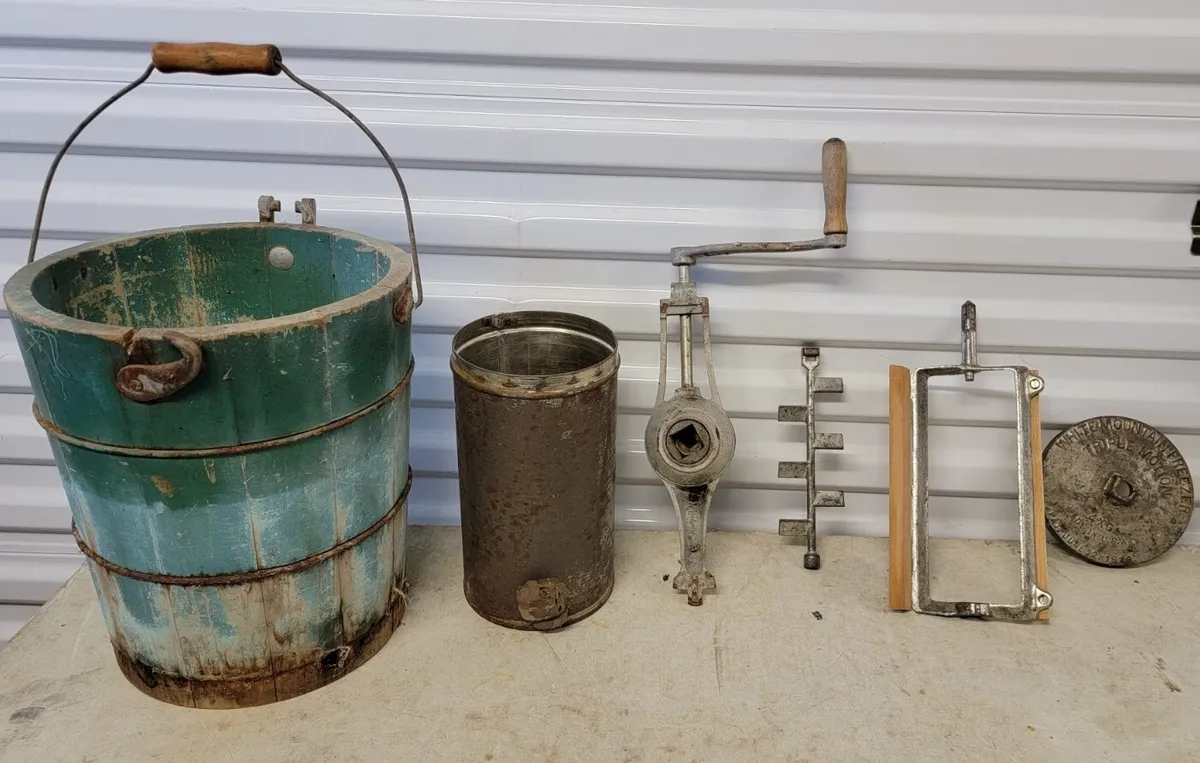
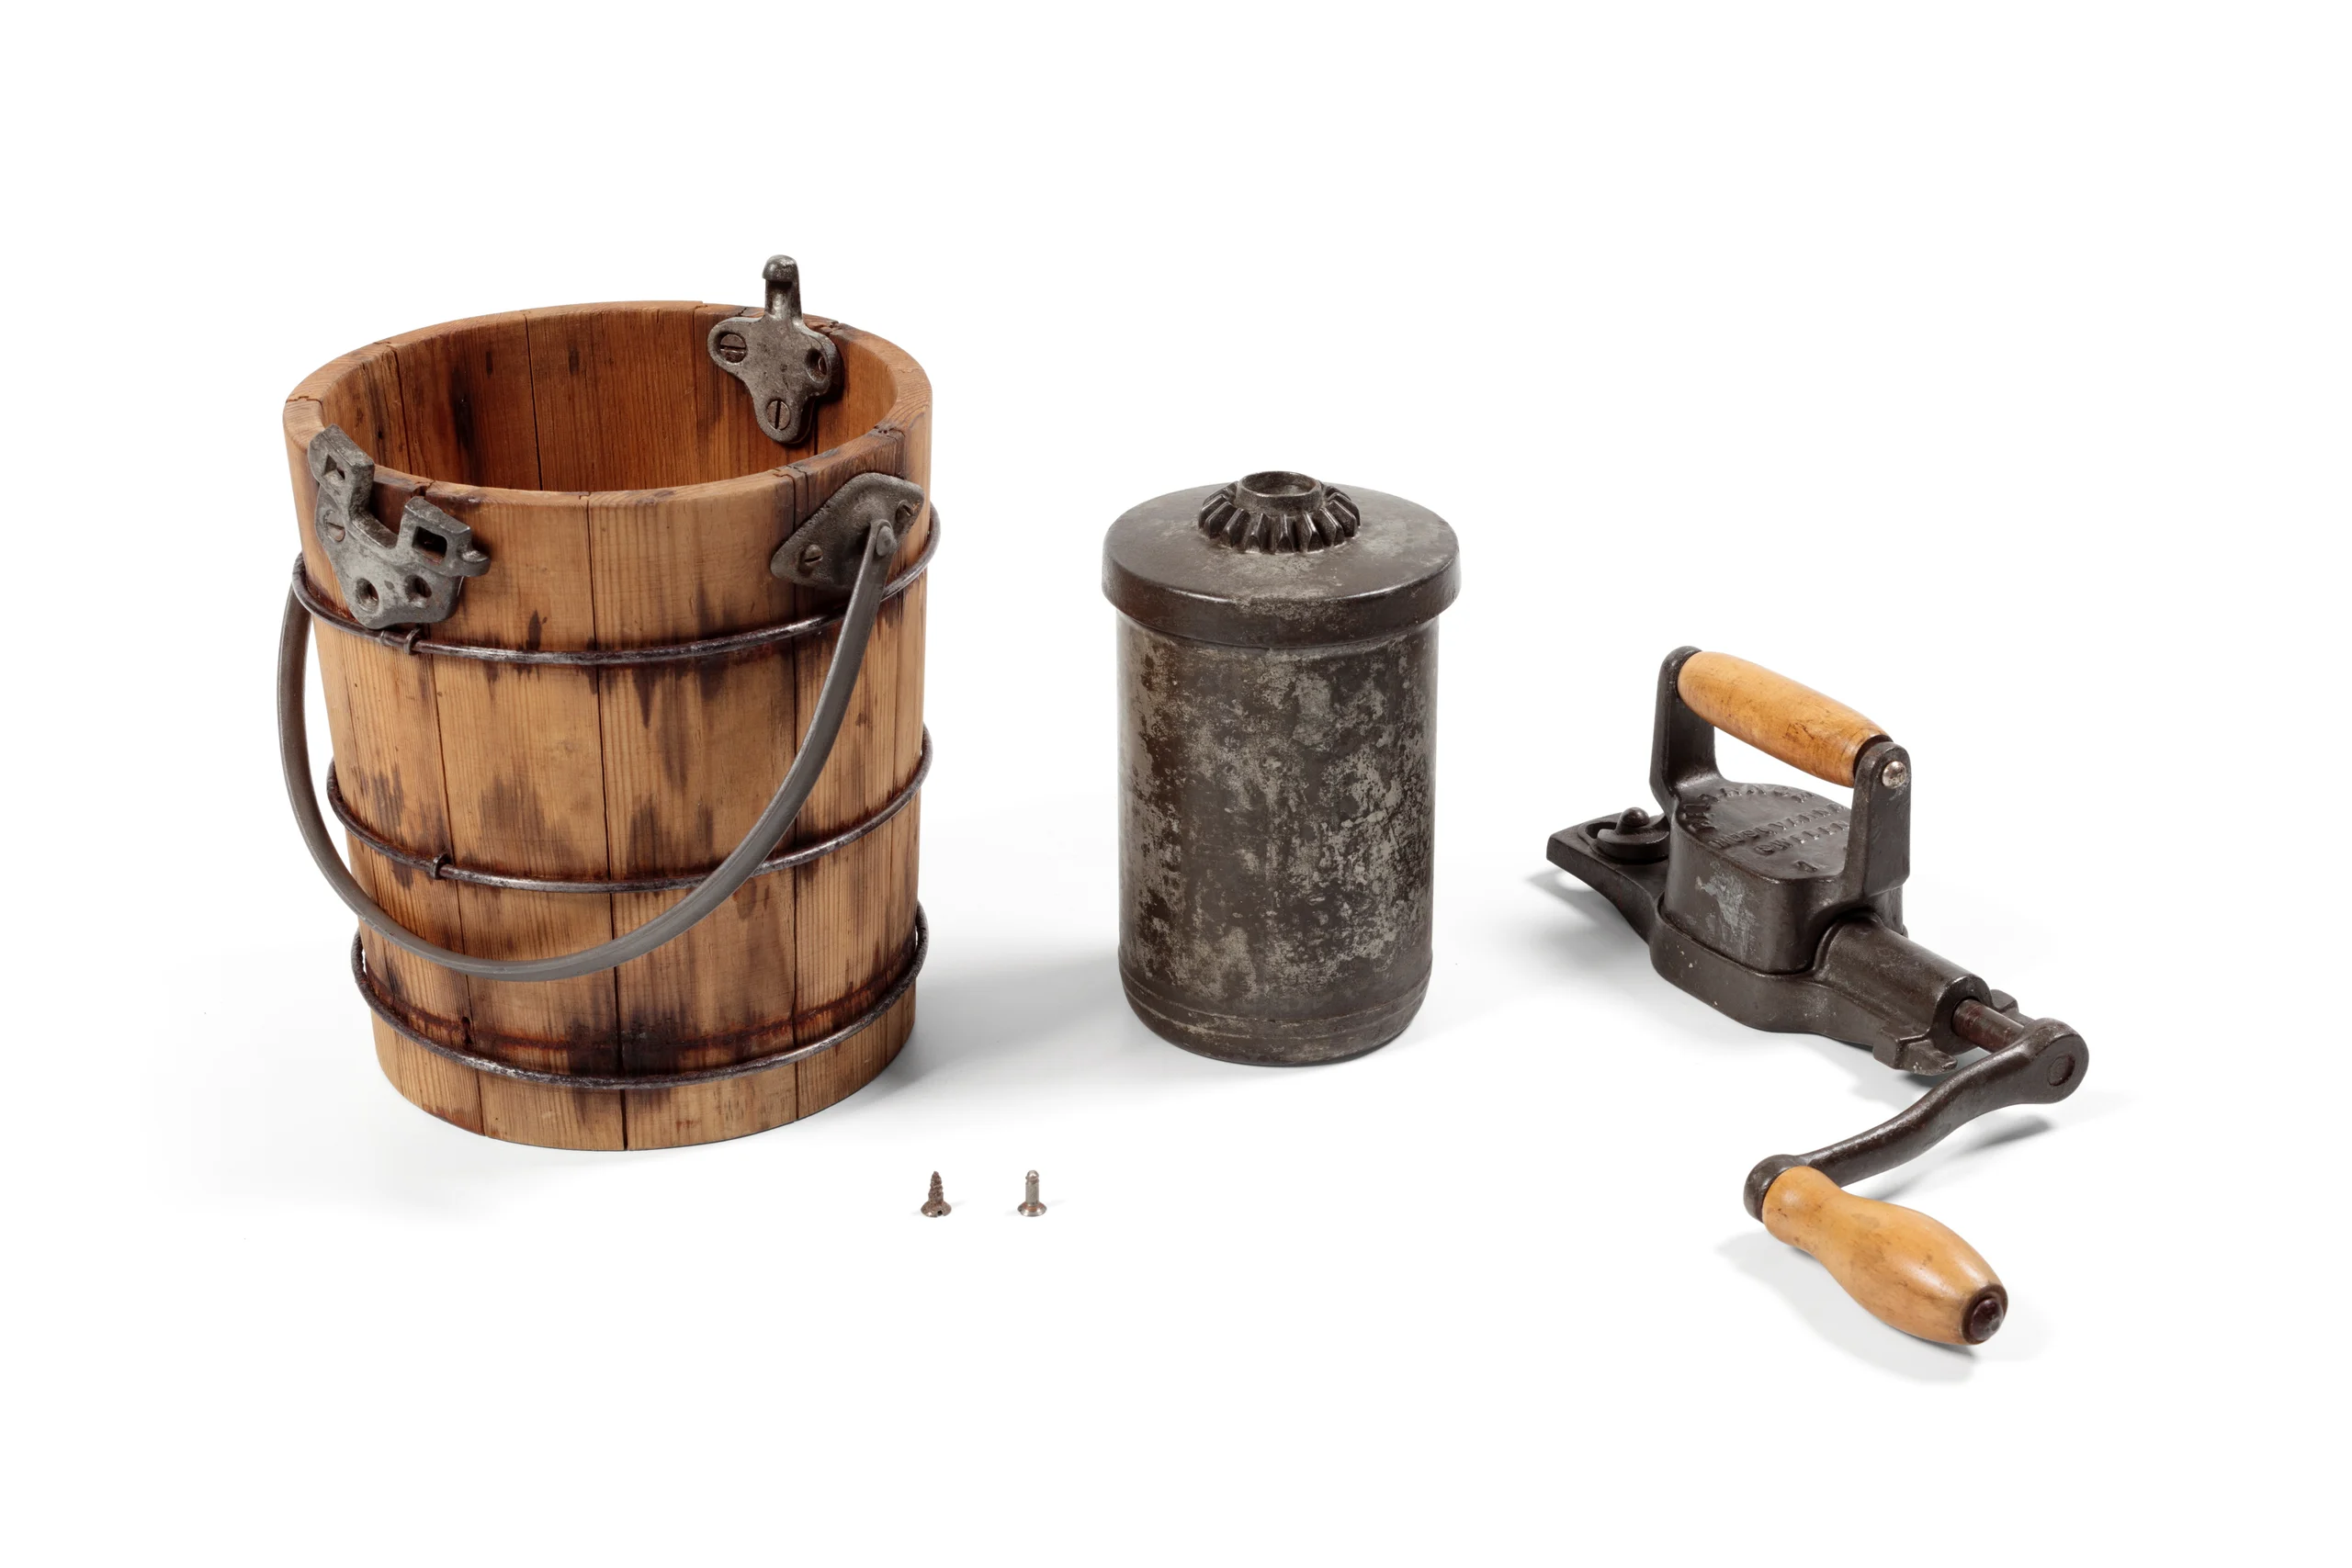
Step 1: Cleaning and Restoring the Antique Engine
Before we can start churning out tasty ice cream, we need to ensure our antique engine ice cream maker is cleaned and restored to its former glory. Follow these steps to bring your vintage machine back to life:
- Begin by gently wiping down the exterior of the ice cream maker with a soft cloth. This will remove any loose dirt or debris. Avoid using abrasive cleaners that may damage the surface.
- Mix a small amount of mild dish soap with warm water in a bucket or sink. Dip a sponge or cloth into the soapy water and clean the interior of the ice cream maker.
- If there are rust spots on the metal components, carefully remove them using steel wool or a wire brush. Be gentle to avoid scratching the surface. For stubborn rust spots, you can use a rust remover following the manufacturer’s instructions.
- Once all the rust has been removed, rinse the ice cream maker thoroughly with clean water to remove any soap residue.
- Dry the ice cream maker thoroughly with a soft cloth to prevent any moisture from causing further rust.
- Inspect the wooden handles and knobs. If they look dry or worn, apply a food-safe lubricant to restore their shine and protect them from future damage.
- Lastly, take a step back and admire your restored antique engine ice cream maker. The combination of its original charm and your care and attention to detail will make it a centerpiece in your kitchen.
By following these steps, you’ve given your antique ice cream maker a new lease on life. Now it’s time to move on to the next step: assembling the ice cream maker and preparing for the ice cream-making process.
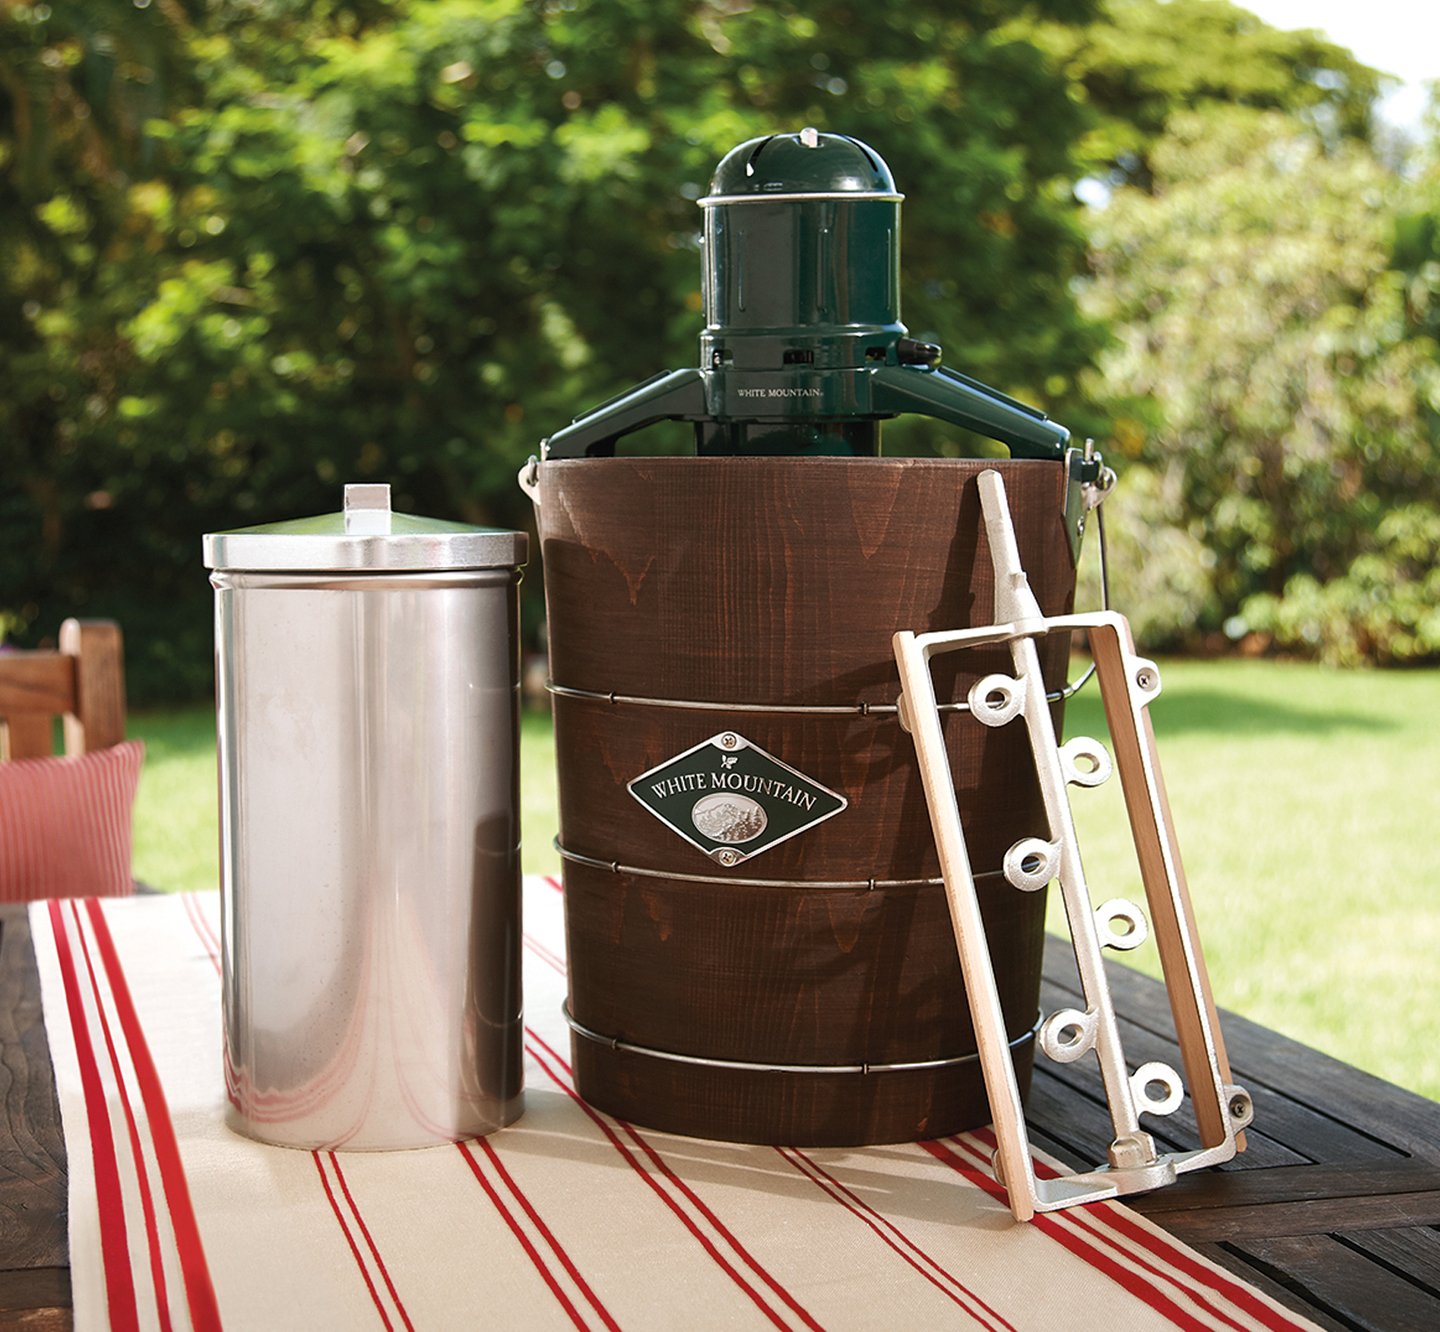
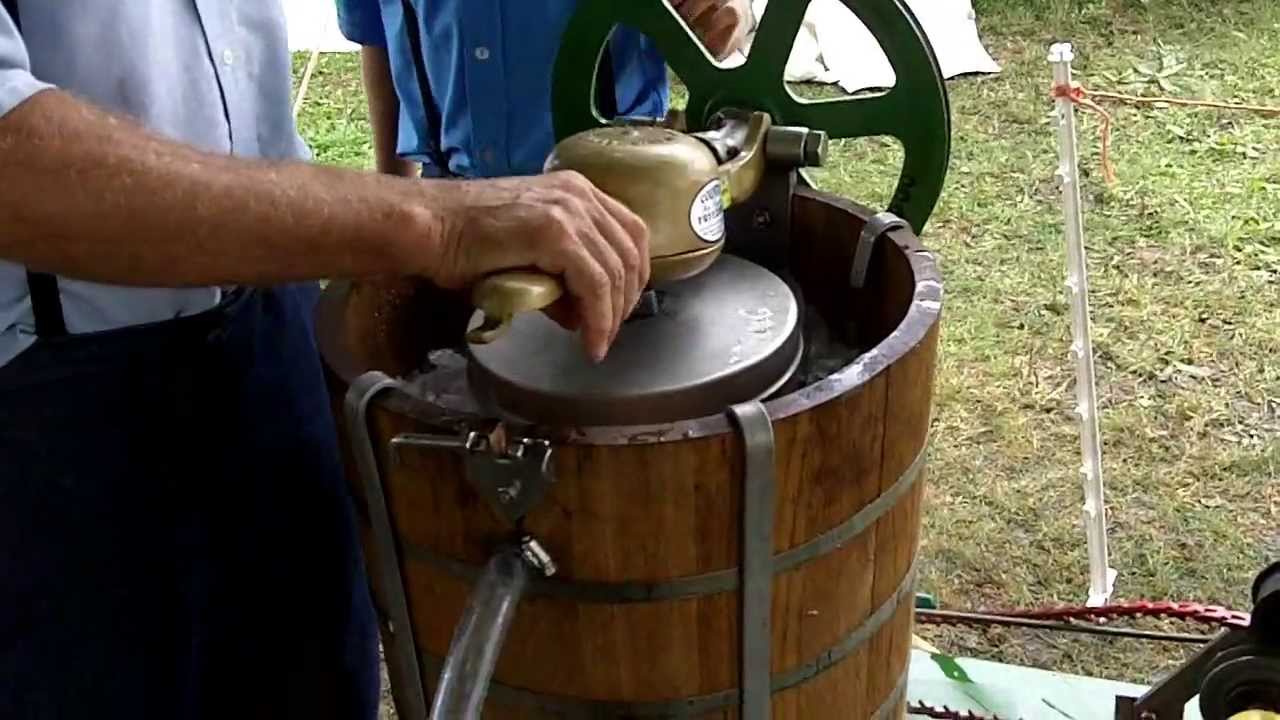
Step 2: Assembling the Ice Cream Maker
Now that your antique engine ice cream maker is clean and revitalized, it’s time to start assembling the different components. Follow these steps to ensure a proper setup:
- Start by locating the main metal canister or cylinder of the ice cream maker. This is where the ice cream mixture will be churned and frozen.
- Next, find the dasher, which is the paddle or churner that fits inside the canister. Insert the dasher into the canister, making sure it fits securely.
- If your ice cream maker has a cover or lid, place it on top of the canister. The cover will help contain the ice and salt during the freezing process.
- Check for any additional parts or attachments specific to your antique ice cream maker model. Refer to the manufacturer’s instructions or consult an expert if you’re unsure about any components.
- Once you have assembled all the necessary parts, give them a gentle wiggle to make sure everything is secure and in place.
Now that your ice cream maker is properly assembled, you’re one step closer to enjoying delicious homemade ice cream. But first, let’s move on to the next step: preparing the ice cream mixture.
Step 3: Preparing the Ice Cream Mixture
Now that your antique engine ice cream maker is set up and ready to go, it’s time to prepare the delicious ice cream mixture. Follow these steps to create a scrumptious base for your frozen treat:
- Start by gathering all the necessary ingredients for your ice cream recipe. This typically includes milk, cream, sugar, and any additional flavors or mix-ins you desire.
- In a mixing bowl, combine the milk and cream in the ratio specified by your ice cream recipe. Different recipes may vary in terms of fat content and sweetness, so be sure to follow the instructions closely.
- Add the desired amount of sugar to the milk and cream mixture and stir until it is fully dissolved. If your recipe calls for any flavorings, such as vanilla extract or cocoa powder, add them to the mixture at this stage.
- For those who prefer a more creative ice cream experience, feel free to incorporate mix-ins such as chocolate chips, cookie dough, or fruit chunks. Mix them into the ice cream base until evenly distributed.
- Once your ice cream mixture is well-combined and flavored to your liking, it’s time to chill it in the refrigerator. Cover the bowl with plastic wrap or a lid and let it refrigerate for at least a couple of hours, or as specified in your recipe. Chilling the mixture will help develop the flavors and create a smoother texture.
With your ice cream mixture prepared, it’s time for the next step: churning and freezing the ice cream in your antique engine ice cream maker. Let’s dive in!
Step 4: Churning and Freezing the Ice Cream
Now comes the exciting part: churning and freezing your homemade ice cream in the antique engine ice cream maker. Follow these steps to turn your ice cream mixture into a delightful frozen treat:
- Retrieve the assembled ice cream maker and remove the lid. Place the canister filled with the ice cream mixture into the ice cream maker’s housing or bucket.
- Around the canister, layer ice and rock salt. The ice provides the necessary cold temperature for freezing, while the rock salt helps lower the freezing point of the ice cream mixture for faster and more efficient freezing.
- Add alternating layers of ice and rock salt until the canister is completely surrounded. Make sure to leave some space at the top to prevent overflow when churning.
- Once the ice and rock salt are added, securely place the lid back on the ice cream maker to keep everything contained.
- Now it’s time to start the engine! Turn the crank or power on the motor, depending on the type of antique ice cream maker you have. Begin cranking or powering the machine to initiate the churning process.
- Continue churning for the recommended amount of time specified in your ice cream recipe. This typically ranges from 20 to 30 minutes, but it’s essential to refer to your specific recipe for precise instructions.
- As the ice cream churns, be sure to periodically check on the ice and salt levels. If necessary, add more ice and salt to maintain the freezing temperature.
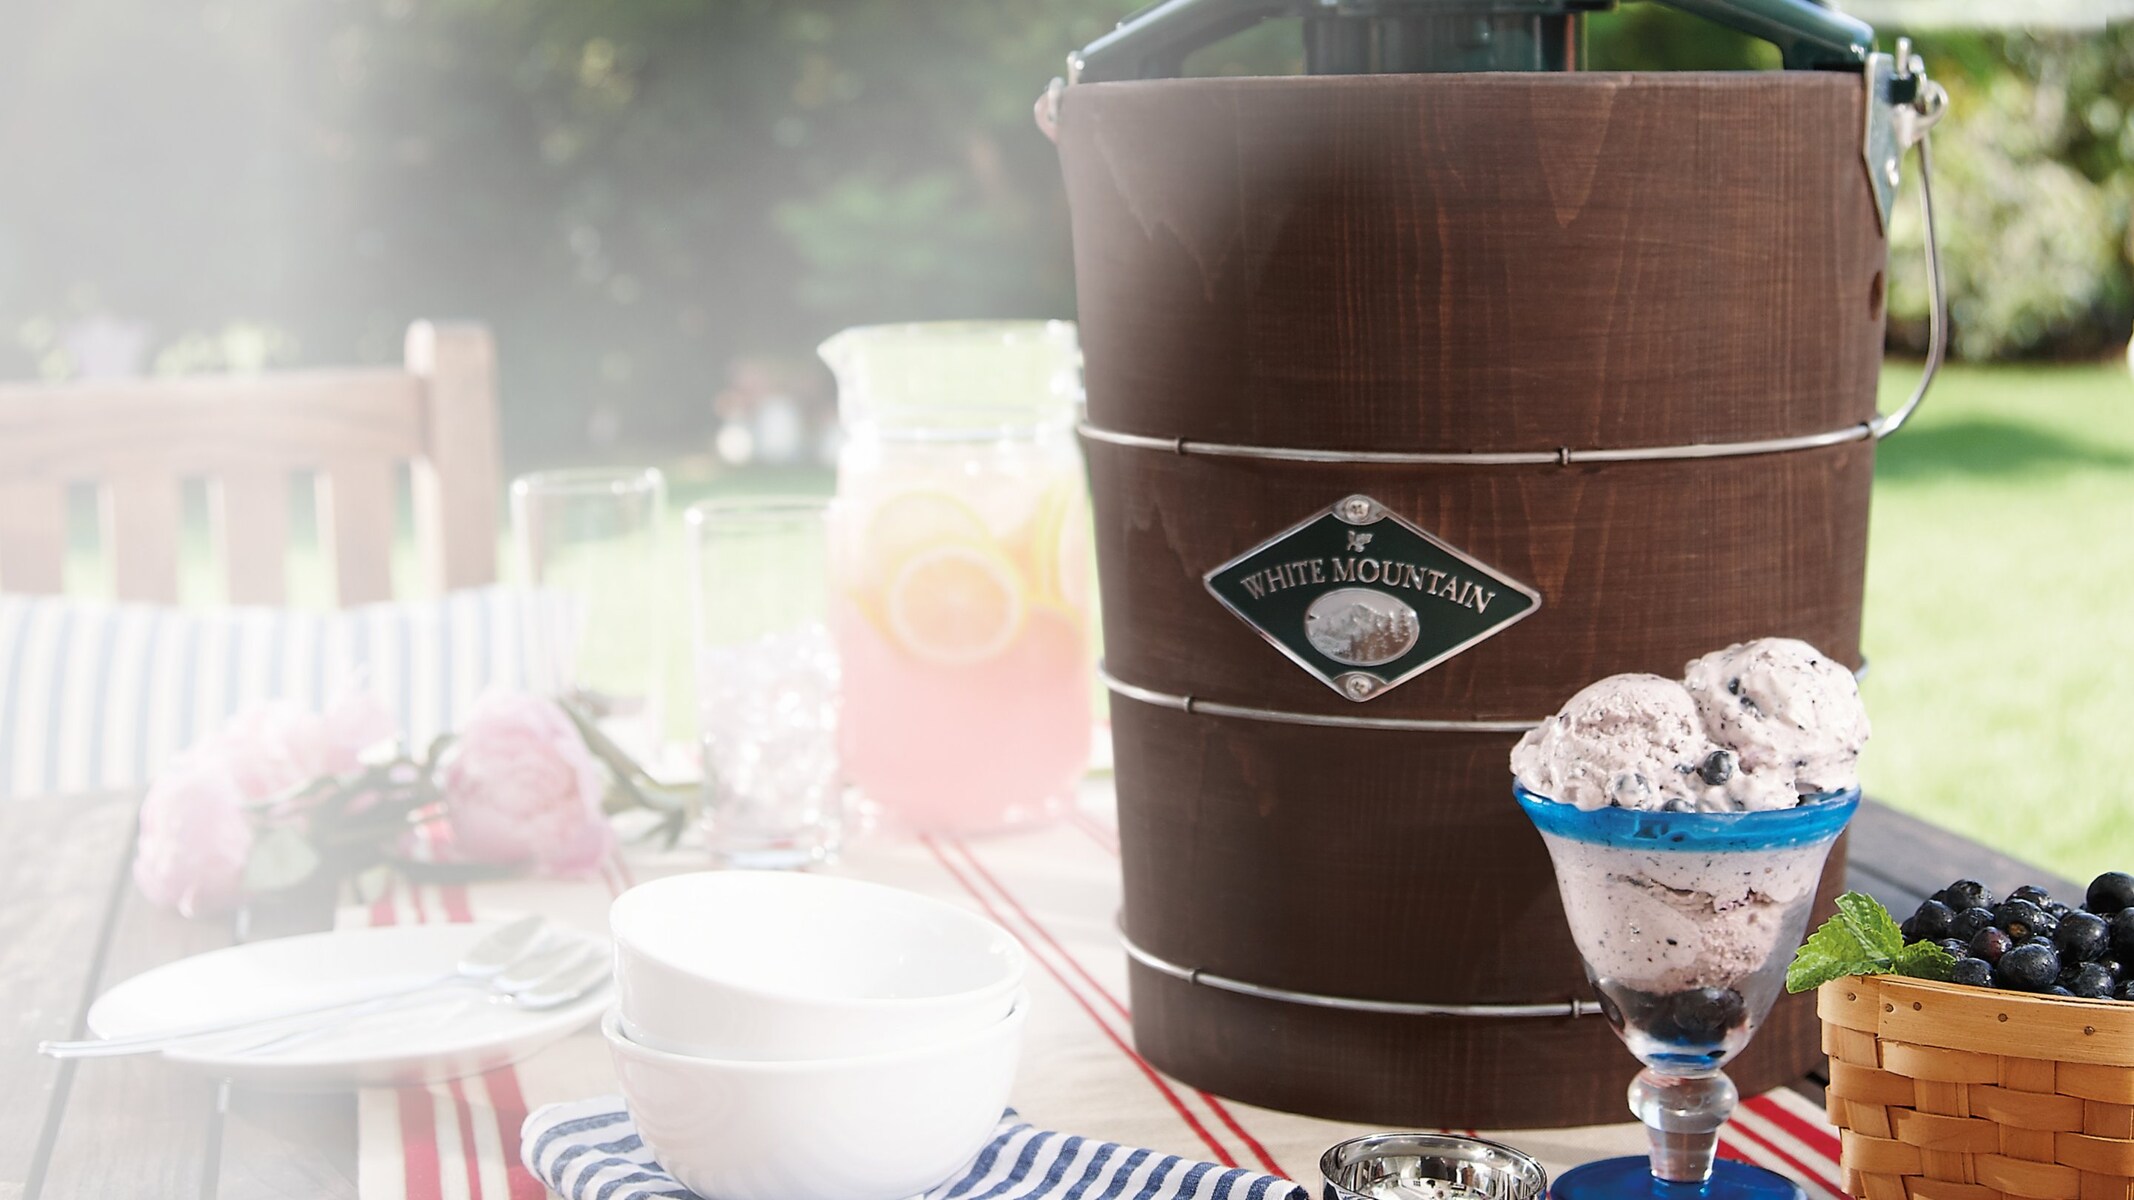
After the recommended churning time has elapsed, your ice cream should have reached a thick and creamy consistency. At this point, it’s time to savor the sweet rewards of your efforts. But before indulging, let’s finish off the process with the final step: adding the finishing touches to your homemade ice cream.
Step 5: Adding the Finishing Touches
Congratulations! You’re almost ready to enjoy your homemade ice cream. But first, let’s add some final touches to elevate the flavor and presentation:
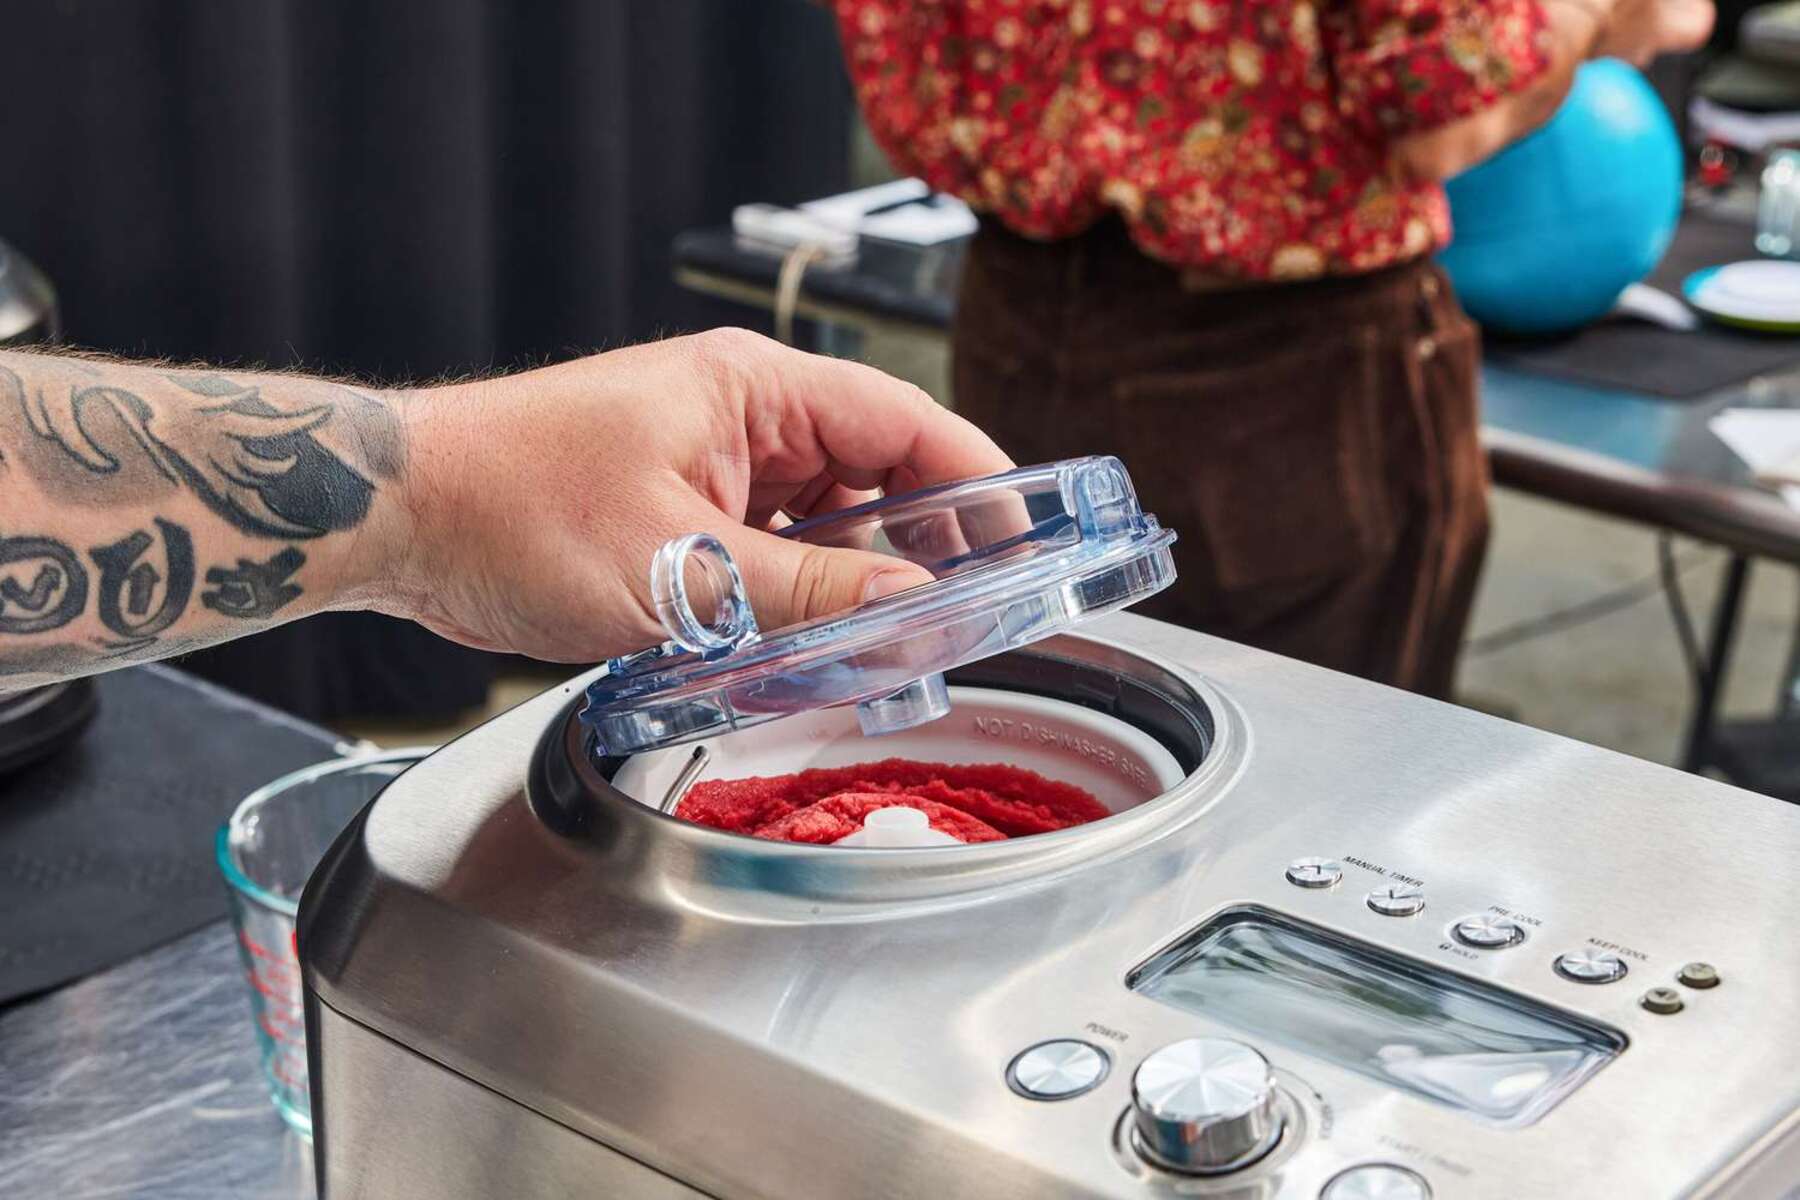
- Once the churning process is complete, carefully remove the canister from the ice cream maker. Be cautious, as the canister might be cold to the touch.
- Using a spatula or ice cream scoop, transfer the freshly churned ice cream into a freezer-safe container. Ensure that the container has an airtight seal to prevent ice crystals from forming.
- Place the container in the freezer and allow the ice cream to harden for a few hours or as per the manufacturer’s instructions. This resting time will allow the flavors to meld and the texture to become firm and creamy.
- Once the ice cream has reached the desired consistency, it’s time to serve and savor your culinary masterpiece. Use an ice cream scoop to portion out your delicious creation into bowls or cones.
- Remember, no ice cream experience is complete without toppings. Enhance your masterpiece by adding sprinkles, chocolate syrup, fresh fruits, or any other toppings of your choice.
- Gather your loved ones or indulge in a solo treat and enjoy your homemade ice cream. Let the flavors dance on your palate as you revel in the satisfaction of creating a delectable frozen dessert from scratch.
Now that you’ve added the finishing touches, it’s time to indulge and relish in the fruits of your labor. Enjoy each creamy spoonful and take pride in your ability to preserve and use an antique engine ice cream maker to create such a delightful treat.
Remember, the process of making ice cream with an antique engine ice cream maker is not just about the final product. It’s about the journey, the connection to the past, and the joy of creating something truly unique. So, gather your loved ones, share stories, and savor the nostalgia as you devour your homemade ice cream.
Conclusion
Restoring and using an antique engine ice cream maker is a delightful way to connect with the past and create delectable homemade ice cream. Through the careful process of cleaning, assembling, and churning, you’ve not only revitalized a piece of history but also indulged in the pleasures of a frozen treat made with your own hands.
With each turn of the crank or whirr of the motor, you’ve embraced the charm and craftsmanship of vintage machinery, knowing that you are a part of a long-standing tradition of ice cream making. It’s an experience that engages all your senses, evoking memories of simpler times when homemade ice cream was a rare and cherished treat.
By following the steps outlined in this guide, you’ve learned how to clean and restore your antique engine ice cream maker, assemble it for optimal functionality, prepare a delicious ice cream mixture, and churn it into a creamy creation. Adding the finishing touches and savoring your homemade ice cream is the cherry on top of this delightful culinary adventure.
So, the next time you’re about to scoop a store-bought ice cream, consider the joy and satisfaction that comes from creating your own frozen dessert with an antique engine ice cream maker. Share the experience with family and friends, and revel in the nostalgia and the delicious flavors that only homemade ice cream can provide.
Remember to preserve and care for your antique engine ice cream maker, as these vintage treasures are a testament to the ingenuity and craftsmanship of the past. With proper maintenance and a dash of creativity, you can keep the magic of homemade ice cream alive for generations to come.
Now, it’s time to savor the fruits of your labor, share a scoop with loved ones, and bask in the joy of creating something truly special with your antique engine ice cream maker.