Introduction
Welcome to our guide on the Cuisinart Ice Cream Maker. If you’ve ever dreamed of making your own delightful homemade ice cream, this handy appliance is just what you need. With its easy-to-use design and versatile functionality, the Cuisinart Ice Cream Maker allows you to create your favorite frozen treats right in the comfort of your own home. But one question that often comes up is: how long does it actually take to make ice cream with this appliance?
In this article, we will explore the factors that can affect the ice cream making time, as well as provide you with tips on how to speed up the process. We will also share some insights on preparing the ice cream mixture and offer suggestions for improving the quality of your homemade ice cream.
So, if you’re ready to embark on a delicious ice cream journey, let’s dive in and discover how long it typically takes to make ice cream with the Cuisinart Ice Cream Maker!
Ice Cream Maker Overview
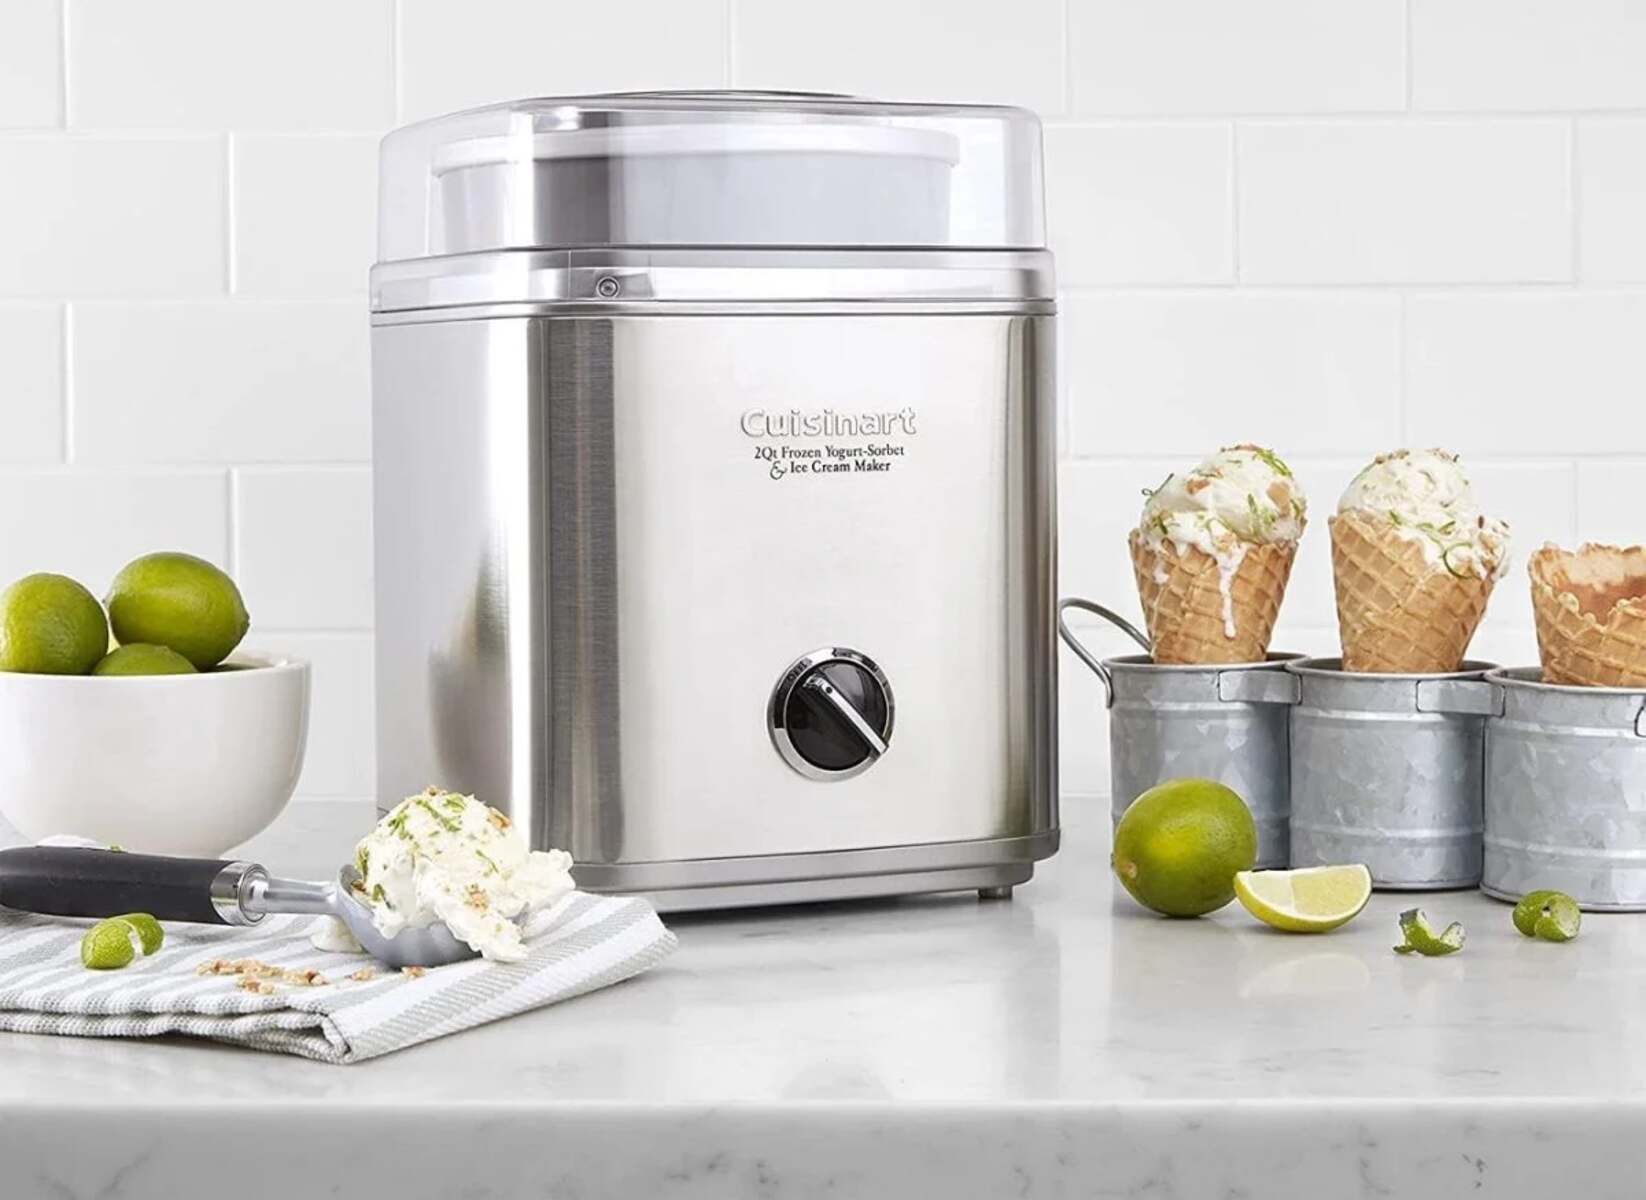
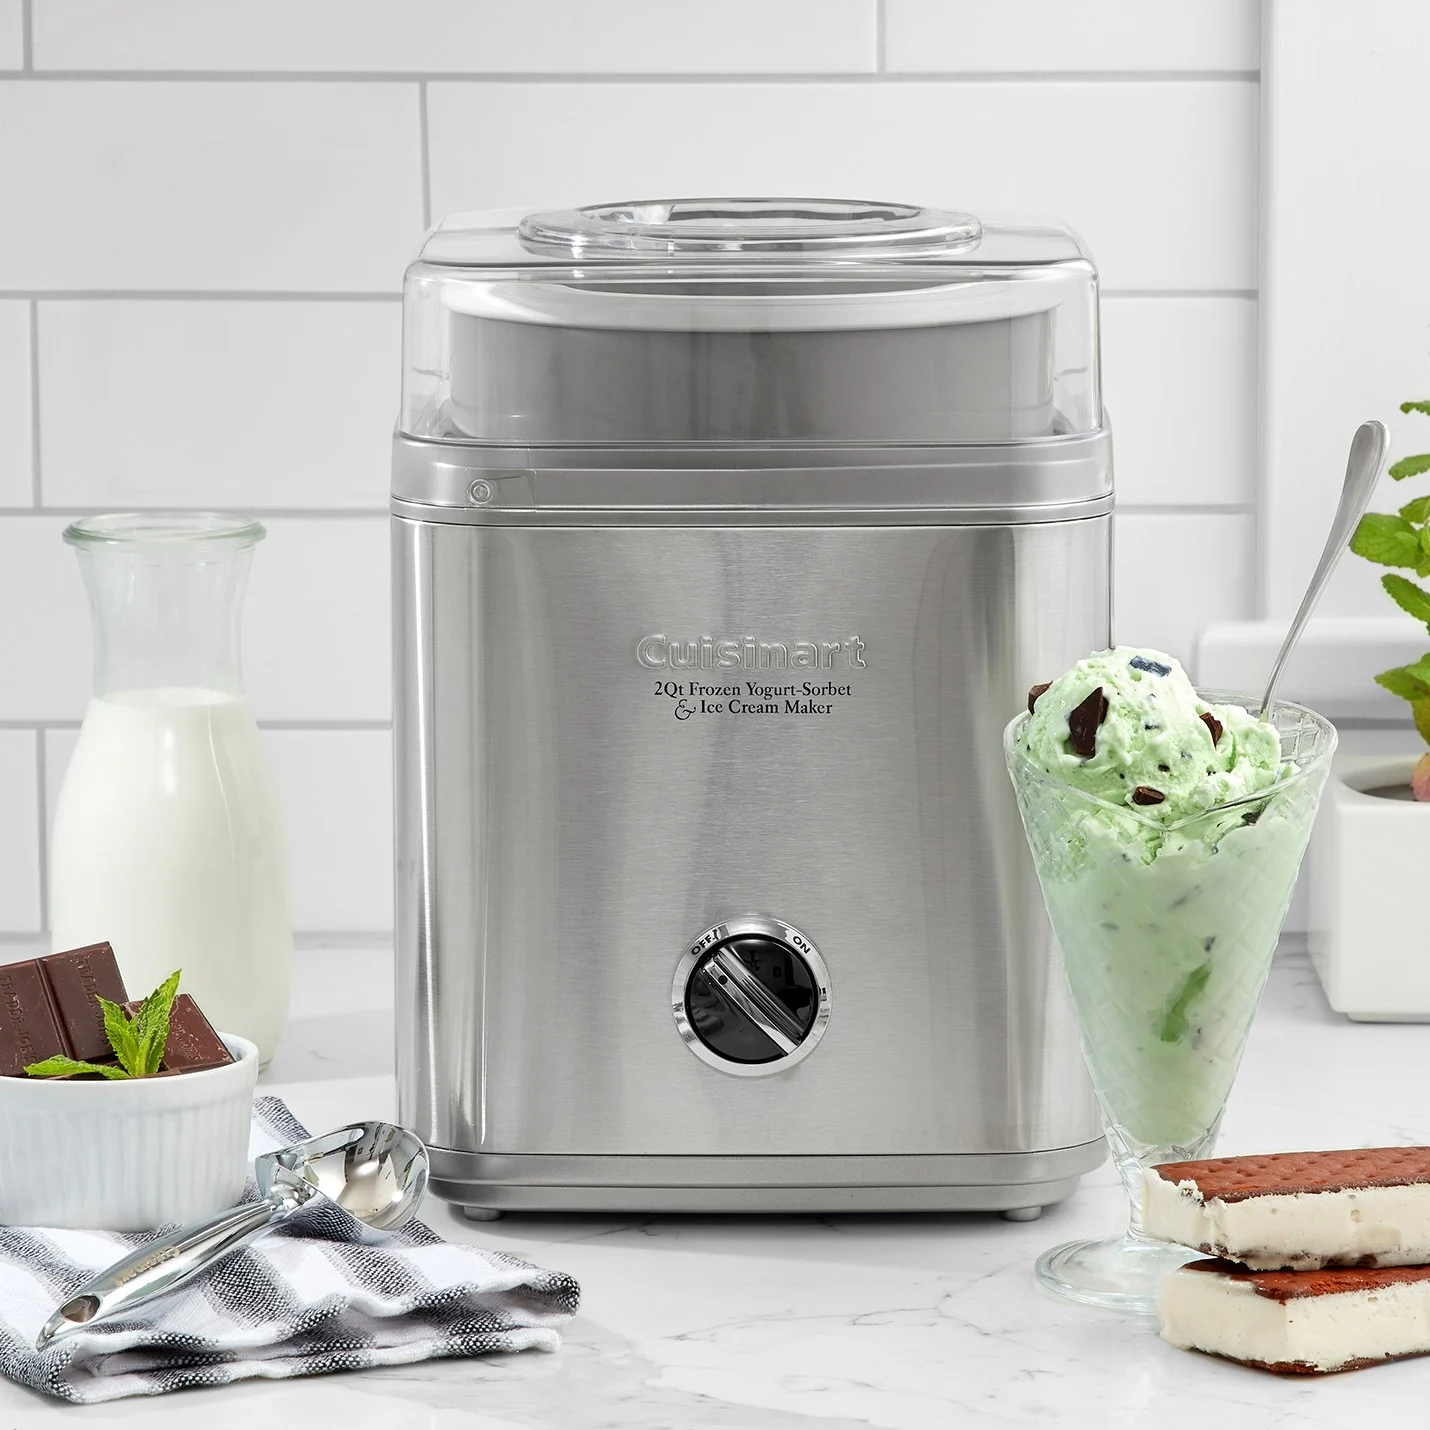
The Cuisinart Ice Cream Maker is a popular appliance known for its ability to churn out creamy, delicious ice cream at home. It offers a simple yet effective design that allows you to create a wide variety of frozen treats, from classic vanilla to exciting flavors like mint chocolate chip or strawberry cheesecake.
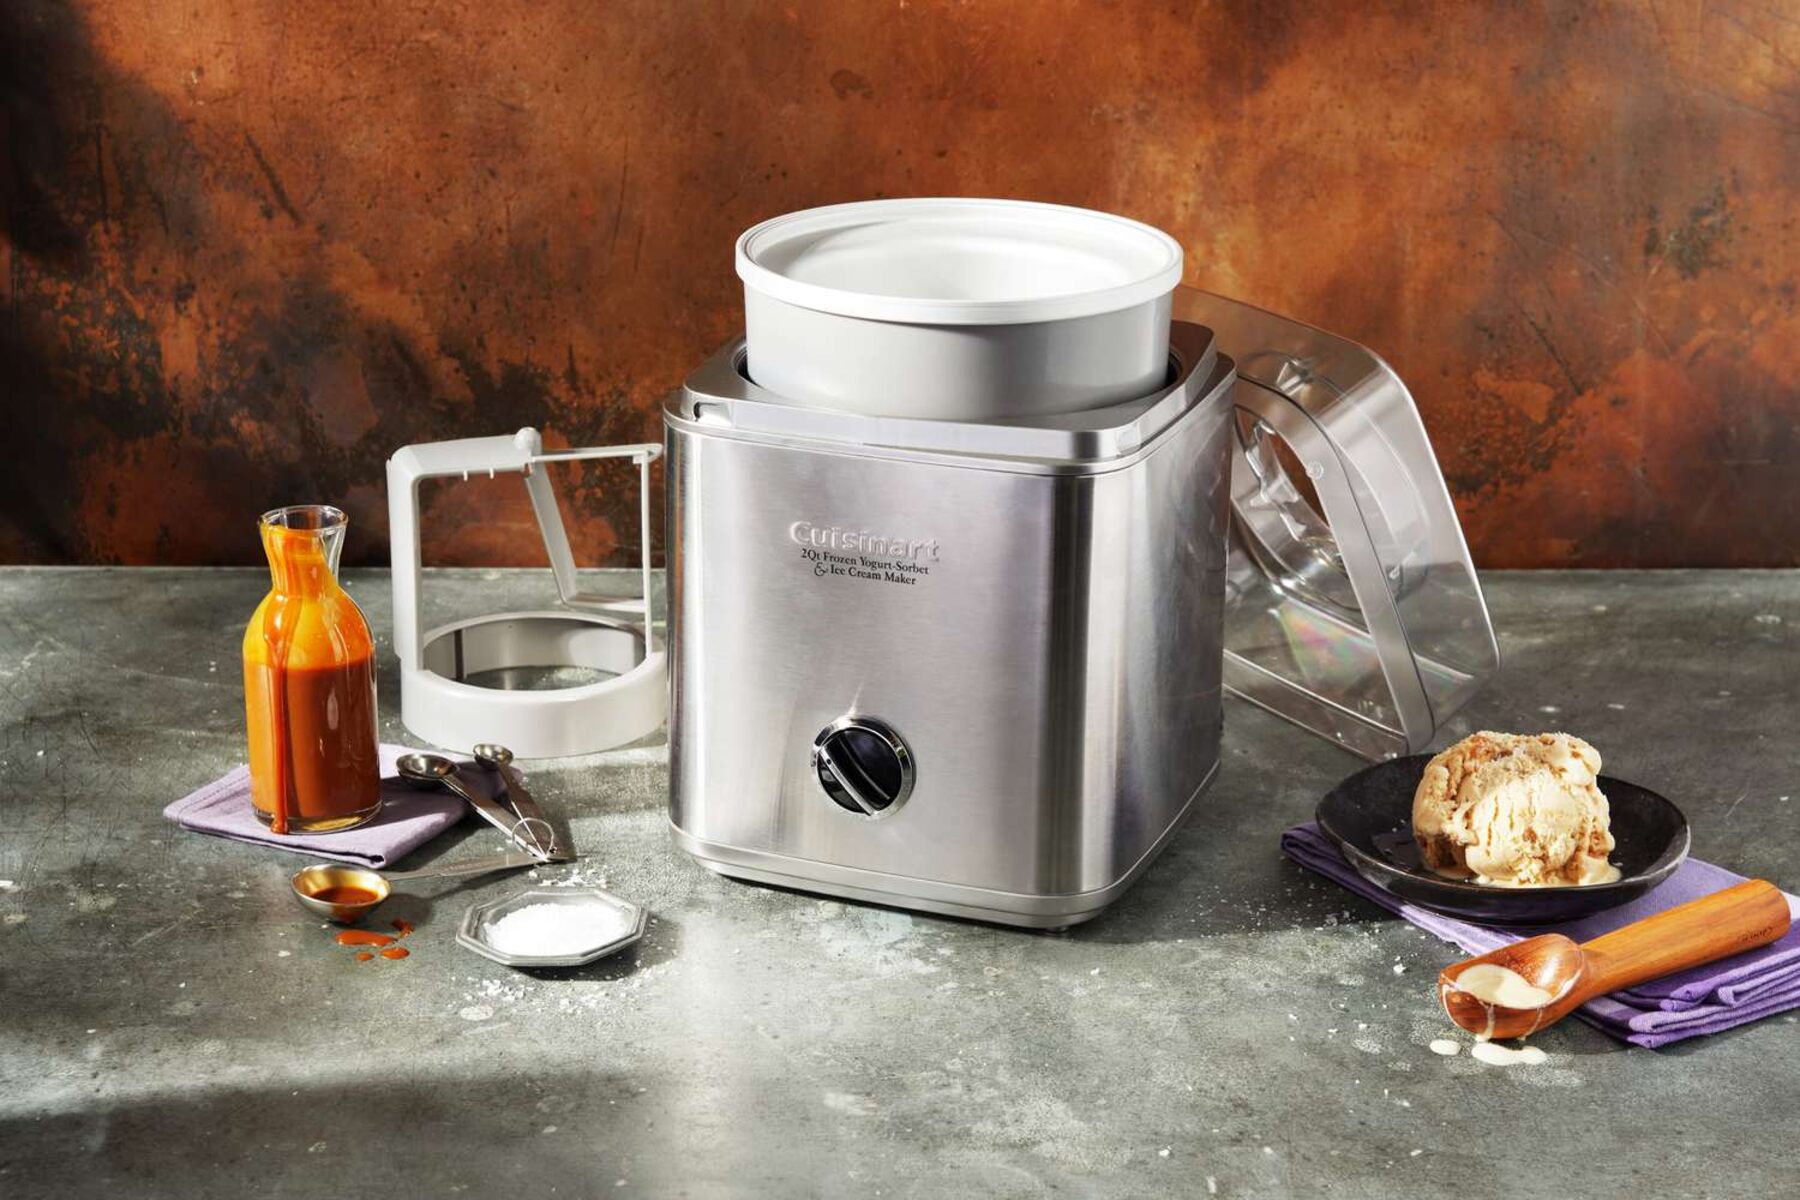
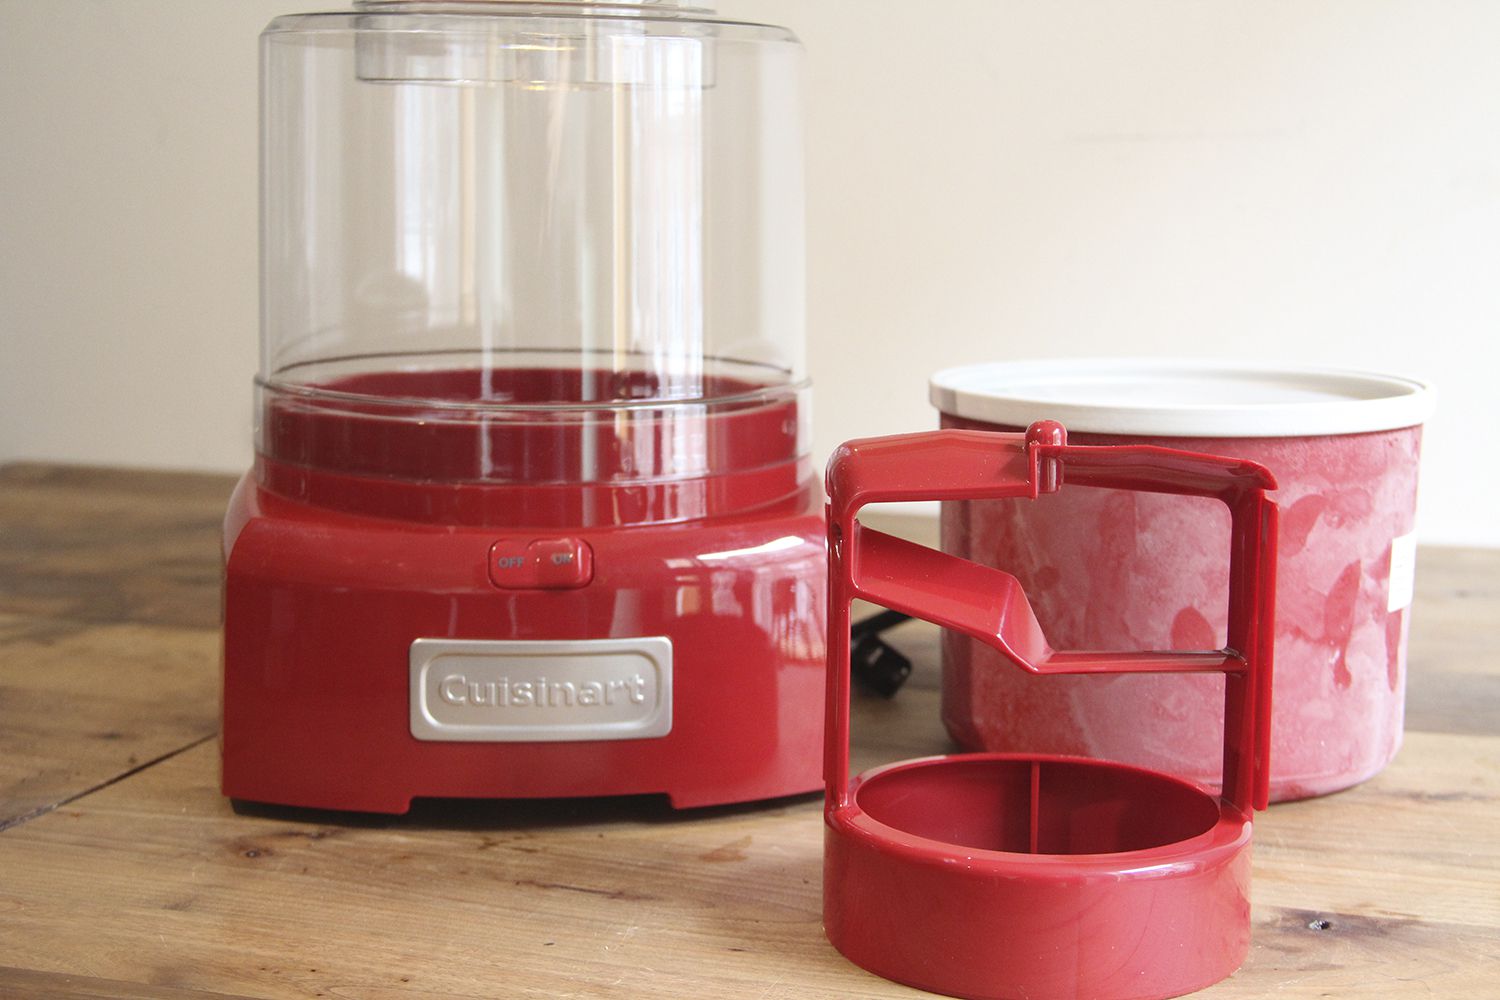
This ice cream maker consists of a freezer bowl, a mixing paddle, and a lid. The freezer bowl needs to be pre-frozen before use, usually for about 12 to 24 hours, depending on the model. Once the bowl is properly frozen, you can attach it to the base of the machine and secure the mixing paddle in place.
One of the great advantages of the Cuisinart Ice Cream Maker is its ease of use. Simply pour your prepared ice cream mixture into the freezer bowl, place the lid on top, and turn on the machine. The paddle will start rotating, churning the mixture as it freezes.
The ice cream maker operates with a powerful motor, which allows for efficient and consistent churning. It helps to incorporate air into the mixture, resulting in a smooth and creamy ice cream texture. Most Cuisinart Ice Cream Makers have a capacity of around 1.5 to 2 quarts, making them suitable for both small families and larger gatherings.
Furthermore, this ice cream maker offers the advantage of being relatively compact in size, making it easy to store in your kitchen without taking up too much space. It’s also simple to clean, with removable parts that can be washed by hand or in the dishwasher.
Overall, the Cuisinart Ice Cream Maker is a versatile and user-friendly appliance that allows you to enjoy homemade ice cream without the need for specialized equipment or lengthy preparation. With this machine, you can indulge in your favorite frozen treats whenever the craving strikes.
Factors Affecting Ice Cream Making Time
When it comes to making ice cream with the Cuisinart Ice Cream Maker, there are several factors that can affect the overall time it takes to churn and freeze your frozen treat. Understanding these factors can help you plan accordingly and ensure successful results.
1. Freezer Bowl Temperature: The temperature of the freezer bowl plays a crucial role in how quickly your ice cream mixture freezes. It’s recommended to pre-freeze the bowl for at least 12 to 24 hours prior to using it. If the bowl is not frozen to the optimal temperature, the churning and freezing process may take longer.
2. Ice Cream Mixture Temperature: The temperature of your ice cream mixture at the start will also impact the freezing time. It’s advisable to chill your ice cream base in the refrigerator for a few hours before pouring it into the machine. A colder mixture will freeze more quickly than a warm one.
3. Recipe and Ingredients: Different ice cream recipes may have varying freezing times due to variations in ingredients. Recipes with higher fat content, such as custard-based ice creams, may take longer to freeze compared to recipes with lower fat content. Additionally, the use of alcohol or other ingredients with lower freezing points can also affect the freezing time.
4. Room Temperature: The ambient temperature of your kitchen can have an impact on the freezing process. If your kitchen is warm, it may take a bit longer for the ice cream to freeze. Consider using the ice cream maker in a cooler part of your home or during a time of the day when the temperature is cooler.
5. Desired Consistency: The desired consistency of your ice cream can also influence the freezing time. If you prefer a softer, semi-frozen texture, you can remove the ice cream from the machine earlier. However, if you prefer a firmer consistency, you may need to allow the ice cream to churn and freeze for a bit longer.
By considering these factors, you can make adjustments to your ice cream making process and estimate the approximate time it will take to achieve the desired results. Keep in mind that these factors may vary from one recipe to another, so it’s always a good idea to follow the specific guidelines provided in your chosen recipe.
Preparing the Ice Cream Mixture
Before you can start making delicious homemade ice cream with your Cuisinart Ice Cream Maker, you need to prepare the ice cream mixture. While the specific recipe you choose will determine the ingredients and measurements, there are some general steps to follow to ensure a smooth and flavorful ice cream base.
1. Choose Your Recipe: Start by selecting a recipe that appeals to your taste buds. Whether you prefer classic flavors like vanilla or more adventurous combinations like cookies and cream, there are countless recipes available online or in cookbooks.
2. Gather Your Ingredients: Once you’ve chosen a recipe, gather all the necessary ingredients. These typically include heavy cream, whole milk, sugar, and flavorings like vanilla extract or cocoa powder. Some recipes may also call for eggs or additional mix-ins like chocolate chips or fruit.
3. Measure and Mix: Accurate measurements are crucial for achieving the perfect balance of flavors and textures. Measure out the required amounts of each ingredient and mix them together in a large bowl. Depending on the recipe, you may need to heat the mixture gently to dissolve the sugar or create a custard base.
4. Chill the Mixture: After your ice cream base is mixed, it’s essential to chill it thoroughly before pouring it into the ice cream maker. This step allows the flavors to meld together and makes the mixture easier to freeze. Transfer the mixture to the refrigerator and let it chill for a few hours or overnight.
5. Optional Additions: If you want to add mix-ins to your ice cream, such as chocolate chips or nuts, it’s best to add them towards the end of the freezing process. Once your ice cream starts to thicken, you can fold in your chosen mix-ins to distribute them evenly throughout the ice cream.
Following these steps will ensure that your ice cream mixture is well-prepared and ready to be transformed into a delightful frozen treat. Remember to experiment with different flavors and ingredients to create your own unique ice cream recipes that satisfy your cravings.
Freezing Stage
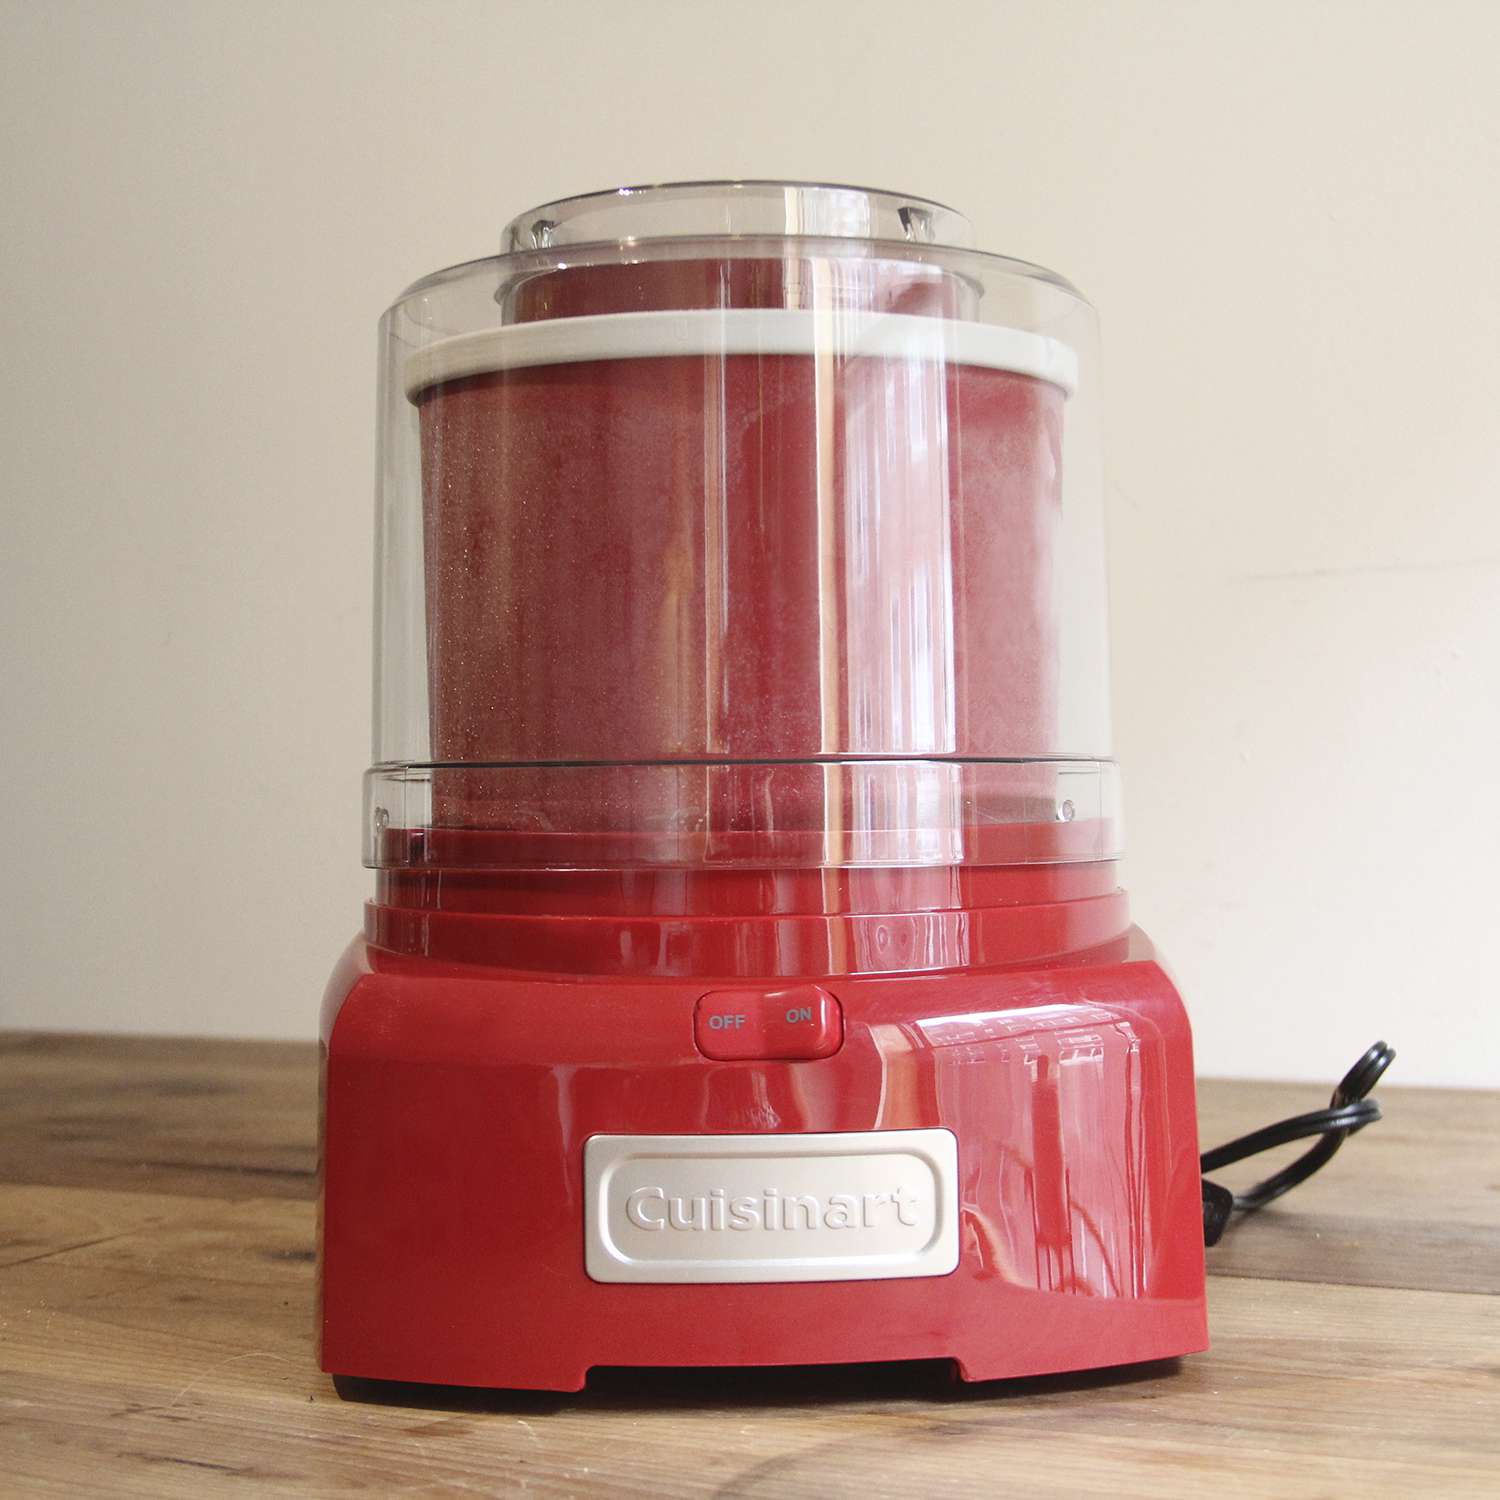
Once you have prepared your ice cream mixture, it’s time to move on to the freezing stage using your Cuisinart Ice Cream Maker. This is the step where the magic happens and your liquid mixture transforms into a creamy, frozen delight.
1. Preparing the Freezer Bowl: Ensure that the freezer bowl of your Cuisinart Ice Cream Maker is properly frozen. It is recommended to freeze the bowl for 12 to 24 hours prior to use. The frozen bowl is essential for creating the ideal temperature for freezing the ice cream mixture.
2. Assembling the Machine: Attach the frozen freezer bowl to the base of the ice cream maker. The bowl should easily fit into the designated slot on the machine. Make sure it is securely fitted before continuing.
3. Pouring the Mixture: Remove the chilled ice cream mixture from the refrigerator and give it a stir. Slowly pour it into the freezer bowl through the opening on the lid. Be careful not to overfill, as the mixture will expand during the freezing process.
4. Turning on the Machine: Once you have poured the ice cream mixture, place the lid on top of the freezer bowl and secure it in place. Turn on the machine by pressing the power button. The mixing paddle will start to rotate and churn the mixture as it freezes.
5. Monitoring the Freezing Process: Keep an eye on the ice cream as it churns. The freezing time can vary depending on factors such as the recipe, room temperature, and desired consistency. Most ice creams will take approximately 20 to 30 minutes to reach a soft-serve consistency.
6. Checking for Readiness: To check if the ice cream is ready, gently lift the lid and observe the texture. It should be thick and creamy, holding its shape but still slightly soft. If it is not quite ready, you can continue the freezing process for a few more minutes until you achieve the desired consistency.
Remember not to overmix the ice cream, as it can cause excess air incorporation and result in a less creamy texture. Once the ice cream reaches the desired consistency, turn off the machine and remove the freezer bowl. Transfer the ice cream to a freezer-safe container for further hardening or serve it immediately for a soft-serve treat.
The freezing stage is where your ice cream truly takes form, and with the Cuisinart Ice Cream Maker, it’s a simple and enjoyable process. Get creative with flavors and mix-ins to make your homemade ice cream experience even more delightful!
How to Speed Up the Freezing Process
Waiting for your homemade ice cream to freeze can sometimes feel like an eternity, especially when you’re longing for a cool, refreshing treat. Fortunately, there are a few tricks you can try to speed up the freezing process with your Cuisinart Ice Cream Maker:
1. Pre-Chill the Ingredients: Before you start making your ice cream mixture, make sure that all the ingredients, particularly the dairy components like cream and milk, are adequately chilled. A colder mixture will freeze faster, reducing the overall freezing time.
2. Freeze the Bowl in Advance: Plan ahead and make sure to properly freeze the freezer bowl of your Cuisinart Ice Cream Maker for the recommended time. Some recipes may suggest an extended freezing time for the bowl, so it’s essential to follow the instructions provided for the best results.
3. Use a Cold Environment: The ambient temperature of your kitchen can affect the freezing process. If possible, place the ice cream maker in a cooler area of your home, away from direct sunlight or heat sources. Cooler surroundings will help maintain a lower temperature, aiding in faster freezing.
4. Increase Churning Speed: During the freezing process, you can experiment with increasing the churning speed of the machine. Some models have multiple speed settings, allowing you to go from a lower speed to a higher speed. A higher churning speed can accelerate the freezing process by incorporating more air into the mixture and promoting faster crystallization.
5. Use Smaller Batches: If you’re making a larger quantity of ice cream, consider dividing it into smaller batches. Smaller batches freeze faster since there is a larger surface area in contact with the freezer bowl. This allows for more efficient heat transfer, resulting in quicker freezing.
6. Pre-Freeze the Mix-In Ingredients: If you’re planning to add mix-ins like chocolate chips, nuts, or fruit to your ice cream, try freezing them beforehand. Mixing in already frozen ingredients will help keep the overall temperature of the mixture lower, aiding in faster freezing.
By implementing these tips, you can reduce the waiting time and enjoy your homemade ice cream sooner. Keep in mind that the exact time required for the freezing process will still vary based on the recipe, ingredients used, and other factors. Experiment and find the techniques that work best for you to get that perfectly frozen ice cream in less time!
Tips for Improving Ice Cream Quality
While the Cuisinart Ice Cream Maker makes it easy to whip up delicious frozen treats, there are a few tips and tricks you can follow to enhance the quality of your homemade ice cream. These tips will help you achieve a smoother texture, richer flavors, and overall better results:
1. Use Quality Ingredients: The quality of your ingredients will directly impact the taste and texture of your ice cream. Opt for fresh, high-quality ingredients like fresh cream, whole milk, and organic fruits for the best results. Using premium vanilla extract or pure cocoa powder can elevate the flavor of your ice cream.
2. Chill the Mixture Thoroughly: Before pouring the ice cream mixture into the machine, make sure it is properly chilled. A well-chilled mixture will freeze faster and result in a smoother texture. Give the mixture enough time in the refrigerator, allowing the flavors to meld together and ensuring a consistent freeze.
3. Add Mix-Ins at the Right Time: If you’re incorporating mix-ins like chocolate chips, nuts, or fruit, add them towards the end of the freezing process. This ensures proper distribution and prevents mix-ins from sinking to the bottom. It also reduces the risk of overmixing, which can lead to a denser texture.
4. Experiment with Flavor Extracts and Additives: Don’t be afraid to add a splash of flavor extracts or other additives to your ice cream. For example, a touch of mint extract or a swirl of caramel sauce can take your ice cream to the next level. However, be mindful of the quantities used to avoid overpowering the base flavor.
5. Allow for Sufficient Freezing Time: While it’s tempting to dig into your ice cream as soon as it reaches a soft-serve consistency, allowing it to firm up in the freezer will improve the texture and enhance the flavors. Transfer the freshly churned ice cream into a lidded container and let it harden in the freezer for a few hours.
6. Store Properly: To maintain the quality of your ice cream, store it in an airtight container in the freezer. This prevents ice crystals from forming and keeps the ice cream’s texture smooth. Avoid frequent temperature fluctuations by keeping the freezer door closed as much as possible.
7. Experiment with Different Recipes: Don’t hesitate to explore various ice cream recipes and flavors. Get creative and try new combinations of fruits, chocolates, or even spices. The more you experiment, the better you’ll understand the nuances of ice cream making and develop your signature creations.
By following these tips, you’ll be able to produce ice cream with superior flavor and texture, rivaling the best ice cream shops. Don’t be afraid to experiment and have fun, as making homemade ice cream is a deliciously enjoyable process!
Conclusion
In conclusion, the Cuisinart Ice Cream Maker is a fantastic appliance that allows you to indulge in the delightful world of homemade ice cream. With its user-friendly design and versatility, it brings the joy of creating your own frozen treats right into your kitchen.
Throughout this guide, we have explored the factors that affect ice cream making time, such as the temperature of the freezer bowl, the ice cream mixture, and the room temperature. By understanding these factors, you can plan and adjust your ice cream making process to achieve the desired results.
The preparation of the ice cream mixture is a crucial step, as proper chilling and careful ingredient selection contribute to the overall quality of the ice cream. Additionally, the freezing stage requires patience and monitoring to achieve the desired consistency.
If you’re looking to speed up the freezing process, you can follow some helpful tips such as pre-chilling ingredients, freezing the bowl in advance, using a cold environment, increasing churning speed, using smaller batches, and pre-freezing mix-ins.
Finally, for an enhanced ice cream experience, we provided tips for improving the overall quality of your homemade ice cream. By using quality ingredients, chilling the mixture thoroughly, adding mix-ins at the right time, experimenting with flavor extracts and additives, allowing for sufficient freezing time, and storing the ice cream properly, you can create ice cream with superior taste and texture.
So, grab your Cuisinart Ice Cream Maker, choose your favorite flavors, and get creative with different recipes. With a little patience, practice, and these helpful tips, you’ll be enjoying delicious, homemade ice cream that rivals the best ice cream parlors in no time!