Benefits of Using an Ice Cream Maker
There’s nothing quite like the taste of homemade ice cream on a hot summer day. While you can always buy pre-packaged ice cream from the store, using an ice cream maker brings a whole new level of enjoyment to the experience. Here are some of the key benefits of using an ice cream maker:
- Customization: One of the biggest advantages of making your own ice cream is the ability to customize it to your liking. With an ice cream maker, you have control over the ingredients, flavors, and mix-ins. Whether you prefer classic flavors like vanilla and chocolate or want to try out unique combinations like lavender-honey or mint-chocolate chip, the choices are endless.
- Freshness: When you make ice cream at home, you have complete control over the freshness of the ingredients you use. You can use high-quality and organic ingredients for a healthier and more satisfying treat. Plus, you can avoid any artificial additives or preservatives that are often found in store-bought ice creams.
- Creative experimentation: An ice cream maker allows you to unleash your creativity in the kitchen. You can experiment with different flavors, textures, and mix-ins to create your own signature ice cream creations. From adding chunks of your favorite cookies or candies to incorporating fruits, nuts, or even spices, the possibilities for unique and delicious ice cream are endless.
- Cost-effective: While investing in an ice cream maker might seem like a significant expense at first, it can actually save you money in the long run. Store-bought premium ice creams can be quite expensive, especially for gourmet or specialty flavors. By making your own ice cream at home, you can enjoy high-quality treats at a fraction of the cost.
- Fun-filled activity: Making ice cream with an ice cream maker can be a fun and engaging activity for the whole family. It provides an opportunity to bond with loved ones, especially children, as they can help with the mixing and adding ingredients. It’s a wonderful way to spend quality time together and create lasting memories.
Overall, using an ice cream maker offers numerous benefits, including the ability to customize flavors, use fresh ingredients, unleash your creativity, save money, and enjoy a fun-filled activity. So why settle for store-bought when you can easily create delicious, homemade ice cream with an ice cream maker?
How an Ice Cream Maker Works
Ever wondered how an ice cream maker can turn a few simple ingredients into a creamy and delightful frozen treat? Let’s take a closer look at the fascinating process of how an ice cream maker works:
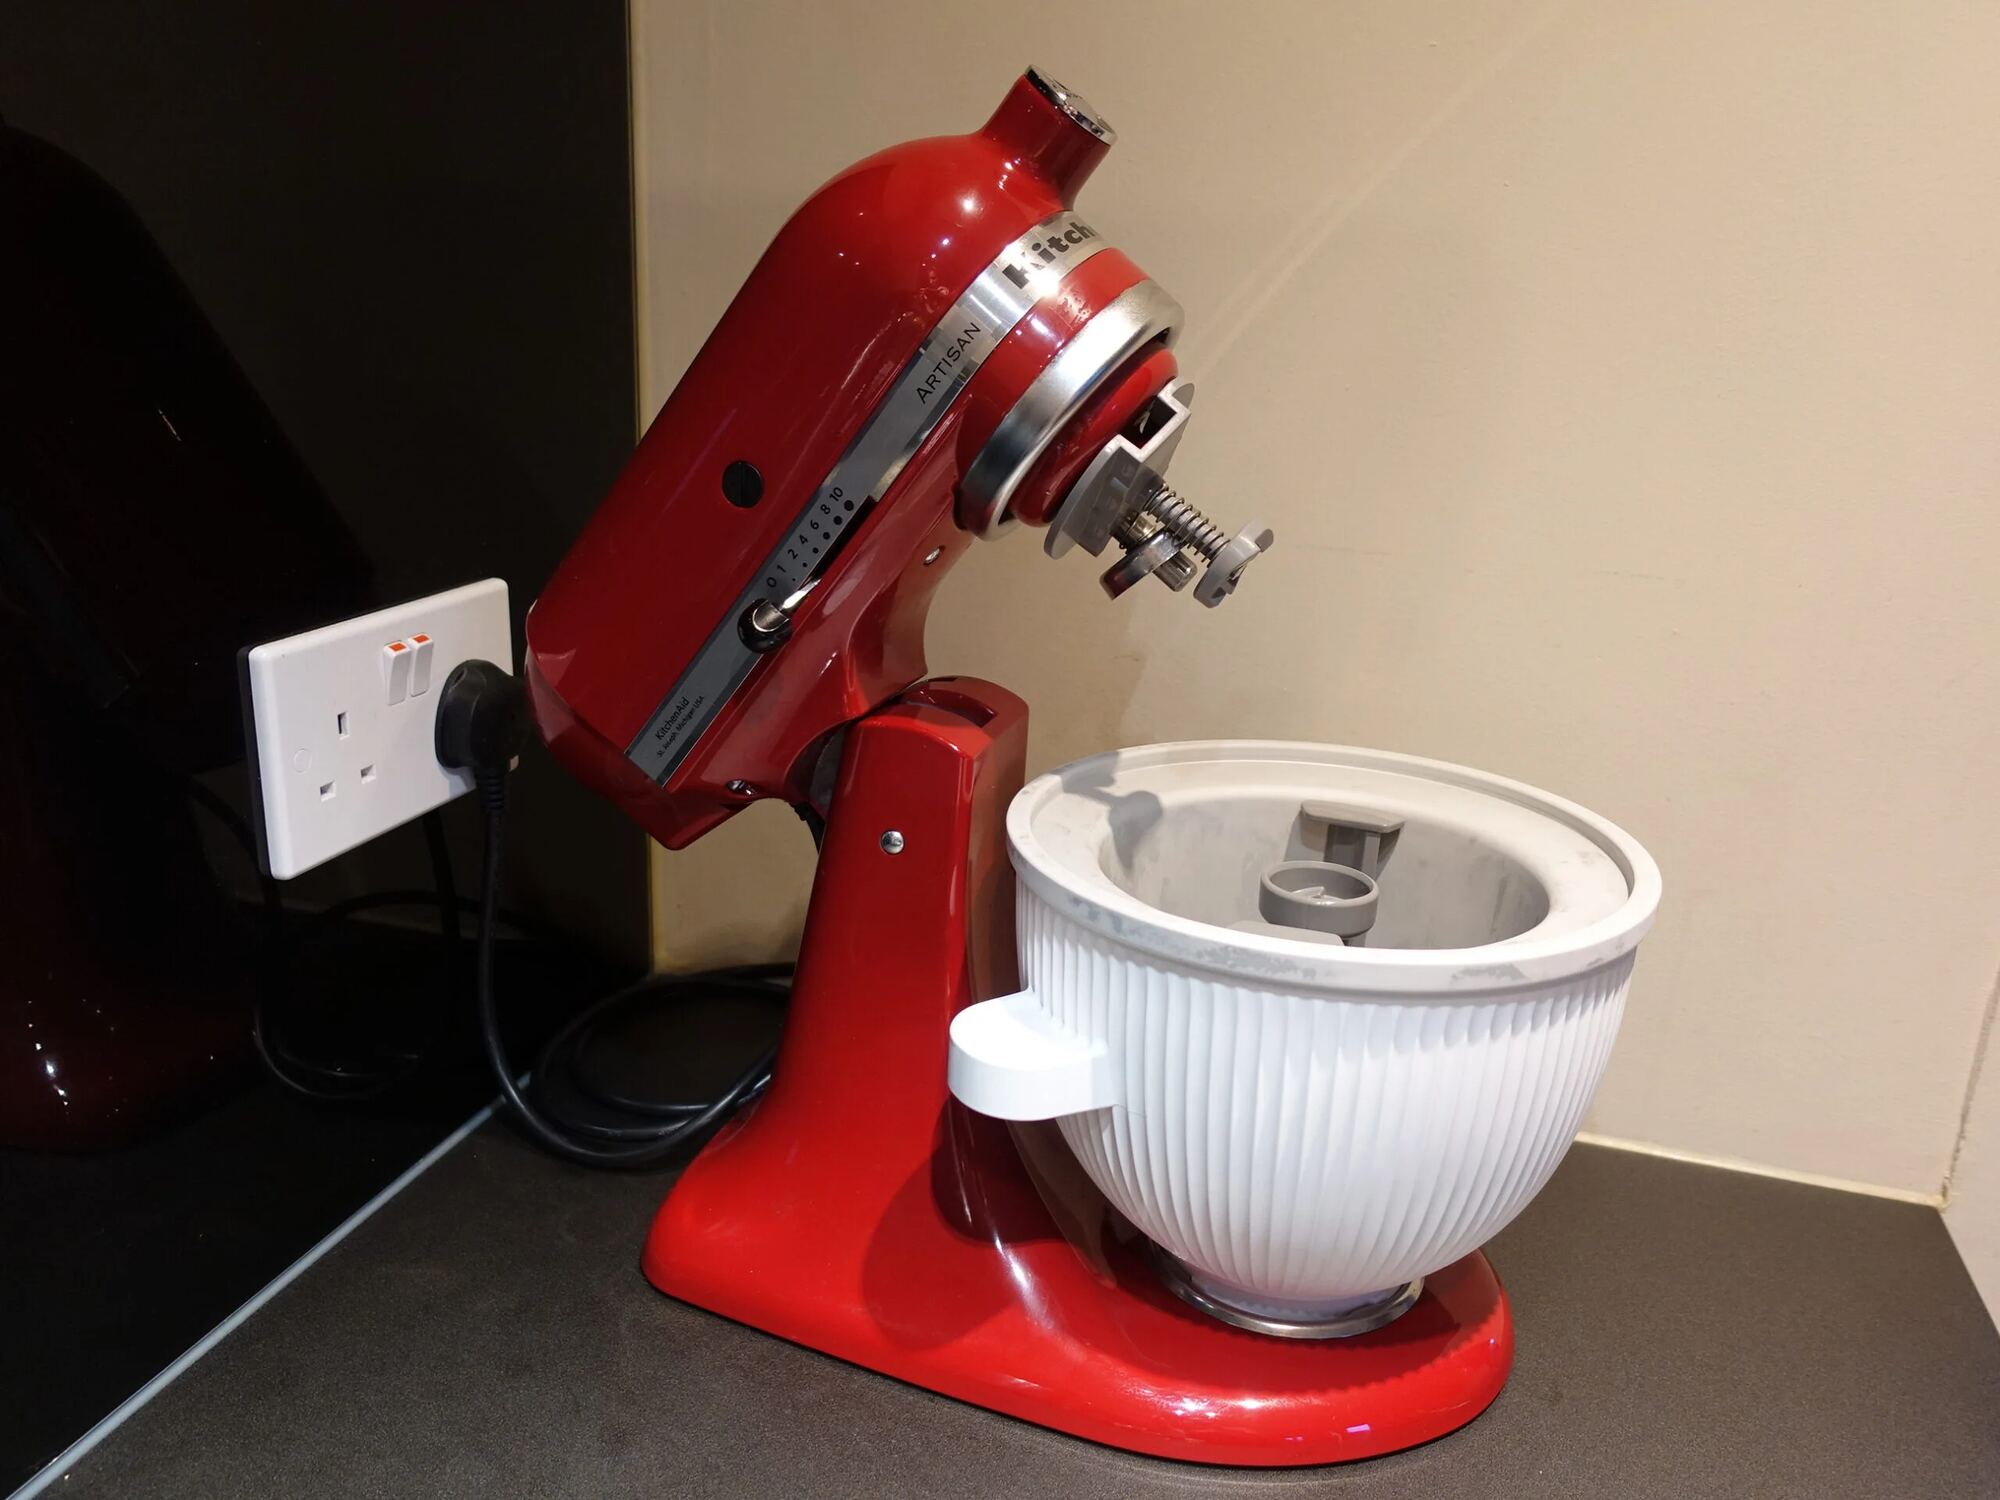
An ice cream maker consists of a few key components that work together to create the perfect texture and consistency of ice cream. These components typically include a freezing bowl, a paddle or dasher, and a motorized base. The freezing bowl is the crucial element that helps to freeze the ice cream mixture.
The first step in using an ice cream maker is to properly freeze the bowl in advance. The bowl needs to be placed in the freezer for a minimum of 12 hours, or as specified by the manufacturer. By freezing the bowl, it creates a cold environment to rapidly freeze the mixture when it comes into contact.
Once the bowl is thoroughly frozen, it is then time to prepare the ice cream mixture. This involves combining ingredients such as cream, milk, sugar, and any desired flavorings or mix-ins. The mixture is typically whisked together until all the ingredients are well incorporated.
Next, the freezing bowl is removed from the freezer and placed onto the motorized base of the ice cream maker. The paddle or dasher is then inserted into the freezing bowl, ready to churn the mixture. The motor is activated, causing the paddle to rotate slowly.
As the paddle turns, it continuously scrapes the sides of the bowl, incorporating air into the mixture and breaking up ice crystals that form as the mixture freezes. This constant movement and air incorporation help create the smooth and creamy texture characteristic of ice cream.
Over time, as the mixture continues to churn, it begins to freeze around the edges of the bowl. The paddle ensures that the frozen mixture is constantly mixed back into the liquid portion, preventing large ice crystals from forming.
The freezing process typically takes around 20 to 30 minutes, although this can vary depending on the specific ice cream maker model, the amount of mixture, and the desired consistency of the ice cream. The result is a soft-serve-like consistency that can be enjoyed immediately or transferred to a container for further freezing to achieve a firmer texture.
Overall, an ice cream maker works by rapidly freezing the mixture while continuously agitating it to incorporate air and prevent large ice crystals from forming. This process results in homemade ice cream with a smooth and creamy texture that is sure to satisfy any ice cream lover’s cravings.
Factors That Affect Freezing Time
When using an ice cream maker, the freezing time can vary depending on several factors. Understanding these factors can help you plan and adjust your expectations for how long it will take to freeze your ice cream to the desired consistency. Here are the key factors that can affect freezing time:
- Mixture temperature: The initial temperature of your ice cream mixture plays a significant role in the freezing time. If your mixture is already chilled before pouring it into the ice cream maker, it will freeze faster compared to a mixture that is at room temperature. It’s recommended to refrigerate your mixture for a few hours before using the ice cream maker.
- Freezing bowl temperature: The temperature of the freezing bowl is critical to the freezing process. Ensure that it has been properly frozen for the recommended time stated in the ice cream maker’s instructions. If the freezing bowl is not adequately frozen, it will take longer for the mixture to freeze, resulting in a longer freezing time.
- Batch size: The volume of ice cream mixture that you pour into the freezing bowl can affect the freezing time. Larger batches will require more time to freeze compared to smaller batches. It’s important not to overfill the freezing bowl, as this can impede the freezing process and result in inconsistent freezing.
- Ice cream maker model: Different ice cream maker models have varying freezing capabilities. Some models have more powerful motors or better insulation, which can speed up the freezing process. It’s recommended to refer to the manufacturer’s guidelines for the estimated freezing time specific to your ice cream maker.
- Room temperature: The ambient temperature of the room can affect the freezing time. If the room is warmer, it can slow down the freezing process, requiring more time to freeze the ice cream mixture. It’s best to choose a cool and well-ventilated area to set up your ice cream maker.
By taking these factors into account, you can better estimate the freezing time for your homemade ice cream. Keep in mind that the freezing time can range from 20 to 30 minutes, but it may take longer depending on the aforementioned variables. Remember to periodically check the consistency of the ice cream during the freezing process to achieve the desired texture.
Types of Ice Cream Makers
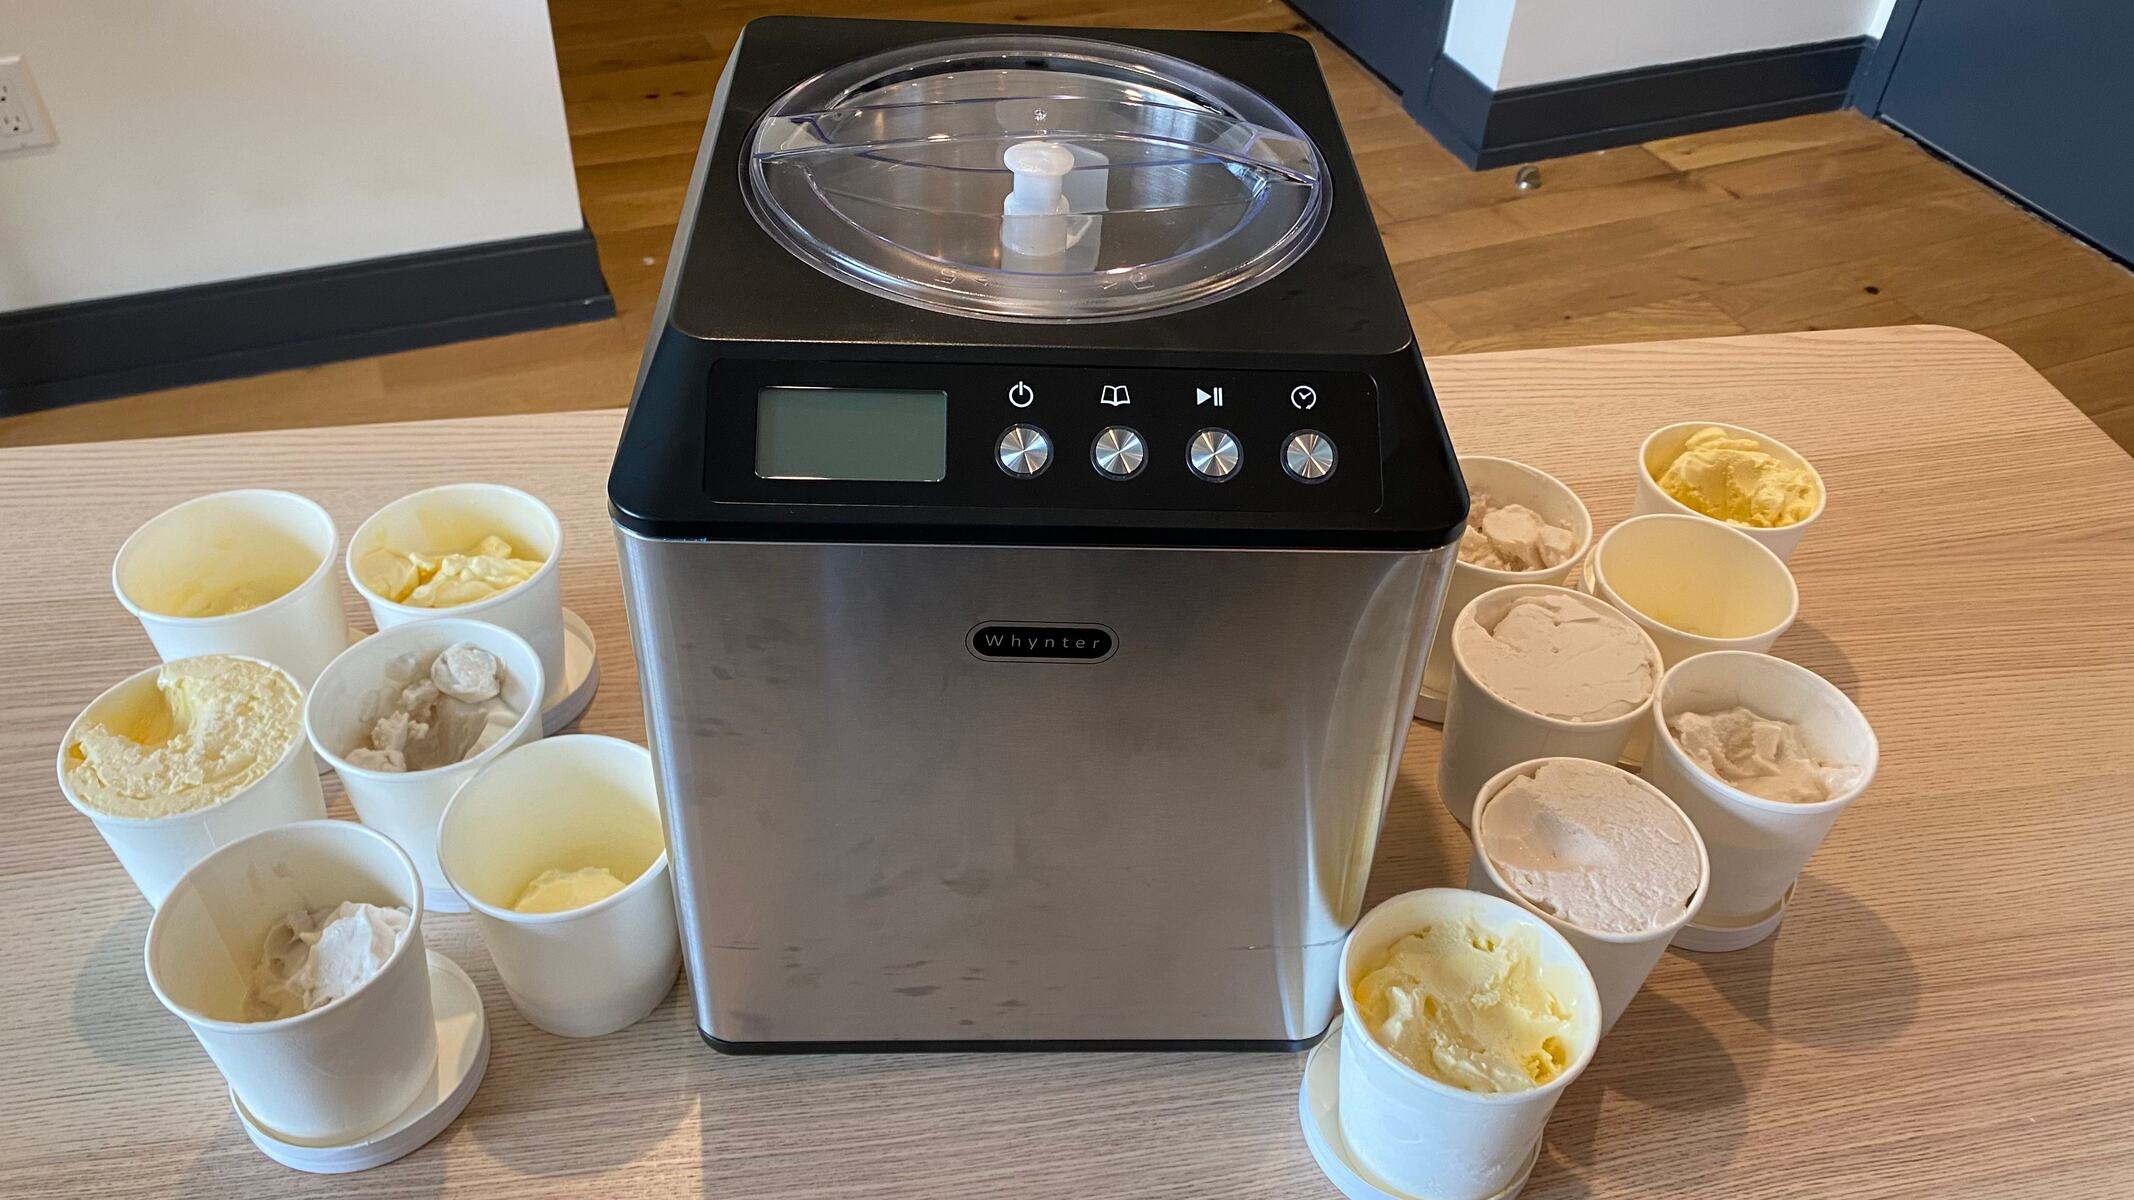
When it comes to making homemade ice cream, there are several types of ice cream makers to choose from. Each type has its own unique features and advantages, allowing you to find the perfect one that suits your needs and preferences. Here are the main types of ice cream makers:
- Freezer Bowl Ice Cream Maker: This is the most popular and affordable type of ice cream maker for home use. It consists of a freezing bowl that needs to be pre-frozen before use. The ice cream mixture is poured into the frozen bowl, and a paddle or dasher attaches to the motorized base to churn the mixture as it freezes. Freezer bowl ice cream makers are easy to use and produce excellent results, but they require pre-planning as the bowl needs to be frozen for an extended period before use.
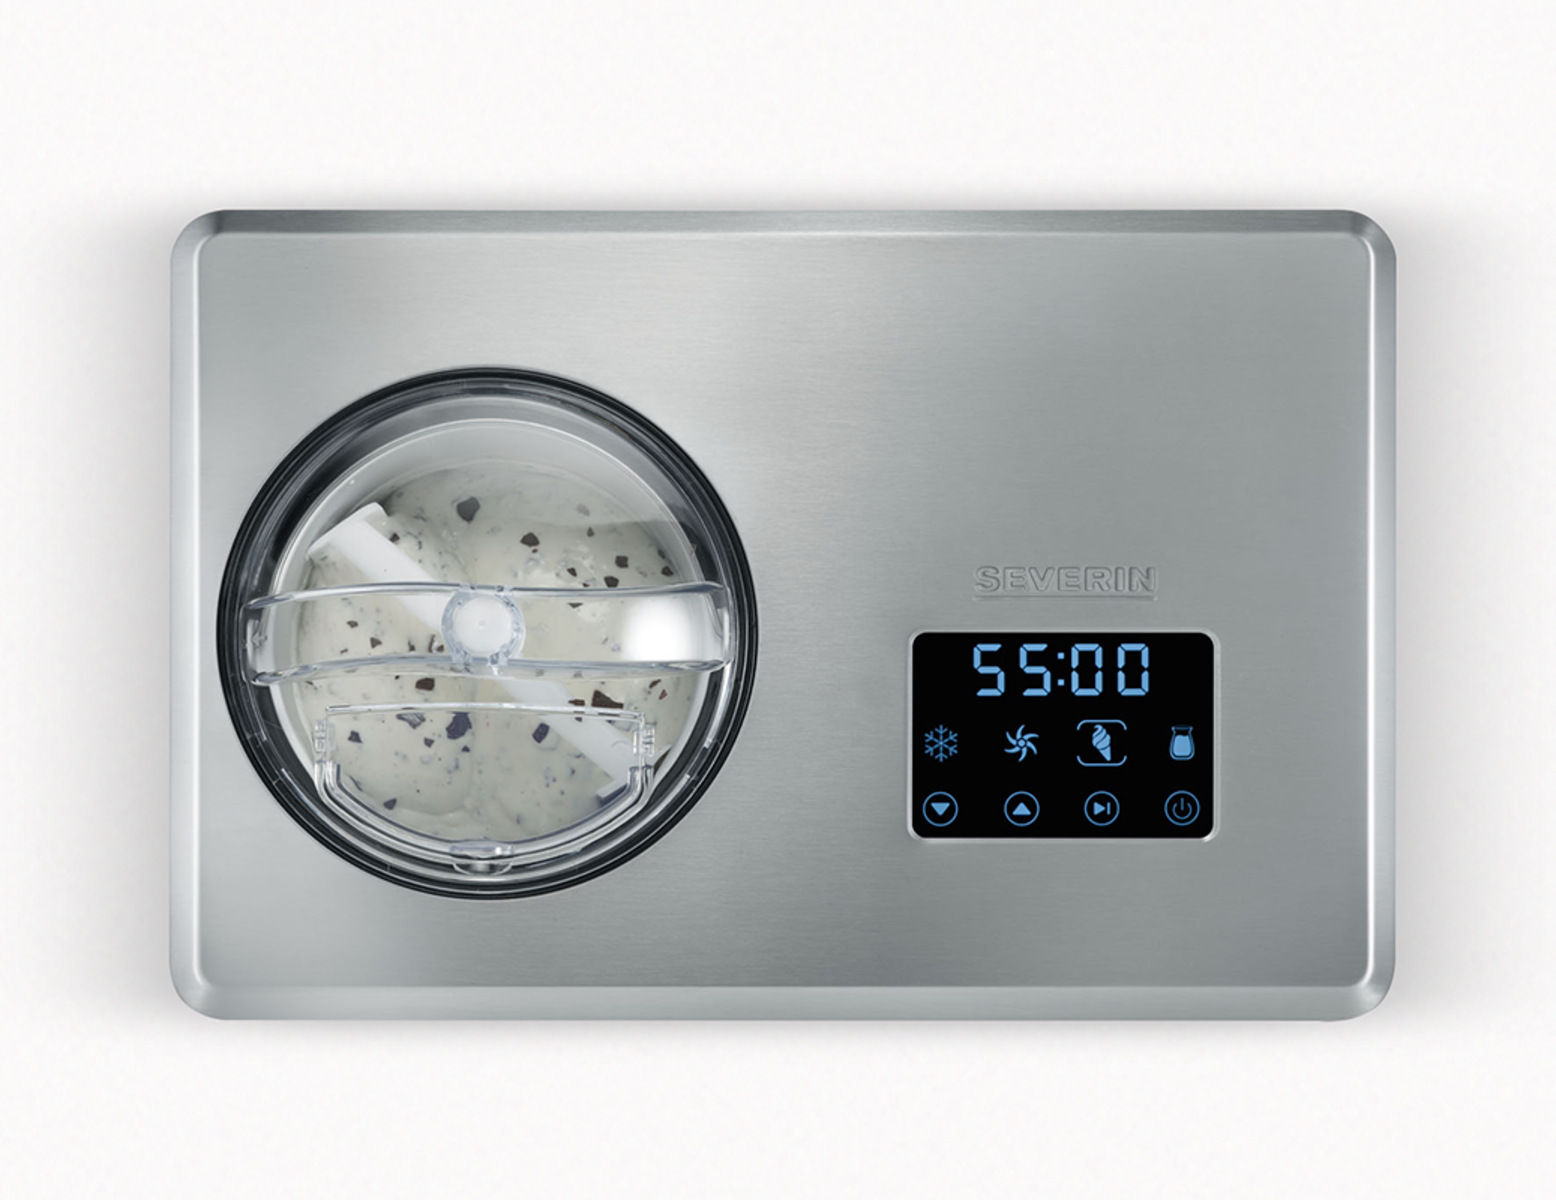
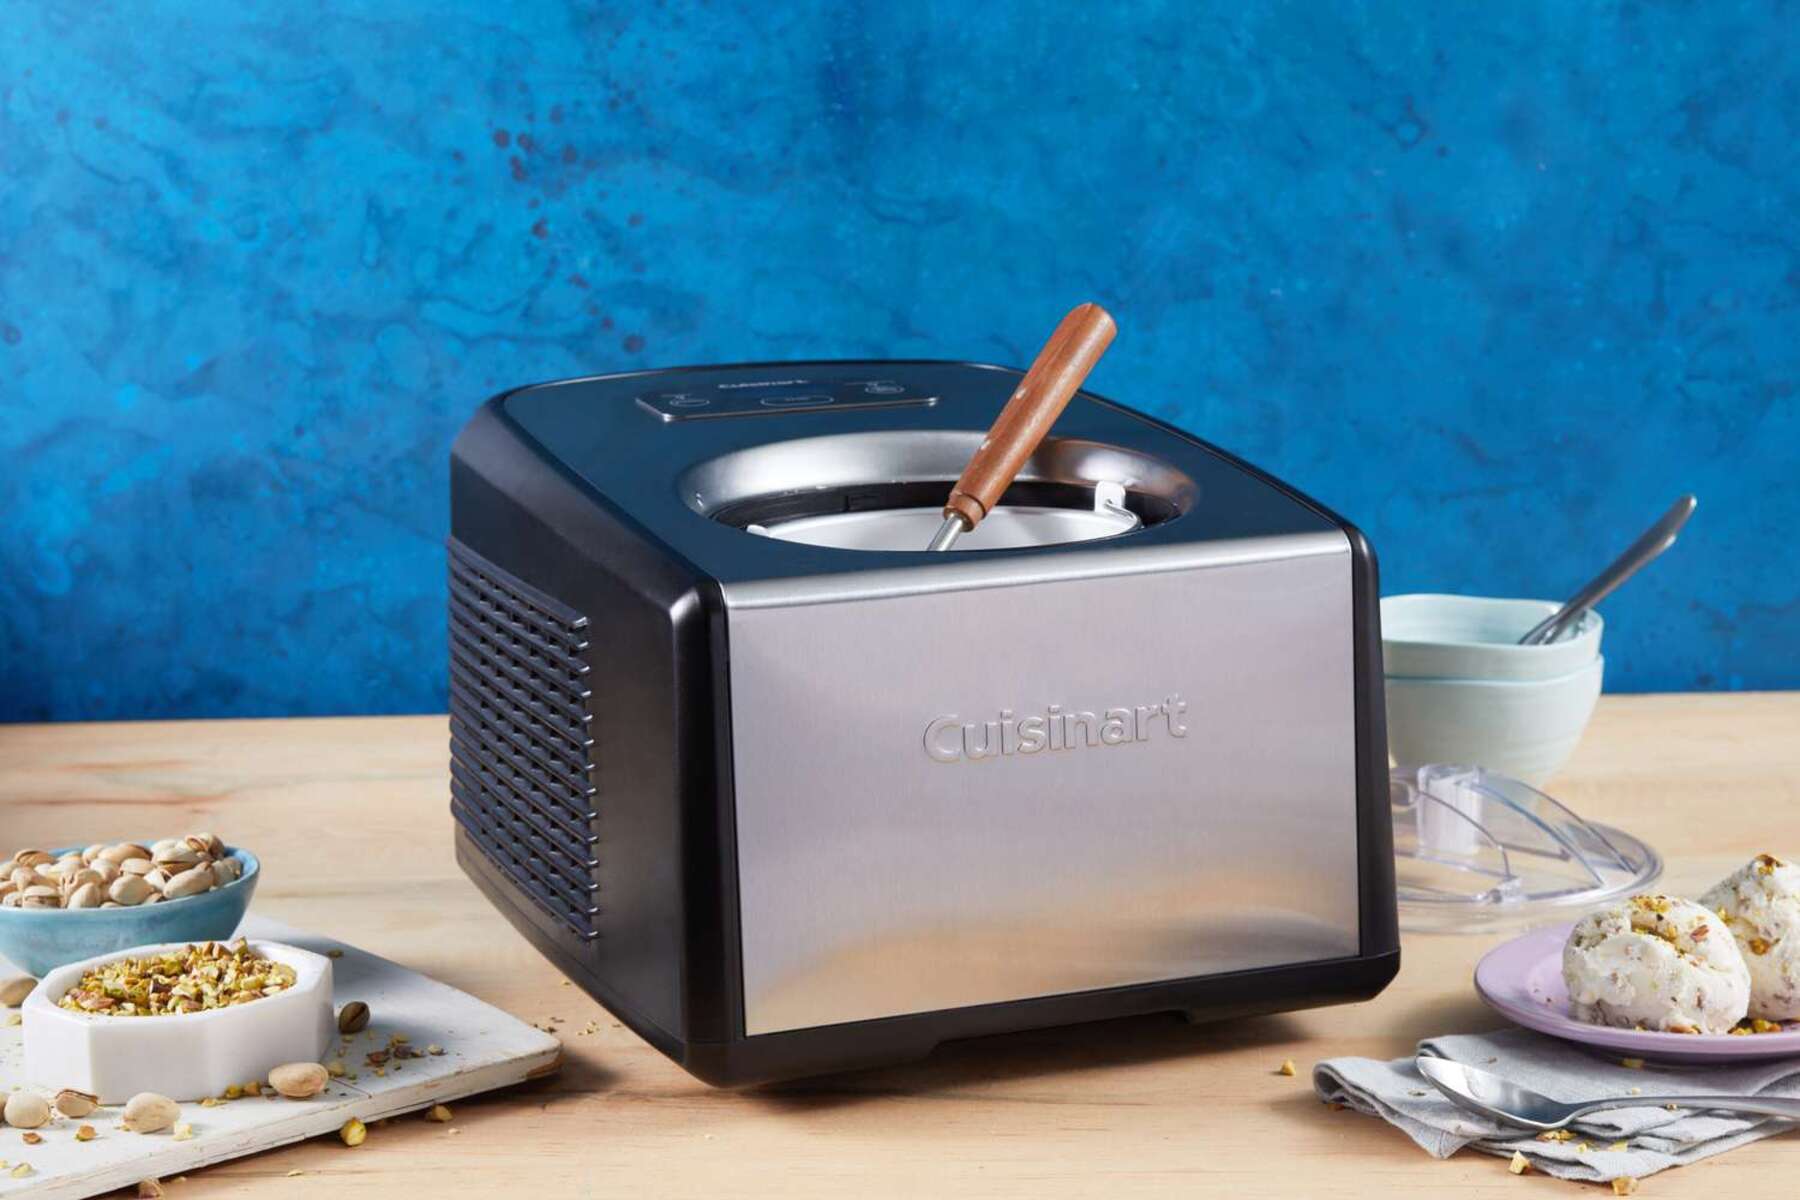
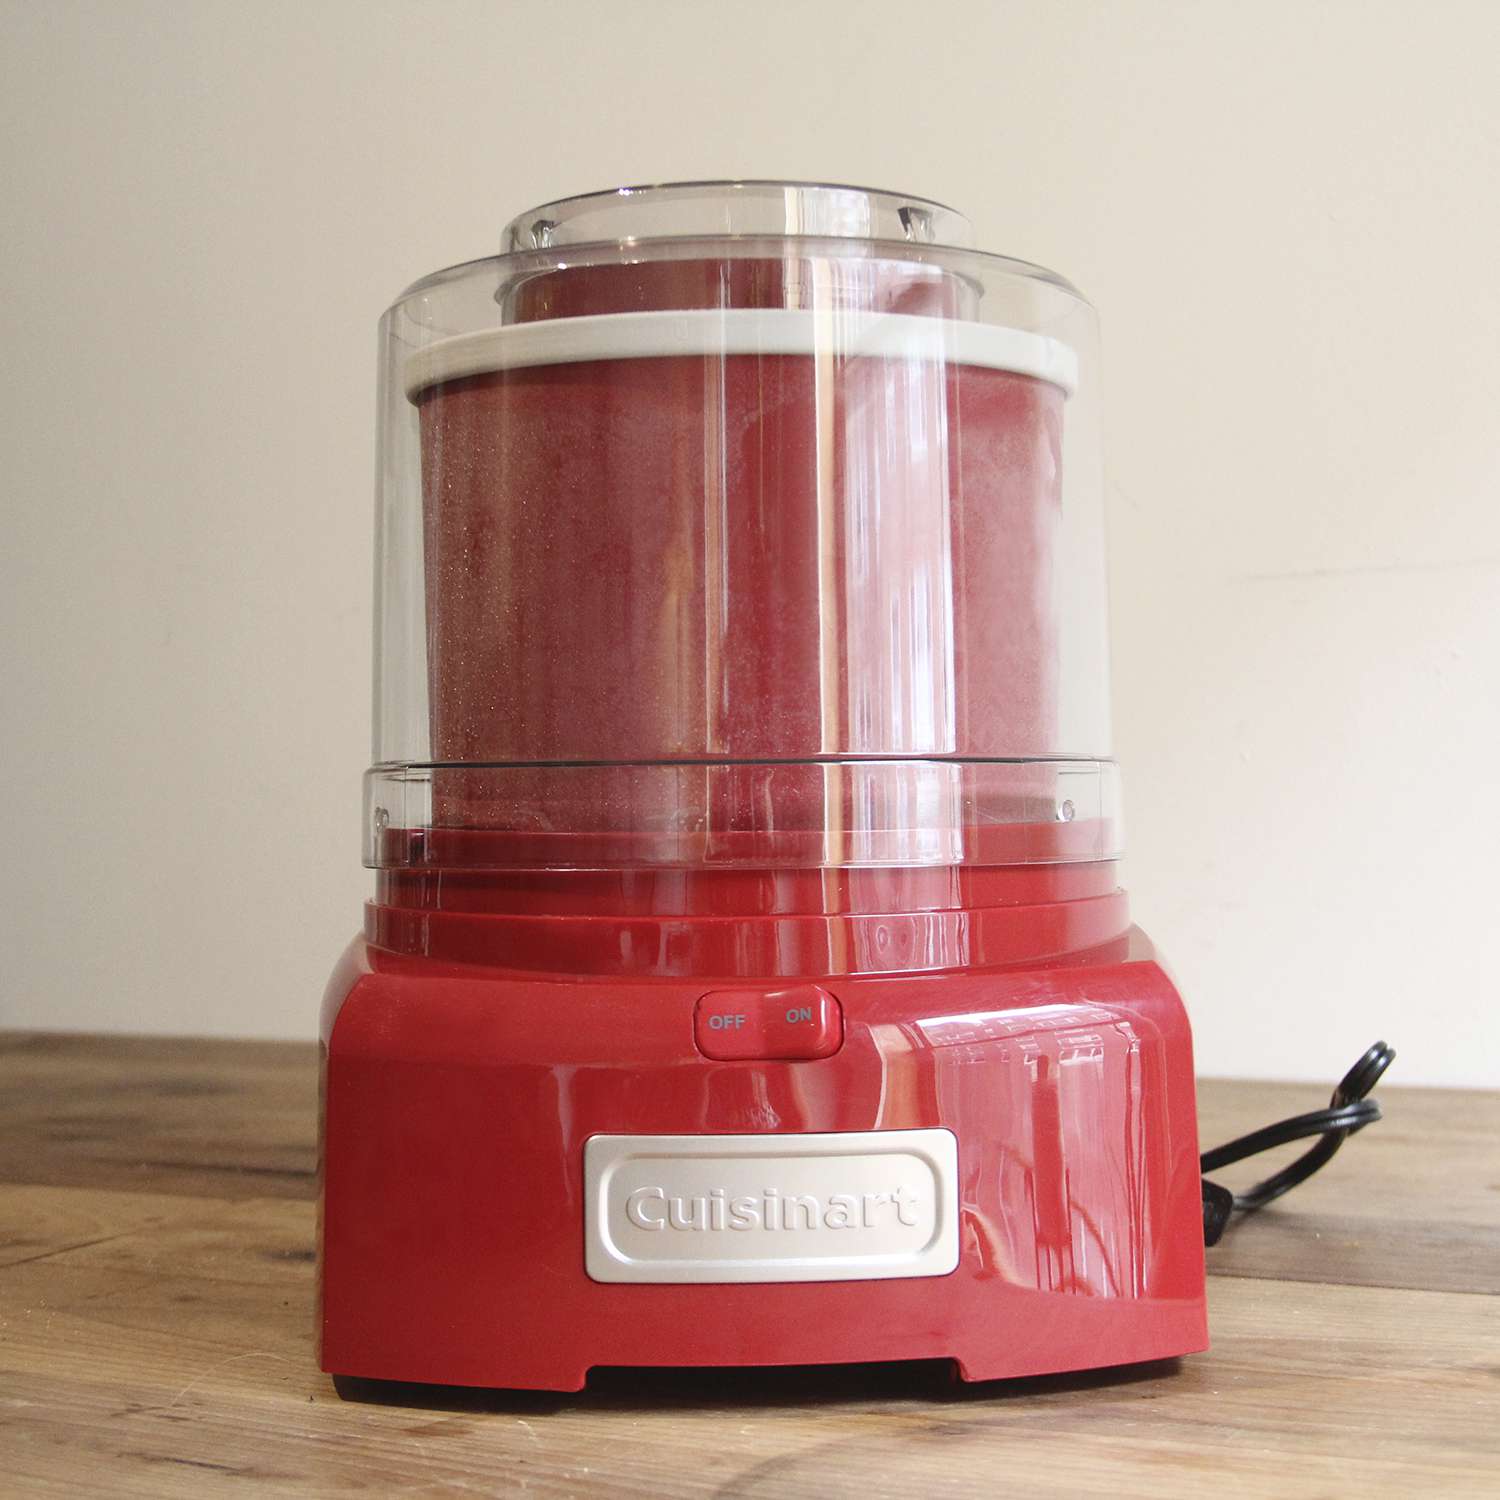
- Compressor Ice Cream Maker: Unlike freezer bowl ice cream makers, compressor ice cream makers have built-in refrigeration units. This means that you don’t need to pre-freeze any bowls or wait for the bowl to thaw between batches. Compressor ice cream makers offer convenience and efficiency, as they can make batch after batch of ice cream without any waiting time. However, they tend to be larger and more expensive than freezer bowl models.
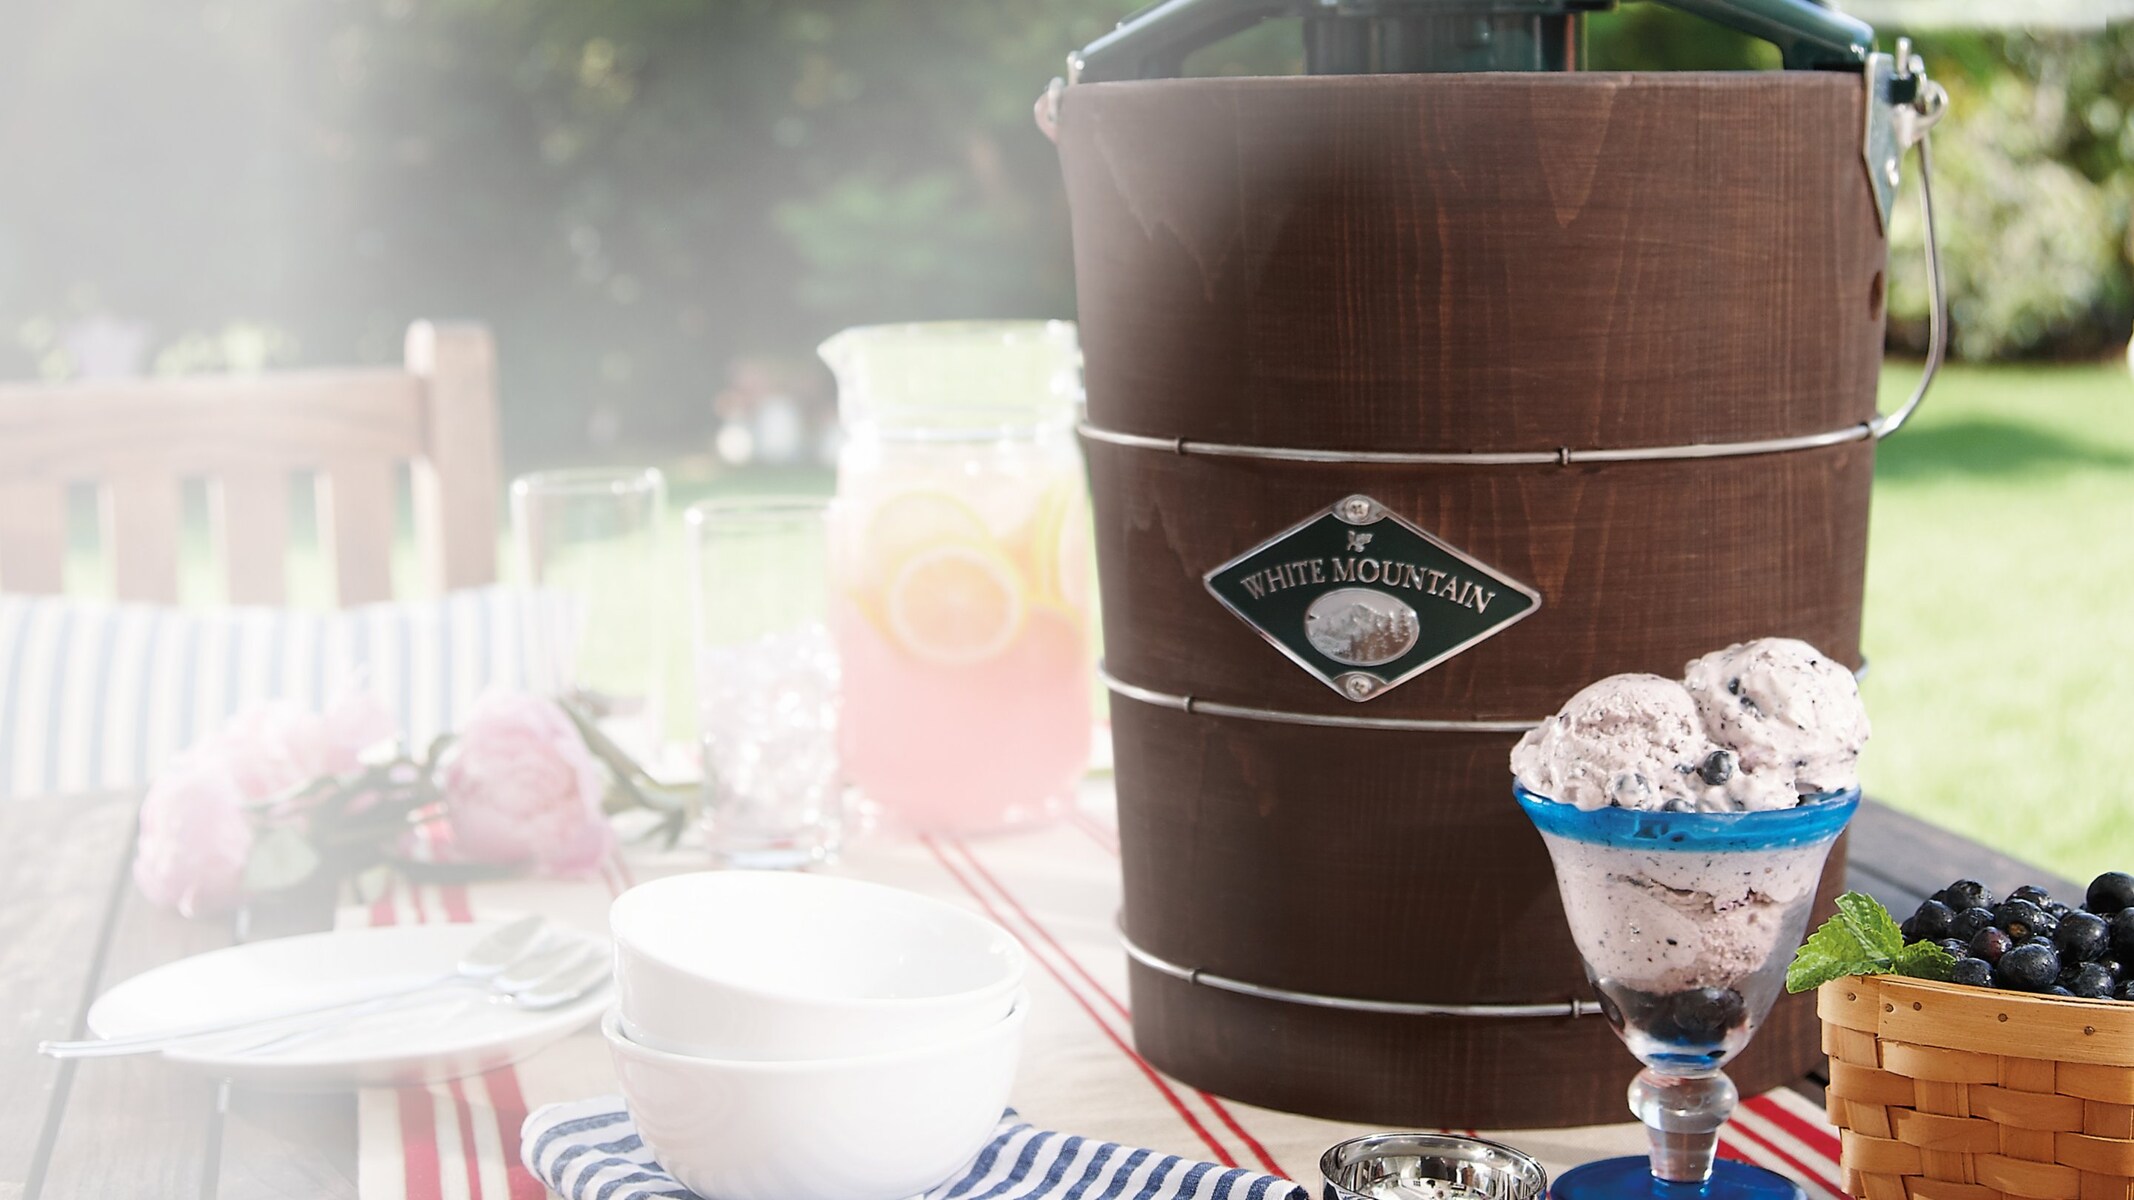
- Manual Rock Salt and Ice Ice Cream Maker: These traditional ice cream makers are reminiscent of the good old days. They consist of a large outer bucket filled with ice and rock salt, which creates a brine solution that cools the inner canister. The ice cream mixture is poured into the canister, and a manual crank is used to churn the mixture as the ice and salt mixture freezes it. While these manual ice cream makers require some effort and physical labor, they provide a nostalgic experience and can be fun to use for special occasions.
- Soft Serve Ice Cream Machine: Soft serve ice cream machines are commonly found in commercial establishments, but there are also smaller versions available for home use. These machines have a built-in freezer and churn the ice cream mixture while dispensing it in a soft, creamy consistency. Soft serve ice cream machines are great for those who prefer a lighter and smoother texture and enjoy the convenience of easily serving soft serve ice cream or creating swirls and cones.
- Gelato Maker: Gelato makers are specifically designed to make gelato, which is an Italian-style ice cream. These machines have a slower churning speed compared to regular ice cream makers, resulting in a denser and creamier gelato texture. Gelato makers often have a built-in freezing mechanism and can create gelato with authentic Italian flavors and smooth consistency.
Each type of ice cream maker offers its own advantages, so consider your preferences, budget, and desired features when choosing one. Whether you opt for a traditional freezer bowl ice cream maker, a compressor model for convenience, a manual rock salt and ice maker for a nostalgic touch, a soft serve machine for a lighter texture, or a gelato maker for authentic Italian gelato, you can enjoy the satisfaction of making delicious homemade ice cream anytime you desire.
How Long Does an Ice Cream Maker Take to Freeze?
The freezing time for an ice cream maker can vary depending on several factors, including the type of ice cream maker, the temperature of the ingredients, and the desired consistency of the ice cream. While there is no one-size-fits-all answer, here are some general guidelines to give you an idea of how long it might take:
Freezer Bowl Ice Cream Makers: These are the most common types of ice cream makers for home use. The freezing bowl needs to be pre-frozen for several hours, typically 12-24 hours, before using it. Once the freezing bowl is adequately frozen and the ice cream mixture is poured in, the churning process usually takes around 20-30 minutes. However, it’s important to note that the freezing time can vary depending on factors such as the room temperature, the ingredients used, and the specific model of the ice cream maker.
Compressor Ice Cream Makers: Unlike freezer bowl models, compressor ice cream makers have built-in refrigeration units, eliminating the need for pre-freezing the bowl. These machines can freeze the ice cream mixture as it churns, allowing for continuous batch-making without any waiting time. The freezing time for compressor ice cream makers is generally shorter, and the ice cream can reach the desired consistency in around 20-40 minutes. The exact time may vary depending on factors such as the desired texture and the recipe used.
Manual Rock Salt and Ice Ice Cream Makers: These traditional ice cream makers require more time and effort compared to other types. The freezing time can range from 30 minutes to an hour or more. It involves manually cranking the handle to churn the mixture while the ice and rock salt mixture freezes it. The freezing time can be influenced by the amount of ice, rock salt, and the speed at which the handle is turned.
Soft Serve Ice Cream Machines: Soft serve machines are designed to deliver ice cream in a soft, creamy texture. The freezing time for these machines is typically shorter, averaging around 10-20 minutes. The specific time may vary depending on the machine’s capacity, the recipe used, and the desired softness of the ice cream.
Gelato Makers: Gelato makers have a slower churning speed compared to regular ice cream makers, resulting in a denser and creamier texture. The freezing time for gelato can range from 20-40 minutes, depending on the specific recipe and the desired consistency of the gelato.
It’s important to keep in mind that these times are approximate and can vary depending on various factors. It’s recommended to refer to the instructions provided by the manufacturer of your specific ice cream maker for more accurate freezing time guidelines. Additionally, periodically check the consistency of the ice cream during the freezing process to ensure it reaches your desired texture before removing it from the machine.
Tips to Speed up Freezing Time
Waiting for ice cream to freeze can feel like an eternity, especially when you’re eagerly anticipating a cool and creamy treat. Luckily, there are several tips and techniques you can employ to help speed up the freezing time of your ice cream. Here are some helpful suggestions:
- Pre-chill your ingredients: Before you make your ice cream mixture, ensure that the ingredients, particularly the dairy components like cream and milk, are properly chilled in the refrigerator. Using cold ingredients will help the mixture cool down faster once it’s poured into the ice cream maker.
- Chill the ice cream maker’s components: Follow the manufacturer’s instructions and make sure to pre-freeze the mixing bowl or canister for the recommended amount of time. Additionally, consider chilling any removable parts of the ice cream maker, such as the paddle or dasher, before using them. Cooler components will help facilitate faster freezing.
- Optimize batch size: Avoid overfilling the freezing bowl or canister with too much ice cream mixture. It’s crucial to leave enough room for the mixture to expand as it churns. A smaller batch size will freeze quicker and result in a more consistent texture in your ice cream.
- Divide and conquer: If you need to make multiple batches of ice cream, it can be helpful to divide the mixture into smaller portions. By making smaller batches, you can cool and freeze each one independently, allowing for faster freezing times and reducing overall wait time.
- Use a colder environment: Choose a cool and well-ventilated area to set up your ice cream maker. Avoid placing it in direct sunlight or near a heat source. Lower ambient temperatures will promote faster freezing and better consistency in your ice cream.
- Add an ice bath: For freezer bowl ice cream makers, consider placing the freezing bowl in an ice water bath before using it. This will help lower the temperature of the bowl further and speed up the freezing process once the ice cream mixture is added.
- Use an instant ice cream maker: Instant ice cream makers, such as those that use liquid nitrogen, can rapidly freeze your ice cream mixture in a matter of seconds. These machines provide an efficient and fun way to enjoy homemade ice cream almost instantly.
- Pre-freeze mix-ins: If you plan to add mix-ins like chocolate chips, nuts, or fruits to your ice cream, pre-freeze them before adding them to the mixture. This will prevent them from causing the temperature to rise too much and delay the freezing process.
Remember that while these tips can help speed up freezing time, it’s important not to rush the process too much. Properly freezing and churning the ice cream will ensure that it has the right texture and consistency. Enjoy experimenting with these tips to expedite your ice cream freezing process and indulge in your homemade frozen treats even faster.
How to Test If Ice Cream is Fully Frozen
No one wants to serve or indulge in improperly frozen ice cream that is too soft or partially frozen. To ensure that your homemade ice cream has reached the perfect level of frozen goodness, here are a few simple methods to test if it is fully frozen:
- Visual inspection: Start by visually inspecting the ice cream. It should appear firm and hold its shape without any visible liquid pooling around the edges. It should also have a smooth and creamy texture, free from any icy or grainy consistency.
- The spoon test: Insert a clean spoon into the center of the ice cream and then remove it. The spoon should come out with a thick coating of frozen ice cream. If the ice cream still appears runny or liquid-like on the spoon, it needs more time to freeze.
- The finger swipe test: Gently swipe your fingertip across the surface of the ice cream. If it leaves a clean and defined mark without any lingering liquid or melting edges, it is a good indication that the ice cream has fully frozen.
- The tilt test: Tilt the container or ice cream maker slightly to one side. If the ice cream moves as one cohesive mass without any significant liquid separation, it is a sign that the ice cream has reached the desired level of freezing.
- Timing: Depending on the type of ice cream maker and the specific recipe, the recommended freezing time can range from 20 to 40 minutes. Keep track of the time and allow the ice cream to freeze according to the instructions provided. If it has been frozen for the suggested duration and meets the visual and texture criteria, it is likely fully frozen.
- The taste test: It’s always a good idea to sneak a small taste to confirm the freezing level of your ice cream. Fully frozen ice cream should have a smooth and creamy texture that melts evenly in your mouth. If it feels too soft or lacks the desired consistency, it may need a bit more time in the freezer.
It’s important to note that these tests are meant to guide and assist you in determining if your ice cream is fully frozen. Variations in recipes, ingredients, and freezing conditions may affect the precise timing and consistency of your ice cream. Use a combination of these tests to ensure that your ice cream is ready to be enjoyed, and adjust the freezing time accordingly if necessary.
Common Mistakes to Avoid
When making homemade ice cream, it’s important to be aware of some common mistakes that can affect the quality, texture, and taste of your frozen treat. By avoiding these pitfalls, you’ll be well on your way to creating delicious ice cream every time. Here are some common mistakes to watch out for:
- Not properly chilling ingredients: Failing to chill the ingredients, especially the dairy components like cream and milk, can result in a longer freezing time and affect the overall texture of the ice cream. Make sure to refrigerate the ingredients before using them.
- Overfilling the ice cream maker: Pouring too much ice cream mixture into the freezing bowl or canister can impede the freezing process and lead to inconsistent freezing. It’s important to leave enough room for the mixture to expand as it churns.
- Not freezing the bowl or canister long enough: For freezer bowl ice cream makers, not freezing the bowl for the recommended time can significantly affect the freezing time and result in softer ice cream. Always follow the manufacturer’s instructions and give the freezing bowl enough time to properly freeze.
- Adding mix-ins too early: If you’re planning to add mix-ins like chocolate chips or cookie dough, make sure to add them during the last few minutes of the churning process. Adding them too early can disrupt the freezing process and prevent the ice cream from properly setting.
- Using too much sugar or fat: While sugar and fat are essential for achieving a creamy texture in ice cream, using excessive amounts can lead to an overly sweet or greasy result. It’s important to follow the recipe and measure the ingredients accurately.
- Not properly sealing the container: When transferring the ice cream to a storage container, make sure it is tightly sealed to prevent ice crystals from forming. This will help maintain the texture and quality of the ice cream during freezing.
- Not allowing enough time for the ice cream to firm up in the freezer: After churning, it’s tempting to dig into the freshly made ice cream immediately. However, it’s crucial to give it enough time to firm up in the freezer. Ideally, let it freeze for a few hours or overnight for the best texture and scoopability.
- Storing the ice cream improperly: Improper storage can result in ice cream that is too hard or develops freezer burn. Always store your ice cream in an airtight container, ideally one with a lid, to prevent air and moisture from affecting its quality.
By avoiding these common mistakes, you can ensure that your homemade ice cream turns out perfectly. Pay attention to the details, follow the recipe closely, and be patient during the freezing and storage process. With practice and attention to these pointers, you’ll be able to enjoy consistently delicious and creamy homemade ice cream.