Introduction
Ice cream is a beloved treat enjoyed by people of all ages around the world. Whether it’s a hot summer day or you simply have a craving for something sweet, making your own homemade ice cream can be a delightful and rewarding experience. It allows you to customize flavors, control ingredient quality, and experiment with various combinations.
If you’re eager to embark on the journey of making ice cream at home, you may be wondering what you need to get started. One essential tool that can make the process easier and more enjoyable is an ice cream maker ball. This innovative device takes the traditional ice cream-making method and adds a touch of fun and convenience.
In this article, we will explore the key elements you need to make ice cream using an ice cream maker ball. From the equipment needed to the ingredients and steps involved, you’ll be well-prepared to create your own frozen treats right in the comfort of your own kitchen.
So, are you ready to delve into the wonderful world of homemade ice cream? Let’s get started!
Ingredients
Before you can start making ice cream in an ice cream maker ball, you need to gather the necessary ingredients. While there are countless flavor variations and add-ins you can choose from, here are the basic ingredients you’ll need for a classic ice cream recipe:
- Milk: The base of most ice cream recipes is milk, which provides a creamy and smooth texture. You can choose between whole milk, 2% milk, or even non-dairy alternatives like almond milk or coconut milk.
- Heavy Cream: Adding heavy cream to your ice cream mixture contributes to its richness and indulgent flavor. It is responsible for the luxurious and velvety mouthfeel that we associate with ice cream.
- Sugar: Sweetness is a crucial element in ice cream. Granulated sugar is typically used, but you can also experiment with alternative sweeteners like honey or maple syrup.
- Vanilla Extract: For a classic vanilla ice cream, a few drops of vanilla extract are essential. This ingredient adds depth and a warm, aromatic flavor to the ice cream.
- Salt: Although it may seem counterintuitive, a pinch of salt actually enhances the sweetness of the ice cream and helps to balance the flavors.
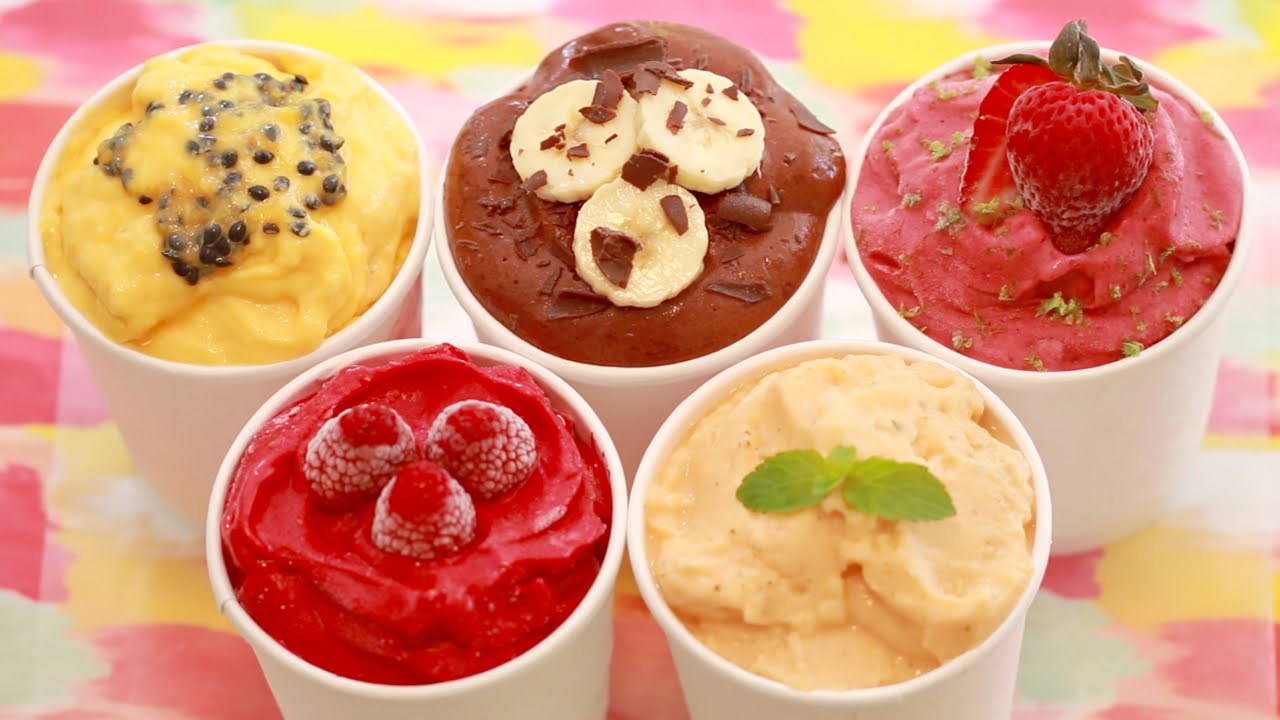
These ingredients serve as the foundation for your ice cream recipe, but don’t be afraid to get creative and add other flavors and mix-ins like chocolate chips, fruit, nuts, or even cookie dough. The possibilities are endless, and you can customize your ice cream to suit your taste preferences.
Next, we’ll explore the equipment you’ll need to transform these ingredients into a delicious frozen dessert using an ice cream maker ball.
Ice Cream Maker Ball
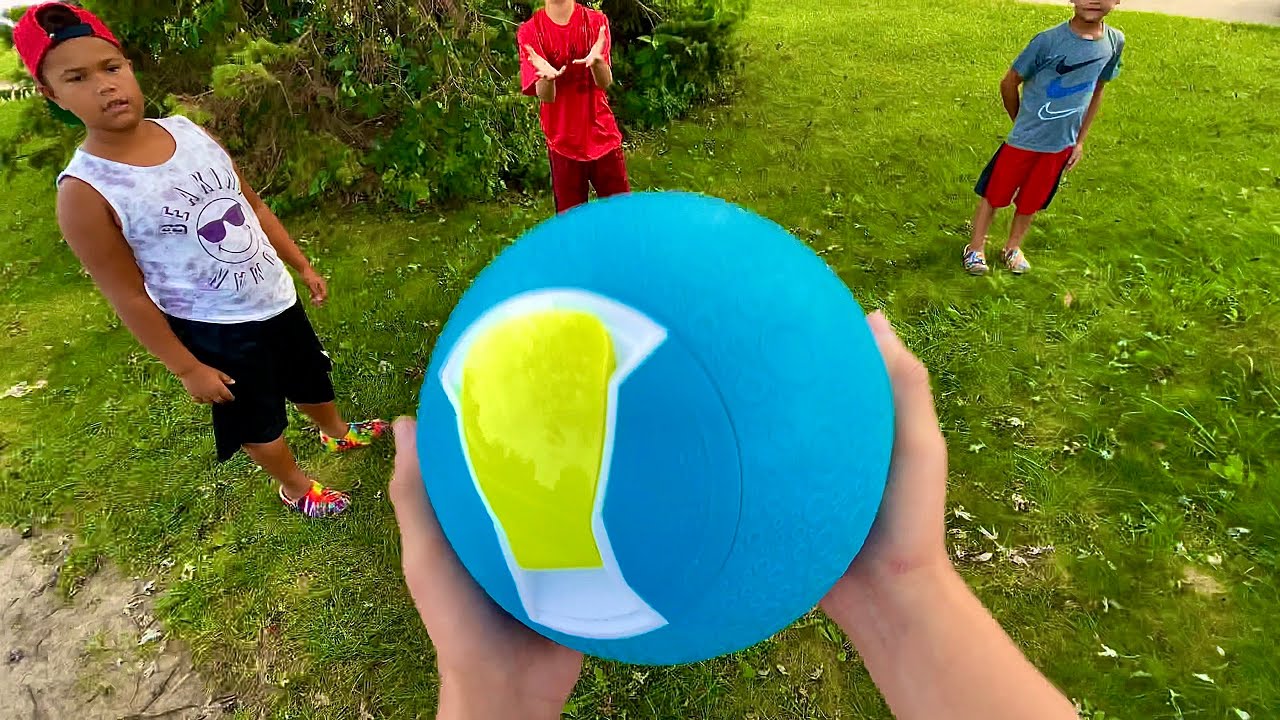
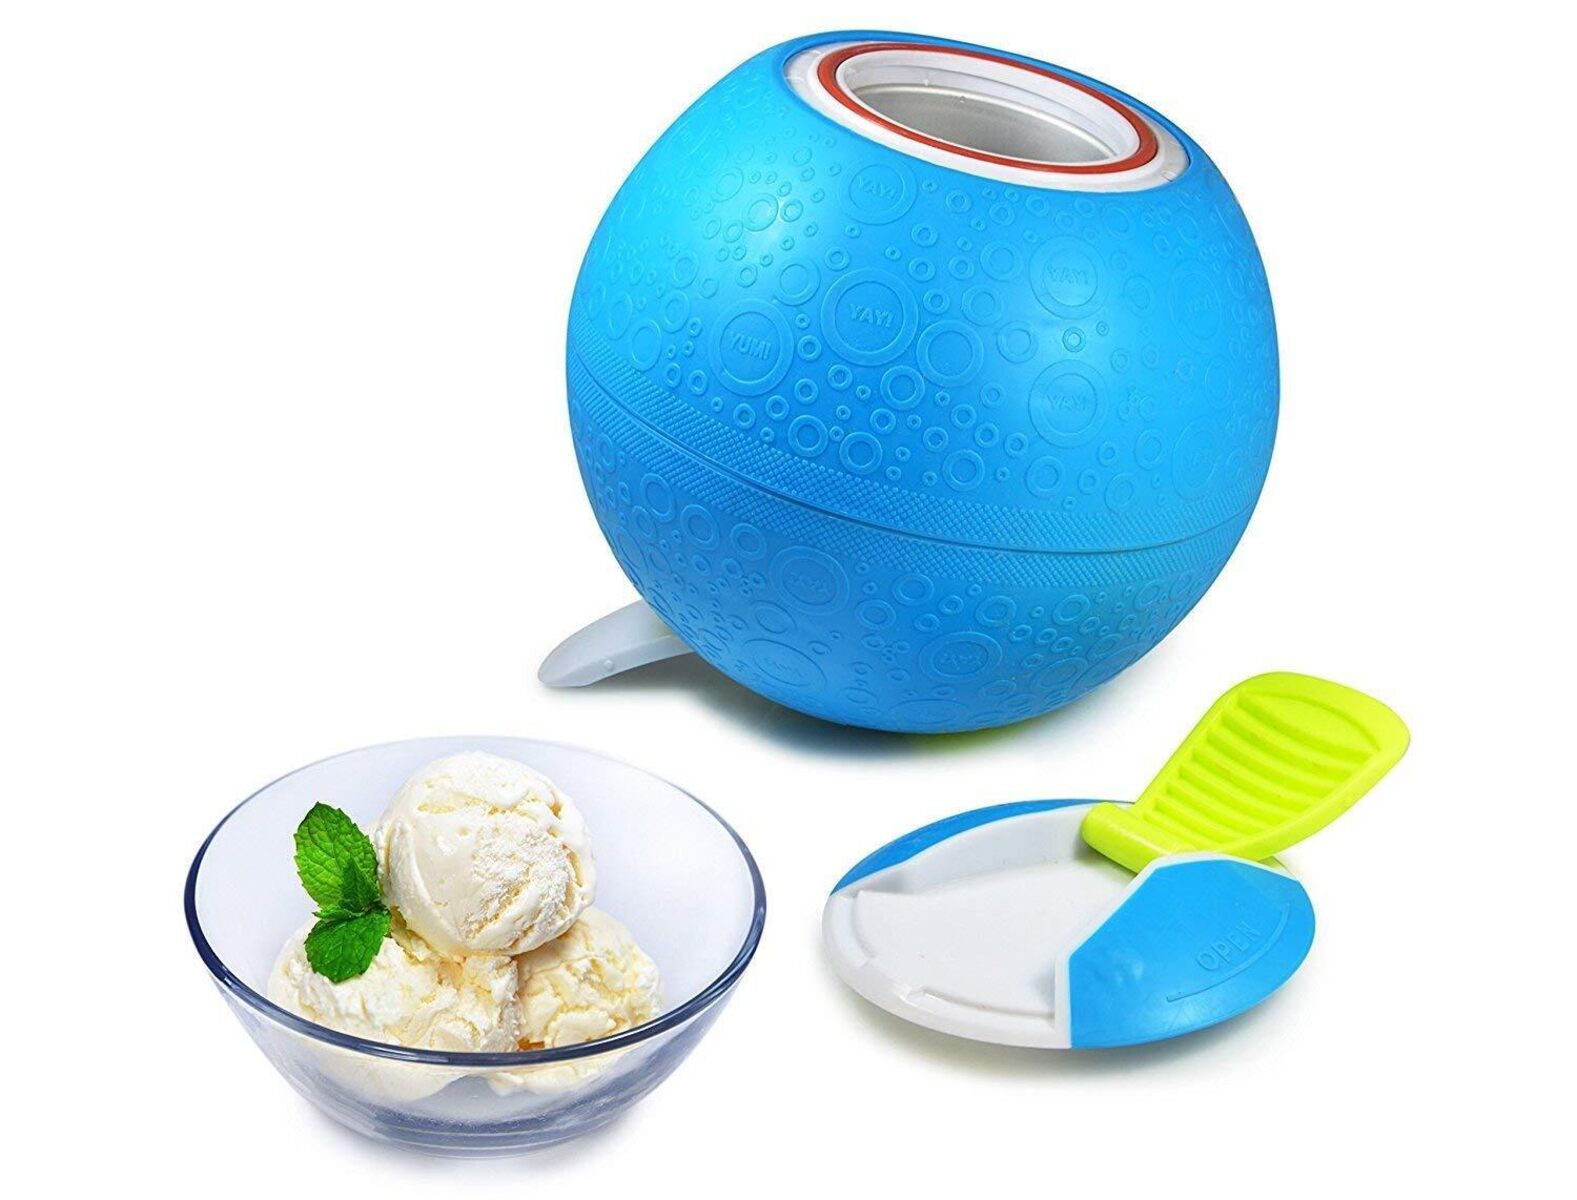
The ice cream maker ball is a unique and fun device that allows you to make ice cream in a playful and interactive way. It consists of two main components: an outer shell and an inner canister.
The outer shell is typically made of durable plastic and features a handle that allows you to easily spin the ball during the ice cream-making process. This spinning action helps to evenly distribute the ice and rock salt mixture, resulting in quicker and more efficient freezing.
The inner canister, also known as the mixing chamber, is where you pour your ice cream ingredients. It is usually made of stainless steel and has a sealed lid to prevent any leaks or spills. The canister is double-walled, which helps to insulate the mixture and facilitate the freezing process.
To create ice cream using the ice cream maker ball, you’ll need to combine your ingredient mixture in the inner canister, seal it tightly, and place it inside the outer shell. The next step involves filling the space between the inner canister and the outer shell with a combination of ice and rock salt.
The ice acts as a chilling agent while the rock salt lowers the temperature, creating an optimal environment for freezing the ice cream mixture. The spinning motion of the ball helps to mix the ingredients while also transferring heat from the mixture to the ice and salt mixture, resulting in the desired frozen consistency.
It’s important to note that the ice cream maker ball requires some physical effort to spin and churn the ice cream. It’s a great activity to involve children in the kitchen and make the process more enjoyable. Additionally, the ice cream maker ball is portable, making it perfect for outdoor gatherings, picnics, or camping trips.
Now that you understand the basics of the ice cream maker ball, let’s move on to the other components you’ll need to successfully make ice cream at home.
Freezer
A freezer is an essential component when it comes to making ice cream in an ice cream maker ball. It serves as the primary means of freezing the ice cream mixture to achieve that creamy, scoopable texture we all love.
Before you start making your ice cream, ensure that your freezer is set to the appropriate temperature. Most freezers should be set at 0°F (-18°C) or below to ensure efficient freezing. This low temperature helps to solidify the ice cream mixture and prevent the formation of ice crystals.
It’s also important to make sure that your freezer has enough space to accommodate the ice cream maker ball and allow for proper air circulation. Clear out any unnecessary items and create a designated space for your ice cream maker ball to ensure it can freeze properly.
A well-functioning freezer is crucial for successful ice cream making. If your freezer has any issues with temperature control or cooling efficiency, it may negatively impact the freezing process and the final texture of your ice cream.
It’s a good idea to check the temperature of your freezer with a reliable freezer thermometer to ensure it is operating at the optimal temperature. If you find that your freezer is not maintaining the ideal temperature range, consider having it serviced or repaired to ensure optimal freezing conditions for your ice cream making adventures.
Now that you have a functional and properly cooled freezer, you’re ready to move on to the next component: ice.
Ice
Ice plays a crucial role in the ice cream-making process. It serves as a medium for absorbing heat from the ice cream mixture and facilitating the freezing process. To successfully make ice cream in an ice cream maker ball, you’ll need a sufficient amount of ice.
When selecting ice, it’s important to choose ice cubes or crushed ice that are free from impurities or contaminants. This ensures that there won’t be any unwanted flavors or particles interfering with the taste and texture of your ice cream.
Before using the ice, it’s recommended to crush or break it into smaller pieces. This helps to increase the surface area and allows for better contact with the ice cream mixture, promoting faster freezing.
The quantity of ice you’ll need will depend on the size of your ice cream maker ball. Check the instructions or guidelines provided with your specific ice cream maker ball to determine the appropriate amount of ice required.
It’s essential to note that the ice will gradually melt during the freezing process, so it’s a good idea to have additional ice on hand to replenish the level if needed. A well-insulated ice cream maker ball can help slow down the melting process and maintain a consistent temperature for longer periods.
When adding ice to the ice cream maker ball, make sure not to overfill it. Leave some room for the ice cream mixture to expand as it freezes and churns. Overfilling can result in an inefficient freezing process and may lead to leaks or spills.
Using fresh and properly crushed ice will ensure that your ice cream freezes evenly and achieves the desired creamy consistency. So, grab a bag of ice and get ready to transform your mixture into delicious homemade ice cream!
Rock Salt
Rock salt, also known as ice cream salt or ice salt, is an important ingredient when using an ice cream maker ball. While it may seem unusual to add salt to a sweet dessert like ice cream, it actually serves a vital purpose in the freezing process.
The rock salt is responsible for lowering the freezing point of the ice, which creates a freezing environment that is cold enough to freeze the ice cream mixture. This occurs through a process called freezing point depression.
When rock salt is mixed with ice, it creates a brine solution. The presence of this brine solution allows the temperature to drop below the freezing point of water, enabling the ice cream mixture to freeze.
It’s important to choose the right type of salt for your ice cream-making process. Not all salt varieties are suitable for this purpose. Look specifically for rock salt or ice cream salt, as these have larger crystals and are designed for use in freezing applications.
When using rock salt, it’s necessary to layer it with the ice in the ice cream maker ball. The ratio of ice to rock salt may vary depending on the specific ice cream maker ball you are using. Follow the instructions provided with your device to determine the appropriate ratio.
It’s important to note that rock salt should not come into direct contact with the ice cream mixture inside the inner canister. This can potentially result in salty ice cream. The purpose of the rock salt is to lower the temperature of the ice surrounding the canister, aiding in the freezing process.
By using rock salt in combination with ice, you create the optimal freezing environment needed to transform your ice cream mixture into a smooth and creamy dessert. Now that you have your rock salt and ice ready, it’s time to move on to the exciting part – the ice cream recipe!
Ice Cream Recipe
Now that you have gathered all the necessary ingredients and understand the basics of using an ice cream maker ball, it’s time to whip up a delicious ice cream recipe. Below is a simple and classic vanilla ice cream recipe to get you started:
Ingredients:
- 2 cups milk
- 2 cups heavy cream
- 3/4 cup granulated sugar
- 1 tablespoon vanilla extract
- A pinch of salt
Instructions:
- In a mixing bowl, whisk together the milk, heavy cream, sugar, vanilla extract, and salt until the sugar is completely dissolved.
- Pour the mixture into the inner canister of the ice cream maker ball and securely seal the lid.
- Place the inner canister inside the outer shell of the ice cream maker ball.
- Surround the inner canister with a layer of crushed ice, followed by a thin layer of rock salt.
- Continue layering ice and rock salt until it reaches the top of the outer shell.
- Tightly close the outer shell of the ice cream maker ball.
- Begin rotating and spinning the ball continuously for about 15-20 minutes or until the ice cream reaches your desired consistency.
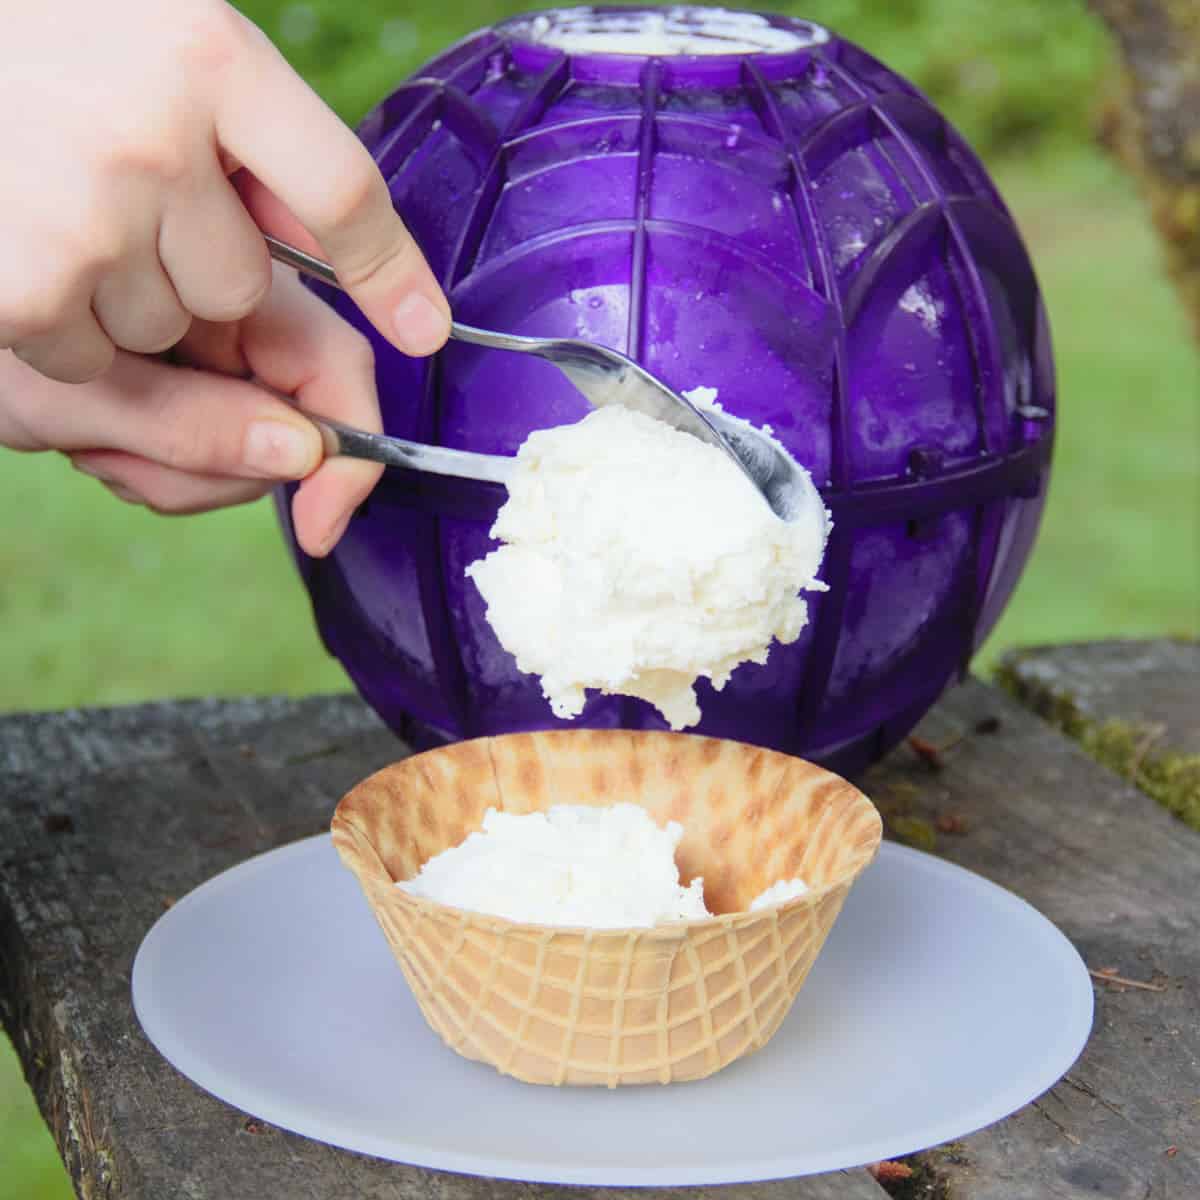
- Carefully remove the inner canister from the outer shell, wipe away any excess ice or salt, and open the lid.
- Scoop out the freshly made ice cream into bowls or cones, and enjoy!
Feel free to customize this recipe by adding mix-ins or experimenting with different flavors. You can incorporate chocolate chips, nuts, fruits, or even cookie dough to create your own unique ice cream creations.
Remember to follow the specific instructions provided with your ice cream maker ball for best results. The churning time and freezing duration may vary depending on your device.
Now that you have the recipe, let’s move on to the next steps of the ice cream-making process: mixing the ingredients and churning the ice cream.
Mixing Ingredients
Before you start churning your ice cream, it’s important to properly mix and combine the ingredients for a smooth and well-incorporated mixture. Here’s a step-by-step guide on how to mix the ingredients effectively:
- In a mixing bowl, pour in the milk and heavy cream. Whisk them together until they are well combined.
- Add the granulated sugar to the bowl and continue whisking until the sugar is fully dissolved. This ensures that the sweetness is evenly distributed throughout the ice cream mixture.
- Next, add the vanilla extract to the mixture. Whisk it in gently to incorporate the aromatic vanilla flavor into the base.
- Finally, add a pinch of salt to balance the sweetness and enhance the overall flavor profile of your ice cream. Whisk the mixture until all the ingredients are thoroughly blended.
It’s important to take your time during the mixing process to ensure that all the ingredients are evenly distributed. This will result in a creamy and well-balanced ice cream base. Once your ingredients are mixed, it’s time to move on to the exciting part of churning the ice cream.
Remember to follow the instructions provided with your specific ice cream maker ball, as the mixing process may vary depending on the model you have. Some ice cream maker balls require you to pour the mixed ingredients directly into the inner canister, while others may have specific attachments or mechanisms for pouring in the mixture.
Now that you have your ingredients mixed and ready to go, let’s dive into the next step: churning the ice cream.
Churning the Ice Cream
Churning is a crucial step in the ice cream-making process that helps create a smooth, creamy texture and prevents the formation of ice crystals. To churn the ice cream using your ice cream maker ball, follow these steps:
- After securely sealing the lid of the inner canister, place it inside the outer shell of the ice cream maker ball.
- Surround the inner canister with a layer of crushed ice.
- Add a thin layer of rock salt on top of the ice. The salt helps lower the freezing temperature, allowing the ice cream mixture to freeze properly.
- Continue layering ice and rock salt until it reaches the top of the outer shell, making sure not to overflow it.
- Tightly close the outer shell to ensure that no salt or ice leaks out during the churning process.
- Hold the handle of the ice cream maker ball firmly and begin rotating and spinning it continuously. You can roll, shake, or toss the ball in different directions.
- Continue churning the ice cream for about 15-20 minutes, or until the ice cream reaches your desired consistency. The duration may vary depending on the specific instructions provided with your ice cream maker ball.
During the churning process, the ice and rock salt combination surrounding the inner canister will absorb heat from the ice cream mixture. This causes the mixture to freeze, resulting in a creamy and delicious ice cream.
It’s important to monitor the ice cream while churning to prevent it from becoming overly frozen or forming hard ice chunks. Adjust the speed and intensity of your churning movements as needed to maintain a consistent and smooth churning process.
Once the ice cream has reached your desired consistency, carefully remove the inner canister from the outer shell. Wipe away any excess ice or salt from the canister before opening the lid. Your homemade ice cream is now ready to be enjoyed!
Remember, the churning process is a fun and interactive part of making ice cream with an ice cream maker ball. It’s a great opportunity to involve friends or family members in the process and create lasting memories while indulging in the delicious end result.
Now that you’ve successfully churned your ice cream, it’s time to clean your ice cream maker ball before it’s ready for another round of frozen dessert creation.
Cleaning the Ice Cream Maker Ball
After enjoying your homemade ice cream, it’s important to properly clean your ice cream maker ball to maintain its functionality and ensure future batches of ice cream are as delicious as the first. Follow these steps to clean your ice cream maker ball:
- Begin by carefully removing any remaining ice and rock salt from the outer shell. Dispose of them properly.
- Next, separate the inner canister from the outer shell. Empty any remaining ice cream or residue from the canister into a container or sink.
- Rinse the canister with warm water to remove any leftover ice cream. Use a gentle sponge or cloth to wipe away any stubborn residue. Avoid using abrasive materials or harsh chemicals that may damage the canister.
- For a deeper clean, create a mixture of warm water and mild dish soap. Use the soapy solution to thoroughly clean the inner canister, paying attention to any crevices or corners where ice cream may cling.
- Rinse the canister thoroughly with warm water to remove any soap residue.
- Allow the inner canister to air dry completely before reassembling the ice cream maker ball. This will help prevent any moisture from causing mold or bacteria growth.
- Clean the outer shell of the ice cream maker ball using a damp cloth or sponge. Wipe away any salt residue or spills, ensuring that the shell is thoroughly clean and dry.
- Once both components are clean and dry, reassemble the ice cream maker ball, ensuring that the inner canister is tightly sealed within the outer shell.
It’s important to clean your ice cream maker ball after each use to prevent any cross-contamination of flavors and to maintain a high level of hygiene. Regular cleaning will also help extend the lifespan of your ice cream maker ball, allowing you to enjoy homemade ice cream for many seasons to come.
Now that your ice cream maker ball is sparkling clean, you’re ready to start another batch of homemade ice cream. Experiment with new flavors, mix-ins, and combinations to create endless variations of this frozen delight.
Remember to refer to the user manual or instructions specific to your ice cream maker ball for any additional cleaning recommendations or tips.
Conclusion
Making ice cream in an ice cream maker ball is a fun and rewarding experience that allows you to indulge in delicious homemade frozen treats. By gathering the essential ingredients, including milk, heavy cream, sugar, vanilla extract, and salt, you can create a creamy and flavorful ice cream base. Adding mix-ins like chocolate chips, fruit, or nuts can further enhance the taste and texture of your ice cream.
The ice cream maker ball serves as a valuable tool in the ice cream-making process, providing an interactive and enjoyable way to churn your mixture. With the right amount of ice and rock salt surrounding the inner canister, the spinning motion of the ball helps freeze the ice cream to perfection. Moreover, ensuring your freezer is set at the ideal temperature and utilizing clean and properly crushed ice is essential for achieving a smooth and creamy ice cream consistency.
After mixing your ingredients and churning the ice cream, cleaning the ice cream maker ball is essential for maintaining its functionality and hygiene. Thoroughly rinsing and drying both the inner canister and outer shell will ensure the longevity of your ice cream maker ball, allowing you to continue creating delightful frozen desserts in the future.
Get creative with flavors, mix-ins, and presentation to make your homemade ice cream truly unique. Involve friends and family in the process for added enjoyment, and cherish the memorable moments shared over a bowl of delicious homemade ice cream.
Now that you have all the knowledge and guidance to make ice cream in an ice cream maker ball, it’s time for you to unleash your creativity and embark on your homemade ice cream adventures. So, gather your ingredients, fire up your freezer, and let the churning begin!