Introduction
Welcome to the wonderful world of homemade ice cream! Making your own ice cream is not only a fun and rewarding experience, but it also allows you to customize your flavors and ingredients to create the perfect frozen treat. And thanks to the innovation of ice cream maker balls, the process of making ice cream has become even more enjoyable.
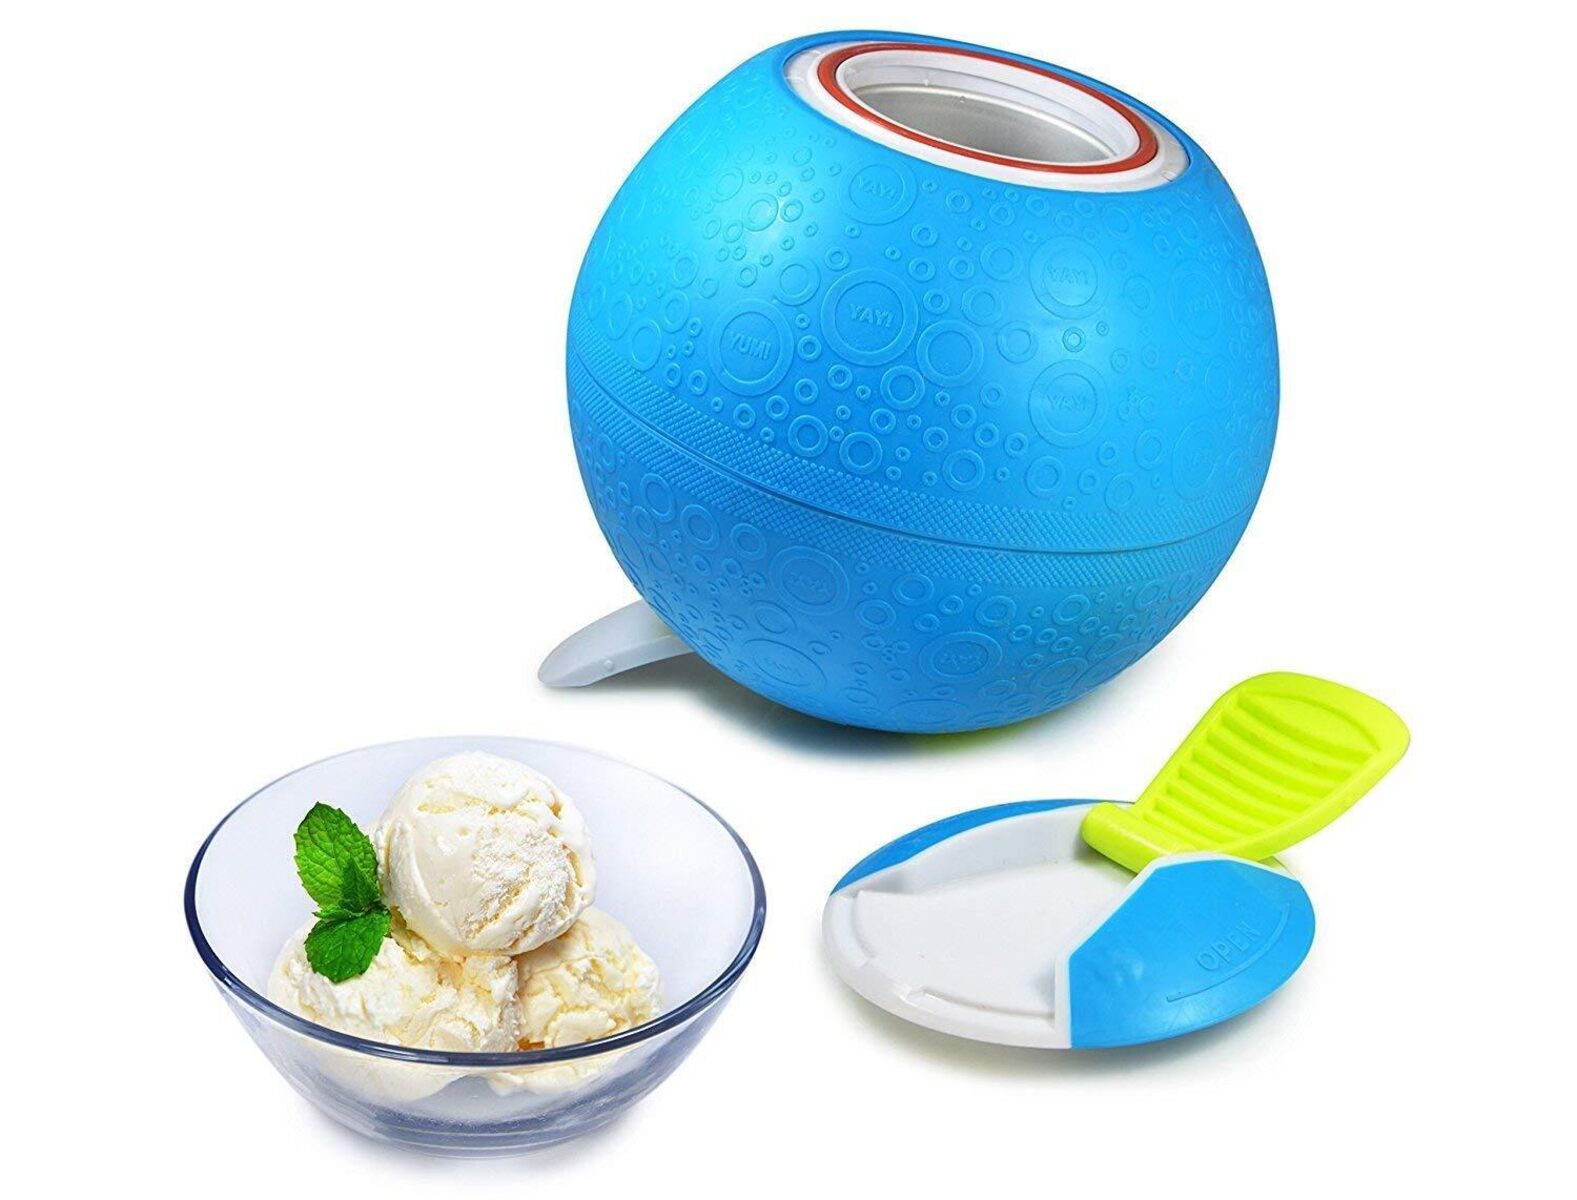
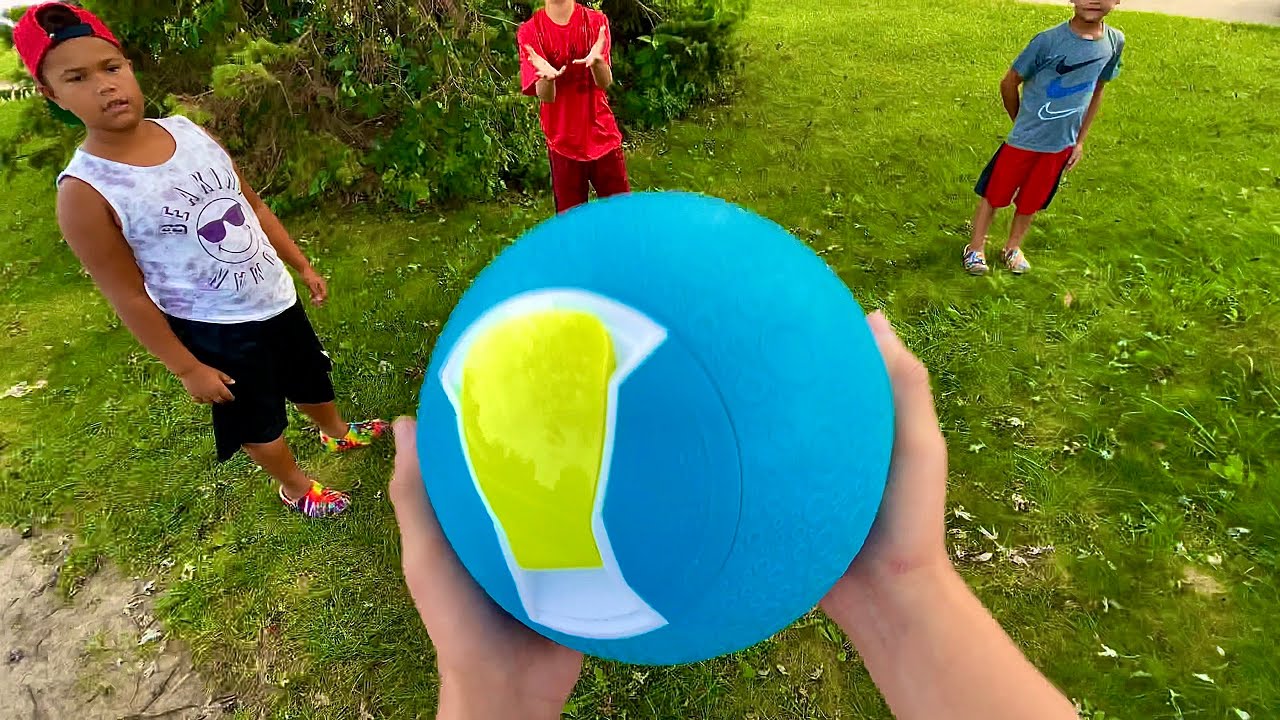
Ice cream maker balls are portable and easy-to-use devices that allow you to make delicious ice cream wherever you go. Whether you¡¦re at a picnic, camping trip, or simply in your own backyard, an ice cream maker ball can be your ticket to indulging in creamy and refreshing ice cream.
In this article, we will guide you through the step-by-step process of making ice cream in an ice cream maker ball. From choosing the right ingredients to achieving the perfect consistency, we will cover everything you need to know to create your own homemade ice cream masterpiece.
So, get your taste buds ready and let¡¦s dive into the wonderful world of homemade ice cream!
Choosing the Right Ingredients
The key to making delicious homemade ice cream starts with selecting the right ingredients. Here are some tips to help you choose the best ingredients for your ice cream:
- Dairy: The base of most ice creams is dairy, typically in the form of milk and cream. Use whole milk and heavy cream for a rich and creamy texture. If you prefer a lighter option, you can opt for low-fat milk or even substitute non-dairy alternatives like almond or coconut milk.
- Sugar: Sugar not only adds sweetness but also helps to create a smooth and creamy texture. Use granulated sugar or powdered sugar, depending on your preference. You can also experiment with alternative sweeteners like honey, maple syrup, or stevia.
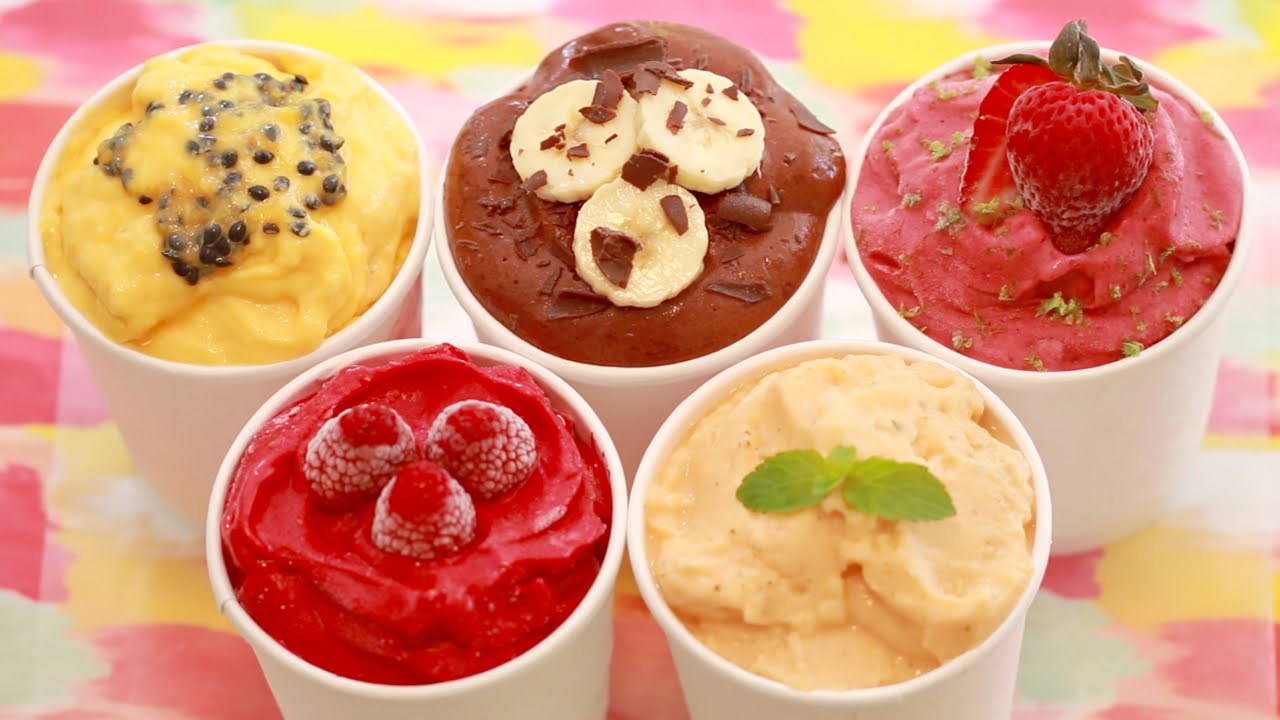
- Flavorings: This is where you can get creative! Add a splash of vanilla extract for a classic flavor, or try other extracts like mint, almond, or coffee to create unique combinations. You can also add mix-ins like chocolate chips, nuts, fruit chunks, or cookie dough to add extra texture and flavor.
- Additives: For a creamier and smoother texture, you can add a small amount of stabilizers like cornstarch or gelatin. This helps to prevent ice crystals from forming and improves the overall texture of the ice cream.
- Salt: While not an ingredient in the ice cream itself, salt is essential for the ice cream maker ball. Rock salt or kosher salt is typically used in the outer chamber of the ball to lower the temperature of the ice, aiding in the freezing process.
- Extras: Don’t forget the toppings! Consider adding whipped cream, sprinkles, chocolate sauce, or caramel sauce to take your homemade ice cream to the next level.
Remember to choose high-quality ingredients to ensure the best taste and texture for your ice cream. Now that you have your ingredients ready, it’s time to move on to the next step: preparing the ice cream mixture.
Preparing the Ice Cream Mixture
Now that you have gathered all of your ingredients, it’s time to create the perfect ice cream mixture. Follow these steps to prepare the mixture:
- Combine the Dairy and Sugar: In a mixing bowl, pour in the desired amount of milk and cream. Add the sugar gradually while stirring continuously. Make sure the sugar is dissolved completely to avoid any graininess in the final ice cream.
- Add Flavorings: If you’re using extracts or other flavorings, mix them into the milk and sugar mixture. Stir well to ensure that the flavors are evenly distributed.
- Consider Infusing: For certain flavors like vanilla or mint, you can infuse the mixture with the flavor before adding any additional ingredients. Heat the milk and cream mixture over low heat with the desired flavoring (such as a vanilla bean or mint leaves) for a few minutes. Allow it to cool before proceeding with the next steps.
- Chill the Mixture: Cover the mixture and place it in the refrigerator for at least 1-2 hours to allow the flavors to meld and the mixture to chill thoroughly. A chilled mixture will freeze more efficiently and yield smoother ice cream.
During this waiting period, it’s a good time to clean and prepare your ice cream maker ball. Make sure it’s clean and dry and that the ball is securely sealed.
Once the ice cream mixture has chilled and you’ve prepared your ice cream maker ball, it’s time to move on to the next step: assembling the ice cream maker ball.
Assembling the Ice Cream Maker Ball
Assembling the ice cream maker ball is a straightforward process that involves a few simple steps. Follow these instructions to ensure a proper assembly:
- Add the Ice Cream Mixture: Open the ice cream maker ball by unscrewing the top cap. Carefully pour your chilled ice cream mixture into the ball, making sure not to fill it beyond the indicated fill line. Leave some space for expansion as the ice cream freezes and expands.
- Tighten the Seal: After pouring in the ice cream mixture, securely screw the top cap back onto the ice cream maker ball. Make sure it is tightly sealed to prevent any leaks or spills during the shaking process.
- Check for Proper Fit: Before proceeding, give the ball a gentle shake to ensure that the inner chamber is securely locked inside. Verify that all parts are properly aligned and fitted.
- Double-Check the Seal: It’s essential to double-check the seal to ensure that there are no leaks. Hold the ice cream maker ball upside down and inspect for any signs of liquid escaping. If you notice any leaks, re-adjust the seal or tighten it further to prevent any loss of your precious ice cream mixture.
Once you’ve assembled the ice cream maker ball, it’s time to move on to the next step: adding the ice and salt to freeze the ice cream mixture.
Adding the Ice and Salt
Now that your ice cream maker ball is assembled and filled with the ice cream mixture, it’s time to add the ice and salt to initiate the freezing process. Follow these steps to properly add the ice and salt:
- Prepare the Ice: Start by crushing or breaking down the ice into small pieces. You can use a blender, ice crusher, or simply place the ice in a sturdy plastic bag and crush it using a rolling pin or mallet. The smaller the ice pieces, the better they will come into contact with the outer chamber of the ice cream maker ball, facilitating the freezing process.
- Add the Ice to the Outer Chamber: Open the ice cream maker ball’s outer chamber by twisting off the bottom cap. Fill the outer chamber with the crushed ice, ensuring that it is filled to about three-quarters full. The ice will surround the inner chamber and freeze the mixture inside.
- Add Salt to the Ice: Sprinkle a layer of salt over the ice in the outer chamber. Salt lowers the freezing point of ice, allowing the inner chamber to get colder and freeze the ice cream mixture faster. Rock salt or kosher salt works best for this purpose.
- Repeat the Layers: Continue layering ice and salt until the outer chamber is almost full, leaving some space at the top for shaking and rolling. Make sure to end with a layer of salt on top, as it helps maintain a consistent freezing temperature.
Now that the ice and salt are added, it’s time to shake and roll the ice cream maker ball to freeze the ice cream mixture. Read on to learn how to do it in the next section.
Shaking and Rolling the Ice Cream Maker Ball
With the ice and salt added to the outer chamber of your ice cream maker ball, it’s time to start the shaking and rolling process to freeze the ice cream mixture. Follow these steps to ensure the best results:
- Securely Close the Outer Chamber: Before you begin shaking and rolling, make sure that the outer chamber of the ice cream maker ball is tightly sealed. This will prevent any leaks or spills during the process.
- Start Shaking: Hold onto the handles or grips of the ice cream maker ball and begin shaking it vigorously. The shaking motion will help distribute the ice and salt mixture evenly, facilitating the freezing process. Shake continuously for about 5-10 minutes.
- Roll the Ball: After shaking, place the ice cream maker ball on a flat surface and roll it back and forth. This rolling motion helps to further mix the ice and salt, ensuring that the ice cream mixture freezes consistently. Roll the ball for about 5 minutes.
- Take Breaks: During the shaking and rolling process, it’s important to take short breaks every few minutes. This allows the ice cream mixture to settle and freeze evenly. You can also give the ball a gentle shake or rotation during the breaks to maintain the freezing process.
- Monitor the External Temperature: As you shake and roll the ice cream maker ball, you may notice that the outer chamber becomes cold to the touch. This is normal and indicates that the ice and salt are doing their job. If you find that the outer chamber becomes warm, it may be time to add more ice and salt to maintain the freezing temperature.
Now that you’ve tirelessly shaken and rolled the ice cream maker ball, it’s time to check the consistency of the ice cream. In the next section, we’ll explore how to do this and when your ice cream is ready to be enjoyed.
Checking the Consistency of the Ice Cream
After the shaking and rolling process, it’s time to check the consistency of your homemade ice cream. Here are a few ways to determine if your ice cream is ready:
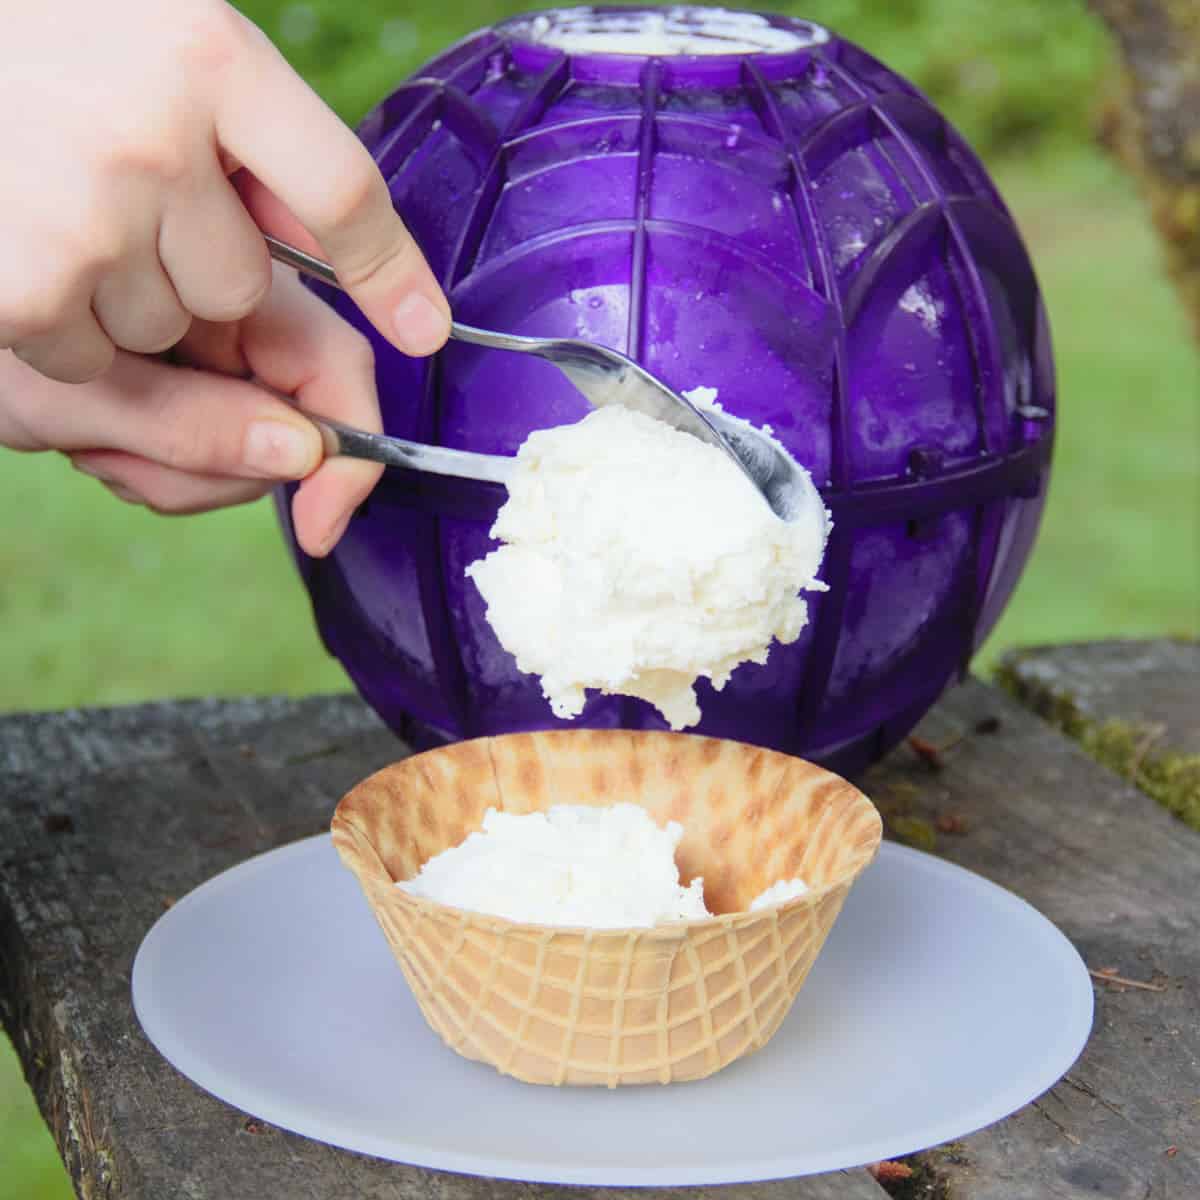
- Visual Appearance: Take a look at the ice cream through the clear walls of the ice cream maker ball. It should have a smooth and creamy appearance without any visible ice crystals. If you see chunks of ice or a grainy texture, continue shaking and rolling the ball to freeze the mixture further.
- Texture Test: Open the ice cream maker ball and use a spoon or scoop to take a small sample of the ice cream. Does it hold its shape without melting too quickly? If it has a soft and creamy texture, similar to store-bought ice cream, it’s a good indication that your ice cream is ready.
- Taste Test: The most enjoyable way to check the consistency is by tasting your ice cream. Take a small spoonful and savor the flavor and texture. Does it have a velvety and smooth mouthfeel? Does it taste delicious? If the answer is yes, your homemade ice cream is ready to be enjoyed!
- Chill in Freezer: If you feel that the consistency is not quite there yet, you can transfer the ice cream mixture to a freezer-safe container and place it in the freezer for additional chilling and firming. Allow it to freeze for a few hours or until it reaches your desired firmness.
Remember that homemade ice cream may have a slightly softer texture compared to commercial brands due to the absence of added preservatives and stabilizers. However, with proper freezing and chilling, you can achieve a creamy and satisfying consistency.
Now that your ice cream is ready, it’s time to serve and enjoy your homemade creation. In the next section, we’ll discuss the best ways to serve and savor your delicious ice cream!
Serving and Enjoying the Homemade Ice Cream
Congratulations! Your homemade ice cream is ready to be savored and enjoyed. Here are some tips on how to serve and fully relish your delicious creation:
- Scoop it up: Grab your favorite ice cream scoop and carefully scoop out portions of your homemade ice cream into bowls or cones. Try to create round and visually appealing scoops.
- Add Toppings: Enhance the flavor and presentation of your ice cream by adding a variety of delectable toppings. Consider chocolate sauce, caramel drizzle, crushed nuts, sprinkles, or fresh fruit to make your ice cream extra special.
- Get Creative: Homemade ice cream provides an opportunity for unique flavor combinations and innovative pairings. Experiment with different toppings, mix-ins, or even serving your ice cream on top of a warm brownie or a freshly baked cookie for an indulgent dessert.
- Serve with Accompaniments: If you’re serving your homemade ice cream alongside other desserts or treats, consider providing accompaniments such as whipped cream, waffle cones, or fruit compote for your guests to personalize their ice cream experience.
- Share the Joy: Homemade ice cream is meant to be enjoyed with loved ones. Invite friends, family, or neighbors to join you in indulging in this delectable treat. Sharing the joy of homemade ice cream enhances the experience and creates lasting memories.
- Store Leftovers: If you have any leftovers, store them in an airtight container in the freezer. Homemade ice cream is best consumed within a few days to ensure optimal taste and texture. Remember to let it soften for a few minutes before serving to achieve a scoopable consistency.
Now that you know how to serve and enjoy your homemade ice cream, it’s time to clean up the ice cream maker ball and prepare for your next ice cream-making adventure. Let’s look at the cleaning process in the next section.
Cleaning the Ice Cream Maker Ball
After indulging in your homemade ice cream, it’s important to properly clean your ice cream maker ball to maintain its functionality and hygiene. Follow these steps to effectively clean your ice cream maker ball:
- Disassemble the Ball: Start by separating the inner and outer chambers of the ice cream maker ball. Unscrew the top cap and bottom cap to access both chambers.
- Empty the Contents: Pour out any remaining ice cream mixture from the inner chamber. Make sure to discard it or transfer it to an airtight container for storage if desired.
- Rinse: Rinse both the inner and outer chambers under running water to remove any remaining ice cream residue. Use a gentle stream of water to ensure that all areas are properly cleaned.
- Wash with Warm Soapy Water: Fill a basin or sink with warm water and add a mild dish soap. Submerge both chambers in the soapy water and use a sponge or soft cloth to wash away any grease, residue, or stains. Pay special attention to the threaded areas where the caps screw on.
- Rinse Thoroughly: After washing with soapy water, rinse both chambers under running water to remove any soap residue. Ensure that all soap is thoroughly rinsed off.
- Dry Completely: Shake out any excess water and allow both the inner and outer chambers of the ice cream maker ball to air dry completely. Placing them in a well-ventilated area or patting them dry with a clean towel can speed up the drying process.
- Store Properly: Once dry, reassemble the ice cream maker ball by screwing the top cap onto the inner chamber and the bottom cap onto the outer chamber. Store it in a clean and dry place, ready for your next ice cream-making adventure.
Regularly cleaning and maintaining your ice cream maker ball not only ensures its longevity but also guarantees that each batch of ice cream you make is as delicious and safe as the last.
Now that your ice cream maker ball is clean and ready for future use, you’re all set! Start brainstorming new flavors and combinations for your next batch of incredible homemade ice cream.
Conclusion
Congratulations on your journey into the world of homemade ice cream! By following the steps outlined in this guide, you have learned how to make delicious ice cream using an ice cream maker ball. From choosing the right ingredients to shaking and rolling the ball, you have mastered the art of creating homemade frozen treats.
Remember to select high-quality ingredients and experiment with different flavors and mix-ins to cater to your unique taste preferences. The ice cream maker ball provides a convenient and enjoyable way to make ice cream wherever you go, making it perfect for picnics, camping trips, or simply enjoying in your own backyard.
As you continue your ice cream-making journey, don’t hesitate to get creative and try new combinations of flavors and toppings. Involve your friends and family in the process to share the joy of homemade ice cream with others.
Lastly, remember to clean your ice cream maker ball thoroughly after each use to keep it in the best condition. Proper care and maintenance will ensure that your ice cream maker ball continues to serve you well for many frozen delights to come.
So now, go ahead and enjoy the fruits of your labor! Whether it’s a classic vanilla, a rich chocolate, or a unique flavor of your own creation, indulging in a scoop of your homemade ice cream is a delightful reward for your efforts. Happy ice cream making!