Introduction
Welcome to the world of sweet frozen treats! If you’ve ever enjoyed the delightful texture and unique taste of Dippin Dots, you’ll be thrilled to learn that you can now make your own Dippin Dots at home with the Dippin Dots Ice Cream Maker. This innovative machine brings the magic of these tiny, flash-frozen spheres right to your kitchen, allowing you to create a wide variety of delicious flavors and combinations.
The Dippin Dots Ice Cream Maker is a must-have for ice cream enthusiasts who want to enjoy the fun and excitement of making their own frozen treats. Whether you’re hosting a summer party, a family gathering, or simply craving a refreshing dessert, this machine will take your ice cream experience to a whole new level.
In this guide, we will walk you through the process of using the Dippin Dots Ice Cream Maker, from getting started and preparing the ice cream mix to creating your customized Dippin Dots and adding tasty flavors and toppings. We’ll also provide helpful tips and tricks to ensure that your homemade Dippin Dots turn out perfect every time.
So, get ready to unleash your creativity and indulge in the whimsical world of Dippin Dots with your very own ice cream maker. Let’s dive in and learn how to make the frozen delicacies that everyone loves!
What is a Dippin Dots Ice Cream Maker?
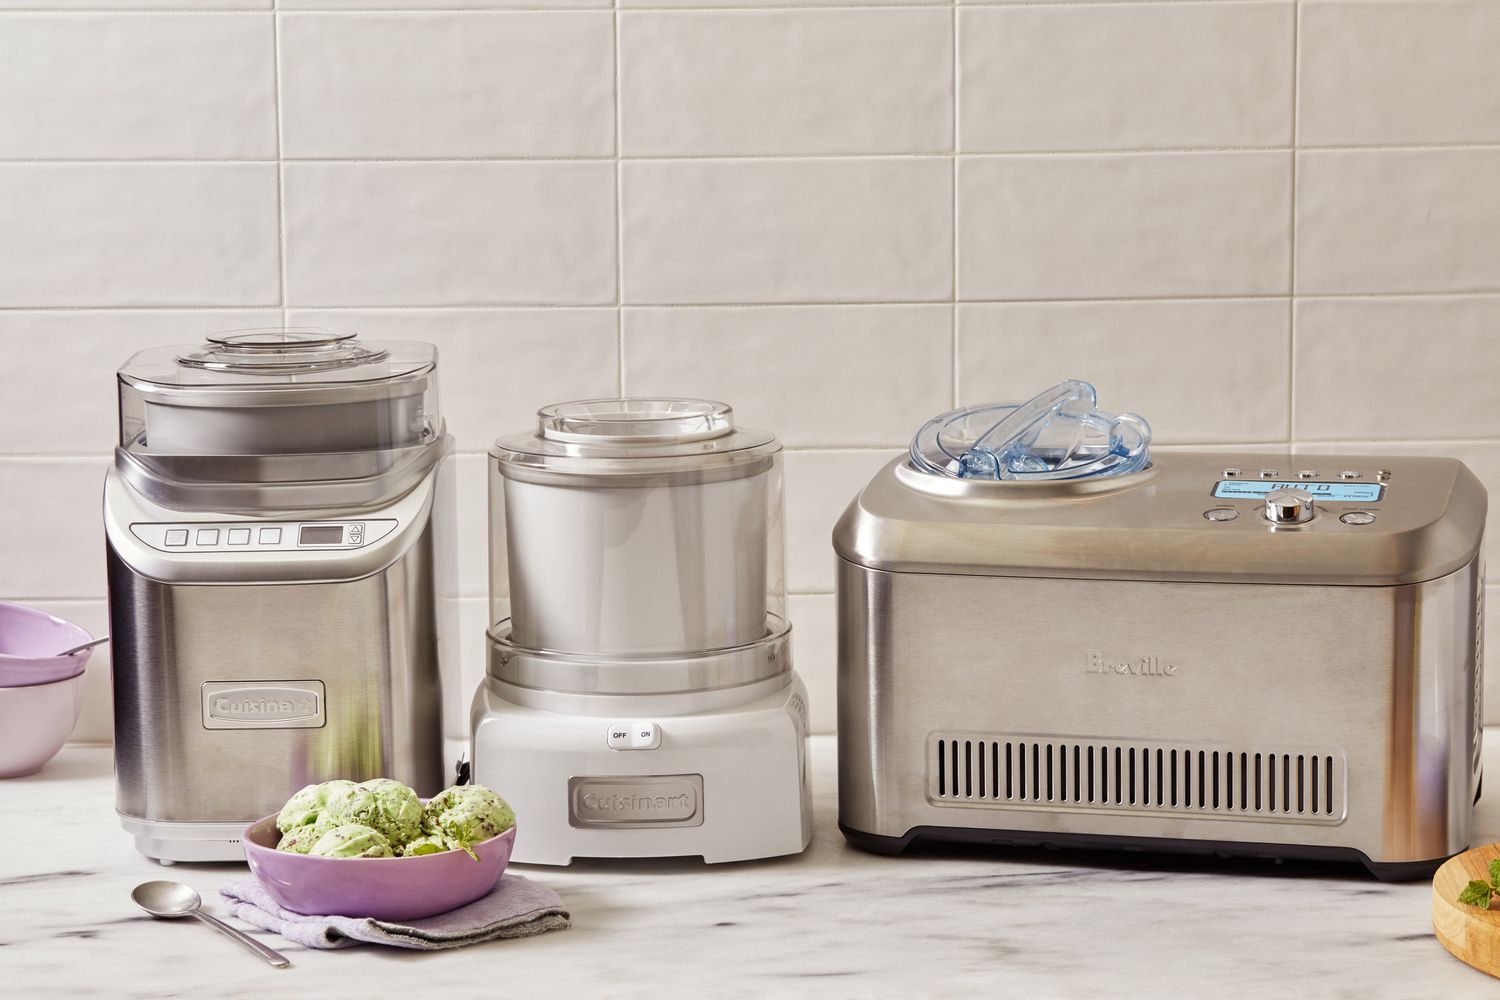
The Dippin Dots Ice Cream Maker is a unique kitchen appliance designed to replicate the beloved Dippin Dots ice cream. Dippin Dots are small, colorful, and frozen beads of ice cream that are known for their smooth texture and intense flavor. With the Dippin Dots Ice Cream Maker, you can now create these delightful frozen treats in the comfort of your own home.
This innovative machine uses a patented freezing technology to transform liquid ice cream mix into tiny, bite-sized dots. It works by freezing the ice cream mix at extremely low temperatures, creating small droplets that quickly harden into the iconic Dippin Dots. The resulting product is a fun and exciting twist on traditional ice cream, with a playful texture that kids and adults alike can’t resist.
The Dippin Dots Ice Cream Maker is not only easy to use but also versatile. It allows you to experiment with different flavors, mix-ins, and toppings, giving you the freedom to create endless combinations of delicious frozen treats. Whether you prefer classic flavors like chocolate and vanilla or more adventurous options like cotton candy or cookies and cream, the Dippin Dots Ice Cream Maker has got you covered.
One of the best features of the Dippin Dots Ice Cream Maker is its compact size. It doesn’t take up much counter space, making it perfect for smaller kitchens or dorm rooms. Additionally, it is easy to disassemble and clean, ensuring a hassle-free experience from start to finish.
Whether you want to surprise your guests at a party, enjoy a fun activity with your family, or simply satisfy your own cravings, the Dippin Dots Ice Cream Maker is a fantastic addition to your kitchen. It brings the joy and excitement of Dippin Dots right to your fingertips, allowing you to create frozen treats that will impress and delight everyone.
Getting Started
Before you dive into making your own delicious Dippin Dots, it’s important to familiarize yourself with the Dippin Dots Ice Cream Maker and gather all the necessary ingredients and equipment. Here’s a step-by-step guide to help you get started:
- Unbox the Dippin Dots Ice Cream Maker and remove all the components from the packaging. It typically includes the ice cream maker base, a removable bowl, an instruction manual, and any additional accessories.
- Thoroughly wash the removable bowl, lid, and any other accessories that come into contact with the ice cream mix. This ensures that your Dippin Dots will be fresh and free from any unwanted residue.
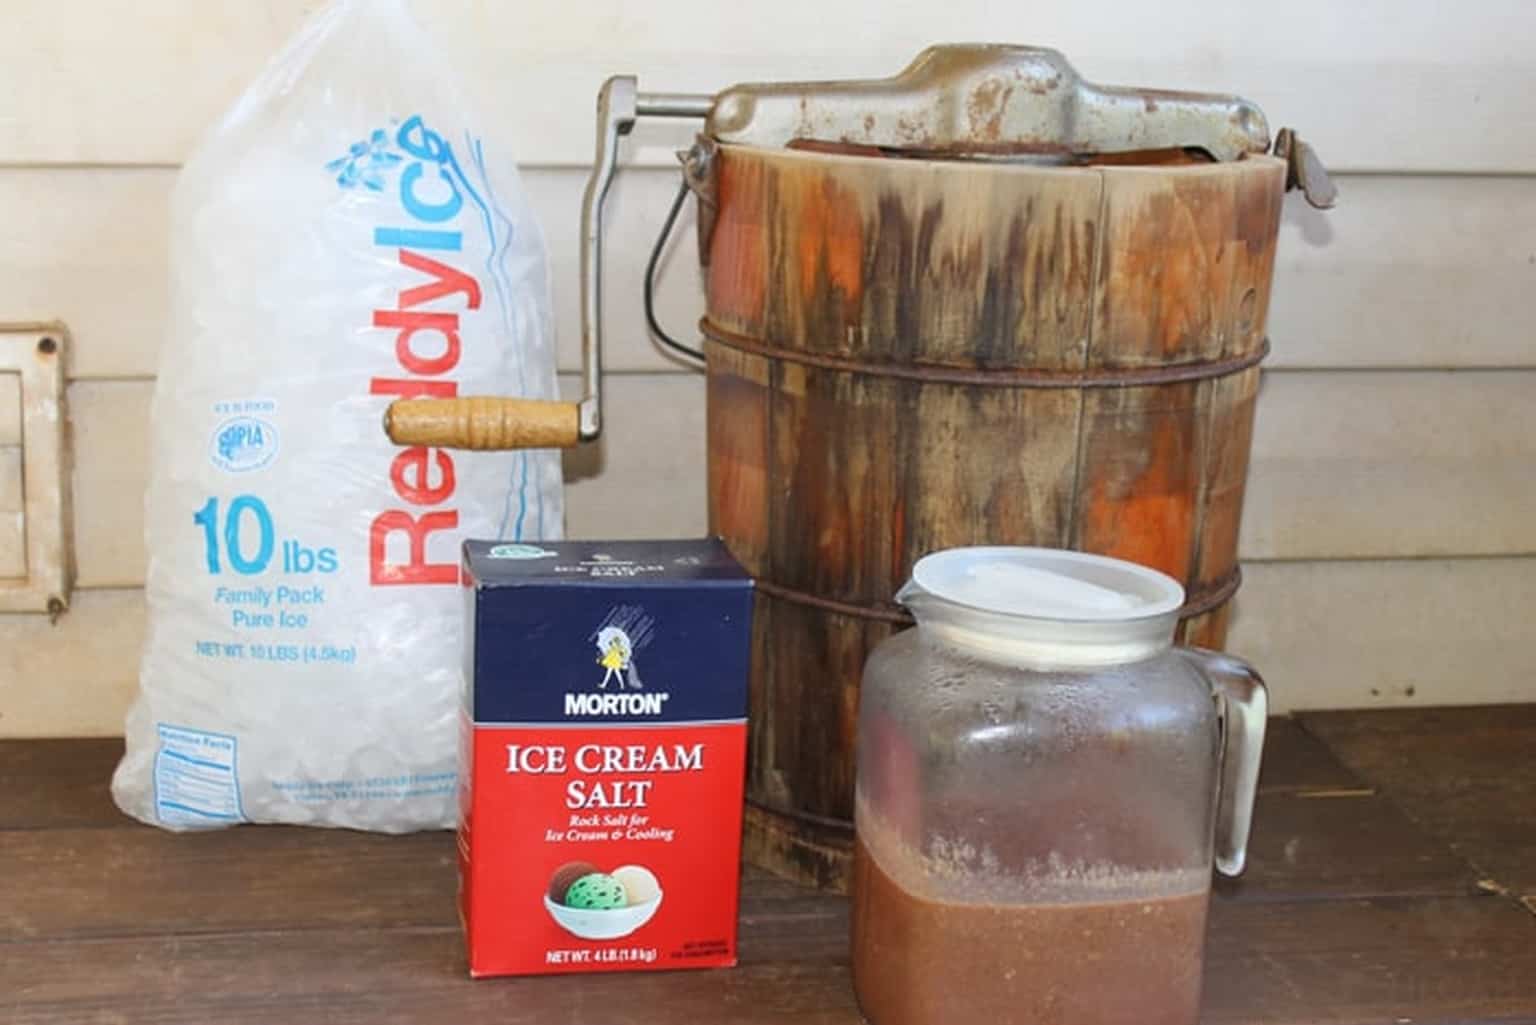
- Place the removable bowl in the freezer and allow it to chill for at least 24 hours. This step is crucial as it ensures that the bowl is properly frozen and ready to create the Dippin Dots.
- While the bowl is freezing, gather your chosen ice cream mix, mix-ins, and toppings. The Dippin Dots Ice Cream Maker works with a variety of ice cream mixes available in stores. However, be sure to check the manufacturer’s instructions to ensure compatibility with the machine.
- Prepare any mix-ins or toppings you plan to use. Chop fruits, crush cookies, or gather any other ingredients you want to incorporate into your Dippin Dots.
- Once the bowl is thoroughly chilled and your ingredients are prepped, you are ready to start making your own Dippin Dots! Read the instruction manual carefully to ensure you understand the specific operating instructions for your model of the Dippin Dots Ice Cream Maker.
Getting started with your Dippin Dots Ice Cream Maker is an exciting moment. By following these simple steps, you’ll be on your way to creating delicious and customized Dippin Dots that will impress your family and friends. Now that you’re familiar with the setup process, let’s move on to the step-by-step instructions on how to make your very own Dippin Dots.
Step-by-Step Instructions
Creating your own Dippin Dots at home is a fun and straightforward process. Follow these step-by-step instructions to make sure your homemade Dippin Dots turn out just right:
- Remove the chilled bowl from the freezer and assemble it onto the base of the Dippin Dots Ice Cream Maker.
- Pour your chosen ice cream mix into the chilled bowl. Be sure not to overfill the bowl, as the mix will expand as it freezes.
- Turn on the ice cream maker and set it to the desired freezing level. This will depend on the specific model of the Dippin Dots Ice Cream Maker you are using.
- Allow the machine to run for the specified amount of time, usually around 30 minutes. During this time, the mix will be frozen and transformed into tiny, tasty Dippin Dots.
- While waiting for the Dippin Dots to freeze, prepare a clean container to collect the finished product. This can be a bowl or airtight container.
- Once the freezing time is complete, carefully scrape the frozen Dippin Dots from the bowl using a spoon or ice cream scoop, transferring them to the storage container.
- Repeat the process if you have additional ice cream mix you’d like to turn into Dippin Dots.
- Place the container of freshly made Dippin Dots in the freezer for a few hours to further solidify and enhance the texture.
- After the Dippin Dots have hardened, they’re ready to be enjoyed! Serve them in bowls or cones, and feel free to add your favorite toppings or sauces for an extra burst of flavor.
With these simple step-by-step instructions, you’ll soon be enjoying a bowl of homemade Dippin Dots. The process is easy to follow and allows for creativity when it comes to flavors and mix-ins. Now let’s move on to explore how to choose the perfect ice cream mix for your Dippin Dots creations.
Choosing the Right Ice Cream Mix
When it comes to making Dippin Dots, selecting the right ice cream mix is key to achieving the perfect texture and taste. Here are some factors to consider when choosing the ideal ice cream mix:
- Compatibility with the Dippin Dots Ice Cream Maker: Ensure that the ice cream mix you choose is compatible with the machine. Different models may have specific requirements, so double-check the instruction manual or manufacturer’s recommendations.
- Flavor Varieties: Look for a brand that offers a wide range of flavors to cater to different preferences. From classic favorites like vanilla and chocolate to more exotic options like mint chip or strawberry cheesecake, having a variety of flavors will allow you to get creative with your Dippin Dots creations.
- Quality ingredients: Opt for an ice cream mix that uses high-quality ingredients, as this will significantly impact the taste and overall experience. Look for mixes that use real dairy, natural flavors, and minimal additives or preservatives.
- Texture and Creaminess: Consider the desired texture and creaminess of your Dippin Dots. Some mixes may produce a smoother and creamier result, while others may have a lighter and fluffier texture. Choose a mix that aligns with your personal preference.
- Allergen Information: If you or your loved ones have food allergies or dietary restrictions, carefully read the allergen information on the ice cream mix packaging to ensure it is safe for consumption.
Experimenting with different ice cream mixes allows you to create a variety of Dippin Dots flavors and cater to different tastes. Don’t be afraid to mix and match different flavors or create custom blends by combining two or more mixes together.
Remember, the joy of Dippin Dots is not just in the taste but also in the fun and excitement of trying out new flavor combinations. So, let your imagination run wild and enjoy the process of selecting the perfect ice cream mix for your delightful Dippin Dots.
Preparing the Ice Cream Mix
Before you can start creating your own Dippin Dots, it’s essential to prepare the ice cream mix properly. Follow these steps to ensure that your mix is ready for freezing:
- Start by reading the instructions on the packaging of the ice cream mix. Each brand may have specific guidelines for preparation.
- If required, heat the mix according to the instructions. Some mixes need to be warmed on the stovetop or in the microwave to allow the ingredients to blend smoothly.
- Once heated, give the mix a good stir to ensure that all the ingredients are well incorporated. This step is crucial for a consistent flavor and texture in your Dippin Dots.
- If desired, add any mix-ins or flavorings to the ice cream mix. This can include things like chocolate chips, nuts, fruits, or even extracts like vanilla or mint.
- Continue stirring gently until the mix-ins are evenly distributed throughout the mixture.
- Allow the ice cream mix to cool to room temperature. This step is important as a warm mix can affect the freezing process and the resulting texture of the Dippin Dots.
Once your ice cream mix is properly prepared, you’re ready to move on to the exciting step of using the Dippin Dots Ice Cream Maker to transform your mix into delicious frozen treats.
Remember to follow the instructions provided by the ice cream mix manufacturer and any additional guidelines specific to your Dippin Dots Ice Cream Maker. These guidelines will help you achieve the best results and ensure that your homemade Dippin Dots are a success.
Now that your ice cream mix is ready to go, let’s dive into using the Dippin Dots Ice Cream Maker to create the signature texture and shape that Dippin Dots are known for.
Using the Dippin Dots Ice Cream Maker
Now comes the exciting part – using the Dippin Dots Ice Cream Maker to transform your prepared ice cream mix into delightful and colorful Dippin Dots. Follow these instructions to ensure a smooth and successful process:
- Place the assembled ice cream maker with the chilled bowl on a flat and stable surface. Make sure the machine is switched off before proceeding.
- Pour the prepared ice cream mix into the chilled bowl of the Dippin Dots Ice Cream Maker. Be cautious not to overfill the bowl, as the mix will expand as it freezes.
- Secure the lid of the machine onto the bowl, ensuring a tight seal to prevent any leakage during the freezing process.
- Switch on the ice cream maker and set it to the desired freezing level according to the instructions provided. Different models may have different settings, so consult the user manual for guidance.
- Allow the machine to run for the recommended amount of time, usually around 30 minutes. During this time, the ice cream mix will solidify and transform into tiny frozen beads.
- As the freezing process takes place, you may notice the machine emitting a slight humming or freezing sound. This is normal and indicates that the Dippin Dots are forming.
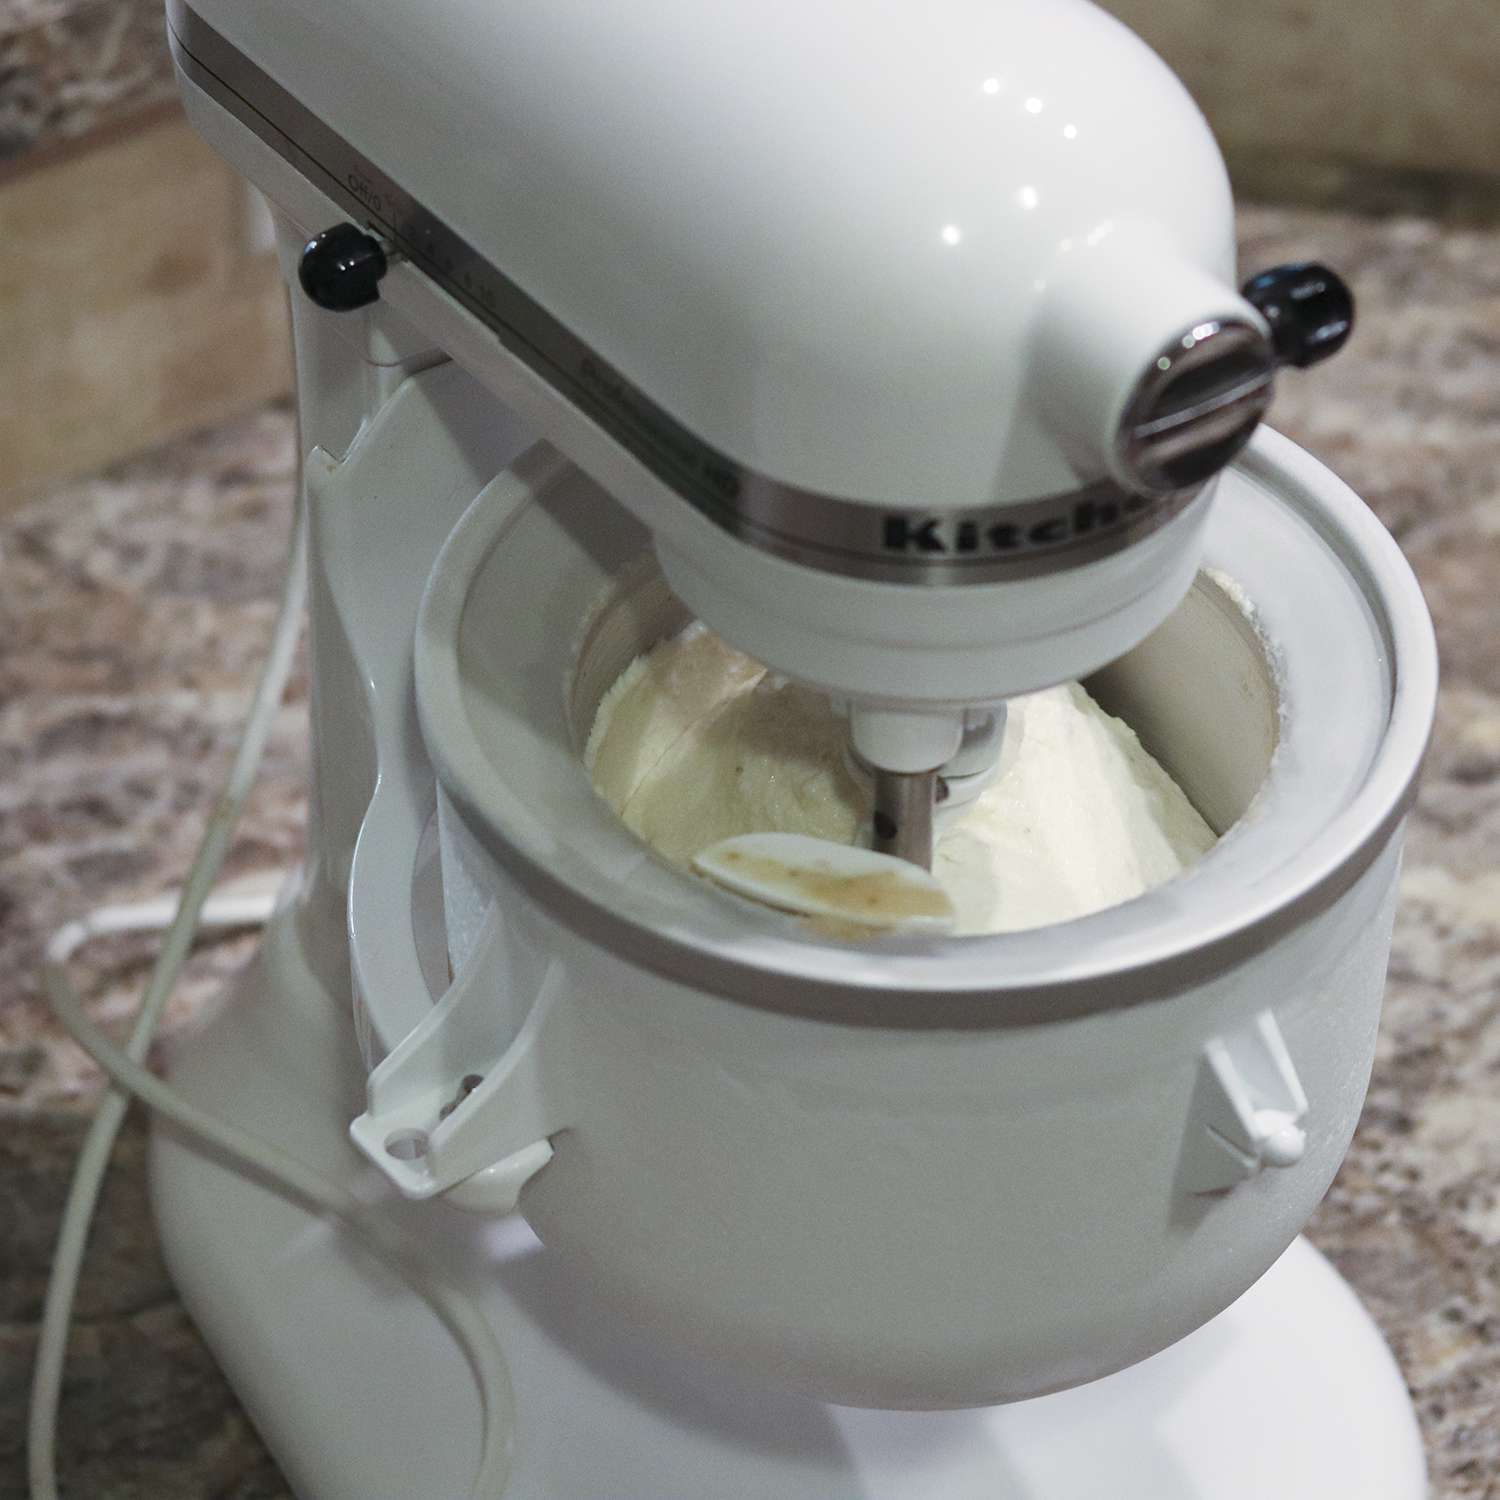
- Once the freezing cycle is complete, carefully remove the lid and marvel at the beautiful array of Dippin Dots that have formed.
- Using a spoon or ice cream scoop, gently scrape the Dippin Dots from the bowl into a clean container for serving or storage.
- If you have additional ice cream mix to freeze, repeat the process by pouring a new batch into the chilled bowl and starting a new freezing cycle.
Now that you’ve successfully used the Dippin Dots Ice Cream Maker to create your very own Dippin Dots, it’s time to add some extra flavor and pizzazz to your frozen treats by incorporating delicious toppings and flavors.
But before we move on to that, let’s explore some useful tips and tricks that will help you achieve the perfect texture and taste every time you make Dippin Dots with your machine.
Adding Flavors and Toppings
Now that you have a bowl of homemade Dippin Dots, it’s time to take them to the next level by adding delicious flavors and toppings. Here are some creative ideas to enhance the taste and visual appeal of your Dippin Dots:
- Flavorful Syrups: Drizzle your Dippin Dots with flavored syrups such as chocolate, caramel, strawberry, or even marshmallow. This adds a burst of sweetness and a touch of sophistication to your frozen treats.
- Fresh Fruits: Add a healthy twist by topping your Dippin Dots with fresh fruits like sliced strawberries, blueberries, or diced mangoes. The natural sweetness and vibrant colors of the fruits will complement the creamy ice cream perfectly.
- Crushed Cookies or Candy: Sprinkle your Dippin Dots with crushed cookies, like Oreos or chocolate chip cookies, or add a bit of crunch with crushed candy, such as M&M’s or gummy bears. This provides a delightful texture contrast and adds a playful twist.
- Nuts and Sprinkles: For a little nuttiness and a pop of color, top your Dippin Dots with chopped nuts, such as almonds or peanuts, and colorful sprinkles. It will not only enhance the taste but also make your Dippin Dots visually appealing.
- Whipped cream: Add a dollop of whipped cream on top of your Dippin Dots for an extra creamy and indulgent treat. You can also sprinkle some grated chocolate or a dusting of cocoa powder for an extra touch of decadence.
Get creative and experiment with different flavor combinations. Mix and match different toppings to create your own signature Dippin Dots masterpiece. The possibilities are endless!
Remember to serve your Dippin Dots in a chilled bowl or cone to keep them frozen for longer. The combination of the cold Dippin Dots and the delectable flavors and toppings will surely satisfy your sweet tooth.
Now that you have learned how to enhance your Dippin Dots with flavors and toppings, let’s discover some useful tips to ensure your Dippin Dots turn out perfectly every time you make them.
Tips for Making the Perfect Dippin Dots
Creating the perfect batch of Dippin Dots requires a little bit of finesse. Follow these helpful tips to ensure that your homemade Dippin Dots turn out flawless every time:
- Chill the bowl: Before starting the freezing process, make sure the removable bowl of the Dippin Dots Ice Cream Maker is thoroughly chilled. Plan ahead and allow it to freeze for at least 24 hours for optimal results.
- Properly measure the ice cream mix: Follow the recommended measurements specified by the ice cream mix manufacturer. Overfilling or underfilling the bowl can result in uneven freezing or texture issues.
- Run the machine for the recommended time: Follow the instructions provided by the Dippin Dots Ice Cream Maker. Running the machine for too short or too long can affect the texture and consistency of the Dippin Dots.
- Avoid opening the machine during freezing: Try to resist the temptation to check on the progress of your Dippin Dots by opening the machine. The machine maintains a consistent freezing temperature, and opening it can disrupt the process and lead to uneven freezing.
- Store the finished Dippin Dots in the freezer: After transferring the Dippin Dots to a container, place it in the freezer for a few hours to allow them to further firm up. This will help them retain their small, bead-like shape and prevent them from melting quickly.
- Experiment with different mix-ins: Don’t be afraid to get creative with your Dippin Dots creations. Add mix-ins such as crushed cookies, sprinkles, or even small candies to introduce new textures and flavors.
- Serve with chilled utensils: To keep the Dippin Dots frozen for longer, serve them using chilled spoons or scoops. This helps maintain the perfect temperature and ensures the Dippin Dots don’t melt too quickly.
- Have patience: Making Dippin Dots takes time, and it’s important to be patient and allow the machine to freeze the mix thoroughly. Rushing the process can lead to inconsistency in size and texture.
- Experiment with flavors: Don’t be afraid to try different ice cream mix flavors to create unique Dippin Dots combinations. Mix and match flavors to cater to different tastes and preferences.
By following these tips, you’ll be well on your way to creating the perfect batch of Dippin Dots. Remember, practice makes perfect, so don’t give up if your first attempt isn’t exactly as desired.
Now that you’re armed with these tips, let’s move on to the essential topic of cleaning and maintaining your Dippin Dots Ice Cream Maker.
Cleaning and Maintenance
Keeping your Dippin Dots Ice Cream Maker clean and well-maintained is essential for its longevity and optimal performance. Here are some guidelines for cleaning and maintaining your machine:
- Unplug the machine: Before starting any cleaning or maintenance tasks, ensure that the Dippin Dots Ice Cream Maker is not connected to a power source.
- Disassemble the machine: Carefully disassemble the removable parts of the machine according to the instructions in the user manual. This typically includes removing the bowl, lid, and any other detachable accessories.
- Wash the removable parts: Thoroughly wash the removable parts, such as the bowl and lid, with warm soapy water. Use a soft sponge or cloth to clean and remove any ice cream residue. Rinse them well to ensure all soap is removed.
- Dry the parts: After washing, dry the removable parts completely before reassembling or storing them. This will help prevent any watermarks or corrosion from forming.
- Clean the base: Use a damp cloth to clean the base of the machine. Be careful not to immerse the base in water or submerge it in any liquid as it contains electrical components.
- Store in a dry place: Once all the parts are clean and dry, store them in a cool and dry place. Make sure to keep them away from direct sunlight or extreme temperatures to avoid any damage.
- Regular maintenance checks: Periodically check the machine for any signs of wear, loose parts, or unusual noises. If you notice any issues, refer to the user manual or contact the manufacturer for assistance.
- Follow manufacturer’s recommendations: Always refer to the specific cleaning and maintenance instructions provided by the manufacturer for your Dippin Dots Ice Cream Maker. Every machine may have slightly different requirements, so it’s important to follow their guidelines.
By following these cleaning and maintenance guidelines, you can ensure that your Dippin Dots Ice Cream Maker remains in excellent condition and ready for your next batch of frozen treats.
Now that you’ve learned how to keep your machine clean and well-maintained, let’s address some frequently asked questions about the Dippin Dots Ice Cream Maker.
Frequently Asked Questions
Here are some commonly asked questions regarding the Dippin Dots Ice Cream Maker:
- Can I use any ice cream mix with the Dippin Dots Ice Cream Maker?
- How long does it take to make Dippin Dots with the machine?
- Can I make Dippin Dots without the Dippin Dots Ice Cream Maker?
- Can I use dairy-free or vegan ice cream mixes with the machine?
- Can I make larger batches of Dippin Dots with the machine?
It is recommended to check the user manual or manufacturer’s instructions for compatible ice cream mixes. While many ice cream mixes can be used, it’s important to ensure they are suitable for the freezing process of the Dippin Dots Ice Cream Maker.
The freezing time can vary depending on the specific model and the consistency of the ice cream mix. Generally, it takes around 30 minutes for the Dippin Dots to reach the desired texture. However, it’s always best to refer to the user manual for precise instructions.
While it is possible to make small frozen balls resembling Dippin Dots using alternative methods, the authentic texture and consistency of Dippin Dots are achieved through the patented freezing technology of the Dippin Dots Ice Cream Maker.
Some dairy-free or vegan ice cream mixes may be compatible with the Dippin Dots Ice Cream Maker. Check the packaging or consult the manufacturer to confirm if the specific mix you have chosen works well with the machine.
The Dippin Dots Ice Cream Maker is designed for small, personalized servings of Dippin Dots. While you can repeat the process with additional ice cream mix, be mindful not to overfill the bowl, as it can affect the freezing process and the quality of the Dippin Dots.
If you have more questions or concerns about using the Dippin Dots Ice Cream Maker, it’s best to consult the user manual or reach out to the manufacturer’s customer support. They are equipped to provide accurate and helpful guidance for your specific machine.
Now that you have all the essential information, it’s time to start creating your own colorful and delicious Dippin Dots with the Dippin Dots Ice Cream Maker. Enjoy the fun-filled adventure of making these whimsical frozen treats right at home!
Conclusion
The Dippin Dots Ice Cream Maker opens up a world of frozen treat possibilities, allowing you to enjoy the whimsy and deliciousness of Dippin Dots right in the comfort of your own home. With this machine, you have the power to create your own personalized batches of tiny, flavorful frozen dots that are sure to impress.
From getting started and preparing the ice cream mix to using the Dippin Dots Ice Cream Maker and adding your favorite flavors and toppings, the process of making Dippin Dots is filled with fun and creativity. With the right ingredients and following the proper techniques, you can achieve the perfect texture, taste, and visual appeal that Dippin Dots are known for.
Remember to choose the ideal ice cream mix and try out different flavors to cater to your preferences. Don’t forget to experiment with various mix-ins and toppings to create unique combinations that will tantalize your taste buds.
Additionally, keep your Dippin Dots Ice Cream Maker clean and well-maintained for optimal performance and longevity. Regularly follow the cleaning guidelines provided by the manufacturer to ensure your machine remains in excellent condition.
With these tips, step-by-step instructions, and useful information, you are now equipped to become a master Dippin Dots creator. So, embrace the joy of making your own Dippin Dots and enjoy the delightful experience of sharing these small, frozen spheres of happiness with your loved ones.
Get ready to immerse yourself in the delicious world of Dippin Dots. The only limit is your imagination as you embark on a journey of taste, texture, and creativity. So, let’s start making some tasty memories with your very own Dippin Dots Ice Cream Maker!