Introduction
Welcome to the wonderful world of slushies! If you’re craving a refreshing and icy treat to beat the summer heat, look no further – we have the perfect solution for you. With an ice cream maker, you can easily whip up a delicious slushy in no time.
Slushies are a fun and delightful frozen beverage enjoyed by people of all ages. They are made by blending ice and flavorful ingredients together to create a slushy, slush-like texture. Popular flavors include fruity options like strawberry, mango, and watermelon, as well as classic favorites like cola and lemonade.
In this article, we will show you how to use an ice cream maker to make a slushy at home. Whether you’re planning a party, entertaining guests, or simply want to treat yourself, making a slushy with an ice cream maker is a fantastic way to enjoy a icy, flavorful drink that will cool you down on a hot day.
Using an ice cream maker to create a slushy has several benefits. First and foremost, it allows you to have full control over the ingredients, enabling you to customize the flavors and sweetness to your preference. Additionally, using an ice cream maker ensures a smooth and consistent texture, resulting in a slushy that is both delicious and satisfying.
So let’s dive in and discover how to make a slushy with an ice cream maker. Gather your ingredients and get ready for a refreshing and flavorful adventure!
What is a slushy?
A slushy is a frozen beverage that resembles a slush or snow-like consistency. It is typically made by blending ice with flavored liquid or syrup. The result is a refreshing and icy treat that is perfect for cooling down on a hot day.
The origins of slushies can be traced back to the 1950s when they were first introduced as a novelty drink. Over the years, slushies have gained immense popularity and can now be found in various flavors and colors.
Most slushies are made using a combination of ice and flavored syrup. Fruity flavors like strawberry, blueberry, and mango are incredibly popular and provide a sweet and tangy taste. Other options include classic soda flavors like cola and lemon-lime. Some slushies even incorporate alcoholic beverages for a grown-up twist.
One of the defining features of a slushy is its texture. The mixture of ice and liquid creates small ice crystals, resulting in a partially frozen and slush-like consistency. This texture makes slushies enjoyable to slurp through a straw and provides a satisfying crunch with every sip.
Slushies are commonly served in cups or paper cones, and they are often garnished with colorful straws and umbrellas, enhancing their visual appeal.
Slushies are a popular choice for hot summer days, as they offer a refreshing and cooling sensation. They are a hit at parties, carnivals, and amusement parks, and they are loved by people of all ages. Whether you’re a kid or a kid at heart, sipping on a slushy is a fun and delicious way to beat the heat.
Now that you have a clear understanding of what a slushy is, let’s explore how you can make your own using an ice cream maker.
Benefits of making a slushy with an ice cream maker
If you’re a fan of slushies, using an ice cream maker to create them at home offers several benefits. Let’s explore the advantages of making a slushy with an ice cream maker:
1. Customizable flavors: When you make a slushy with an ice cream maker, you have full control over the flavors and ingredients. You can experiment with different fruit juices, syrups, and even mix in fresh fruits to create your own unique combinations. This allows you to tailor the slushy to your personal taste preferences.
2. Consistent texture: The use of an ice cream maker ensures that the slushy mixture is blended and churned consistently, resulting in a smooth and uniform texture. This eliminates any clumps or ice chunks and guarantees a delightful slushy experience with every sip.
3. Quick and convenient: Making a slushy with an ice cream maker is incredibly easy and convenient. The machine does most of the work for you, requiring minimal effort on your part. Simply gather the ingredients, follow the instructions, and let the ice cream maker work its magic. In no time, you’ll have a refreshing slushy ready to be enjoyed.
4. Versatility: An ice cream maker is not limited to making just slushies. Most machines come with additional functionality, allowing you to make other frozen treats like ice cream, sorbet, and frozen yogurt. This versatility makes it a worthy investment, as it expands your options for creating delicious frozen desserts.
5. Healthier alternative: By making your own slushies at home, you have control over the ingredients used. This means you can opt for healthier options by using natural fruit juices, reducing sugar content, or even incorporating low-calorie sweeteners. You can enjoy a refreshing slushy while still being mindful of your dietary preferences.
6. Cost-effective: Purchasing slushies from cafes or stores can quickly add up in terms of cost. However, by making your own slushies with an ice cream maker, you can significantly cut down on expenses. Investing in an ice cream maker may initially seem like a splurge, but it will save you money in the long run.
These are just a few of the benefits of making a slushy with an ice cream maker. With this appliance, you can unleash your creativity, enjoy consistent results, and savor a refreshing slushy whenever the craving strikes.
Step 1: Gather the ingredients
Before you can start making a delicious slushy with your ice cream maker, it’s important to gather all the necessary ingredients. Here’s what you’ll need:
1. Ice: The key ingredient in a slushy is ice. Make sure you have enough ice cubes to fill the ice cream maker’s compartment. You can either use regular ice cubes or crushed ice.
2. Liquid: Decide on the flavor of your slushy and gather the appropriate liquid. This can be fruit juice, soda, or even a flavored syrup. The liquid will provide the flavor and sweetness to the slushy.
3. Sweeteners or additives (optional): Depending on your preference, you may want to add some sweeteners to enhance the taste. You can use sugar, honey, agave syrup, or any other sweetener of your choice. Additionally, you can experiment with adding fresh fruits, such as berries or chunks of pineapple, to enhance the flavor and texture of your slushy.
4. Flavorings (optional): If you’re feeling adventurous, you can add some additional flavorings to your slushy. This could include extracts like vanilla or mint, or even a dash of lemon or lime juice to give it a refreshing twist.
5. Garnishes (optional): To elevate the presentation of your slushy, gather some optional garnishes. This could include a slice of fruit, a colorful straw, or even a cocktail umbrella to give it a festive touch.
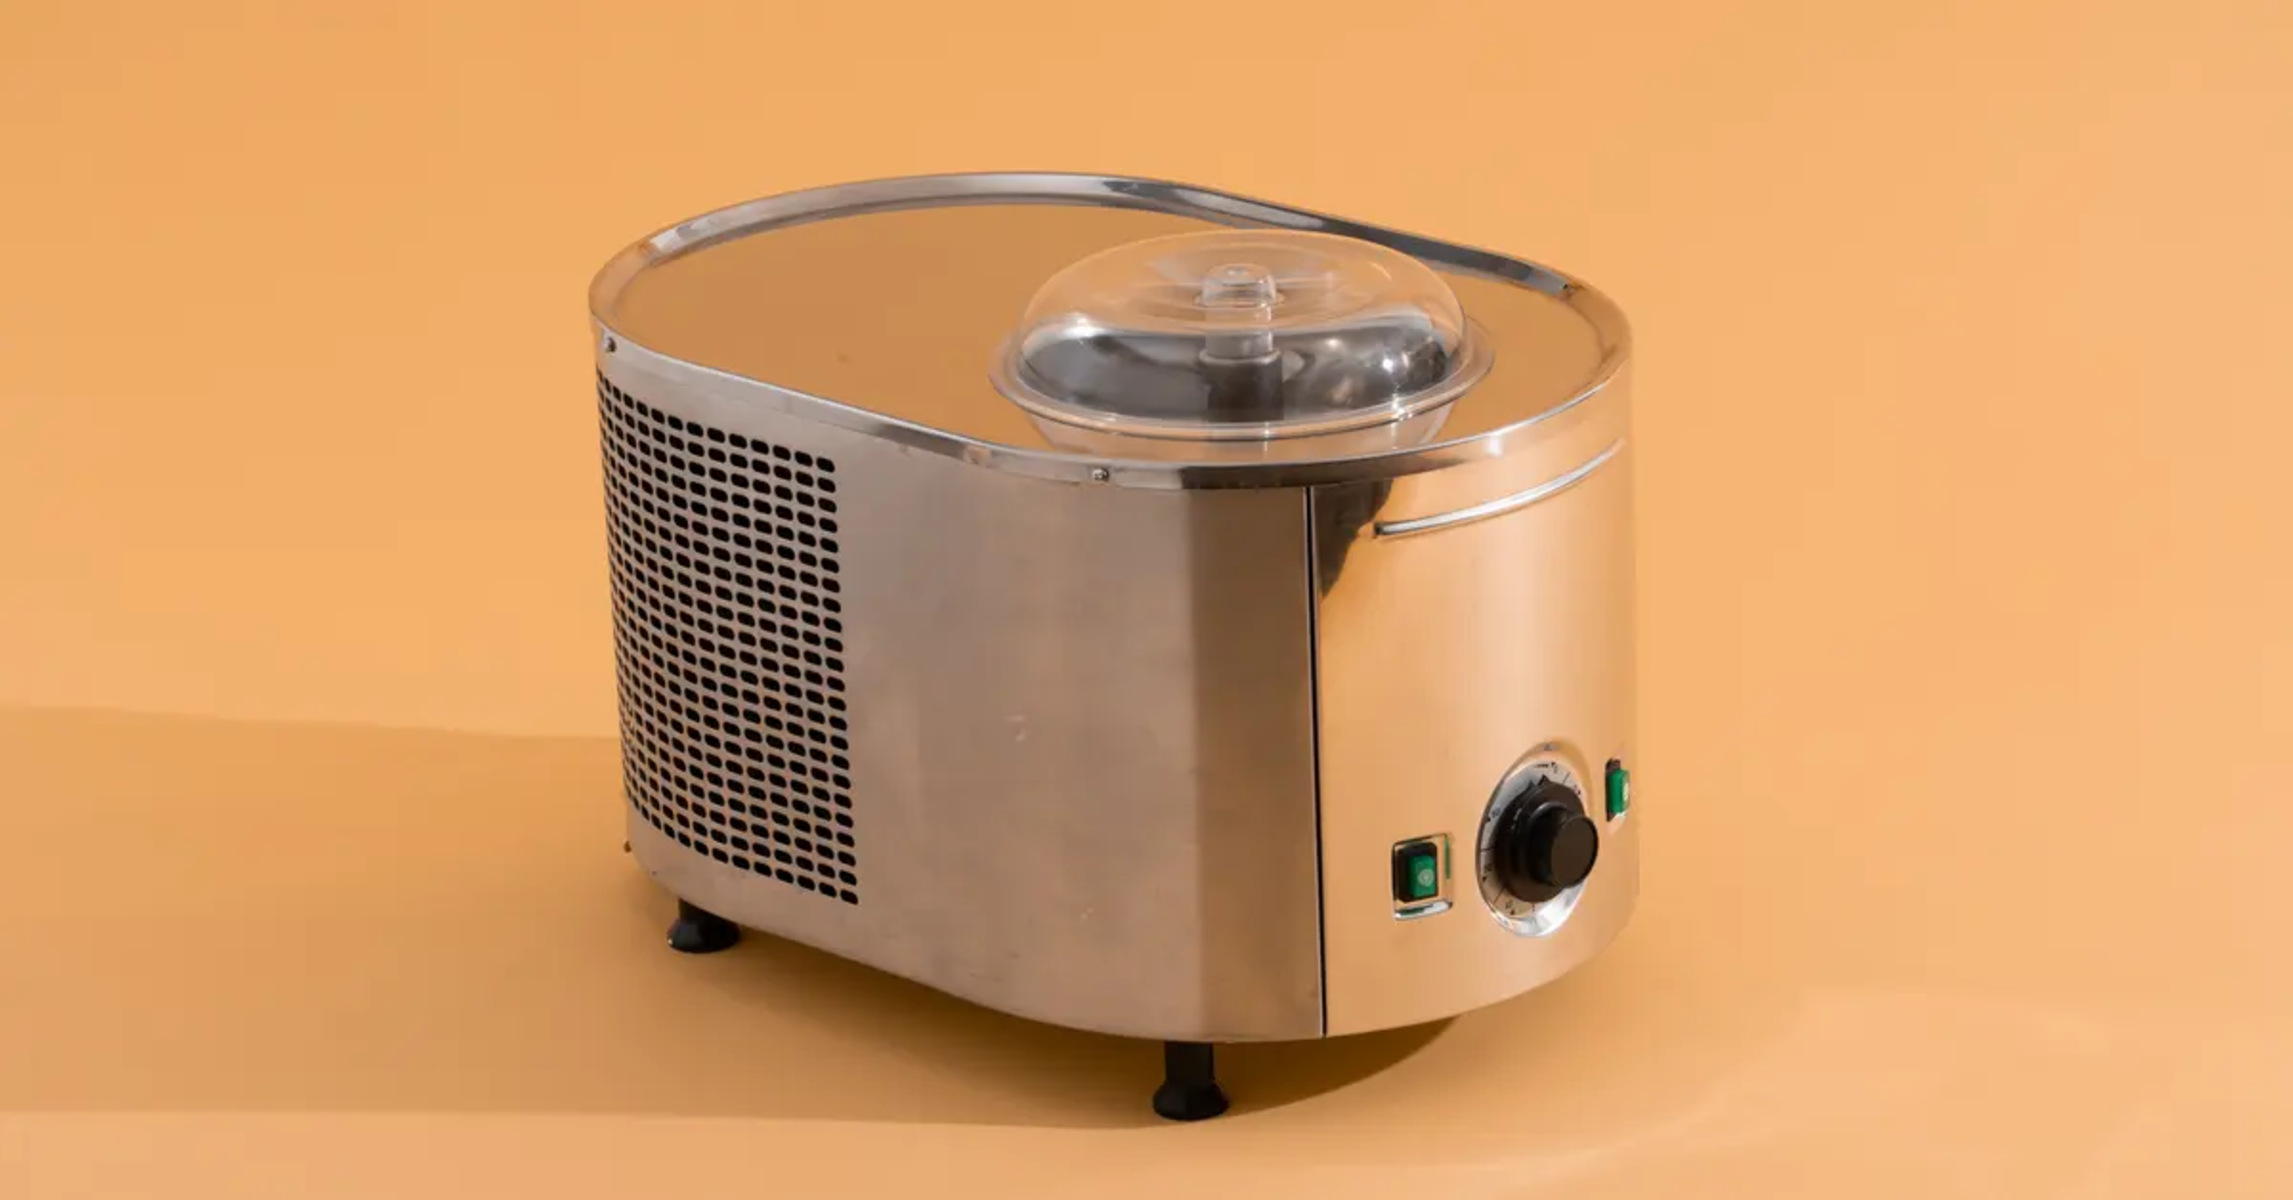
6. Ice cream maker: Finally, ensure that your ice cream maker is clean and ready for use. Follow the manufacturer’s instructions to ensure that it is in proper working condition.
It’s important to note that the quantities of the ingredients may vary depending on the size of your ice cream maker and personal taste preferences. Feel free to experiment and adjust the ratios to create the perfect slushy.
Once you have gathered all the ingredients, you’re ready to move on to the next step: preparing the ice cream maker. Let’s get started on creating a refreshing slushy!
Step 2: Prepare the ice cream maker
Before you can begin making your slushy, it’s important to prepare your ice cream maker to ensure optimal performance. Follow these simple steps:
1. Clean the ice cream maker: Ensure that the ice cream maker is clean and free from any residue or leftover ingredients from previous use. Refer to the manufacturer’s instructions for specific cleaning guidelines.
2. Freeze the bowl: Most ice cream makers require a frozen bowl for the slushy to properly freeze. Make sure to place the bowl in the freezer at least 24 hours before you plan to make your slushy. Freezing the bowl in advance ensures that it is thoroughly chilled and ready to freeze your slushy mixture.
3. Check the mechanism: Examine the ice cream maker’s motor and mixing arm to ensure that they are in proper working condition. Make sure all the parts are securely attached and there are no visible damages or loose components.
4. Assemble the ice cream maker: Assemble the ice cream maker according to the manufacturer’s instructions. This typically involves placing the frozen bowl onto the base and ensuring it is securely locked in place. Double-check the assembly to ensure everything is properly aligned and ready for use.
5. Power up the ice cream maker: Plug in your ice cream maker and make sure it is connected to a power source. Some ice cream makers may have specific power settings or buttons to start the churning process. Familiarize yourself with the controls and ensure the ice cream maker is ready to be used.
6. Allow pre-chilling (if required): Some ice cream makers may require a brief pre-chilling period before adding in the slushy mixture. Refer to the manufacturer’s instructions to determine if this step is necessary and follow the recommended pre-chilling time, if applicable.
By taking the time to properly prepare your ice cream maker, you are ensuring that it is in the best possible condition to create a delicious slushy. Once you’ve completed these steps, you’re ready to move on to the next stage: blending the ingredients for your slushy!
Step 3: Blend the ingredients
Now that you have prepared your ice cream maker, it’s time to blend the ingredients for your slushy. Follow these simple steps:
1. Measure the ingredients: Start by measuring the desired amounts of ice and liquid for your slushy. The ratio of ice to liquid will depend on the consistency you prefer. Generally, a 2:1 ratio of ice to liquid will result in a slushy texture. Adjust the quantities according to your personal preference.
2. Add the ice: Add the ice cubes or crushed ice to a blender or food processor. Make sure to break up any large ice chunks to ensure even blending.
3. Pour in the liquid: Next, pour the liquid component of your slushy into the blender or food processor. This can be fruit juice, soda, or any other flavored liquid of your choice.
4. Optional: Add sweeteners or flavorings: If desired, add any sweeteners or additional flavorings to the blender. This can include sugar, honey, extracts, or even fresh fruits. These optional ingredients can enhance the taste and customize the slushy to your liking.
5. Blend until smooth: Securely cover the blender or food processor and blend the ingredients until you achieve a smooth consistency. The blending time will vary depending on the power of your appliance and the desired texture of your slushy. Keep blending until the ice is completely crushed and incorporated into the liquid.
6. Taste and adjust: Once blended, taste the mixture to ensure it has the desired sweetness and flavor. Adjust the flavors by adding more liquid or sweeteners if necessary. Remember, this is your opportunity to customize the slushy to your taste preferences.
By following these steps, you’ll have a perfectly blended slushy mixture ready to be transformed into a refreshing icy treat. Now, it’s time to move on to the next step: transferring the mixture to the ice cream maker.
Step 4: Transfer the mixture to the ice cream maker
With your slushy mixture blended to perfection, it’s time to transfer it to the ice cream maker. Follow these simple steps:
1. Retrieve the frozen bowl: Remove the frozen bowl from the freezer. Make sure to handle it carefully as it will be extremely cold.
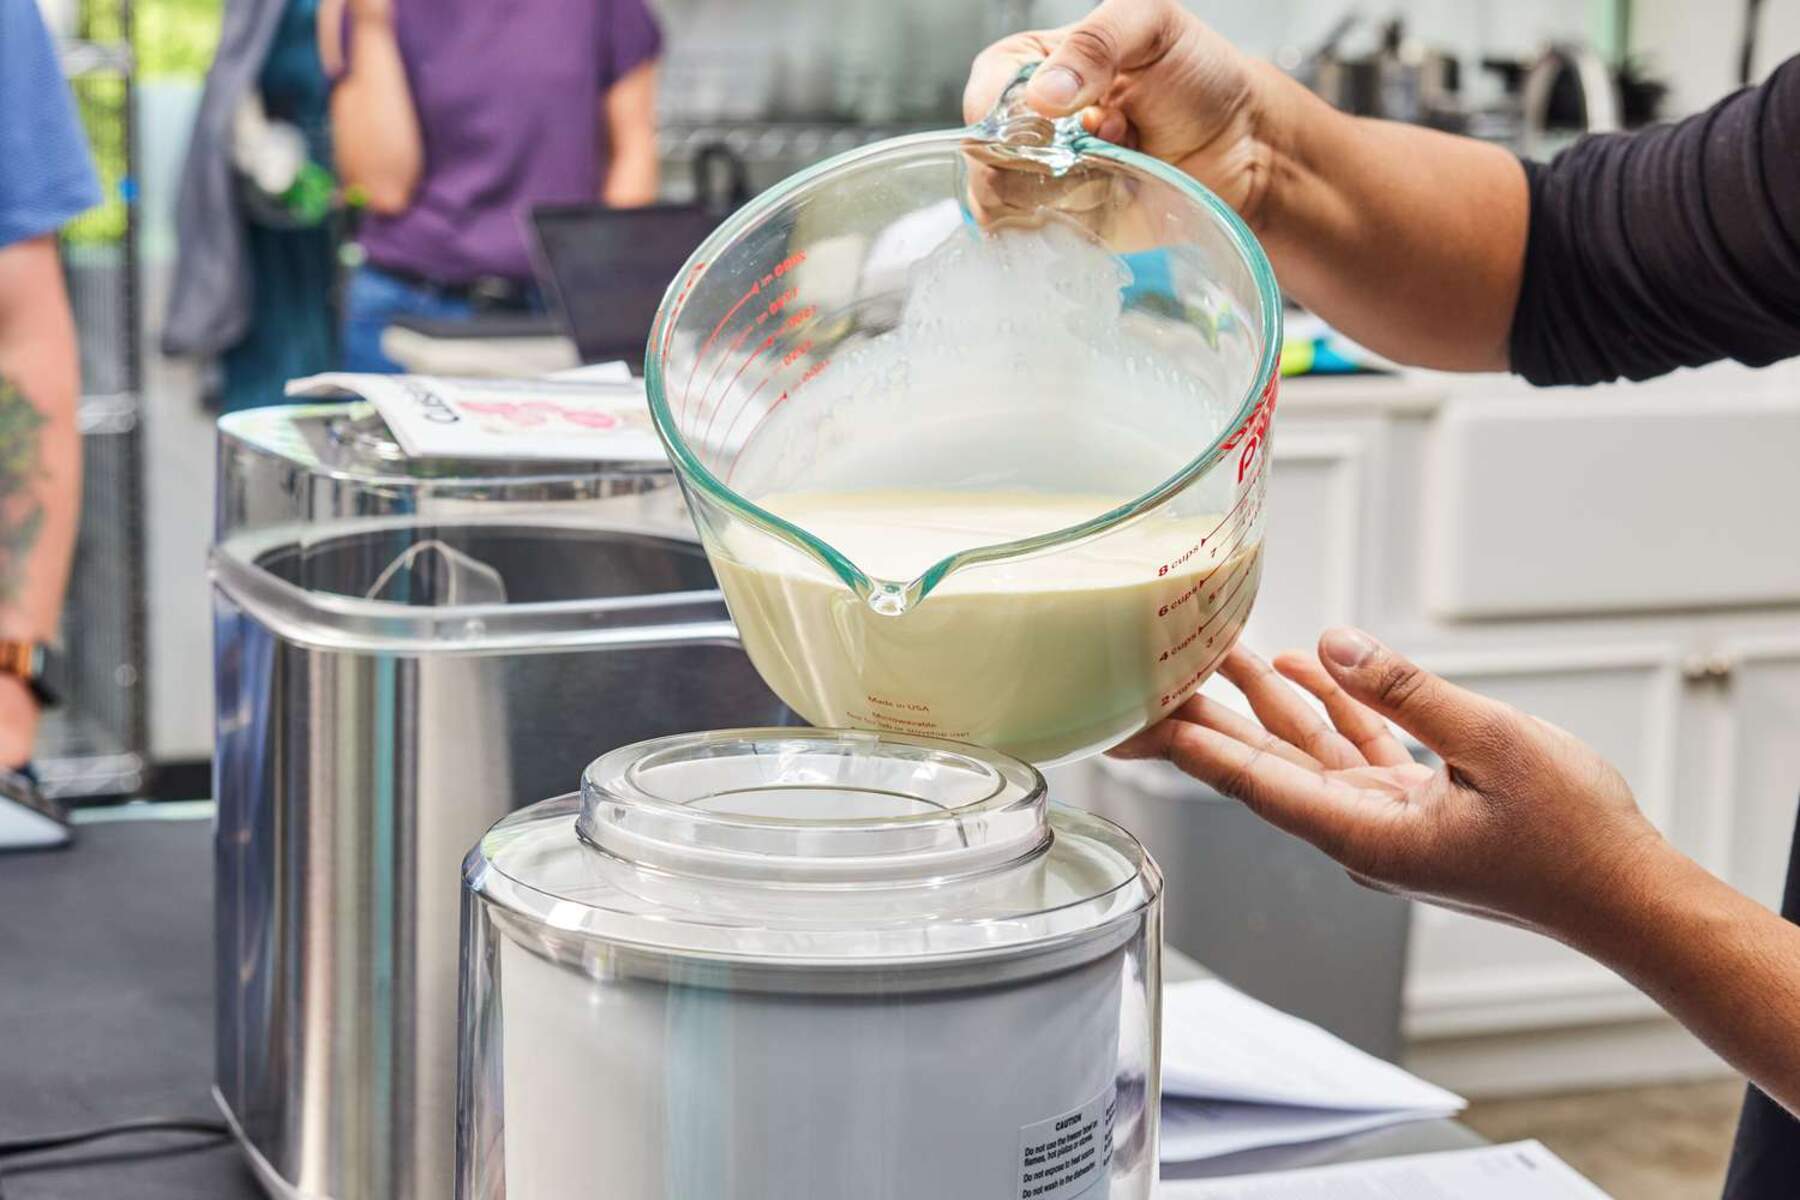
2. Pour the slushy mixture: Slowly pour the blended slushy mixture into the frozen bowl of the ice cream maker. Be cautious not to overfill the bowl, as the mixture will expand as it freezes and could overflow.
3. Attach the mixing arm: Attach the mixing arm to the top of the ice cream maker, ensuring it is securely in place. This mixing arm will help churn and freeze the slushy mixture during the process.
4. Seal the ice cream maker: Place the lid or cover on top of the ice cream maker, fully sealing it. This will prevent any ice crystals or excess air from entering the mixture.
5. Double-check the setup: Before starting the ice cream maker, ensure that all components are properly assembled and there are no leaks or loose parts. This will help avoid any issues during the freezing process.
6. Power on the ice cream maker: Plug in the ice cream maker and turn it on according to the manufacturer’s instructions. Some models may have specific settings or buttons for starting the freezing process. Select the appropriate setting based on your ice cream maker’s instructions.
Now that your slushy mixture is safely transferred to the ice cream maker, it’s time to move on to the next step: starting the ice cream maker and letting it work its magic. Get ready for the anticipation of a deliciously frozen slushy!
Step 5: Start the ice cream maker
With the slushy mixture safely transferred to the ice cream maker, it’s time to start the freezing process. Follow these steps to get your slushy on its way to perfection:
1. Power on the ice cream maker: Ensure that the ice cream maker is properly plugged in and turned on. Refer to the specific instructions of your ice cream maker to power it up.
2. Set the timer and temperature: Some ice cream makers come with built-in timers and temperature controls. Set the desired time and temperature according to the manufacturer’s instructions. The freezing time will vary depending on the model of your ice cream maker.
3. Start the churning process: Once the ice cream maker is powered on and the settings are in place, start the churning process. The mixing arm will begin to rotate, ensuring that the slushy mixture is continuously mixed and frozen.
4. Monitor the progress: Keep an eye on the ice cream maker as it churns the slushy mixture. Watch as the mixture starts to freeze and take on a slushy-like texture. This process typically takes around 15 to 20 minutes, but the time may vary depending on the temperature settings and the consistency of your mixture.
5. Avoid over-churning: It’s important not to over-churn your slushy mixture, as it can lead to a more solid and icy texture. Once the slushy reaches a desirable consistency, you can stop the ice cream maker. However, if you prefer a more frozen consistency, you can continue churning for a few more minutes.
6. Be patient: While the ice cream maker works its magic, it’s important to be patient and resist the temptation to peek inside too frequently. Opening the lid can interrupt the freezing process and result in a less smooth and creamy slushy.
And there you have it! With your ice cream maker hard at work, the slushy mixture is transforming into a frozen delight. Now, it’s time to move on to the next step: checking the consistency of your slushy.
Step 6: Check the consistency
As your slushy continues to churn and freeze in the ice cream maker, it’s important to periodically check its consistency to ensure it reaches the desired texture. Follow these steps to check the consistency of your slushy:
1. Pause the ice cream maker: Stop the churning process temporarily by pausing or turning off the ice cream maker. This will allow you to assess the slushy’s consistency without it being mixed further.
2. Open the ice cream maker: Carefully open the lid or remove the cover of the ice cream maker. Take a look at the slushy mixture inside.
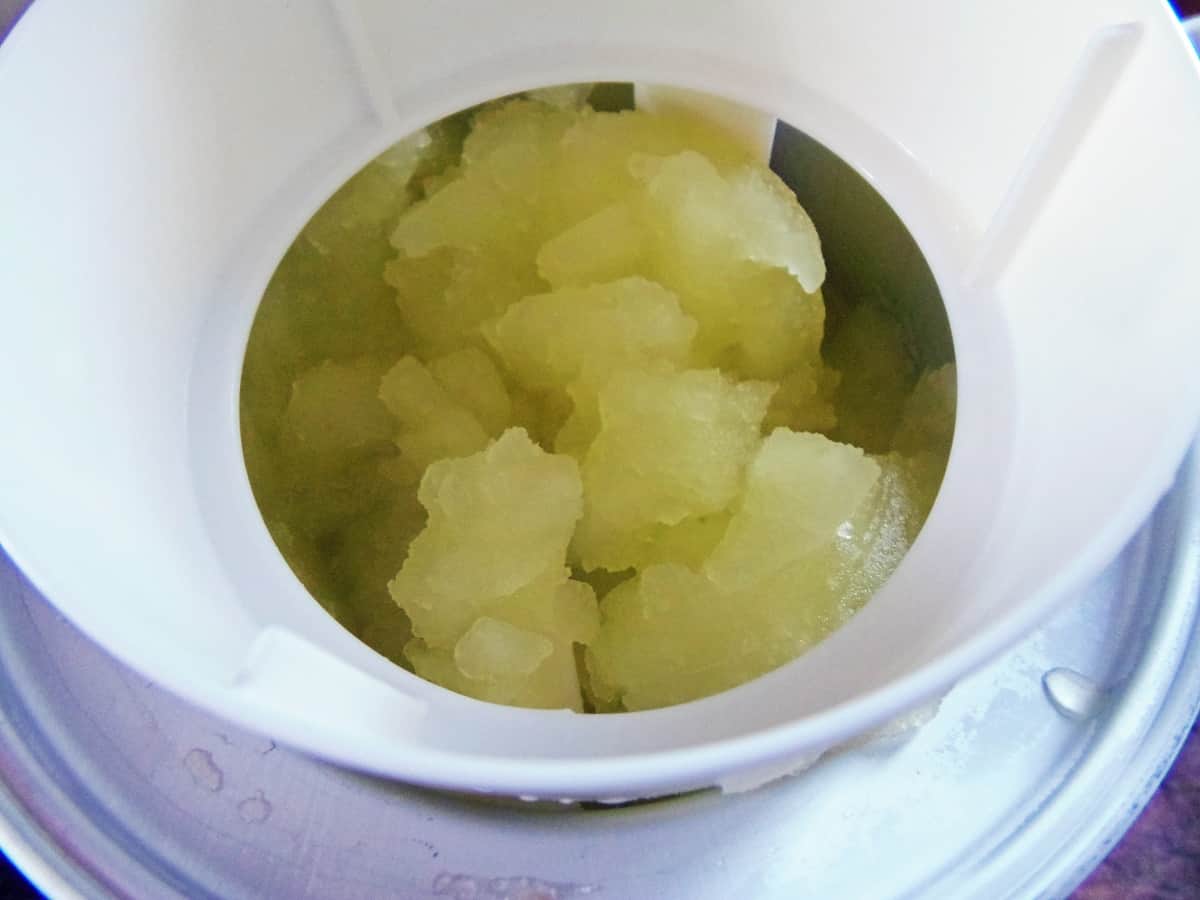
3. Check the texture: Observe the texture of the slushy. It should be partially frozen with a slush-like consistency, similar to a granita or crushed ice. Use a spoon or spatula to scoop a small amount of the slushy and examine its texture. It should be icy, yet still light and airy.
4. Taste a sample: Take a small taste of the slushy to evaluate the flavor and sweetness. Adjustments can be made at this point by adding more sweeteners, flavors, or ingredients to suit your taste preferences.
5. Return to the ice cream maker (if necessary): If the slushy has not reached the desired consistency, simply return the lid and resume the churning process. Allow it to churn for a few more minutes until the desired texture is achieved.
6. Repeat the checks if needed: If the slushy needs additional time to freeze and reach the desired consistency, repeat the steps of pausing, checking, and tasting until you are satisfied with the texture and taste.
Remember that the freezing time can vary depending on factors such as the temperature of the ice cream maker, the consistency of the slushy mixture, and personal preferences. It’s better to check the consistency multiple times rather than over-churning, which can result in a more solid and icy slushy.
Once you’re happy with the consistency of your slushy, it’s time to move on to the final step: serving and enjoying your homemade slushy!
Step 7: Serve and enjoy!
Congratulations! You’ve successfully made a delicious slushy using your ice cream maker. Now it’s time to serve and enjoy the fruits of your labor. Follow these final steps to savor your homemade slushy:
1. Unplug the ice cream maker: Begin by unplugging the ice cream maker and turning off any power supply. Safety is always important, and this step ensures that the machine is safe to handle.
2. Remove the slushy mixture: Carefully remove the lid or cover of the ice cream maker. Using a spoon or spatula, transfer the slushy mixture into serving glasses or bowls. Ensure you scoop out all the icy goodness.
3. Garnish (optional): Add a touch of flair to your slushy by garnishing it with colorful straws, fruit slices, or any other toppings of your choice. Not only does this enhance the visual appeal, but it can also add a burst of flavor.
4. Serve immediately: Slushies are best enjoyed when served immediately after preparation. The icy texture and refreshing flavors are at their peak when consumed right away. Grab your slushy and start sipping!
5. Store any leftovers: If, by chance, you have some slushy left uneaten, transfer it to an airtight container and store it in the freezer. It’s important to note that slushies may freeze solid when stored for too long. To restore the slushy texture, allow it to thaw slightly and give it a quick blend in the blender before serving again.
6. Experiment and have fun: Now that you’ve mastered the art of making slushies with an ice cream maker, don’t be afraid to get creative! Experiment with different flavors, mix in fresh fruit, or even try using different liquids as a base. The possibilities are endless, and you have the freedom to customize your slushies however you like.
So, grab your slushy, find a comfortable spot, and enjoy the refreshing and icy goodness you’ve created. Cheers to your homemade slushy success!
Tips and tricks for the perfect slushy
Creating the perfect slushy with an ice cream maker can be a delightful experience. To elevate your slushy-making game, here are some tips and tricks to keep in mind:
1. Chill your ingredients: Before blending the slushy mixture, ensure that both the liquid and any additional ingredients are well-chilled. This helps speed up the freezing process and ensures a quicker slushy formation.
2. Experiment with flavors: Don’t be afraid to get creative and try different flavor combinations. Mix and match fruit juices, blend in syrups, or even combine contrasting flavors for a unique taste sensation.
3. Balance sweetness: Be mindful of the sweetness level when adding sweeteners to your slushy mixture. Remember, the freezing process can slightly dull the sweetness, so it’s better to have a slightly sweeter mixture than you would desire in the end result.
4. Add a splash of acid: For a tangy kick, consider adding a squeeze of citrus juice like lemon or lime. This not only enhances the flavor but also helps to balance out the sweetness of the slushy.
5. Layer flavors: Get creative by layering different flavors of slushy in the same glass. Pour one flavor first, let it freeze for a bit, then add another flavor on top. This will add visual appeal and provide a fun taste exploration as you sip your slushy.
6. Mix in fresh fruits or herbs: Elevate your slushy by adding small chunks of fresh fruits or a sprinkle of herbs. This adds texture, freshness, and a pop of color to your icy creation.
7. Freeze glasses beforehand: For an extra touch of frostiness, chill your serving glasses or cups in the freezer before pouring in the slushy. This helps to keep the slushy cool for longer and enhances the overall presentation.
8. Get creative with garnishes: Experiment with creative garnishes like whipped cream, colorful sprinkles, or even a drizzle of chocolate syrup for an extra indulgent treat.
9. Don’t forget the straw: Slushies are meant to be sipped through a straw, so don’t forget to serve your slushy with a colorful and fun straw. It adds to the enjoyment and makes the experience even more delightful.
10. Enjoy immediately: Slushies are at their best when enjoyed right away, as the texture and flavor are at their peak. Serve and enjoy your slushy as soon as it is ready for the ultimate refreshing experience.
Remember, making the perfect slushy is all about experimentation and having fun. Feel free to adjust the ingredients, flavors, and techniques to suit your preferences. Now go ahead and create your own slushy masterpiece!
Conclusion
Congratulations, you are now equipped with the knowledge to make a delicious slushy using an ice cream maker! By following the simple steps outlined in this guide, you can create your own refreshing and icy treat to beat the summer heat. With the ability to customize flavors, control sweetness, and achieve a consistent texture, making slushies with an ice cream maker offers endless possibilities for delightful creations.
We explored the process of gathering ingredients, preparing the ice cream maker, blending the ingredients, transferring the mixture, starting the ice cream maker, checking the consistency, and finally, serving and enjoying your homemade slushy. Each step is crucial in ensuring that your slushy turns out just the way you like it.
Throughout the journey, we also shared tips and tricks to enhance your slushy-making experience. From experimenting with flavors and balancing sweetness to adding unique garnishes and layering flavors, these insights will help you take your slushy to the next level.
So, the next time you’re craving a frozen treat, skip the store-bought slushies and opt for a homemade version with an ice cream maker. Engage your creativity, try out different flavors, and enjoy the cool and refreshing experience of crafting your very own icy delight.
Remember to have fun, experiment with flavors, and don’t be afraid to think outside the box. The joy of making slushies at home lies in the freedom to tailor the flavors to your liking and explore new combinations.
Now, go ahead and embrace the adventure of making your own slushies with an ice cream maker. With your newfound knowledge and the tips shared in this guide, you are well on your way to becoming a slushy connoisseur. Get ready to delight your taste buds, cool down on hot days, and enjoy the refreshing satisfaction of a homemade slushy!