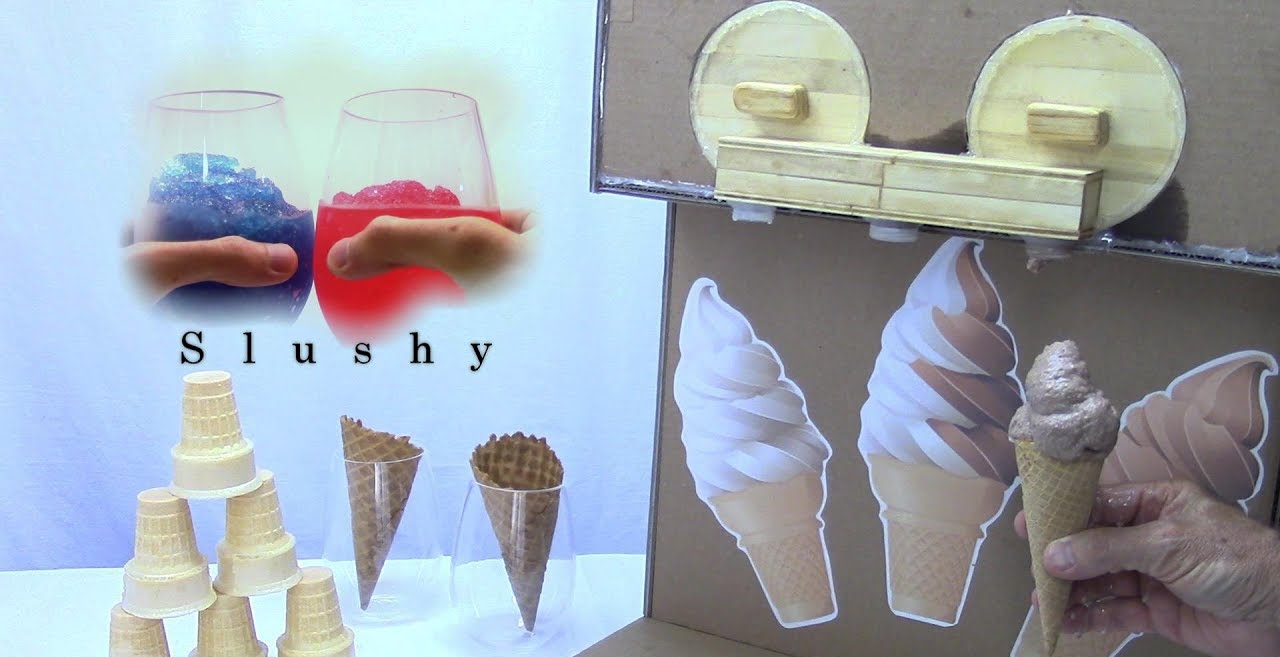
Introduction
Nothing beats the refreshing and delightful taste of a slushie on a hot summer day. With its icy texture and burst of flavors, a slushie is the perfect treat to cool down and quench your thirst. While you can easily find slushies at your local convenience store or amusement park, there’s something special about making your own at home.
In this article, we’ll show you how to make slushies in an ice cream maker, giving you the freedom to customize flavors and experiment with different combinations. Whether you’re hosting a summer party, spending time with family, or simply craving a delicious slushie, making one with your ice cream maker is a fun and easy process.
Not only will you have control over the ingredients that go into your slushie, but you’ll also enjoy the satisfaction of creating a homemade treat that’s sure to impress your taste buds. So, let’s dive in and discover how to harness the power of your ice cream maker to whip up the perfect slushie!
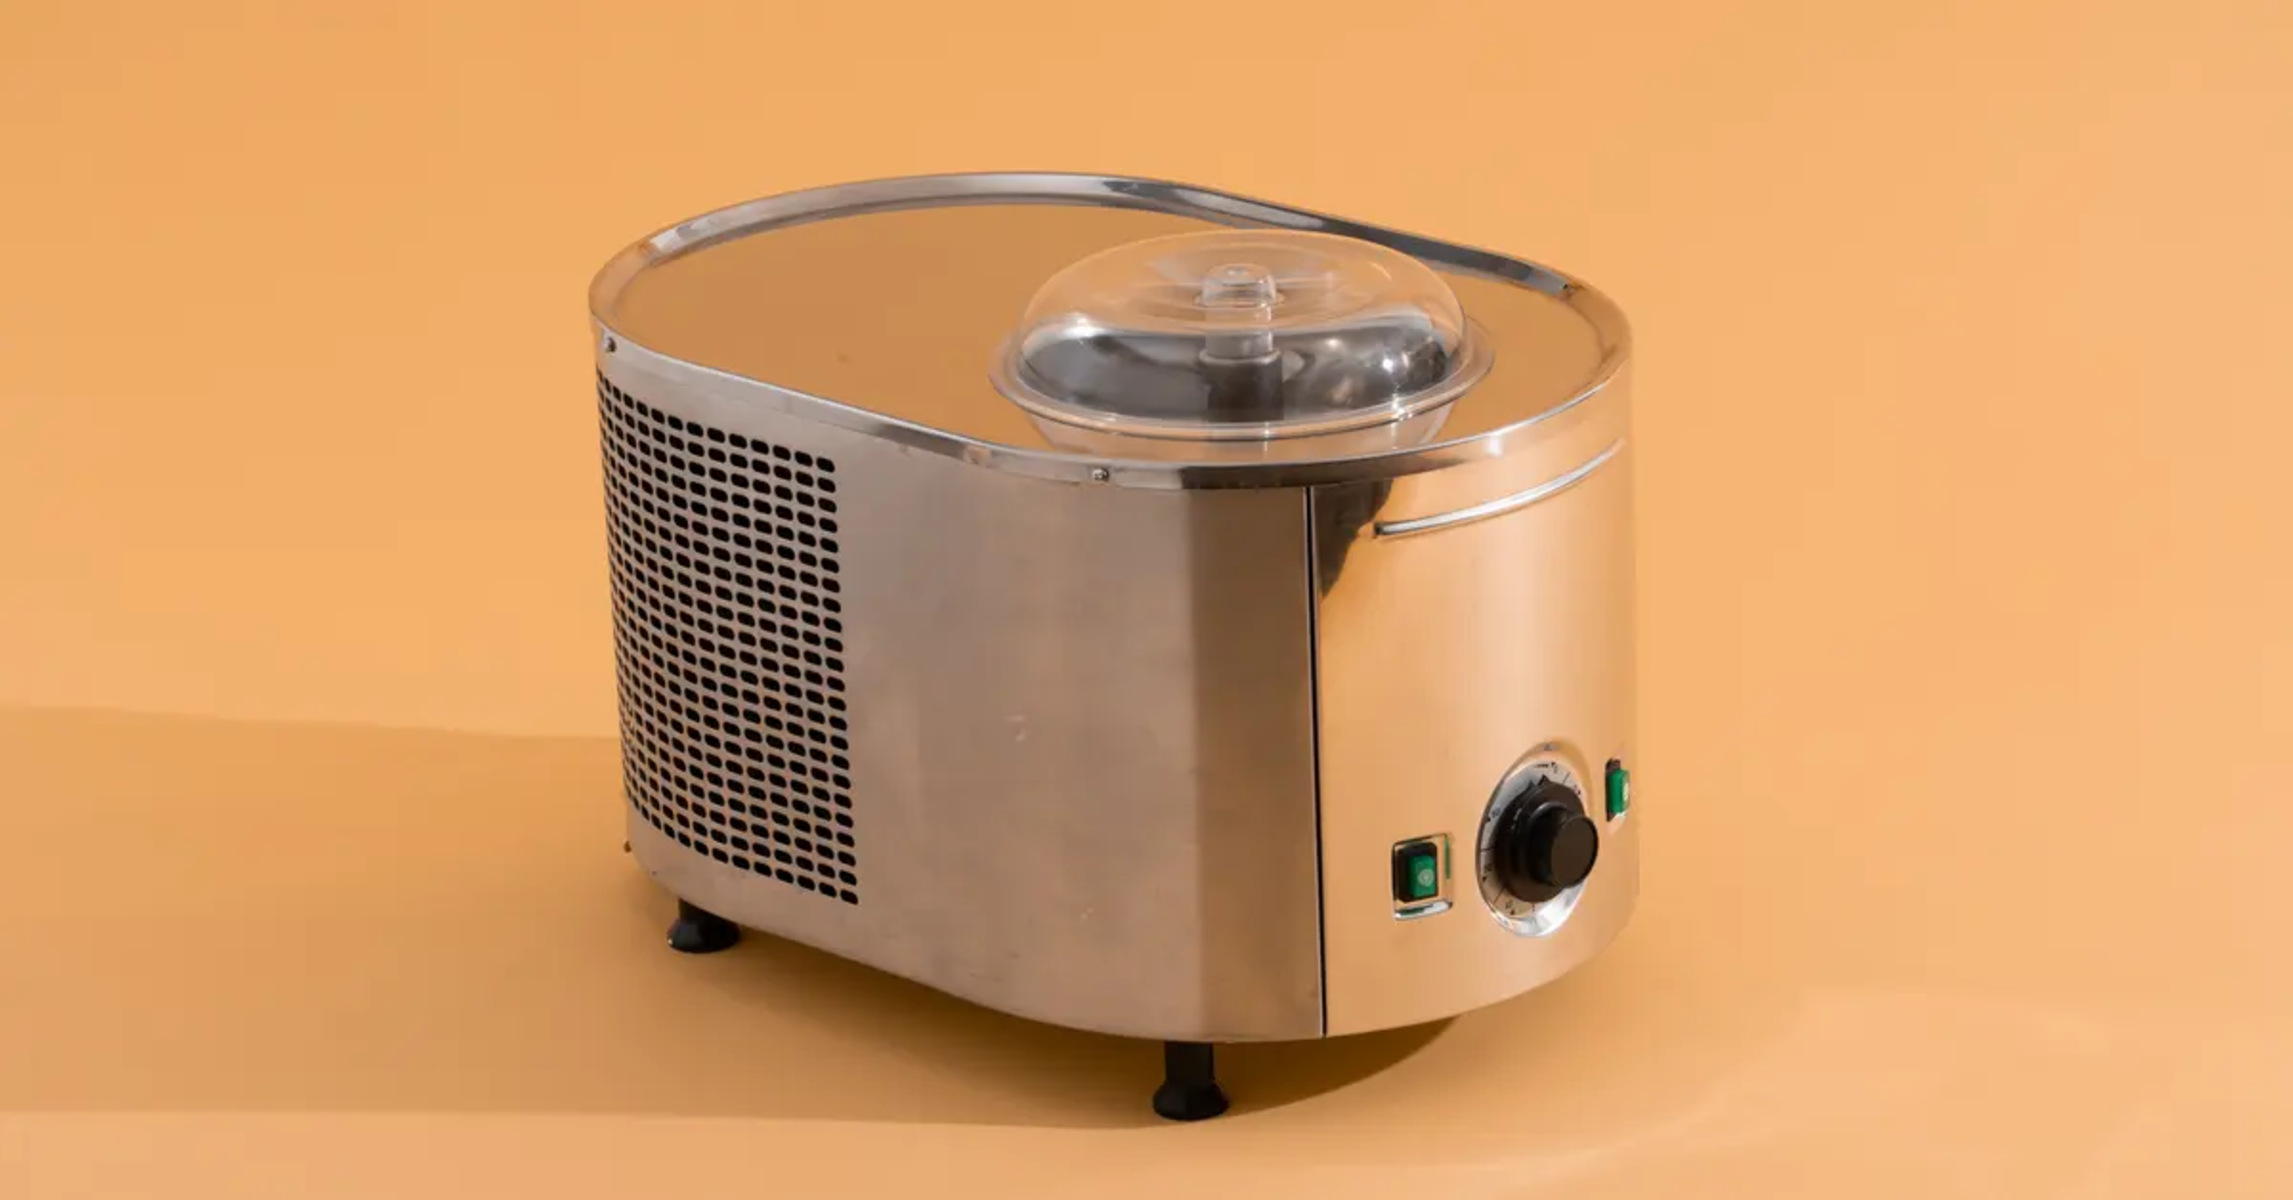
Choosing the Right Ice Cream Maker
When it comes to making slushies, having the right ice cream maker can make all the difference. There are a few key factors to consider when choosing an ice cream maker specifically for slushies:
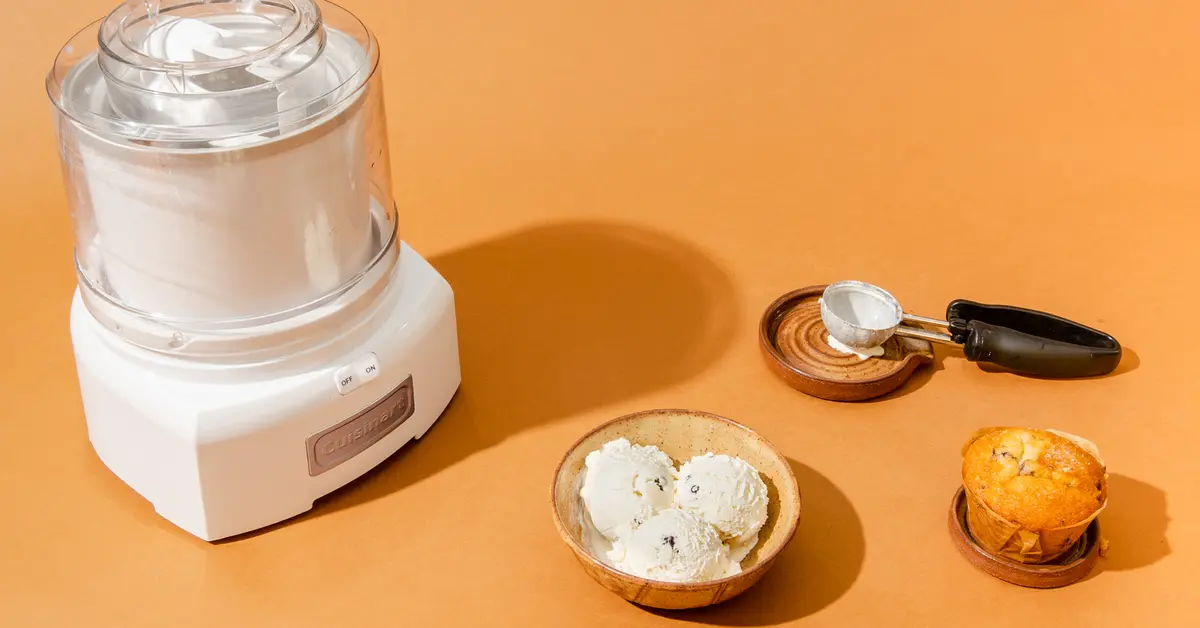
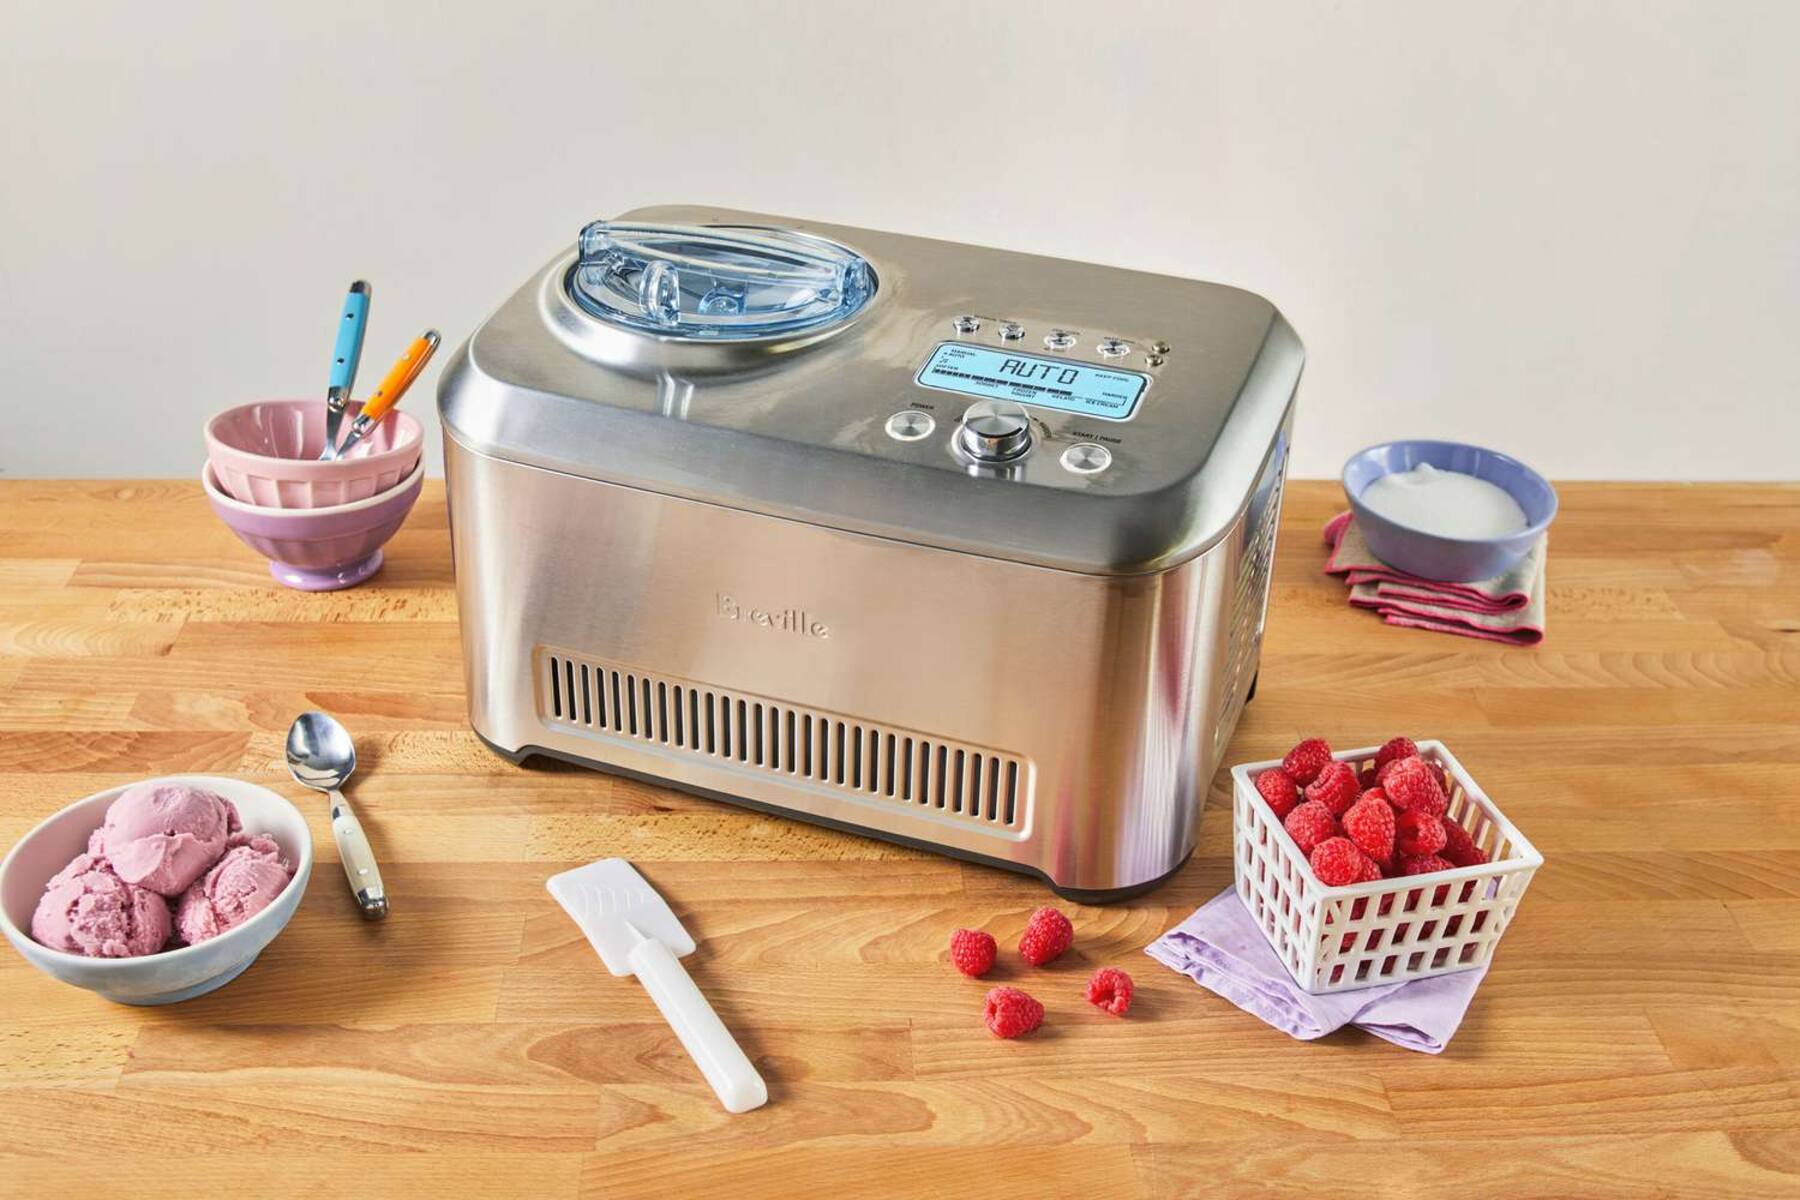
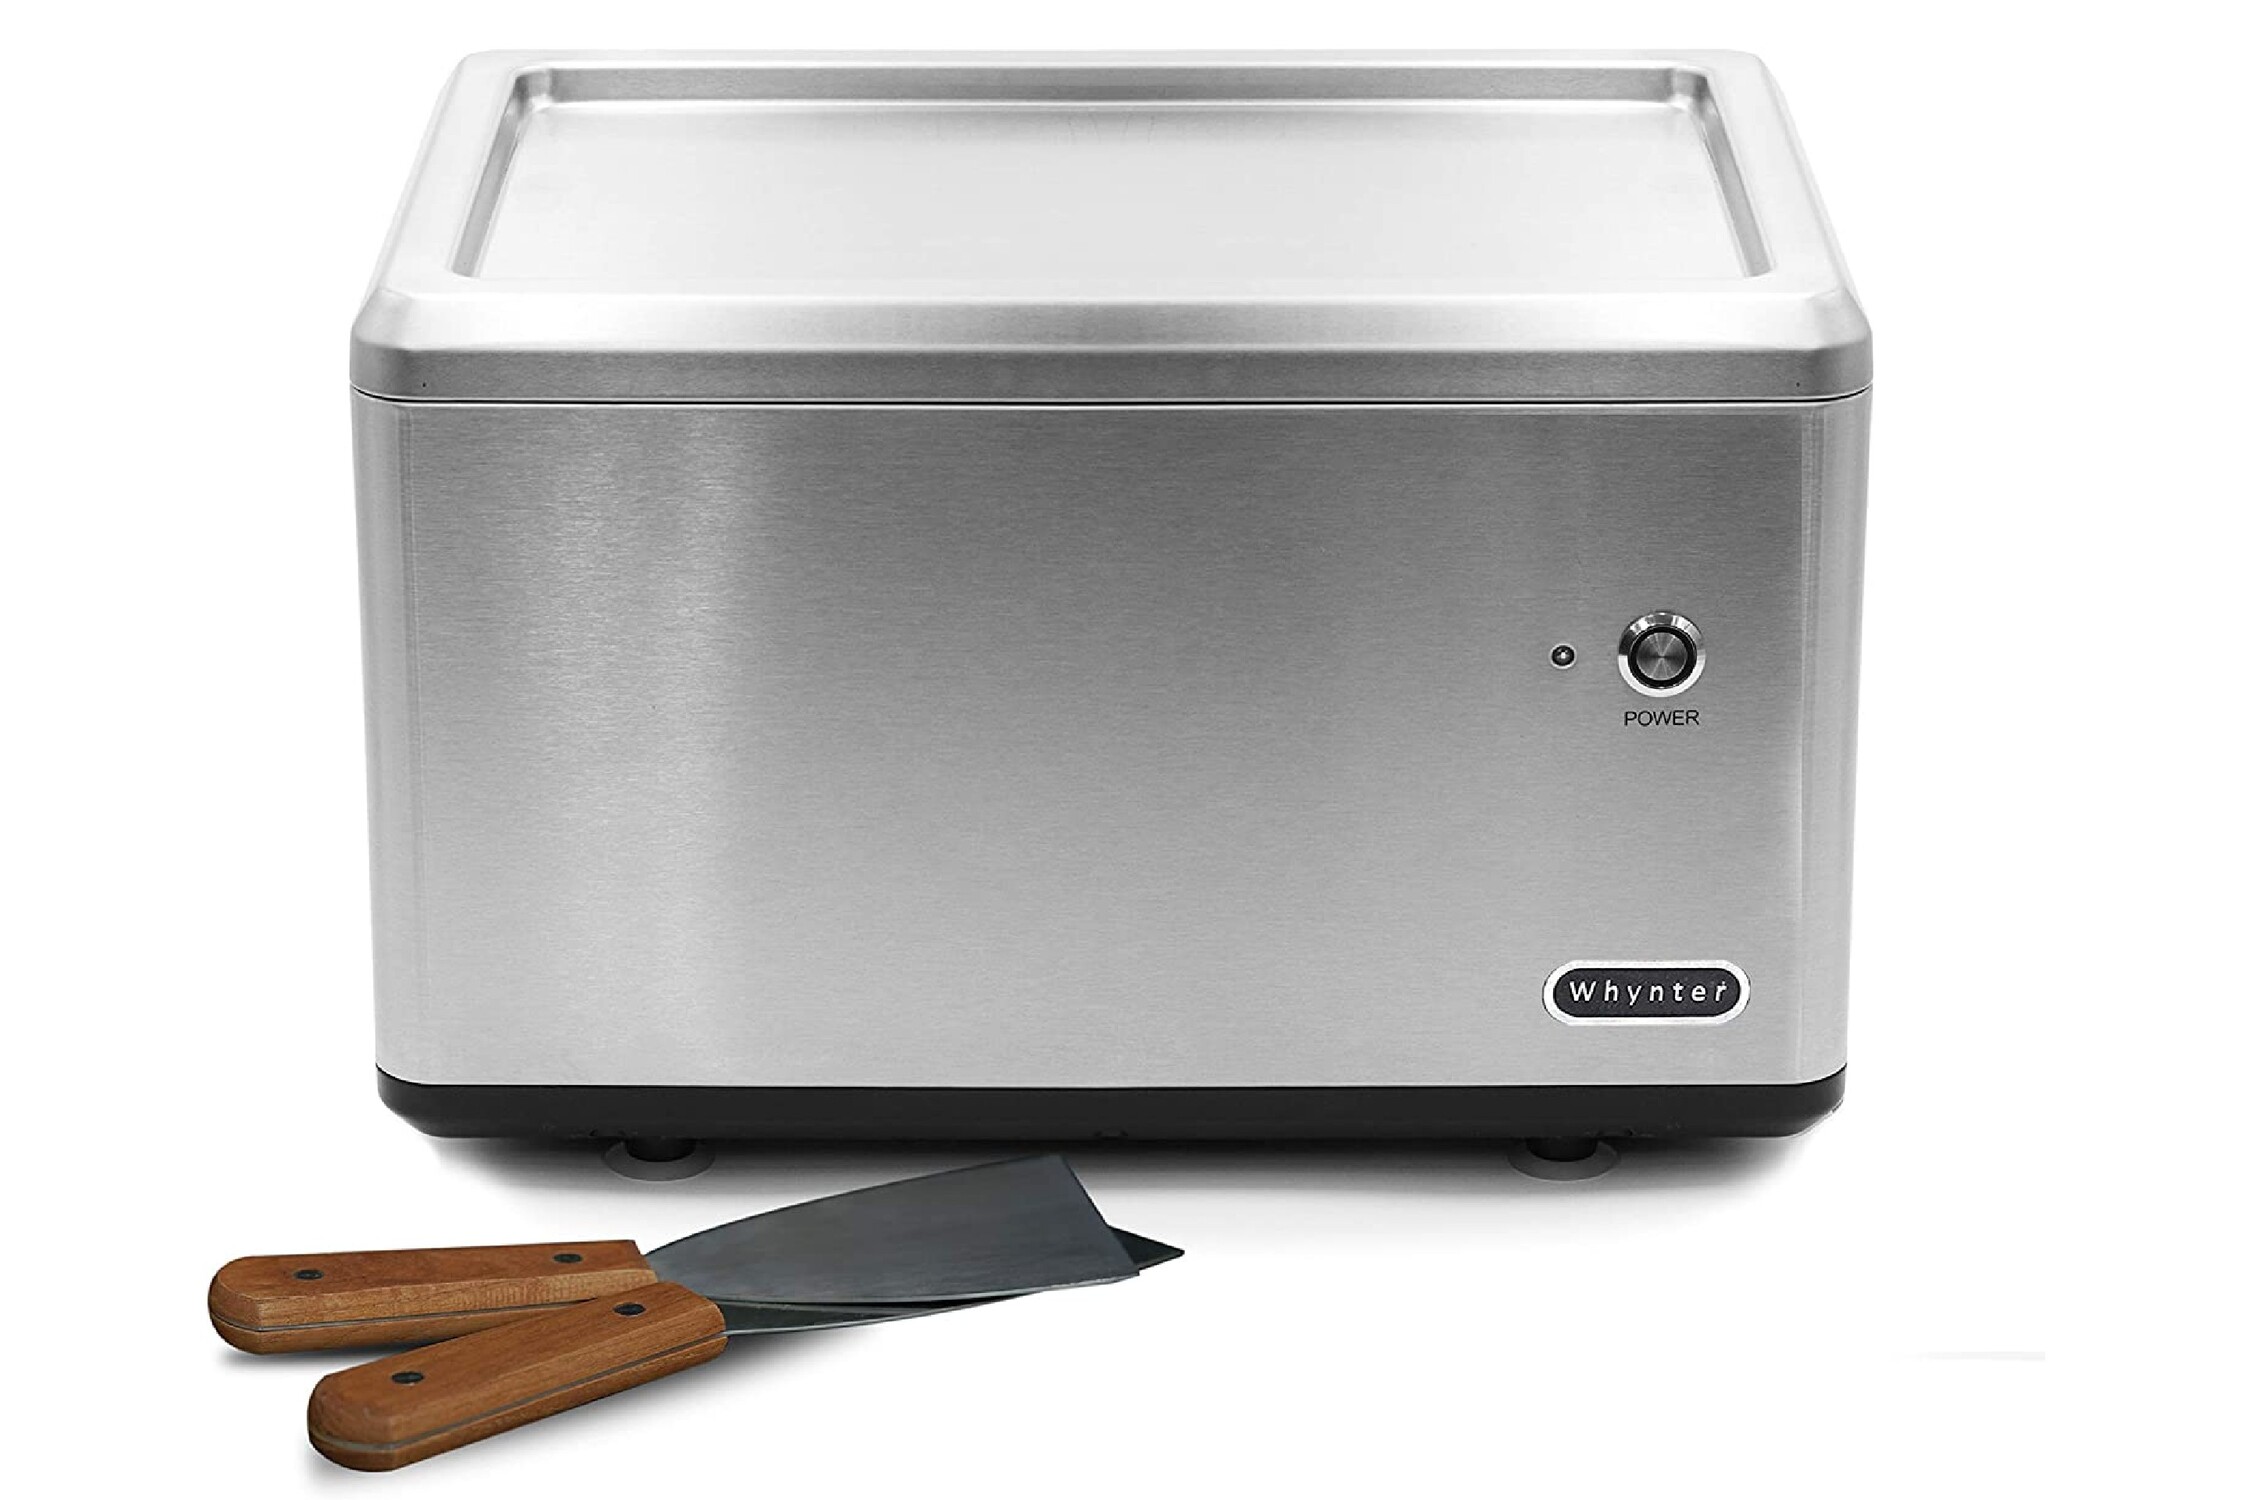
- Type of Ice Cream Maker: There are various types of ice cream makers available, including manual crank models, freezer bowl models, and self-freezing models. For slushies, it’s best to opt for a self-freezing model, as it eliminates the need for pre-freezing the bowl and allows for quick and easy slushie making.
- Capacity: Consider the size of the ice cream maker and how much slushie it can produce in one go. If you’re planning on making slushies for a large group or frequently entertaining guests, a larger capacity ice cream maker might be the best choice for you.
- Speed: Look for an ice cream maker that has a fast freezing time, allowing you to enjoy your slushie creations in no time. The quicker the freezing process, the better the texture and consistency of your slushie will be.
- Quality and Durability: Invest in an ice cream maker that is built to last. Pay attention to the materials used and read reviews from other customers to ensure the durability and quality of the machine.
Additionally, it’s always a good idea to consider your budget and find an ice cream maker that offers the features you desire at a price point that suits your needs.
Once you’ve chosen the perfect ice cream maker for your slushie adventures, you’ll be ready to move on to the next step: gathering the necessary ingredients!
Ingredients You’ll Need
Before diving into the slushie making process, it’s important to gather all the necessary ingredients. Luckily, making slushies requires just a few simple and readily available ingredients. Here’s what you’ll need:
- Fruit Juice or Soda: Choose your favorite fruit juice or soda to serve as the base of your slushie. Popular options include orange juice, lemonade, grapefruit juice, or cola. You can also mix different flavors to create unique combinations.
- Ice: Ice is essential for achieving that perfect slushie texture. Make sure you have enough ice on hand to fill your ice cream maker’s bowl. You can use regular ice cubes or crushed ice, depending on your preference.
- Sugar or Sweetener (Optional): If you prefer a sweeter slushie, you can add sugar or a sweetener of your choice. Adjust the amount based on your taste preferences, keeping in mind the sweetness of the chosen fruit juice or soda.
- Flavorings (Optional): For an extra burst of flavor, consider adding some additional flavorings to your slushie mix. Mint leaves, vanilla extract, or flavored syrups are great options to enhance the taste of your slushie.
- Garnishes (Optional): To take your slushie to the next level, have some garnishes ready. Fresh fruit slices, whipped cream, or a sprinkle of colorful sprinkles can add a touch of visual appeal and extra flavor.
Feel free to get creative with your ingredient choices and experiment with different combinations. The beauty of making slushies at home is that you have full control over the flavors and can truly customize them to suit your taste preferences.
With your ingredients in hand, it’s time to move on to preparing your slushie mix and getting your ice cream maker ready for action.
Preparing Your Slushie Mix
Now that you have gathered all your ingredients, it’s time to prepare your slushie mix. The process is incredibly simple and allows room for creativity. Here’s how to do it:
- Choose Your Base: Start by selecting the fruit juice or soda that will serve as the base of your slushie. Pour it into a measuring cup or a bowl, ensuring you have enough liquid to fill your ice cream maker’s bowl.
- Add Sweetener (If Desired): If you prefer a sweeter slushie, now is the time to add sugar or a sweetener of your choice. Start with a small amount and taste as you go, adjusting the sweetness to your preference.
- Optional Flavorings: If you want to add an extra punch of flavor to your slushie, consider adding some additional flavorings. You can toss in a few mint leaves, a splash of vanilla extract, or a drizzle of flavored syrup. Be mindful not to overpower the base flavor and adjust the quantity accordingly.
- Give It a Stir: Mix the ingredients together well, ensuring all the sweeteners and flavorings are fully incorporated into the base liquid.
At this point, your slushie mix is ready to be transformed into a refreshing icy treat. But before you jump straight into making the slushie, let’s make sure your ice cream maker is properly prepared.
Preparing Your Ice Cream Maker
Before you can start making your slushie, it’s important to properly prepare your ice cream maker. Follow these steps to ensure your machine is ready to create the perfect slushie:
- Freeze the Bowl: If you’re using a freezer bowl ice cream maker, make sure the bowl has been properly frozen according to the manufacturer’s instructions. Typically, this requires freezing the bowl for a minimum of 24 hours in advance. Ensure that the bowl is completely frozen before moving on to the next step.
- Assemble the Ice Cream Maker: Once the bowl is frozen, assemble your ice cream maker according to the manufacturer’s instructions. This usually involves inserting the frozen bowl, attaching any necessary paddles or blades, and securing the lid.
- Pre-Chill the Machine (If Required): Some ice cream makers may require a pre-chilling step to ensure optimal slushie consistency. If your machine instructs you to do so, allow it to run empty for a few minutes to cool down.
- Place the Machine on a Stable Surface: Find a sturdy and level surface for your ice cream maker. This will help prevent any unwanted movement or wobbling during the slushie-making process.
With your ice cream maker properly prepared, it’s time to transform your slushie mix into a frosty and delicious treat. Continue to the next section to learn how to make the perfect slushie using your ice cream maker.
Making the Slushie
Now that your slushie mix is prepared and your ice cream maker is ready, it’s time to transform your ingredients into a refreshing slushie. Follow these simple steps to make the perfect slushie:
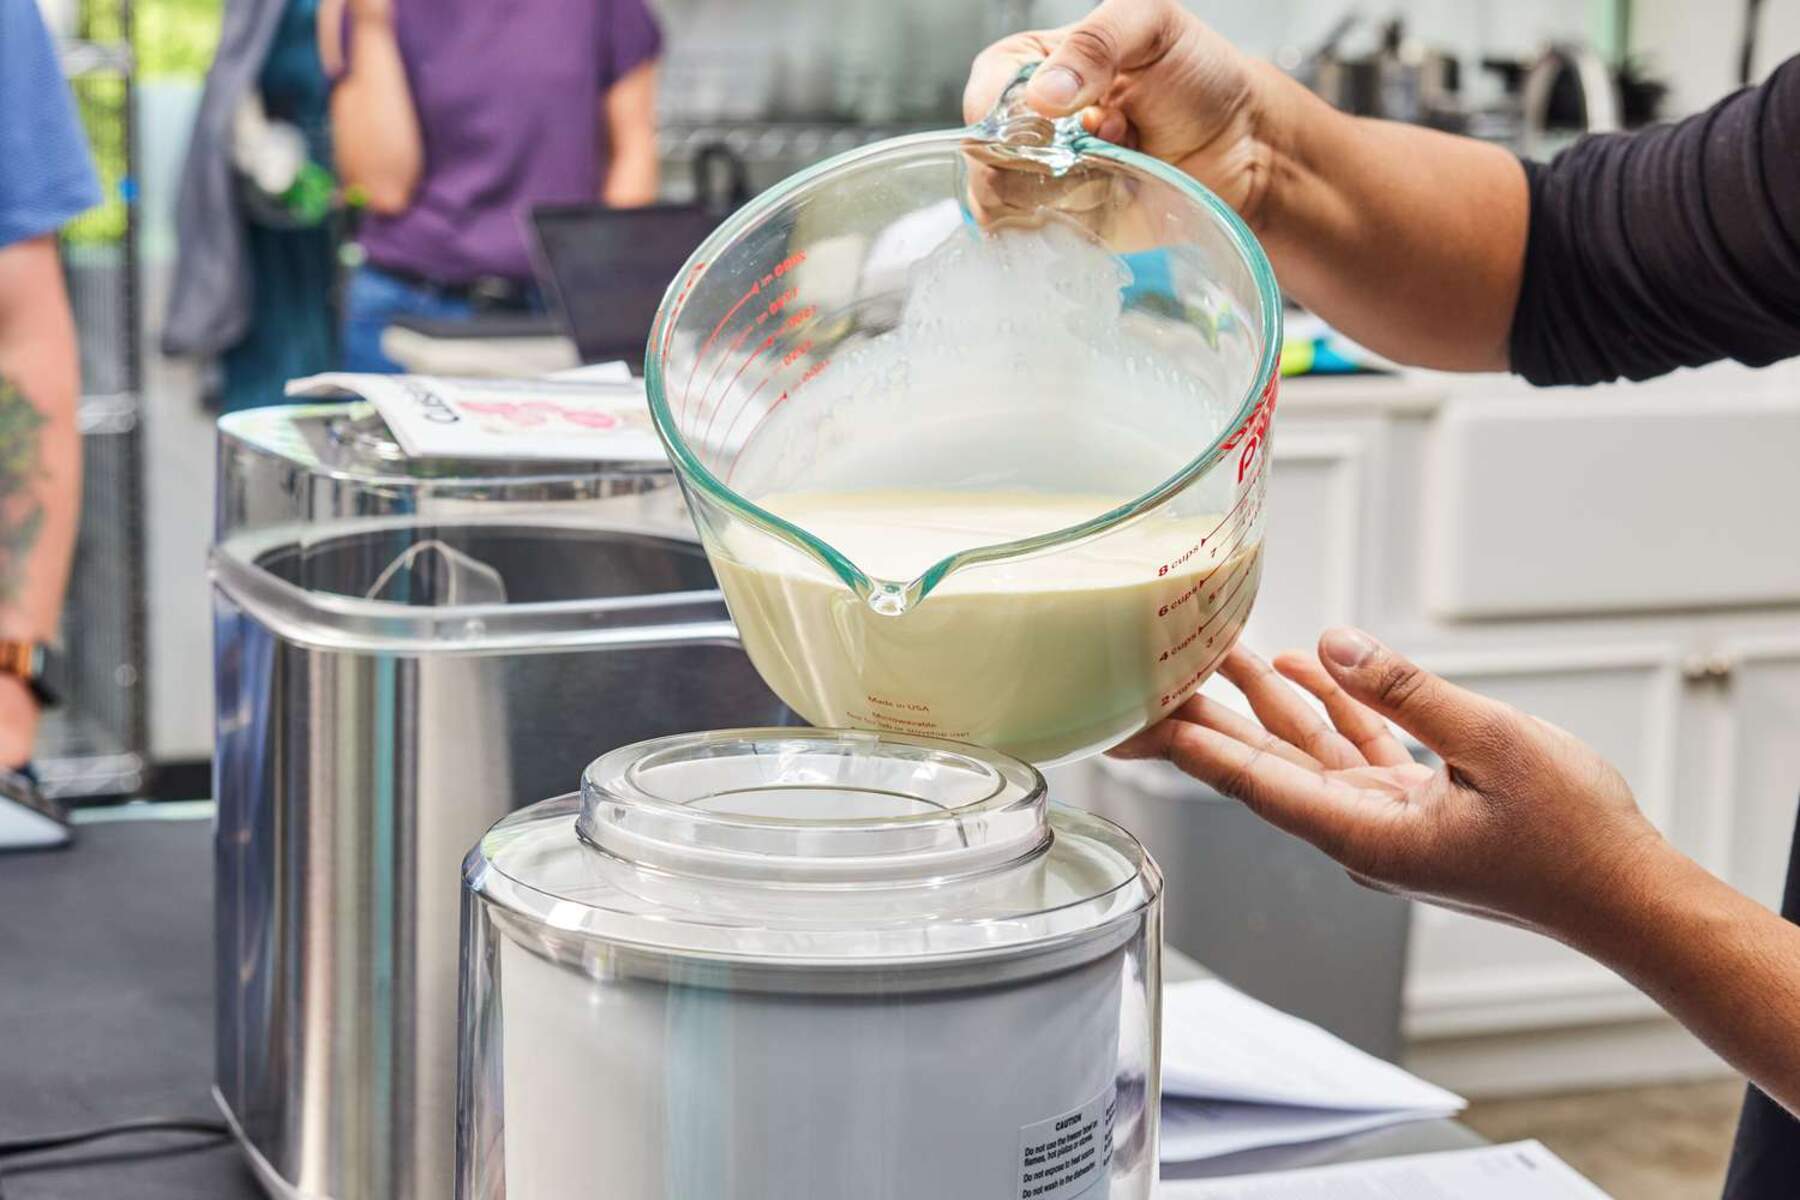
- Pour the Slushie Mix into the Ice Cream Maker: Carefully pour your prepared slushie mix into the bowl of the ice cream maker. Make sure not to overfill the bowl as the slushie will expand as it freezes.
- Turn On the Ice Cream Maker: Start the machine and set it to the appropriate setting for frozen desserts or slushies. Your machine’s manual should guide you on the correct setting to use.
- Let the Machine Work Its Magic: Allow the ice cream maker to churn and freeze the slushie mix. The exact time required will depend on your machine, but it typically takes 15-30 minutes. Keep an eye on the texture and consistency of the slushie as it churns.
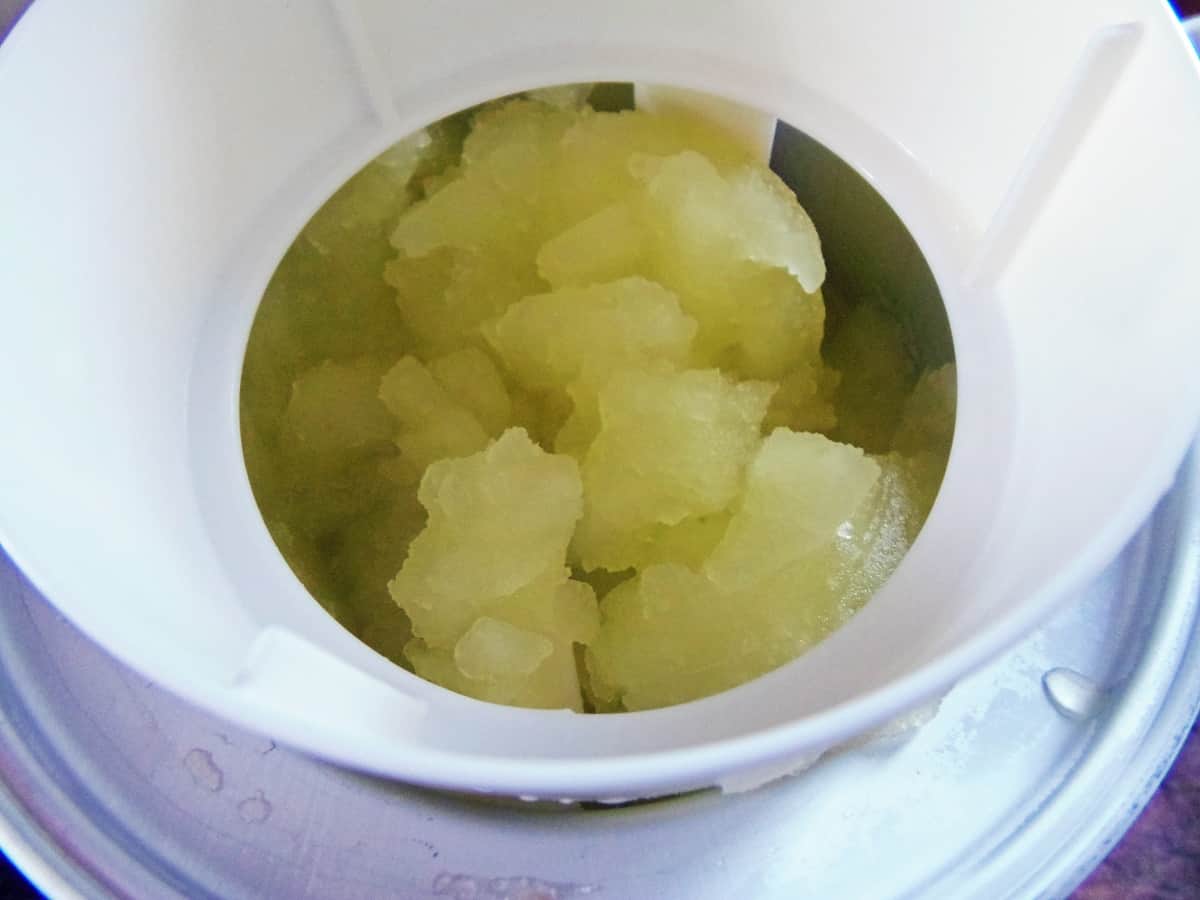
- Check the Consistency: After the recommended churning time, check the slushie’s consistency by removing the lid and checking the texture. It should be icy and slushy, with no liquid remaining.
- Transfer and Serve: Once your slushie has reached the desired consistency, carefully transfer it from the ice cream maker’s bowl to serving glasses or bowls. Use a spoon or ice cream scoop to scoop out the slushie, creating a mound of icy goodness.
Now, all that’s left to do is add your favorite toppings or garnishes and enjoy your homemade slushie! Remember to work quickly to prevent the slushie from melting too much.
Making slushies in an ice cream maker allows you to create an endless variety of flavors and experiment with different combinations. Have fun exploring different fruit juices, sodas, and mix-ins to create unique and delicious slushie creations.
Next, we’ll dive into the options for adding flavors and sweeteners to your slushies to elevate the taste even further.
Adding Flavors and Sweeteners
While a simple fruit juice or soda base can be delightful on its own, adding flavors and sweeteners to your slushie can take it to a whole new level of deliciousness. Here are some options to enhance the taste of your slushie:
- Flavored Syrups: Explore a variety of flavored syrups such as strawberry, raspberry, or mango, and drizzle them into your slushie for an extra burst of flavor. These syrups can be found at your local grocery store or specialty stores.
- Fresh Fruit: Add chunks of fresh fruit to your slushie mix before freezing. Berries, peaches, watermelon, or citrus fruits make excellent additions and add a natural sweetness to the slushie.
- Herbs and Spices: Experiment with herbs and spices to give your slushie a unique twist. Mint leaves, basil, or even a dash of cinnamon can lend a refreshing or aromatic note to your slushie.
- Extracts and Essences: Enhance the flavor of your slushie by adding a few drops of extracts or essences. Vanilla extract, almond extract, or coconut essence can elevate the taste profile and create a more indulgent experience.
- Sweeteners: If your slushie needs a touch more sweetness, consider adding sugar, honey, agave syrup, or a sugar substitute. Start with a small amount and adjust to taste.
Remember to taste your slushie mix as you add flavors and sweeteners, ensuring you are achieving the desired balance. Every palate is different, so feel free to customize your slushie to suit your preferences.
Once you have added your desired flavors and sweeteners, proceed with the freezing process in your ice cream maker as outlined in the previous section. The flavors and sweeteners will incorporate into the slushie while it churns and freezes, giving you a perfectly flavored and sweetened treat.
Now that you know how to add flavor and sweetness to your slushies, let’s explore some tips and tricks to ensure that you achieve the best slushie possible.
Tips and Tricks for the Best Slushie
To make the best slushie possible, here are some tips and tricks you can follow:
- Chill Ingredients: For a faster freezing process, make sure that your fruit juice, soda, and any other liquid ingredients are chilled before starting. This will help the slushie mixture freeze more quickly and result in a smoother texture.
- Don’t Overfill: Avoid overfilling the ice cream maker’s bowl with the slushie mixture. Leave some space for expansion as the mixture freezes. Overfilling can prevent the mixture from properly churning and may create a messy overflow.
- Freeze Leftovers: If you have any leftover slushie, transfer it to an airtight container and place it in the freezer. It may harden further, but you can always thaw it slightly before serving for a refreshing treat later on.
- Experiment with Ratios: Play around with the ratios of ingredients to find your preferred slushie consistency. If you prefer a thicker slushie, add a bit more ice. If you like it less icy, reduce the amount of ice and increase the liquid base.
- Mix and Match Flavors: Don’t be afraid to mix and match different flavors to create unique and tasty combinations. Try blending fruit juices or mixing different soda flavors to create your own signature slushie.
- Layered Slushies: To create visually appealing layered slushies, make a couple of different flavored slushie mixes separately. Freeze each flavor individually and then layer them in serving glasses for a beautiful and colorful presentation.
- Use Frozen Fruit: Instead of using ice cubes in your slushie mix, consider using frozen fruits. This will not only add flavor but also eliminate the need for extra ice, resulting in a more concentrated and flavorful slushie.
- Adjust Sweetness: Remember that some fruits and sodas are already sweetened, so take that into account before adding additional sweeteners. Taste your slushie mix before freezing and adjust the sweetness accordingly.
By following these tips and tricks, you’ll be able to create slushies that are not only delicious but also tailored to your personal preferences. Now, it’s time to serve and enjoy your homemade slushies!
Serving and Enjoying Your Slushie
Now that your slushies are ready, it’s time to serve and enjoy them. Follow these suggestions to make your slushie experience even more enjoyable:
- Garnish with Style: Add some flair to your slushie by garnishing it with fresh fruit slices, whipped cream, sprinkles, or a colorful straw. Not only will it enhance the visual appeal, but it will also add extra flavor and fun.
- Chill Glasses: If possible, chill the glasses or serving containers before pouring the slushie into them. This will help to keep the slushie cold for a longer time, especially on hot summer days.
- Enjoy the Texture: Savor the icy, granular texture of the slushie as you take a sip. Let the flavors burst in your mouth, and appreciate the refreshingly cold experience.
- Get Creative with Mix-Ins: If you want to take your slushie to the next level, consider adding mix-ins. Crushed cookies, candy pieces, or even fresh fruit chunks can add new flavors and textures to your slushie.
- Serve with a Sidekick: Accompany your slushie with other refreshing treats like fresh fruit, popcorn, or even a scoop of ice cream. Combining different sweet treats will elevate your taste experience and offer a variety of flavors and textures.
- Enjoy Anytime, Anywhere: Slushies are not just limited to the summer months. You can enjoy them year-round, whether you’re hanging out by the pool, having a movie night, or simply craving a frosty beverage.
- Share the Joy: Slushies are perfect for sharing with friends and family. Host a slushie party and let everyone choose their favorite flavors and toppings. It’s a fun and interactive way to enjoy this refreshing treat together.
Remember, the beauty of making slushies at home is that you can experiment and personalize them to your liking. Feel free to make adjustments to the ingredients, flavors, and toppings to suit your taste and preferences.
Now that you have mastered the art of making slushies in an ice cream maker, go ahead and treat yourself to this icy delight. Whether you’re lounging by the pool, hosting a barbecue, or simply craving a cool refreshment, your homemade slushies are sure to hit the spot!
Conclusion
Making slushies in an ice cream maker is a rewarding and enjoyable process that allows you to create customized frozen treats to beat the summer heat. By selecting the right ice cream maker, gathering the necessary ingredients, preparing the slushie mix, and following the steps to make the perfect slushie, you’ll be able to indulge in refreshing and flavorful drinks.
Remember to get creative with flavors, adding sweeteners or using frozen fruits to enhance the taste. Don’t be afraid to experiment and try new combinations to find your favorite slushie recipe.
With the tips and tricks provided, you can improve the texture, presentation, and overall enjoyment of your slushies. Serve them in chilled glasses, garnish with style, and consider pairing them with complementary treats to create a truly delightful experience.
Whether you’re hosting a gathering, spending time with loved ones, or simply looking for a cool treat to enjoy on a hot day, making slushies in an ice cream maker is a fun and rewarding activity. So, grab your ingredients, prepare your ice cream maker, and get ready to savor the icy goodness of homemade slushies!
Now, it’s time to relax, sip your slushie, and enjoy the fruits of your labor. Cheers to a summer filled with refreshing and delicious homemade slushies!