Introduction
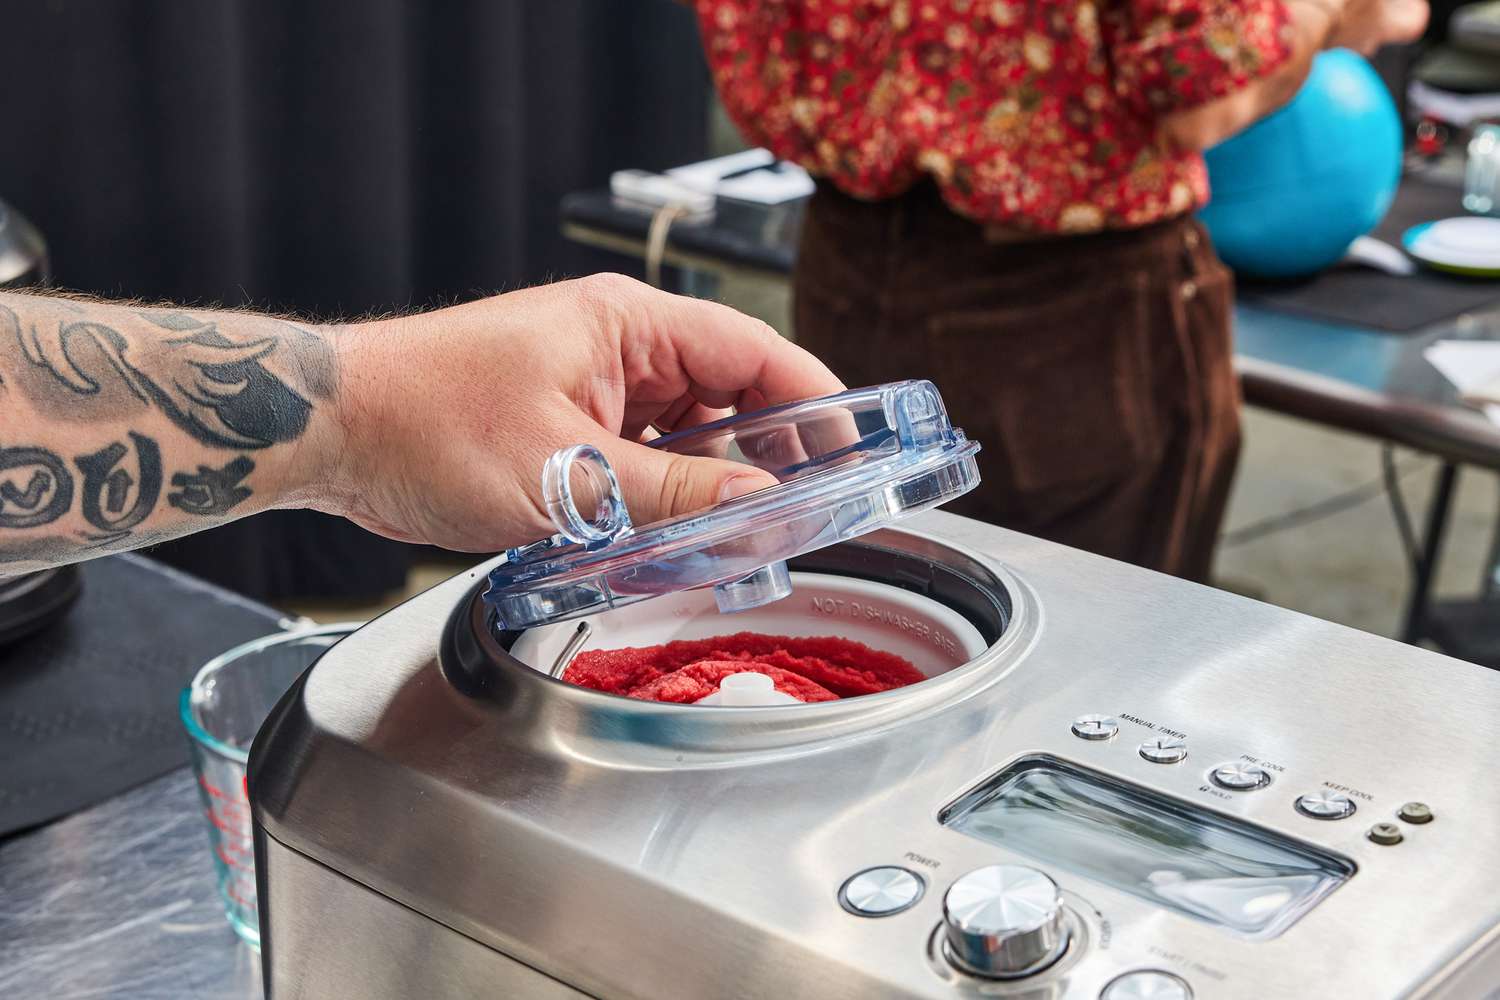
Welcome to the delightful world of Greek frozen yogurt! If you’re a fan of this creamy and tangy treat but don’t have an ice cream maker, don’t worry. In this article, we will guide you through the steps of making Greek frozen yogurt without an ice cream maker. Get ready to indulge in a refreshing and healthier alternative to traditional ice cream.
Greek frozen yogurt has gained popularity in recent years due to its smooth texture, slightly tart taste, and numerous health benefits. Made with strained yogurt, it is packed with protein and calcium, making it a guilt-free frozen dessert option. Whether you’re lactose-intolerant or trying to cut back on calories, this DIY recipe will let you enjoy the deliciousness of Greek frozen yogurt right at home.
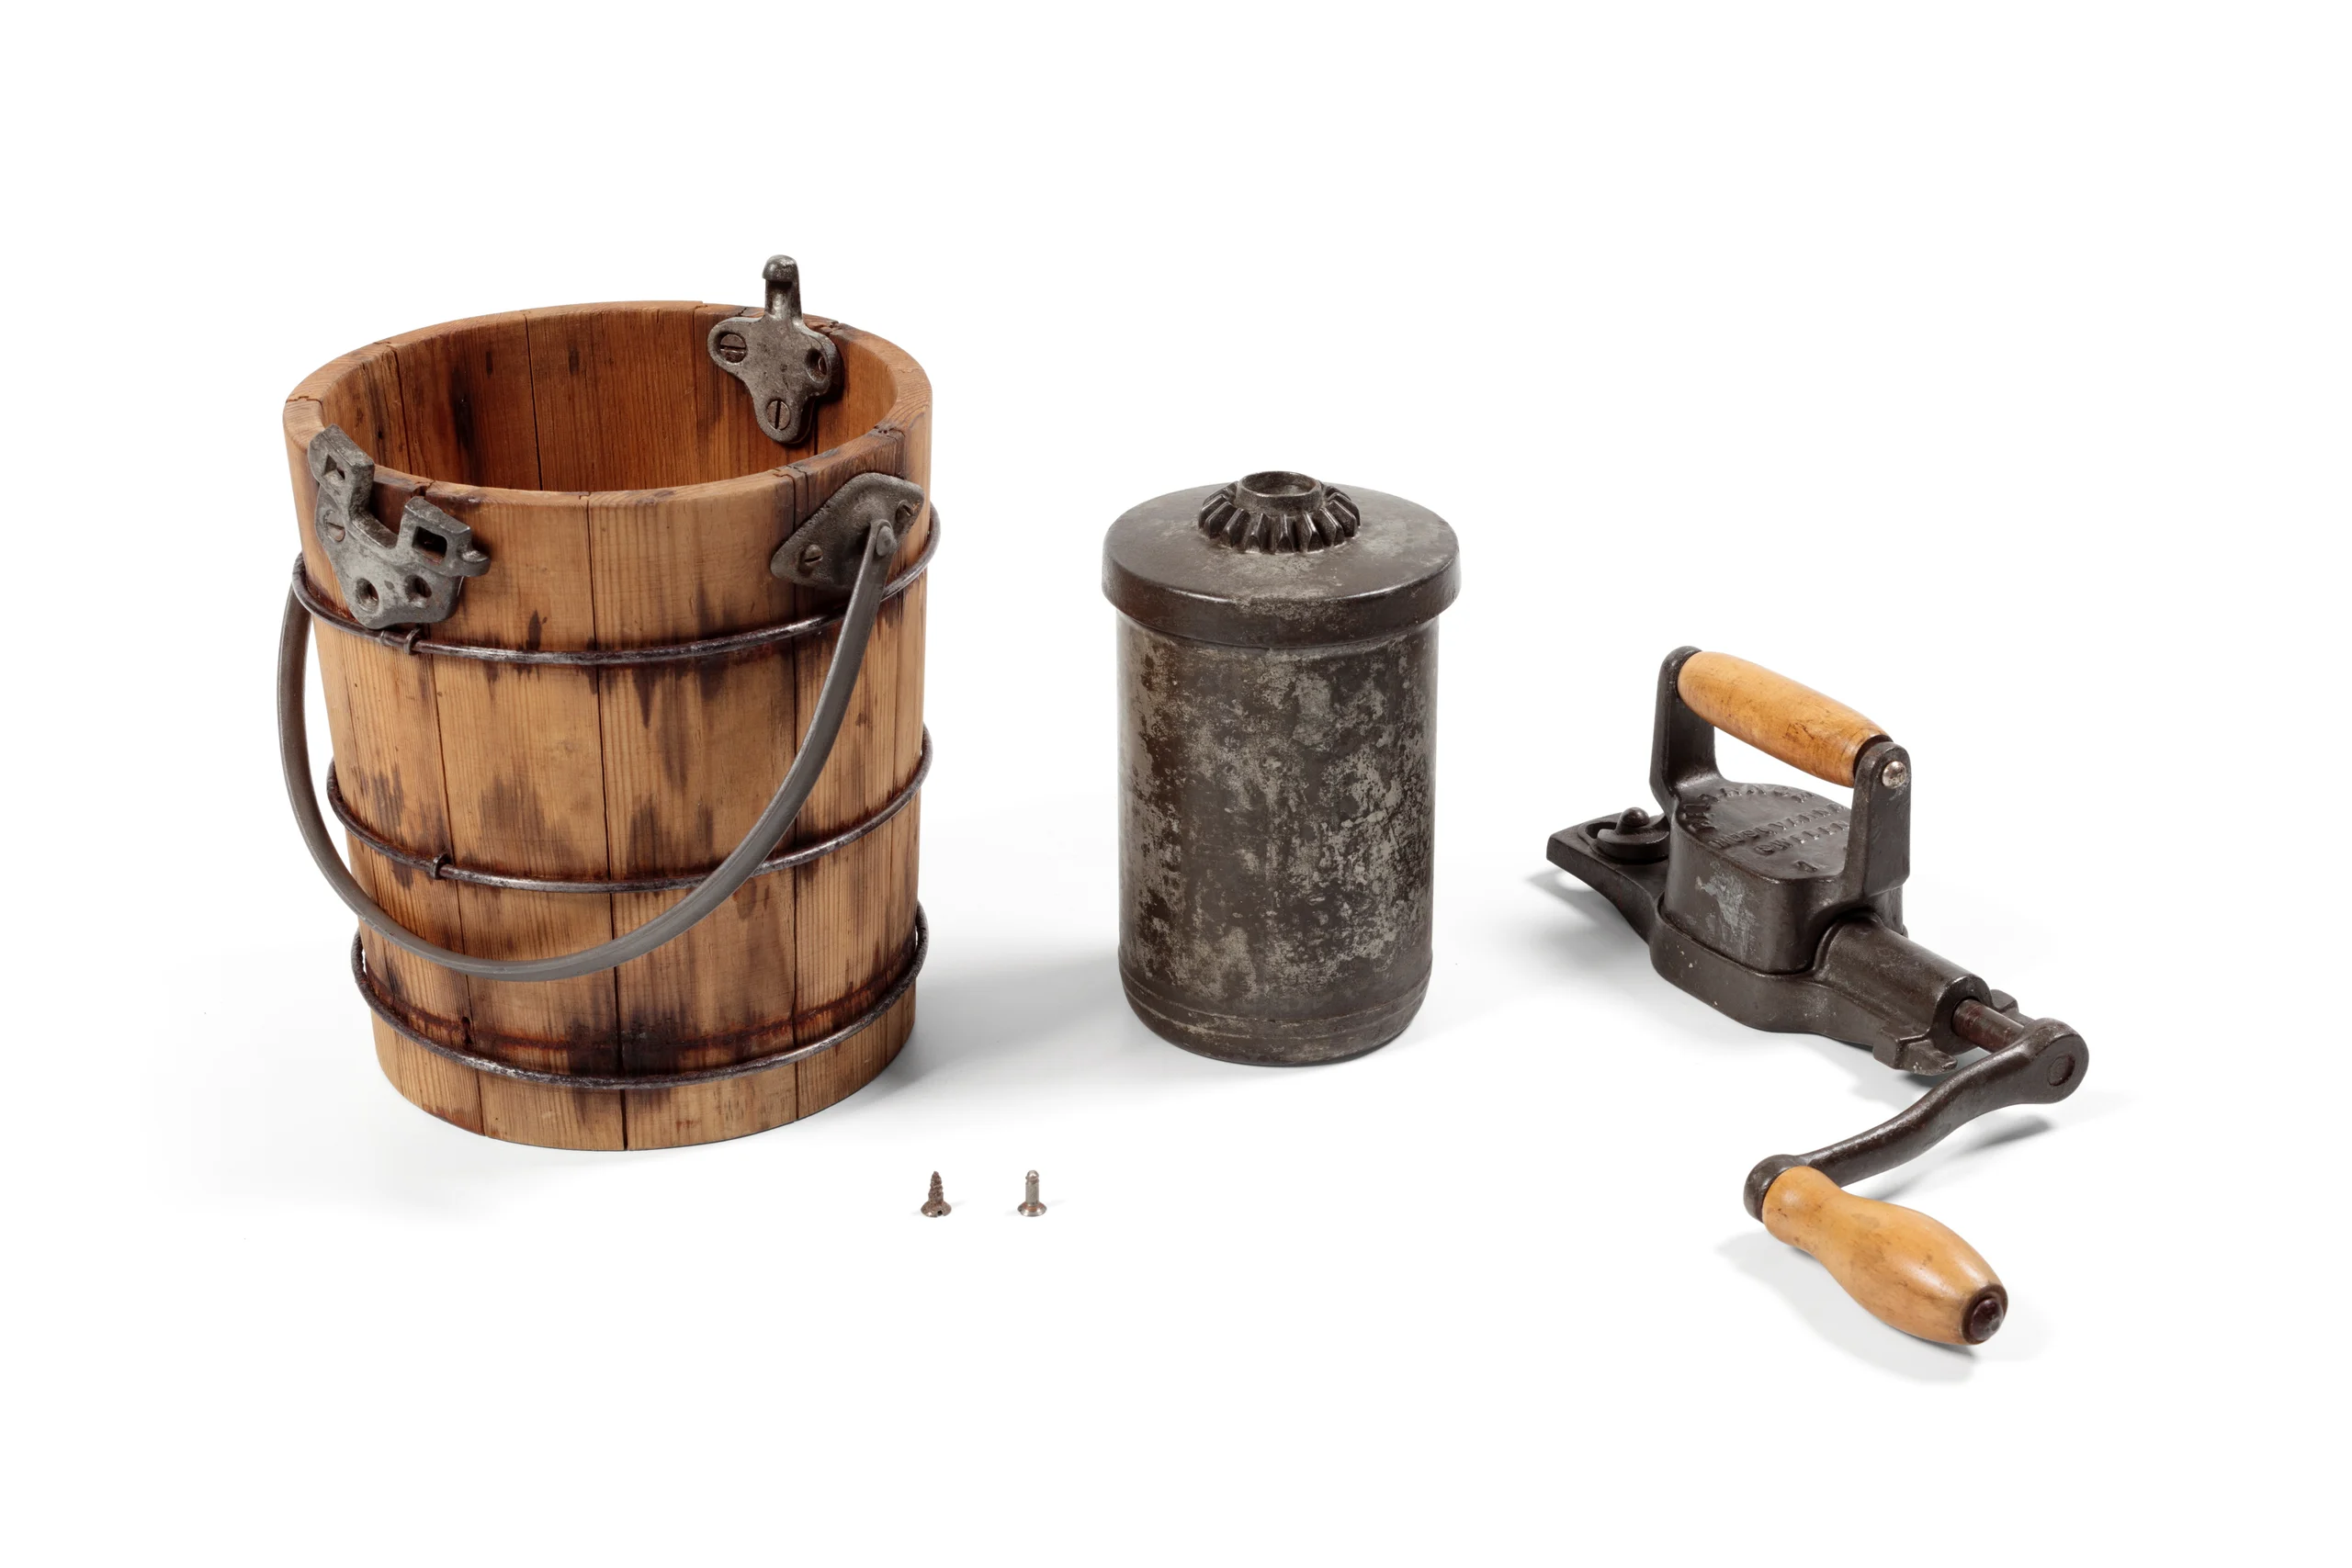
What makes this recipe even more exciting is that you don’t need any specialized equipment. No ice cream maker? No problem! We will walk you through the step-by-step process, from preparing the yogurt mixture to freezing and serving the perfect Greek frozen yogurt.
Just imagine being able to customize your flavors and toppings, knowing exactly what ingredients are going into your frozen treat. It’s a wonderful way to get creative in the kitchen and impress your family and friends with your homemade dessert skills.
So, grab your ingredients and let’s get started on this delightful journey of making Greek frozen yogurt without an ice cream maker.
Ingredients
Before we begin, let’s gather the ingredients you’ll need to make Greek frozen yogurt without an ice cream maker:
- 2 cups of Greek yogurt – Opt for full-fat or low-fat depending on your preference
- 1/2 cup of granulated sugar – Adjust according to your desired level of sweetness
- 1 teaspoon of vanilla extract – Enhances the overall flavor
- 1 cup of frozen fruits – Choose your favorite fruits like berries, mangoes, or peaches
- Optional toppings – Fresh fruits, chocolate chips, nuts, or honey to garnish
These ingredients can be easily found at your local grocery store or supermarket. Feel free to experiment with different fruit combinations to create your own unique flavors.
Now that you have all the necessary ingredients, it’s time to dive into the step-by-step process of making Greek frozen yogurt without an ice cream maker. Get ready to embark on a scrumptious and refreshing taste adventure!
Step 1: Preparing the Yogurt Mixture
The first step in making Greek frozen yogurt without an ice cream maker is to prepare the yogurt mixture. This involves combining the Greek yogurt, sugar, and vanilla extract to achieve a creamy and sweet base. Here’s how you do it:
- In a mixing bowl, add 2 cups of Greek yogurt.
- Sprinkle in 1/2 cup of granulated sugar. Adjust the amount according to your desired level of sweetness.
- Add 1 teaspoon of vanilla extract to enhance the flavor of the yogurt.
- Using a whisk or a spoon, vigorously stir the mixture until the sugar is fully dissolved and the ingredients are well combined.
Ensure that the yogurt is smooth and there are no lumps remaining. You can taste the mixture at this stage to see if you prefer it sweeter or if you’d like to add more vanilla extract. The beauty of homemade Greek frozen yogurt is the ability to customize it to your taste.
Once the yogurt mixture is well-prepared, it’s time to move on to the next step: freezing the yogurt without an ice cream maker. Get ready for the anticipation of a cool and creamy Greek frozen yogurt treat!
Step 2: Freezing the Yogurt Without an Ice Cream Maker
Now that you have your yogurt mixture ready, it’s time to turn it into a frozen delight without the help of an ice cream maker. Don’t worry; it’s easier than you might think. Here’s how you freeze the yogurt:
- Transfer the yogurt mixture to a shallow and freezer-safe container.
- Spread the mixture evenly in the container, ensuring it is not too thick in any one area. This will help it freeze more evenly.
- Cover the container with a lid or aluminum foil to prevent freezer burn.
- Place the container in the freezer and let it freeze for about 2 hours.
During the freezing process, the yogurt will start to solidify. However, it won’t have the same texture as ice cream just yet. That’s where the next step comes in – mixing and breaking the ice crystals.
Be patient and resist the urge to check on the yogurt too frequently. Opening the freezer frequently can cause the yogurt to thaw and refreeze unevenly, resulting in icy chunks.
When the yogurt has been in the freezer for around 2 hours, it’s time to move on to the next step. Get ready to transform the semi-frozen yogurt into a creamy and smooth frozen dessert!
Step 3: Mixing and Breaking the Ice Crystals
Now that your yogurt has been in the freezer for about 2 hours, it’s time to give it a little TLC to break up any ice crystals and create a creamy texture. Here’s how you mix and break the ice crystals:
- Take the partially frozen yogurt out of the freezer.
- Using a fork or a whisk, vigorously stir the yogurt, breaking up any ice crystals that have formed.
- Continue to stir for a few minutes until the frozen yogurt starts to soften and become creamy.
- Ensure that you’re mixing thoroughly, incorporating any frozen bits on the sides or bottom of the container.
This step is crucial as it helps to prevent the formation of large ice crystals, which can result in a grainy texture. The goal is to achieve a smooth and creamy consistency, similar to store-bought frozen yogurt.
Once you’ve mixed and broken up the ice crystals, it’s time to put the yogurt back into the freezer. But not for long! We’re almost there.
Coming up next is the final step: freezing the yogurt again to achieve the perfect Greek frozen yogurt texture. Get ready to experience pure frozen yogurt bliss!
Step 4: Freezing the Yogurt Again
After mixing and breaking the ice crystals, it’s time to give the yogurt one last freeze to achieve the perfect Greek frozen yogurt consistency. Follow these steps to complete the freezing process:
- Transfer the creamy yogurt mixture back into the freezer-safe container.
- Smooth the surface of the yogurt with a spatula or the back of a spoon for an even appearance.
- Recover the container with the lid or aluminum foil to prevent any freezer odors from seeping into the yogurt.
- Return the container to the freezer and let it freeze for an additional 2 to 3 hours, or until it reaches your desired firmness.
During this second round of freezing, the yogurt will solidify further, developing a scoopable texture that is reminiscent of traditional ice cream. It’s important to resist the temptation to speed up the process by reducing the freezing time, as this can result in a soft and slushy consistency.
After a few hours in the freezer, your Greek frozen yogurt will be ready to indulge in. But before diving in, let’s learn about the final step: serving and enjoying your homemade creation!
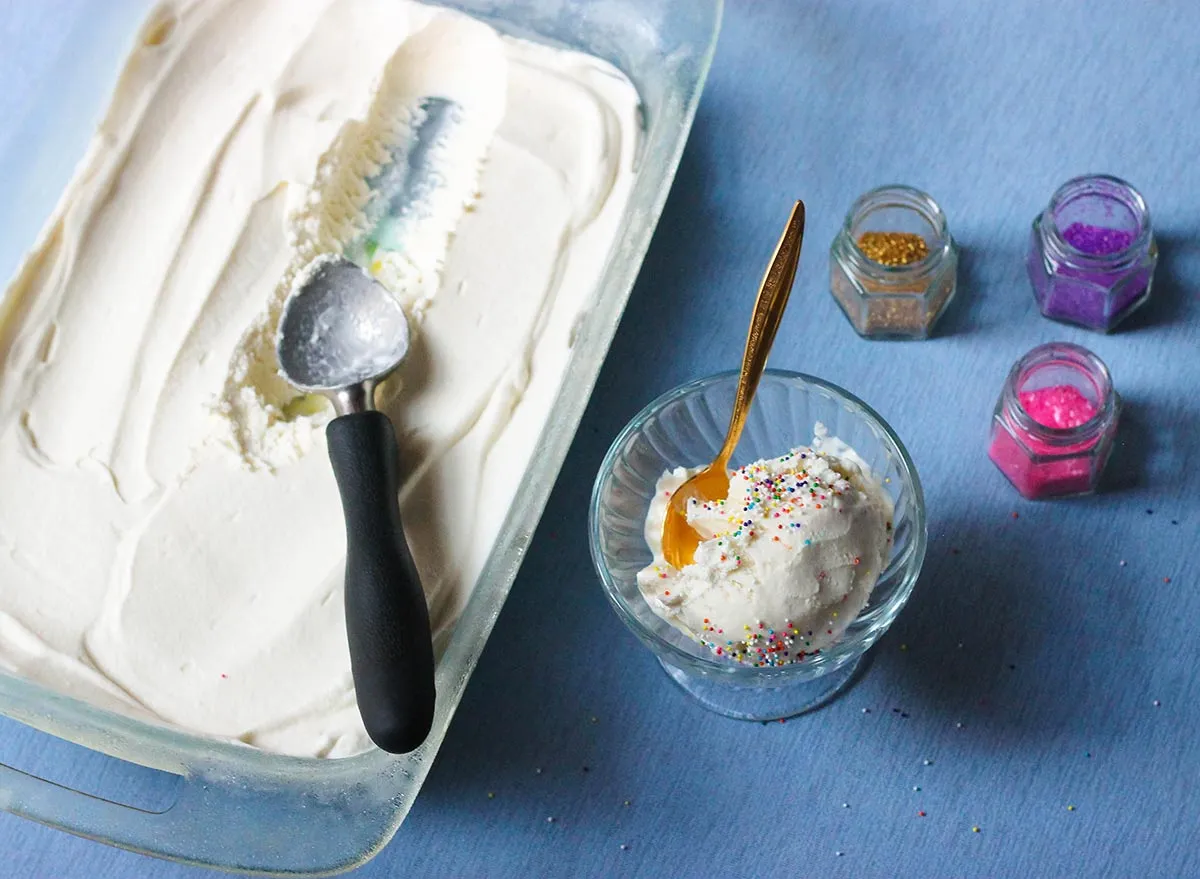
Step 5: Serving and Enjoying
Congratulations! You have successfully made Greek frozen yogurt without an ice cream maker. Now, it’s time to savor the fruits of your labor. Follow these steps to serve and enjoy your homemade frozen treat:
- Remove the container of frozen yogurt from the freezer.
- Let it sit at room temperature for a few minutes to soften slightly, making it easier to scoop.
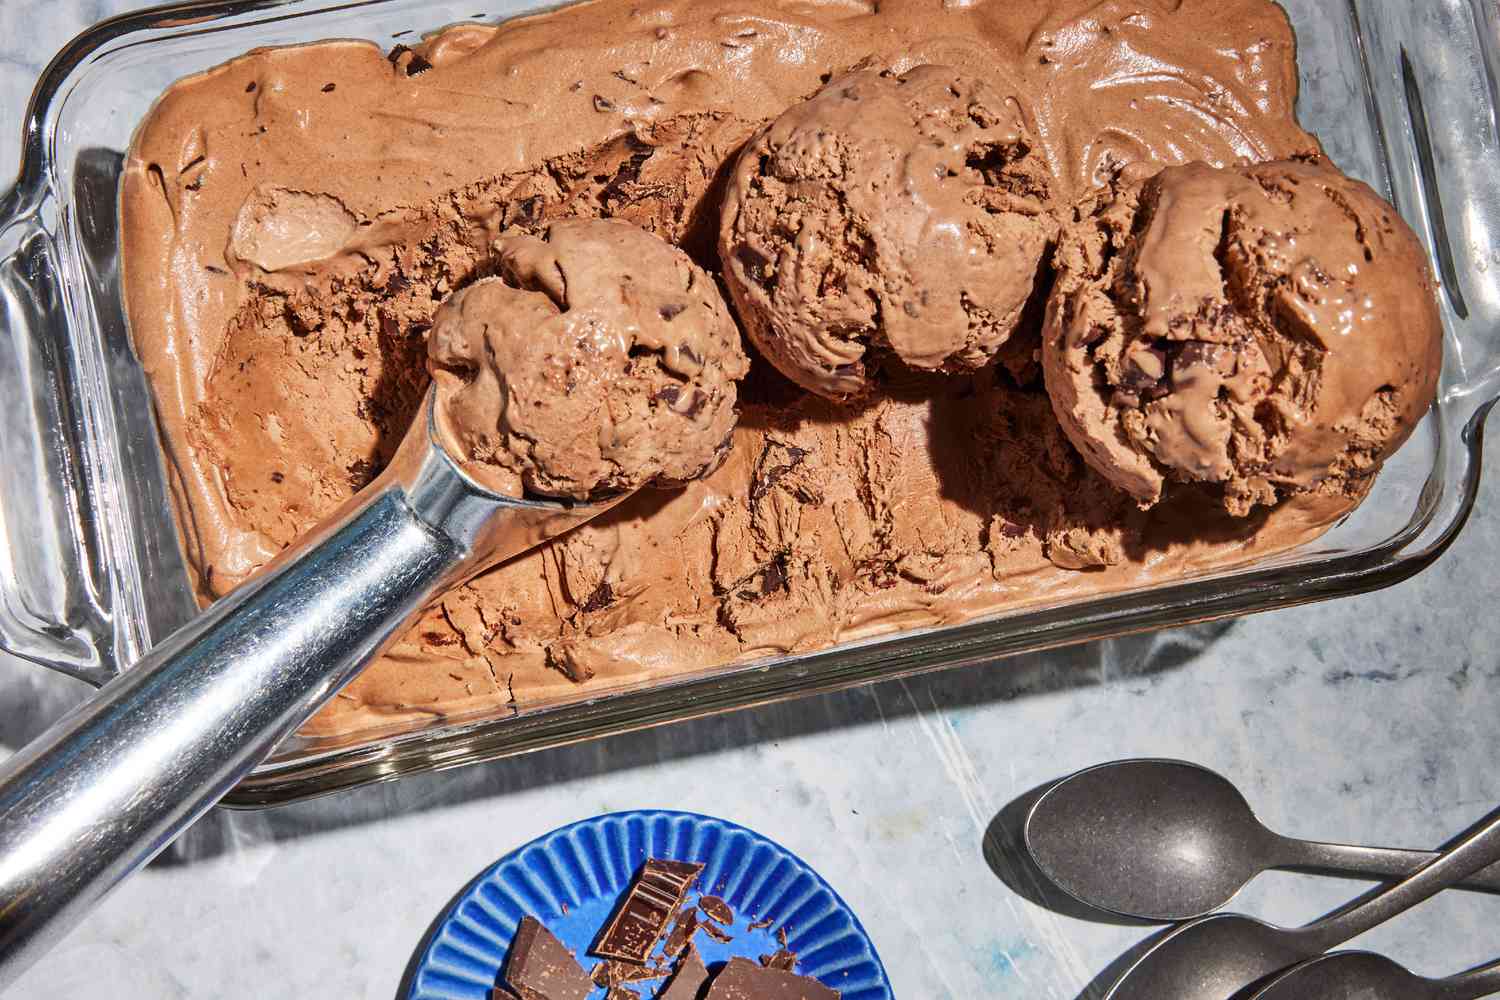
- Using an ice cream scoop or a spoon, portion the Greek frozen yogurt into bowls or cones.
- Now, it’s time to get creative with toppings! Sprinkle your favorite fruits, such as fresh berries or sliced peaches, over the yogurt. Alternatively, you can add a drizzle of honey, a sprinkle of chocolate chips, or a handful of nuts for added texture and flavor.
- Serve immediately and enjoy the luscious and creamy goodness of your homemade Greek frozen yogurt!
As the Greek frozen yogurt starts to melt, it will become even creamier and more delightful. Take your time and relish every spoonful.
Remember, homemade Greek frozen yogurt is best enjoyed fresh, but if you have any leftovers, you can store them in an airtight container in the freezer for up to two weeks. When you’re ready to indulge again, simply let it sit at room temperature for a few minutes to soften before serving.
Now that you’ve mastered the art of making Greek frozen yogurt without an ice cream maker, feel free to experiment with different flavors and toppings. Get creative in the kitchen and surprise your taste buds with new combinations and variations.
Enjoy your homemade Greek frozen yogurt, and share the deliciousness with family and friends. It’s a perfect treat for hot summer days or anytime you crave a cool and creamy dessert.