Introduction
Do you crave a cool and refreshing treat during the hot summer months? Look no further than homemade frozen yogurt! With just a few simple ingredients and an ice cream maker, you can create a delicious and creamy dessert that will satisfy your sweet tooth.
Frozen yogurt is a healthier alternative to traditional ice cream, as it is typically lower in fat and calories. It is also a great way to incorporate more probiotics into your diet, as it is made with yogurt, which is packed with beneficial bacteria for your gut health.
In this guide, we will walk you through the step-by-step process of making frozen yogurt in an ice cream maker. We will cover the necessary ingredients, the equipment you will need, and the techniques to achieve the perfect creamy consistency.
By making your own frozen yogurt, you have the freedom to customize the flavors and mix-ins to suit your taste preferences. Whether you are a fan of classic vanilla, fruity flavors like strawberry or blueberry, or indulgent options like chocolate chip cookie dough, the possibilities are endless.
So, dust off your ice cream maker and get ready to embark on a delightful journey of making your own homemade frozen yogurt. Your taste buds will thank you!
Ingredients
To make homemade frozen yogurt, you will need the following ingredients:
- Yogurt: Choose your favorite type of plain yogurt. Greek yogurt works well as it has a thicker and creamier texture.
- Sugar: This is used to sweeten the yogurt. You can adjust the amount according to your taste preferences.
- Vanilla extract: This adds a hint of delicious flavor to the frozen yogurt.
- Optional flavorings: If you want to infuse your frozen yogurt with additional flavors, you can add ingredients like cocoa powder, fruit puree, or extracts such as mint or almond.
- Optional mix-ins: Get creative with your frozen yogurt by adding mix-ins like chocolate chips, crushed cookies, nuts, or fresh fruit.
It’s important to note that the quantities of these ingredients can be adjusted based on your preferred taste and texture. Feel free to experiment and find the perfect balance for your frozen yogurt creation.
By using high-quality ingredients and fresh, seasonal fruits, you can elevate the taste and nutritional value of your homemade frozen yogurt. Additionally, opting for organic and natural options can further enhance the overall quality of your dessert.
With these simple ingredients, you are well on your way to crafting a delightful batch of frozen yogurt that will rival any store-bought option. Get ready to indulge in a frozen treat that is both delicious and made with love!
Equipment
To make frozen yogurt in an ice cream maker, you will need the following equipment:
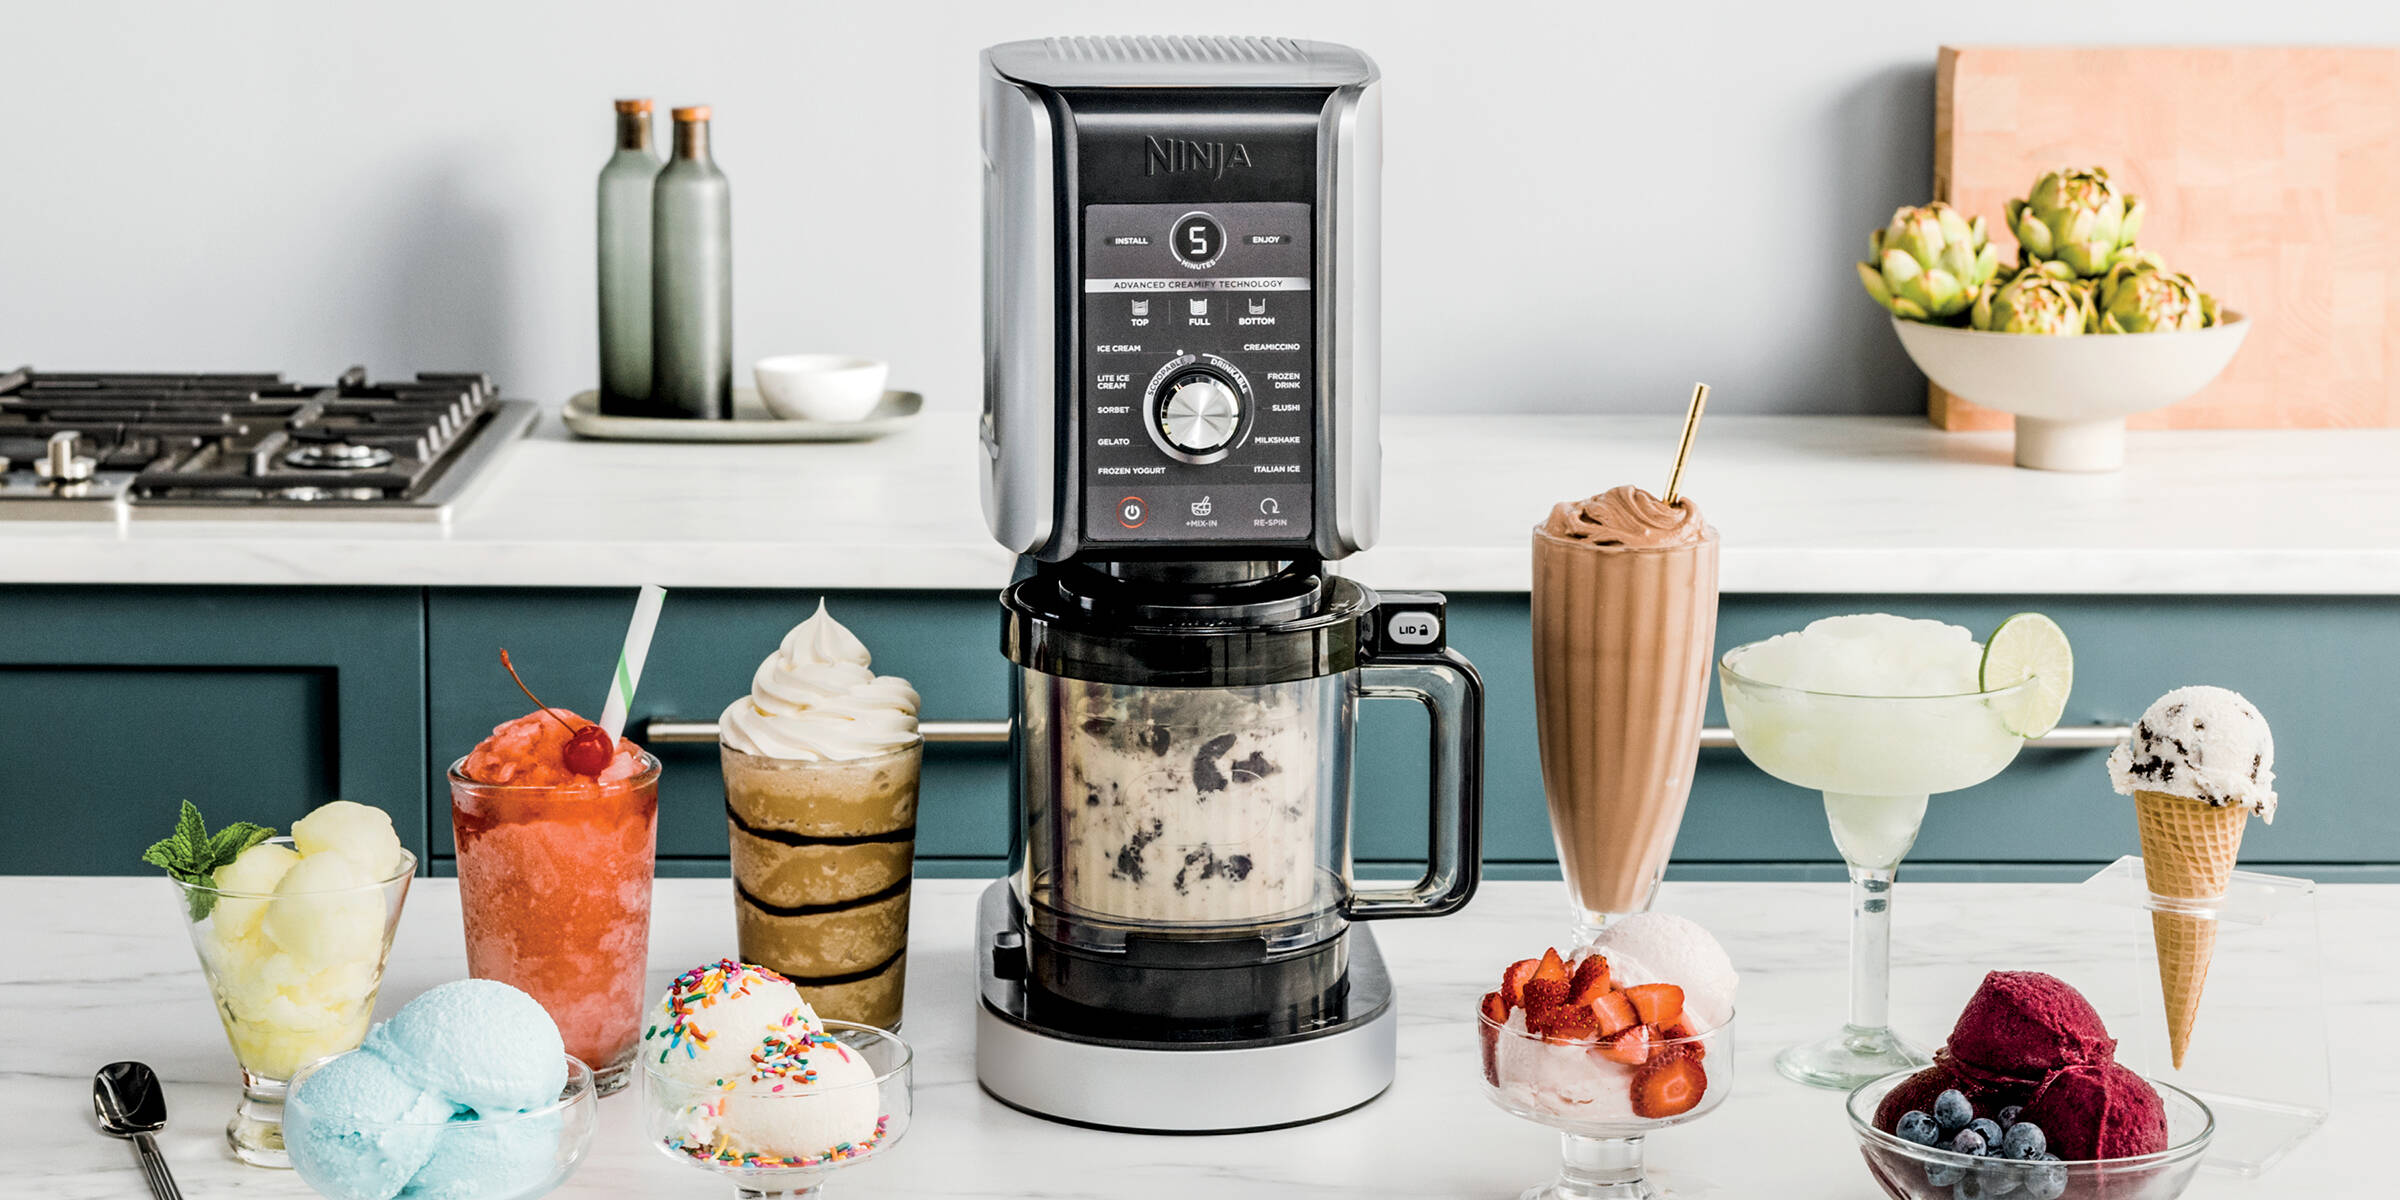
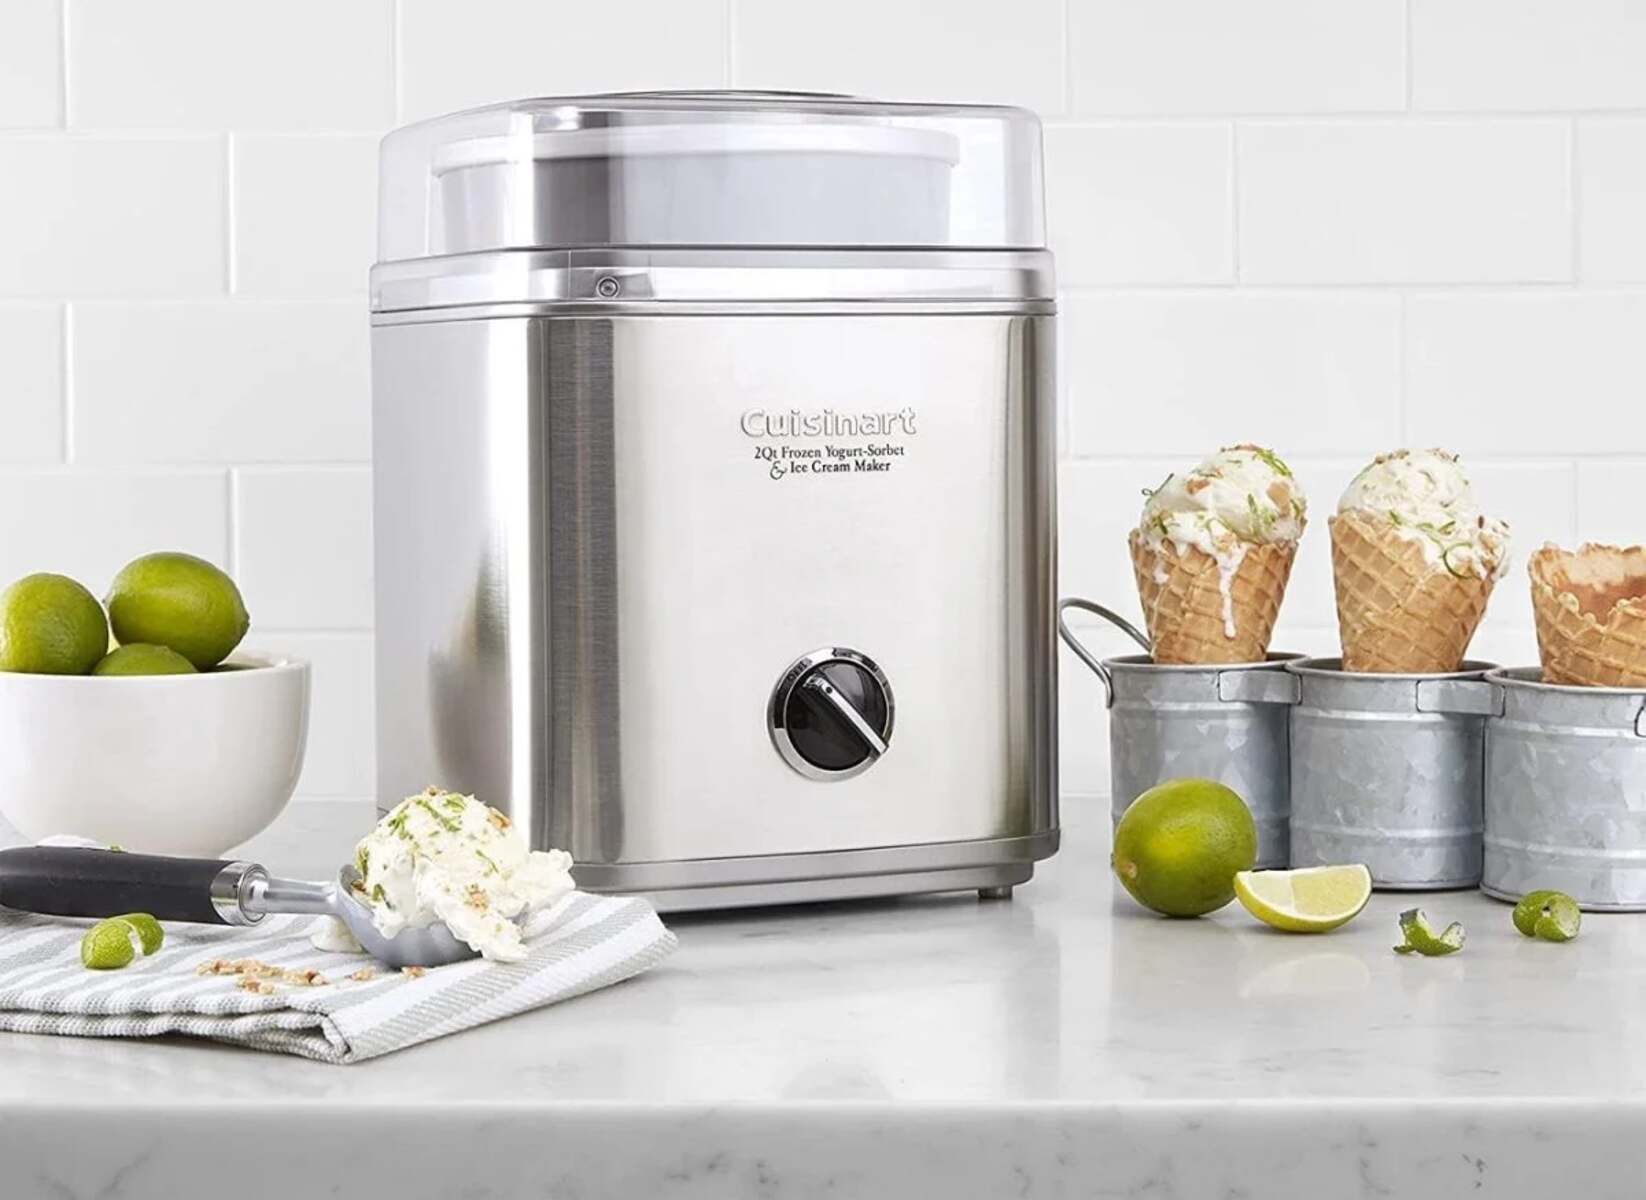
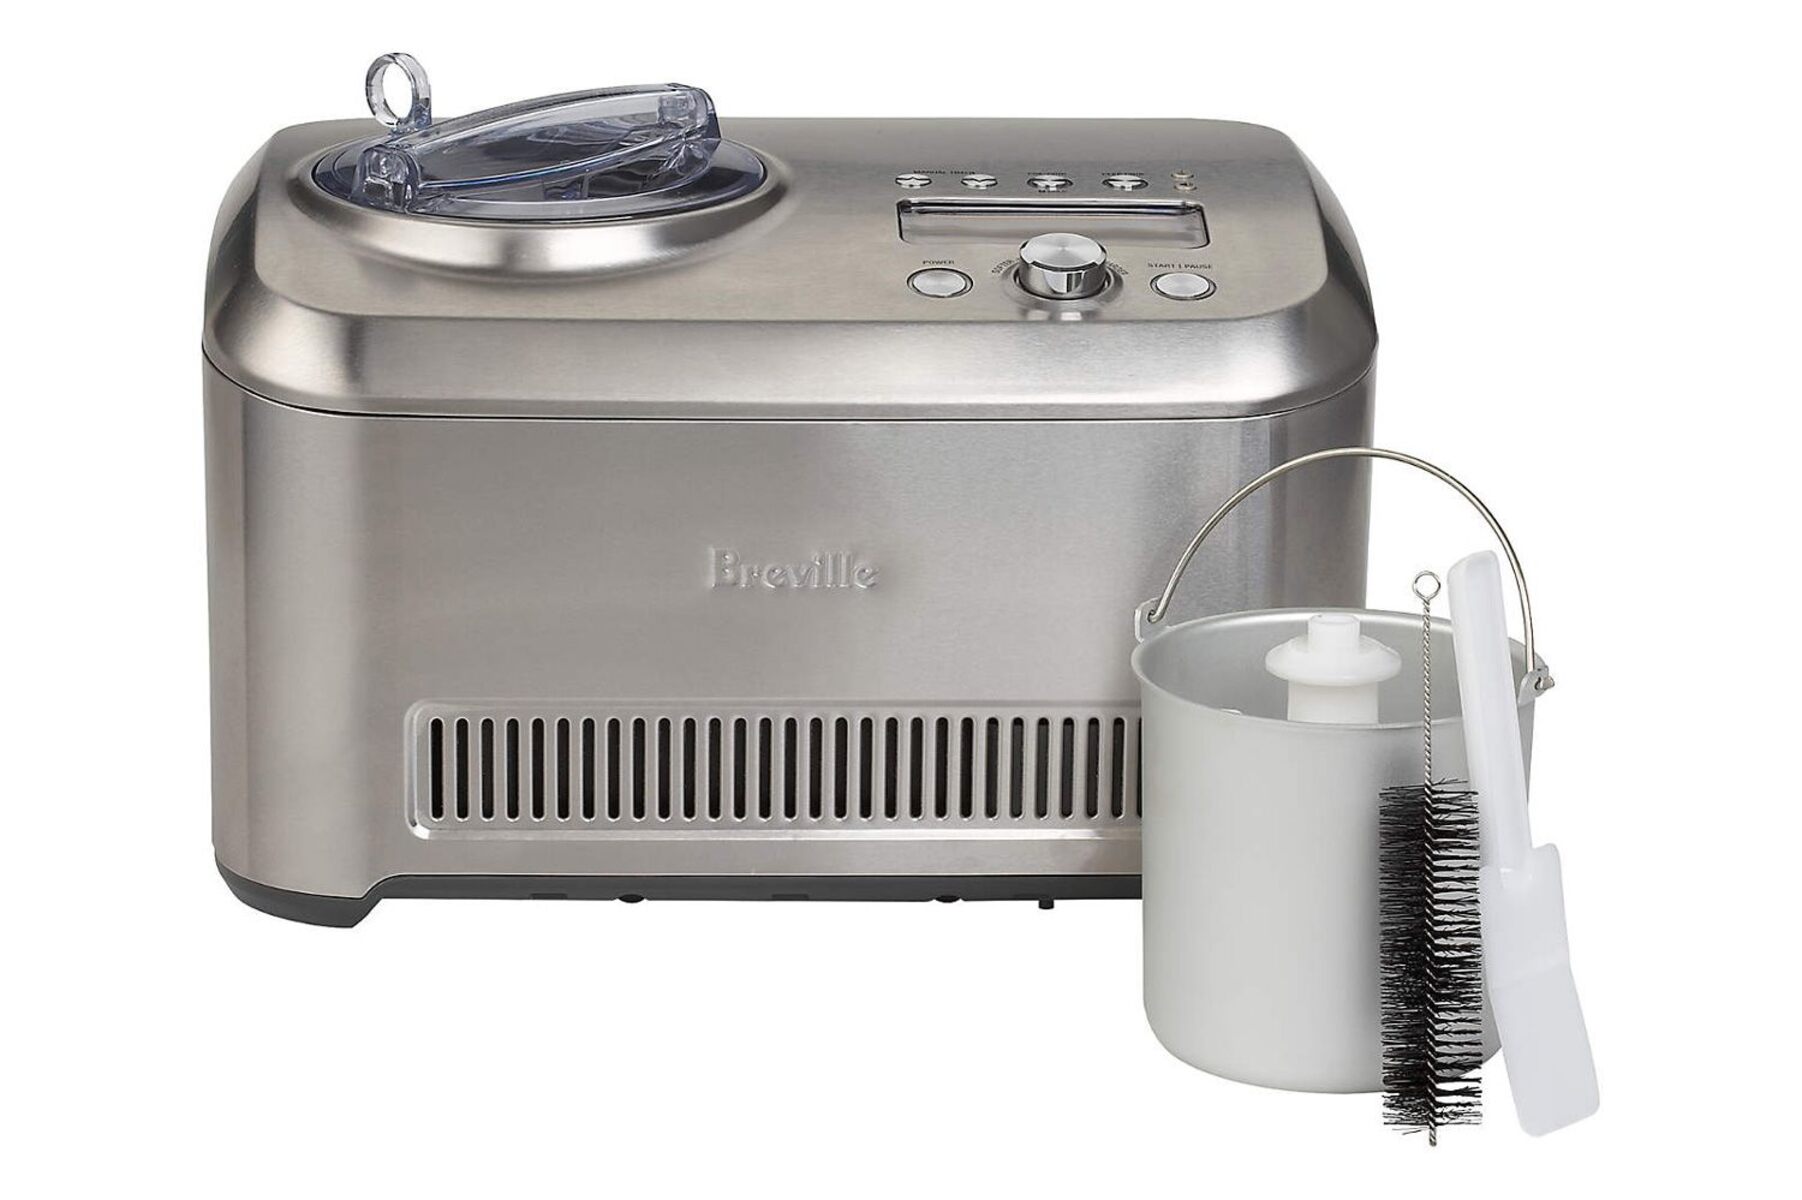
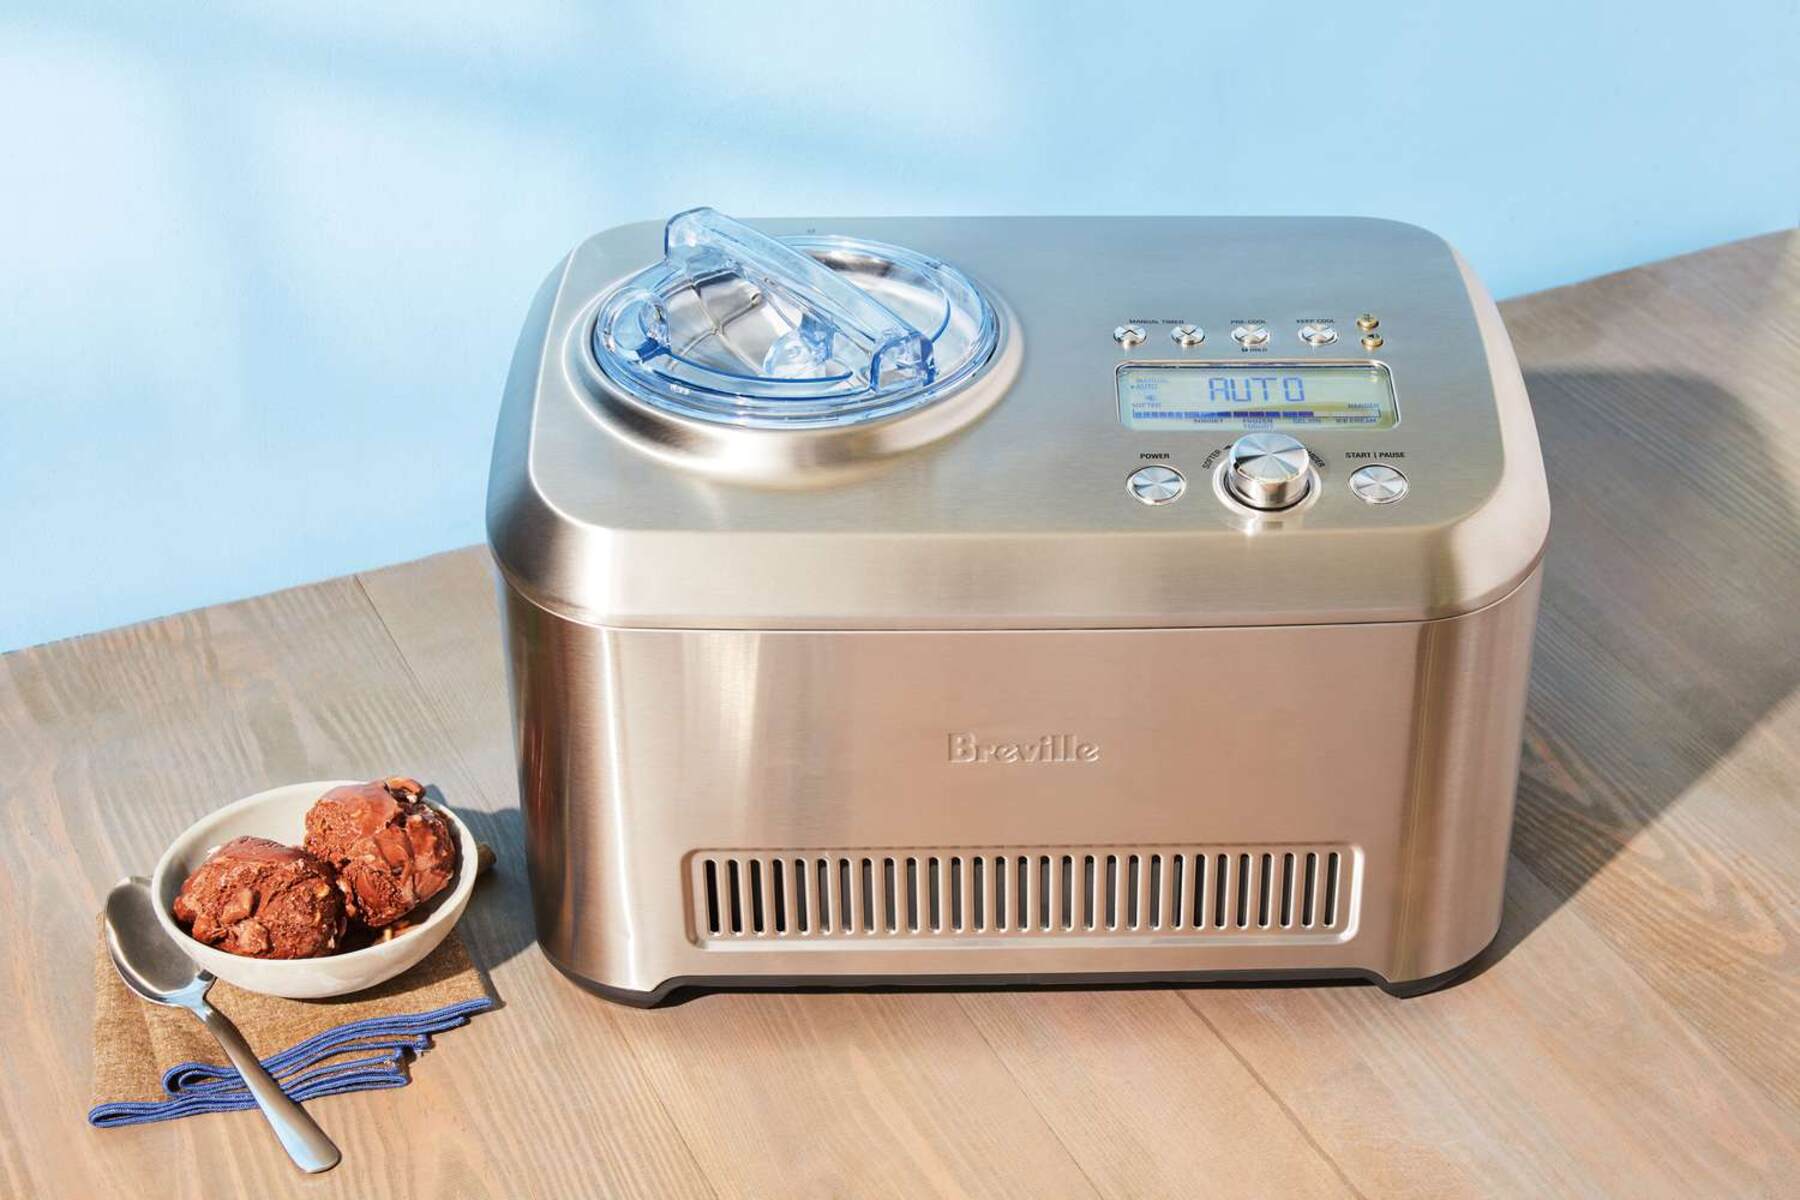
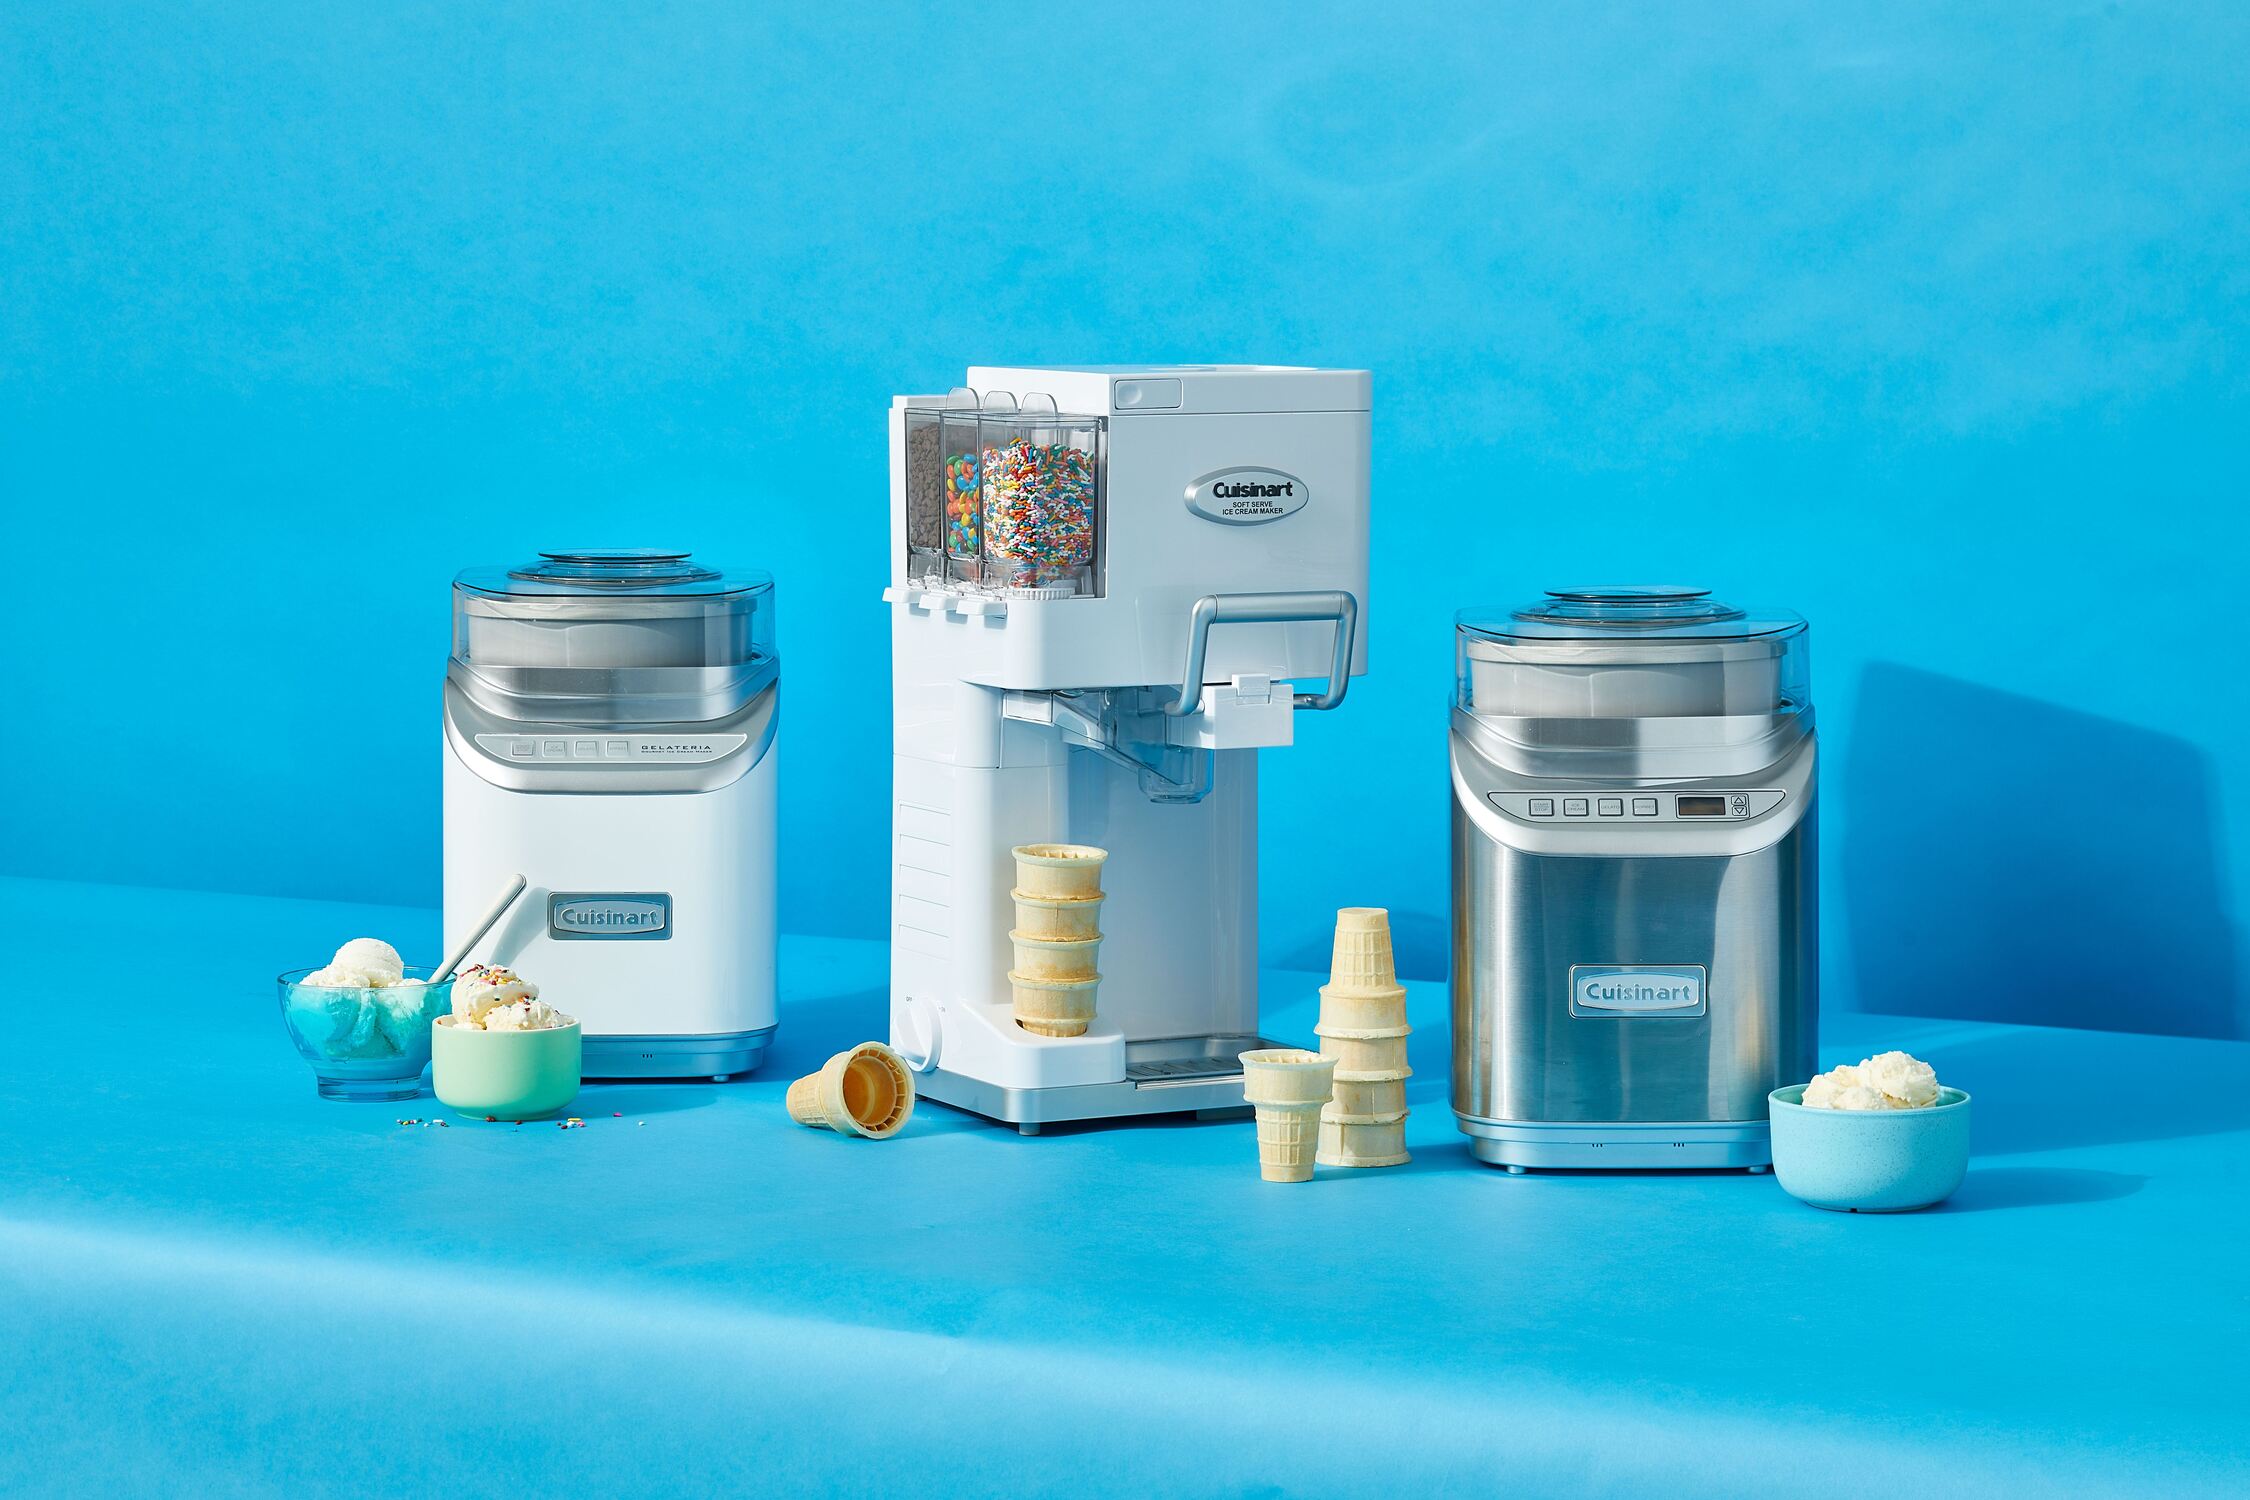
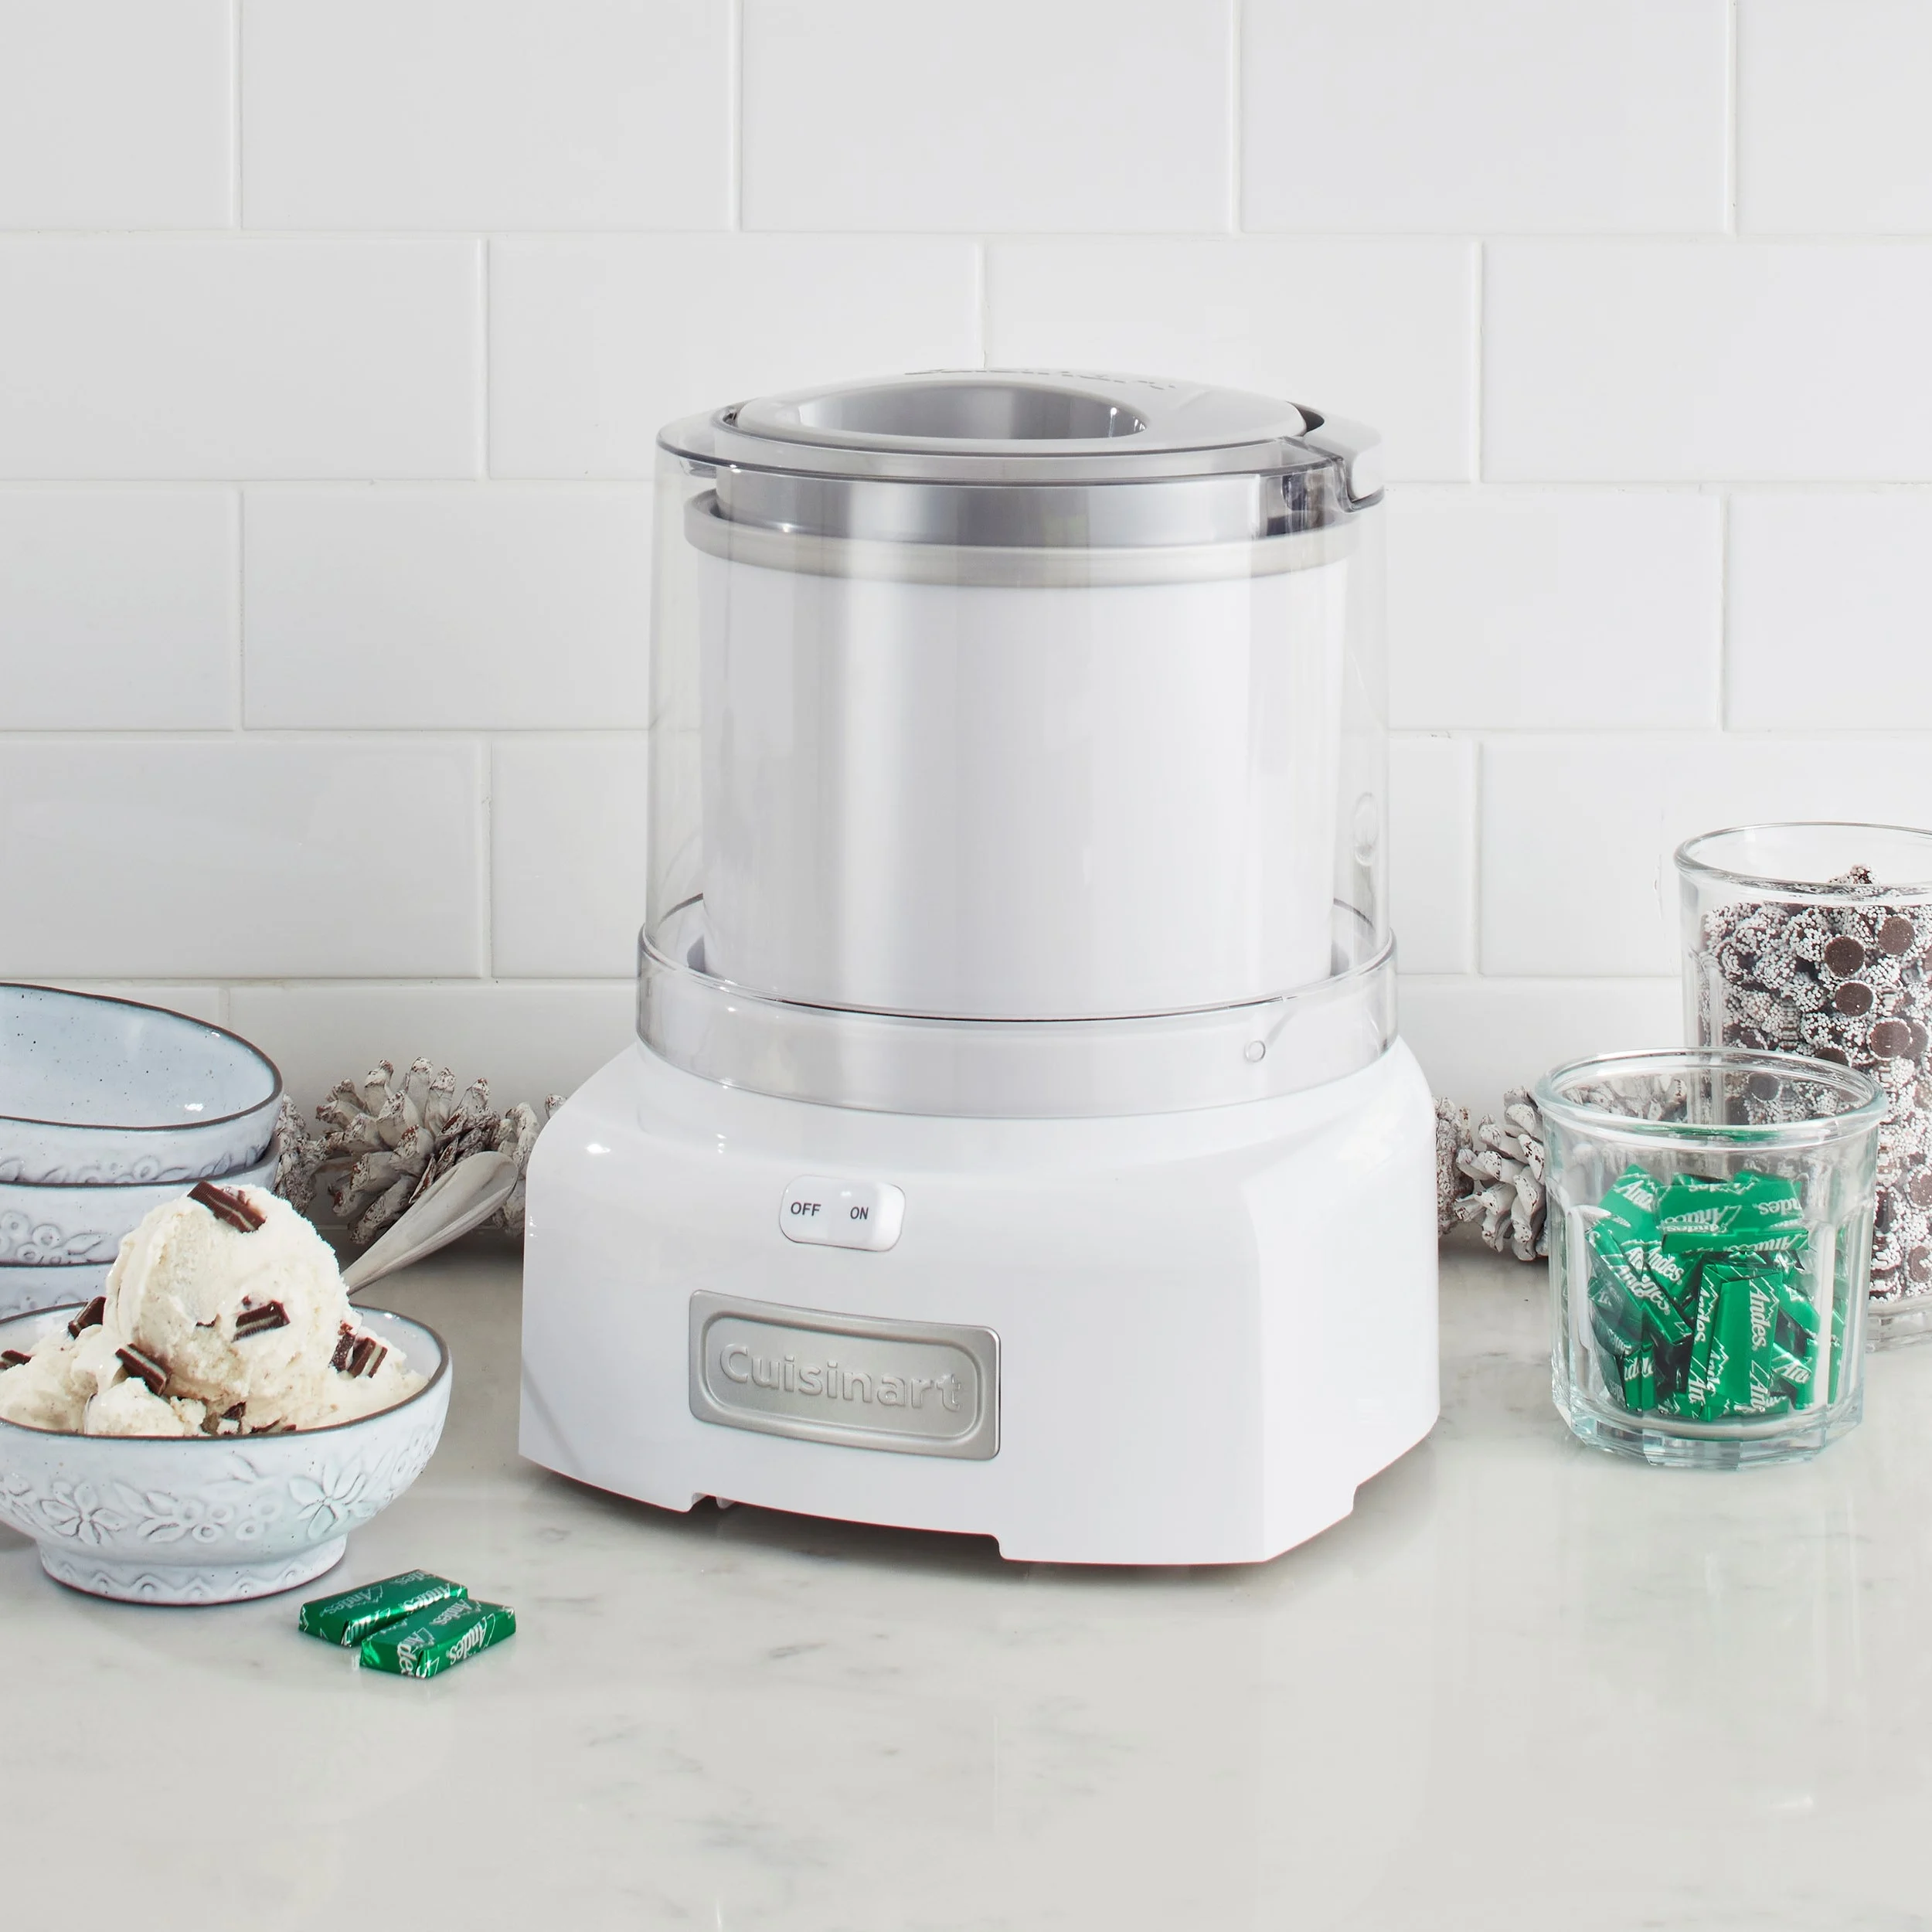
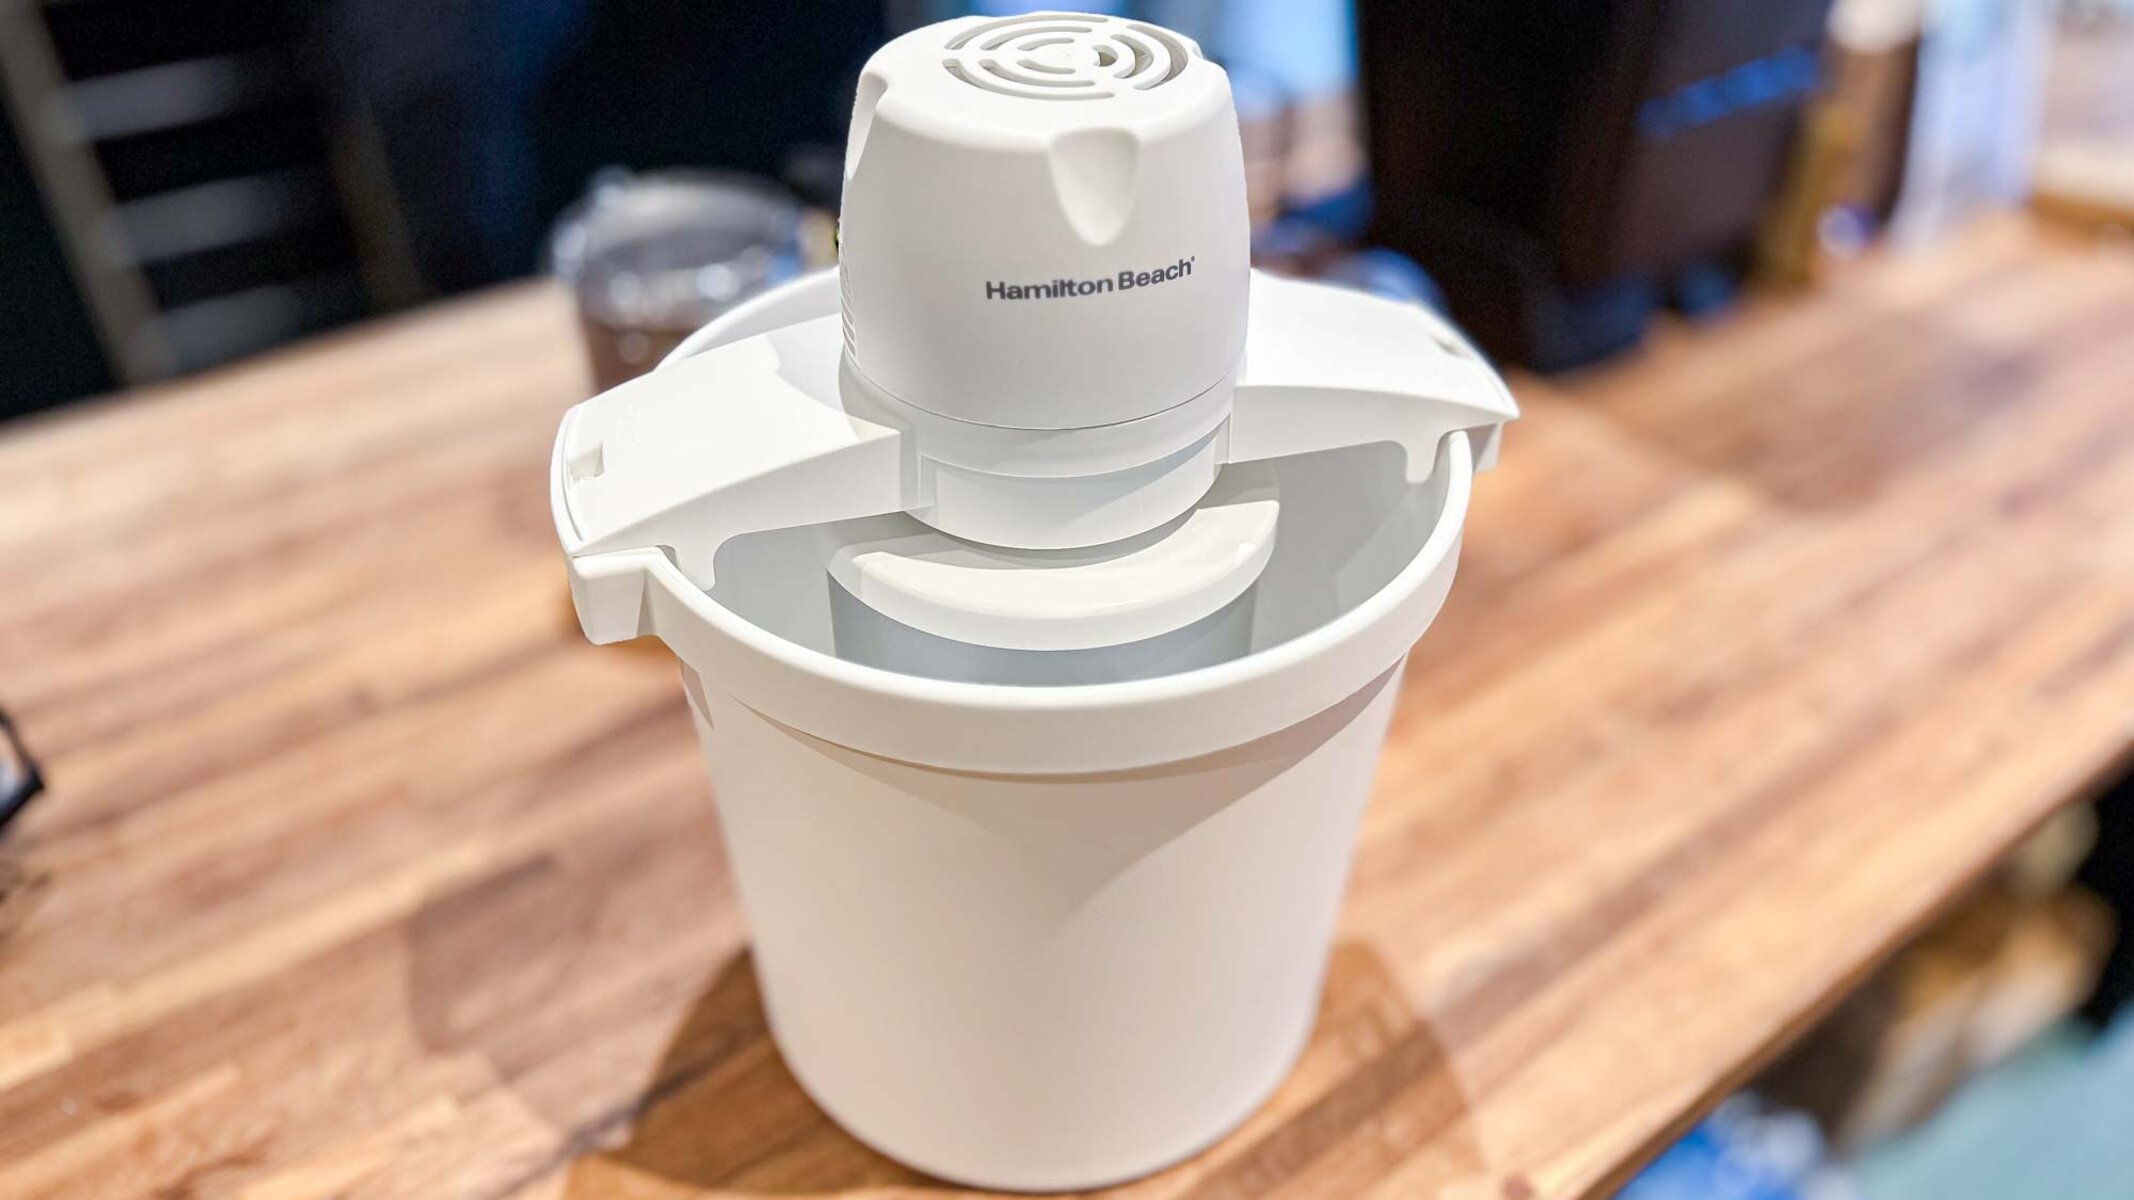
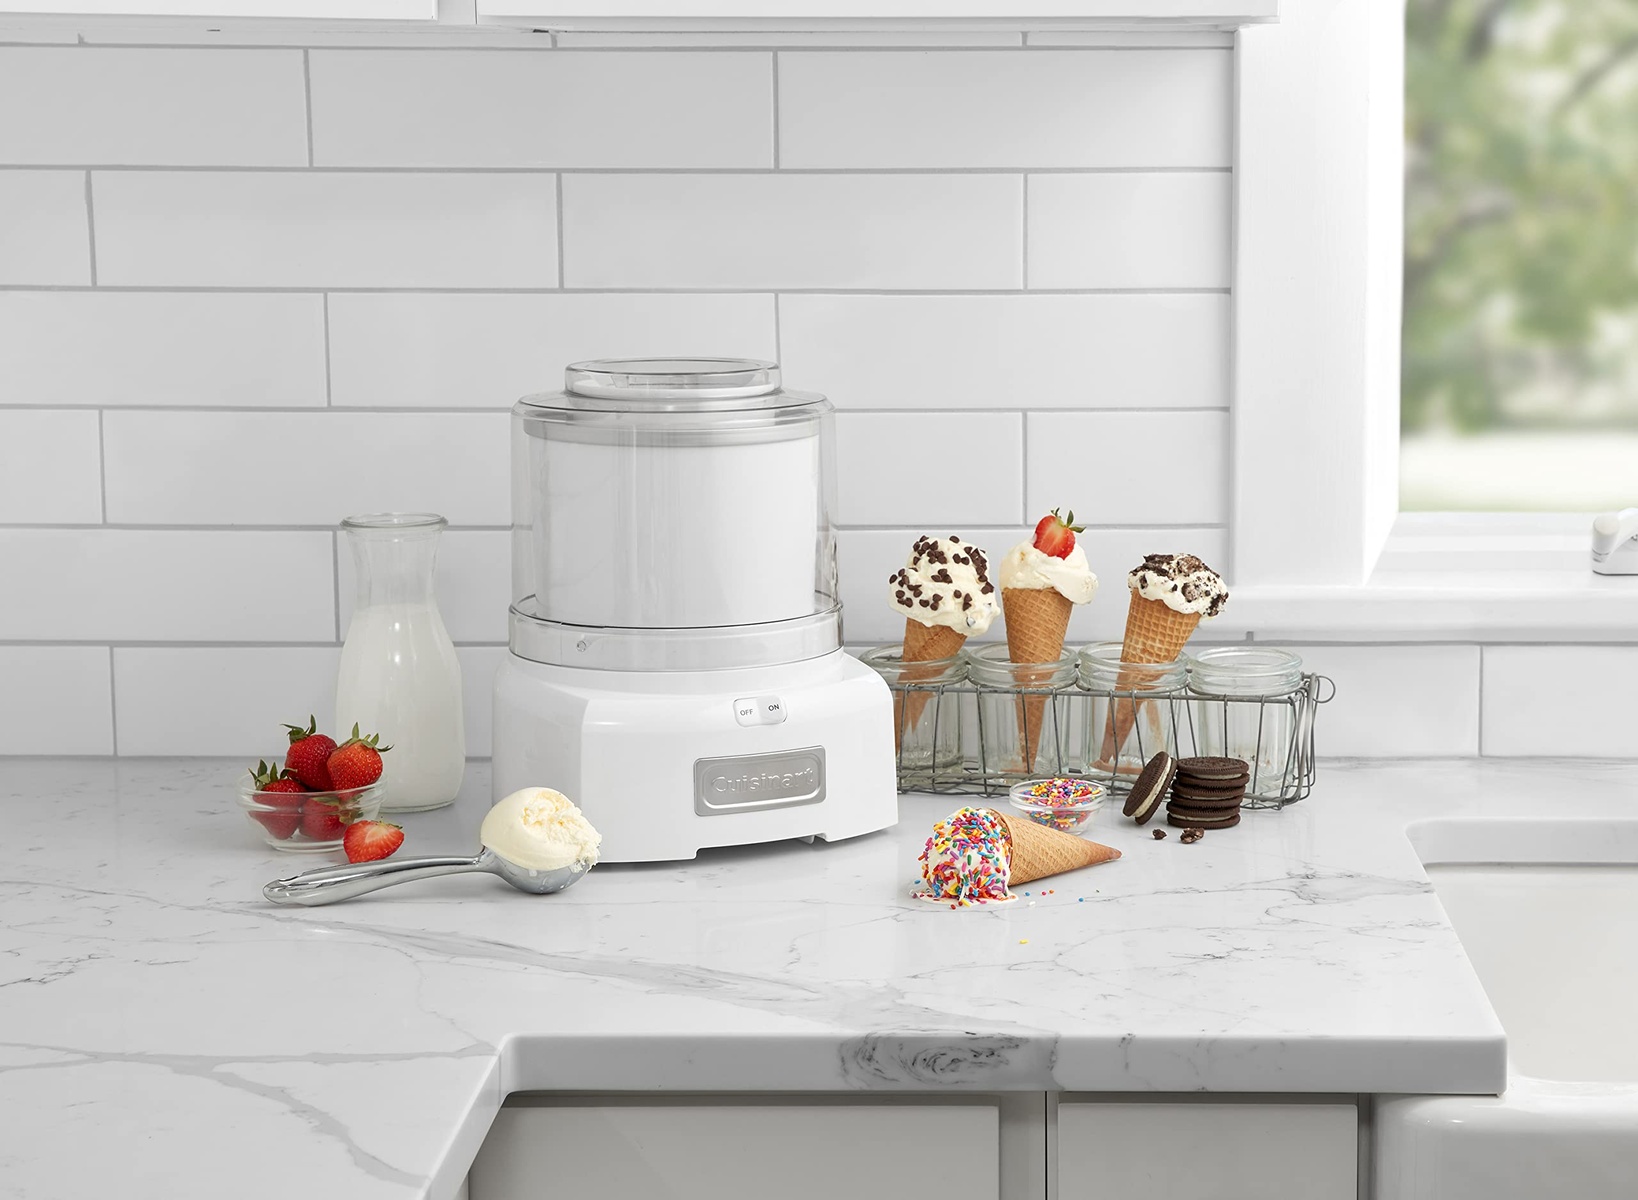
- Ice Cream Maker: This is the essential equipment needed to churn and freeze the yogurt mixture. There are various types of ice cream makers available, including electric and manual models. Choose one that suits your preferences and budget.
- Bowl: Most ice cream makers require a freezer bowl, which needs to be pre-frozen before use. Check the instructions of your specific ice cream maker to ensure you have the correct type of bowl and that it is properly frozen.
- Measuring Cups and Spoons: Accurate measurements are essential for achieving the desired consistency and flavor of your frozen yogurt. Have a set of measuring cups and spoons handy to measure the ingredients precisely.
- Mixing Bowl: You will need a mixing bowl to combine the yogurt, sugar, vanilla extract, and any optional flavorings or mix-ins.
- Whisk or Electric Mixer: To ensure that the yogurt mixture is well incorporated and smooth, use a whisk or an electric mixer to mix the ingredients thoroughly.
- Spatula: A spatula is useful for scraping the sides of the bowl and ensuring that all the ingredients are well combined.
- Freezer-Safe Container: Once your frozen yogurt is ready, you will need a container to store it in the freezer. Choose a container that is freezer-safe and has a tight-fitting lid to prevent unwanted ice crystals from forming.
Ensure that all the equipment you use is clean and in good condition. This will help maintain the quality and hygiene of your homemade frozen yogurt.
Now that you have all the necessary equipment ready, it’s time to move on to the step-by-step process of making your own delicious frozen yogurt. Get ready to embark on a tasty adventure!
Step 1: Prep the Yogurt Mixture
The first step in making frozen yogurt in an ice cream maker is to prepare the yogurt mixture. Follow these simple instructions:
- Measure the Yogurt: Start by measuring out the desired amount of yogurt. You can use a measuring cup to ensure accuracy.
- Add Sugar: Next, add the sugar to the yogurt. The amount of sugar can be adjusted according to your preference for sweetness.
- Stir Until Dissolved: Stir the yogurt and sugar together until the sugar is completely dissolved and well incorporated into the yogurt.
- Add Vanilla Extract: If desired, add a splash of vanilla extract to enhance the flavor of your frozen yogurt. Stir well to distribute the vanilla evenly throughout the mixture.
That’s it! With just a few quick steps, your yogurt mixture is ready to be transformed into a delicious frozen treat. The prep doesn’t take long, so you’ll be enjoying your homemade frozen yogurt in no time!
Remember, this is the base mixture, and you can customize it further by adding different flavorings or mix-ins in the next steps. Feel free to get creative and experiment with different combinations to create your favorite frozen yogurt flavors.
Now that the yogurt mixture is prepped, let’s move on to step two, where we’ll chill the mixture before churning it in the ice cream maker.
Step 2: Chilling the Mixture
Once you have prepped the yogurt mixture, the next step in making frozen yogurt is to chill the mixture. Chilling the mixture helps to improve the texture and ensures that it freezes evenly in the ice cream maker. Here’s what you need to do:
- Cover and Refrigerate: Transfer the yogurt mixture to a covered container, such as a bowl with a lid or a plastic wrap. Place it in the refrigerator and let it chill for at least 1 to 2 hours, or until it is thoroughly chilled. Chilling the mixture allows the flavors to meld together and creates a smoother consistency.
- Optional: Pre-Chill the Ice Cream Maker: While the yogurt mixture is chilling, if your ice cream maker requires pre-freezing the bowl, make sure it is thoroughly frozen according to the manufacturer’s instructions. The frozen bowl is essential for proper churning and freezing of the yogurt mixture.
During the chilling process, you may notice that the yogurt mixture becomes slightly thicker. This is normal and indicates that it is ready to be churned in the ice cream maker. Chilling the mixture also helps to prevent excessive ice crystal formation during freezing, resulting in a creamier and smoother frozen yogurt.
Remember, patience is key during this step. Allowing the yogurt mixture to chill ensures the best results in terms of flavor and texture. Once the mixture is properly chilled, it’s time to move on to step three: churning the yogurt in the ice cream maker.
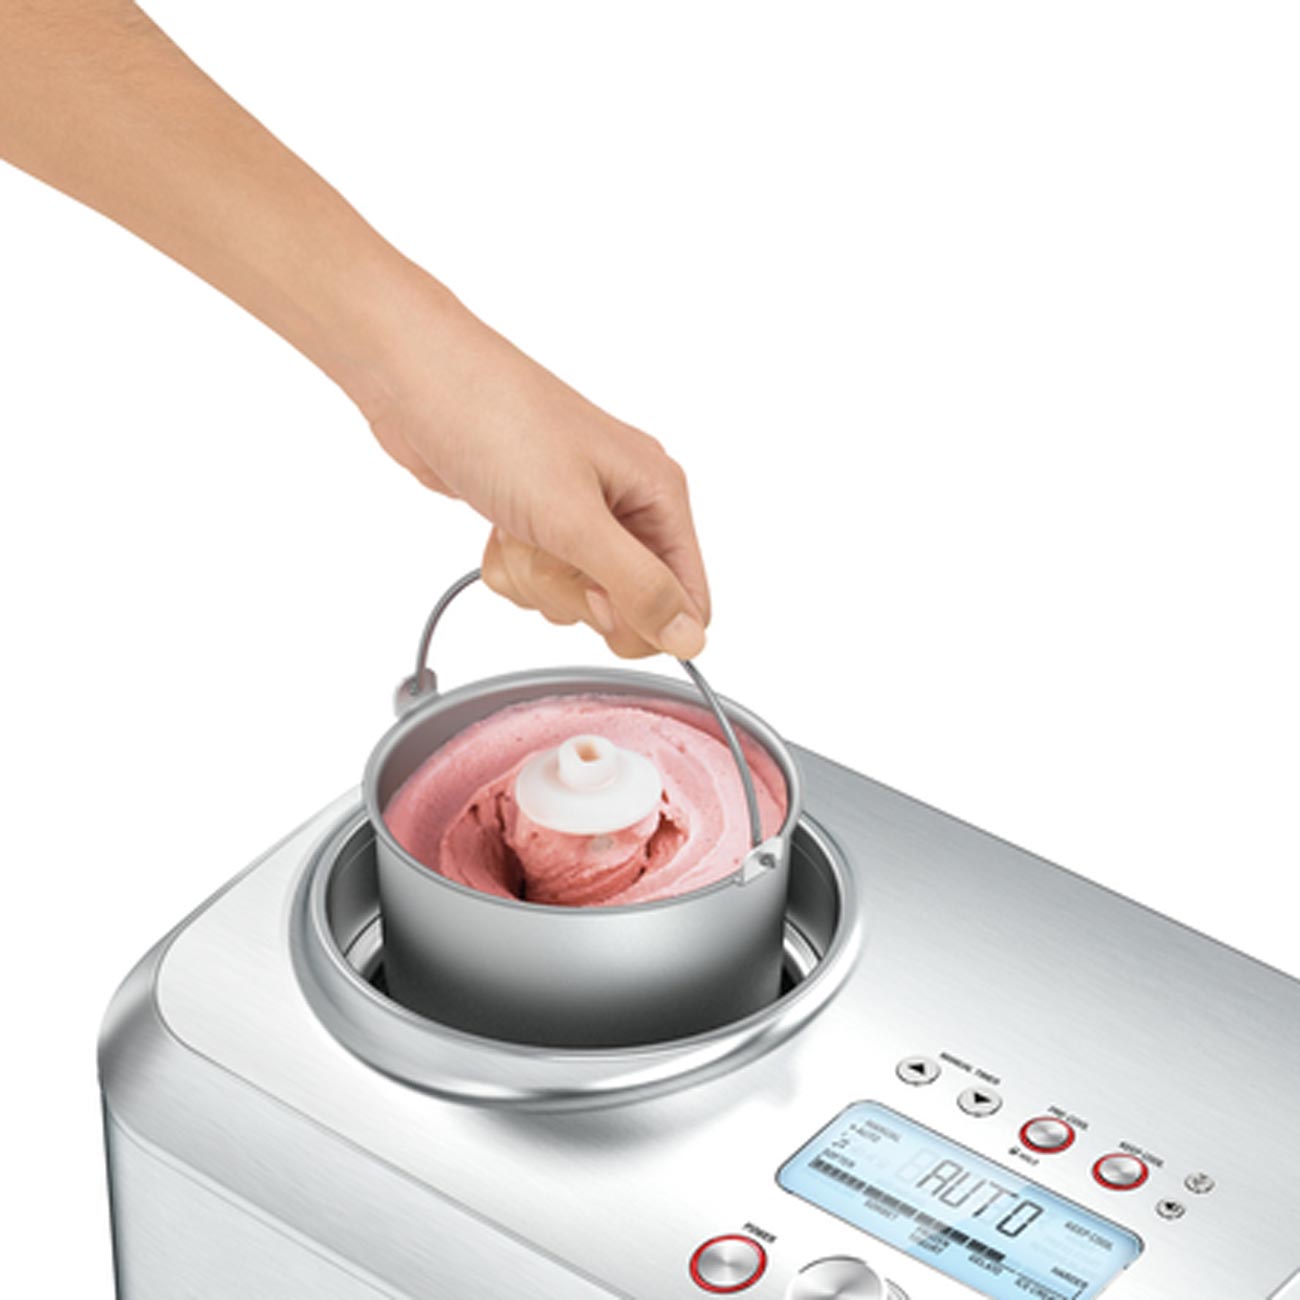
Step 3: Churning the Yogurt
Now that the yogurt mixture is thoroughly chilled, it’s time to churn it in the ice cream maker. Churning incorporates air into the mixture and freezes it at the same time, resulting in a smooth and creamy frozen yogurt. Follow these steps to achieve the perfect consistency:
- Set Up the Ice Cream Maker: Ensure that your ice cream maker is properly set up according to the manufacturer’s instructions. This may involve attaching the bowl, turning on the machine, or inserting the paddle attachment.
- Pour the Yogurt Mixture: Remove the chilled yogurt mixture from the refrigerator. Give it a quick stir to make sure the ingredients are well combined. Then, pour the mixture into the ice cream maker’s freezing bowl.
- Churn the Mixture: Turn on the ice cream maker and let it churn the yogurt mixture. The churning time can vary depending on your specific machine, but it usually takes around 20 to 30 minutes. The yogurt will gradually thicken and freeze during this process.
- Check for the Desired Consistency: After the recommended churning time, check the consistency of the frozen yogurt. It should be thick and creamy, similar to soft-serve ice cream. If you prefer a firmer texture, transfer the churned yogurt to a freezer-safe container and let it freeze for a couple of hours until it reaches your desired consistency.
It’s important to resist the temptation to over-churn the yogurt as it can lead to a dense and icy texture. Pay attention to the instructions provided by your ice cream maker and monitor the consistency throughout the churning process.
Now that the yogurt has been churned to perfection, it’s time to move on to step four, where you can add flavors and mix-ins to elevate the taste and texture of your homemade frozen yogurt.
Step 4: Adding Flavors and Mix-Ins
Now that your yogurt has been churned into a creamy frozen treat, it’s time to take it to the next level by adding flavors and mix-ins. This step allows you to get creative and personalize your frozen yogurt to suit your taste preferences. Follow these steps to add extra deliciousness to your dessert:
- Flavorings: If you want to infuse your frozen yogurt with additional flavors, now is the time to do so. You can add ingredients like cocoa powder, fruit puree, or extracts such as mint or almond. Start with a small amount and gradually increase until you achieve your desired taste.
- Mix-Ins: Get inventive with your frozen yogurt by incorporating mix-ins to add texture and variety. Options include chocolate chips, crushed cookies, nuts, granola, or even fresh fruit chunks. Gently fold these ingredients into the churned frozen yogurt until evenly distributed.
When adding flavorings and mix-ins, remember that less is often more. It’s easy to get carried away, but adding too many ingredients can overwhelm the flavor and texture of the frozen yogurt. Start with a small amount and adjust to your liking.
Keep in mind that some ingredients, like fresh fruits, may introduce extra moisture. Be cautious when adding ingredients that can affect the freezing process and potentially result in a less creamy texture. If necessary, adjust the recipe accordingly or consider adding these ingredients as a topping instead of mixing them into the frozen yogurt.
As you explore different flavor combinations, have fun experimenting and discovering your favorite combinations. The beauty of making homemade frozen yogurt is the ability to customize it to your liking!
Now that you’ve added the flavors and mix-ins, it’s time to freeze the yogurt to achieve the perfect texture. Move on to step five to complete your frozen yogurt making journey.
Step 5: Freezing the Yogurt
After adding flavors and mix-ins to your frozen yogurt, it’s time to freeze it to the desired consistency. Freezing allows the flavors to meld together and solidify the yogurt, turning it into a delicious frozen treat. Follow these steps to freeze your homemade frozen yogurt:
- Transfer to a Freezer-Safe Container: Carefully transfer the flavored and mixed-in yogurt into a freezer-safe container. Ensure that the container has a tight-fitting lid to prevent freezer burn and maintain the quality of the frozen yogurt.
- Smooth the Surface: Use a spatula or the back of a spoon to smooth the surface of the frozen yogurt. This helps to create an even texture when scooping and serving.
- Cover and Freeze: Place the lid on the container, ensuring it is securely closed. Label the container with the flavor and date, if desired. Then, put the container in the freezer and let the yogurt freeze for at least 3 to 4 hours, or until it reaches your preferred firmness.
During the freezing process, it’s important to maintain a consistent temperature of your freezer to prevent ice crystals from forming. Avoid frequent opening and closing of the freezer door to help maintain the quality of the frozen yogurt.
Once the frozen yogurt reaches your desired firmness, it is ready to be served and enjoyed. The time required for freezing may vary depending on the temperature of your freezer and the amount of mix-ins added.
When ready to indulge, remove the container from the freezer and let it sit on the counter for a few minutes to soften slightly. This will make scooping easier and ensure a creamy texture.
Now that your homemade frozen yogurt is perfectly frozen, it’s time to move on to step six, where you can serve and savor your creation!
Step 6: Serving and Enjoying
Congratulations! You have made your own delicious frozen yogurt and now it’s time to serve and savor your creation. Here are some steps to follow to ensure the perfect presentation and enjoyment of your homemade treat:
- Scoop the Frozen Yogurt: Using an ice cream scoop or a spoon, scoop out portions of the frozen yogurt from the container. Take your time and create beautifully shaped scoops.
- Garnish: Add a touch of visual appeal by garnishing your frozen yogurt. You can sprinkle some crushed nuts, a drizzle of chocolate sauce, or a few fresh berries on top.
- Pair with Toppings: Serve your frozen yogurt with a variety of toppings like granola, cookie crumbs, or honey for an added crunch and flavor. Let your creativity shine as you experiment with different combinations.
- Enjoy Immediately: Frozen yogurt is best enjoyed immediately after serving. The creamy texture and refreshing flavors will be at their peak. Grab a spoon and dig in!
As you savor your homemade frozen yogurt, take a moment to appreciate the effort and creativity that went into making it. Enjoy each spoonful, relishing the smoothness, creaminess, and delicious flavors that you crafted yourself.
If you have any leftovers, simply return the remaining frozen yogurt to the freezer, ensuring that it is tightly sealed to maintain its quality. It can be enjoyed within the next few weeks, though the texture may become slightly harder after prolonged freezing.
Now that you’ve mastered the art of making frozen yogurt, feel free to explore new flavor combinations and experiment with different mix-ins. Let your imagination run wild and have fun creating unique frozen yogurt creations that will delight your taste buds!
So, go ahead, serve yourself a bowl of homemade frozen yogurt, sit back, and savor the sweet, cool, and creamy goodness you’ve created. Enjoy every spoonful of this delightful treat!