Introduction
Welcome to the delicious world of homemade pistachio ice cream! There’s something incredibly satisfying about making your own ice cream from scratch, and with this recipe, you don’t even need an ice cream maker. Whether you’re a novice in the kitchen or an experienced home cook, this simple and creamy pistachio ice cream recipe is sure to impress.
The beauty of homemade ice cream is that you have full control over the ingredients. No artificial colors, flavors, or preservatives – just pure, natural goodness. By using real pistachios, you’ll taste the rich and nutty flavor in every spoonful. Plus, it’s a wonderful way to showcase this beloved nut in a frozen treat.
If you’ve never made ice cream before, don’t worry. This recipe breaks down the steps into easy-to-follow instructions. You don’t need any special equipment – just your trusty blender or food processor, a saucepan, and a freezer-safe container. So, gather your ingredients and let’s get started on creating a batch of homemade pistachio ice cream that will rival any store-bought version.
One of the best things about this recipe is the versatility. You can customize it to suit your taste preferences. If you prefer a stronger pistachio flavor, add more nuts. If you’re a fan of texture in your ice cream, stir in some chopped pistachios or even chocolate chunks. The possibilities are endless and limited only by your imagination.
Ready to embark on a delightful journey of homemade pistachio ice cream? Let’s gather our ingredients and get ready to dive into the world of creamy, nutty deliciousness!
Gathering the Ingredients
Before you start making homemade pistachio ice cream, make sure you have all the necessary ingredients on hand. Here’s a list of what you’ll need:
- 2 cups of heavy cream: The high fat content in heavy cream helps create a rich and creamy texture in the ice cream.
- 1 cup of whole milk: Whole milk adds a smooth consistency to the ice cream without being too heavy.
- 3/4 cup of granulated sugar: The sugar sweetens the ice cream and helps prevent ice crystals from forming.
- 4 large egg yolks: The egg yolks add richness and creaminess to the ice cream base.
- 1 teaspoon of vanilla extract: Vanilla extract enhances the flavor of the ice cream and complements the nuttiness of the pistachios.
- 1/2 teaspoon of almond extract: Almond extract adds an extra layer of flavor and complements the pistachios beautifully.
- 1 cup of shelled pistachios: Make sure to use unsalted pistachios for the best flavor. You’ll be using some for the ice cream base and reserving the rest for adding texture and crunch.
That’s it! Just a handful of simple ingredients to create a luxurious batch of homemade pistachio ice cream. You may already have most of these items in your pantry, making this recipe even more convenient.
Once you have all the ingredients, it’s time to dive into the process of making the ice cream. Prepare your taste buds for a velvety smooth and nutty dessert that will have everyone asking for seconds!
Preparing the Pistachios
Before we can incorporate the pistachios into our homemade ice cream, we need to prepare them. This step is essential to ensure that we extract the maximum flavor and achieve a smooth texture in the final product. Here’s how to do it:
- Start by placing the shelled pistachios in a colander.
- Rinse the pistachios under cold water to remove any dust or debris.
- Spread the pistachios on a clean kitchen towel or paper towel and pat them dry.
- Once dry, transfer the pistachios to a baking sheet lined with parchment paper.
- Preheat your oven to 350°F (175°C) and toast the pistachios for about 8-10 minutes. Keep a close eye on them to prevent burning.
- Remove the baking sheet from the oven and let the pistachios cool completely.
- Once cooled, transfer the toasted pistachios to a food processor or blender.
- Pulse or blend the pistachios until they are finely ground. Be careful not to overprocess them, as we still want some texture in our ice cream.
By toasting the pistachios, we unlock their full flavor potential and add a subtle nutty aroma to the ice cream. Grinding them into a fine consistency ensures that they blend evenly into the ice cream base, creating a smooth and cohesive texture.
Once the pistachios are prepared, we’re ready to move on to the next step – making the custard base. Get ready for a delightful combination of creamy custard and pistachio goodness!
Making the Custard Base
Now that our pistachios are prepared, it’s time to move on to making the custard base for our homemade pistachio ice cream. The custard base is what gives the ice cream its creamy and smooth texture. Here’s how to make it:
- In a medium saucepan, pour in the heavy cream and whole milk.
- Place the saucepan over medium heat and heat the mixture until it starts to simmer. Stir occasionally to prevent the bottom from burning.
- In a separate bowl, whisk together the granulated sugar and egg yolks until well combined.
- Once the cream and milk mixture is simmering, gradually pour about 1/2 cup of the hot liquid into the egg yolk mixture, whisking constantly. This helps temper the egg yolks and prevents them from curdling.
- Slowly pour the tempered egg yolk mixture back into the saucepan with the remaining cream and milk mixture, whisking continuously.
- Cook the mixture over medium heat, stirring constantly, until it thickens and coats the back of a spoon. This usually takes about 6-8 minutes.
- Remove the saucepan from the heat and stir in the vanilla extract and almond extract.
The custard base is now ready, and the foundation of our pistachio ice cream is complete. It has a velvety texture and a subtle sweetness, which will perfectly complement the nuttiness of the pistachios.
Next, we’ll move on to chilling the custard base to ensure it’s fully cooled before churning it into ice cream. Get ready for that delightful aroma of pistachios and anticipation of a creamy frozen treat that will tantalize your taste buds!
Chilling the Custard
After making the custard base for our pistachio ice cream, it’s important to chill it thoroughly before moving forward. Chilling the custard helps it develop the right consistency and ensures a smooth and creamy texture in the final ice cream. Here’s what you need to do:
- Carefully transfer the custard base to a heatproof bowl.
- Cover the bowl with plastic wrap, making sure it touches the surface of the custard to prevent a skin from forming.
- Place the bowl in the refrigerator and let the custard cool completely. This typically takes around 3-4 hours, but you can also leave it overnight for convenience.
Chilling the custard base allows the flavors to meld together and for the custard to reach its desired consistency. As it cools, the custard thickens even more, creating that perfect creamy texture we crave in ice cream.
During this time, the flavors of the vanilla and almond extract infuse into the custard, enhancing the overall taste of the ice cream. Patience is key during this step, as it will be worth the wait when you take that first scoop of homemade pistachio ice cream!
Once the custard is thoroughly chilled, it’s time to move on to the exciting part – churning the ice cream. Get your ice cream maker (or alternative method) ready and prepare for the transformation of the custard into a delightful frozen dessert!
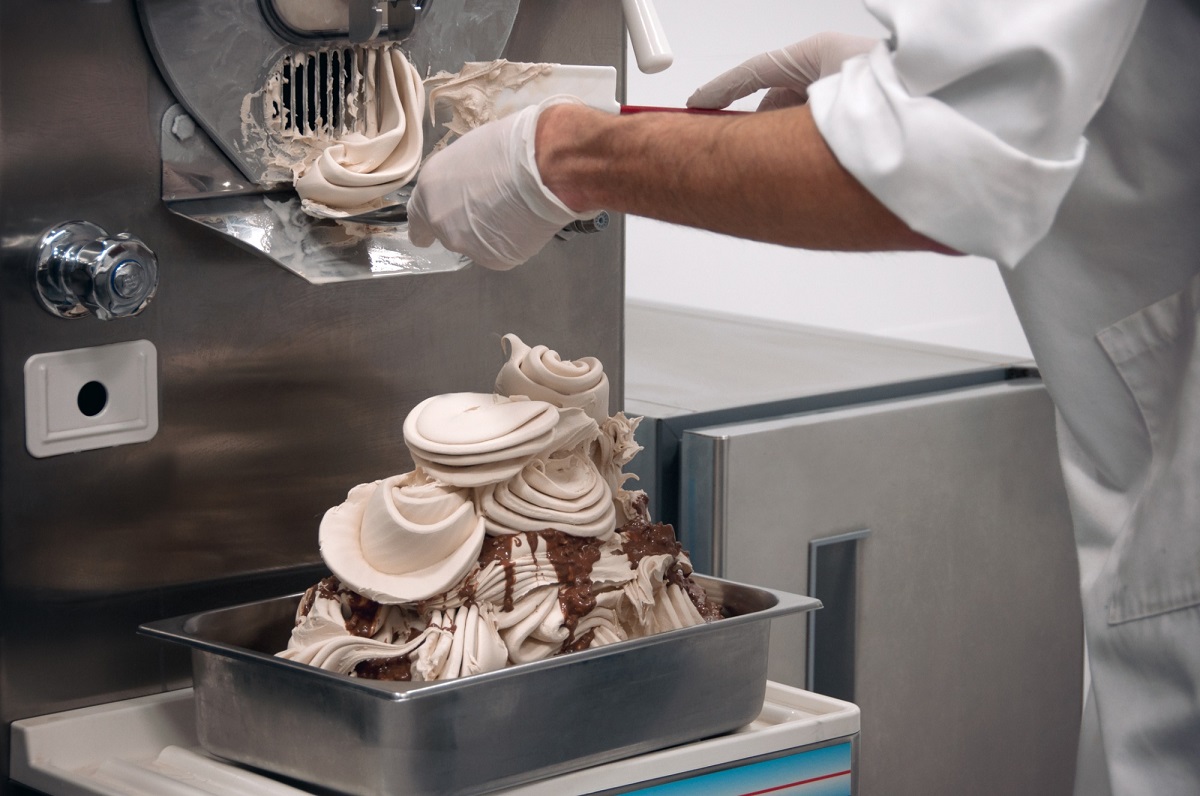
Churning the Ice Cream
Now that the custard base for our pistachio ice cream is thoroughly chilled, it’s time to churn it into creamy perfection. Churning helps incorporate air into the mixture and prevents ice crystals from forming, resulting in a smooth and luscious ice cream texture. Here’s how to do it:
- Retrieve the chilled custard base from the refrigerator.
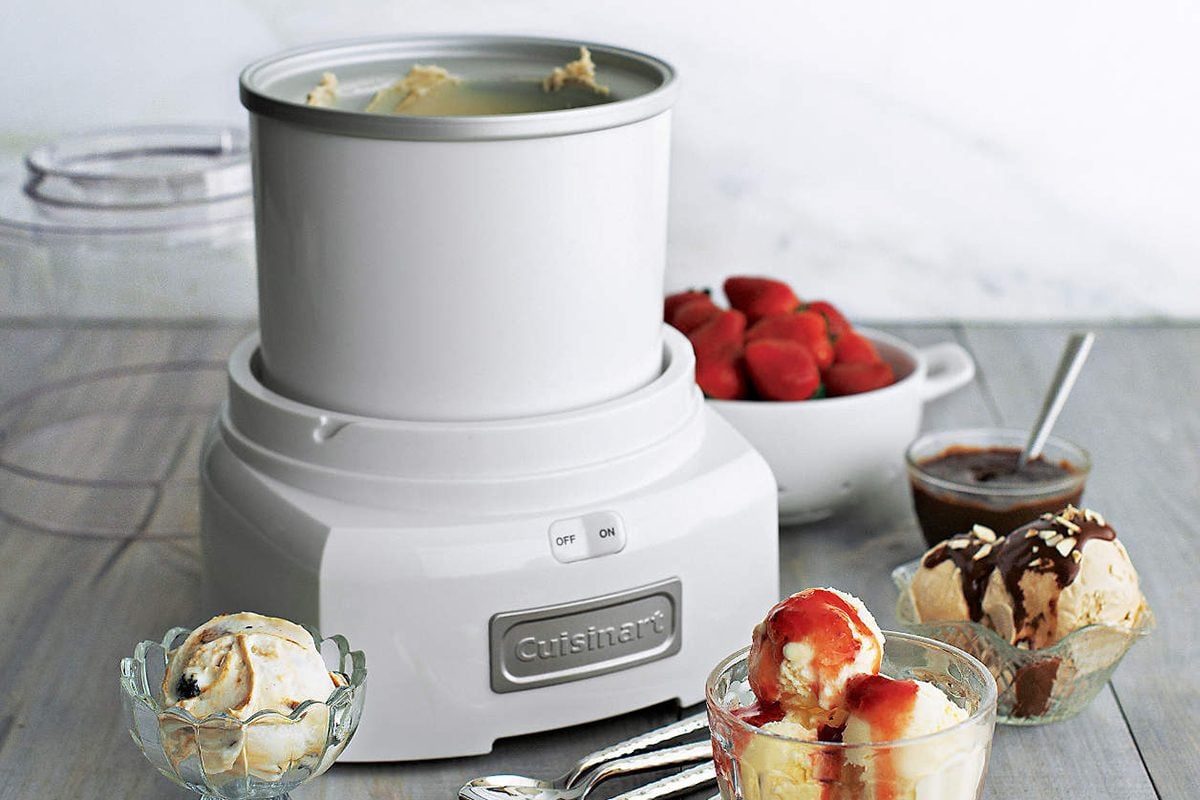
- If you have an ice cream maker, follow the manufacturer’s instructions for churning. Usually, this involves pouring the custard base into the machine and churning it for about 20-30 minutes until it thickens and resembles soft-serve ice cream.
- If you don’t have an ice cream maker, don’t worry! You can still achieve fantastic results. Pour the chilled custard into a shallow, freezer-safe container.
- Place the container in the freezer and let it freeze for about 2-3 hours, or until the edges start to freeze.
- Take the container out of the freezer and use a fork or whisk to vigorously stir the partially frozen custard. Break up any ice crystals that have formed and incorporate air into the mixture.
- Return the container to the freezer and repeat the stirring process every 30 minutes for about 2-3 hours, or until the ice cream reaches your desired consistency. This helps prevent the formation of large ice crystals and creates a smoother texture.
Whether you’re using an ice cream maker or the alternative stirring method, the key is to incorporate air into the custard to create a light and creamy texture. This process of freezing and stirring helps break up ice crystals and ensure a velvety smooth consistency in the final product.
Now, as the custard churns or freezes and is stirred, the flavors of the vanilla, almond extract, and pistachios meld together, creating a harmonious symphony of taste and texture.
Once you’ve achieved the desired consistency, it’s time for the final touch – adding the reserved pistachios to the ice cream. Get ready to elevate your homemade pistachio ice cream to another level of deliciousness!
Adding the Pistachios
Now that your pistachio ice cream base is perfectly churned or stirred until it reaches a creamy consistency, it’s time to add the star ingredient – the pistachios! Adding these nutty delights will bring an extra layer of texture and flavor to your homemade creation. Here’s how to do it:
- Take out the reserved toasted pistachios that you prepared earlier.
- Give them a rough chop to create small pieces or leave them whole if you prefer bigger chunks.
- Retrieve the churned or stirred ice cream from the ice cream maker or freezer, respectively.
- Sprinkle the chopped pistachios on top of the ice cream.
- Using a spatula or spoon, gently fold the pistachios into the ice cream, ensuring they are evenly distributed.
The addition of the pistachios not only adds a delightful crunch to each bite but also intensifies the nutty flavor profile of the ice cream. The combination of the smooth and creamy texture of the pistachio-infused ice cream along with the added texture and flavor of the pistachio pieces creates a truly indulgent treat.
Feel free to adjust the amount of pistachios according to your preference. If you’re a pistachio lover, you can be generous with the amount, allowing for plenty of nutty goodness in every scoop. If you prefer a more subtle pistachio flavor, a smaller amount will still add that delightful crunch but won’t overpower the overall taste of the ice cream.
With the pistachios incorporated, our homemade pistachio ice cream is now complete. The flavors have melded together, creating a harmonious balance between the creamy custard base and the nutty pistachios. All that’s left to do is freeze the ice cream and prepare for the moment of enjoyment!
Freezing the Ice Cream
Now that your pistachio ice cream is all set with the addition of the pistachios, it’s time to freeze it for the final touch. Freezing the ice cream will firm it up and allow the flavors to fully develop. Follow these steps to ensure your homemade treat is perfectly frozen:
- Transfer the pistachio ice cream into a lidded, freezer-safe container.
- Smooth the surface of the ice cream with a spatula or the back of a spoon to create an even layer.
- Place the lid securely on the container to prevent any unwanted odors or freezer burn.
- Put the container in the freezer and allow the ice cream to freeze for at least 4-6 hours, or until it reaches your desired consistency.
During the freezing process, the ice cream solidifies and becomes scoopable. It will maintain its creaminess and hold its shape once scooped. Freezing the ice cream also allows the flavors to meld together, resulting in a more cohesive and flavorful dessert.
It’s important to note that homemade ice cream generally has a slightly softer texture than store-bought versions due to the absence of stabilizers and preservatives. If you prefer a firmer consistency, you can leave the ice cream in the freezer for a longer period of time.
Now that your pistachio ice cream is securely tucked away in the freezer, it’s time to exercise some patience. Allow the freezer to work its magic and transform the mixture into a delectable, frozen dessert.
When you’re ready to indulge, just grab a scoop or two of your homemade pistachio ice cream from the freezer and prepare to experience a symphony of nutty flavors and creaminess.
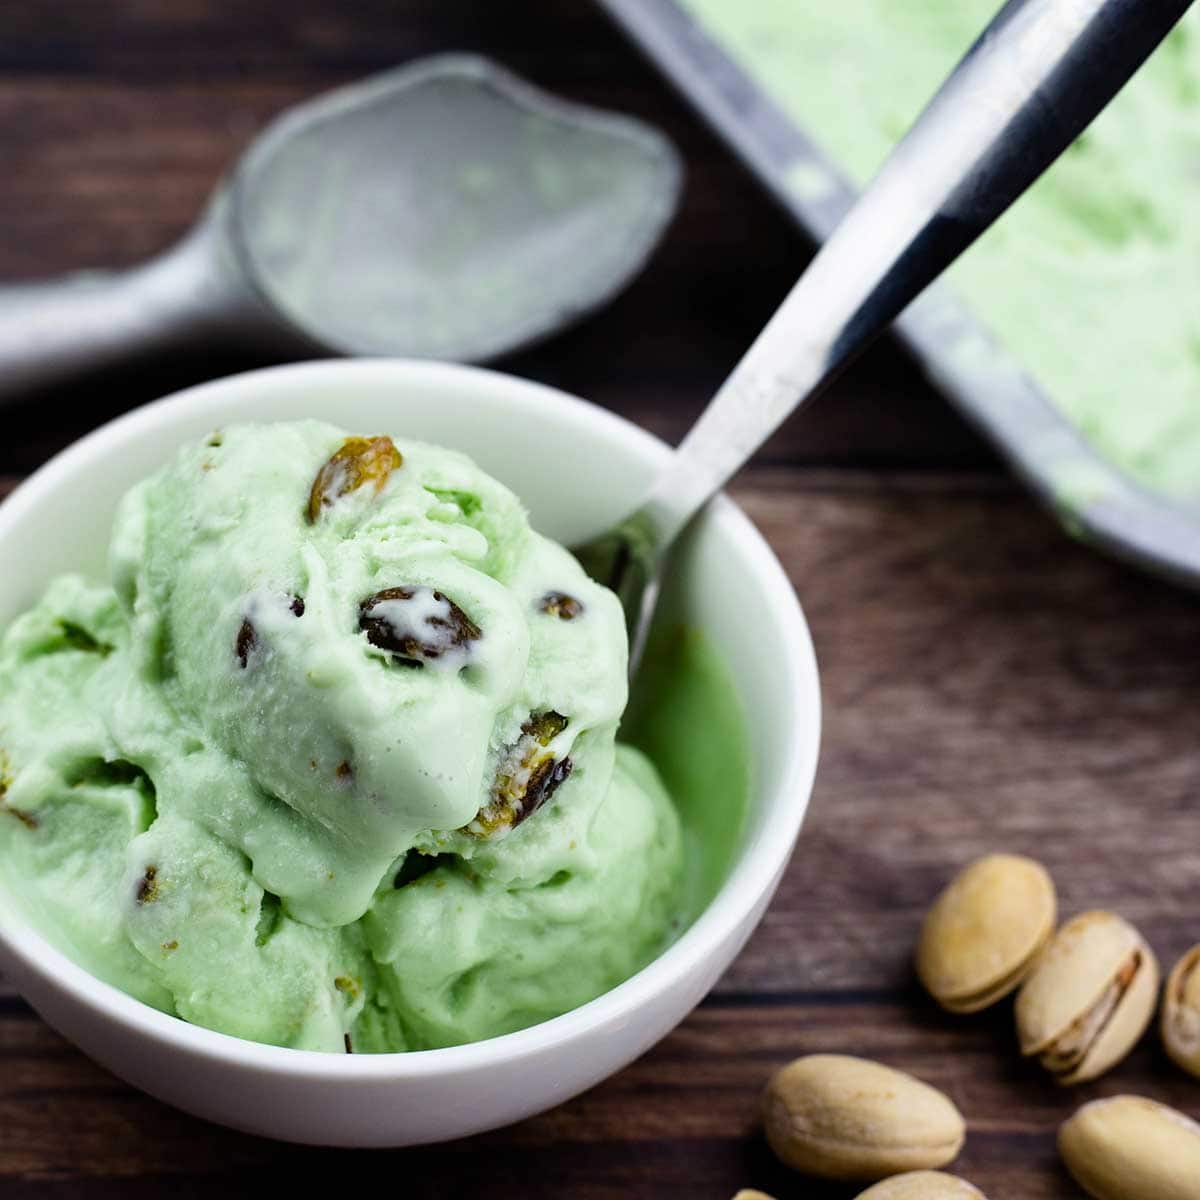
Serving and Enjoying Your Homemade Pistachio Ice Cream
Congratulations! You’ve successfully made a batch of delicious homemade pistachio ice cream. Now comes the fun part – serving and savoring your creation. Here’s how to fully enjoy your homemade treat:
- Retrieve the container of frozen pistachio ice cream from the freezer.
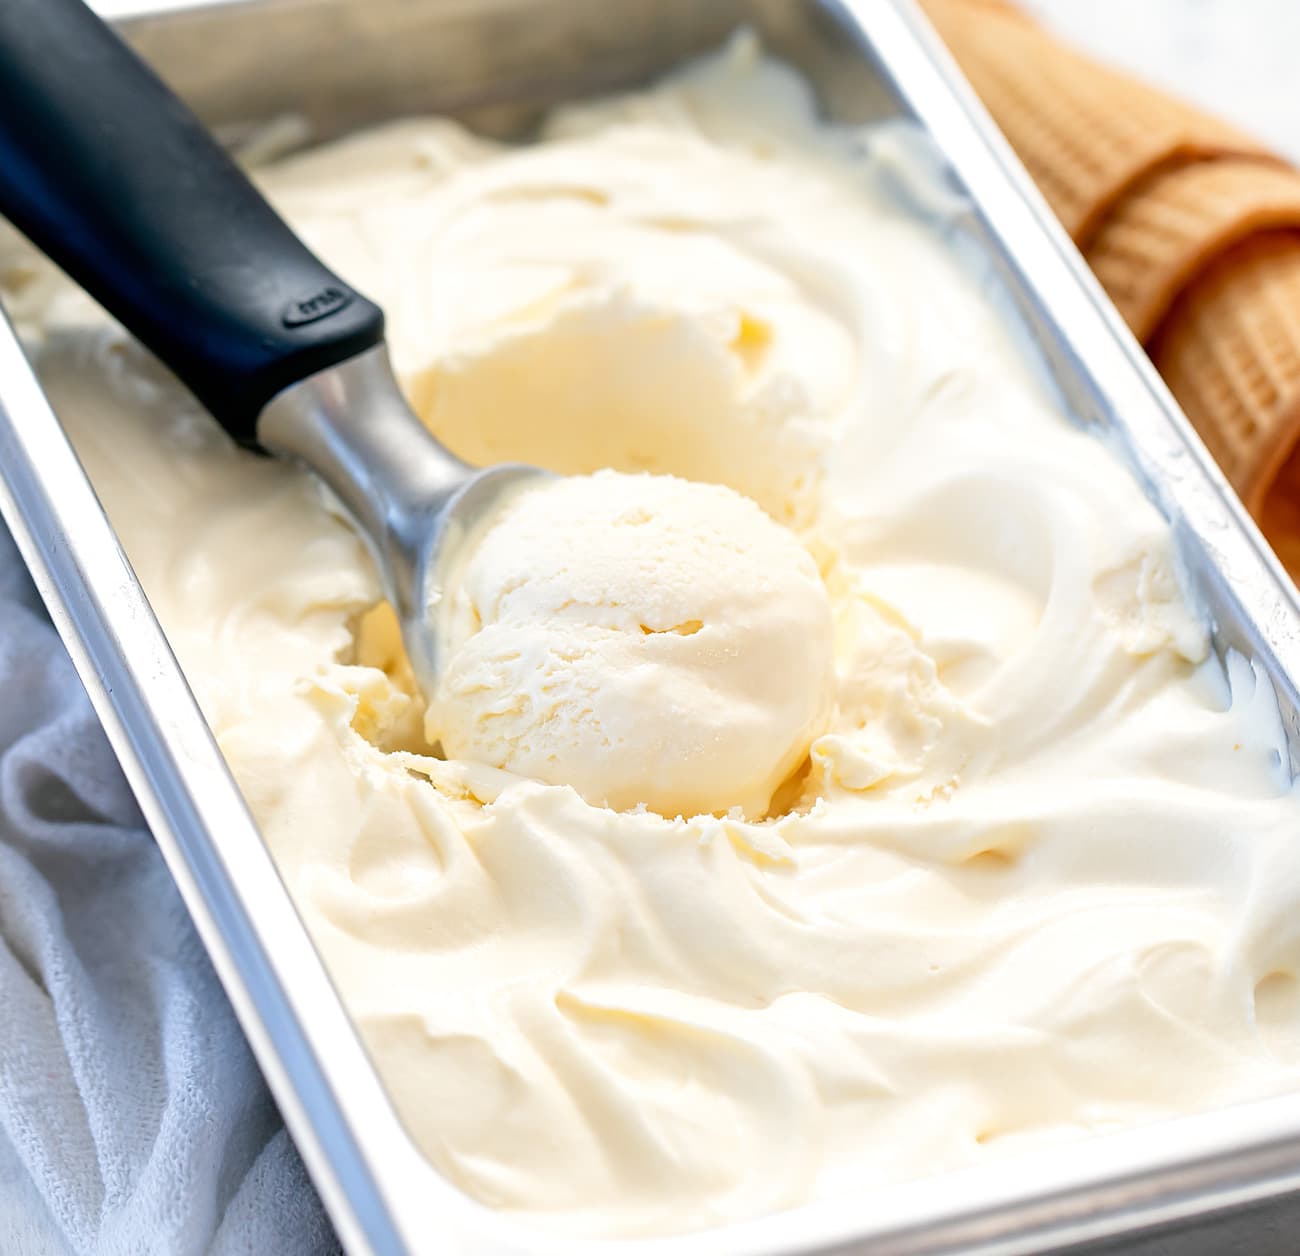
- Allow the ice cream to sit at room temperature for a few minutes to soften slightly. This will make it easier to scoop.
- Using an ice cream scoop, gently dig into the creamy pistachio goodness and create perfectly round scoops.
- Place the scoops of ice cream in serving bowls or cones, letting the decadence take center stage.
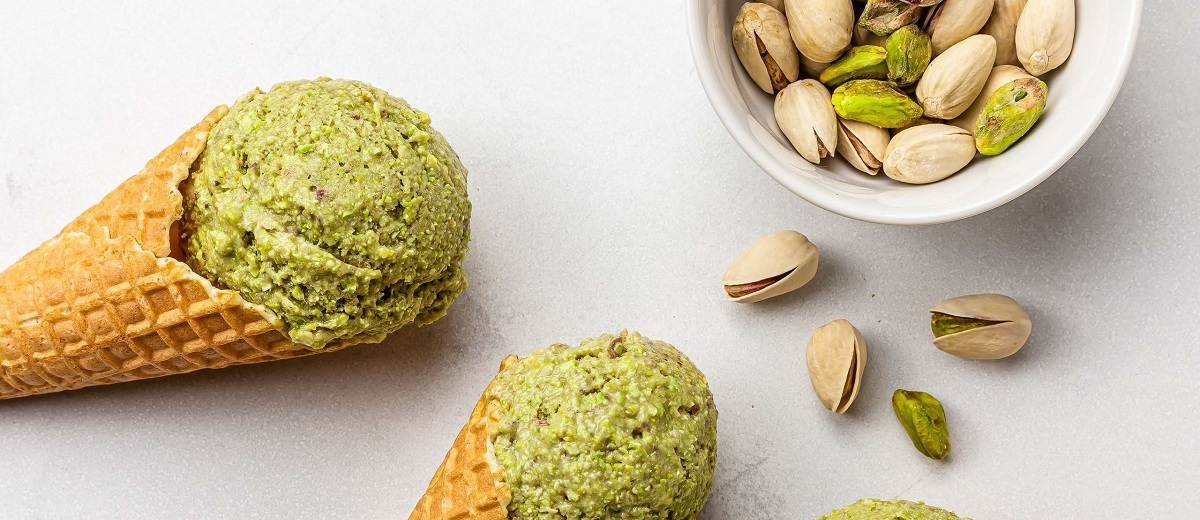
- For an extra touch, garnish your pistachio ice cream with some crushed pistachios or a sprinkle of chopped pistachios for added crunch and visual appeal.
- Take a moment to appreciate the vibrant green color of the ice cream and inhale the irresistibly nutty aroma.
- Dive in and savor each spoonful, allowing the creamy texture and nutty flavor to dance on your taste buds.
As you enjoy your homemade pistachio ice cream, take note of the velvety smoothness, the delightful crunch of the pistachios, and the harmonious combination of flavors. Each spoonful is a testament to your culinary skills and the joy of creating something from scratch.
Feel free to experiment with various toppings and accompaniments to elevate your pistachio ice cream. Whether it’s a drizzle of chocolate sauce, a dollop of whipped cream, or a sprinkle of toasted coconut, let your creativity run wild and make it your own.
Remember, homemade ice cream is best enjoyed fresh. If you have leftovers, store the remaining pistachio ice cream in an airtight container in the freezer to maintain its quality. Be sure to consume it within a few days for the best taste and texture.
Now, sit back, relax, and enjoy the fruits of your labor. Indulge in the creamy, nutty luxury of your homemade pistachio ice cream, and relish in the pride of creating a frozen dessert that’s truly a labor of love.