Introduction
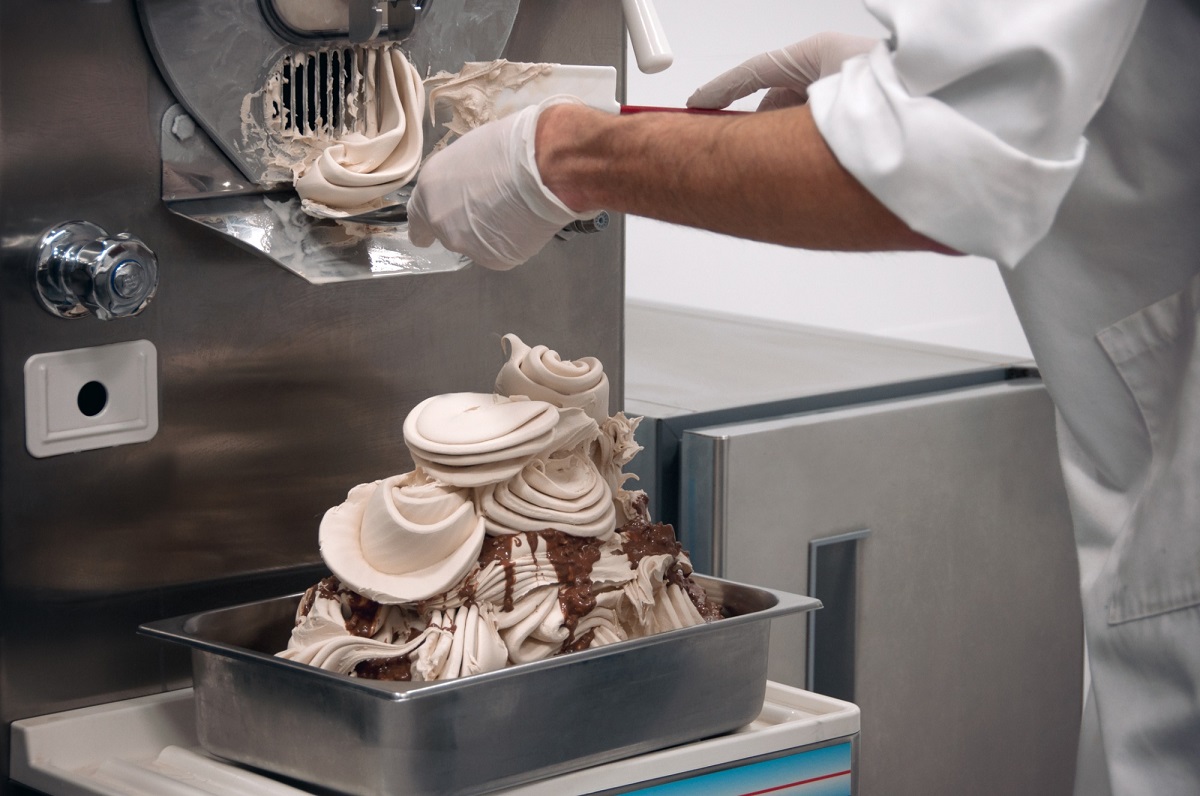
In this article, we will explore the joy of making gelato at home using an ice cream maker. Gelato, the Italian-style ice cream, is known for its smooth and creamy texture and intense flavors. While it may seem like a daunting task, with the right ingredients and equipment, you can create delectable gelato right in your own kitchen.
Why make gelato at home, you may ask? Well, besides the obvious reason of indulging in this frozen treat at any time, making gelato from scratch allows you to customize the flavors and ingredients to your liking. You have the freedom to experiment with a wide range of flavors, from classic combinations like chocolate and vanilla to more exotic options like pistachio or raspberry swirl.
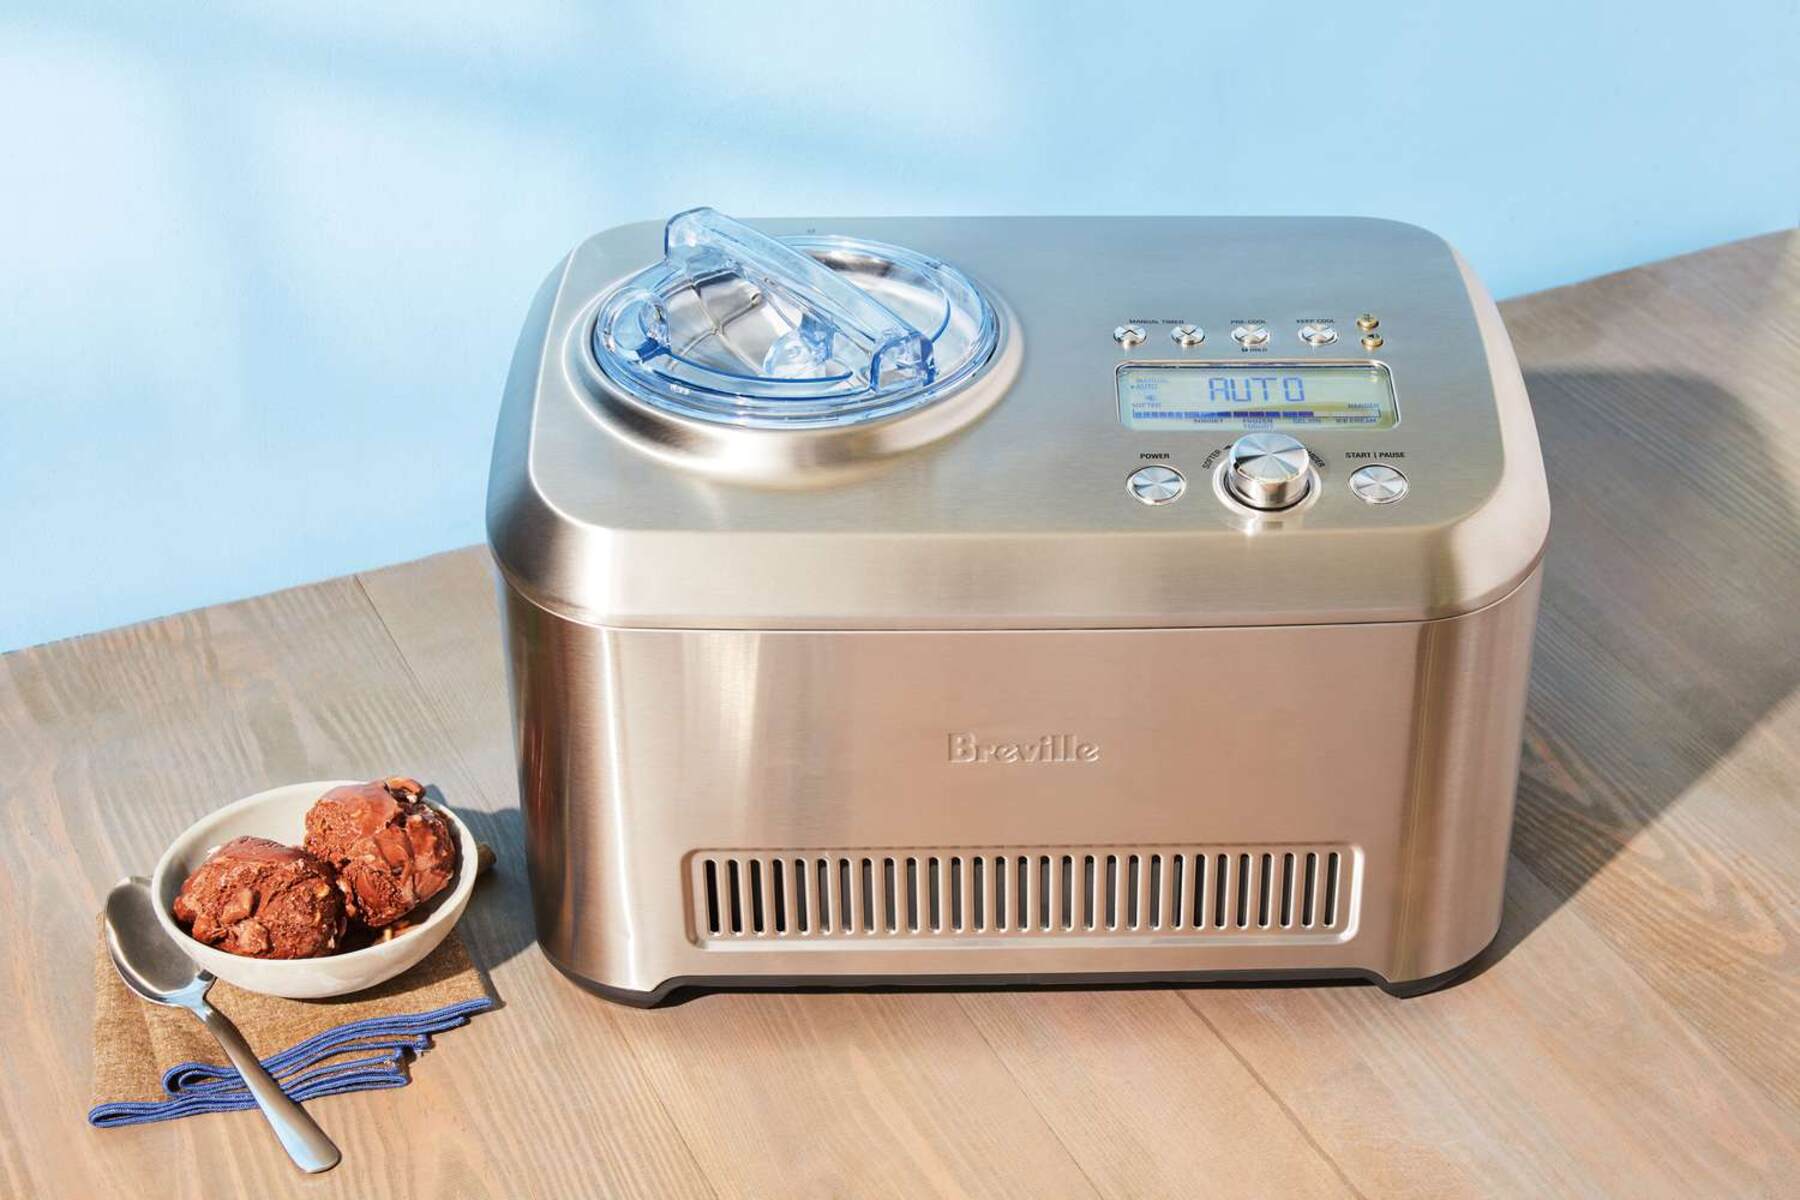
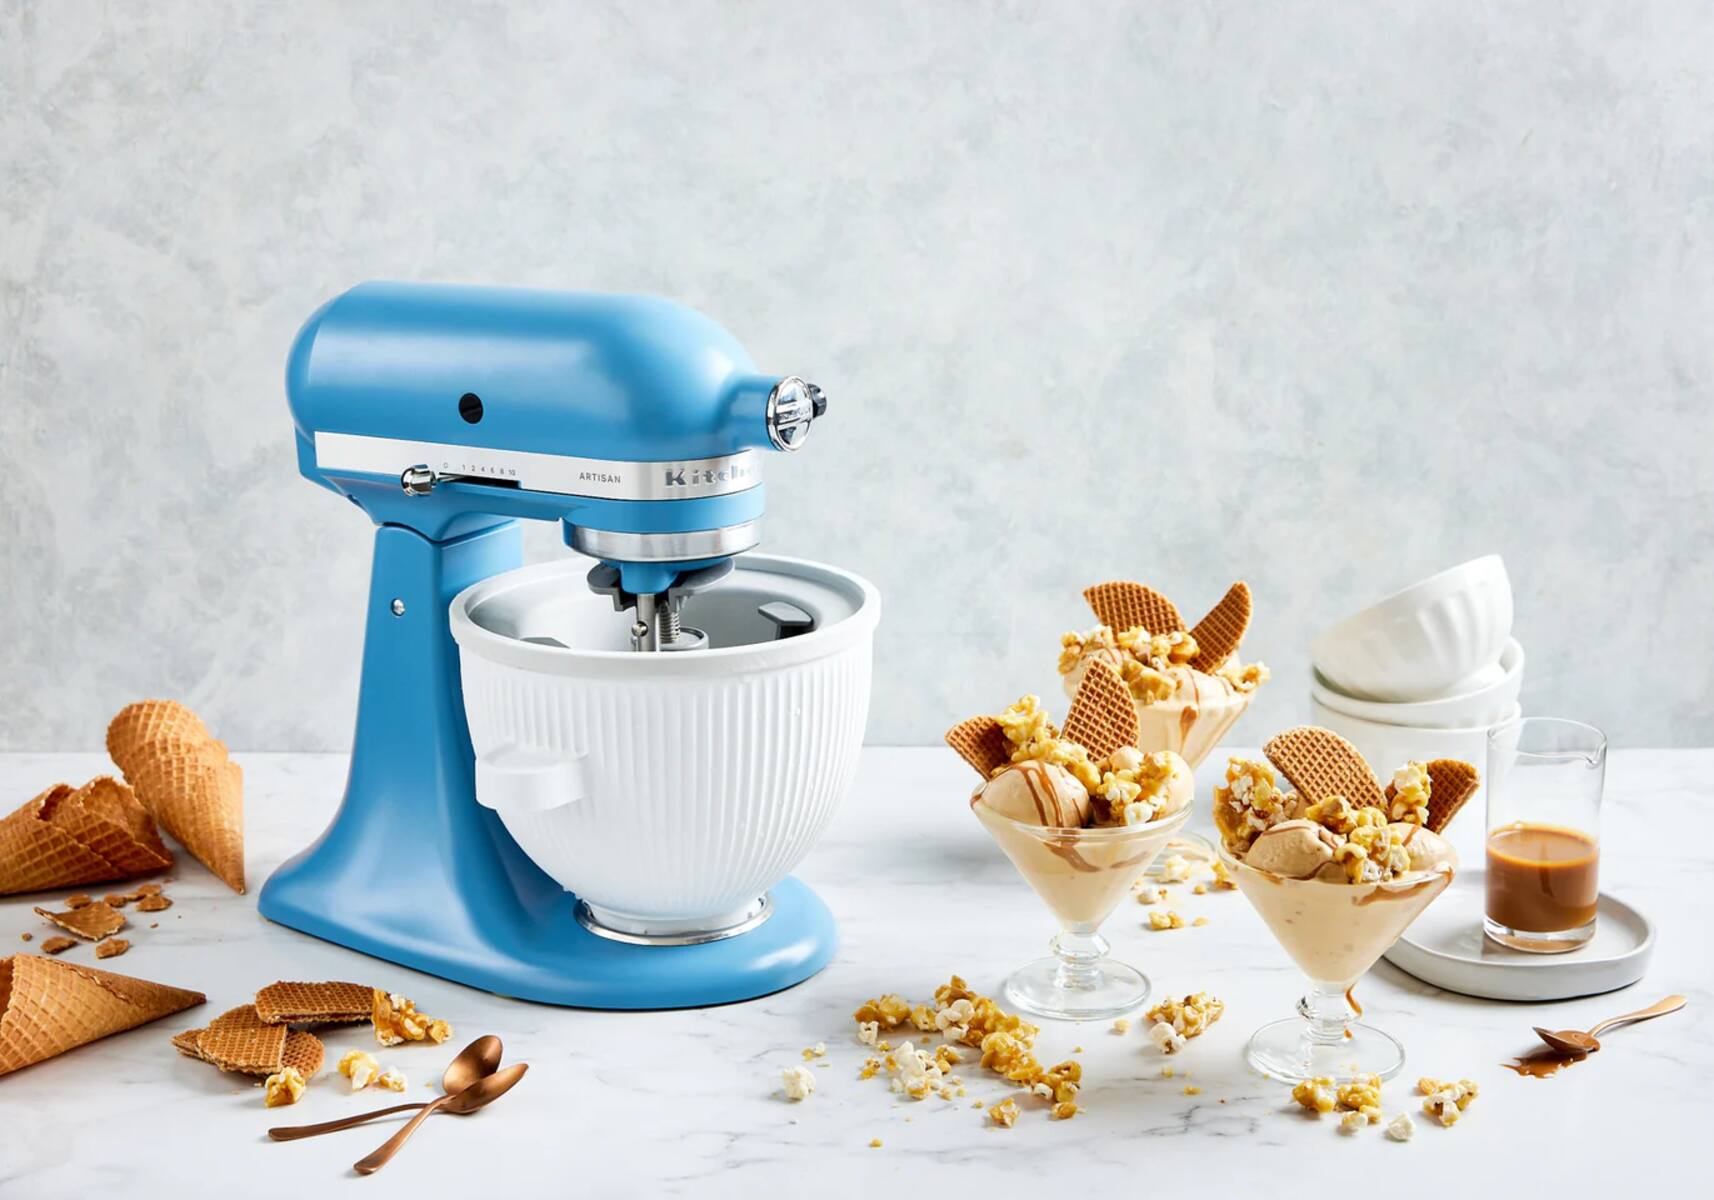
Having an ice cream maker is essential for this process, as it ensures that the gelato mixture is properly frozen and churned to the right consistency. This device helps incorporate air into the mixture, resulting in a lighter and smoother gelato.
So, whether you’re a gelato aficionado or a curious dessert lover, this guide will take you step by step through the gelato-making process. From preparing the ice cream maker to serving your homemade gelato, we’ll cover all the necessary techniques and tips to make your gelato experience a success.
Now, let’s gather our ingredients, roll up our sleeves, and embark on this delightful journey of making gelato in an ice cream maker!
Ingredients
Making gelato at home requires a handful of high-quality ingredients. Here is a list of the key ingredients you will need:
- Milk: Gelato is traditionally made with whole milk, which provides a rich and creamy base. You can also use low-fat milk if you prefer a lighter version.
- Heavy cream: Adding heavy cream to the mixture adds extra richness and a luxurious texture to the gelato.
- Sugar: Depending on your taste preference, you can use either granulated sugar or powdered sugar to sweeten the gelato.
- Egg yolks: The egg yolks serve as a thickening agent and add a velvety smoothness to the gelato. They also contribute to the rich flavor.
- Flavorings: From vanilla extract to chocolate chips, the options for flavoring your gelato are endless. Choose your favorite extracts, fruits, nuts, or chocolates to infuse your gelato with mouth-watering flavors.
- Add-ins: If you want to take your gelato to the next level, consider adding delicious mix-ins like crushed cookies, caramel swirls, or chunks of fruit.
It’s important to note that using high-quality ingredients will greatly impact the taste and texture of the final gelato. So, choose fresh ingredients and opt for organic options when possible.
Now that we have our ingredients ready, let’s move on to the step-by-step process of making gelato in an ice cream maker!
Step 1: Prepare the ice cream maker
Before diving into the gelato-making process, it’s important to properly prepare your ice cream maker. Here’s what you need to do:
- Freeze the bowl: Most ice cream makers come with a removable freezer bowl. To ensure optimal freezing, place the bowl in the freezer for at least 24 hours before making the gelato.
- Assemble the machine: Once the bowl is completely frozen, assemble your ice cream maker according to the manufacturer’s instructions. Make sure all parts are securely in place.
- Place the bowl in the machine: Take the frozen bowl out of the freezer and position it in the ice cream maker. Ensure that it is properly locked into place.
- Turn on the machine: Plug in your ice cream maker and turn it on. The machine should start rotating the bowl, which helps to freeze and churn the gelato mixture as it’s poured in later.
It’s crucial to follow these steps to ensure that your ice cream maker is ready to go. By preparing the machine correctly, you’ll optimize the freezing process and achieve a smooth, creamy gelato texture.
Now that our ice cream maker is set up, let’s move on to the next step – mixing the ingredients for the gelato!
Step 2: Mix the ingredients
Now that we have our ice cream maker ready, it’s time to start preparing the gelato mixture. Follow these steps to create a delicious base:
- Heat the milk and cream: In a saucepan, pour the milk and heavy cream and heat over medium heat until it reaches a gentle simmer. Stir occasionally to ensure the mixture doesn’t scorch.
- Whisk the egg yolks and sugar: In a separate bowl, whisk the egg yolks and sugar until light and creamy. The sugar helps dissolve the egg yolks and adds sweetness to the gelato.
- Temper the eggs: Slowly pour half of the heated milk and cream mixture into the bowl with the egg yolks and sugar, whisking continuously. This process, known as tempering, prevents the eggs from curdling when added to the hot liquid.
- Pour the mixture back into the saucepan: Return the tempered egg mixture back to the saucepan and cook on low heat, stirring constantly, until the mixture thickens slightly. It should coat the back of a spoon and have a custard-like consistency. Be careful not to let it boil.
- Add flavorings: Once the base has thickened, remove it from the heat and add your desired flavorings, such as vanilla extract, fruit puree, or melted chocolate. Stir well to incorporate the flavors evenly.
By following these steps, you’ll create a smooth and flavorful gelato base. The combination of heated milk, cream, sweetened eggs, and flavorings sets the foundation for a delicious frozen treat.
Now that we have our gelato mixture ready, it’s time to move on to the next step – chilling the mixture before churning.
Step 3: Chilling the mixture
After mixing the gelato ingredients, it’s crucial to chill the mixture before moving on to the churning process. Follow these steps to ensure the gelato is properly chilled:
- Transfer the mixture to a container: Carefully pour the gelato mixture into a clean, airtight container. This will make it easier to cool and prevent any unwanted flavors from absorbing into the mixture.
- Cover and refrigerate: Once the gelato mixture is in the container, cover it with a lid or plastic wrap to seal it. Place the container in the refrigerator and let it chill for at least 4 hours, or even overnight. This extended chilling time allows the flavors to meld together and the mixture to further thicken.
It’s important to note that chilling the gelato mixture is a crucial step in achieving the desired texture and flavor. The prolonged refrigeration period helps the mixture develop a smoother and creamier consistency as it cools down.
Once the gelato mixture has been properly chilled, we’re ready to move on to the next step – churning the gelato in the ice cream maker!
Step 4: Churning the gelato
Now that our gelato mixture has been properly chilled, it’s time to start the churning process. Follow these steps to achieve the perfect texture for your homemade gelato:
- Take out the frozen bowl: Remove the frozen bowl from the freezer and place it securely in the ice cream maker. Ensure that it is properly locked into place.
- Turn on the machine: Plug in the ice cream maker and turn it on before pouring the gelato mixture into the bowl. This will prevent any premature freezing and allow the mixture to churn evenly.
- Pour the mixture into the machine: Carefully pour the chilled gelato mixture into the bowl of the ice cream maker while it’s in motion. The machine will churn the mixture and incorporate air, resulting in a light and creamy texture.
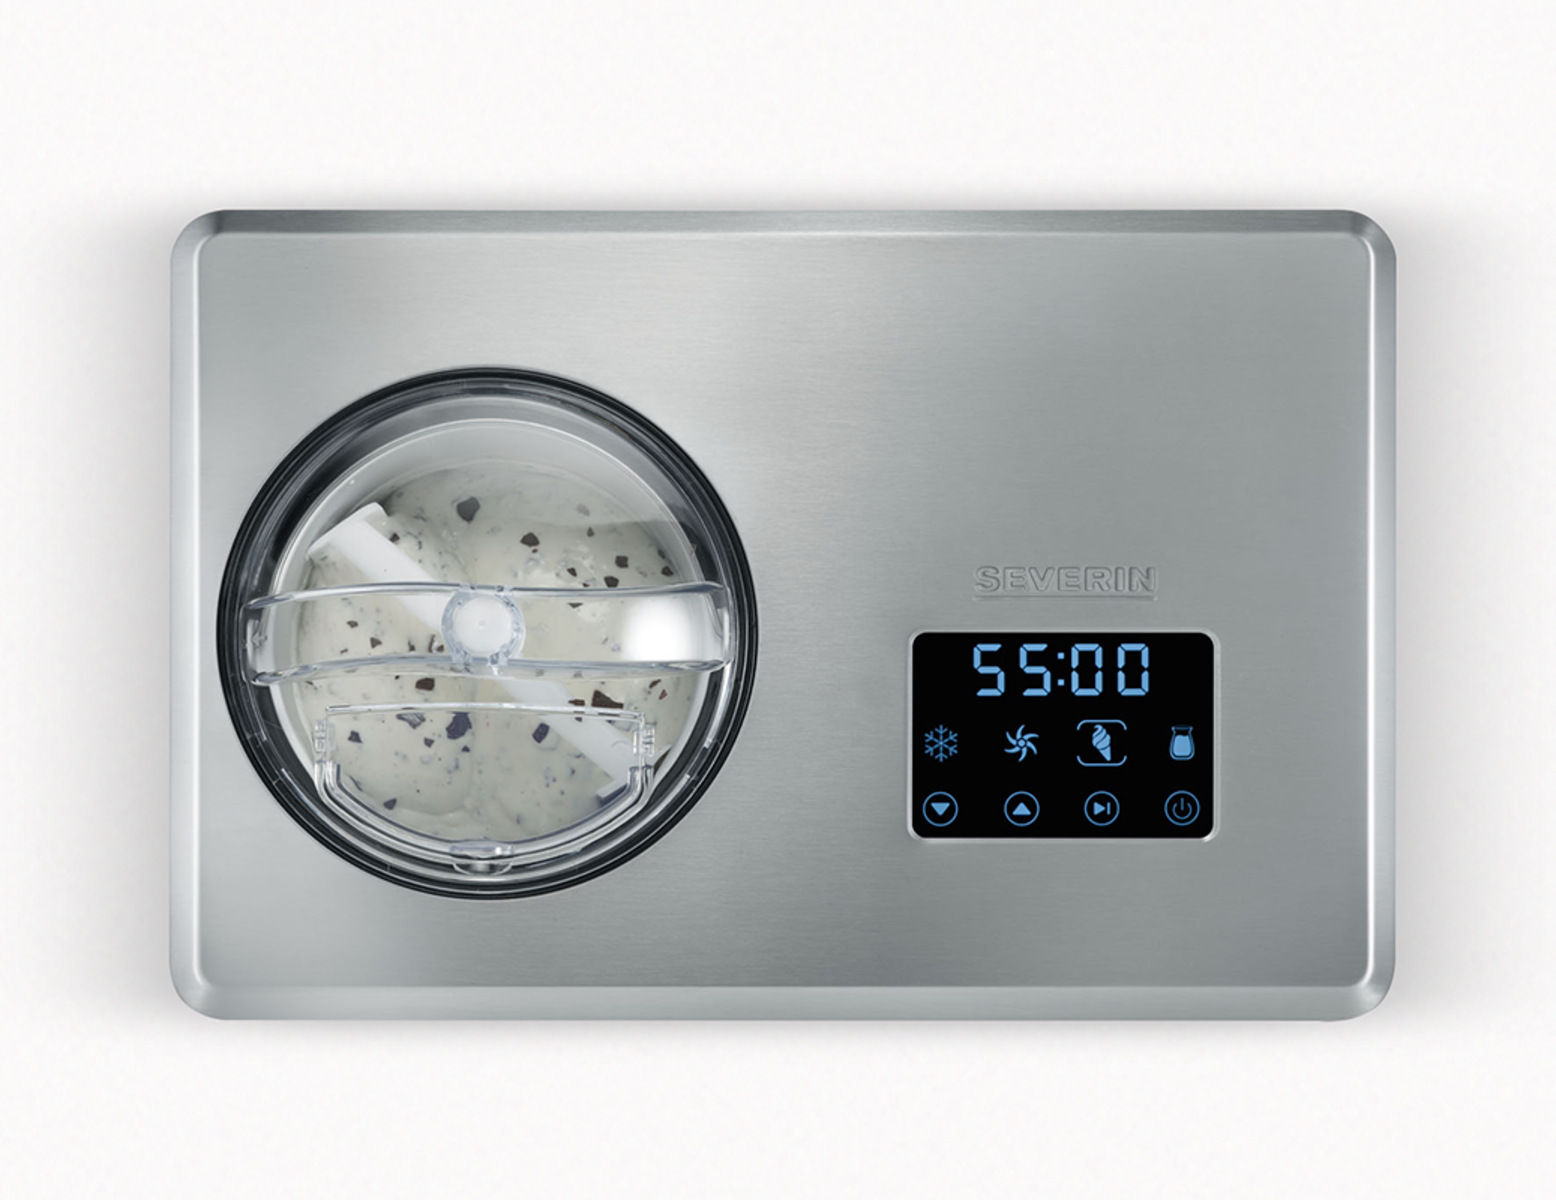
- Churn for the recommended time: Follow the instructions provided with your ice cream maker to determine the specific churn time for your gelato. Typically, it takes around 20-30 minutes, but this can vary depending on the machine. Avoid over-churning, as it can result in a dense and icy gelato.
During the churning process, the gelato mixture will transform from a liquid consistency to a thick and creamy texture. The relentless motion of the ice cream maker helps break up ice crystals and incorporates air, resulting in a smooth and velvety gelato.
Once the gelato has reached the desired consistency, it’s time to transfer it to a container and start the freezing process. Let’s move on to the next step – transferring and freezing the gelato!
Step 5: Transferring and Freezing the Gelato
After churning the gelato to the perfect consistency, it’s time to transfer it to a container and begin the freezing process. Follow these steps to ensure your gelato freezes properly:
- Prepare a container: Choose a clean, airtight container to store your gelato. This can be a lidded plastic container or a metal loaf pan lined with plastic wrap.
- Transfer the gelato: Carefully scoop the churned gelato into the container, smoothing the surface with a spatula or the back of a spoon. Make sure to leave about ½ inch of space at the top to accommodate expansion during freezing.
- Cover and seal: Place a piece of plastic wrap directly on the surface of the gelato to prevent ice crystals from forming. Then, cover the container with a lid or wrap it tightly with plastic wrap to create a secure seal.
- Freeze: Transfer the gelato container to the freezer and let it freeze for at least 4 hours or until firm. For best results, allow the gelato to freeze overnight.
Properly transferring and freezing the gelato allows it to set and achieve the desired firmness. The airtight container helps prevent freezer burn and ensures that the gelato maintains its flavor and texture.
Now that the gelato is in the freezer, it’s time for the final step – serving and enjoying your delicious homemade gelato!
Step 6: Serving and Enjoying Your Homemade Gelato
Congratulations! You have successfully made homemade gelato using an ice cream maker. Now comes the most rewarding part – serving and savoring your creation. Here’s how you can do it:
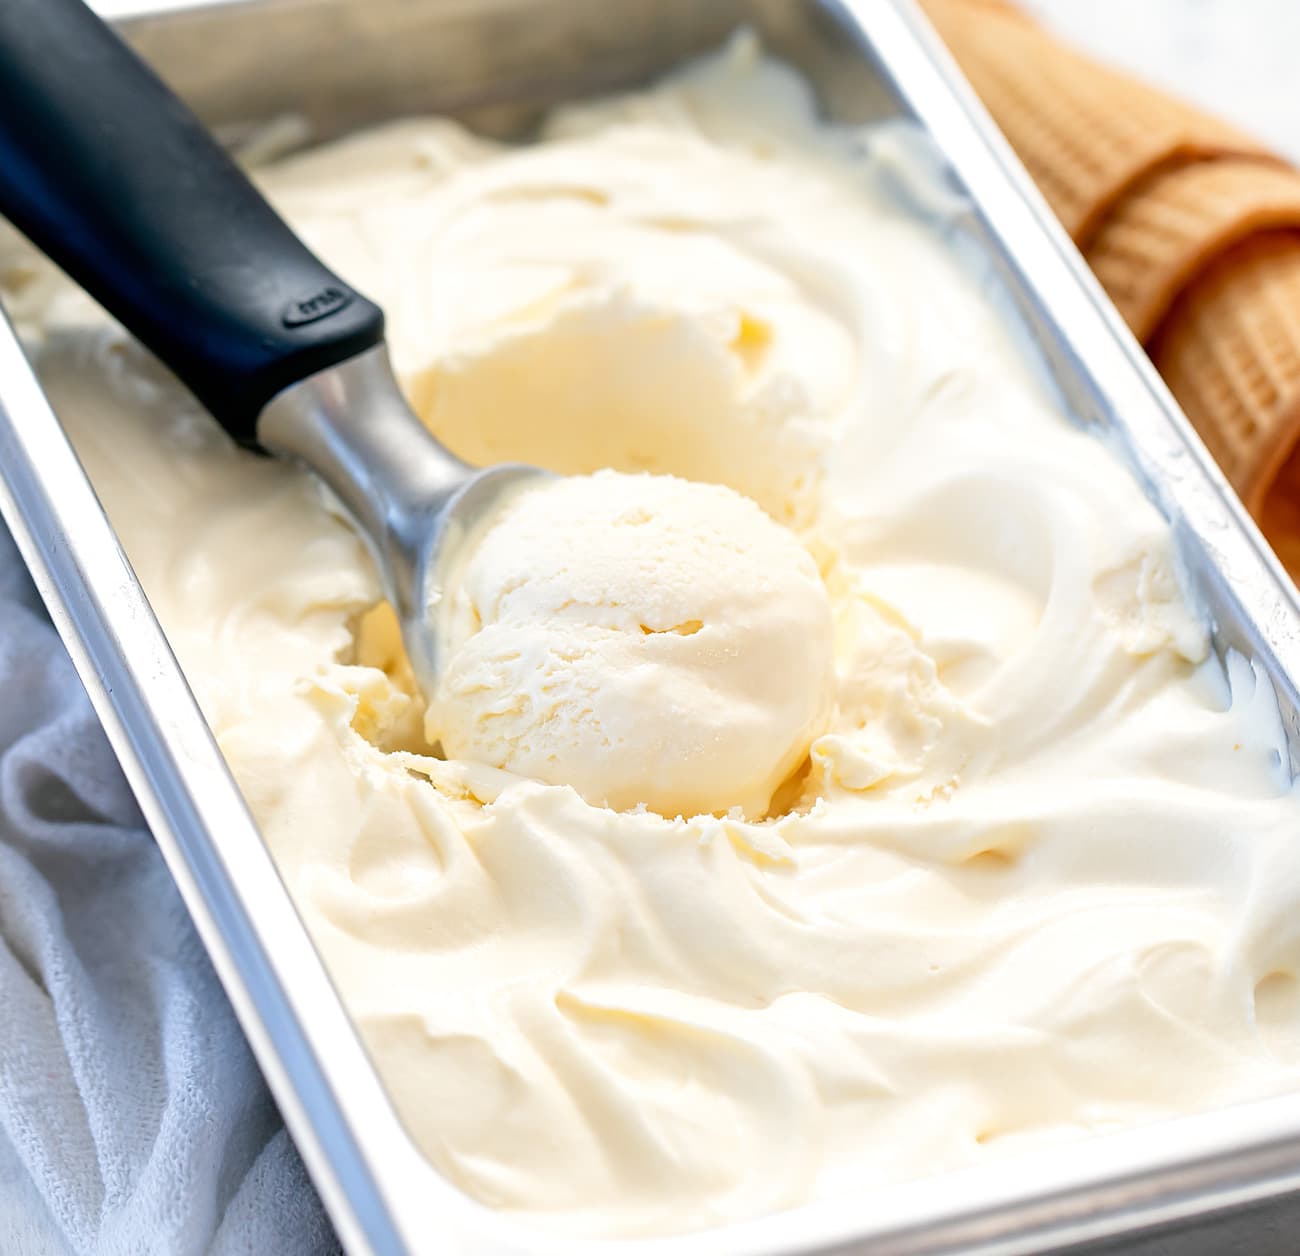
- Let the gelato soften: Before serving, allow the gelato to soften at room temperature for a few minutes. This will make it easier to scoop and enhance its creamy texture.
- Scoop and garnish: Using an ice cream scoop, gently scoop out portions of gelato into serving dishes or cones. You can get creative with garnishes like fresh fruit, chocolate shavings, or a sprig of mint to add visual appeal and extra flavor.
- Enjoy immediately: Gelato is best enjoyed right after it has been served. The creamy texture and flavors will be at their peak. Gather your loved ones or indulge by yourself, and savor every spoonful of your homemade gelato.
- Store the remaining gelato: If you have leftover gelato, return it to the freezer in the airtight container. Make sure to cover it tightly to prevent freezer burn and maintain its freshness. Consume the leftover gelato within a week for optimal taste and texture.
Making gelato at home allows you to create endless flavor combinations and cater to your personal preferences. Feel free to experiment with different flavors, mix-ins, and toppings to make your gelato experience even more enjoyable.
Now that you know the step-by-step process of making gelato in an ice cream maker, you can impress your family and friends with your homemade frozen treats. So, gather your favorite ingredients, crank up your ice cream maker, and embark on a delightful journey of making gelato right in your own kitchen!
Conclusion
Congratulations on mastering the art of making gelato in an ice cream maker! By following these step-by-step instructions, you are now equipped with the knowledge to create creamy and delicious gelato right in the comfort of your own home.
From preparing the ice cream maker and mixing the ingredients to chilling the mixture, churning, and freezing, each step plays a crucial role in achieving the perfect gelato texture and flavor. Take the time to experiment with different flavors, mix-ins, and toppings to create your own signature gelato creations.
Remember, using high-quality ingredients and properly chilling the mixture are key to achieving the smooth and creamy gelato consistency that we all love. Giving yourself ample time during the process, from freezing the ice cream bowl beforehand to letting the gelato firm up in the freezer, will ensure the best results.
Now, it’s time to unleash your creativity and treat yourself, family, and friends to homemade gelato. Whether you enjoy a scoop on its own, serve it alongside your favorite desserts, or create a delightful gelato sundae, the possibilities for enjoyment are endless.
So, gather your ingredients, fire up your ice cream maker, and let your imagination run wild as you embark on a journey to create a variety of delectable gelato flavors. Enjoy the process and savor the sweet rewards of your homemade gelato masterpiece!