Introduction
Welcome to the delightful world of homemade peach ice cream! With the help of an ice cream maker, you can create a creamy and refreshing treat that bursts with the sweet and tangy flavors of ripe peaches. Whether you’re planning a summer party, a family gathering, or simply craving a cool dessert on a hot day, this recipe is sure to please.
There’s just something magical about the combination of creamy ice cream and juicy peaches. The creaminess of the ice cream base perfectly complements the natural sweetness and slight tartness of the peaches, creating a symphony of flavors that dance on your taste buds.
By making your own peach ice cream, you have control over the quality of the ingredients and the intensity of the peach flavor. This recipe calls for fresh, ripe peaches, allowing you to savor the natural taste and aroma of the fruit. You can also adjust the sugar level to suit your preferences, making it as sweet or subtle as you like.
With an ice cream maker, the process becomes remarkably easy. The machine does all the hard work of churning and freezing the mixture, resulting in a velvety-smooth texture that is simply irresistible. Plus, making your own ice cream gives you the freedom to experiment with different flavors and add-ons, such as swirls of caramel or chunks of cookie dough.
So, roll up your sleeves, gather your ingredients and equipment, and get ready to embark on a culinary adventure that will leave you with a bowl of heavenly peach ice cream. In the upcoming sections, we will guide you through each step, from preparing the peaches to freezing the final product. Let’s dive in and indulge in the ultimate summer treat!
Ingredients
Before diving into the delightful process of making peach ice cream, let’s gather all the ingredients you’ll need:
- 4-5 ripe peaches
- 1 cup of granulated sugar
- 2 cups of heavy cream
- 1 cup of whole milk
- 1 teaspoon of vanilla extract
- 1/4 teaspoon of salt
Fresh peaches are essential for achieving the best flavor in your homemade ice cream. Look for peaches that are fully ripe, fragrant, and juicy. The natural sweetness and tanginess of the peaches will infuse the ice cream with incredible taste and aroma.
The sugar is necessary to sweeten the ice cream base. Adjust the amount of sugar based on your personal preference and the sweetness of the peaches you’re using. However, be careful not to add too much sugar, as it can overpower the natural flavors of the peaches.
The combination of heavy cream and whole milk creates the perfect balance of richness and creaminess in the ice cream. The heavy cream adds a luscious texture, while the whole milk provides a lighter element that allows the peach flavor to shine through.
The vanilla extract enhances the overall flavor profile of the ice cream, giving it a subtle hint of sweet and aromatic taste. Meanwhile, a pinch of salt helps to balance the sweetness and intensify the flavors, creating a well-rounded ice cream experience.
Now that you have all your ingredients ready, let’s move on to the next section where we’ll talk about the equipment you’ll need to make this delectable peach ice cream.
Equipment
To make homemade peach ice cream, you’ll need a few essential pieces of equipment:
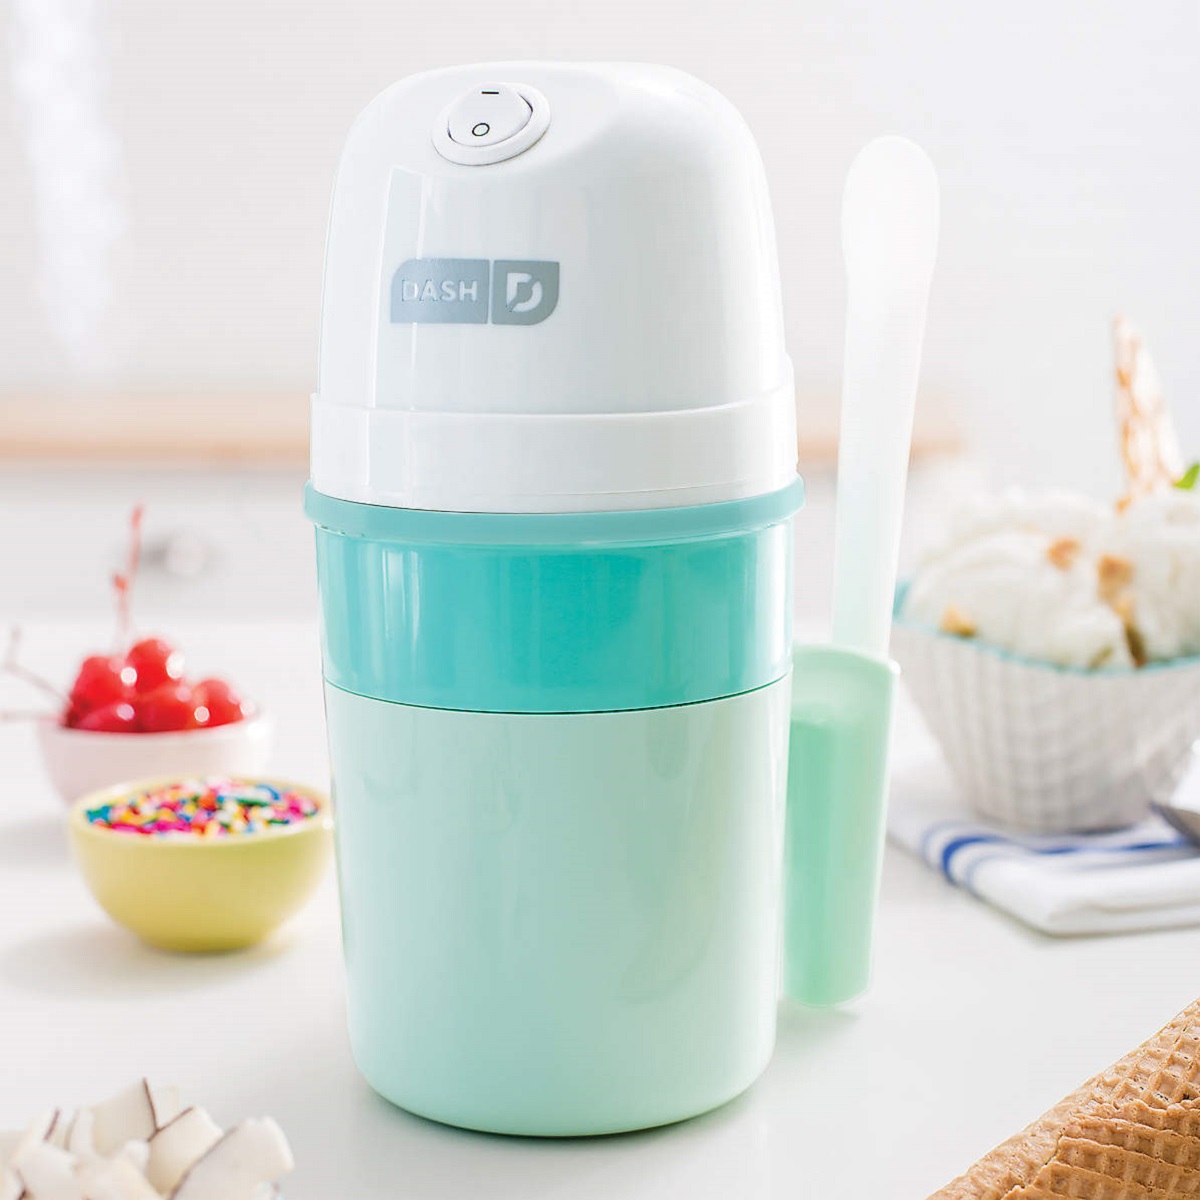
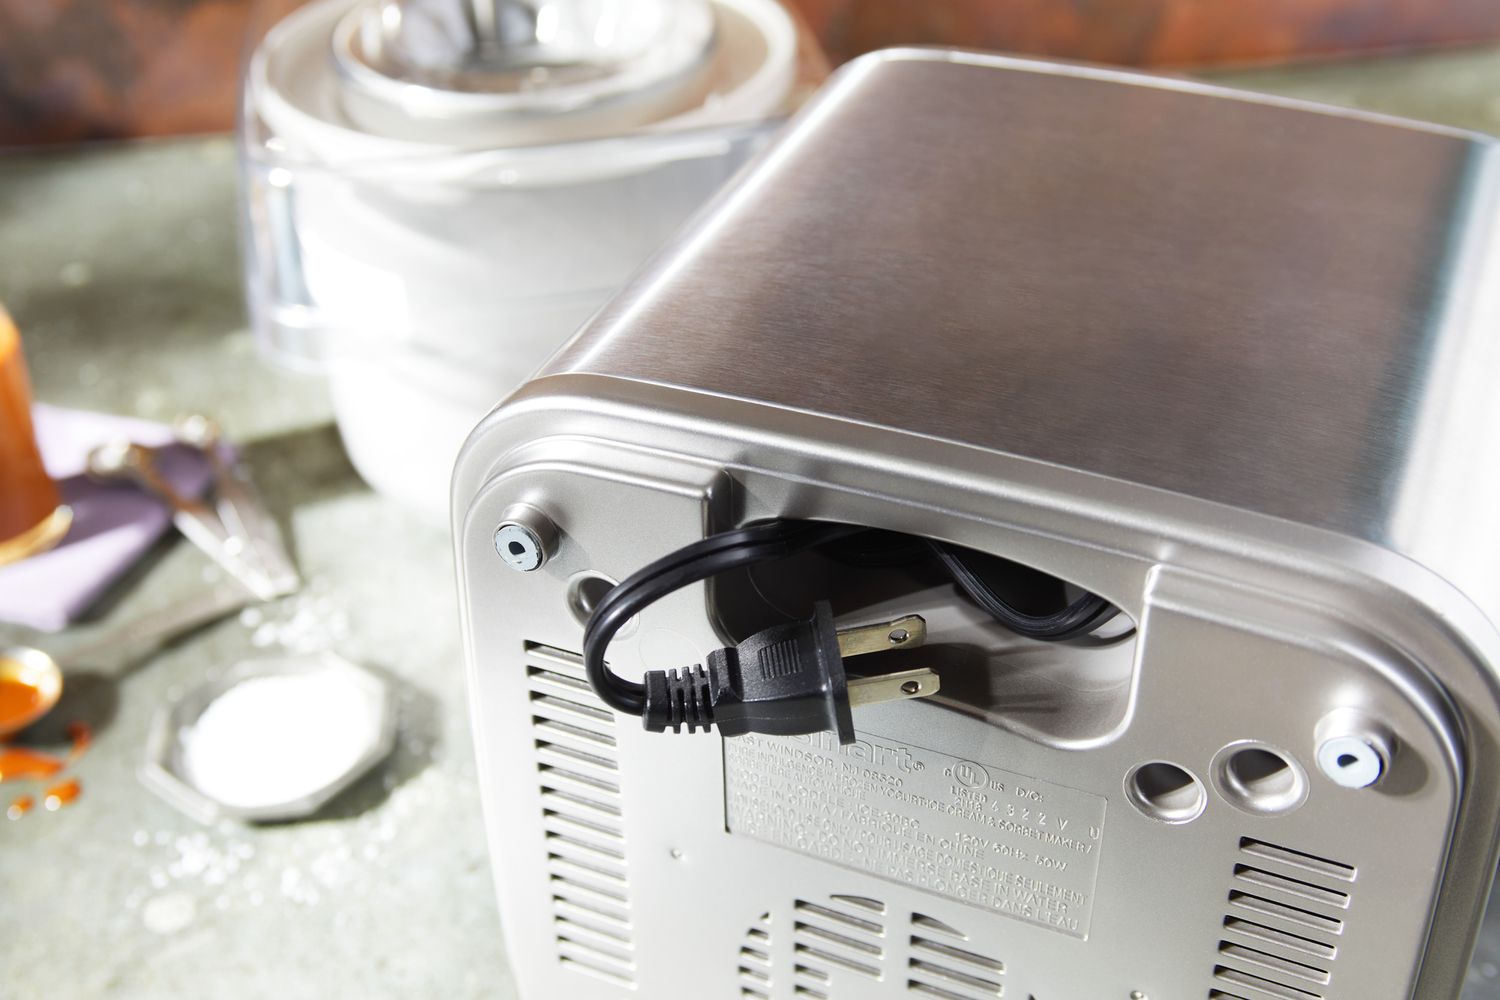
- Ice cream maker: This is the star of the show! An ice cream maker is crucial for achieving the perfect texture and consistency of your ice cream. There are various types available, including electric and manual options. Choose one that suits your needs and budget.
- Knife and cutting board: You’ll need these to slice and prepare the ripe peaches. Make sure the knife is sharp to ensure clean cuts and minimize any bruising of the fruit.
- Mixing bowls: Have a few mixing bowls on hand to combine the ingredients and prepare the ice cream base. Stainless steel or glass bowls work best for chilling the mixture in the refrigerator.
- Measuring cups and spoons: Accurate measurements are crucial for achieving the desired flavor and texture. Use measuring cups for liquids, such as the heavy cream and milk, and measuring spoons for the sugar, vanilla extract, and salt.
- Whisk or mixer: A whisk or a handheld mixer will come in handy for combining the ingredients and ensuring they are well incorporated. This step is important to create a smooth and cohesive ice cream base.
- Spatula: A rubber spatula will help you scrape down the sides of the mixing bowl and ensure you get every last bit of the ice cream mixture into the ice cream maker.
- Freezer-safe container: Once the ice cream is churned, you’ll need a container to freeze and store it. Choose a container with an airtight lid to prevent ice crystals from forming and maintain the optimal texture.
Now that you have all the necessary equipment, let’s move on to the next section where we’ll dive into the step-by-step process of making your homemade peach ice cream.
Step 1: Preparing the Peaches
Before we can incorporate the beautiful flavor of peaches into our ice cream, we need to properly prepare the fruit. Follow these steps to ensure your peaches are ready to take center stage in your homemade peach ice cream:
- Wash the peaches: Start by rinsing the peaches under cool running water to remove any dirt or impurities on the skin. Pat them dry gently with a clean towel.
- Pit and peel the peaches: Cut each peach in half and remove the pit with a knife. Then, carefully peel off the skin using either a sharp knife or a vegetable peeler. The skin should come off easily, revealing the juicy flesh underneath.
- Slice the peaches: Once the peaches are peeled, slice them into small pieces. You can make the slices as thin or as chunky as you prefer, depending on your desired texture in the ice cream.
- Macerate the peaches (optional): If you want to intensify the peach flavor, you can consider macerating the peach slices. To do this, sprinkle a tablespoon or two of granulated sugar over the sliced peaches and gently toss them. Let the peach slices sit for about 15 minutes to allow the sugar to draw out the juices and create a syrupy consistency.
Preparing the peaches is an important step as it enhances the flavor and texture of the ice cream. The juicy and ripe peach slices will infuse the ice cream base with their sweet aroma and natural taste, creating a refreshing and authentic peach flavor.
Now that the peaches are ready to be showcased in your ice cream, let’s move on to the next section where we’ll dive into the process of creating the ice cream base.
Step 2: Making the Ice Cream Base
Now that the peaches are prepared, it’s time to create the luscious ice cream base that will serve as the canvas for our peach flavor. Follow these steps to concoct the perfect base for your homemade peach ice cream:
- In a mixing bowl, combine the heavy cream, whole milk, and granulated sugar. Use a whisk or a handheld mixer to ensure the ingredients are well incorporated.
- Add the vanilla extract and salt to the mixture. Whisk again to evenly distribute the flavors.
- If you macerated the peaches in the previous step, reserve the peach syrup and set it aside for later. We will incorporate it into the ice cream base to intensify the peach flavor.
- If desired, you can add a touch of additional flavorings to the ice cream base. Suggestions include a teaspoon of almond extract for a subtle nutty undertone or a tablespoon of bourbon for a boozy twist. These optional additions will elevate the overall flavor profile of the ice cream.
The ice cream base is the foundation of your peach ice cream, providing the creamy and smooth texture that we all love. The combination of the heavy cream, whole milk, and sugar ensures a rich and indulgent base, while the vanilla extract and salt add depth and complexity to the overall flavor.
Remember, if you macerated the peaches, now’s the time to incorporate the peach syrup into the ice cream base. Pour the syrup into the mixture and gently stir it in to infuse the base with the sweet essence of the peaches.
With the ice cream base ready, we can now move on to the next step: chilling the mixture to prepare it for the churning process.
Step 3: Chilling the Mixture
Now that we have prepared the ice cream base, it’s time to chill the mixture before moving on to the churning process. Follow these steps to ensure the mixture is adequately chilled:
- Cover the mixing bowl containing the ice cream base with plastic wrap or a fitted lid.
- Place the bowl in the refrigerator and let it chill for at least 2 hours, or preferably overnight. Chilling the mixture is crucial as it allows the flavors to meld together and the base to develop a thicker consistency.
- If you used an optional flavoring or incorporated peach syrup from macerating the peaches, the chilling process will also help infuse those flavors into the ice cream base.
Chilling the mixture not only enhances the texture and flavors of the ice cream but also ensures that the mixture reaches the optimal temperature for churning in the ice cream maker.
During the chilling process, the mixture will become cool, thick, and more viscous, which will result in a smoother and creamier ice cream texture. The longer you can chill the mixture, the better the results will be.
Once the mixture has chilled for the recommended time, it’s time to move on to the exciting part: churning the ice cream and incorporating the peach mixture to create the final product.
Step 4: Churning the Ice Cream
Now that your ice cream base is thoroughly chilled, it’s time to churn it in the ice cream maker. This step will transform the mixture into a velvety-smooth and creamy texture that is characteristic of delicious homemade ice cream. Follow these steps to churn your peach ice cream:
- Retrieve your ice cream maker and assemble it according to the manufacturer’s instructions. Make sure that the freezing bowl is properly frozen and ready for use.
- Pour the chilled ice cream base into the ice cream maker’s freezing bowl. It’s important not to overfill the bowl, as the mixture will expand during the churning process.
- Turn on the ice cream maker and let it run for the recommended time, usually around 20-30 minutes. The machine will churn the mixture, incorporating air and creating a smooth and creamy consistency.
- While the ice cream is churning, you can prepare the peach mixture. Take the peach slices we prepared earlier and gently mash them with a fork or potato masher. You can choose to leave some larger chunks of peach for added texture.
- If desired, you can add a touch of lemon juice to the peach mixture to enhance the natural tartness and brighten the flavors.
- During the last few minutes of churning, gradually add the peach mixture into the ice cream maker. The machine will incorporate the peaches into the ice cream, distributing the fruit throughout for a deliciously fruity final product.
Churning the ice cream aerates the mixture, giving it a lighter and smoother mouthfeel. The result is a creamy and dreamy texture that will melt in your mouth.
By incorporating the peach mixture towards the end of the churning process, we ensure that the peaches are evenly distributed throughout the ice cream, creating a delightful burst of sweet and tangy flavor in every spoonful.
Once the churning is complete, it’s time to move on to the next step: freezing the ice cream to fully set and develop its marvelous flavor.
Step 5: Incorporating the Peach Mixture
Now that your ice cream has been churned to a creamy and luxurious texture, it’s time to incorporate the peach mixture to infuse it with the vibrant flavors of fresh peaches. Follow these steps to seamlessly integrate the peach goodness into your ice cream:
- Retrieve a freezer-safe container with an airtight lid to store your ice cream.
- Spoon a layer of churned ice cream into the container, ensuring it covers the bottom evenly.
- Take the mashed peach mixture we prepared earlier and add a generous portion on top of the ice cream layer.
- Use a spatula or a spoon to gently swirl the peach mixture into the ice cream. Avoid overmixing to preserve the marbled effect, allowing bursts of peach flavor to surprise your taste buds.
- Repeat the process of layering the ice cream and peach mixture until you have used up all the ingredients, finishing with a final layer of ice cream on top.
Incorporating the peach mixture in layers creates a beautiful marbled effect, visually adding depth and dimension to your homemade peach ice cream.
The swirling of the peach mixture into the ice cream ensures that every bite is infused with the delectable taste of fresh peaches, creating a harmonious blend of flavors in each spoonful.
Once you have successfully incorporated the peach mixture, it’s time to move on to the final step: freezing the ice cream to achieve the perfect scoopable consistency.
Step 6: Freezing the Ice Cream
After incorporating the peach mixture into your homemade ice cream, it’s time to freeze it to achieve that perfect, scoopable consistency. Follow these steps to ensure your ice cream freezes to perfection:
- Place the lid on your freezer-safe container, ensuring it is sealed tightly to prevent any air or moisture from entering.
- Transfer the container to the freezer and let it freeze for a minimum of 4 hours, but preferably overnight. Freezing the ice cream allows it to set completely, resulting in a firm but creamy texture.
- Ensure that your freezer temperature is set to a consistent and cold level to properly freeze the ice cream without forming ice crystals.
- While it may be tempting, try to resist opening the freezer too frequently during the freezing process. This can cause temperature fluctuations, affecting the final texture of the ice cream.
- Allow the ice cream to freeze undisturbed, giving it ample time to solidify and develop its flavors.
The freezing process is essential for transforming your concoction into a delightful scoopable treat. As the ice cream freezes, it becomes solid but still retains its creamy and smooth mouthfeel.
During the freezing period, the flavors meld together, intensifying and enhancing the overall taste of the peach ice cream. This resting time allows the ice cream base to solidify, creating a stable structure that holds the swirls of peach goodness within.
Now that your ice cream is in the freezer, it’s time for the sweet anticipation to build. As it freezes, the flavors will continue to develop, resulting in a perfectly balanced and delicious homemade peach ice cream.
Step 7: Serving and Enjoying
Congratulations! Your homemade peach ice cream is now ready to be served and enjoyed. Follow these steps to savor the fruits of your labor:
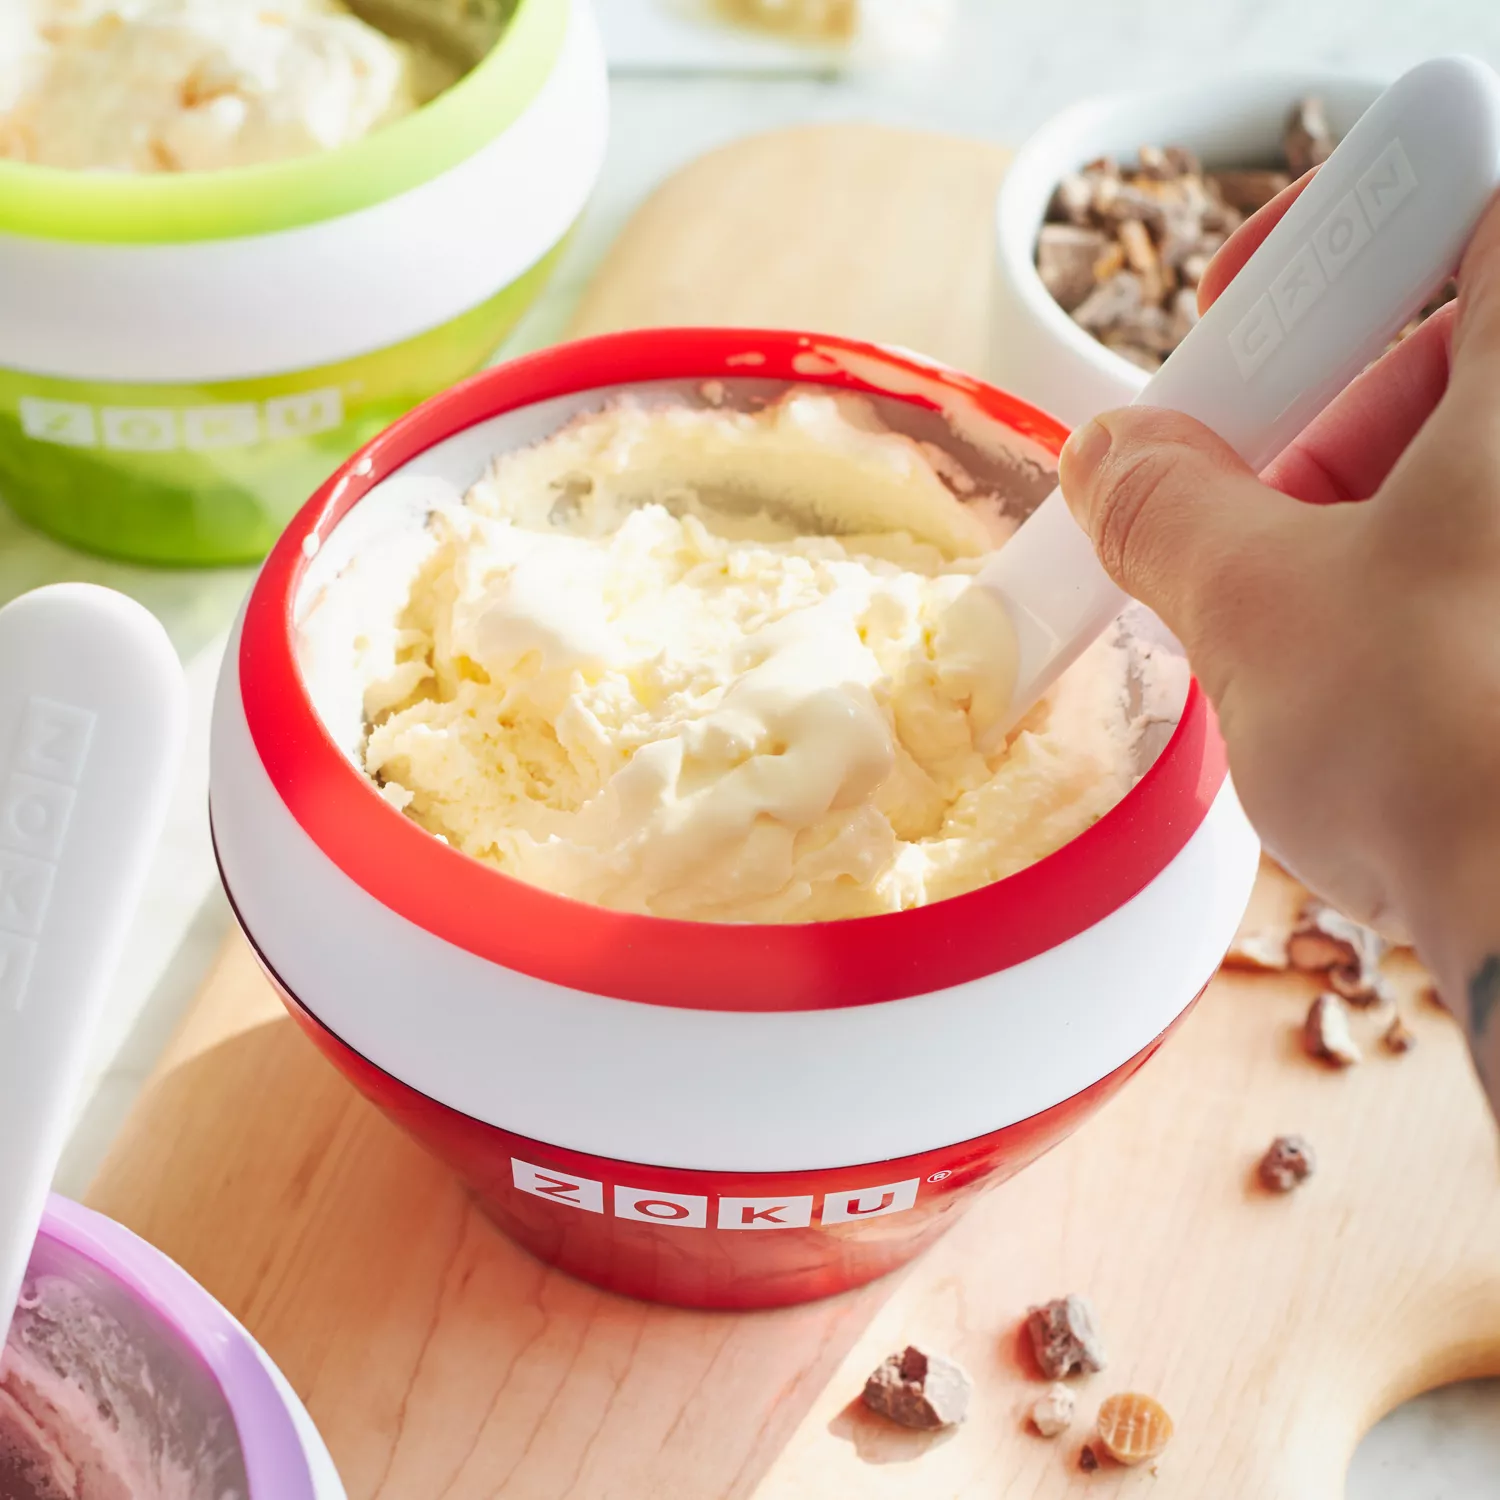
- Remove the container of ice cream from the freezer and let it sit at room temperature for a few minutes to soften slightly. This makes scooping easier and ensures a smooth and creamy texture.
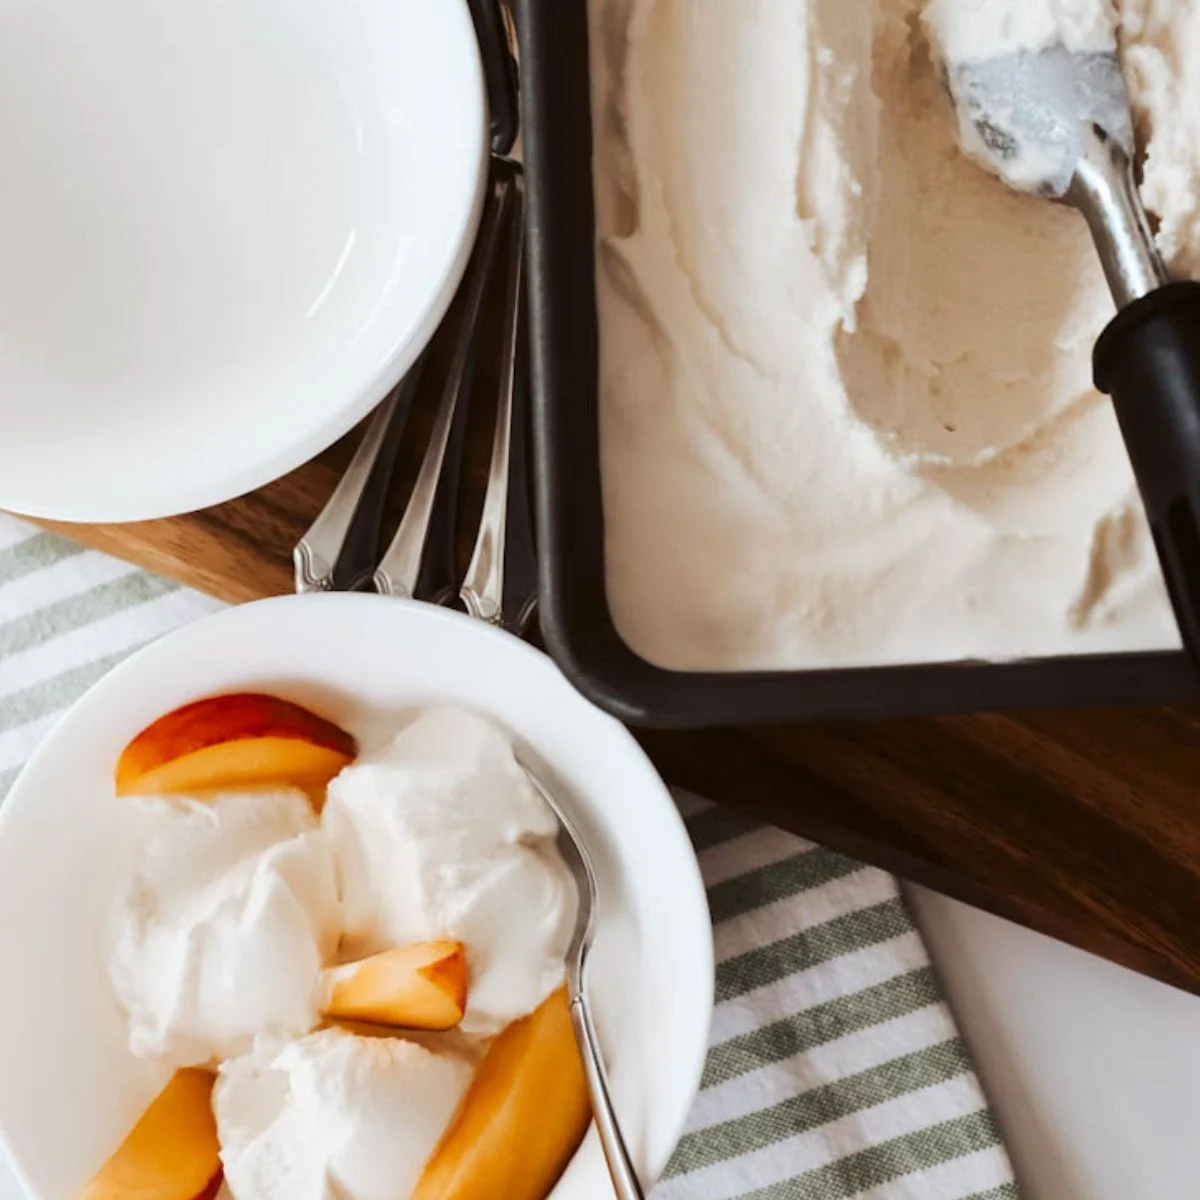
- Using an ice cream scoop or a spoon, portion out generous scoops of the peach ice cream into bowls or cones.
- If desired, you can garnish each serving with a fresh peach slice or a sprinkle of crushed cookies for added texture and visual appeal.
- Invite your friends, family, or yourself to indulge in the deliciousness of your homemade peach ice cream. Enjoy the refreshing and delightful flavors that the ripe peaches bring to each spoonful.
- Remember to store any remaining ice cream in the freezer, ensuring it is securely covered to maintain its texture and flavors.
The moment has arrived to relish your hard work and creativity. Each spoonful of your homemade peach ice cream will transport you to a paradise of sweet, tangy, and refreshing flavors.
Whether enjoyed on a sunny afternoon, as a dessert after a satisfying meal, or as a treat for a special occasion, this homemade peach ice cream is sure to bring smiles and delight to all who partake.
So, grab your spoon and savor the bliss of your homemade creation. You’ve successfully mastered the art of making peach ice cream, and now it’s time to enjoy the fruits of your labor!