Introduction
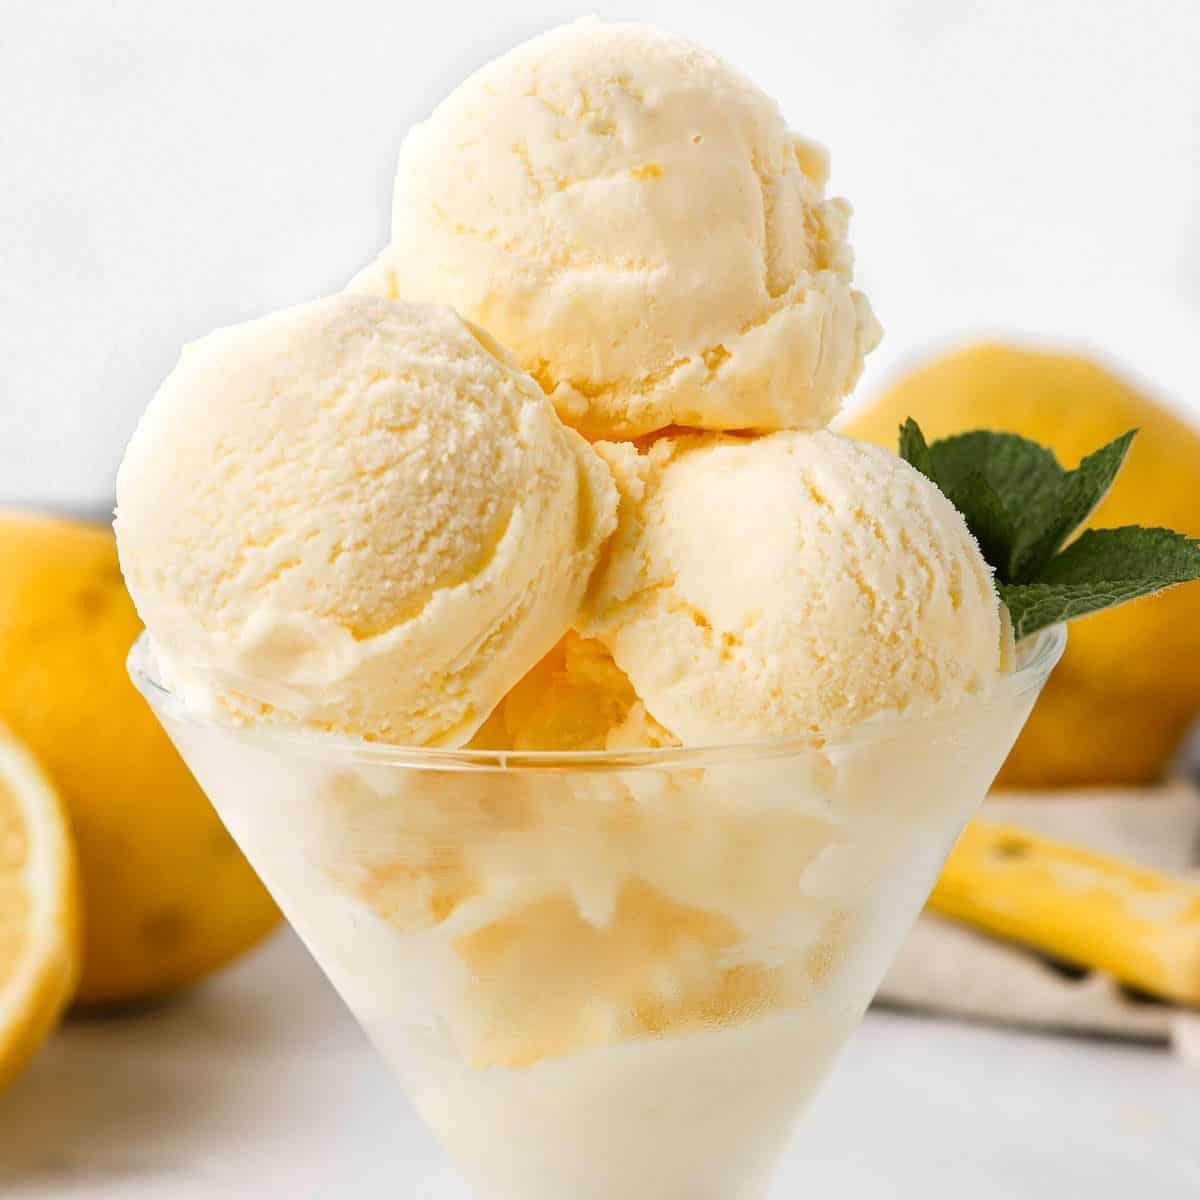
Welcome to our easy and delicious recipe for homemade lemon ice cream! If you’re a fan of the zesty and refreshing taste of lemons, then this recipe is perfect for you. Whether it’s a hot summer day or you’re simply craving something sweet and tangy, this lemon ice cream will surely hit the spot.
Unlike traditional ice cream recipes that require an ice cream maker, our method is simple and doesn’t require any special equipment. With just a few ingredients and minimal preparation, you’ll have a creamy and refreshing lemon ice cream that rivals any store-bought version.
Our recipe starts with making a luscious lemon curd, which forms the base of our ice cream. The lemon curd adds a wonderful tang and creaminess to the ice cream, giving it that classic lemon flavor that we all love. Once the lemon curd is ready, we’ll combine it with some additional ingredients to create the perfect ice cream base.
Don’t worry if you’ve never made homemade ice cream before. Our step-by-step instructions will guide you through the process, making it easy for even beginners to achieve fantastic results. In just a few hours, you’ll have a batch of smooth and creamy lemon ice cream that will impress your family and friends.
So, gather your ingredients and get ready to embark on a culinary adventure. Get ready to experience the delightful combination of sweet and tangy flavors in every spoonful of this homemade lemon ice cream. Let’s get started!
Ingredients
To make this easy lemon ice cream, you’ll need the following ingredients:
- 2/3 cup fresh lemon juice (about 4-5 lemons)
- 1 tablespoon lemon zest
- 1 cup granulated sugar
- 4 large eggs
- 2 cups heavy whipping cream
- 1 cup whole milk
- 1 teaspoon vanilla extract
These simple ingredients are readily available and will come together to create a velvety smooth and flavorful lemon ice cream.
When selecting lemons for this recipe, it’s important to choose ones that are ripe and juicy. The fresh lemon juice and zest will provide that vibrant citrus flavor that makes this ice cream so delicious.
For the eggs, opt for large eggs to ensure a good custard consistency. The eggs will help give the ice cream a creamy texture while adding richness to the flavor profile.
The combination of heavy whipping cream and whole milk will contribute to the creaminess of the ice cream. If you prefer a lighter version, you can use a lower-fat milk, but keep in mind that it may affect the overall texture.
Lastly, vanilla extract will add a subtle depth of flavor to the ice cream, enhancing the overall taste.
Now that we have our ingredients ready, let’s move on to the step-by-step process of making this delightful lemon ice cream.
Step 1: Making the Lemon Curd
The first step in preparing our homemade lemon ice cream is making the lemon curd. This tangy and flavorful base will give our ice cream its signature lemony taste.
To make the lemon curd, start by juicing and zesting your lemons. You’ll need about 2/3 cup of fresh lemon juice, which is usually obtained from 4-5 lemons. In a small saucepan, combine the lemon juice, lemon zest, and granulated sugar. Heat the mixture over medium heat, stirring constantly until the sugar has dissolved.
In a separate bowl, beat the eggs until well combined. Gradually pour the hot lemon mixture into the beaten eggs while whisking continuously. This step is called tempering and ensures that the eggs don’t curdle when added to the hot liquid. Return the mixture back to the saucepan.
Continue cooking the mixture over medium heat, stirring constantly until it thickens and coats the back of a spoon. This usually takes about 5-7 minutes. Be careful not to let it boil or the eggs can scramble.
Once the lemon curd has thickened, remove it from the heat and strain it through a fine mesh sieve into a clean bowl. This will remove any lumps or bits of cooked egg, resulting in a smooth and velvety lemon curd.
Cover the bowl with plastic wrap, making sure the wrap touches the surface of the curd to prevent a skin from forming. Refrigerate the lemon curd for at least 4 hours or until chilled and set.
Now that our lemon curd is ready, it’s time to move on to the next step and prepare the lemon ice cream base.
Step 2: Preparing the Lemon Ice Cream Base
With the lemon curd chilled and ready, let’s move on to preparing the lemon ice cream base. This step will bring all the ingredients together to create a smooth and creamy mixture that will later be churned into the perfect ice cream.
In a large mixing bowl, combine the chilled lemon curd, heavy whipping cream, whole milk, and vanilla extract. Use a whisk or an electric mixer on low speed to blend everything together until well combined. You want to ensure that all the ingredients are evenly incorporated.
Continue whisking or mixing until the mixture is smooth and creamy. This should take just a few minutes. Make sure there are no visible lumps of lemon curd or any separation of ingredients.
If you prefer a more intense lemon flavor, you can add additional lemon zest at this stage and gently mix it in.
Once the lemon ice cream base is well mixed, cover the bowl with plastic wrap or a lid and place it in the refrigerator. Allow the mixture to chill for at least 2 hours. Chilling the base will help it develop a richer flavor and make it easier to churn later on.
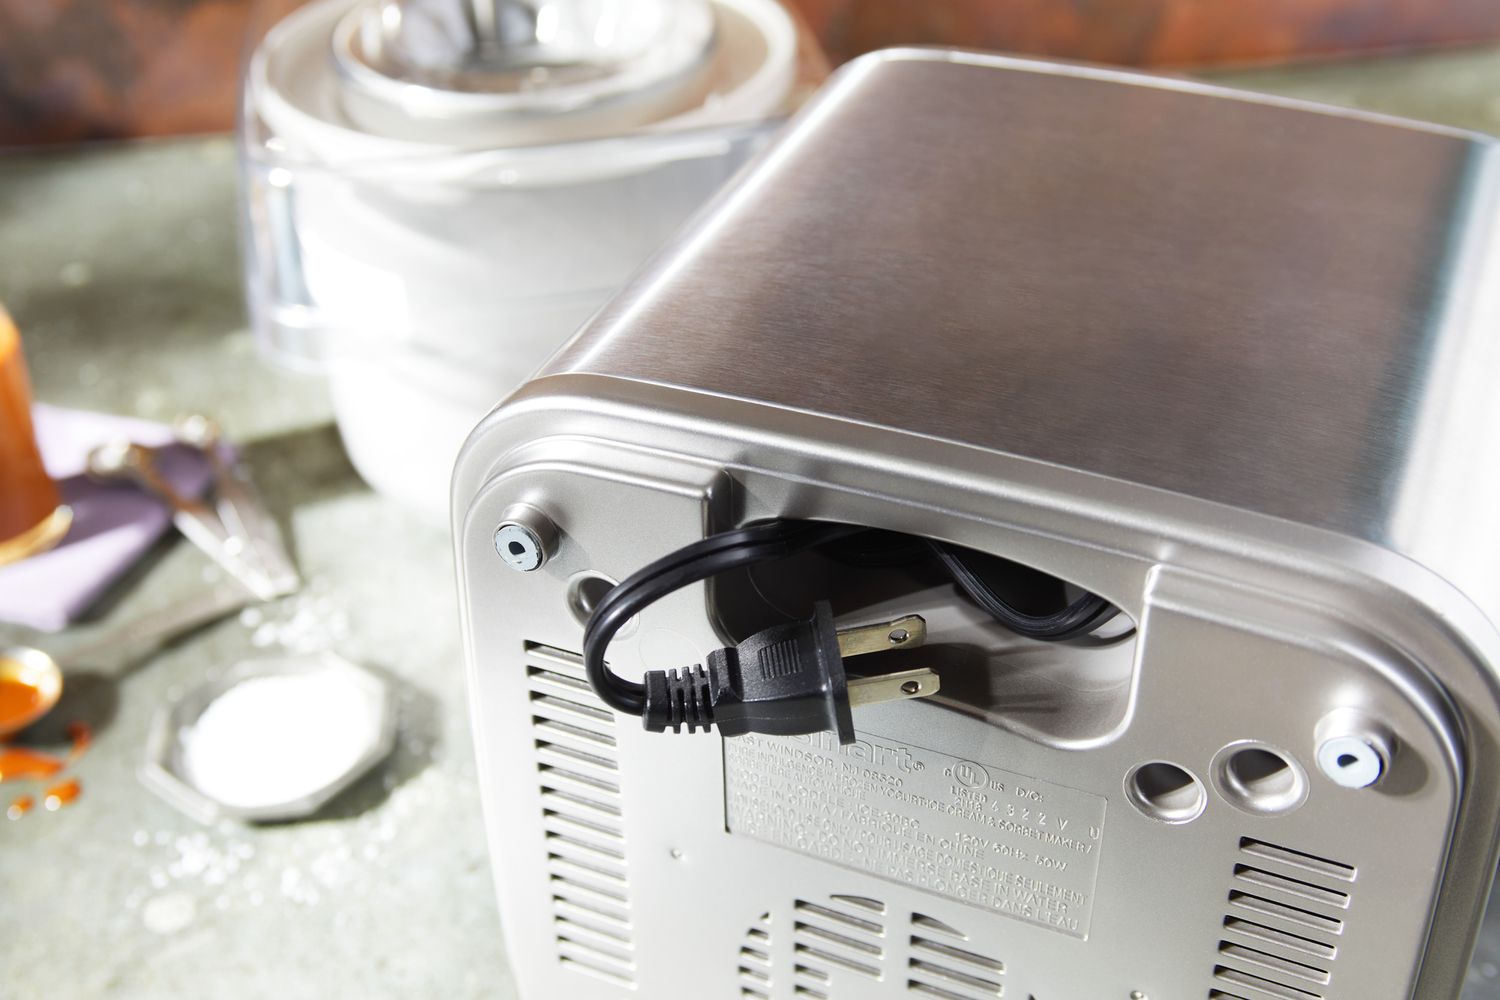
While the lemon ice cream base is chilling, it’s a good time to set up your ice cream maker according to its instructions. Ensure that the freezer bowl is properly frozen, as this is essential for achieving a creamy consistency during the churning process.
After the base has been chilled and the ice cream maker is ready, it’s time to move on to the next step: churning the ice cream.
Step 3: Churning the Ice Cream
Now that the lemon ice cream base has been chilled and your ice cream maker is ready, it’s time to move on to the exciting step of churning the ice cream. This process will transform the creamy mixture into a smooth and delicious frozen treat.
Start by taking the chilled lemon ice cream base out of the refrigerator. Give it a gentle stir to make sure the ingredients are well combined. Carefully pour the mixture into the frozen freezer bowl of your ice cream maker.
Secure the lid of the ice cream maker and turn it on. Let the machine churn the ice cream for about 20-25 minutes or until it reaches a soft-serve consistency. During this time, the mixture will start to freeze and thicken, incorporating air into the ice cream and giving it a light and fluffy texture.
As the ice cream churns, you can take this opportunity to add any mix-ins or additional flavors. For example, you can fold in some crushed graham crackers or swirl in a homemade raspberry sauce to create a tangy twist.
Once the ice cream has reached the desired consistency, it’s important to transfer it to a freezer-safe container immediately. This will prevent it from melting and losing its texture. Use a rubber spatula to carefully scrape the churned ice cream into the container, making sure to smooth the top.
Cover the container with a lid or plastic wrap, making sure it is airtight. Place the container in the freezer and allow the lemon ice cream to harden for at least 4-6 hours, or overnight for the best results.
Now that you’ve completed the churning process, you’re one step closer to enjoying a bowlful of homemade lemon ice cream. All that’s left is the final step: freezing and storing the ice cream.
Step 4: Freezing and Storing the Ice Cream
Congratulations! You’ve successfully churned your homemade lemon ice cream. Now it’s time to freeze and store it to ensure that it stays fresh and ready to enjoy whenever a craving strikes.
After removing the churned ice cream from the ice cream maker, transfer it into a freezer-safe container with a tight-fitting lid. Using a container with a lid will provide a protective seal and prevent ice crystals from forming.
Smooth the surface of the ice cream with a spatula to create an even layer. This will help maintain the desired texture and make scooping easier when it’s time to serve.
Once the ice cream is in the container, place the lid securely on top. Make sure it is snug to prevent any air from entering, which can lead to freezer burn.
Now, place the container in the freezer and allow the ice cream to freeze for a minimum of 4-6 hours. However, for the best texture and flavor, it’s recommended to let it freeze overnight.
During the freezing process, it’s important to keep the ice cream as undisturbed as possible. Avoid opening the freezer door too frequently, as this can cause fluctuations in temperature and affect the quality of the ice cream.
When you’re ready to enjoy a scoop of your homemade lemon ice cream, simply remove the container from the freezer and let it sit on the counter for a few minutes to soften slightly. This will make scooping easier and ensure a smooth, creamy texture.
Once you’ve enjoyed your ice cream, be sure to return any leftovers to the freezer promptly. Remember to store it in an airtight container to prevent exposure to air and odors.
With proper storing and handling, your homemade lemon ice cream can last up to a few weeks. However, it’s unlikely it will stay uneaten for that long!
Now that you know how to freeze and store your delicious creation, you can confidently make a batch of lemon ice cream anytime you’re in the mood for a refreshing and tangy treat.
Conclusion
Congratulations on making your own homemade lemon ice cream! By following our easy step-by-step guide, you’ve created a creamy and refreshing treat that is bursting with tangy lemon flavor.
With just a few simple ingredients and some patience, you’ve created a delicious dessert that rivals any store-bought version. The process of making the lemon curd, preparing the ice cream base, churning it to perfection, and finally freezing and storing it has resulted in a delightful homemade treat that is sure to impress.
Remember, the key to achieving the best results is using fresh lemons to extract the juice and zest, as they will provide the vibrant citrus flavor that makes this ice cream so irresistible. Furthermore, ensure that you properly chill the lemon curd and ice cream base before churning to produce the smoothest texture.
Now that you’ve mastered the art of making lemon ice cream, feel free to get creative with your flavors. You can experiment with different mix-ins, such as crushed cookies or swirls of fruit sauce, to add extra layers of texture and taste.
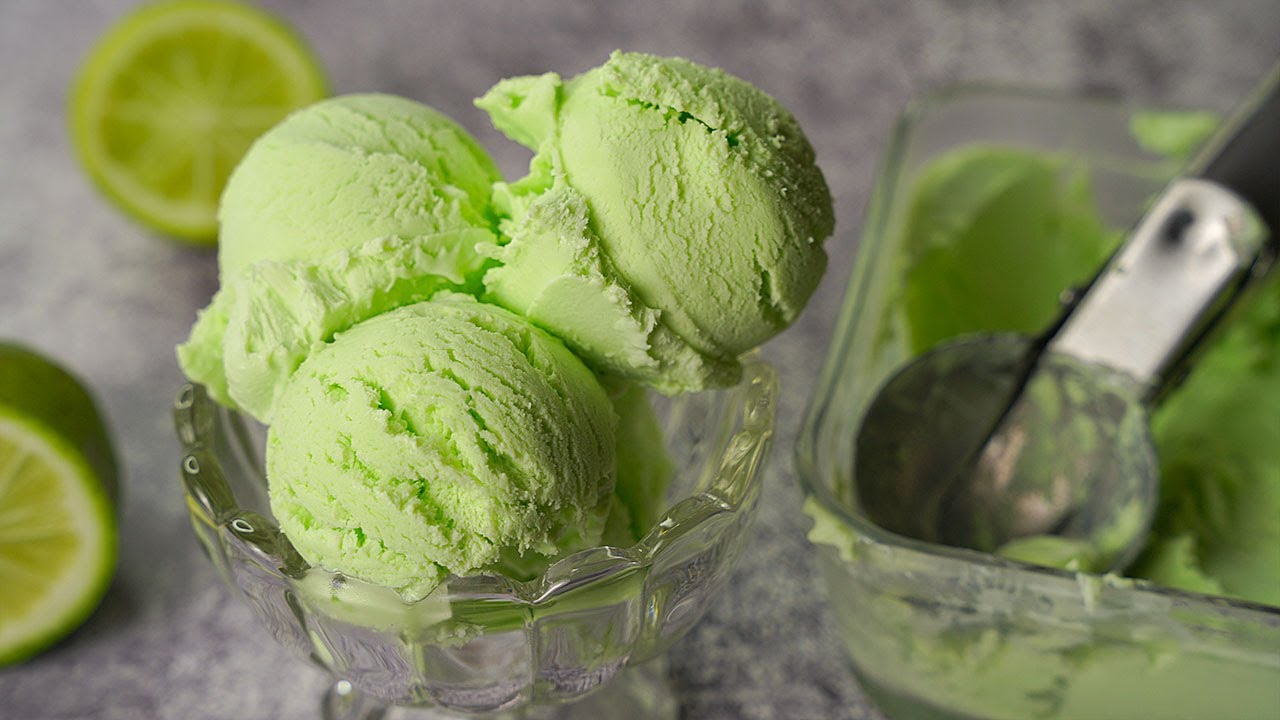
Whether you’re enjoying a scoop on a hot summer day or indulging in a sweet treat after a long day, this homemade lemon ice cream is sure to hit the spot. Share it with family and friends or savor it all for yourself – you deserve it!
We hope you’ve enjoyed this journey of creating your own lemony frozen delight. Now, go ahead, grab a bowl, and savor every spoonful of your homemade lemon ice cream. Happy indulging!