Introduction
Welcome to the delightful world of homemade ice cream! There’s something incredibly satisfying about creating your own frozen treats, and today we’re going to show you how to make a delicious batch of homemade peach ice cream using an ice cream maker. This creamy and fruity dessert is perfect for those hot summer days or anytime you’re craving a refreshing and sweet treat.
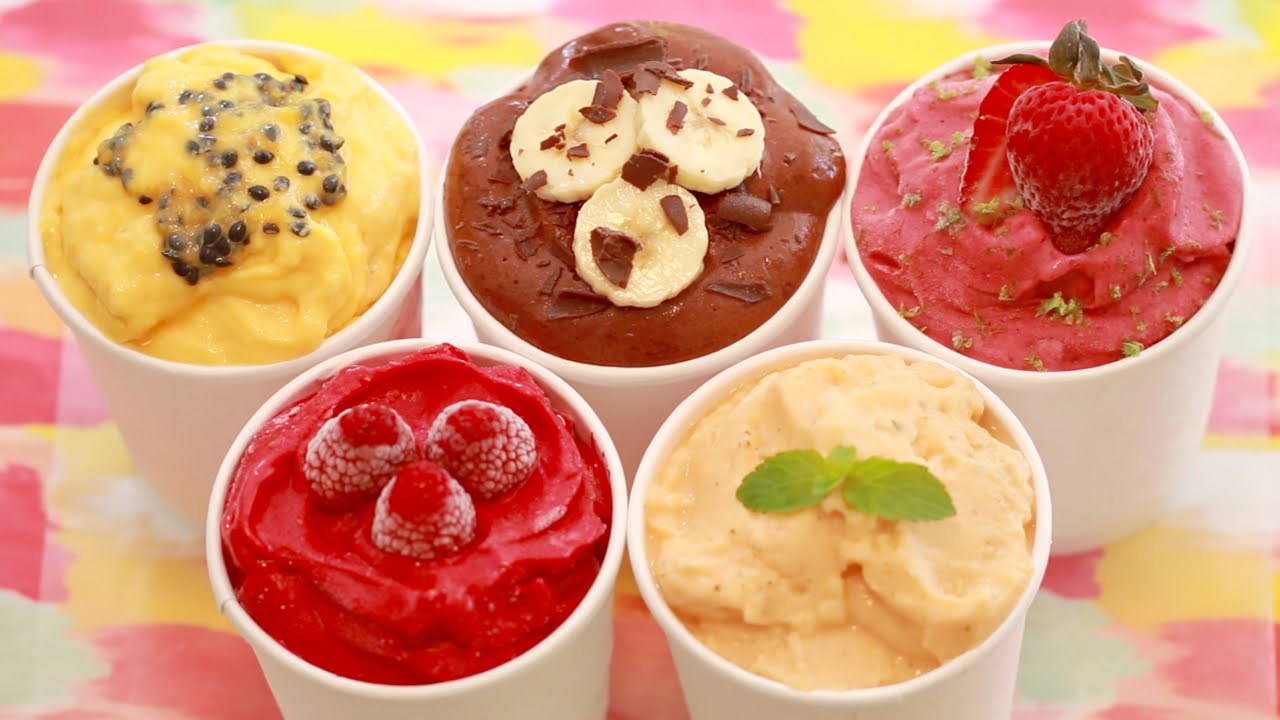
Making ice cream from scratch allows you to fully customize the flavors and ingredients, ensuring a truly unique and mouthwatering experience. When it comes to peach ice cream, the natural sweetness and vibrant flavors of fresh peaches truly shine. By using an ice cream maker, you can achieve a smooth and creamy texture that is simply irresistible. So, let’s dive in and learn how to turn a simple peach into a sensational frozen delight!
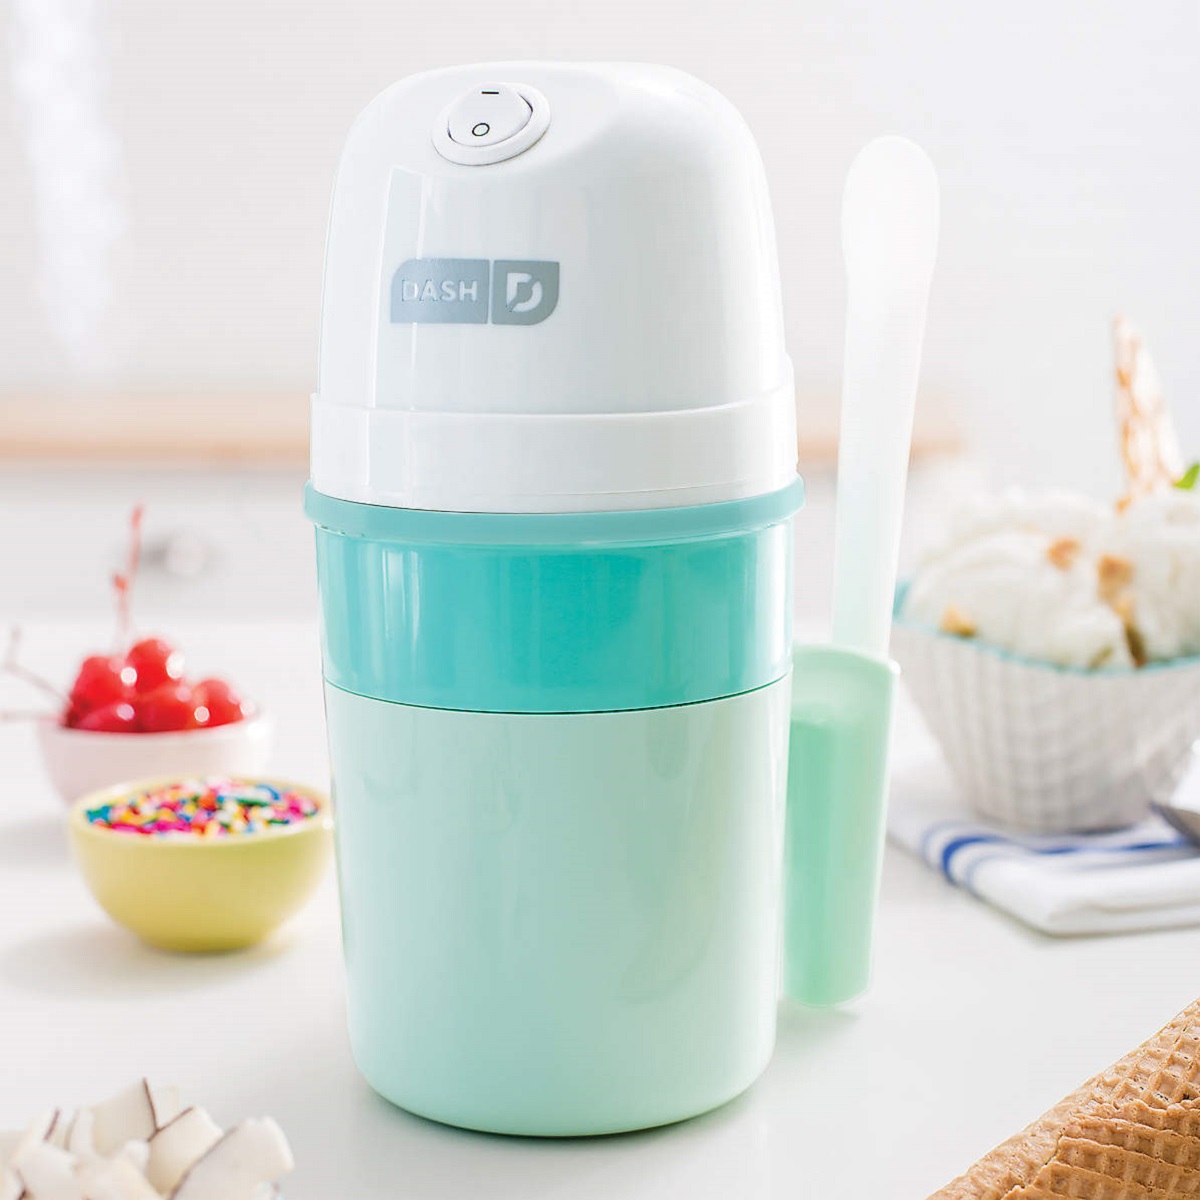
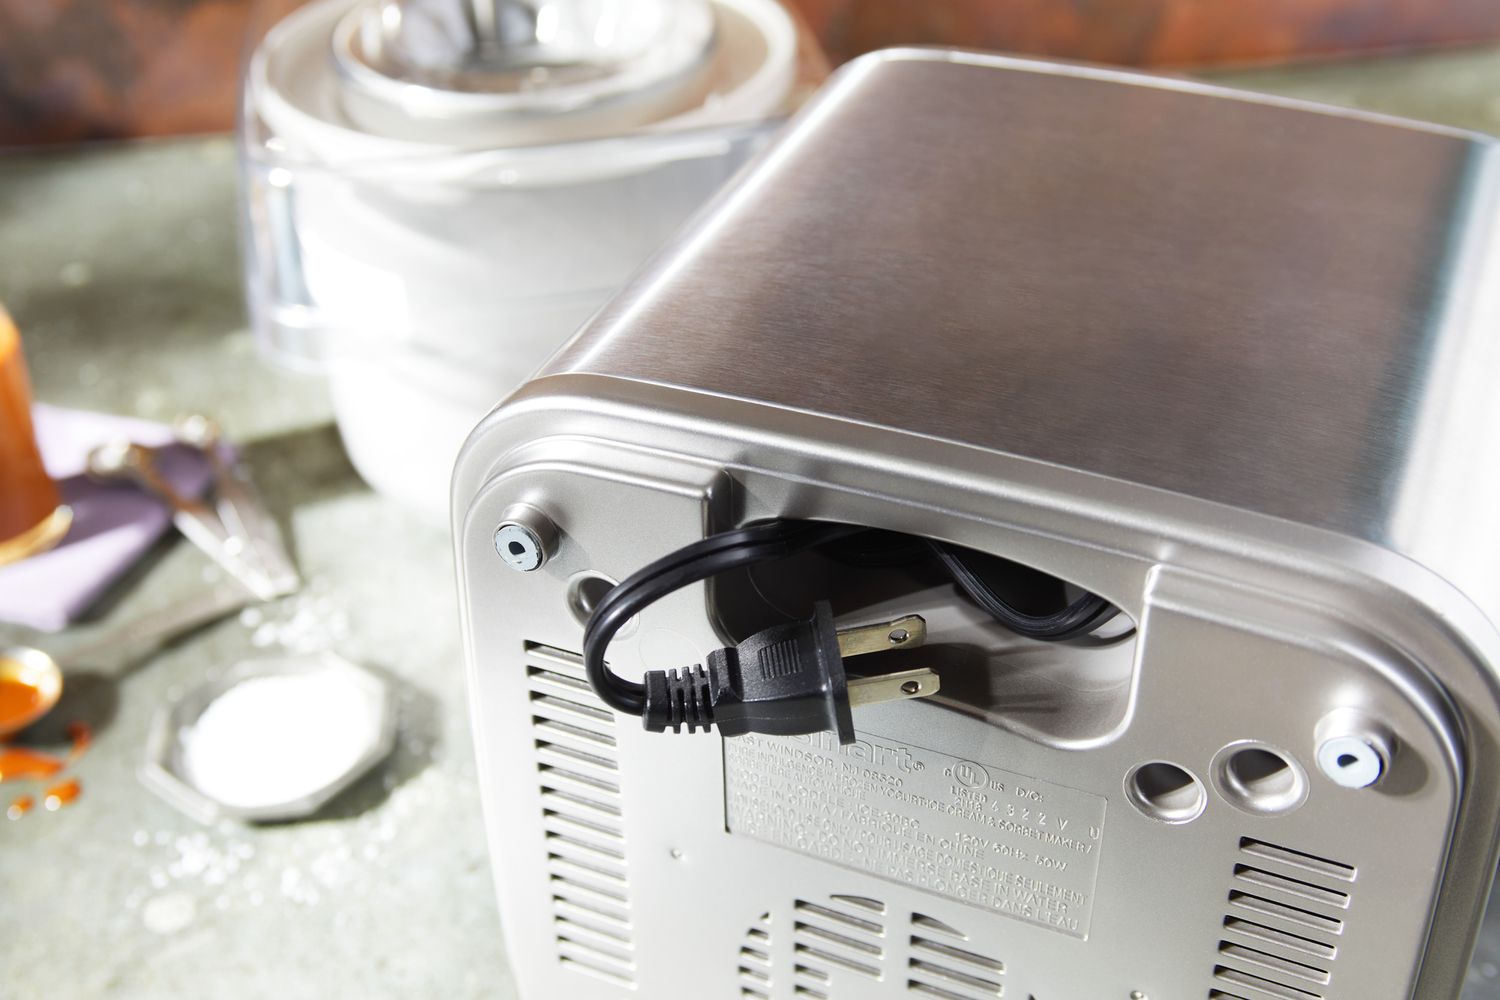
Before we begin, you’ll need to gather a few key ingredients and ensure you have an ice cream maker on hand. Don’t worry if you don’t own one yet! Ice cream makers are widely available and come in a range of prices to suit different budgets. Once you have everything you need, we can get started on our journey to homemade peach ice cream perfection.
Preparing the Ingredients
Before delving into the process of making homemade peach ice cream, it’s essential to gather and prepare all the necessary ingredients. Here’s what you’ll need:
- 4 to 5 ripe peaches
- 1 cup of granulated sugar
- 2 cups of heavy cream
- 1 cup of whole milk
- 1 teaspoon of pure vanilla extract
- A pinch of salt
To begin, wash the peaches thoroughly under running water. Next, remove the skins by blanching the peaches in boiling water for about 30 seconds, then immediately transferring them to a bowl of ice water. The skins should easily peel off after this process. Slice the peaches in half, remove the pits, and chop them into small, bite-sized pieces.
After preparing the peaches, it’s time to whip up the ice cream base. In a mixing bowl, combine the heavy cream, whole milk, granulated sugar, vanilla extract, and a pinch of salt. Stir the mixture until the sugar dissolves completely. You can adjust the sweetness level by adding more or less sugar, depending on your preference and the natural sweetness of the peaches.
Once the base is ready, add the chopped peaches to the mixture, ensuring they are evenly distributed. Gently fold the peaches into the base, being careful not to overmix as this can break down the fruit and affect the final texture of the ice cream.
Now that you have prepared your ingredients, you’re ready to move on to the next step: making the peach puree, which will add an extra burst of fruity goodness to your homemade ice cream.
Making the Peach Puree
Creating a smooth and flavorful peach puree is a crucial step in making homemade peach ice cream. The puree adds concentrated peach flavor throughout the ice cream, giving it a delightful burst of fruity goodness in every bite. Here’s how you can make the peach puree:
- Take a portion of the chopped peaches from the previous step and transfer them to a blender or food processor. The amount of peaches you use for the puree depends on your preference. For a more intense peach flavor, use a larger quantity.
- Add a small amount of sugar, about 1 to 2 tablespoons, to enhance the sweetness of the puree. The sugar helps draw out the juices from the peaches and intensifies their natural flavors.
- Puree the mixture until smooth and silky. You may need to stop the blender and scrape down the sides with a spatula to ensure all the peaches are fully blended.
- Once the puree is smooth and free of any lumps, it’s ready to be incorporated into the ice cream base.
Adding the peach puree to the ice cream base lends a vibrant color and concentrated flavor to the final product. It’s important to note that if you prefer small chunks of peach in your ice cream, you can skip the pureeing step and fold the chopped peaches directly into the base. This will result in a more textured ice cream with tasty peach bits throughout.
Now that you’ve made the peach puree, it’s time to combine it with the ice cream base and move on to the next step of the process: creating the perfect ice cream base.
Creating the Ice Cream Base
The ice cream base is the foundation of any great ice cream, and getting it just right is key to achieving that creamy and indulgent texture we all love. Here’s how you can create the perfect ice cream base for your homemade peach ice cream:
- Take the prepared ice cream base mixture and pour it into a saucepan.
- Place the saucepan over medium heat and cook the mixture, stirring constantly, until it reaches a temperature of around 170°F (77°C). This process is known as pasteurization and helps ensure the safety of the ice cream by eliminating any potential bacteria.
- Once the mixture has reached the desired temperature, remove it from the heat and let it cool for a few minutes.
- In a separate bowl, prepare an ice bath by filling it halfway with ice cubes and cold water.
- Place the saucepan containing the ice cream base into the ice bath, ensuring the water level is high enough to reach the same level as the base mixture. This helps cool the base rapidly and prevent any further cooking.
- Stir the base occasionally as it cools, ensuring it remains smooth and well combined.
- Once the base has cooled to room temperature, cover it with plastic wrap and refrigerate for at least 4 hours, or ideally overnight.
This process allows the flavors in the base to meld together while also giving the mixture time to chill thoroughly. Chilling the base is essential for the ice cream maker to work effectively, as cold mixtures freeze more quickly and result in a smoother texture. Now that your ice cream base is ready, the next step is to freeze it and transform it into the luscious peach ice cream of your dreams!
Chilling the Ice Cream Base
After creating the ice cream base, it’s important to give it time to chill thoroughly before moving on to the next step. Chilling the base allows the flavors to meld together and ensures a smoother texture once it goes into the ice cream maker. Here’s how to properly chill your ice cream base:
- Once you’ve completed the ice cream base, transfer it to a container with a tight-fitting lid or cover it well with plastic wrap.
- Place the container in the refrigerator and let the base chill for at least 4 hours, or ideally overnight. This extended period allows the flavors to develop and intensify.
- During the chilling process, it’s normal for the base to thicken slightly. The colder temperature helps set the mixture and prepares it for the freezing stage.
- Make sure to keep the base completely undisturbed while it chills. Avoid stirring or agitating the mixture, as this can affect the smoothness and texture of the final ice cream.
Chilling the base not only enhances the flavor but also ensures that the ice cream freezes properly in the next step. The colder the base, the quicker it will freeze, resulting in a smoother consistency with fewer ice crystals.
Once the base has thoroughly chilled, you’re now ready to move on to the exciting part: freezing it in your ice cream maker! Get ready to witness the transformation as your chilled ice cream base turns into a creamy and irresistible peach ice cream.
Freezing the Ice Cream
Now that your ice cream base has been properly chilled, it’s time to transform it into a delectable frozen treat. The process of freezing the ice cream is where the magic happens, and your ice cream maker will play a crucial role. Follow these steps to achieve the perfect texture and consistency for your homemade peach ice cream:
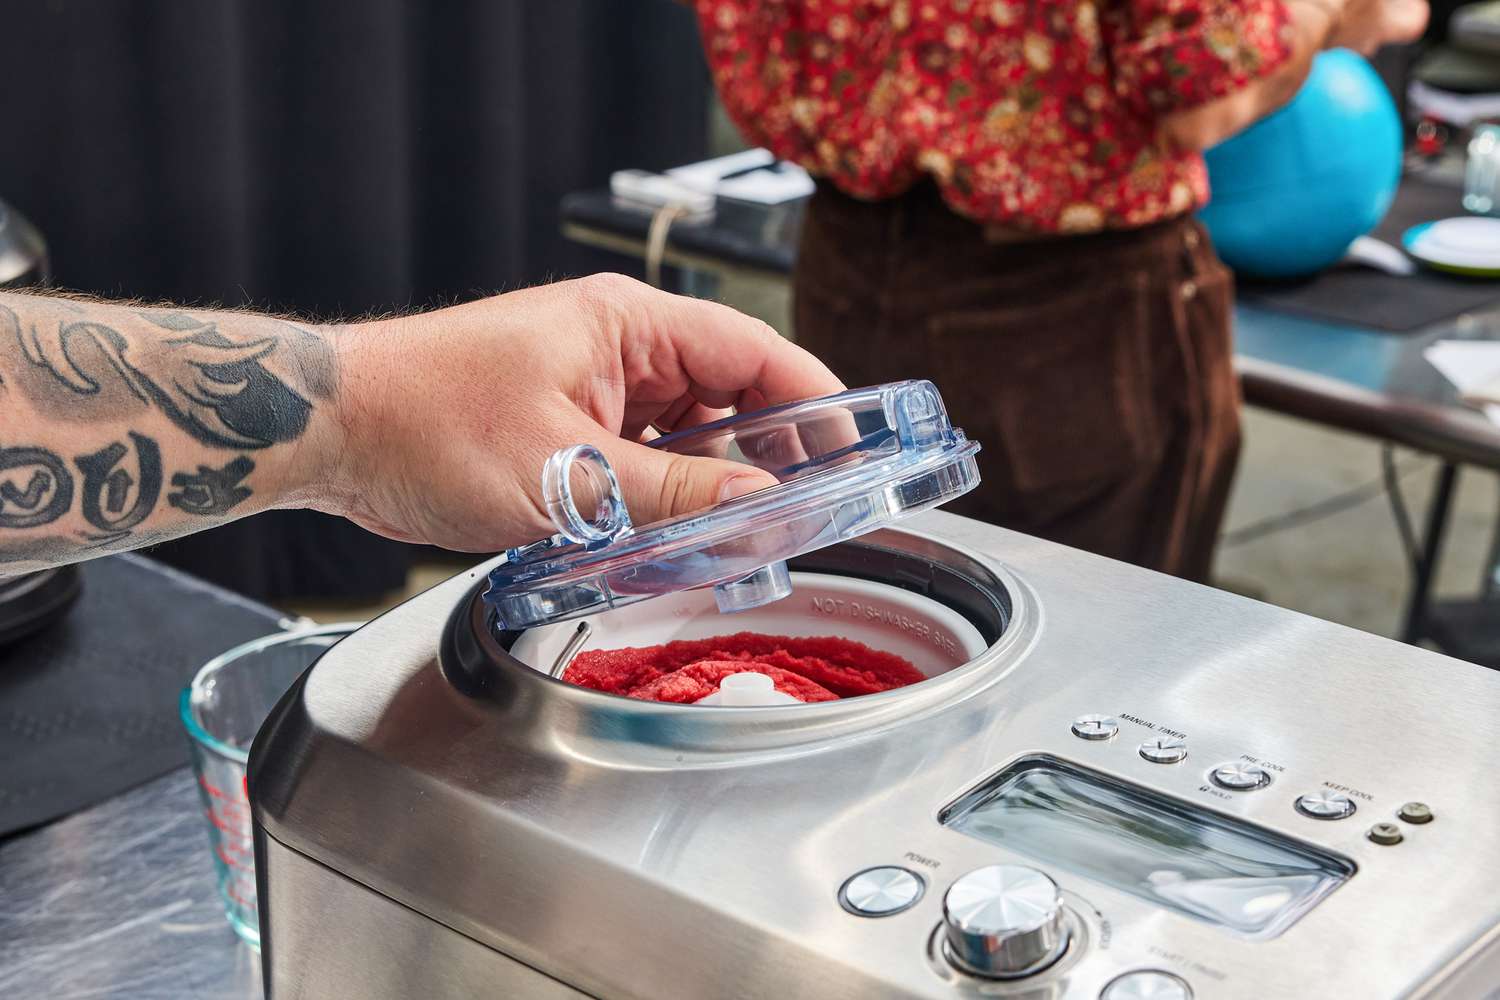
- Set up your ice cream maker according to the manufacturer’s instructions. This typically involves placing the freezing canister in the freezer for several hours prior to use.
- Once the canister is properly chilled, remove it from the freezer and assemble the ice cream maker.
- Retrieve your thoroughly chilled ice cream base from the refrigerator and give it a good stir. This ensures that any settling or separation is mixed back together.
- Pour the ice cream base into the ice cream maker as it churns. The churning action incorporates air into the mixture, creating a light and creamy texture.
- Allow the ice cream maker to run for the specified amount of time, typically around 20 to 30 minutes. The exact time may vary depending on the specific model of your ice cream maker.
- As the ice cream churns, you’ll notice it gradually thickening and freezing. The end result should be a soft-serve consistency.
- If desired, you can add in additional mix-ins during the last few minutes of churning. Some popular options for peach ice cream include diced fresh peaches or swirls of peach sauce.
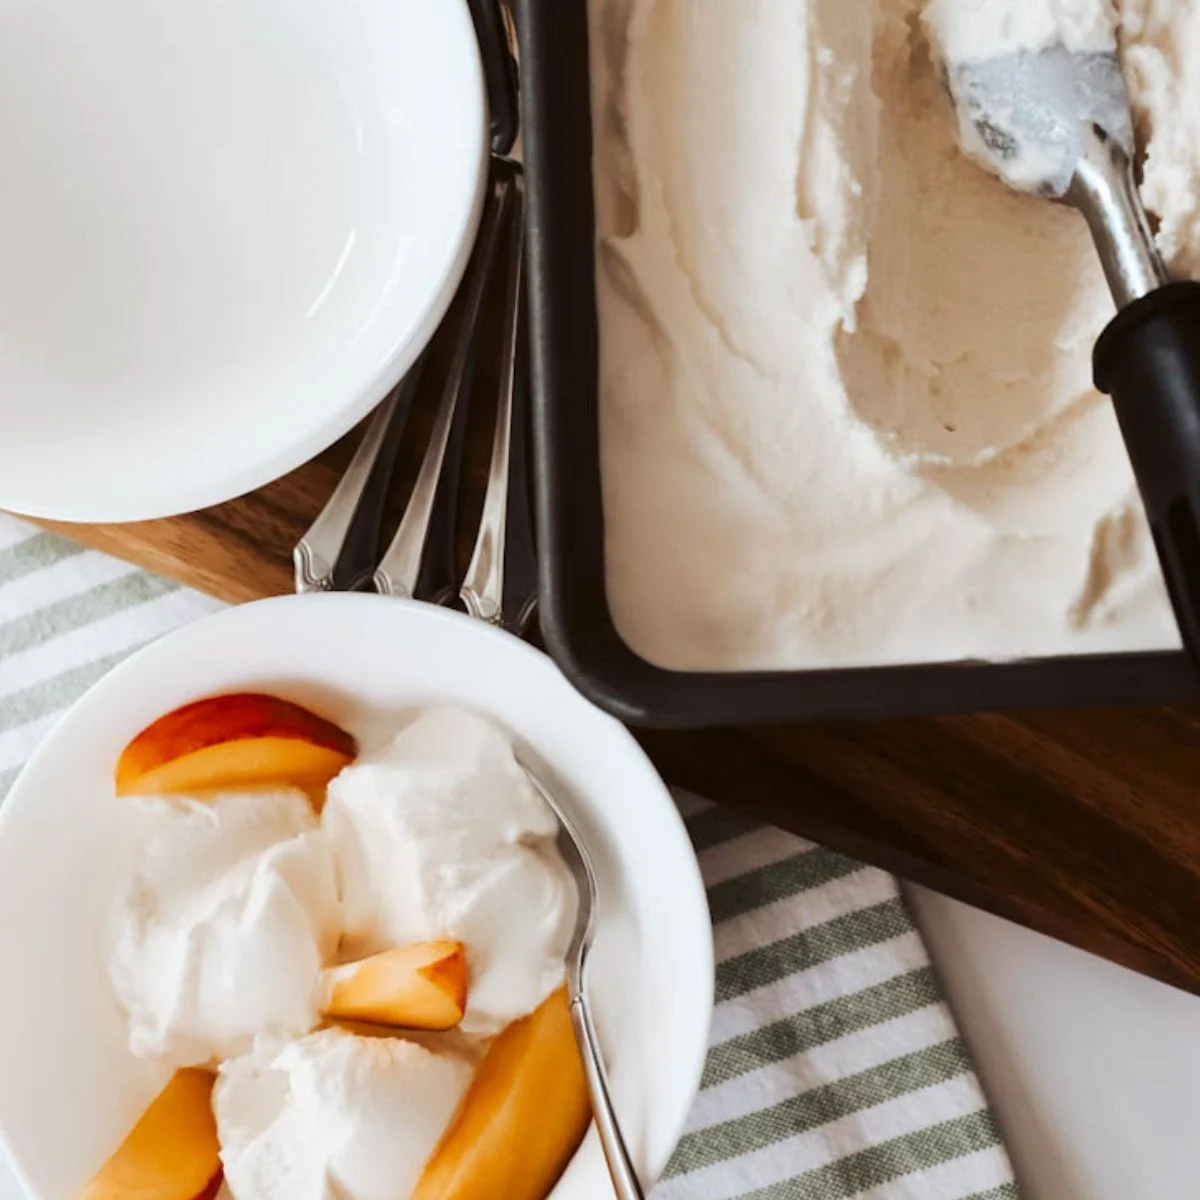
- Once the desired consistency is reached, carefully transfer the freshly churned ice cream from the ice cream maker to an airtight container.
- Place the container in the freezer for an additional 2 to 4 hours, or until the ice cream is firm and scoopable. This final step allows the ice cream to fully set and develop its flavors.
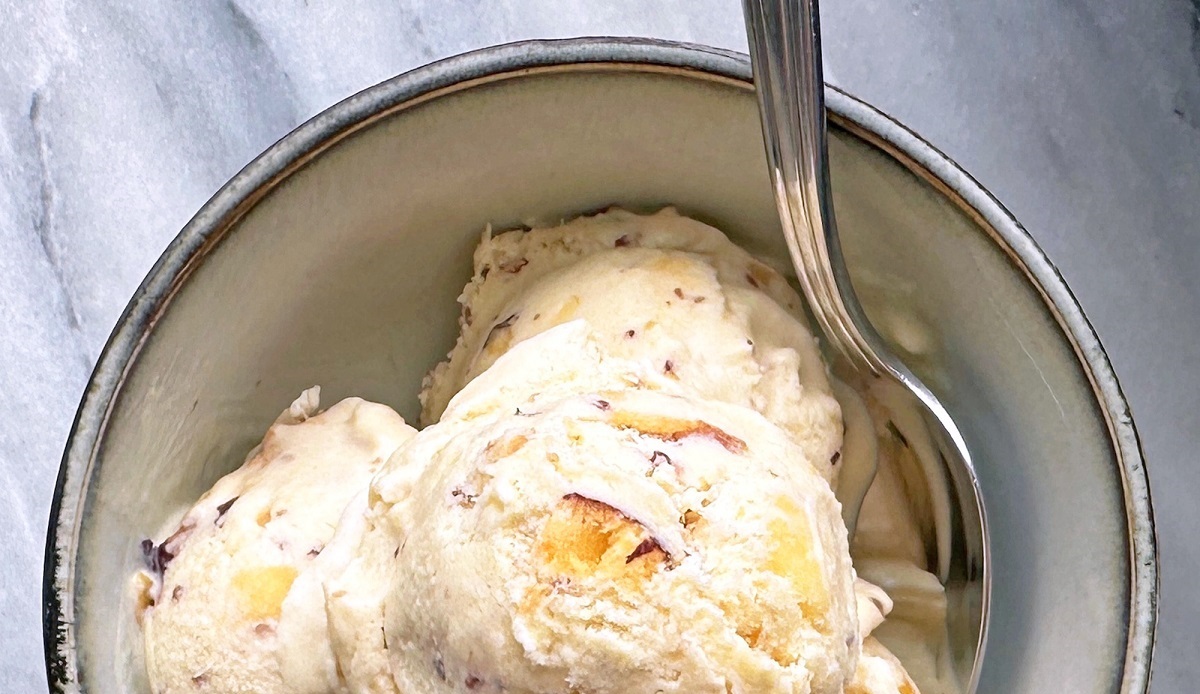
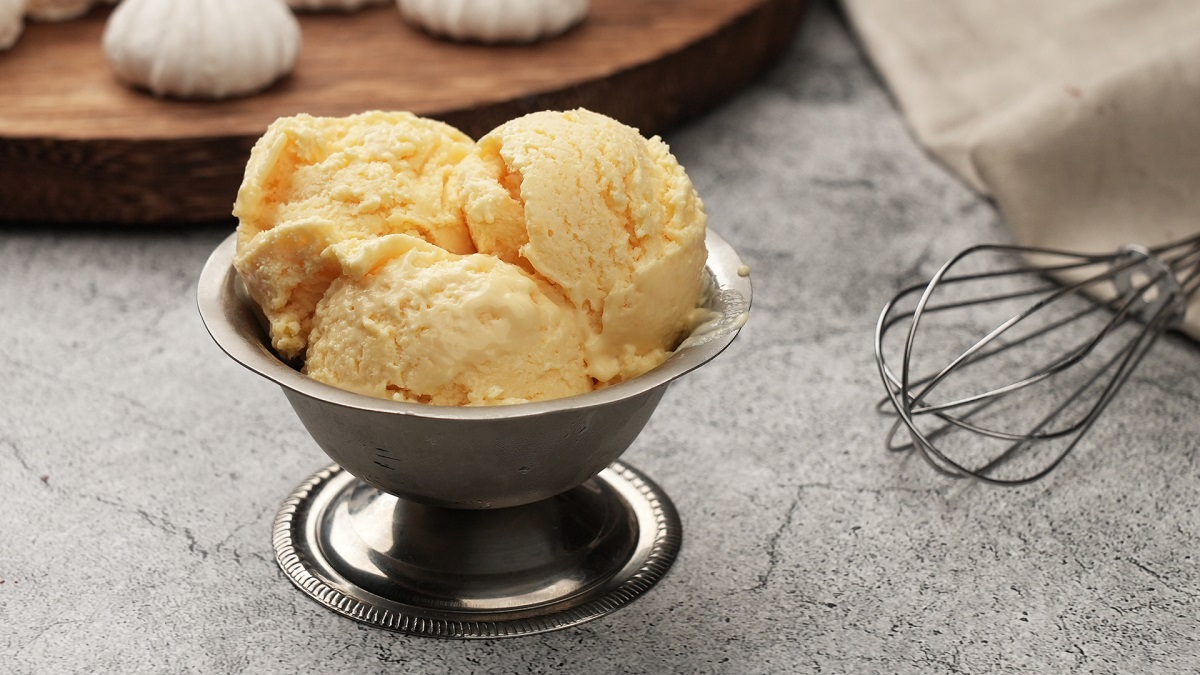
Now, you have successfully frozen your homemade peach ice cream! The result is a creamy, dreamy dessert bursting with the tempting flavors of ripe peaches. Remember to enjoy it on a hot summer day or whenever you’re in need of a deliciously refreshing treat.
Serving and Storage Tips
Now that your homemade peach ice cream is ready, it’s time to savor and enjoy every spoonful of this delightful frozen treat. Here are some serving and storage tips to ensure the best experience:
- Serve your peach ice cream in chilled bowls or cones for an extra refreshing touch. The cold temperature of the serving vessel will help maintain the ice cream’s consistency.
- Garnish your scoops of peach ice cream with fresh peach slices or a sprinkle of crushed nuts for added texture and visual appeal.
- If you’re serving the ice cream at a gathering or party, consider pairing it with complementary flavors such as a warm peach cobbler or a dollop of vanilla whipped cream.
- When storing any leftover ice cream, be sure to use an airtight container to prevent ice crystals from forming. This will help maintain the smooth texture and preserve the flavor.
- Store the ice cream in the coldest part of your freezer to maintain its freshness and prevent it from melting or becoming too soft.
- When ready to enjoy the leftover ice cream, let it sit at room temperature for a few minutes to soften slightly before scooping. This will make it easier to serve and provide a smoother texture.
- Homemade peach ice cream is best consumed within 1 to 2 weeks for optimal flavor and texture.
Remember to savor every spoonful of your homemade peach ice cream, allowing the flavors to dance on your taste buds. Whether enjoyed as a cooling treat on a hot summer day or as a delightful dessert any time of the year, this homemade creation is sure to impress your family and friends.
Conclusion
Congratulations on successfully making homemade peach ice cream! From preparing the fresh peaches to creating the creamy ice cream base and freezing it to perfection, you’ve embarked on a flavorful journey filled with joy and indulgence.
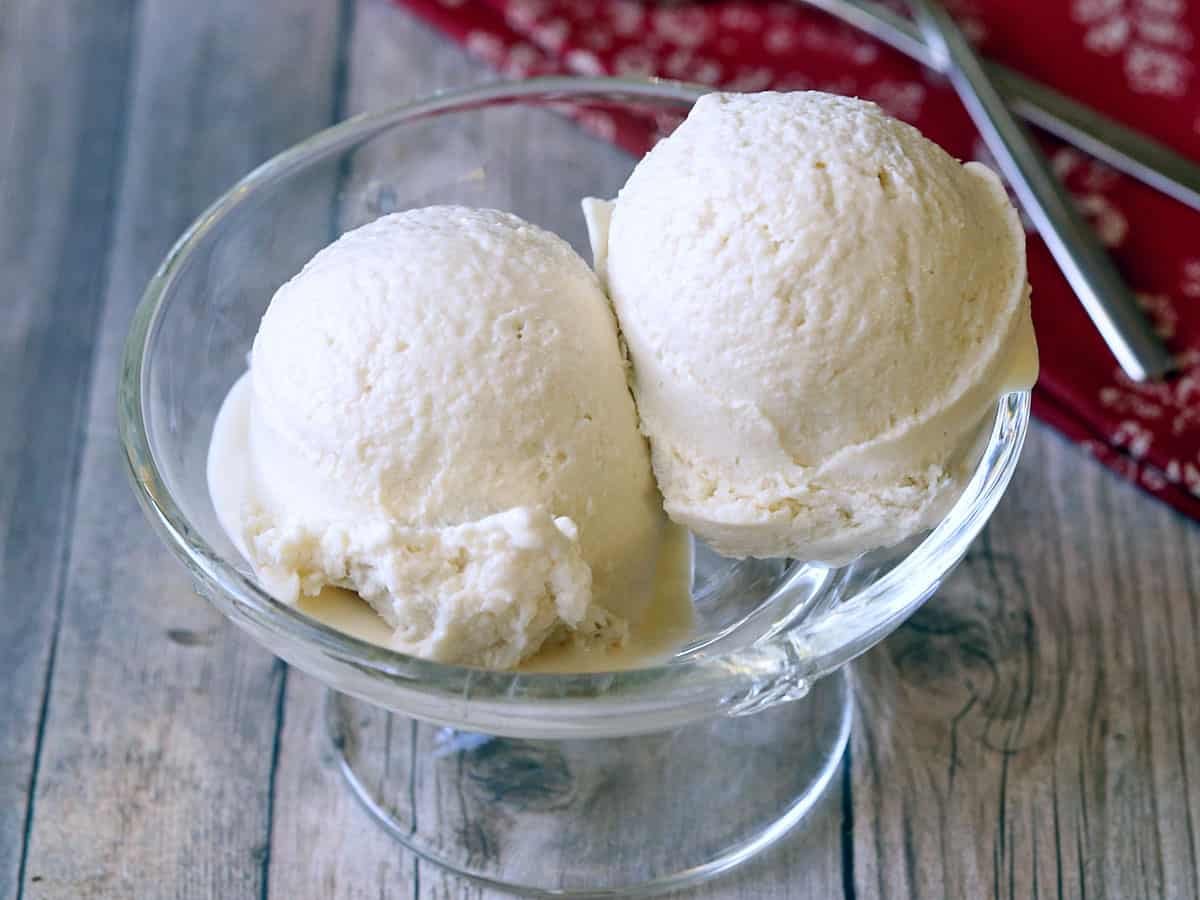
By using an ice cream maker, you were able to achieve the silky smooth texture that sets homemade ice cream apart from store-bought varieties. The luscious peach flavor shines through in every bite, making this frozen treat a delightful way to enjoy the ripe and juicy peaches of the season.
Remember, the key to a great homemade ice cream lies in quality ingredients and proper techniques. Take the time to choose ripe and fragrant peaches, ensure your ice cream base is well-chilled, and follow the instructions of your ice cream maker for optimal results.
Whether you enjoy your peach ice cream on its own, in an ice cream cone, or as a topping for a warm dessert, this homemade treat is sure to bring smiles to the faces of anyone who tries it. By putting your own spin on the recipe and adding personal touches like mix-ins or creative serving ideas, you can truly make this peach ice cream your signature dessert.
So, the next time you’re craving a delicious frozen treat, don’t hesitate to return to this recipe and experience the joy of making homemade peach ice cream all over again. The satisfaction of creating something with your own hands and the pleasure of enjoying the delightful flavors and textures will make it well worth the effort.
Now, go grab another scoop of your homemade peach ice cream, relax, and relish in the moment of pure sweet indulgence!