Introduction
Welcome to the delightful world of homemade peach ice cream! If you’re a fan of this classic dessert but don’t have an ice cream maker, fear not – we have you covered. In this article, we will walk you through a simple yet satisfying recipe for making delicious peach ice cream at home, without the need for any specialized equipment. Get ready to indulge in the creamy, sweet, and refreshing flavors of summer with this homemade treat.
There’s something special about enjoying a scoop of homemade ice cream, especially when it’s made with fresh and ripe peaches. The natural sweetness and vibrant flavors of this juicy fruit lend themselves perfectly to creating a luscious and indulgent frozen dessert. And the best part? You don’t need an expensive ice cream maker to whip up your own batch.
With just a few ingredients and some simple steps, you can create a smooth and creamy peach ice cream that rivals any store-bought variety. Whether you’re planning a summer gathering, a family barbecue, or simply craving a cool dessert on a hot day, this homemade treat is sure to impress.
By following this easy-to-follow guide, you’ll be able to savor the taste of ripe peaches enveloped in a velvety ice cream base. The result? A tantalizing blend of fruity, refreshing, and creamy goodness that will keep you coming back for more.
So, let’s dive in and learn how to make homemade peach ice cream without an ice cream maker. Get ready to impress your taste buds and delight your friends and family with this delectable summer dessert.
Gather the Ingredients
Before you embark on your homemade peach ice cream adventure, it’s important to gather all the necessary ingredients. Here’s what you’ll need:
- 4-5 ripe peaches: Look for peaches that are sweet and fragrant, as they will provide the best flavor for your ice cream.
- 1 cup of whole milk: This will form the base of your ice cream and contribute to its creamy texture.
- 1 cup of heavy cream: The addition of heavy cream will add richness and smoothness to the ice cream.
- 3/4 cup of granulated sugar: This will sweeten the ice cream and help prevent ice crystals from forming.
- 1 teaspoon of vanilla extract: Vanilla extract enhances the flavor and adds a hint of warmth to the ice cream.
- A pinch of salt: Salt will help balance the sweetness and enhance the overall flavor profile.
That’s it! With just a handful of common ingredients, you can create a wonderful homemade peach ice cream that will rival any store-bought version. Once you have gathered all the necessary ingredients, it’s time to move on to the next step in the process: preparing the peaches.
Remember, using high-quality ingredients is key to achieving the best results. So make sure to choose ripe and flavorful peaches, and opt for fresh and good-quality dairy products. With these ingredients on hand, you are well on your way to creating a sensational homemade peach ice cream without an ice cream maker.
Prepare the Peaches
Before you can incorporate the peaches into your homemade ice cream, it’s important to properly prepare them. Follow these steps to ensure that your peaches are ripe, juicy, and ready for the delicious transformation:
- Wash the peaches: Start by rinsing the peaches under cool water to remove any dirt or residue. Pat them dry with a clean towel.
- Peel the peaches: To easily remove the skin, bring a pot of water to a boil. Using a sharp knife, make a small “X” incision at the base of each peach. Submerge the peaches in the boiling water for about 30 seconds, then transfer them to a bowl of ice water to stop the cooking process. The skin should now easily peel off. Discard the skin and continue with the remaining peaches.
- Remove the pits: Cut each peach in half and gently twist to separate the halves. Use a spoon or your fingers to remove the pit from the center of each peach. Discard the pits and proceed with the next step.
- Slice the peaches: Slice the peaches into small, bite-sized pieces. Alternatively, if you prefer a smoother texture, you can puree the peaches in a blender or food processor.
- Optional: Macerate the peaches (for enhanced flavor): If you want to further intensify the peach flavor, you can toss the sliced peaches with a tablespoon of sugar and a squeeze of lemon juice and let them sit for about 30 minutes. This will help release the juices and create a more flavorful base for your ice cream.
Now that your peaches are prepared and ready to go, you can move on to the next step in creating your homemade peach ice cream – making the peach puree.
Remember, fresh and ripe peaches are essential for maximum flavor and juiciness. Take your time to ensure that the peaches are properly peeled, pitted, and sliced to set the stage for a truly delightful homemade peach ice cream experience.
Make the Peach Puree
Now that your peaches are prepared, it’s time to transform them into a luscious peach puree. This step will infuse your homemade peach ice cream with the vibrant flavors and natural sweetness of the fruit. Here’s how to make the peach puree:
- Place the sliced peaches in a blender or food processor. If you opted to macerate the peaches, include the sugar and lemon juice that you used in the maceration process.
- Puree the peaches until smooth: Blend the peaches on high speed until you achieve a smooth and creamy consistency. Depending on your preference, you can either leave small chunks of peach in the puree for added texture or blend until completely smooth for a silky-smooth ice cream.
- Taste and adjust: Give the peach puree a taste and adjust the sweetness if needed. If the peaches are nicely ripe, there should be plenty of natural sweetness. However, if desired, you can add a touch of sugar or honey to enhance the flavor.
Once your peach puree is ready, set it aside and move on to the next step – creating the custard base for your homemade peach ice cream. The peach puree will be the star ingredient, infusing each bite of the ice cream with the delightful flavors of fresh peaches.
Remember, using ripe and flavorful peaches is key to achieving a tasty peach puree. Take your time to blend the peaches to your desired consistency and adjust the sweetness to suit your taste preferences. The peach puree is the foundation of your homemade peach ice cream, so focus on creating a smooth and vibrant base.
Create the Custard Base
The next step in making homemade peach ice cream without an ice cream maker is creating the custard base. This creamy and velvety base will provide the perfect canvas for incorporating the peach puree and other flavors. Follow these steps to create the custard base:
- In a medium saucepan, combine the whole milk, heavy cream, and granulated sugar. Place the saucepan over medium heat and stir occasionally until the mixture is heated through and the sugar has dissolved completely.
- Add a pinch of salt and the vanilla extract to the milk mixture. Stir well to incorporate the flavors throughout the base.
- In a separate bowl, whisk the egg yolks until smooth.
- Slowly pour about half of the hot milk mixture into the bowl with the egg yolks, whisking continuously. This step is called tempering and helps to prevent the eggs from scrambling.
- Pour the egg yolk mixture back into the saucepan with the remaining milk mixture. Place the saucepan over low heat and cook the custard, stirring constantly with a wooden spoon or heatproof spatula. Continue cooking until the custard thickens and coats the back of the spoon. This typically takes about 5-7 minutes, but avoid boiling the mixture.
- Once the custard has thickened, remove the saucepan from the heat and let it cool slightly. Then, cover the custard with plastic wrap, pressing the wrap directly against the surface of the custard to prevent a skin from forming. Refrigerate the custard until completely chilled, preferably overnight.
The custard base is the fundamental component of your homemade peach ice cream. It provides the creamy and smooth texture that we all love. By combining the milk, cream, sugar, and egg yolks, you create a rich and flavorful base that is ready to be infused with the peach puree.
Remember, patience is key when making the custard base. Take your time to heat the milk mixture gently and cook the custard slowly to avoid curdling. Once you have achieved a thick and silky custard, refrigerate it to allow the flavors to meld and intensify overnight.
Mix the Peach Puree and Custard
Now that you have a smooth and chilled custard base and a delicious peach puree, it’s time to combine the two to create the perfect marriage of flavors. Mixing the peach puree and custard will infuse your homemade peach ice cream with the delightful taste of fresh peaches. Here’s what you need to do:
- Take the peach puree out of the refrigerator and give it a stir to ensure it is well blended.
- Gradually pour the peach puree into the chilled custard base, stirring gently to combine. Continue adding the puree until you achieve your desired peach flavor. You can add it in increments, tasting as you go, to ensure the perfect balance of peachiness.
- Once the peach puree is fully incorporated into the custard base, taste the mixture and adjust the sweetness if desired. If you prefer a sweeter ice cream, you can add a touch of sugar or honey at this stage. Remember, the sweetness may mellow slightly once the ice cream is frozen.
Mixing the peach puree and custard is an exciting step as you see the vibrant colors blend and the flavors meld together. Take your time to incorporate the peach puree evenly throughout the custard base, ensuring that each spoonful of ice cream will have a burst of peach flavor.
Now that the peach puree and custard are perfectly combined, it’s time to move on to the next step in creating your homemade peach ice cream – churning it into a creamy frozen treat.
Remember, the ratios of peach puree to custard can be adjusted based on your personal preference. Feel free to experiment until you achieve the desired level of peachiness in your ice cream. Enjoy the process of mixing the two together, and get ready for the magic that awaits when the ice cream is churned and frozen.
Churn the Ice Cream
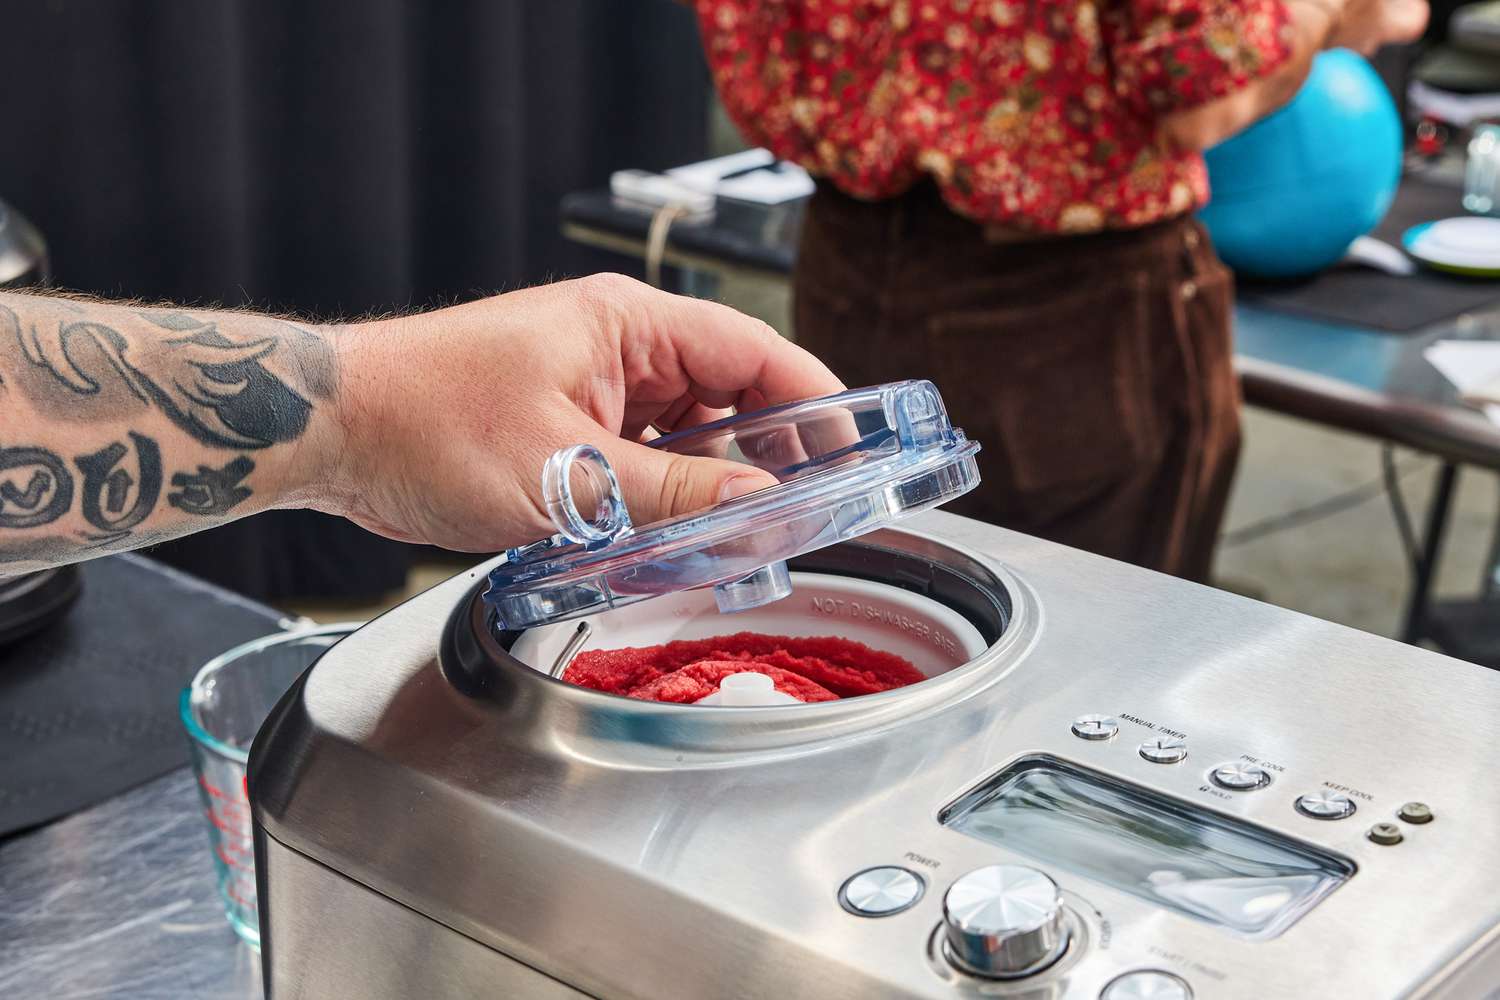
Churning is a crucial step in the ice cream-making process as it incorporates air into the mixture, creating a light and creamy texture. Here’s how you can churn your homemade peach ice cream:
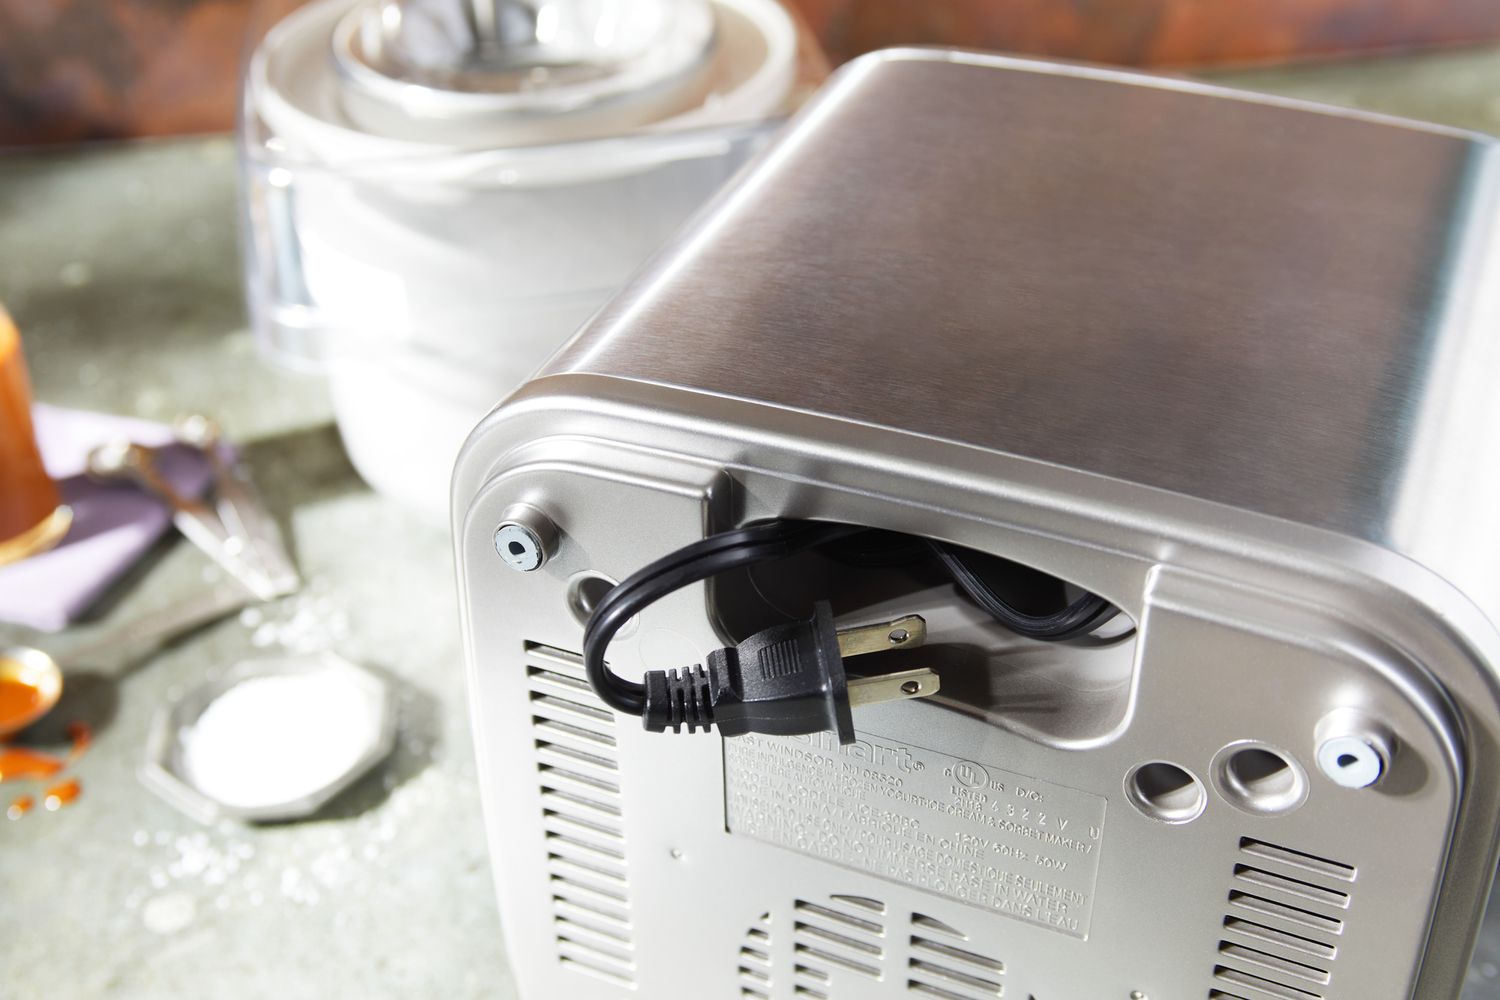
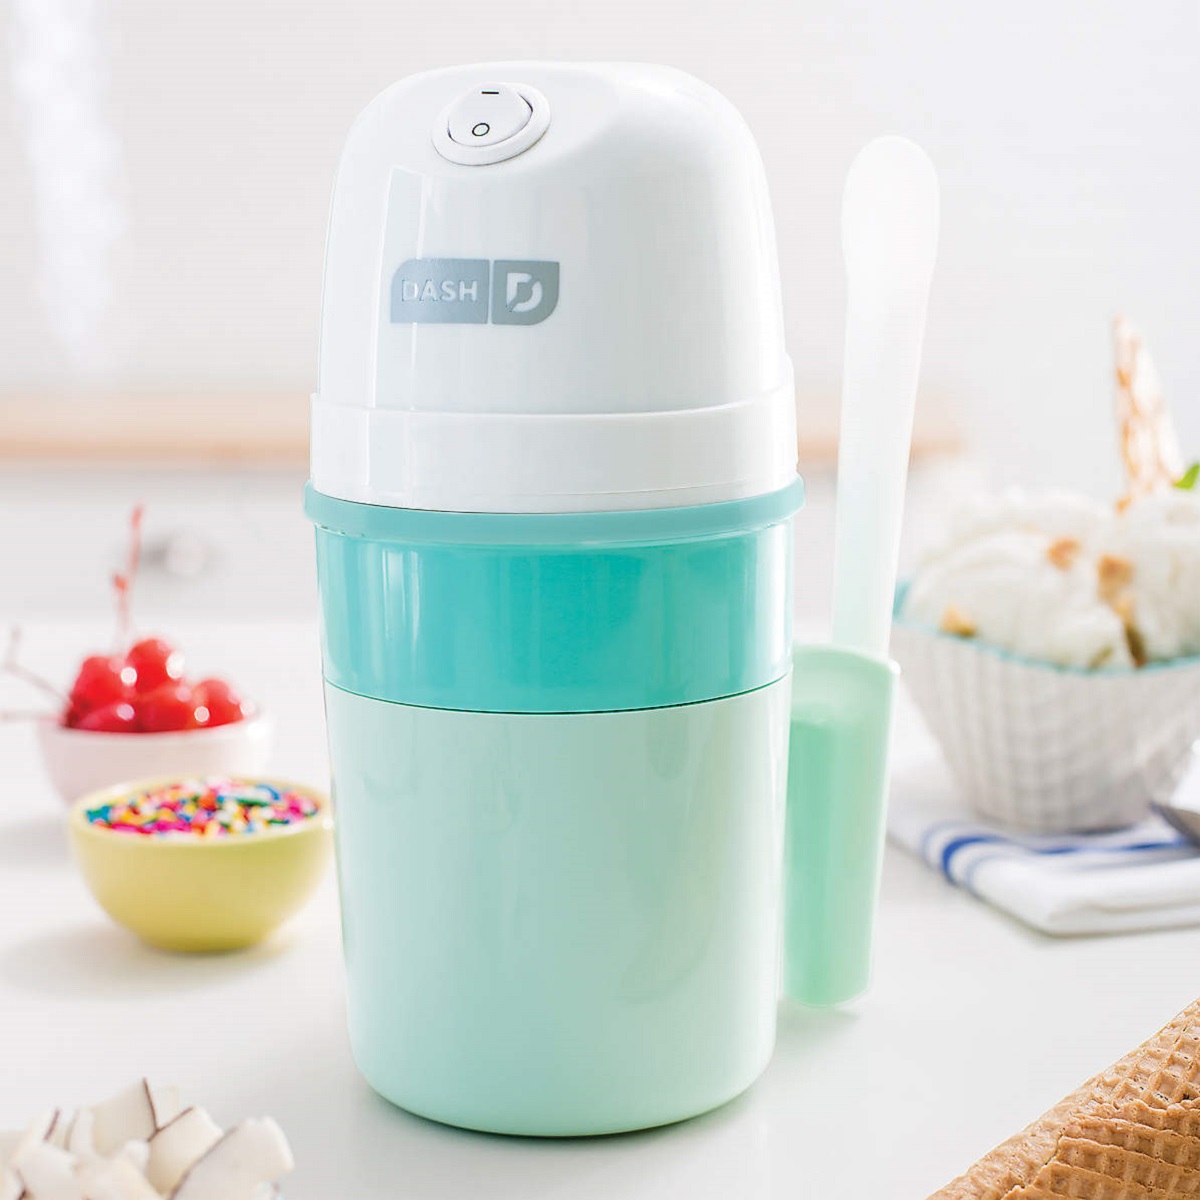
- If you have an ice cream maker, follow the manufacturer’s instructions to churn the ice cream. Typically, this involves pouring the peach custard mixture into the machine and allowing it to churn for the recommended time, usually around 20-30 minutes. The ice cream will gradually thicken and freeze as the machine incorporates air into the mixture.
- If you don’t have an ice cream maker, don’t worry! There’s a simple alternative method called the “no-churn” method. Pour the peach custard mixture into a shallow, freezer-safe container. Place it in the freezer and let it freeze for about 1-2 hours, or until the edges start to firm up.
- Once the edges are semi-frozen, remove the container from the freezer and use a fork or a whisk to vigorously stir the mixture. This will help break up any ice crystals that have formed and incorporate air into the ice cream.
- Return the container to the freezer and repeat the stirring process every 30 minutes for the next 2-3 hours. After each stirring, you’ll notice the ice cream becoming smoother and creamier.
- Continue this process until the ice cream reaches the desired consistency. It should be firm but still scoopable. This usually takes around 4-5 hours in total.
Whether you’re using an ice cream maker or opting for the no-churn method, the goal is to achieve a creamy and smooth texture while ensuring that the ice cream freezes properly. Regularly stirring or churning the mixture prevents ice crystals from forming, resulting in a velvety consistency.
Now that you’ve churned or stirred your homemade peach ice cream, it’s time to move on to the final step – freezing and serving your delightful creation.
Remember, the churning process is where the ice cream truly comes to life. Enjoy the transformation as the peach custard mixture freezes and becomes a delectable frozen treat that will soon be ready to tantalize your taste buds.
Freeze and Serve
Congratulations! You’ve made it to the final step – freezing and serving your homemade peach ice cream. Here’s how you can complete the process and enjoy the fruits of your labor:
- After churning or stirring the ice cream, transfer it into a lidded, freezer-safe container. Smooth the surface with a spatula to create an even layer.
- Place the container in the freezer and allow the ice cream to harden for at least 4-6 hours, or preferably overnight. This extended freezing time will ensure that the ice cream reaches the perfect scoopable consistency.
- When you’re ready to serve, remove the container from the freezer and let it sit at room temperature for a few minutes to soften slightly. This will make it easier to scoop.
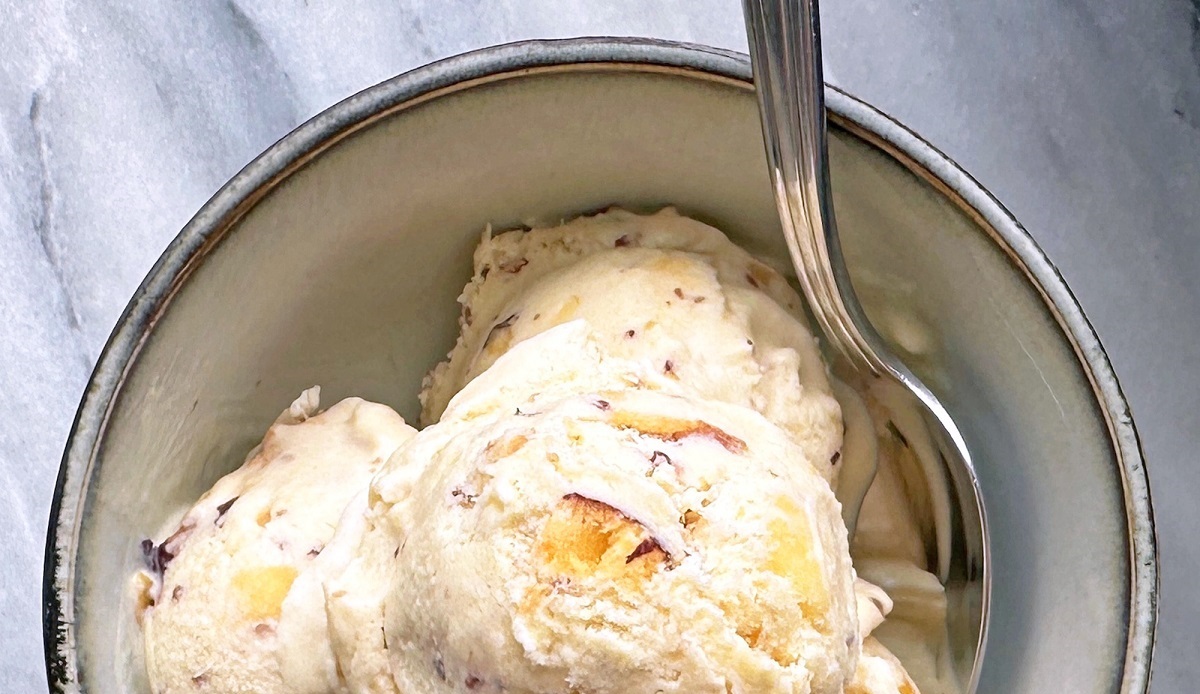
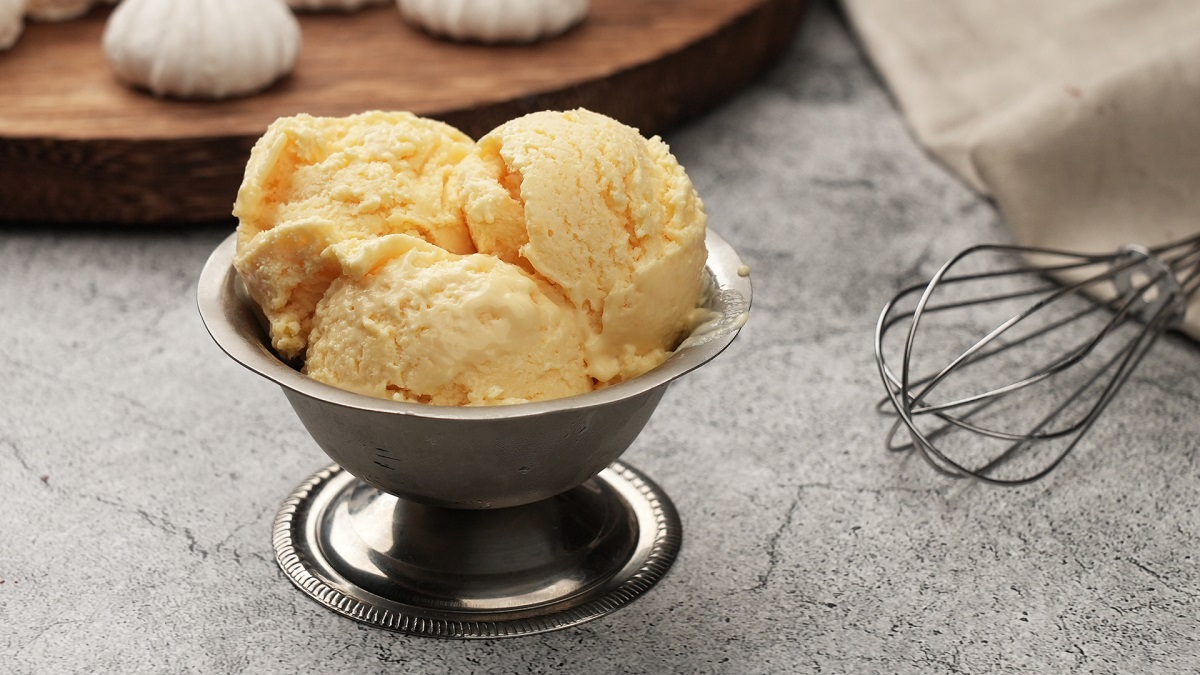
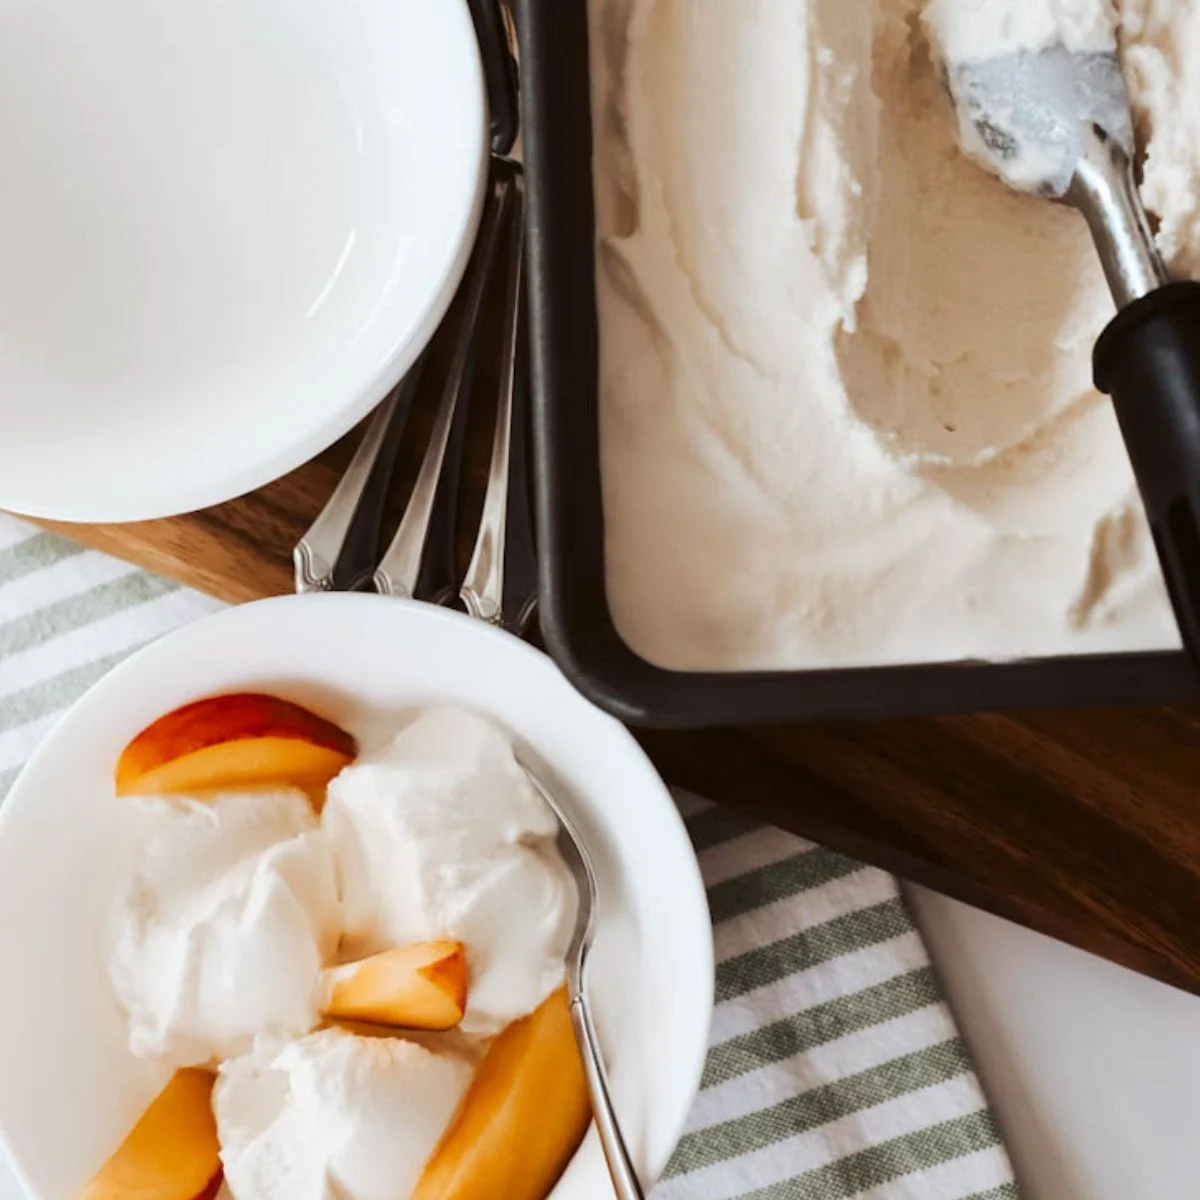
- Using an ice cream scoop, portion out the delicious peach ice cream into bowls or cones. Feel free to garnish it with fresh peach slices, a sprinkle of cinnamon, or a drizzle of honey for an extra touch of sweetness.
- Serve and enjoy! Indulge in the creamy, fruity goodness of your homemade peach ice cream, and savor every delightful spoonful.
Remember, homemade ice cream doesn’t contain any stabilizers or preservatives, so it may have a slightly softer consistency than store-bought varieties. However, this only adds to its natural charm and homemade appeal.
If there are any leftovers, store the remaining peach ice cream in the freezer in an airtight container for up to a few weeks. Although, it’s highly likely that this delectable treat will be devoured in no time!
Now that you’ve mastered the art of making homemade peach ice cream without an ice cream maker, you can enjoy this refreshing and delightful dessert whenever the craving strikes. Share it with friends and family, create new flavor combinations, and relish in the joy of creating a frozen treat from scratch.
So go ahead, savor the flavors, and enjoy the satisfaction of making your very own homemade peach ice cream. It’s a sweet and satisfying way to celebrate the summer season!