Introduction
Who doesn’t love the creamy, indulgent goodness of homemade vanilla ice cream? It’s a classic dessert that never goes out of style. While many people think you need a fancy ice cream maker to create this frozen delight at home, the truth is, you can make delicious vanilla ice cream without one!
In this article, we will guide you through a simple and foolproof method for making homemade vanilla ice cream without an ice cream maker. All you need are a few basic ingredients, a whisk, and some patience. Whether you want to impress your friends at a summer gathering or simply enjoy a homemade treat on a lazy afternoon, this recipe is perfect for you.
The process of making homemade vanilla ice cream without an ice cream maker may take a little more time and effort, but the end result is well worth it. You’ll be rewarded with a creamy and delectable treat that is sure to satisfy your sweet tooth.
So, if you’re ready to embark on a delicious adventure and learn how to make homemade vanilla ice cream without an ice cream maker, let’s get started!
Ingredients
Before we dive into the process of making homemade vanilla ice cream without an ice cream maker, let’s gather all the essential ingredients. Don’t worry – you’ll find these ingredients easily at your local grocery store, and you may already have some of them in your kitchen!
- 2 cups of heavy cream
- 1 cup of whole milk
- 3/4 cup of granulated sugar
- 1 tablespoon of pure vanilla extract
- A pinch of salt
That’s it! With just five simple ingredients, you can create a base for your homemade vanilla ice cream. If you want to get creative and add some extra flavors or mix-ins, feel free to do so. You can add crushed cookies, chocolate chips, nuts, or even a swirl of caramel or fudge sauce. The possibilities are endless!
Now that you have all the ingredients ready, let’s move on to the step-by-step process of making this delectable treat without the need for an ice cream maker. Get your whisk and bowls ready – we’re about to embark on a delicious adventure!
Step 1: Prepare the Vanilla Ice Cream Base
The first step in making homemade vanilla ice cream without an ice cream maker is to prepare the creamy base. In a large mixing bowl, combine the heavy cream, whole milk, granulated sugar, pure vanilla extract, and a pinch of salt.
Using a whisk, gently stir the ingredients together until the sugar is completely dissolved and everything is well combined. Make sure to whisk thoroughly to ensure a smooth and creamy texture in your ice cream.
If you want to elevate the flavor of your vanilla ice cream, you can also opt to use a vanilla bean instead of or in addition to the vanilla extract. Simply split the vanilla bean lengthwise and scrape out the seeds. Add the seeds and the empty pod to the mixture, and whisk everything together.
Once your vanilla ice cream base is well mixed, cover the bowl with plastic wrap or a lid and place it in the refrigerator. Allow the mixture to chill for at least 4 hours or overnight. This chilling process will help the flavors meld together and ensure a rich and creamy ice cream.
Now that your vanilla ice cream base is ready, it’s time to move on to the next step – freezing the mixture. Get your freezer space prepared and get ready for the anticipation of that first scoop of homemade goodness!
Step 2: Freeze the Mixture
After the vanilla ice cream base has chilled, it’s time to freeze the mixture. Transfer the chilled mixture into a shallow, freezer-safe container. You can use a metal or glass container for this step. Make sure the container is large enough to allow for proper freezing and whisking later on.
Spread the mixture evenly in the container to ensure even freezing. Cover the container with a tight-fitting lid or a layer of plastic wrap. This will prevent any icy crystals from forming on the surface of the ice cream.
Place the container in the freezer and let it freeze for about 2-3 hours, or until the edges are partially frozen. During this time, the mixture will start to solidify, but it will still be soft and scoopable.
Be patient during this step as it may take longer depending on your freezer’s temperature. Avoid the temptation to stir or whisk the mixture at this stage. We will do that in the next steps to achieve a smoother and creamier texture.
Now, take a moment to imagine the delightful aroma of vanilla filling your kitchen as your homemade ice cream freezes. The wait is almost over, so get ready for the next step – whisking and freezing again!
Step 3: Whisk and Freeze Again
Once the edges of the ice cream mixture in the container are partially frozen, it’s time to whisk and freeze again. This step is crucial for achieving a smooth and creamy texture in your homemade vanilla ice cream.
Remove the container from the freezer and use a whisk to vigorously mix the partially frozen mixture. Break up any ice crystals and incorporate the frozen edges into the still-liquid center. This will help create a more consistent texture throughout the ice cream.
After whisking, return the container to the freezer and let the mixture freeze for another 2-3 hours. During this time, the ice cream will continue to solidify, but it will still be soft and easy to scoop.
Remember to cover the container securely to prevent any freezer burn or absorption of unwanted odors from other foods in the freezer. The better you seal the container, the fresher and more delicious your ice cream will be.
Now, take a moment to imagine the anticipation of that first spoonful of creamy homemade vanilla ice cream. The process may take a bit of time, but the end result will be absolutely worth it. Get ready for the next step, where we repeat the whisking and freezing process to further enhance the texture of your frozen treat.
Step 4: Repeat the Whisking and Freezing Process
To achieve the smoothest and creamiest homemade vanilla ice cream, it’s important to repeat the whisking and freezing process at least one more time. This extra step will help break up any ice crystals and incorporate air into the mixture, resulting in a lighter and smoother texture.
Remove the container from the freezer and whisk the partially frozen ice cream vigorously yet again. Break up any frozen chunks and ensure that the mixture is well blended. This step will help create a more consistent texture throughout the ice cream.
Once you have whisked the ice cream mixture, return it to the freezer and let it freeze for an additional 2-3 hours, or until it reaches your desired consistency. The more you whisk and freeze, the smoother your ice cream will become.
As you wait for the final freezing process to complete, you may start to smell the rich aroma of vanilla filling your kitchen. The anticipation is growing as your homemade vanilla ice cream nears completion.
Now that you’ve completed the repeated whisking and freezing process, your homemade vanilla ice cream is almost ready to be enjoyed! But before we get to that, it’s time to prepare your favorite toppings and mix-ins for an added touch of flavor and fun.
Step 5: Prepare Your Toppings and Mix-Ins
While homemade vanilla ice cream is delicious on its own, adding toppings and mix-ins can take it to the next level and offer a personalized touch. Get creative and gather your favorite toppings and mix-ins to enhance the flavor and texture of your homemade treat.
Here are some ideas to inspire you:
- Chopped Nuts: Whether it’s crunchy walnuts, buttery pecans, or fragrant almonds, adding a sprinkle of chopped nuts to your vanilla ice cream can add a delightful crunch and an extra layer of flavor.
- Chocolate Chips: Who can resist the classic combination of vanilla and chocolate? Sprinkle some chocolate chips over your vanilla ice cream to add bursts of rich chocolatey goodness with each bite.
- Fresh Fruit: Take advantage of seasonal fruits by adding fresh berries, sliced peaches, or chunks of pineapple to your ice cream. The natural sweetness and vibrant colors will complement the creamy vanilla base perfectly.
- Caramel or Chocolate Sauce: Drizzle some warm caramel or chocolate sauce over your scoops of vanilla ice cream for a decadent and indulgent treat. The contrasting flavors and textures will make every bite heavenly.
- Cookie Crumbles: Crush some of your favorite cookies, such as chocolate sandwich cookies or buttery shortbread, and sprinkle the crumbs over your ice cream. The crumbs will add a delightful crunch and a burst of flavor.
Feel free to mix and match these toppings and mix-ins to create your own unique combinations. Don’t be afraid to get creative and experiment – the possibilities are endless!
Now that you have prepared your toppings and mix-ins, it’s time to serve and enjoy your homemade vanilla ice cream. Get ready to indulge in a delightful frozen treat!
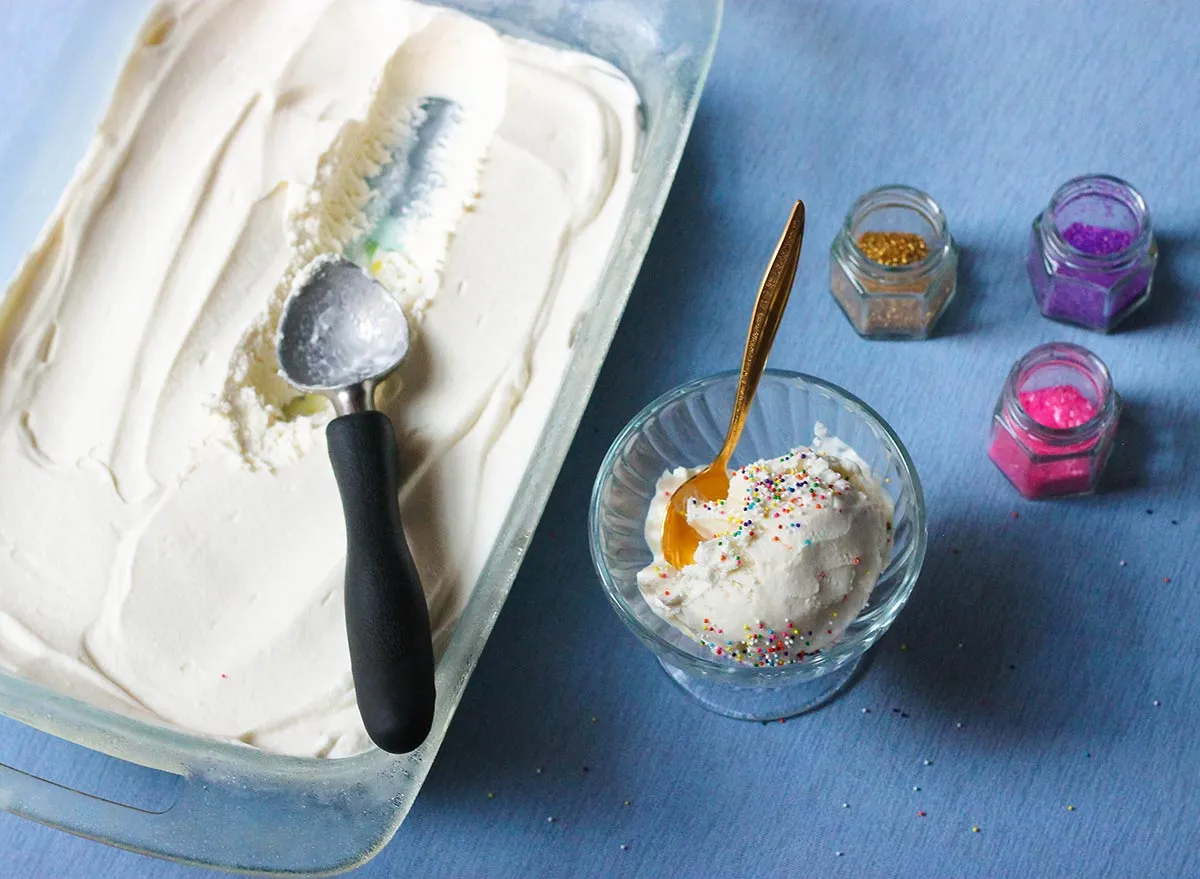
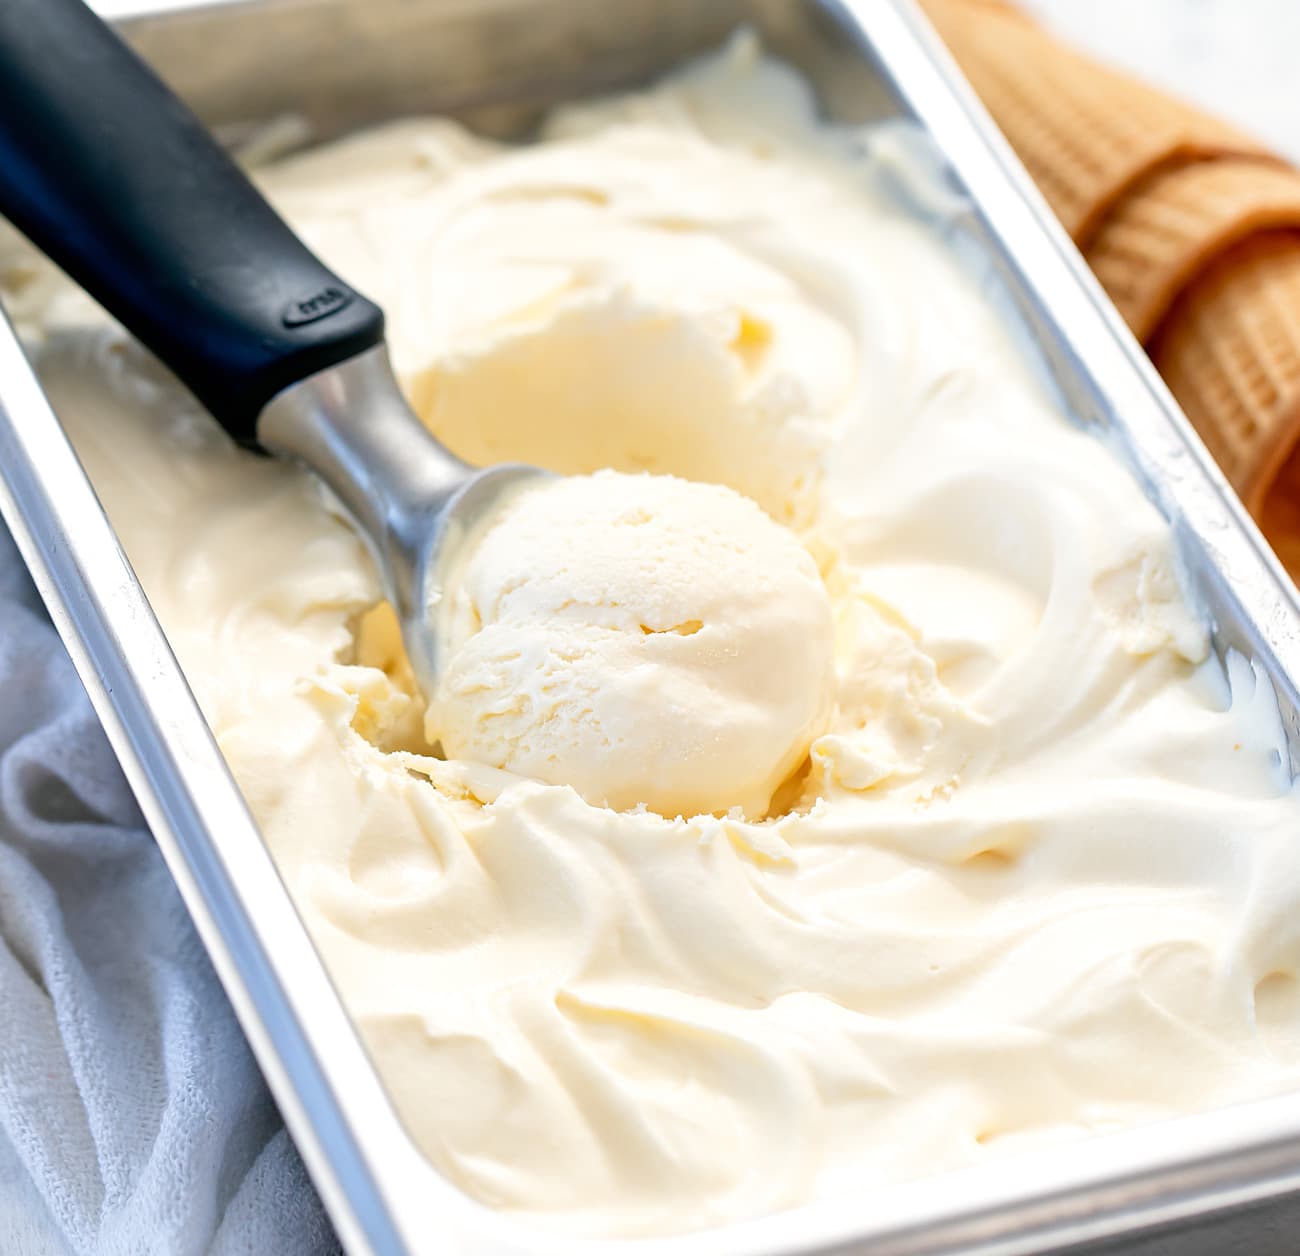
Step 6: Serve and Enjoy!
Congratulations! You have successfully made homemade vanilla ice cream without an ice cream maker. Now it’s time to savor the fruits of your labor and enjoy the creamy, delightful treat you’ve created.
To serve your homemade vanilla ice cream, simply scoop it into bowls or cones, and top it off with your favorite toppings and mix-ins that you prepared in Step 5. Whether you choose to drizzle it with caramel sauce, sprinkle it with cookie crumbs, or enjoy it on its own, each spoonful will be a taste of homemade goodness.
Take a moment to appreciate the rich aroma, smooth texture, and exquisite flavor of your homemade creation. Enjoy it with friends and family, or savor it all by yourself as a well-deserved indulgence.
Remember, homemade ice cream is best enjoyed fresh. If you have any leftovers, transfer them into an airtight container and store them in the freezer. However, keep in mind that homemade ice cream may develop iciness over time, so it’s best to consume it within a few days for optimal taste and texture.
Now that you’ve learned how to make homemade vanilla ice cream without an ice cream maker, you can continue experimenting with different flavors, textures, and mix-ins to create your own signature homemade ice cream creations.
So go ahead, embrace your inner ice cream connoisseur, and continue exploring the world of homemade frozen delights. Get creative, have fun, and enjoy the sweet rewards of making your own ice cream at home!