Introduction
Welcome to our guide on how to make delicious homemade ice cream using a Donvier ice cream maker. There’s something magical about making your own ice cream – the process, the anticipation, and the satisfaction of enjoying a scoop of creamy goodness that you’ve created yourself.
With a Donvier ice cream maker, you can easily whip up your favorite flavors and experiment with unique combinations to create a frozen treat that suits your taste buds. Whether you’re a seasoned ice cream aficionado or a beginner in the world of homemade desserts, this guide will take you through the step-by-step process of making ice cream using a Donvier ice cream maker.
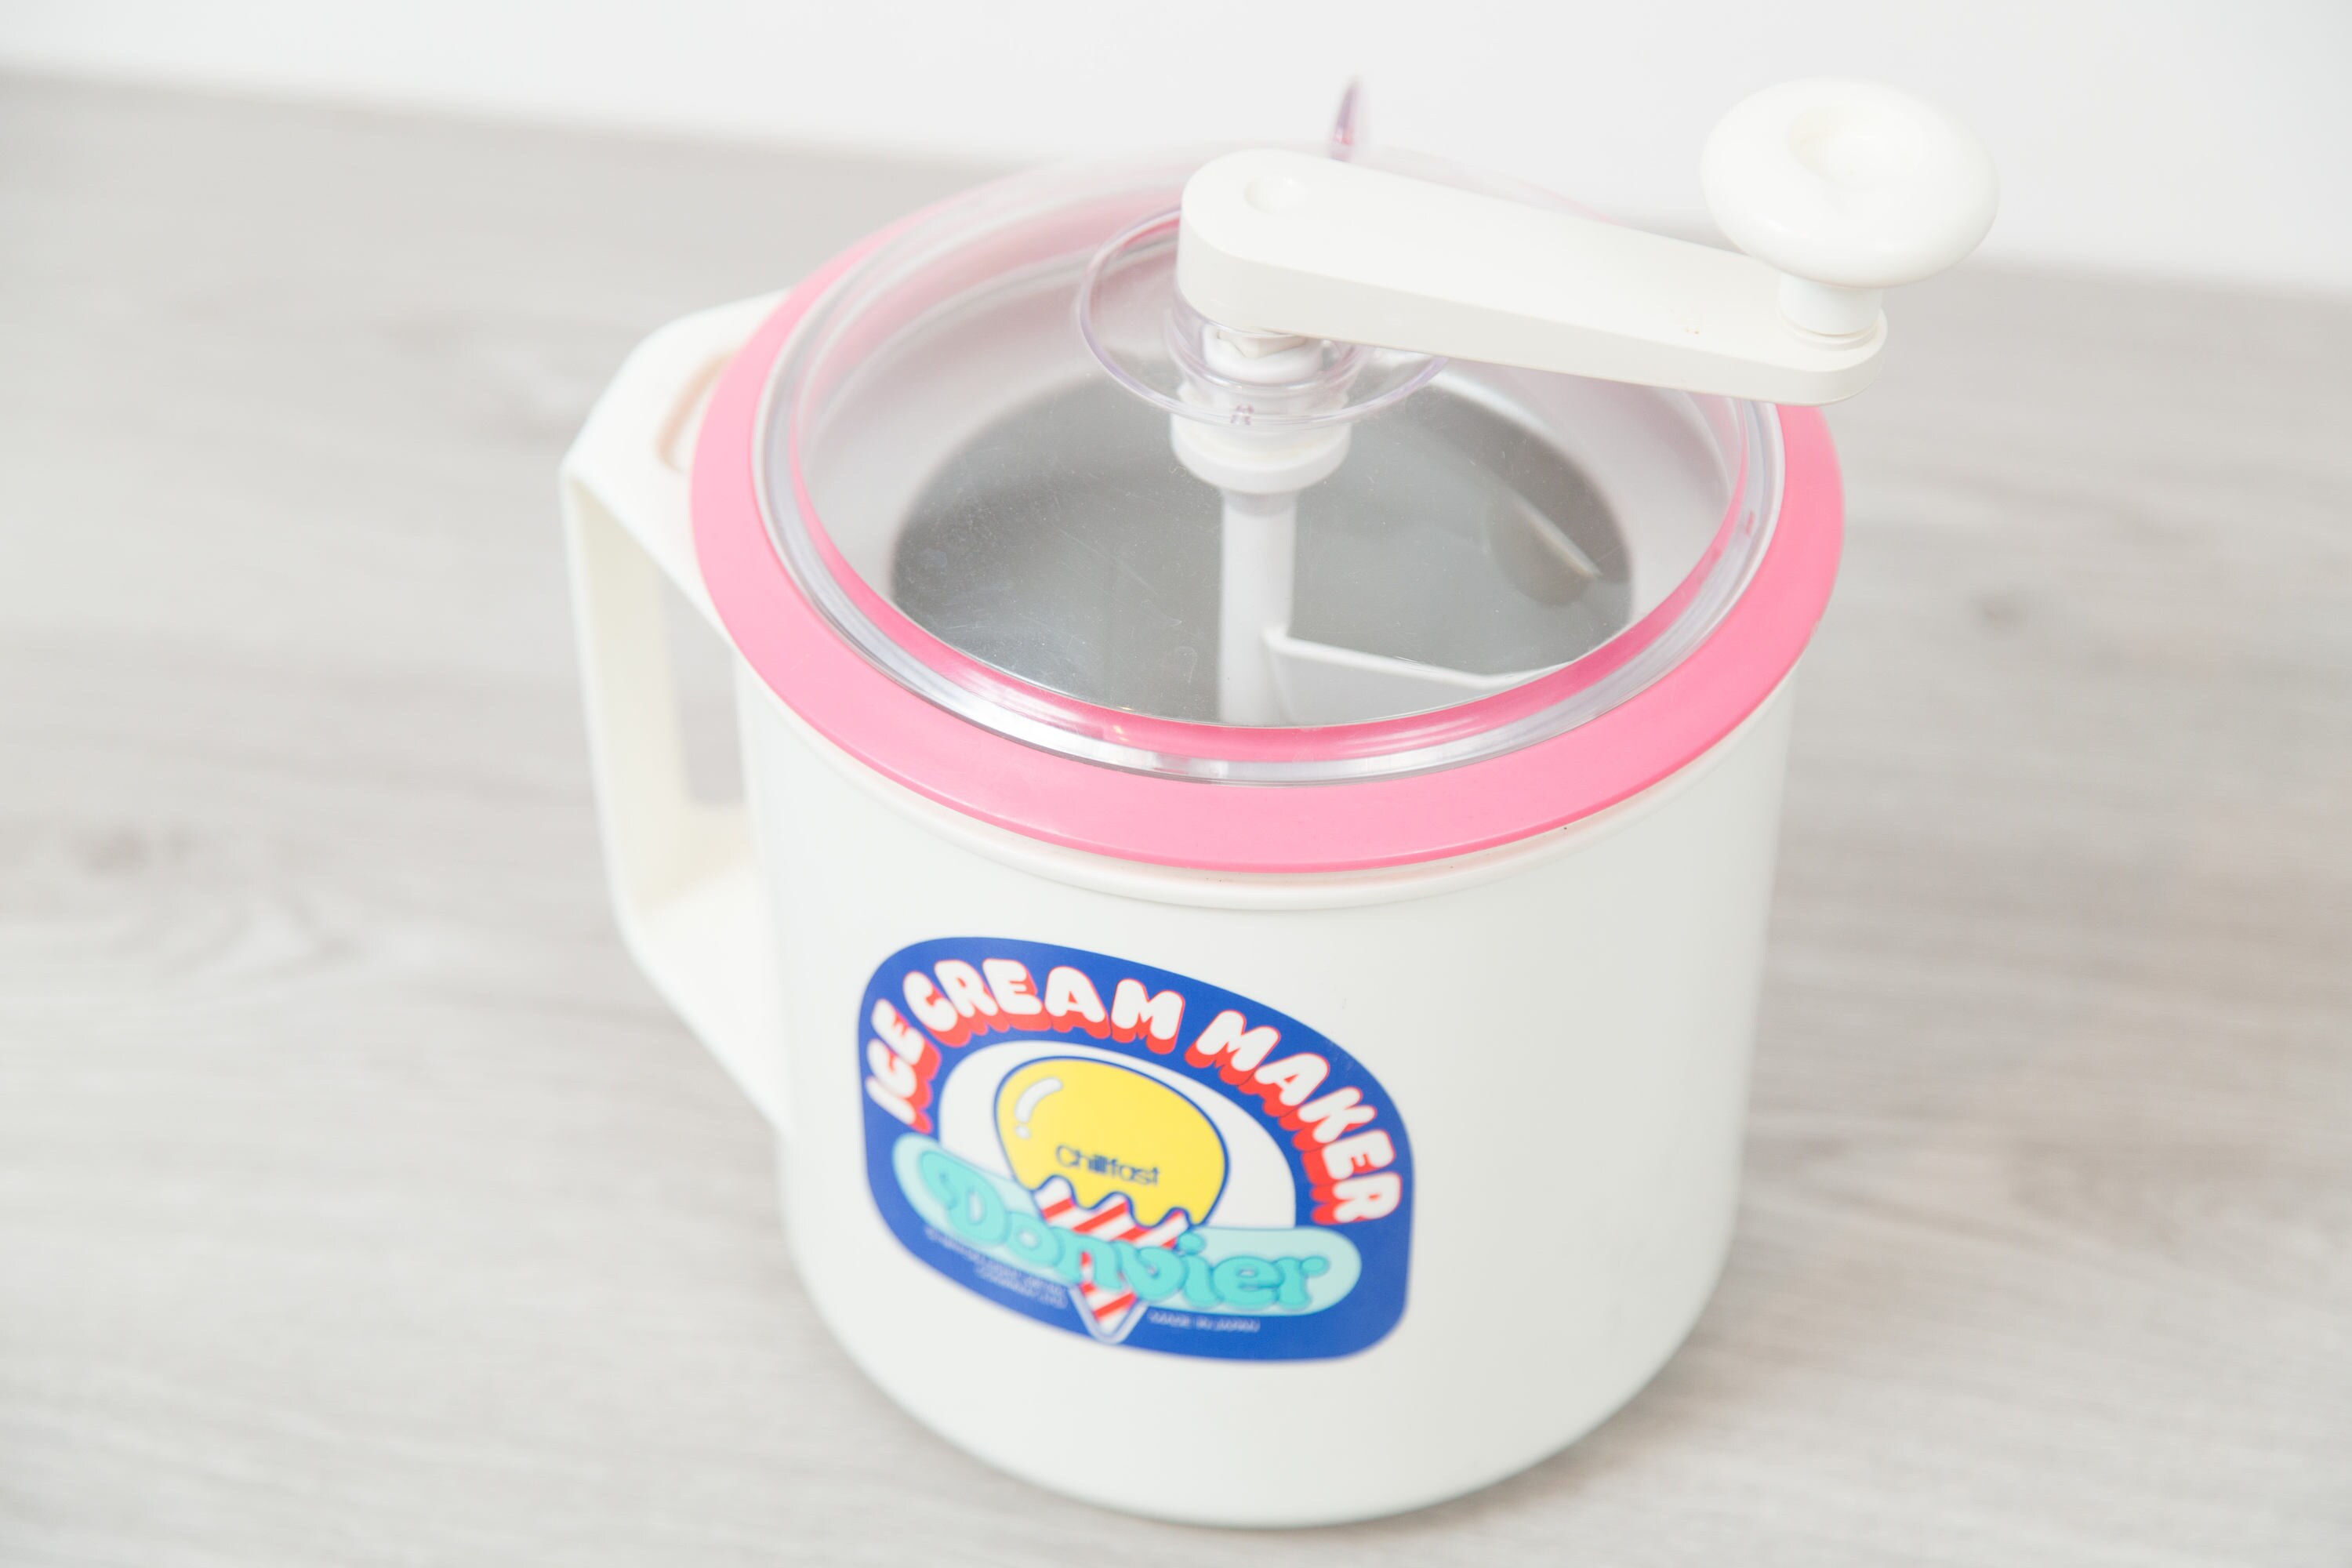
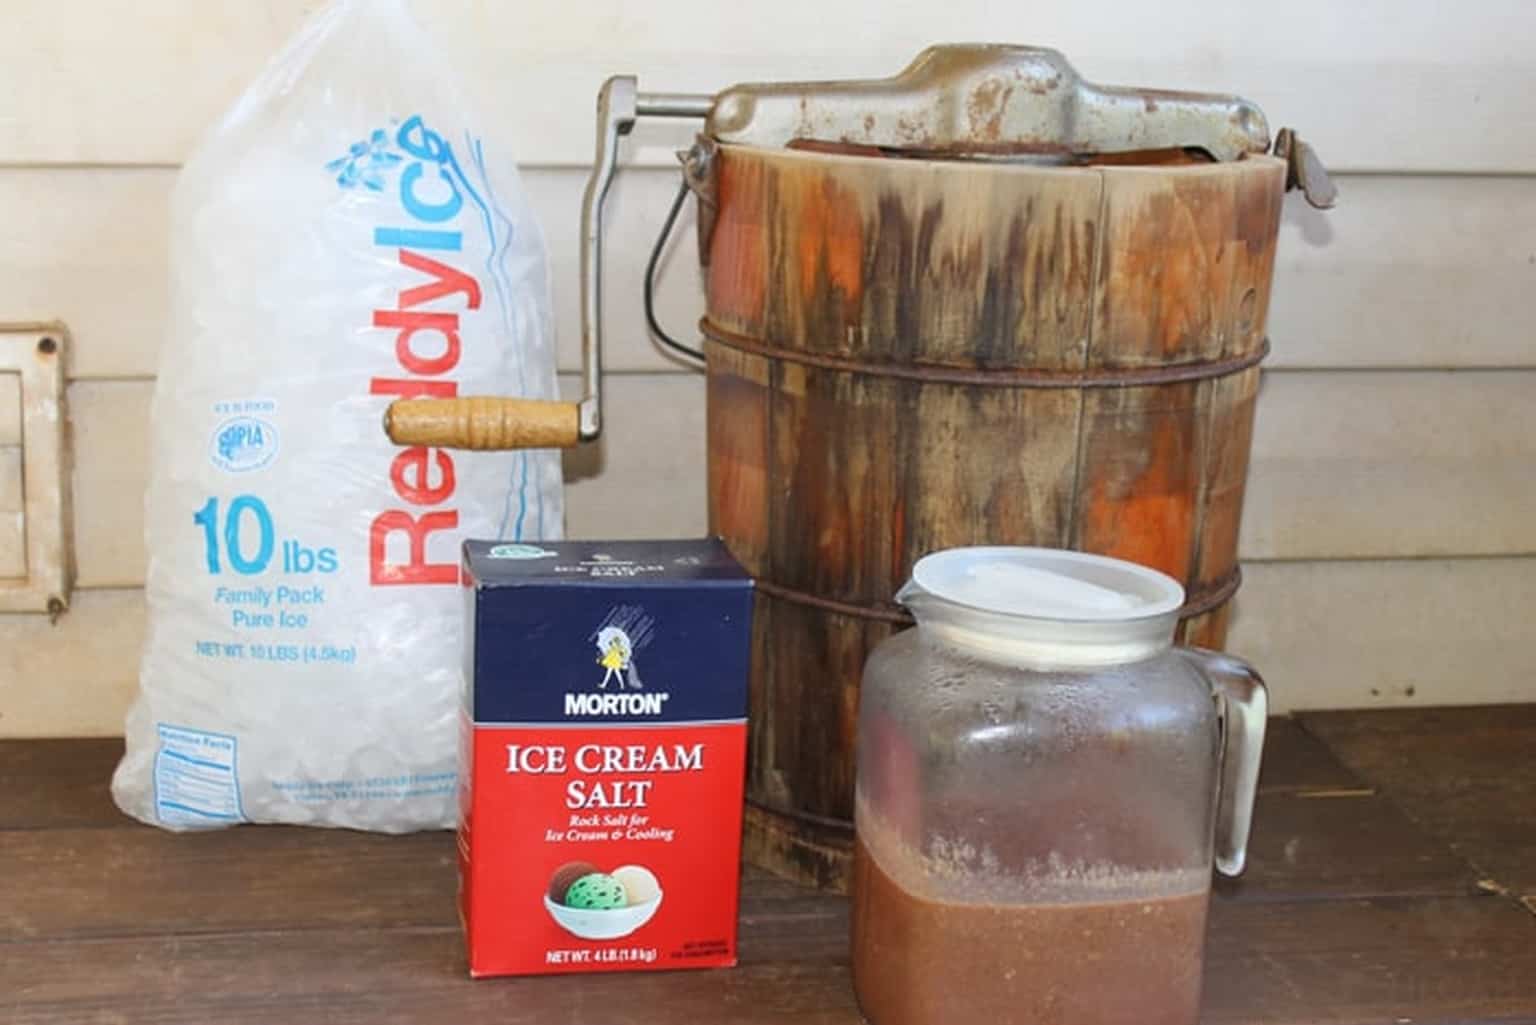
Why choose a Donvier ice cream maker, you may ask? Well, the Donvier brand has been trusted by home cooks for years, known for its simplicity, reliability, and the high quality of ice cream it produces. The Donvier ice cream maker is a manual, hand-crank model that doesn’t require electricity, making it perfect for those who enjoy a more hands-on approach to making ice cream.
With that said, let’s dive into the wonderful world of making ice cream with a Donvier ice cream maker. Get ready to indulge in creamy, homemade goodness that will rival any store-bought brand!
Ingredients
Before we get started, let’s gather all the ingredients you’ll need to make your homemade ice cream with a Donvier ice cream maker. The beauty of making your own ice cream is that you have full control over the flavors and ingredients, so feel free to customize this recipe to your liking.
- 2 cups of heavy cream
- 1 cup of whole milk
- 3/4 cup of granulated sugar
- 1 tablespoon of pure vanilla extract
- A pinch of salt
- Additional flavorings, such as cocoa powder, fruit puree, or crushed cookies (optional)
These ingredients will create a classic vanilla ice cream base. However, if you’re feeling adventurous, feel free to add your favorite mix-ins or flavors to customize your ice cream creation. From chocolate chips to fresh fruit, the possibilities are endless!
Ensure that the heavy cream, whole milk, and sugar are all chilled before starting the ice cream-making process. This will help speed up the chilling and freezing steps later on. Also, make sure your Donvier ice cream maker is clean and properly assembled before you start. Now that we have our ingredients ready, let’s move on to the next step of making the ice cream base!
Step 1: Preparing the Donvier Ice Cream Maker
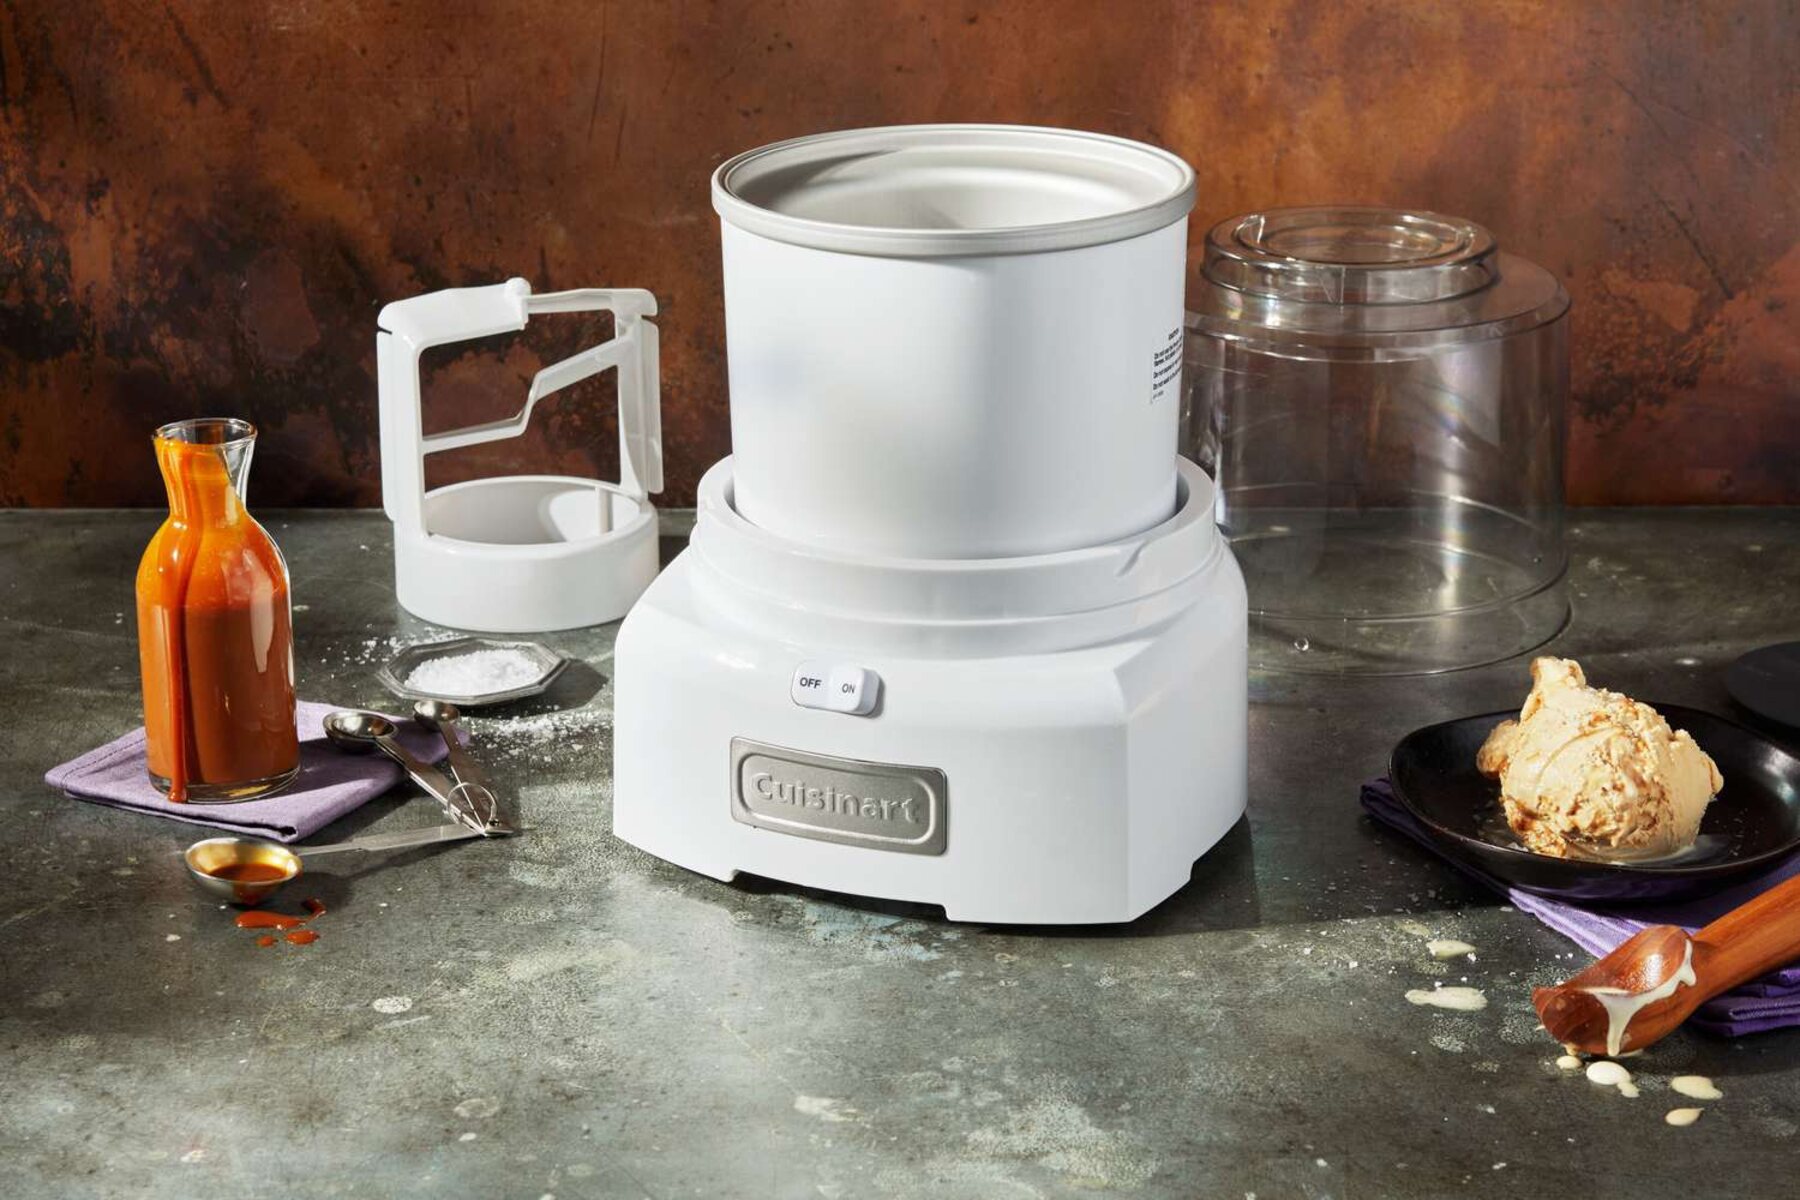
Before you can start making your ice cream, it’s essential to properly prepare your Donvier ice cream maker. Follow these simple steps to ensure optimal results:
- Place the metal cylinder of the Donvier ice cream maker in the freezer for at least 7-12 hours, or ideally overnight. This step is crucial because it allows the cylinder to freeze completely before churning the ice cream.
- Once the cylinder is completely frozen, remove it from the freezer and insert it into the Donvier base. Make sure it fits securely and is locked in place.
- Attach the paddle or dasher to the cylinder. This paddle will help churn the ice cream as it freezes.
- Ensure that the lid of the Donvier ice cream maker is clean and ready for use. The lid should cover the cylinder and have an opening in the center to allow for the insertion of the crank handle.
With your Donvier ice cream maker setup and ready to go, you’re one step closer to enjoying homemade ice cream. Remember that it’s essential to have all the necessary equipment and ingredients prepared before starting the ice cream-making process.
Now that your Donvier ice cream maker is properly prepared, let’s move on to the next step: making the ice cream base.
Step 2: Making the Ice Cream Base
Now that your Donvier ice cream maker is ready, it’s time to prepare the ice cream base. This is where you’ll combine the ingredients to create a creamy and delicious foundation for your homemade ice cream. Follow these steps to make the perfect ice cream base:
- In a mixing bowl, combine the heavy cream, whole milk, granulated sugar, pure vanilla extract, and a pinch of salt.
- Whisk the ingredients together until the sugar has fully dissolved and everything is well combined. You should have a smooth and slightly sweetened mixture.
- If you want to incorporate additional flavorings, such as cocoa powder for chocolate ice cream or fruit puree for fruity flavors, this is the time to add them. Mix in your desired flavorings until well combined.
Once you have your ice cream base prepared, give it a taste to ensure it has the desired sweetness and flavor. You can always adjust the flavors by adding more sugar or vanilla extract if needed.
Remember, the quality of your ingredients will significantly impact the taste of your homemade ice cream. Using high-quality heavy cream, whole milk, and pure vanilla extract will result in a rich and flavorful ice cream base.
Now that you’ve made the perfect ice cream base, it’s time to move on to the next step: chilling the ice cream base.
Step 3: Chilling the Ice Cream Base
Chilling the ice cream base before churning is an important step that helps achieve a smoother texture and better freezing results. Follow these steps to properly chill your ice cream base:
- Pour the prepared ice cream base into a lidded container. Make sure the container is large enough to hold the entire mixture with some room for expansion as it freezes.
- Place the container in the refrigerator and let it chill for at least 2-4 hours, or overnight if possible. Chilling the mixture allows the flavors to meld together and enhances the texture of the ice cream.
- You can also place the container in an ice bath to speed up the chilling process. Fill a larger bowl with ice and water, then nestle the container of ice cream base into the ice bath. Stir the mixture occasionally to ensure even cooling.
During this chilling period, it’s important to resist the temptation to sample the mixture too often, as you want to allow it to fully chill for the best results. Patience pays off when it comes to homemade ice cream!
Once the ice cream base is thoroughly chilled, it’s time to move on to the next step: preparing the Donvier ice cream maker for churning.
Step 4: Preparing the Donvier Ice Cream Maker for Churning
Before you can start churning your ice cream in the Donvier ice cream maker, you need to properly set it up for the churning process. Follow these steps to prepare your Donvier ice cream maker:
- Remove the frozen cylinder from the freezer and quickly assemble it into the Donvier base if you haven’t done so already.
- Securely attach the paddle or dasher onto the spindle inside the cylinder. Ensure that it is properly aligned and fits snugly into place.
- Take the chilled ice cream base from the refrigerator and give it a good stir to make sure it is well mixed.
- Pour the chilled ice cream base into the prepared Donvier ice cream maker’s cylinder. Fill it up to the indicated maximum fill line, leaving room for expansion during churning.
- Place the preassembled lid on top of the Donvier ice cream maker, making sure it locks into place. The opening in the center of the lid should align with the spindle attached to the dasher.
With these steps completed, your Donvier ice cream maker is now ready for churning. The chilled ice cream base is in place, and the paddle is poised to turn it into a creamy delight.
Now, it’s time to move on to the exciting step of churning the ice cream, as we transform the mixture into a frozen treat with the perfect consistency.
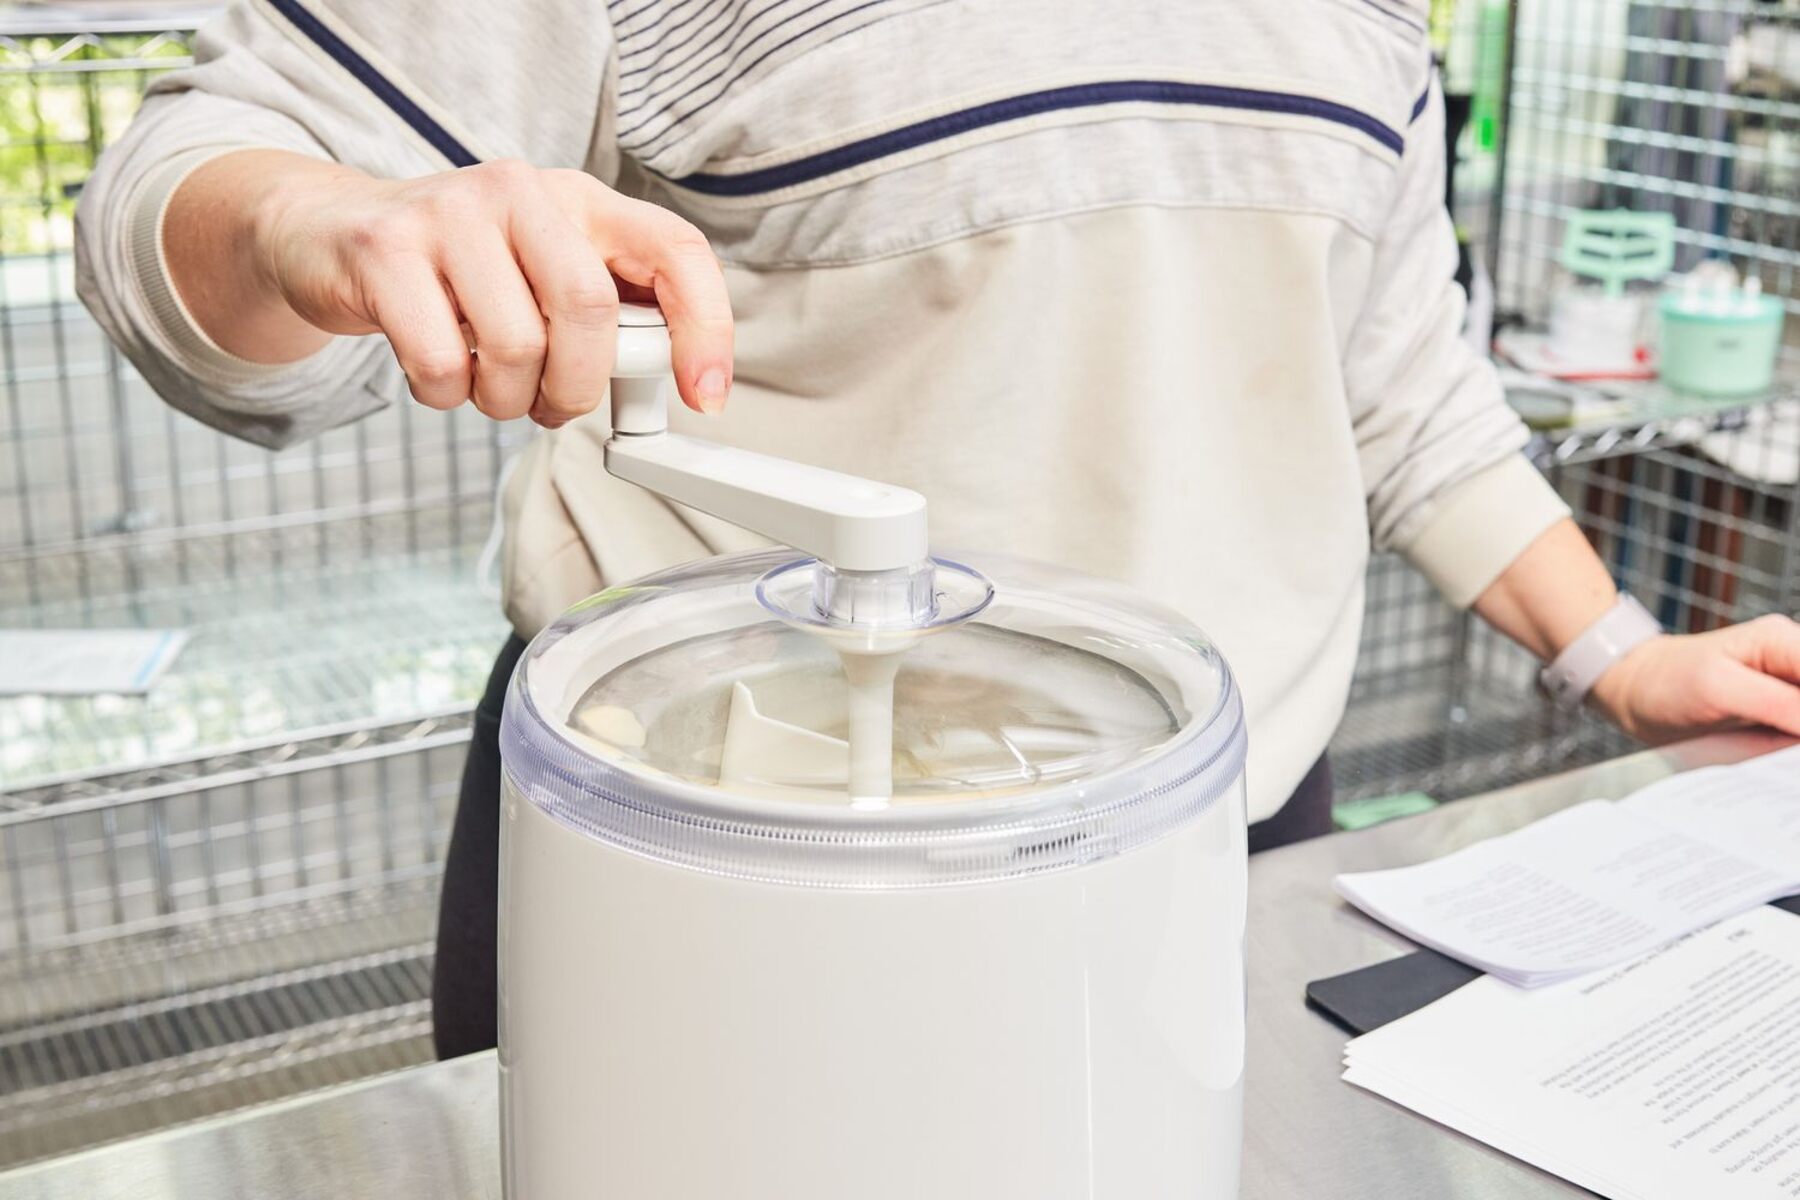
Step 5: Churning the Ice Cream
Churning is the magical step where the Donvier ice cream maker transforms your chilled ice cream base into a creamy and delectable frozen dessert. Follow these steps to churn your ice cream:
- Place the crank handle into the hole in the center of the Donvier ice cream maker’s lid.
- Begin turning the crank handle in a smooth and steady motion. The paddle inside the cylinder will start churning the ice cream base.
- Continue cranking the handle for about 20-30 minutes or until the ice cream reaches your desired consistency. You may need to adjust the speed of cranking to ensure even freezing and a velvety texture.
- As you crank, you will notice the ice cream base thickening and freezing against the sides of the cylinder. Use a spatula or spoon to scrape down the frozen mixture from the sides and incorporate it back into the churning ice cream.
- Keep churning until the ice cream reaches a soft-serve consistency. It should be thick, creamy, and hold its shape when scooped.
During the churning process, you may choose to add mix-ins like chocolate chips, nuts, or cookie crumbs. Simply fold in your desired mix-ins during the last few minutes of churning to evenly distribute them throughout the ice cream.
Churning time may vary depending on factors such as the temperature of the ice cream base, the ambient temperature, and the desired consistency. Adjust the churning time as needed to achieve the perfect texture.
Once you’ve achieved the desired consistency, it’s time to move on to the final step: freezing the ice cream to firm it up and make it ready for serving and enjoying.
Step 6: Freezing the Ice Cream
After churning the ice cream, it’s time to freeze it to achieve the perfect firmness and texture for serving. Follow these steps to freeze your homemade ice cream:
- Remove the crank handle from the Donvier ice cream maker’s lid and carefully remove the lid.
- Using a spatula or spoon, transfer the churned ice cream into a lidded container. Make sure the container is suitable for freezing and has enough space to accommodate the entire batch.
- Smooth the top of the ice cream with the spatula to create an even surface.
- Place the lid on the container and seal it tightly to prevent air from entering. This will help prevent ice crystals from forming and maintain the freshness of the ice cream.
- Transfer the container to the freezer and let it freeze for at least 4-6 hours, or until the ice cream has hardened to your desired consistency.
It’s important to note that homemade ice cream may freeze harder than store-bought ice cream due to the absence of certain stabilizers. To make the ice cream easier to scoop, let it sit at room temperature for a few minutes before serving.
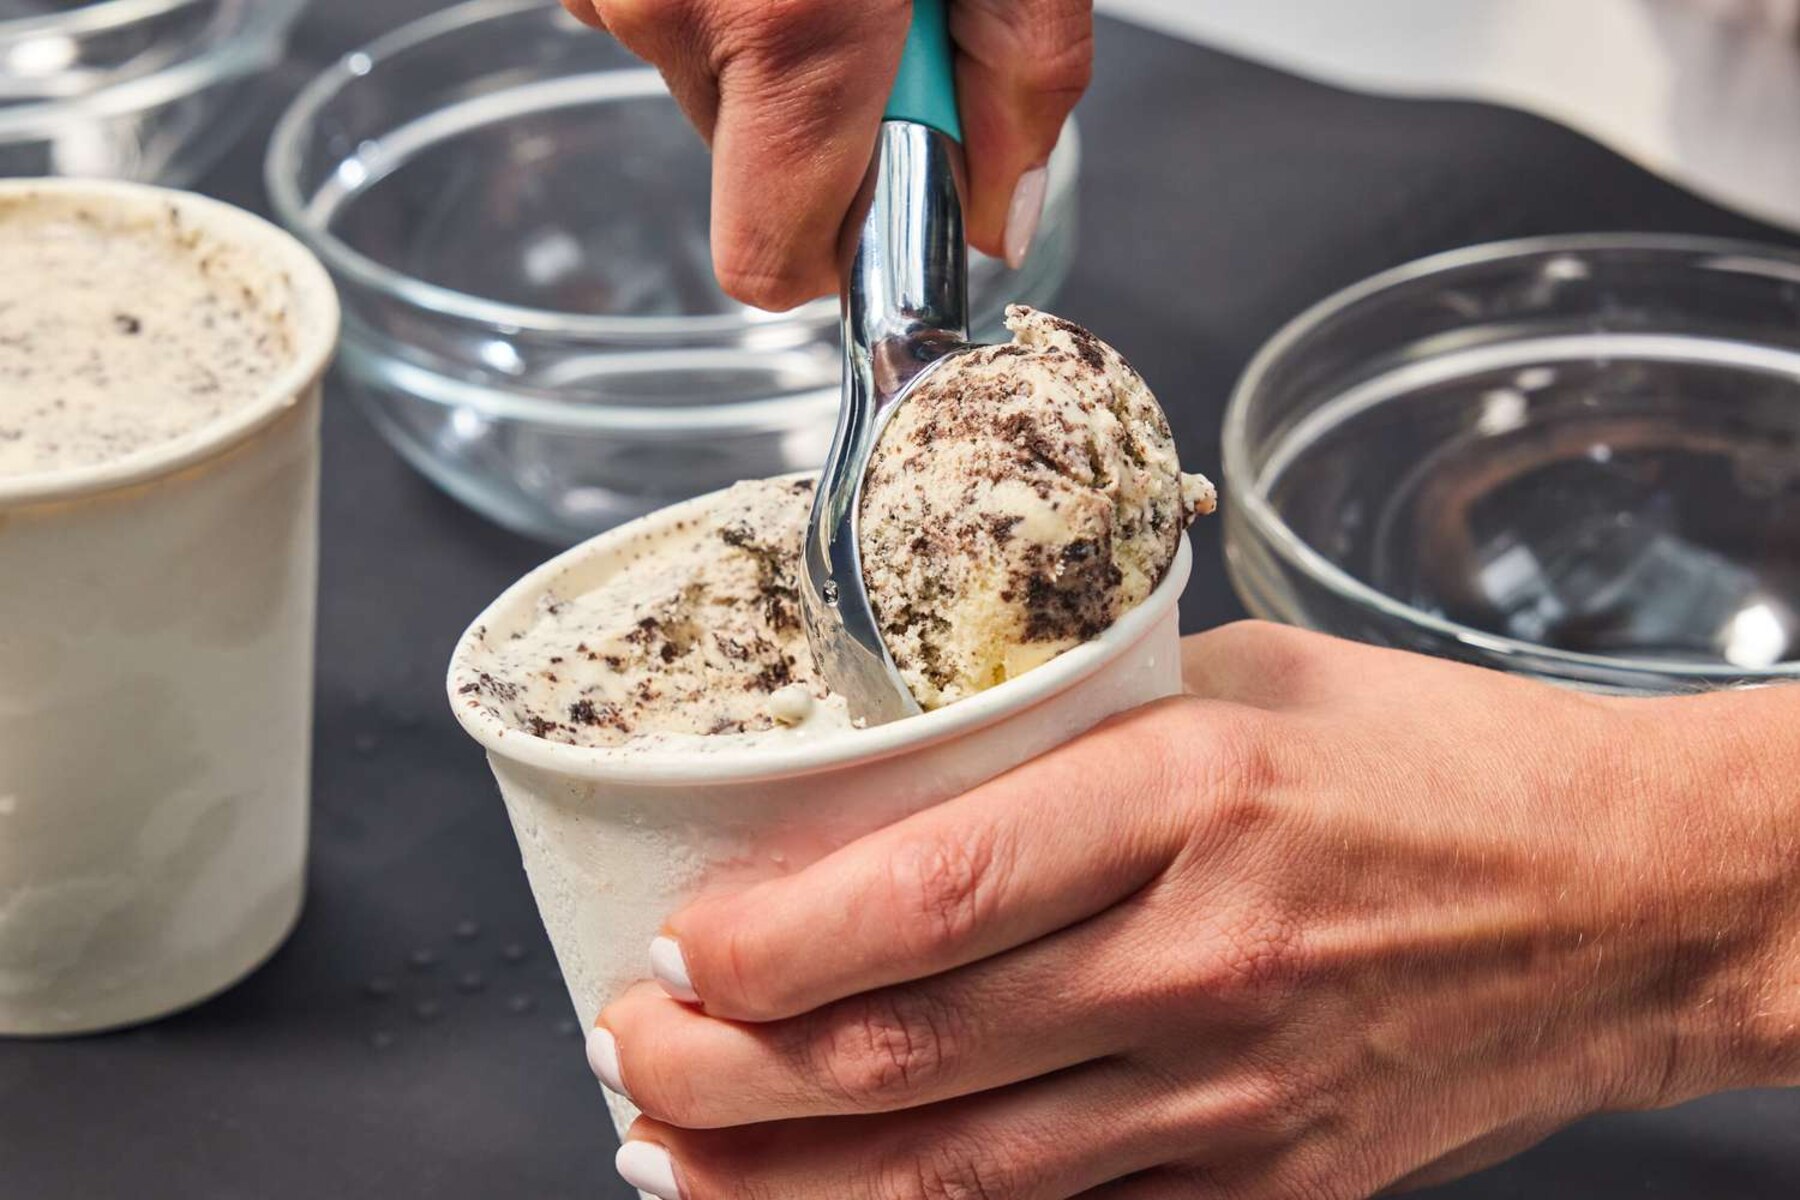
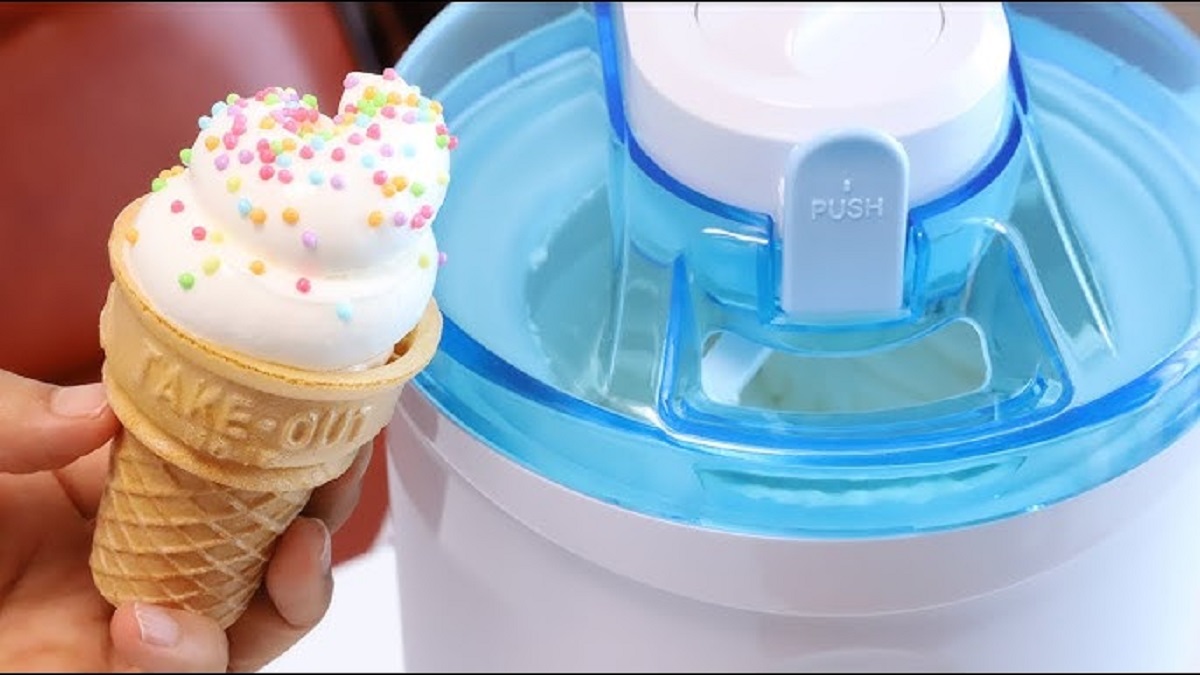
Once the ice cream is thoroughly frozen, you can scoop it into bowls, cones, or dishes and savor the fruits of your labor. Don’t forget to garnish it with your favorite toppings, such as whipped cream, sprinkles, or a drizzle of chocolate sauce, for an extra touch of indulgence.
Now that you’ve learned how to make delicious homemade ice cream using a Donvier ice cream maker, you’re ready to enjoy the sweet rewards. Get creative with flavors and mix-ins to create endless variations of your favorite frozen treat.
So go ahead, indulge in a scoop (or two) of your homemade masterpiece and relish in the satisfaction of making ice cream from scratch. Share your creations with friends and family, and remember, the joy of homemade ice cream is best enjoyed together.
Serving and Enjoying Your Homemade Ice Cream
After patiently waiting for your homemade ice cream to freeze, it’s time to serve and savor the delicious results. Follow these steps to serve and enjoy your homemade ice cream:
- Remove the container of frozen ice cream from the freezer and let it sit at room temperature for a few minutes to soften slightly. This will make it easier to scoop.
- Using an ice cream scoop or a large spoon, carefully scoop out individual portions of ice cream into bowls, cones, or dishes. Take your time to create beautiful and enticing scoops.
- If desired, garnish your homemade ice cream with toppings like whipped cream, chocolate shavings, nuts, or fresh fruit. These toppings add extra flavor, texture, and visual appeal to your creation.
- Serve your homemade ice cream immediately and enjoy! Take a moment to appreciate the creamy texture, the balanced flavors, and the satisfaction of creating such a delightful treat.
- For any leftover ice cream, quickly return it to the freezer to prevent it from melting. Be sure to cover the container tightly to minimize the formation of ice crystals.
Homemade ice cream is a wonderful treat to share with loved ones. Whether you’re serving it at a gathering, enjoying it on a warm summer day, or indulging in a cozy night at home, your homemade ice cream is sure to be a hit.
Remember, part of the joy of homemade ice cream is the ability to experiment with flavors and mix-ins. Don’t be afraid to get creative and try new combinations! From classic vanilla to decadent chocolate, fruity sorbets to indulgent cookie dough, the possibilities are endless.
Now that you know how to make homemade ice cream using a Donvier ice cream maker, you can impress your friends and family with your delicious creations. So go ahead, enjoy your homemade ice cream, and indulge in the sweet satisfaction of making a frozen treat that’s truly your own.
Tips and Variations
Making homemade ice cream using a Donvier ice cream maker is a fun and rewarding experience. Here are some tips and variations to enhance your ice cream-making journey:
- Experiment with flavors: While the classic vanilla is always a crowd-pleaser, don’t be afraid to try different flavor combinations. Add your favorite extracts, such as mint or almond, or infuse the ice cream base with spices like cinnamon or cardamom.
- Add mix-ins: Customize your ice cream by adding a variety of mix-ins. From chocolate chips and nuts to fruit pieces and cookie chunks, mix-ins can take your ice cream to the next level. Fold them into the ice cream during the churning process.
- Use quality ingredients: Opt for high-quality ingredients to achieve the best taste and texture. Fresh dairy, pure extracts, and ripe fruits will make a noticeable difference in the final product.
- Let flavors develop: After creating the ice cream base, let it sit in the refrigerator for a few hours or overnight. This allows the flavors to meld together and intensify.
- Pre-chill your mix-ins: If you’re adding items like chocolate chips or crushed cookies, it’s a good idea to pre-chill them in the freezer. This prevents them from melting and becoming too soft during churning.
- Experiment with sweeteners: Don’t limit yourself to granulated sugar. Try substituting with alternative sweeteners like honey, maple syrup, or agave nectar for unique flavor profiles.
- Keep it simple: Sometimes, less is more. Let the natural flavors of quality ingredients shine by keeping your ice cream base simple and uncomplicated.
- Take flavor inspiration from your favorite desserts: If you love the flavors of a specific dessert, such as apple pie or cookies and cream, envision how you can translate those flavors into an ice cream base.
Remember, ice cream-making is a creative endeavor, so don’t be afraid to experiment and have fun with the process. Enjoy the journey of creating your own unique frozen treats!
Conclusion
Congratulations! You have successfully learned how to make delicious homemade ice cream using a Donvier ice cream maker. By following the steps outlined in this guide, you can now indulge in the satisfaction of creating your own frozen treat with endless flavor possibilities.
The Donvier ice cream maker provides the perfect tool for churning creamy, homemade ice cream in the comfort of your own kitchen. From preparing the ice cream base to churning and freezing, you now have the knowledge to create a velvety smooth and flavorful end result.
Remember to experiment with flavors, mix-ins, and toppings to personalize your ice cream creations. The joy of making homemade ice cream lies in the ability to customize, allowing you to create unique tastes that suit your preferences and wow your friends and family.
So gather your ingredients, prepare your Donvier ice cream maker, and let your creativity flow. Whether you’re enjoying a classic vanilla, a decadent chocolate, or a fruity sorbet, the satisfaction of indulging in your homemade ice cream is unparalleled.
Now, go ahead and share your delicious creations with loved ones, or sit back and relish in the knowledge that you have mastered the art of making homemade ice cream. Enjoy the sweet rewards of your labor, and savor every creamy, delectable spoonful!