Introduction
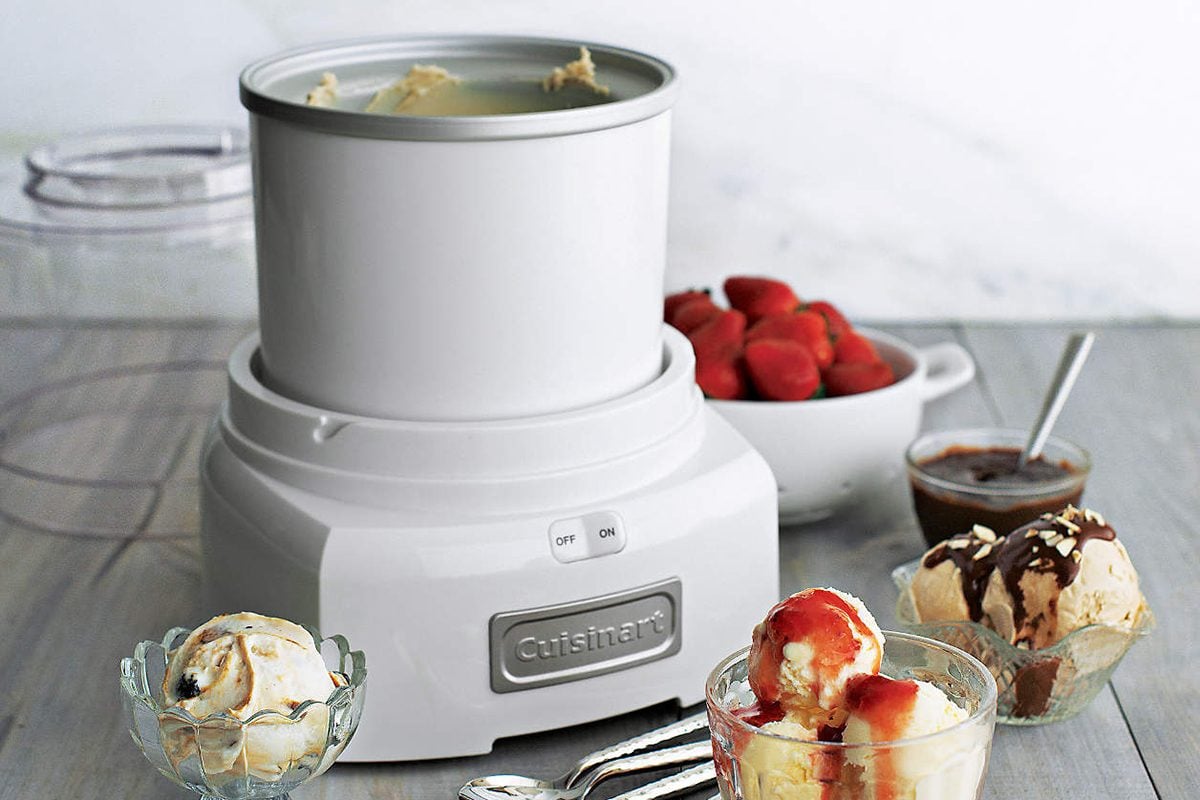
Welcome to the world of homemade ice cream! There’s nothing quite like the satisfaction of indulging in a creamy, delicious treat that you made from scratch. While traditional ice cream recipes often call for an ice cream maker and whipping cream, fear not if you don’t have those at hand. This article will show you how to make vanilla ice cream without an ice cream maker or whipping cream. Yes, you read that right!
With just a few simple ingredients and the right technique, you can create a velvety smooth vanilla ice cream that will rival any store-bought brand. Get ready to impress your friends and family with this delightful frozen treat that you can proudly say you made yourself.
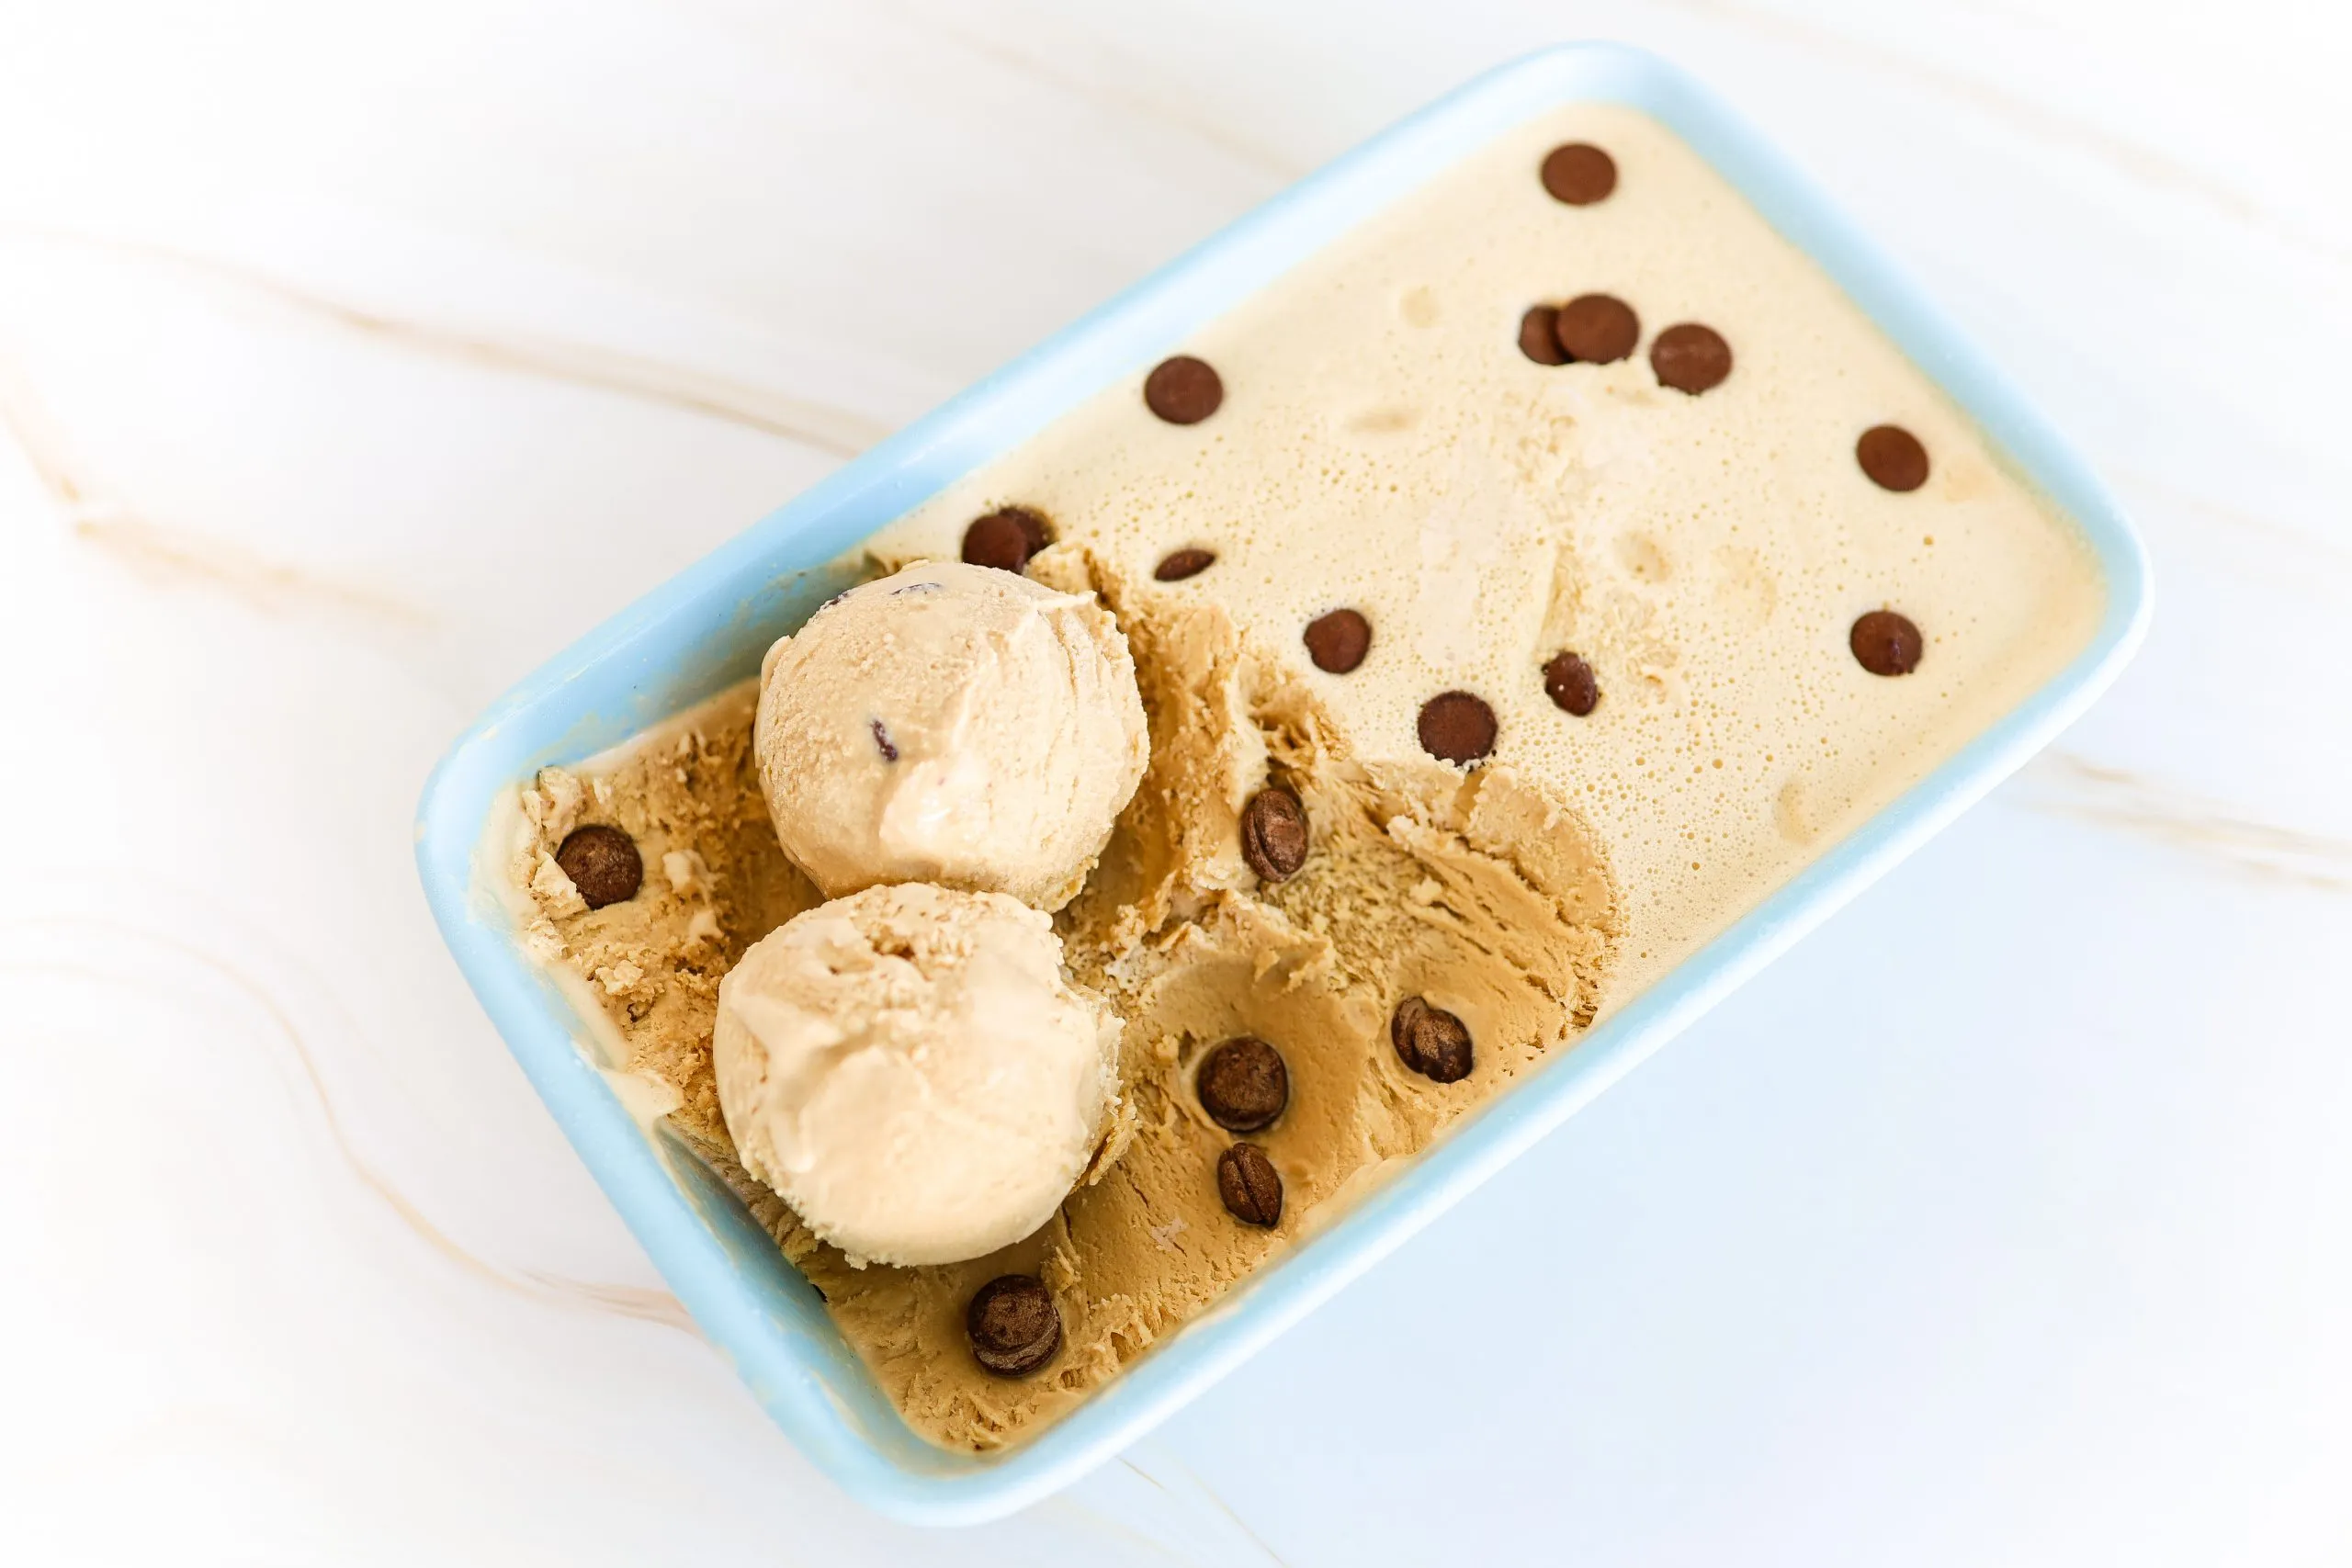
Not only is making ice cream at home a fun and rewarding experience, but it also allows you to have complete control over the ingredients. You can choose to use organic milk, fresh vanilla beans, and natural sweeteners, ensuring a healthier and more wholesome final product. Plus, you can customize your ice cream by adding your favorite mix-ins, such as chocolate chips, nuts, or fruit.
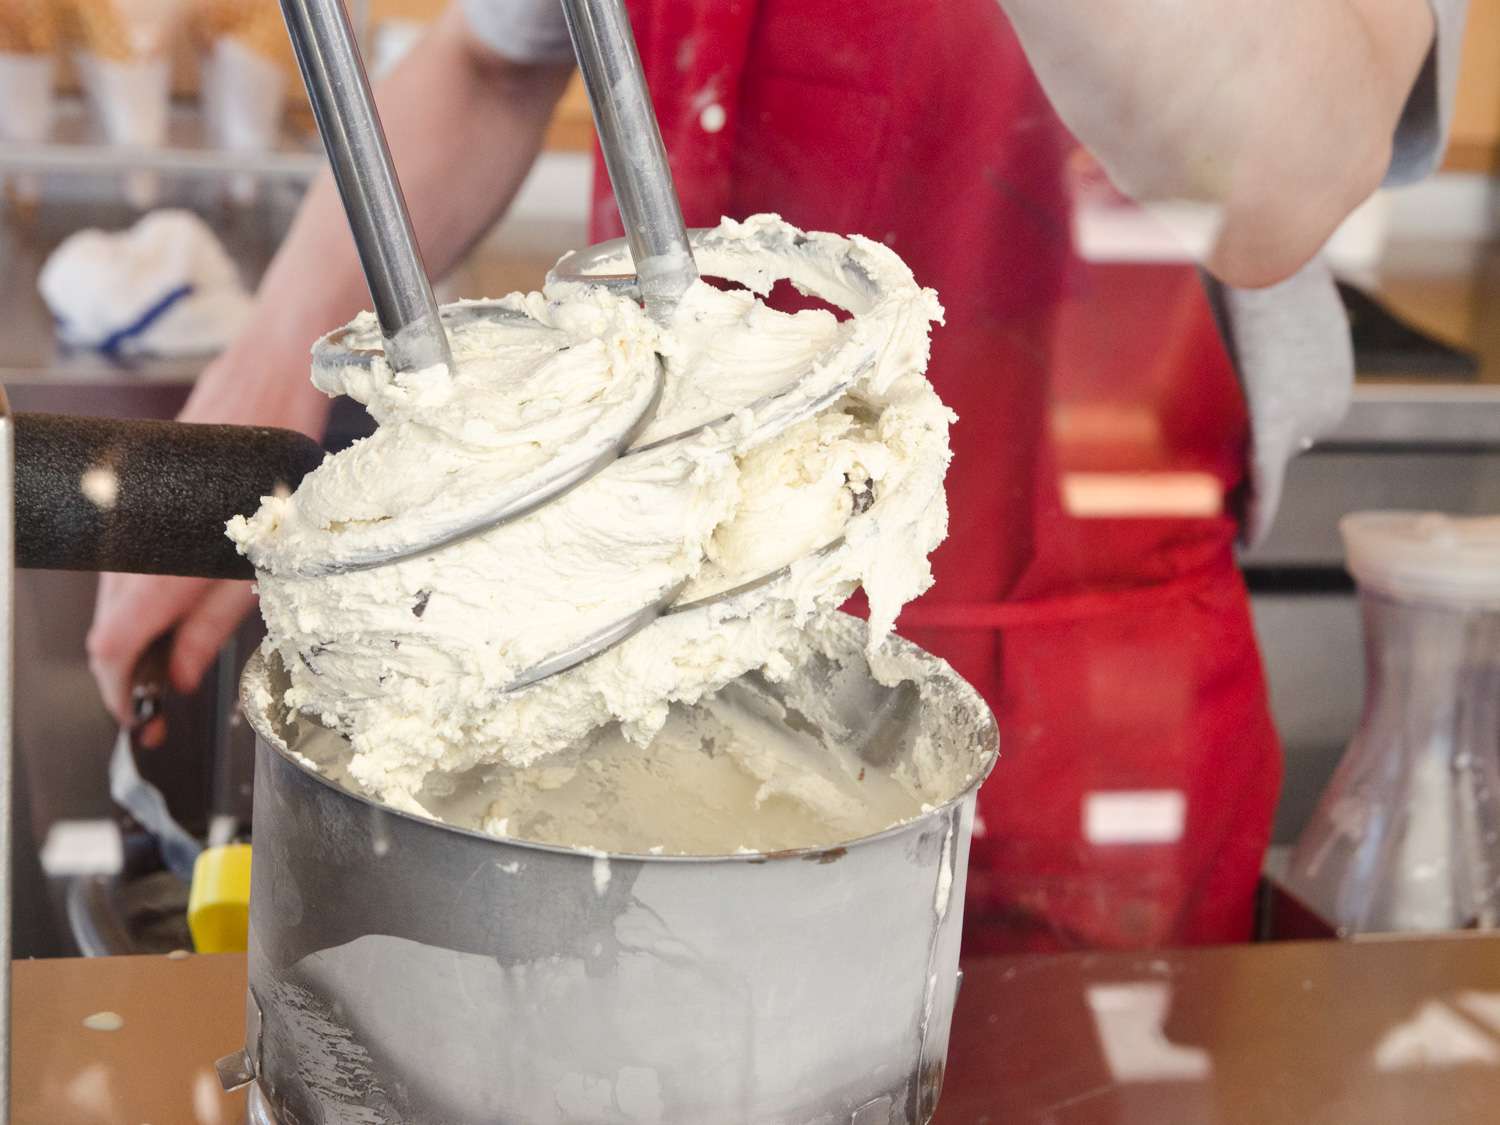
No ice cream maker? No problem! All you need is a hand mixer or a whisk and a little patience. The secret lies in the churning process, which incorporates air into the mixture, giving your ice cream that creamy texture we all love. But don’t worry if you don’t have access to heavy whipping cream either – we’ve got a clever substitution that will yield equally delicious results.
So, let’s roll up our sleeves and dive into the world of homemade vanilla ice cream. Whether you’re looking to satisfy a sweet craving or impress your guests at a summer gathering, this recipe will not disappoint. Get ready for ice cream bliss!
Equipment Needed
Before we get started, let’s make sure you have all the necessary equipment to successfully make vanilla ice cream without an ice cream maker or whipping cream. Don’t worry, you won’t need any fancy gadgets or expensive appliances. Here’s what you’ll need:
- A mixing bowl – This will be used to combine and whip the ingredients.
- A hand mixer or whisk – This will help incorporate air into the mixture, creating a creamy texture.
- A medium-sized saucepan – You’ll use this to heat the milk mixture.
- A silicone spatula or wooden spoon – This will be handy for stirring the milk mixture and scraping down the sides of the saucepan.
- A fine-mesh sieve – This will help remove any lumps or impurities from the cooked milk mixture.
- A lidded container – You’ll need a container with a tight-fitting lid to store the ice cream while it freezes.
Remember, these are just the basic essentials needed to make vanilla ice cream without an ice cream maker or whipping cream. You may also want to have a freezer thermometer to ensure that your freezer is at the optimal temperature for freezing the ice cream.
Now that you have all the necessary equipment, you’re ready to move on to the next step – gathering the ingredients for your homemade vanilla ice cream. Get excited, because we’re one step closer to enjoying a delightful frozen treat!
Ingredients
To make vanilla ice cream without an ice cream maker or whipping cream, you’ll need the following ingredients:
- 2 cups of whole milk – Using whole milk will provide a rich and creamy base for your ice cream.
- 3/4 cup of granulated sugar – This will provide sweetness to your ice cream.
- 2 teaspoons of pure vanilla extract – Vanilla extract will impart a delightful flavor to your ice cream.
- 2 cups of heavy cream substitute – Since we’re not using whipping cream, we’ll be using a clever substitute. You can use a combination of 1 1/2 cups of regular milk and 1/2 cup of melted butter as a substitute for 2 cups of heavy cream.
- A pinch of salt – This will help enhance the flavors in your ice cream.
That’s it! With just a handful of simple ingredients, you’ll be on your way to creating a scrumptious batch of homemade ice cream. Don’t forget to use quality ingredients for the best results. Fresh vanilla extract and high-quality milk will make a noticeable difference in the flavor of your ice cream.
Now that you have your equipment and ingredients ready, it’s time to dive into the step-by-step process of making vanilla ice cream without an ice cream maker or whipping cream. Get ready to embark on a delicious homemade ice cream adventure!
Step 1: Prepare the Base
The first step in making vanilla ice cream without an ice cream maker or whipping cream is to prepare the base. This involves heating and combining the milk, sugar, vanilla extract, heavy cream substitute, and a pinch of salt. Follow these simple steps:
- In a medium-sized saucepan, pour in the whole milk and place it over medium heat. Heat the milk until it starts to steam, but make sure it doesn’t come to a boil. Keep a close eye on it and stir occasionally to prevent scorching.
- Add the granulated sugar to the milk and stir until it completely dissolves.
- Next, add the pure vanilla extract and the pinch of salt to the milk mixture. Stir well to incorporate the flavors.
- Now it’s time to prepare the heavy cream substitute. In a microwave-safe bowl, melt the butter and let it cool for a few minutes.
- In a separate container, combine the melted butter with the regular milk. Stir well to ensure that the butter is evenly distributed.
- Pour the heavy cream substitute mixture into the saucepan with the milk mixture. Stir everything together until well combined.
At this point, your base mixture is ready. It should have a smooth and creamy texture with a hint of vanilla aroma. Take a moment to savor the anticipation of the delicious homemade ice cream that awaits you. And don’t worry, we’re just getting started!
Step 2: Chilling the Mixture
Once you’ve prepared the base for your vanilla ice cream, the next step is to chill the mixture. This will allow the flavors to meld together and ensure a smooth and creamy texture in the final product. Follow these steps to properly chill the ice cream mixture:
- Carefully transfer the mixture from the saucepan into a clean mixing bowl. This will help cool the mixture faster and prevent any residual heat from the saucepan from altering the texture of the ice cream.
- Place the mixing bowl in the refrigerator and let the mixture cool for at least 2 hours. Chilling the mixture thoroughly will give it time to set and develop the desired consistency.
- For an even better result, cover the mixing bowl with plastic wrap or a lid. This will prevent any unwanted flavors or odors from seeping into the mixture while it chills.
During the chilling process, you may notice a thin film or skin forming on the surface of the mixture. Don’t worry – this is normal. Simply give the mixture a gentle stir before transferring it to the freezer. Doing so will help incorporate any skin that has formed and maintain a consistent texture throughout the ice cream.
Now, while you wait for the mixture to chill, take a break and get excited about the incredible homemade vanilla ice cream that’s soon to come. The hardest part is behind you, and the best part is just around the corner!
Step 3: Freezing the Ice Cream
After the ice cream mixture has chilled and the flavors have melded together, it’s time to freeze your homemade vanilla ice cream. Follow these steps to achieve the perfect frozen treat:
- Retrieve the chilled ice cream mixture from the refrigerator and give it a good stir to ensure it is well-mixed.
- Prepare a lidded container or a loaf pan where you will freeze your ice cream. Make sure it is clean and dry.
- Transfer the ice cream mixture into the container and spread it evenly.
- Place the container in the freezer and let it freeze for about 2 hours, or until the edges start to firm up.
- After the initial 2-hour freezing period, take the container out of the freezer and give the mixture a good stir. This will help break up any ice crystals that have formed and ensure a smooth and creamy texture.
- Return the container to the freezer and let the ice cream continue to freeze for another 2-3 hours, or until it reaches your desired consistency.
Remember to cover the container with the lid or plastic wrap before placing it back in the freezer. This will prevent freezer burn and any unwanted odors from affecting the ice cream.
During the freezing process, you may be tempted to keep checking on your ice cream and give it a stir. While it’s natural to be excited, try to resist the urge as much as possible. The more you disturb the mixture, the more ice crystals can form, resulting in a less creamy texture.
Now, all that’s left to do is wait for your homemade vanilla ice cream to freeze completely. Once it’s reached the desired consistency, you can move on to the final step – enjoying your delicious creation!
Step 4: Time to Enjoy!
Congratulations, you’ve made it to the final step – it’s time to enjoy your homemade vanilla ice cream! Follow these steps to savor the fruits of your labor:
- Retrieve the container of frozen vanilla ice cream from the freezer.
- Allow the ice cream to sit at room temperature for a few minutes to soften slightly. This will make it easier to scoop.
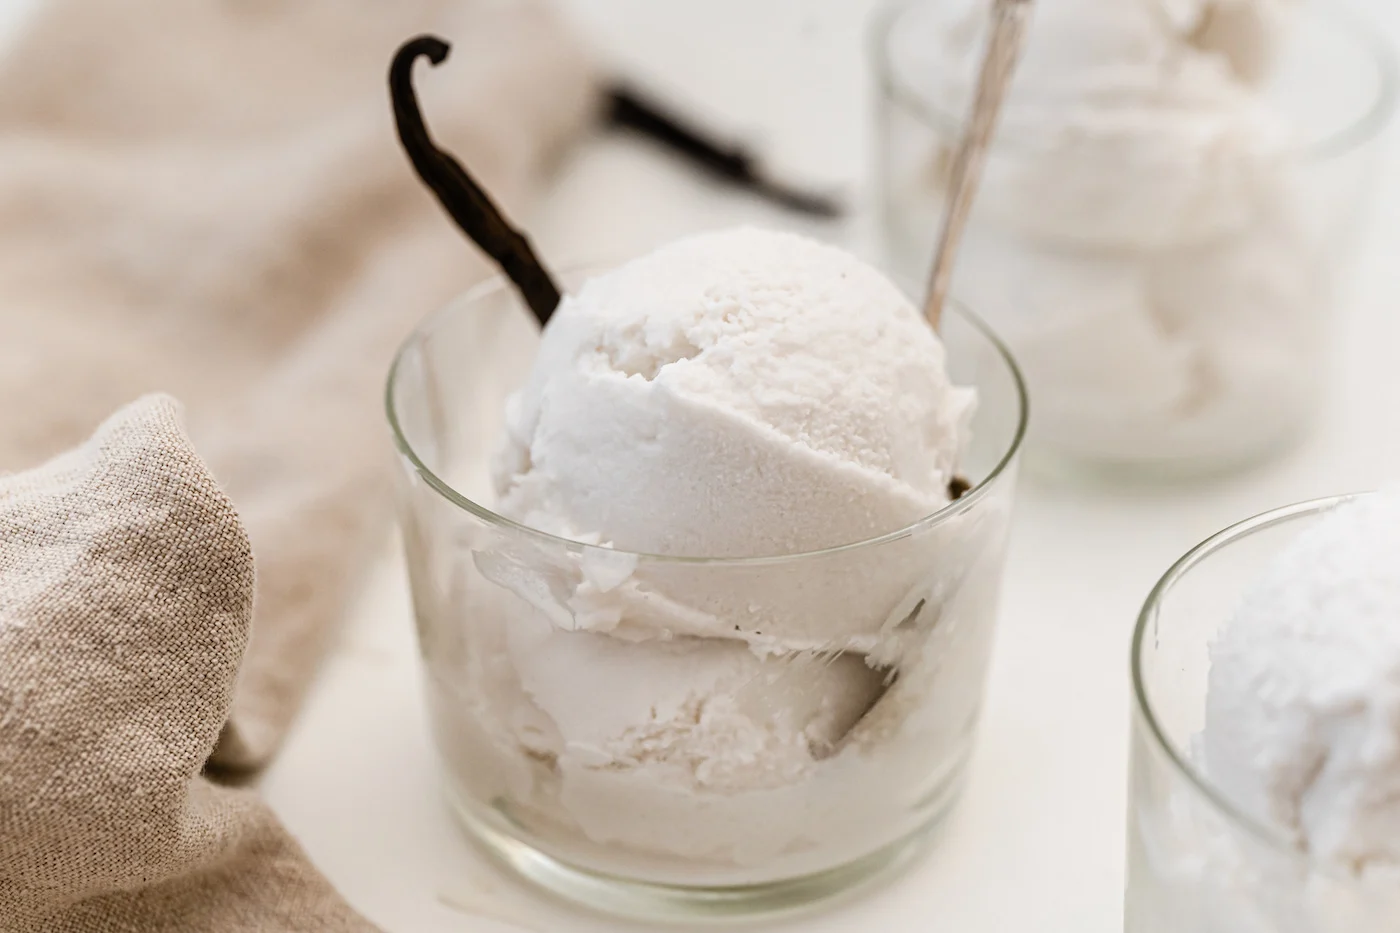
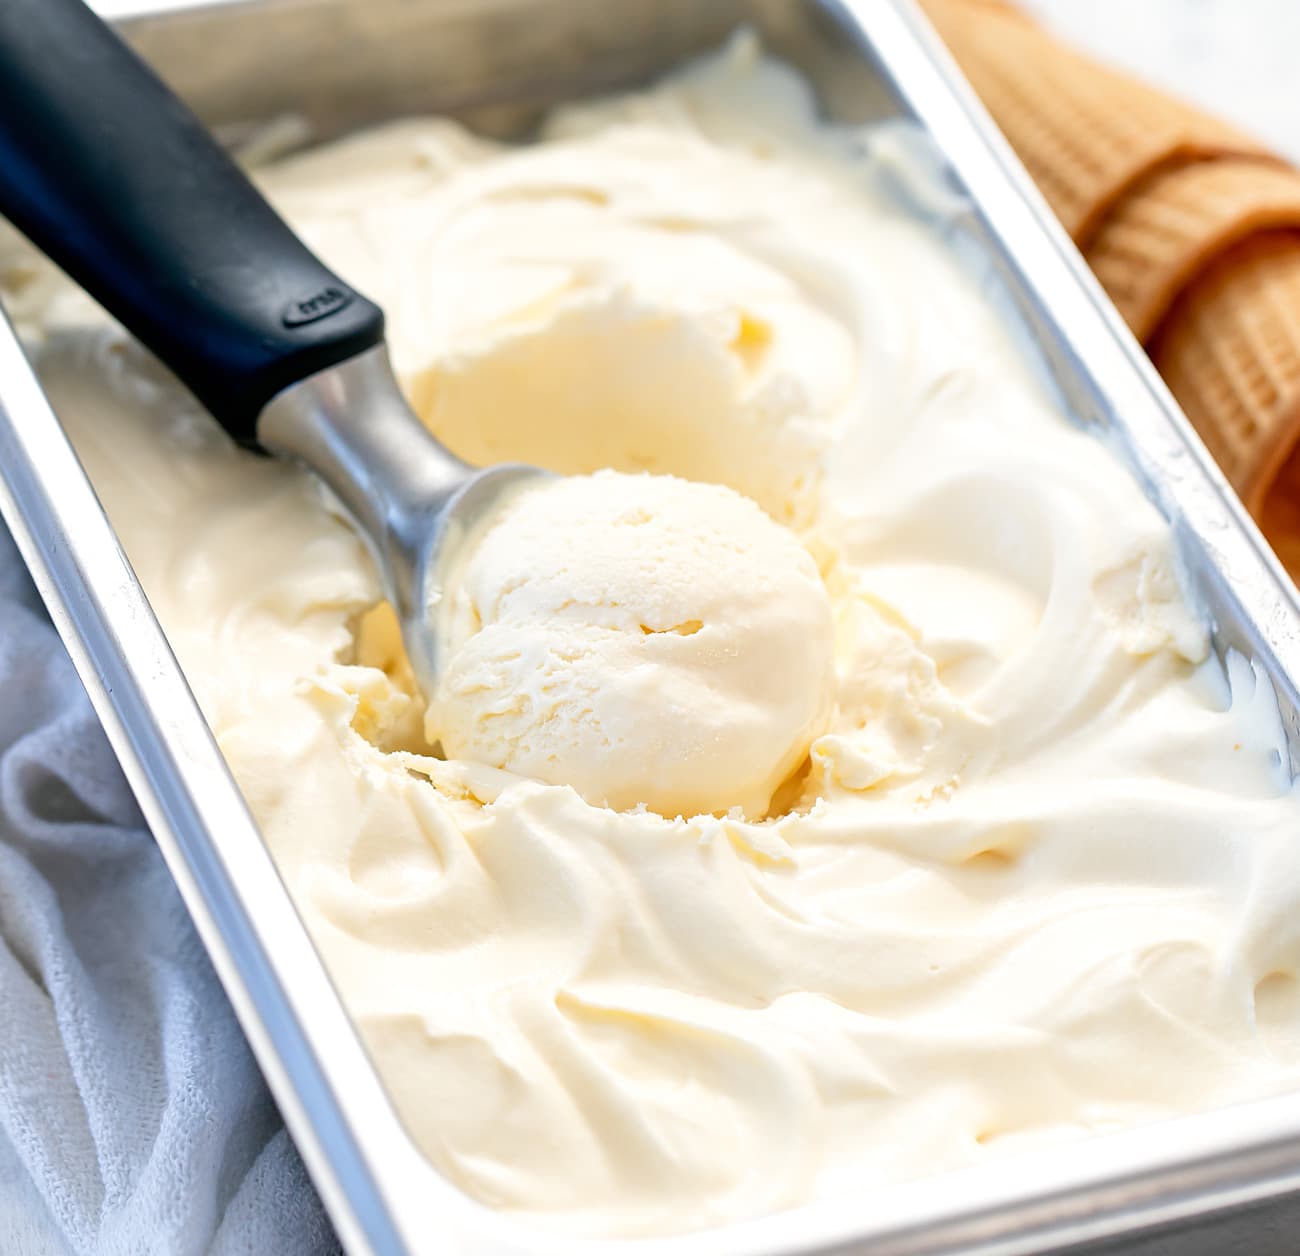
- Grab your favorite ice cream scoop and dig into the creamy goodness. Scoop out generous portions and place them in bowls or cones.
- Garnish your ice cream with toppings of your choice. Whether it’s a drizzle of chocolate sauce, a sprinkle of nuts, or a dollop of whipped cream, let your creativity run wild.
- Grab a spoon and dive into your homemade vanilla ice cream. Relish the smooth texture, the rich vanilla flavor, and the satisfaction of knowing that you made it yourself.
As you enjoy your ice cream, take a moment to appreciate the hard work you put into making this delightful treat. Share it with loved ones and bask in the joy of creating something truly delicious from scratch.
Remember, homemade ice cream is best enjoyed fresh. If you happen to have leftovers, store them in an airtight container in the freezer. Be sure to consume the ice cream within a week to maintain its quality and taste.
Congratulations once again on successfully making vanilla ice cream without an ice cream maker or whipping cream. You’ve unlocked the secret to creating your own irresistible frozen desserts. Now, go ahead and indulge in your homemade masterpiece!