Introduction
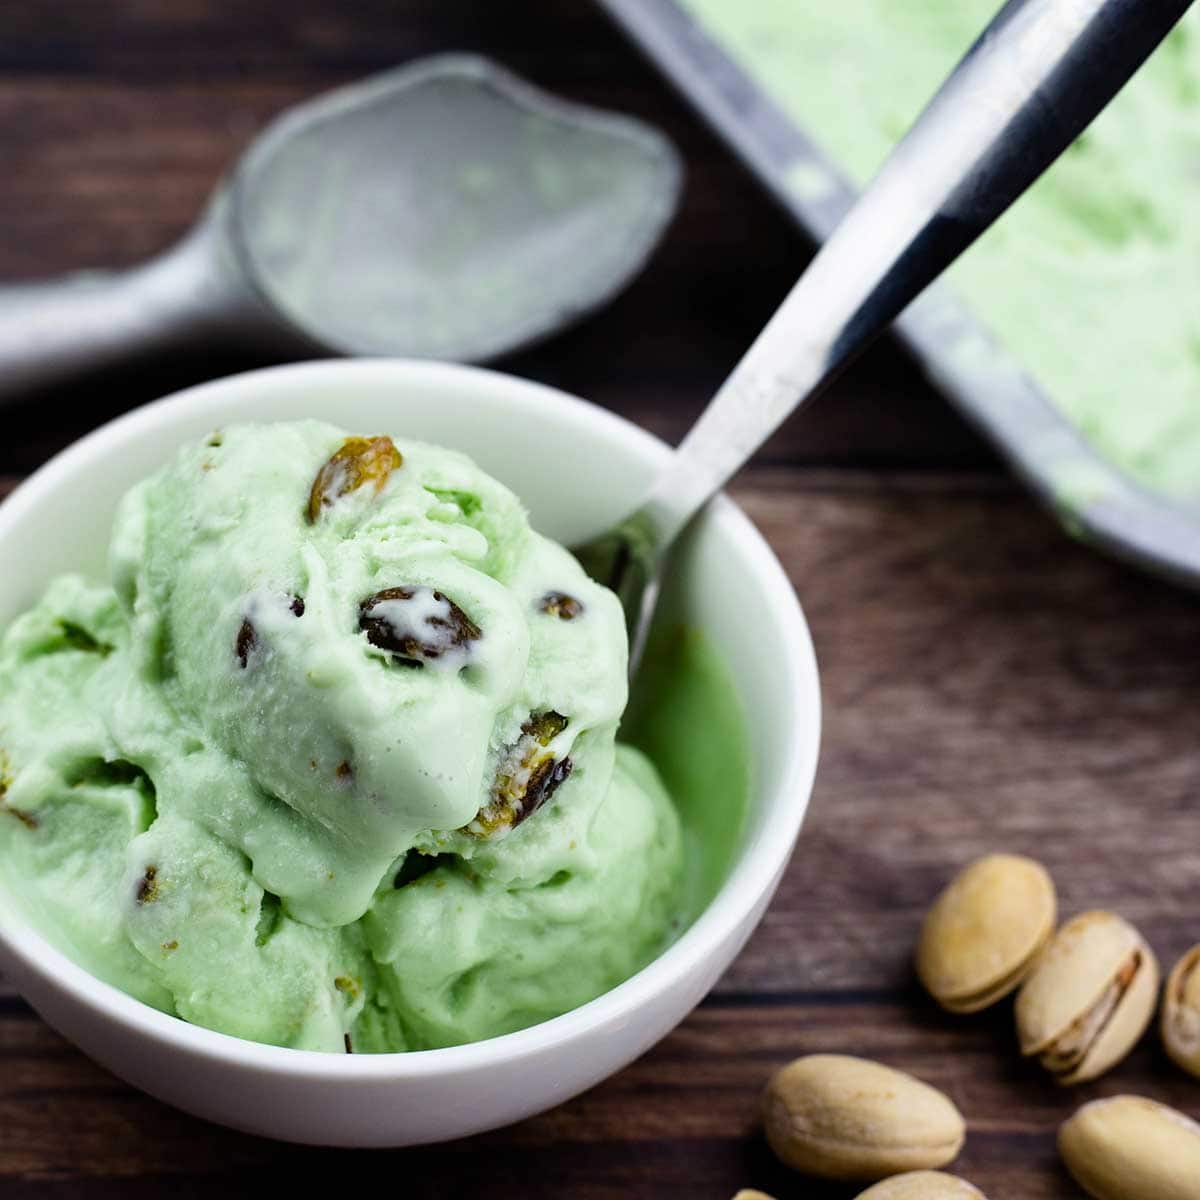
Welcome to the world of homemade ice cream! If you’re a fan of pistachios and love indulging in creamy frozen treats, you’re in for a delightful adventure. Making your own pistachio ice cream is not only a rewarding experience but also allows you to control the quality of ingredients and customize the flavor to suit your preferences.
Whether you’re new to making ice cream or have some experience, using an ice cream maker will ensure a smooth and creamy texture that will rival any store-bought option. With a few simple steps, you can create a delectable dessert that will impress your friends and family.
In this guide, we will walk you through the process of making pistachio ice cream with an ice cream maker. We will cover everything from choosing the right ingredients to serving and enjoying the final product. So, put on your apron, gather your ingredients, and let’s get started!
Choosing the Right Ingredients
When it comes to making pistachio ice cream, selecting high-quality ingredients is essential for a flavorful and creamy result. Here’s what you’ll need:
- 1 cup shelled pistachios: Opt for unsalted and roasted pistachios to bring out their natural nutty flavor.
- 2 cups heavy cream: This will lend richness and smoothness to the ice cream.
- 1 cup whole milk: Whole milk adds creaminess without being too heavy.
- 3/4 cup granulated sugar: Sweeten the ice cream to your desired level by adjusting the amount of sugar.
- 4 large egg yolks: The egg yolks will help create a rich and custard-like base.
- 1 teaspoon pure vanilla extract: This will enhance the overall flavor of the ice cream.
- A pinch of salt: Salt helps balance the sweetness and elevates the taste of the ice cream.
Additionally, you may consider adding a few drops of green food coloring to give your pistachio ice cream a vibrant hue, although this is optional.
When shopping for ingredients, try to source organic and natural products as they tend to have a better flavor profile. Look for fresh, high-quality pistachios that are free from any rancid or stale odors. This will ensure that your ice cream has a delicious and authentic pistachio taste.
Now that you have your ingredients ready, it’s time to move on to the next step: preparing the pistachios.
Preparing the Pistachios
Before incorporating the pistachios into your ice cream, it’s important to prepare them properly to achieve a smooth texture and enhance their flavor. Here’s how:
- Start by measuring out ¾ cup of the shelled pistachios and set them aside. These will be added to the ice cream later for a delightful crunch.
- Take the remaining ¼ cup of pistachios and chop them into small pieces. You can use a knife or a food processor for this step. Be sure not to over-process them as you want some texture in the ice cream.
- After chopping, place the pistachio pieces in a dry skillet over medium heat. Toast them for a few minutes until they become fragrant and slightly golden. Stir continuously to prevent burning.
- Remove the toasted pistachios from the skillet and allow them to cool completely. This step intensifies their flavor and adds a delightful crunch to the final ice cream.
Once the pistachios are prepared, you’re ready to move on to the next step: making the custard base for the ice cream.
Making the Custard Base
The custard base is the heart and soul of your pistachio ice cream. It’s what gives the ice cream its creamy, velvety texture. Follow these steps to create a luscious custard base:
- In a medium-sized saucepan, combine the heavy cream and whole milk. Place the pan over medium heat and heat the mixture until it reaches a scalding point. You’ll notice small bubbles forming around the edges of the pan, but make sure it doesn’t come to a boil.
- In a separate bowl, whisk the granulated sugar and egg yolks together until they are well combined and pale yellow in color.
- Slowly pour the heated cream and milk mixture into the egg yolk mixture, whisking continuously as you pour. This process is called tempering and is essential to prevent the eggs from curdling.
- Once the two mixtures are combined, transfer the mixture back to the saucepan. Place it over low heat and cook it gently, stirring constantly with a wooden spoon or spatula. Continue cooking until the mixture thickens and coats the back of the spoon.
- Remove the saucepan from the heat and stir in the pure vanilla extract. This will add a subtle but delightful flavor to the ice cream.
Your custard base is now ready! The next step is to let it cool down before churning it into ice cream.
Chilling the Custard Base
After making the custard base for your pistachio ice cream, it’s important to chill it thoroughly before churning. This step will ensure that the flavors meld together and the ice cream freezes properly. Here’s how to do it:
- Transfer the custard base to a bowl or container that is suitable for chilling. You can use a glass bowl, a stainless steel bowl, or a lidded container.
- Cover the bowl or container with a plastic wrap, making sure it touches the surface of the custard to prevent a skin from forming.
- Place the custard in the refrigerator and let it chill for at least 4 hours, or preferably overnight. Chilling the custard thoroughly will ensure that it is completely cold and ready for churning.
During the chilling process, the flavors will continue to develop, resulting in a richer and more delicious ice cream. The custard will also thicken as it cools, which will contribute to the smooth and creamy texture.
Once your custard base is chilled and ready, it’s time to move on to the next step: churning the ice cream.
Churning the Ice Cream
Now that your custard base is thoroughly chilled, it’s time to churn it into delectable pistachio ice cream. Churning refers to the process of freezing and aerating the custard to create a smooth and creamy texture. Here’s how to do it:
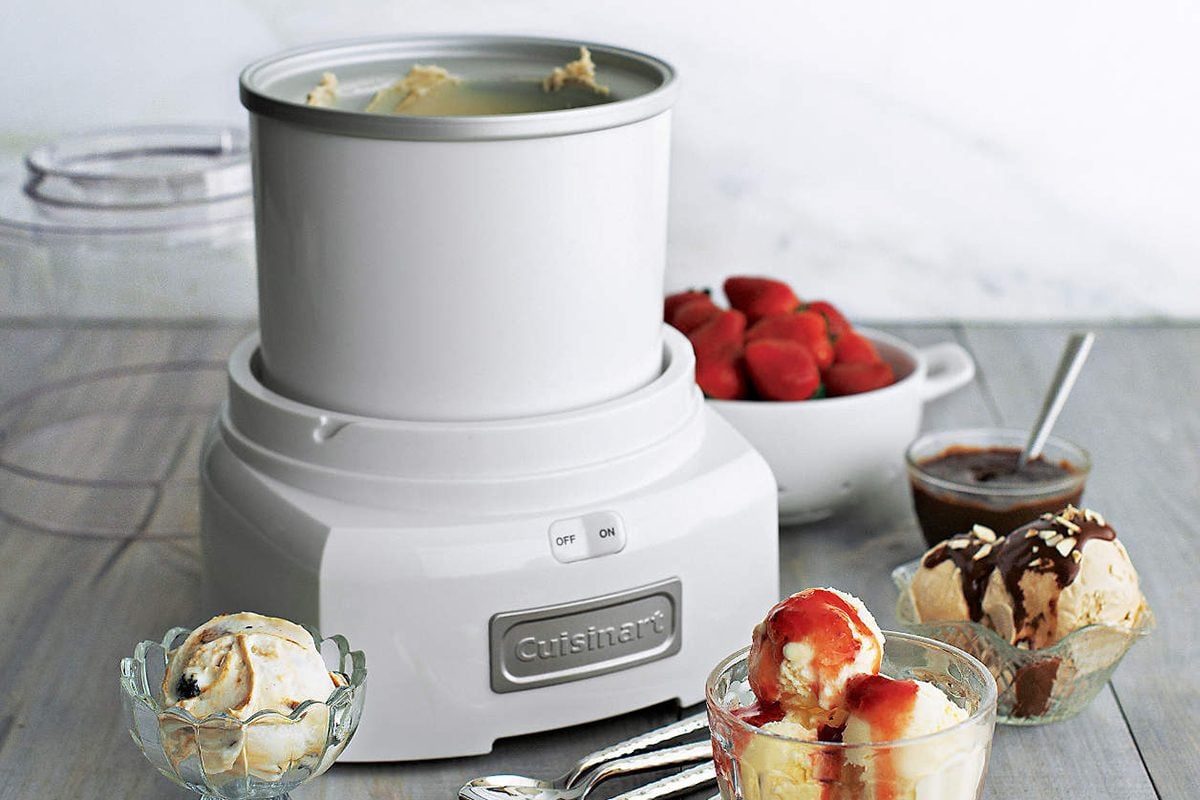
- Retrieve your ice cream maker and ensure that the freezing canister has been properly frozen according to the manufacturer’s instructions. This typically requires at least 12-24 hours in the freezer.
- Set up your ice cream maker and turn it on. Slowly pour the chilled custard base into the machine’s freezing canister.
- Allow the ice cream maker to churn the custard for the recommended time, usually around 20-30 minutes. During this process, the custard will freeze and thicken as air is incorporated, resulting in a creamy texture.
- While the custard is churning, it’s the perfect time to add the chopped toasted pistachios that you prepared earlier. Gradually add them into the mixture, allowing them to be evenly distributed throughout.
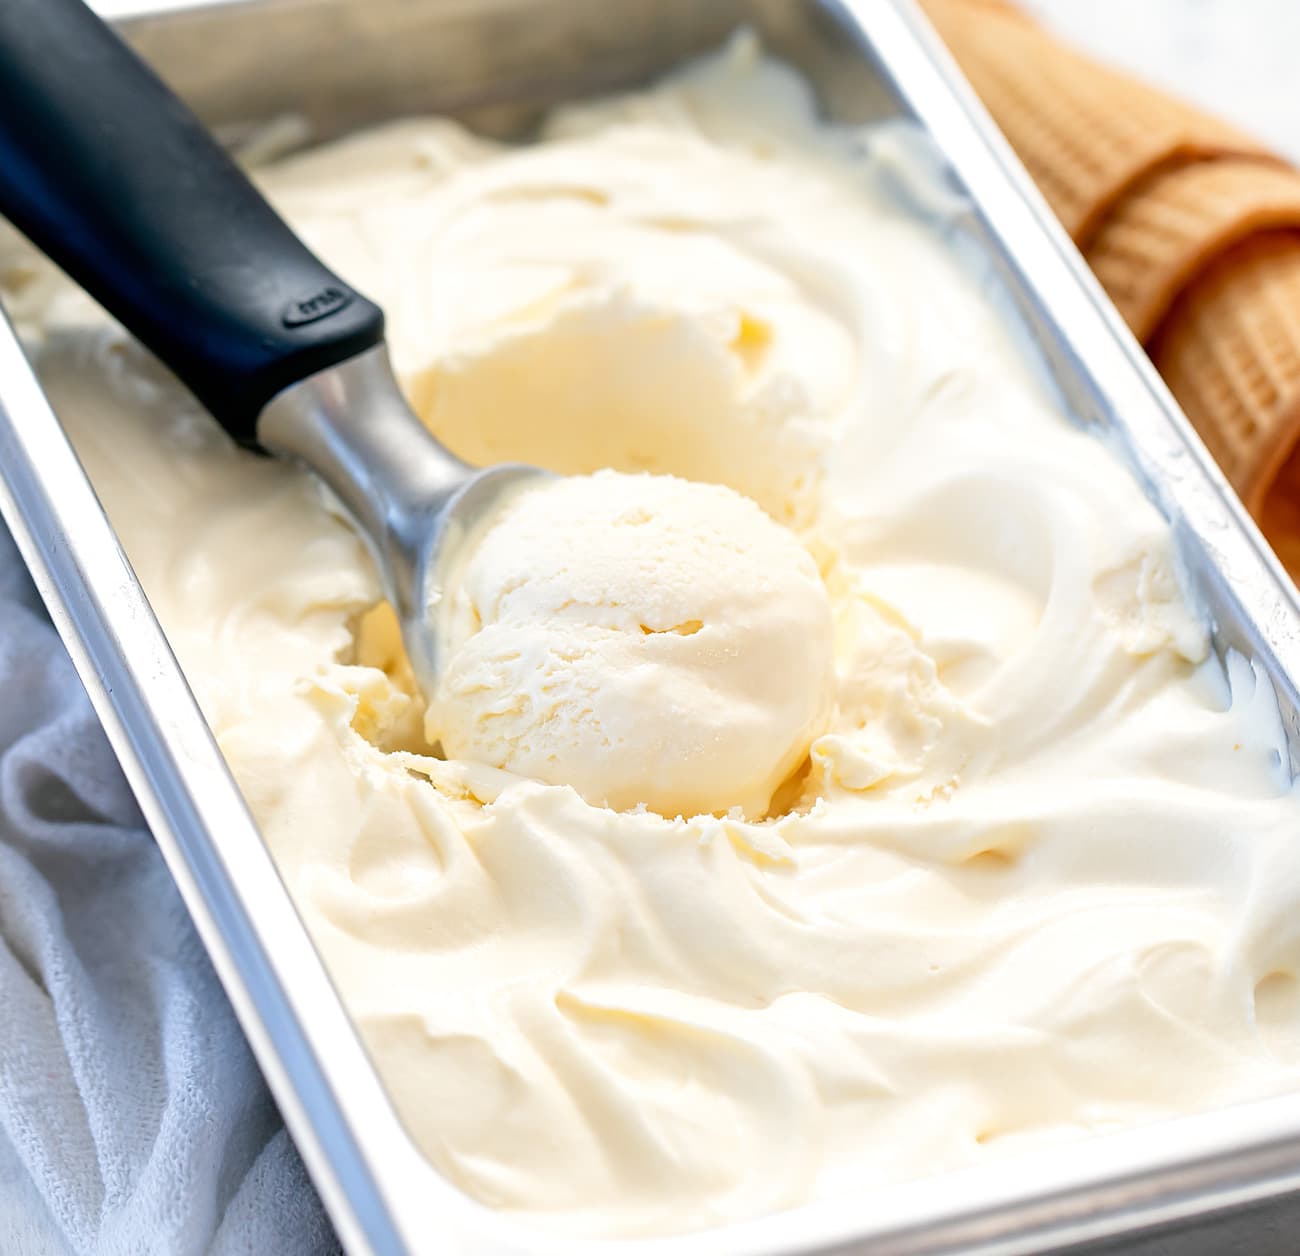
As the churning nears completion, the ice cream will have a soft-serve consistency. If you prefer a firmer texture, transfer the churned ice cream into a lidded container and place it in the freezer for at least 2 hours to harden further.
Now that you’ve successfully churned your pistachio ice cream, it’s time to move on to the next step: freezing it to perfection.
Adding the Pistachios
Adding an extra crunch of pistachios to your pistachio ice cream takes it to a whole new level of deliciousness. Here’s how to incorporate the chopped pistachios into the ice cream:
- Take out your freshly churned pistachio ice cream from the ice cream maker and transfer it to a chilled bowl or container.
- Add the reserved ¾ cup of shelled pistachios to the ice cream. Stir gently to distribute the pistachios evenly throughout the mixture.
- You can adjust the amount of pistachios according to your preference. If you want a more pronounced nutty flavor, you can add more chopped pistachios.
By adding the pistachios at this stage, you ensure that they remain intact and provide a delightful crunch with every spoonful of ice cream. The combination of the creamy base and the nutty pistachios creates a harmonious texture and flavor profile that will tantalize your taste buds.
Once the pistachios are incorporated into the ice cream, it’s time to move on to the final step: freezing the ice cream to achieve the perfect consistency.
Freezing the Ice Cream
After adding the pistachios to your pistachio ice cream, it’s time to give it the final freeze to achieve the perfect consistency. Here’s what you need to do:
- Transfer the ice cream to a lidded container. Make sure the container is freezer-safe and has enough space to accommodate the ice cream without overflowing.
- Smooth the surface of the ice cream with a spatula or the back of a spoon to create an even layer.
- Place the lid securely on the container to prevent any air or moisture from entering.
- Transfer the container to the freezer and let the ice cream freeze for at least 4-6 hours, or until it reaches the desired firmness.
During the freezing process, it’s important to avoid any temperature fluctuations or opening the freezer unnecessarily. This will help prevent the formation of ice crystals and maintain the smooth texture of the ice cream.
After the ice cream has fully frozen, it’s ready to be served and enjoyed! But before we dive into that, let’s explore the best way to serve and savor your homemade pistachio ice cream.
Serving and Enjoying the Pistachio Ice Cream
Now that your pistachio ice cream is perfectly frozen, it’s time to serve and savor this delightful homemade treat. Here are some tips to ensure the ultimate enjoyment:
- Remove the container of ice cream from the freezer and let it sit at room temperature for a few minutes to soften slightly, making it easier to scoop.
- Using an ice cream scoop, carefully portion out the desired amount of ice cream into bowls, cones, or dishes.
- To make your serving extra special, consider garnishing the pistachio ice cream with a sprinkle of crushed pistachios or a drizzle of chocolate sauce.
- Pair the pistachio ice cream with complementary flavors such as a warm brownie or a slice of pie for a delicious dessert combination.
- Invite friends and family to join in the indulgence, as the joy of sharing homemade ice cream enhances the experience.
As you take your first bite, notice the creamy texture and the nutty crunch of the pistachios. Allow the flavors to dance on your taste buds and savor the satisfaction of your homemade creation.
Remember to store any remaining pistachio ice cream in the freezer in an airtight container to maintain its quality. It can be enjoyed for up to a few weeks, although the fresher it is, the better it tastes.
Now that you know how to make pistachio ice cream with an ice cream maker and how to serve it for maximum enjoyment, it’s time to unleash your creativity and experiment with different add-ins and toppings.
So, grab your scoop and indulge in the creamy, nutty, and utterly delicious delight that is homemade pistachio ice cream!
Conclusion
Congratulations on successfully making your own pistachio ice cream with the help of an ice cream maker! Creating this creamy and nutty treat at home allows you to customize the flavor and quality of ingredients according to your preferences. By following the steps outlined in this guide, you can enjoy a velvety, homemade dessert that is sure to impress.
From choosing the right ingredients and preparing the pistachios to making the custard base and churning the ice cream, each step is crucial in creating a delicious final product. Adding the chopped pistachios provides a delightful crunch, enhancing the texture and flavor of the ice cream.
Remember to chill the custard base thoroughly before churning to ensure a smooth and creamy consistency in the final ice cream. And once it’s churned and frozen to perfection, take the time to serve and savor it with your favorite toppings or alongside other delectable desserts.
Making homemade pistachio ice cream is not only a fun and rewarding experience but also allows you to indulge in a truly special treat that can be enjoyed with loved ones. So, embrace your inner ice cream enthusiast and continue exploring new flavors and techniques to create more delightful frozen desserts.
Now, it’s time to grab your spoon and dig into a bowl of your homemade pistachio ice cream. Enjoy every spoonful as you revel in the creamy, nutty goodness of this delightful frozen dessert!