Why Make Frozen Yogurt in a Cuisinart Ice Cream Maker?
When it comes to frozen treats, frozen yogurt is an irresistibly delicious option. Not only is it a healthier alternative to ice cream, but it also offers a wide range of flavors and toppings to satisfy any sweet tooth. Making your own frozen yogurt at home allows you to control the ingredients and customize the flavors to your liking. And what better way to make it than with a Cuisinart Ice Cream Maker?
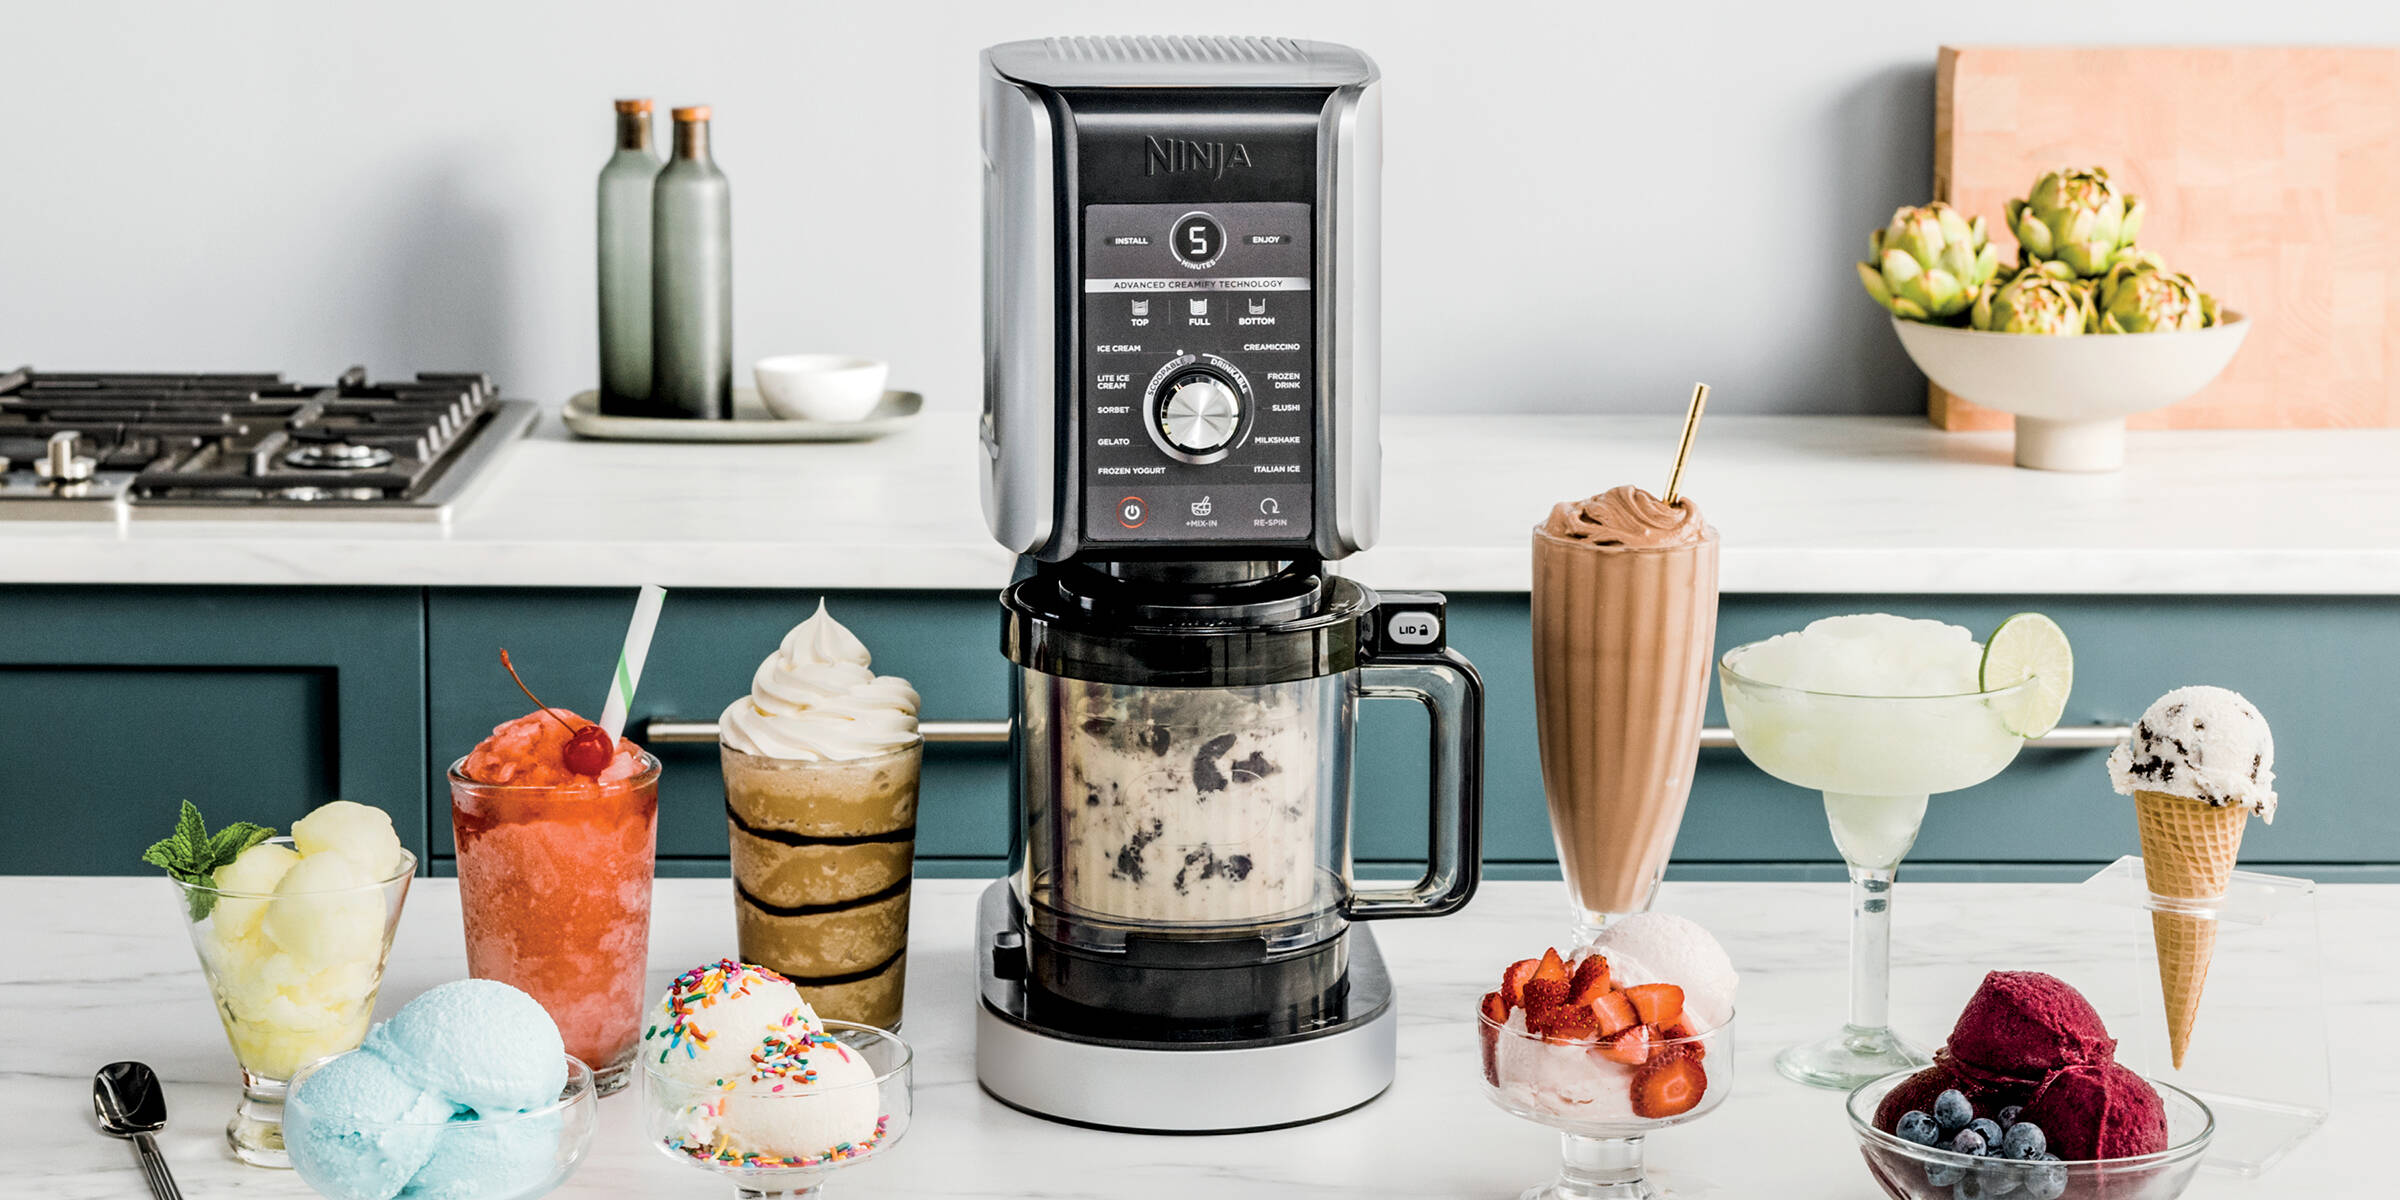
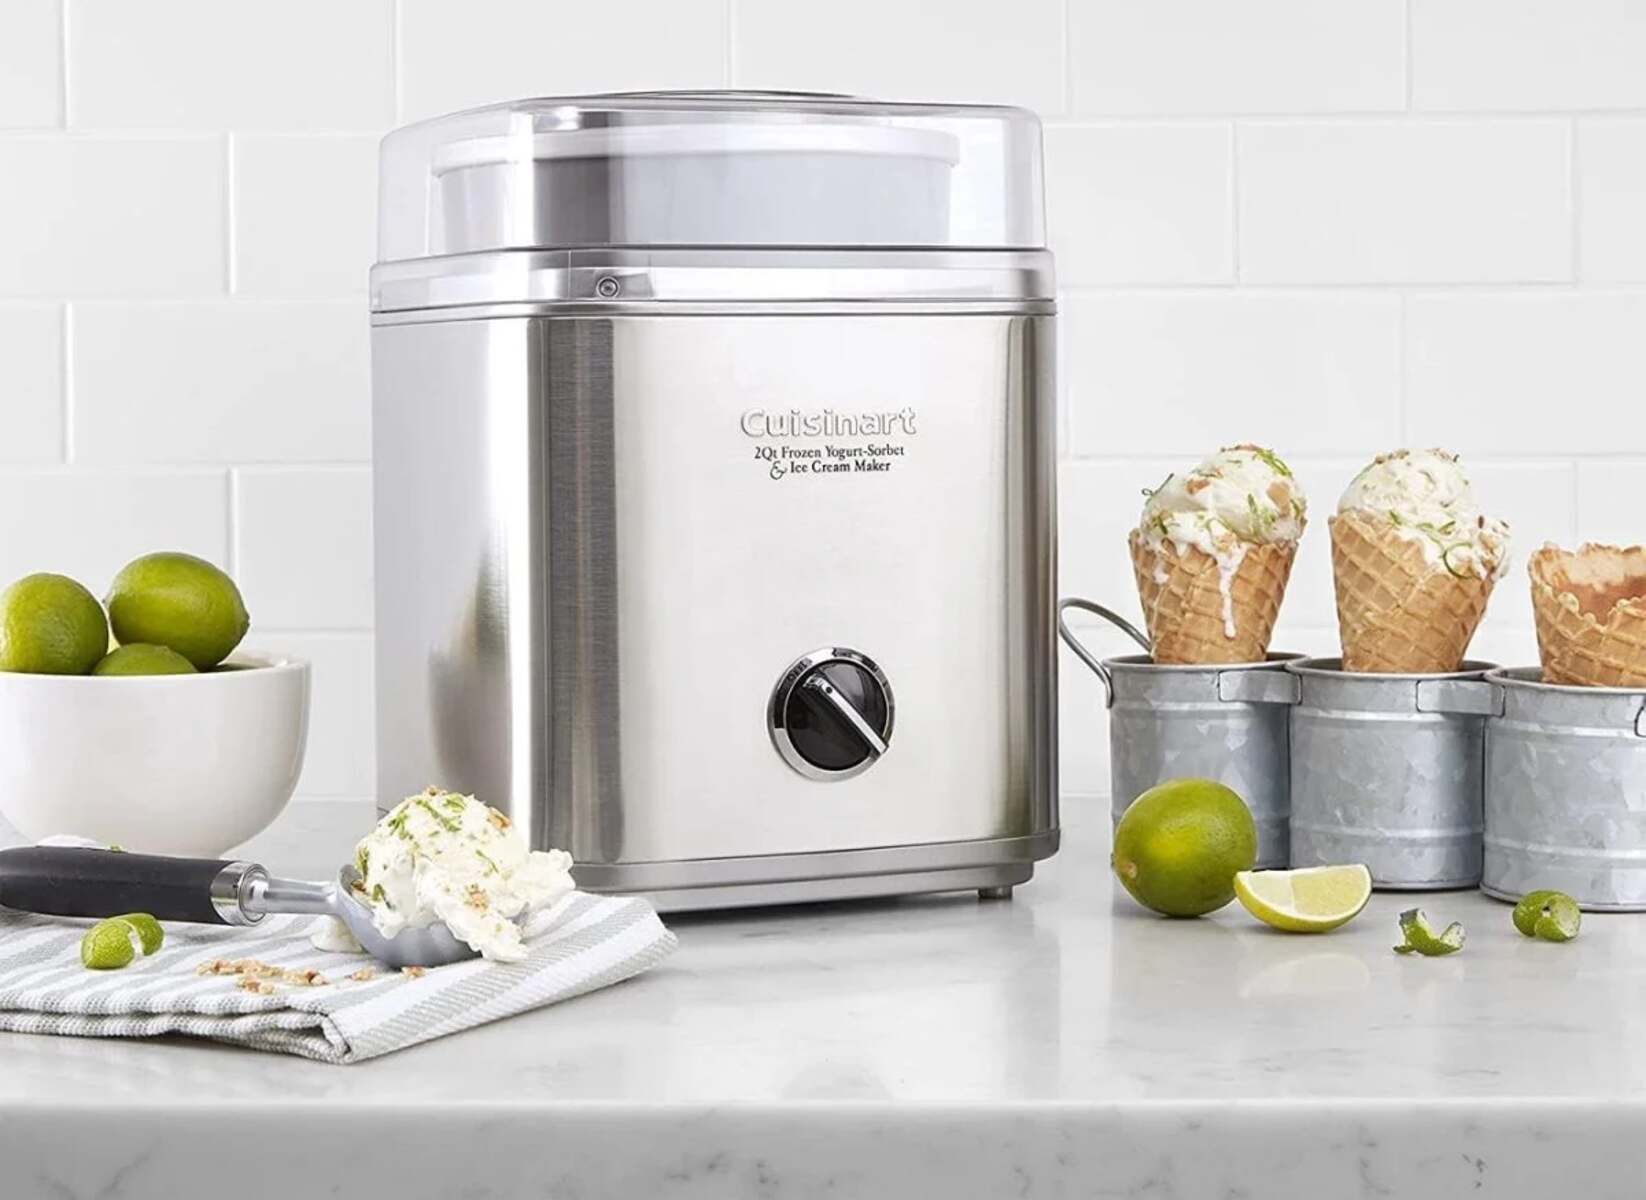
The Cuisinart Ice Cream Maker is a versatile and reliable appliance that is designed to produce smooth and creamy frozen desserts, including frozen yogurt. Its advanced freezing technology ensures that your frozen yogurt is evenly frozen, resulting in a velvety texture that is both creamy and refreshing.
One of the main advantages of using a Cuisinart Ice Cream Maker for making frozen yogurt is the convenience it offers. With its simple operation and quick freezing time, you can whip up a batch of homemade frozen yogurt in just a matter of minutes. This means you can satisfy your cravings for a frozen treat whenever you want, without having to drive to the nearest ice cream shop.
Additionally, making frozen yogurt in a Cuisinart Ice Cream Maker allows you to experiment with different flavors and mix-ins. Whether you prefer classic flavors like vanilla or chocolate, or you want to get creative with fruit, nuts, or candy, the possibilities are endless. You can even make healthier versions by using low-fat or non-dairy yogurt and adding natural sweeteners like honey or maple syrup.
Another advantage of making frozen yogurt at home is the cost savings. Store-bought frozen yogurt can be expensive, especially if you frequently indulge in this tasty treat. By making your own with a Cuisinart Ice Cream Maker, you can save money in the long run without sacrificing quality or taste.
Lastly, making frozen yogurt in a Cuisinart Ice Cream Maker is a fun and rewarding activity that you can enjoy with your family and friends. It can be a great way to bond over a shared love for frozen treats and allows you to create memories together in the kitchen.
Overall, making frozen yogurt in a Cuisinart Ice Cream Maker offers numerous benefits, from the convenience and cost savings to the endless flavor possibilities and the joy of creating homemade treats. So, why not indulge in a little kitchen adventure and start making your own delicious frozen yogurt today?
Choosing the Right Frozen Yogurt Recipe
When it comes to making frozen yogurt in a Cuisinart Ice Cream Maker, choosing the right recipe is key to achieving the perfect balance of flavors and texture. Here are some factors to consider when selecting a frozen yogurt recipe:
1. Flavor: Think about what flavors you enjoy in frozen yogurt. Do you prefer classic flavors like vanilla or chocolate, or do you want to experiment with unique combinations like mango-basil or cookies and cream? Consider your personal taste preferences and choose a recipe that reflects them.
2. Yogurt Base: The type of yogurt you use as the base for your frozen yogurt will greatly impact the taste and texture. You can opt for regular full-fat yogurt for a creamy and indulgent treat, or choose low-fat or non-fat yogurt for a lighter option. You can even explore non-dairy alternatives like almond or coconut yogurt for a vegan-friendly version.
3. Sweeteners: Frozen yogurt needs to be sweetened to enhance the flavor. Decide if you prefer natural sweeteners like honey or maple syrup, or if you prefer granulated sugar or artificial sweeteners. Be mindful of the sweetness level and adjust the amount according to your taste.
4. Mix-ins: Adding mix-ins like fresh fruits, nuts, candies, or cookie crumbs can elevate the flavor and provide a delightful texture to your frozen yogurt. Consider what mix-ins complement your chosen flavor and experiment with different combinations to find your favorite.
5. Toppings: Don’t forget about the toppings! Frozen yogurt is often topped with a variety of delicious toppings, such as chocolate sauce, fruit compote, whipped cream, or sprinkles. Consider the overall flavor profile of your frozen yogurt and choose toppings that will enhance the taste.
Remember to read through the recipe thoroughly before getting started to ensure you have all the ingredients and equipment needed. Also, don’t be afraid to modify recipes to suit your taste preferences. Feel free to add extra flavorings or adjust the sweetness level to make it perfect for you.
By choosing the right frozen yogurt recipe, you can create a delightful and personalized frozen treat that satisfies your cravings and impresses your taste buds. So take the time to explore different recipes and get creative in the kitchen with your Cuisinart Ice Cream Maker.
Preparing the Frozen Yogurt Mixture
Once you have chosen the perfect frozen yogurt recipe for your Cuisinart Ice Cream Maker, it’s time to prepare the mixture. Follow these steps to ensure a smooth and delicious frozen yogurt:
1. Gather Your Ingredients: Start by gathering all the necessary ingredients listed in the recipe. This typically includes yogurt, sweeteners, flavorings, and any additional mix-ins or toppings you wish to include.
2. Measure and Mix: Measure the required amounts of yogurt and sweeteners specified in the recipe. If the recipe calls for additional flavorings or mix-ins, prepare them as well. In a mixing bowl, combine the yogurt, sweeteners, and flavorings, and stir until well blended. If using mix-ins, fold them into the mixture gently.
3. Taste Test: Before moving forward, it’s a good idea to taste the mixture and adjust the flavor if needed. If you find that it needs to be sweeter, add a bit more sweetener. If more flavor is desired, consider adding a dash of vanilla extract or a squeeze of fresh citrus juice.
4. Chill the Mixture: Once the mixture is well mixed, cover it and place it in the refrigerator to chill. This step allows the flavors to meld together and ensures a smoother consistency when frozen. Depending on the recipe, the chilling time can range from 1 to 4 hours.
5. Optional Step: Some recipes may call for an additional step of straining the mixture to remove any lumps or to achieve a smoother texture. If your recipe suggests this, follow the instructions provided.
By properly preparing the frozen yogurt mixture, you will ensure that the flavors are well-balanced and evenly distributed. Chilling the mixture before pouring it into the Cuisinart Ice Cream Maker also aids in achieving a smoother consistency. So take the time to follow these steps and prepare your frozen yogurt mixture with care.
Chilling the Mixture
After preparing the frozen yogurt mixture for your Cuisinart Ice Cream Maker, the next step is to chill it. Chilling the mixture is an essential part of the process that helps enhance the flavors and ensures a smooth and creamy texture.
Here’s what you need to do to properly chill the mixture for your frozen yogurt:
1. Transfer the Mixture: Carefully transfer the prepared frozen yogurt mixture from the mixing bowl to a container with a tight-fitting lid. Make sure the container is large enough to allow room for expansion as it freezes.
2. Cover and Refrigerate: Securely cover the container with the lid and place it in the refrigerator. Allow the mixture to chill for a recommended time, usually between 1 to 4 hours, or as specified in your recipe. During this time, the flavors will meld together and develop a more intense taste.
3. Stir Occasionally: While the mixture is chilling in the refrigerator, it can be beneficial to give it an occasional stir. This will help distribute any settling ingredients and prevent any potential separation of the mixture.
4. Ensure Proper Temperature: It’s important to keep the mixture refrigerated at all times until you are ready to pour it into the Cuisinart Ice Cream Maker. This ensures that the yogurt mixture stays well-chilled, allowing for optimal freezing in the ice cream maker.
The chilling process not only allows the flavors to mingle but also helps cool down the mixture, making it easier for the Cuisinart Ice Cream Maker to freeze it into a creamy consistency. Properly chilling the mixture ensures that it freezes evenly and prevents any ice crystals from forming, resulting in a silky-smooth frozen yogurt.
Remember, the recommended chilling time may vary depending on the specific recipe you are using, so be sure to follow the instructions provided. By giving your frozen yogurt mixture enough time to chill, you’ll be rewarded with a delectable, homemade treat that is sure to impress family and friends.
Pouring the Mixture into the Ice Cream Maker
Once you have chilled your frozen yogurt mixture to perfection, it’s time to pour it into your Cuisinart Ice Cream Maker. This step is crucial in turning your mixture into a delectable frozen dessert. Follow these steps to ensure a successful pouring process:
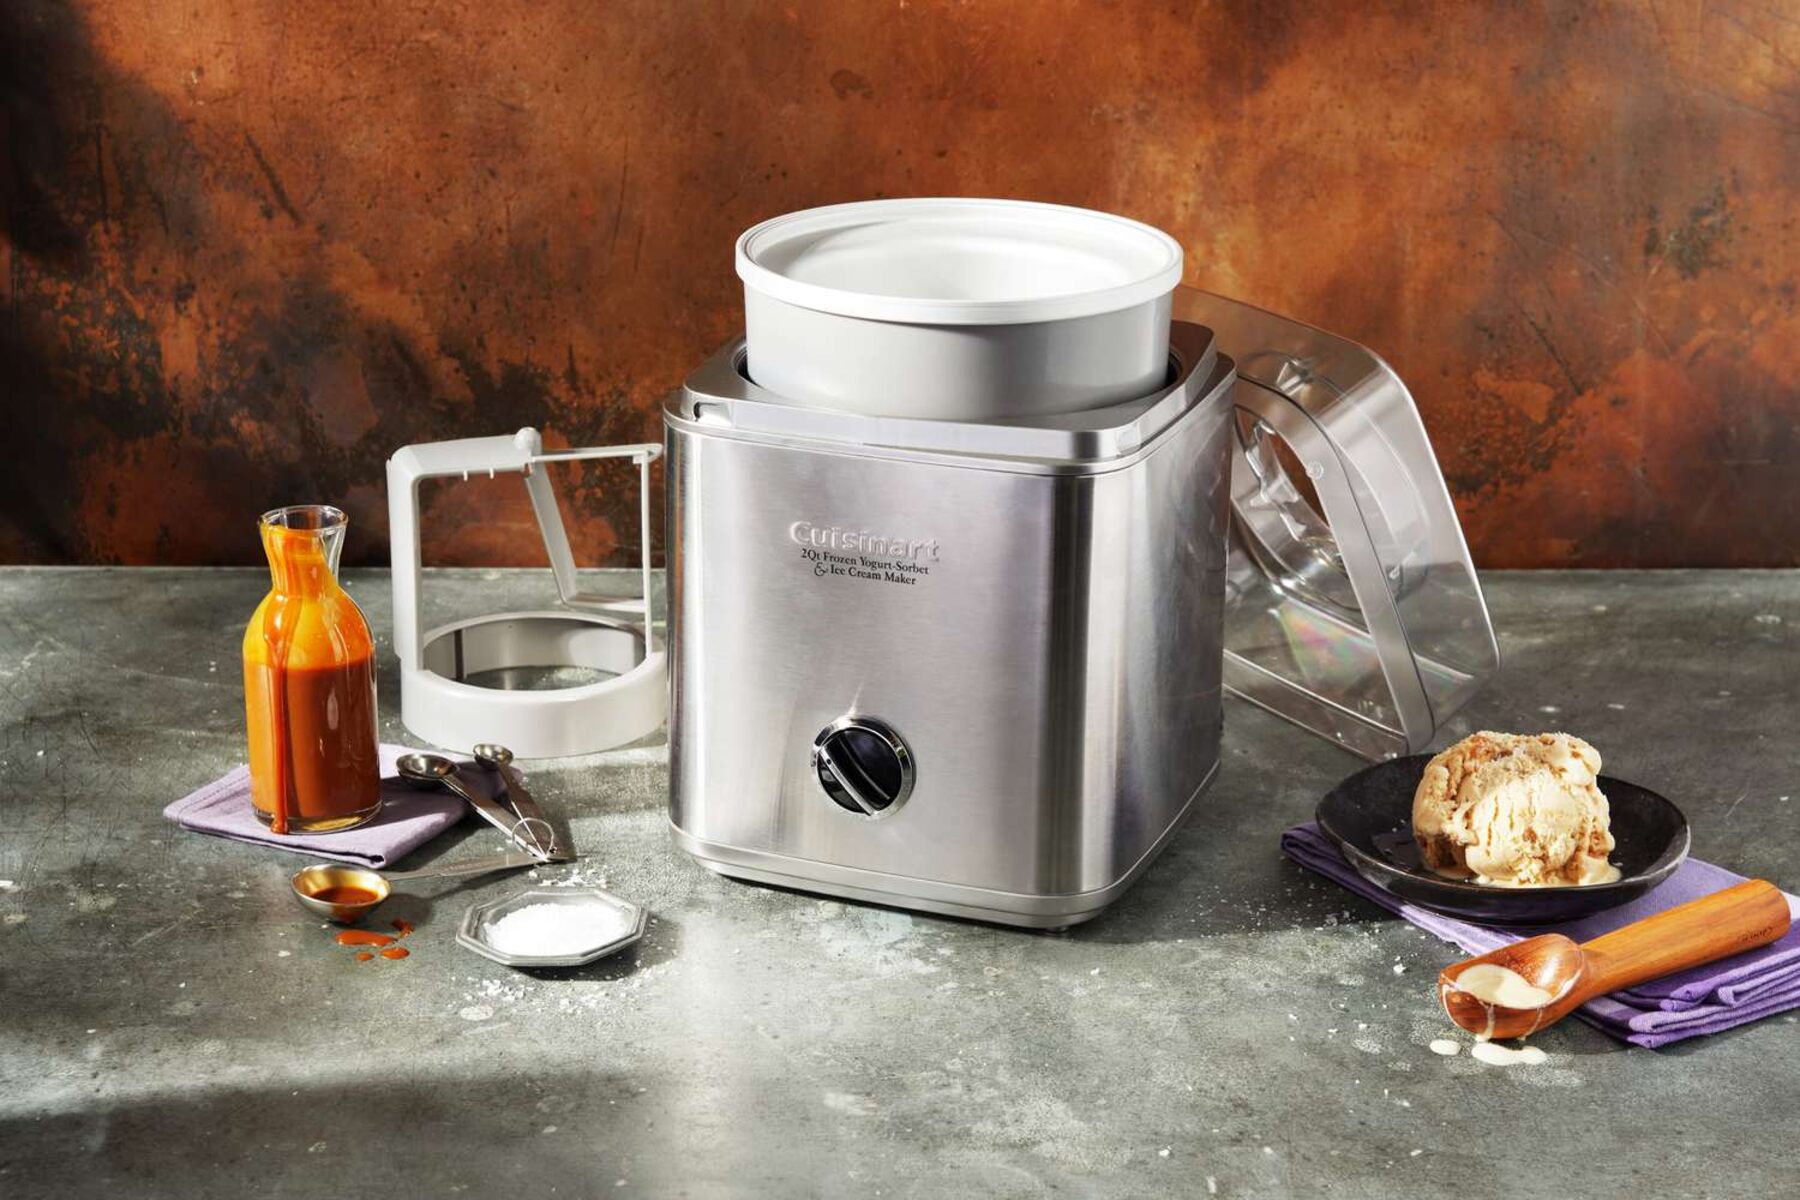
1. Set Up the Ice Cream Maker: Before pouring the mixture, make sure your Cuisinart Ice Cream Maker is properly set up and ready to go. Follow the manufacturer’s instructions to assemble the ice cream maker, including ensuring that the freezer bowl is fully frozen if necessary.
2. Remove the Chilled Mixture: Take the container of chilled frozen yogurt mixture out of the refrigerator. Give it a gentle stir to ensure that all the flavors are well incorporated, and the consistency is smooth.
3. Pouring the Mixture: Carefully pour the chilled mixture into the frozen canister of the ice cream maker. Be mindful not to overfill the canister, as the mixture will expand as it freezes. Leave some space at the top to allow for adequate expansion during the freezing process.
4. Attach the Paddle and Lid: Once you have poured the mixture into the canister, securely attach the mixing paddle to the center of the canister. Place the lid on top, making sure it is properly secured to prevent any leaks or spills during the churning process.
5. Follow Manufacturer’s Instructions: Every Cuisinart Ice Cream Maker may have slight variations in operation, so it’s important to follow the specific instructions provided by the manufacturer. Set the desired duration or program, and let the ice cream maker work its magic.
6. Avoid Overfilling: It’s crucial not to overfill the ice cream maker as the mixture expands during the freezing process. Overfilling can lead to messy spills and affect the quality of the frozen yogurt. If you have excess mixture, consider making it in batches or store it in a covered container in the refrigerator until ready to freeze.
By pouring the chilled mixture carefully into your Cuisinart Ice Cream Maker, you are one step closer to enjoying a delightful batch of frozen yogurt. Pay attention to the manufacturer’s guidelines and avoid overfilling the machine to ensure optimal results. With the mixture in the ice cream maker, all that’s left now is to start the freezing process and eagerly await the creamy, frozen treat.
Starting the Cuisinart Ice Cream Maker
With your mixture poured into the Cuisinart Ice Cream Maker, it’s time to start the freezing process and transform the chilled mixture into a luscious frozen yogurt. Follow these steps to get your ice cream maker up and running:
1. Plug in the Ice Cream Maker: Ensure that the Cuisinart Ice Cream Maker is properly plugged into an electrical outlet. This will provide the necessary power for the machine to function and freeze the mixture.
2. Turn on the Machine: Locate the power button or control dial on your ice cream maker. Depending on the model, you may need to twist the dial or press the button to turn it on. Once activated, the ice cream maker will begin churning the mixture inside the freezing canister.
3. Set the Timer: If your ice cream maker has a built-in timer, set it to the recommended time as per your recipe. This will ensure that the frozen yogurt reaches the desired consistency and texture. If your machine does not have a timer, refer to the recipe instructions for guidance on how long to let it churn.
4. Monitor the Freezing Process: Keep an eye on the ice cream maker as it operates. You will notice that the mixture begins to thicken and freeze around the edges of the canister. The paddle inside the machine will continuously churn the mixture to prevent ice crystals from forming.
5. Pause for Add-Ins (Optional): Some recipes may suggest adding additional mix-ins during the freezing process. If your recipe calls for this step, carefully add the mix-ins, such as chocolate chips or cookie dough, into the churning mixture when it reaches a soft-serve consistency. This allows the mix-ins to be evenly distributed throughout the frozen yogurt.
6. Avoid Over-Churning: Be cautious not to over-churn the frozen yogurt mixture. Over-churning can lead to a grainy or icy texture. Monitor the consistency and consult your recipe for recommended churning times. It’s better to slightly under-churn the mixture and have a softer texture that can firm up in the freezer later.
Starting the Cuisinart Ice Cream Maker is an exciting step in the frozen yogurt-making process. Ensure that the machine is properly plugged in, turned on, and set to the appropriate time. Pay attention to the freezing progress to achieve a perfectly creamy and smooth frozen yogurt.
Monitoring the Freezing Process
As the Cuisinart Ice Cream Maker churns your frozen yogurt mixture, it’s important to monitor the freezing process to achieve the desired consistency and texture. Paying attention to the following factors will help you create a perfectly frozen treat:
1. Texture Check: Keep an eye on the texture of the frozen yogurt as it churns. Initially, it will have a soft-serve consistency, but over time, it will start to firm up. Check the texture periodically by inserting a spoon or spatula into the mixture. It should be thick, creamy, and hold its shape.
2. Time Considerations: Different frozen yogurt recipes and ice cream makers may have specific recommended freezing times. Refer to your recipe instructions for suggestions, but also trust your instincts. The freezing time can vary depending on the temperature of the mixture and the specific model of the ice cream maker. Adjust the freezing time accordingly to achieve the desired consistency.
3. Avoid Over-Freezing: While it’s crucial to achieve a firm texture, be cautious not to over-freeze the mixture. Freezing it for too long can result in a hard, icy consistency. Keep an eye on the texture to ensure it remains creamy and scoopable. If you accidentally freeze it too long, allow it to soften for a few minutes at room temperature before serving.
4. Time and Temperature Balance: In warm weather or a hot kitchen, the freezing process may be faster, while in cooler temperatures, it may take longer. If necessary, adjust the freezing time accordingly to achieve consistent results. Finding the right balance between time and temperature will help you attain the perfect frozen yogurt texture.
5. Be Mindful of Add-Ins: If you’ve added additional mix-ins to your frozen yogurt, such as chocolate chips or fruit chunks, monitor their distribution as the freezing process continues. Ensure they are evenly incorporated within the mixture and not clumping together. If needed, gently stir the mixture periodically to distribute the add-ins evenly.
By actively monitoring the freezing process, you can ensure that your frozen yogurt reaches the desired consistency. Checking the texture, adjusting the freezing time as necessary, and maintaining a balance between time and temperature will help you create a creamy and delicious treat.
Checking for Desired Consistency
Checking the consistency of your frozen yogurt is a crucial step in ensuring that it reaches the perfect texture. Here are a few key factors to consider when evaluating the frozen yogurt’s consistency:
1. Visual Appearance: Take a visual assessment of the frozen yogurt. It should be thick, smooth, and creamy in texture. If you notice any large ice crystals or the mixture appears grainy, this may indicate that it needs more time to freeze. Continue churning until a desirable texture is achieved.
2. Spoon Test: Take a spoonful of the frozen yogurt and observe its behavior. It should hold its shape on the spoon, with a slight resistance when scooping. If it is too soft and lacks structure, it likely needs more time in the ice cream maker. Conversely, if it is too hard and difficult to scoop, it may have been over-frozen.
3. Taste Test: Don’t forget to taste the frozen yogurt to ensure it is the desired sweetness and flavor. The flavors should be well-developed and balanced. If you find it too sweet or not sweet enough, adjust the sweetness levels in your future batches. Remember, the taste should be enjoyable and cater to your personal preferences.
4. The “Clean Break” Test: To further assess the frozen yogurt’s consistency, try the “clean break” test. Insert a spoon or scoop into the frozen yogurt and pull it out. The frozen yogurt should cleanly separate from the spoon, without leaving a significant amount behind. This indicates a well-frozen, smooth consistency.
5. Time Adjustments: If the frozen yogurt is not at the desired consistency, you can make time adjustments for future batches. Note the time it took to achieve the current texture and adjust it accordingly. Experiment with shorter or longer freezing times to discover what works best for your desired consistency.
Remember, achieving the perfect consistency may require some trial and error. Each recipe, ice cream maker, and personal preference can vary. Paying attention to visual cues, conducting spoon tests, and adjusting freezing times will help you find the ideal consistency for your frozen yogurt.
Serving and Storing Frozen Yogurt
Once your frozen yogurt has reached the desired consistency, it’s time to serve and enjoy this delightful treat. Follow these tips on how to serve and store your homemade frozen yogurt:
Serving:
1. Scoop it Up: Use an ice cream scoop or a spoon to portion out the frozen yogurt into serving bowls or cones. The texture should be smooth and creamy, making it easy to scoop. You can garnish with additional toppings like fresh fruits, chocolate sauce, or sprinkles to enhance the presentation and flavor.
2. Enjoy Immediately: Frozen yogurt is best enjoyed right after it’s made. Its texture is at its peak, and the flavors are vibrant. Serve it to your family and friends, or enjoy a bowlful all to yourself. The creamy, refreshing taste will surely satisfy your sweet cravings.
Storing:
1. Transfer to a Container: If you have any leftover frozen yogurt, transfer it from the ice cream maker canister to an airtight container with a secure lid. This will help prevent freezer burn and maintain the quality and freshness of the frozen yogurt.
2. Freeze Properly: Place the container of frozen yogurt in the freezer. Ensure it is stored away from any food with strong odors that can be absorbed. It’s recommended to place a layer of plastic wrap directly over the surface of the frozen yogurt to minimize freezer-related issues, such as ice crystal formation.
3. Consumption Time: For the best quality, consume the frozen yogurt within 1-2 weeks of freezing. Over time, frozen yogurt may start to lose its smooth texture and develop ice crystals. But don’t worry, it’s still safe to eat; it just might not be as enjoyable.
4. Thawing: When you’re ready to enjoy the stored frozen yogurt, remove it from the freezer and let it thaw for a few minutes on the counter to slightly soften. This will make it easier to scoop and restore its creamy consistency.
By serving your frozen yogurt immediately and storing any leftovers properly, you can maintain its texture and flavor for future enjoyment. So go ahead, savor the deliciousness of homemade frozen yogurt, and share it with your loved ones.
Tips and Tricks for Perfect Frozen Yogurt
Creating the perfect frozen yogurt requires a combination of technique and attention to detail. Here are some tips and tricks to help you achieve a delectable batch of frozen yogurt:
1. Chilled Ingredients: Make sure to start with well-chilled ingredients, especially the yogurt. This will help the mixture freeze more efficiently and result in a smoother texture.
2. Full-Fat Yogurt: Using full-fat yogurt will yield a richer and creamier frozen yogurt. If you prefer a lighter option, opt for low-fat or non-fat yogurt instead.
3. Sweetness Level: Adjust the amount of sweetener to your taste. Start with the recommended amount in the recipe, and then taste the mixture before freezing. Add more sweetener if desired, keeping in mind that the frozen yogurt will taste slightly less sweet when frozen.
4. Flavor Enhancers: Enhance the flavor of your frozen yogurt by adding extracts, such as vanilla or almond, or zest from citrus fruits. This will give a delightful boost to the overall taste of your creation.
5. Frozen Fruit: For a burst of natural sweetness and added texture, incorporate frozen fruit into your frozen yogurt. Choose fruits like berries, peaches, or mangoes, and fold them gently into the mixture before freezing.
6. Add-Ins: Experiment with various mix-ins, such as chocolate chips, crushed cookies, or nuts, to add flavor and texture to your frozen yogurt. Stir them in during the last few minutes of freezing to distribute them evenly.
7. Quick Freeze: If you prefer a softer frozen yogurt, serve it immediately after churning. For a firmer consistency, transfer the freshly churned yogurt to an airtight container and allow it to further freeze in the freezer for a few hours or overnight.
8. Thoroughly Freeze the Canister: Ensure that the freezing canister of your ice cream maker is thoroughly frozen before making the frozen yogurt. Place it in the coldest part of the freezer at least 24 hours prior to use for optimal results.
9. Avoid Overfilling: Do not overfill the ice cream maker canister, as the mixture will expand as it freezes. Leave enough space for the mixture to churn and expand, resulting in a smooth and creamy texture.
10. Proper Storage: When storing leftover frozen yogurt, press a layer of plastic wrap directly onto the surface to prevent air exposure and ice crystal formation. This will help maintain its texture and flavor until the next serving.
By following these tips and tricks, you can create your own perfect batch of frozen yogurt. Customize the flavors, experiment with mix-ins, and enjoy the delightful taste of homemade frozen desserts.