Introduction
Welcome to the wonderful world of homemade ice cream with the Rival Ice Cream Maker! Creating delicious frozen treats has never been easier or more fun. Whether you’re a seasoned ice cream enthusiast or a beginner looking to embark on a culinary journey, this article will guide you through the process of using a Rival Ice Cream Maker with ease. Get ready to indulge in creamy, dreamy ice cream flavors that you can customize to suit your taste buds.
The Rival Ice Cream Maker is a fantastic kitchen appliance that allows you to churn your own ice cream at home. It takes the hassle out of making ice cream from scratch, saving you time and effort. With this versatile machine, you can experiment with various flavors and ingredients to create unique and tasty frozen treats that will impress your friends and family.
Whether you prefer classic vanilla, decadent chocolate, or adventurous flavors like mint chip or strawberry cheesecake, the Rival Ice Cream Maker can help you bring your cravings to life. With its simple operation and reliable performance, you’ll be able to enjoy homemade ice cream that rivals that of your favorite ice cream shop.
By following the instructions in this guide, you’ll learn how to use your Rival Ice Cream Maker like a pro. From preparing the ice cream mixture to churning it to perfection, and even adding mix-ins or dealing with common troubleshooting issues, we’ve got you covered. So, let’s dive in and uncover the secrets to making delicious homemade ice cream with your Rival Ice Cream Maker!
What is a Rival Ice Cream Maker?
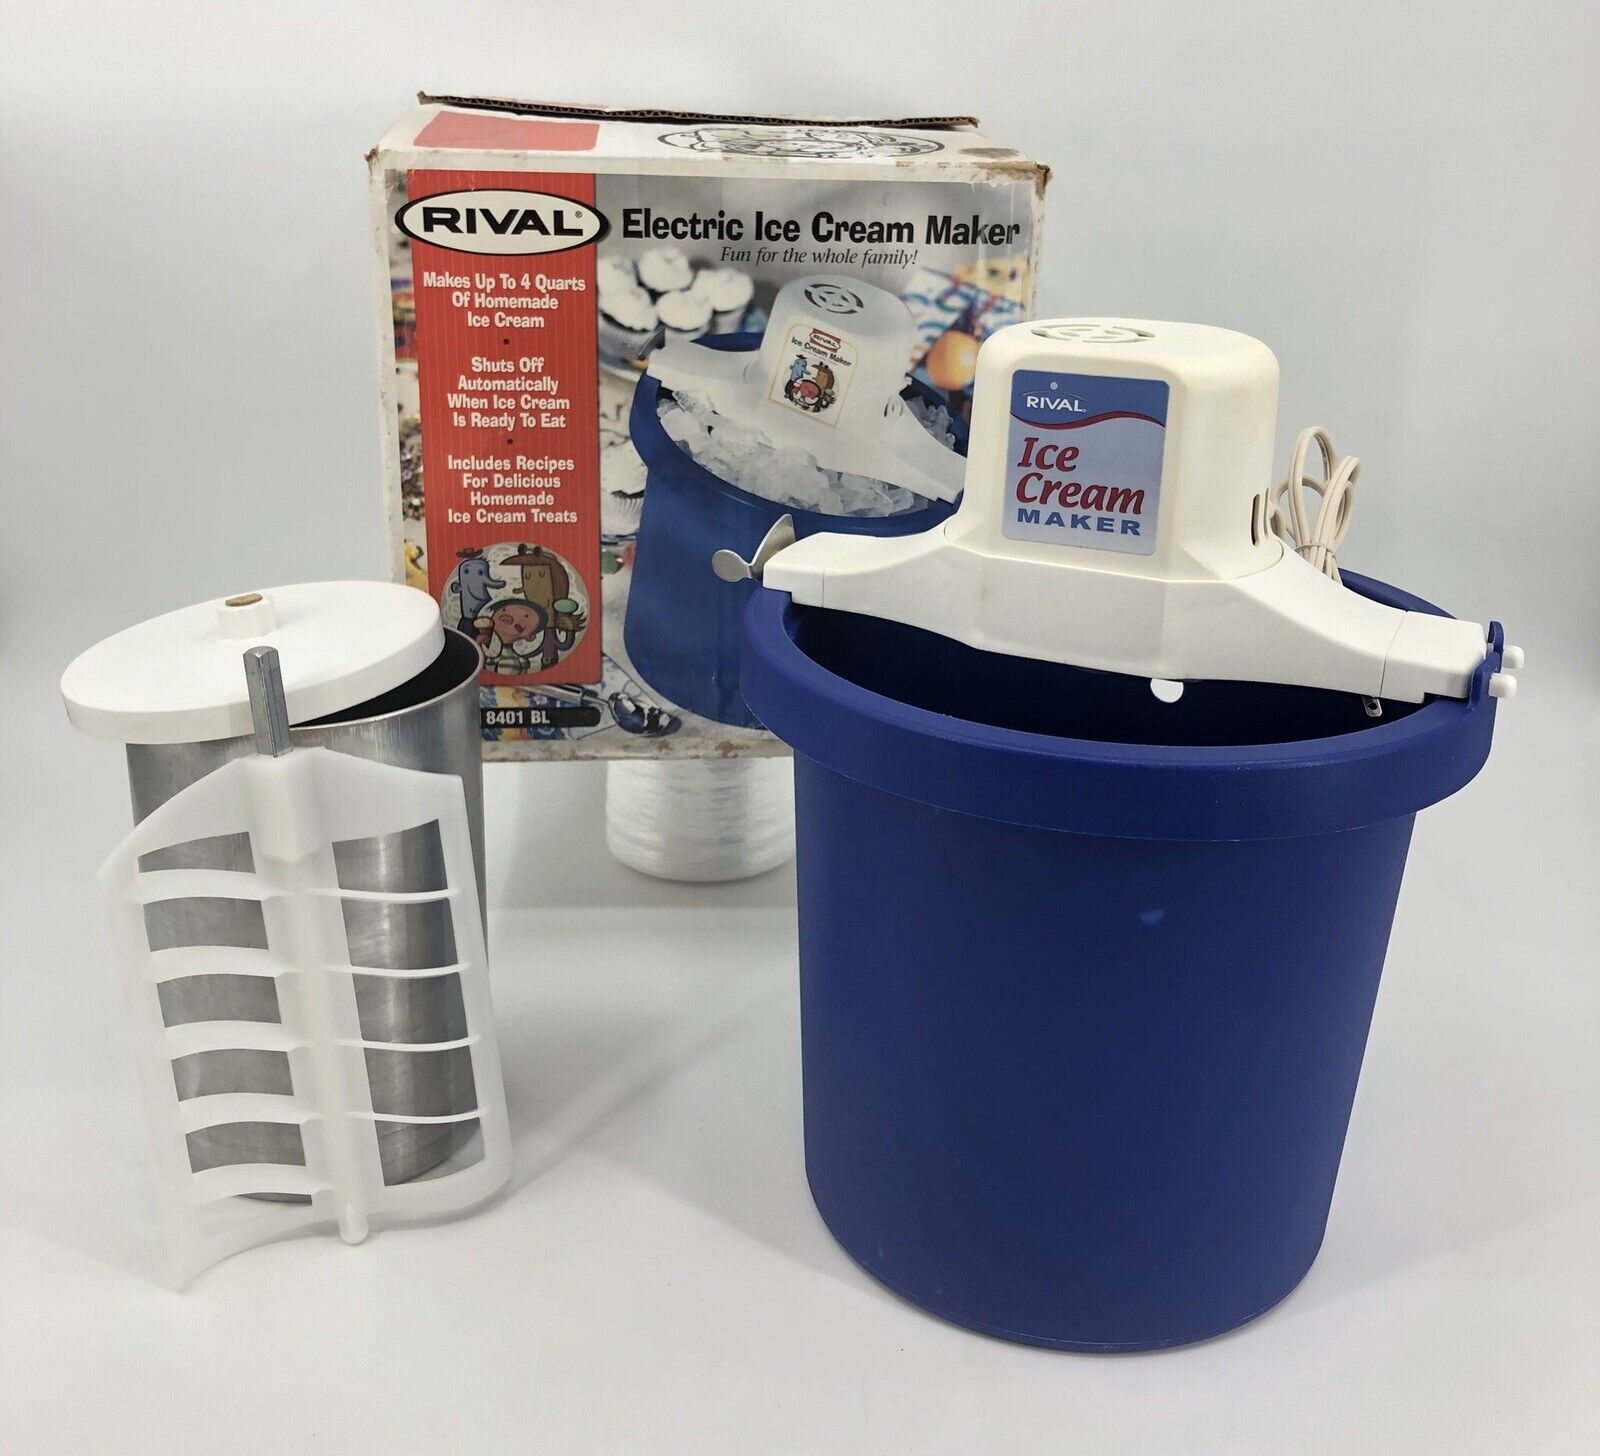
A Rival Ice Cream Maker is a specialized kitchen appliance designed to churn and freeze ice cream or other frozen desserts. It simplifies the process of making homemade ice cream, allowing you to create delicious frozen treats right in the comfort of your own kitchen.
Unlike traditional hand-cranked ice cream makers, the Rival Ice Cream Maker is an electric appliance that takes the manual labor out of the equation. It features a motorized churner that consistently mixes and freezes the ice cream mixture, resulting in smooth and creamy desserts.
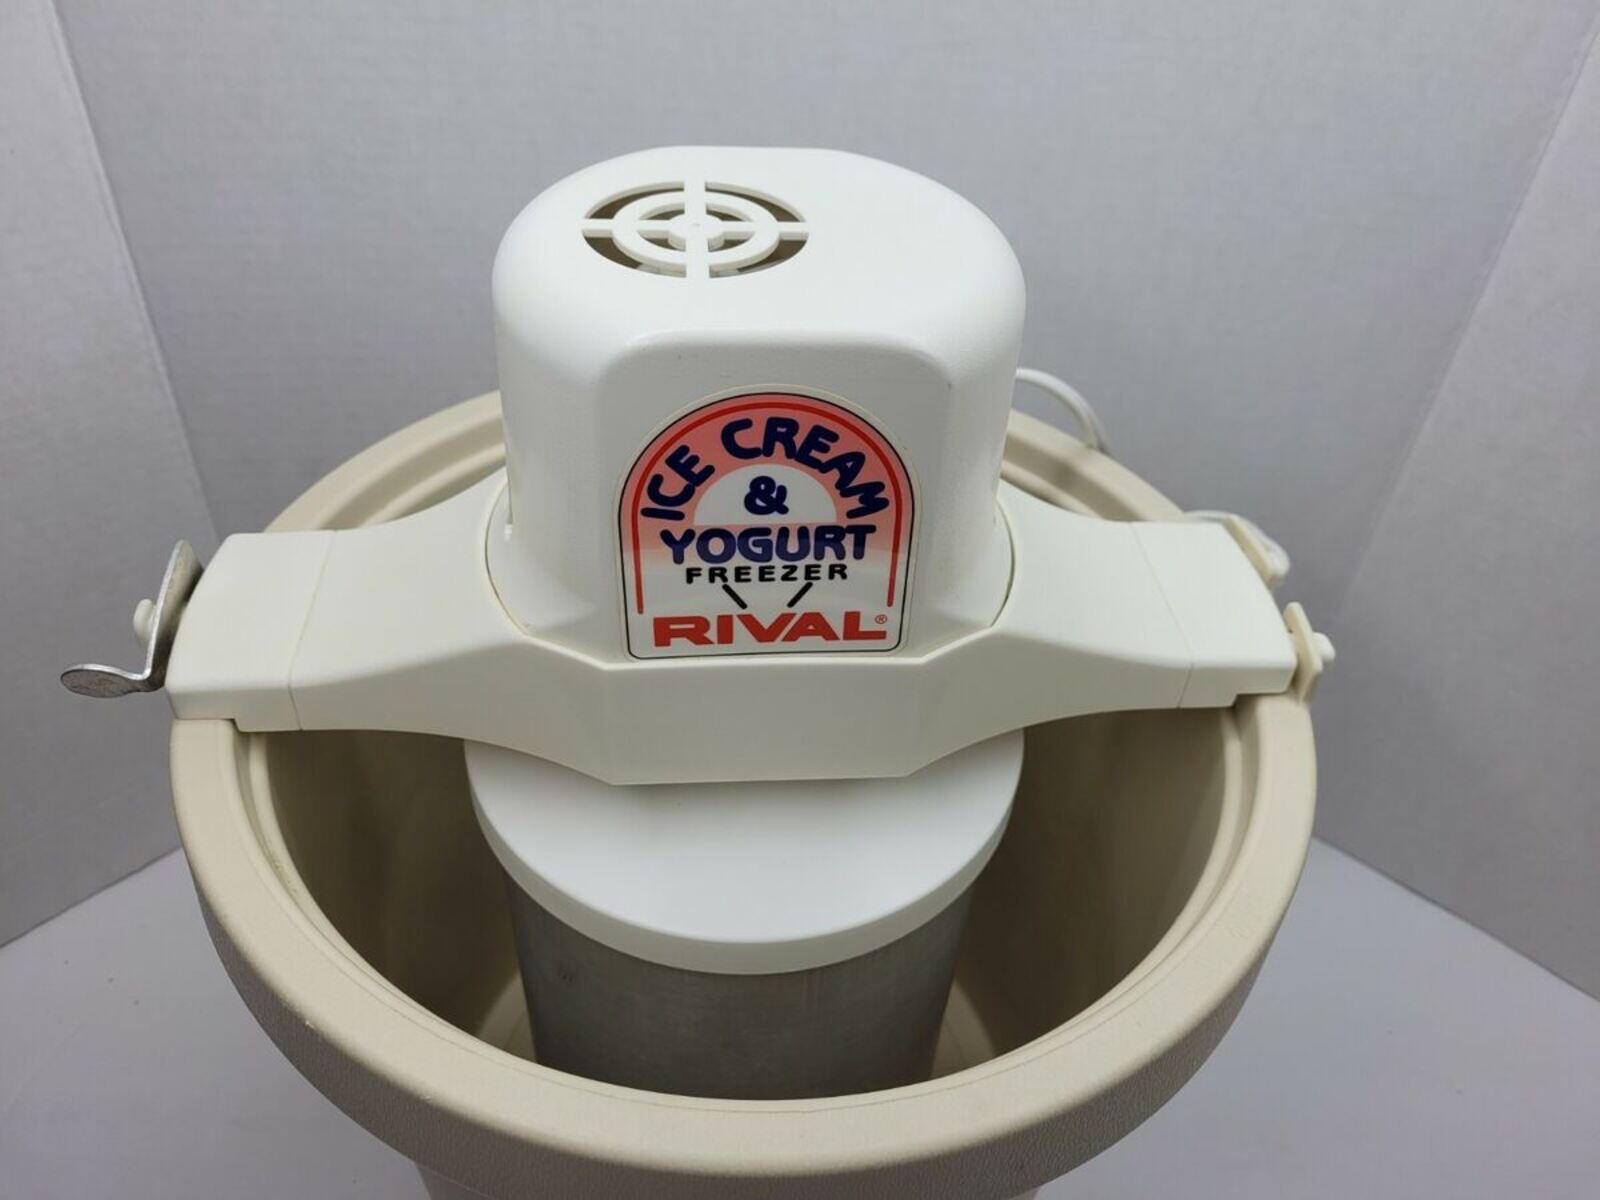
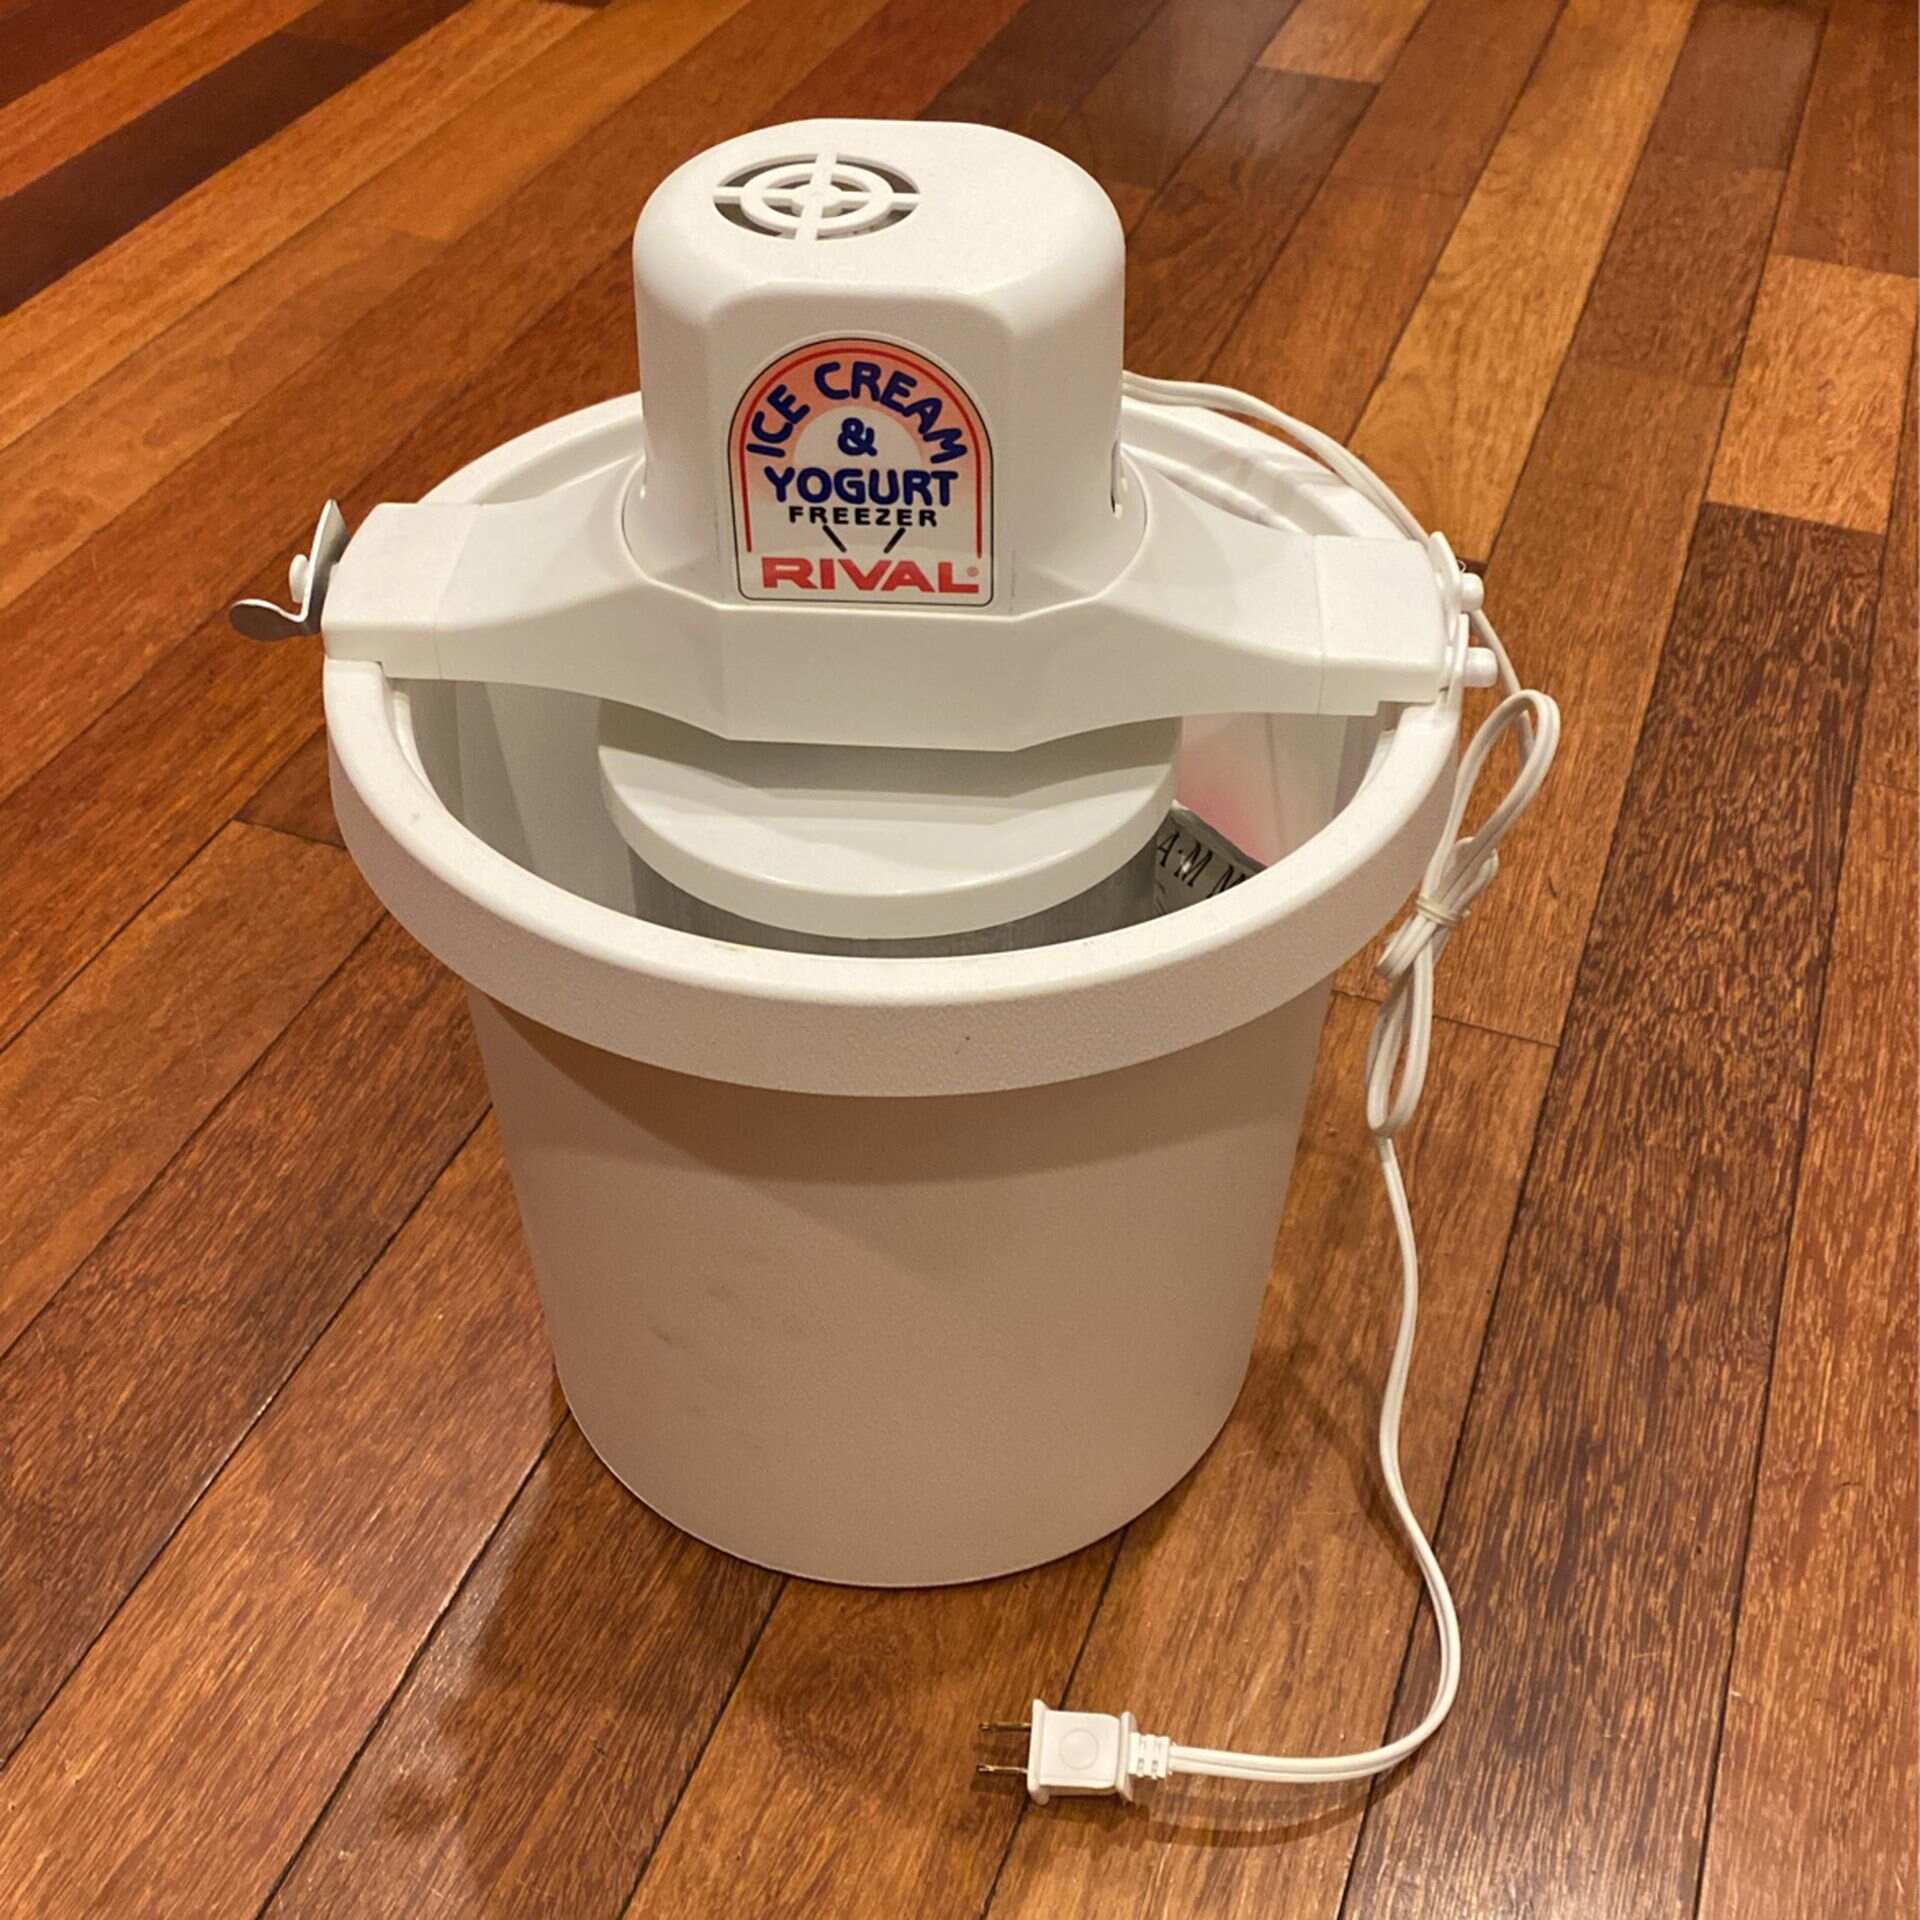
The Rival Ice Cream Maker consists of several key components. The main body of the machine typically houses the motor and churner. It also includes a freezer bowl, which is a double-walled container filled with a cooling solution. This freezer bowl needs to be frozen in advance for a specific amount of time, as indicated in the manufacturer’s instructions, to ensure proper freezing of the ice cream mixture.
Another important component is the lid, which helps to keep the mixture contained and prevents any spillage during the churning process. Some models may also include a dispensing spout or opening that allows you to add mix-ins, such as chocolate chips or nuts, while the ice cream is churning.
The Rival Ice Cream Maker offers the convenience of making ice cream in your own kitchen, giving you complete control over the ingredients and flavors. Whether you have dietary restrictions or simply prefer to use high-quality, natural ingredients, this machine allows you to create customized frozen desserts to suit your tastes.
Using a Rival Ice Cream Maker is not only a fun and enjoyable activity but also a cost-effective way to indulge in delicious ice cream. Instead of purchasing store-bought ice cream with additives and artificial flavors, you have the freedom to experiment with fresh ingredients and create unique flavor combinations.
Now that you have a better understanding of what a Rival Ice Cream Maker is, let’s move on to the next section to learn how to get started with your new appliance.
Getting Started with Your Rival Ice Cream Maker
Before you can embark on your ice cream-making journey, let’s go through the steps to get your Rival Ice Cream Maker set up and ready for use.
1. Read the Instruction Manual: Familiarize yourself with the specific model of the Rival Ice Cream Maker that you own. Each model may have unique features and instructions, so it’s essential to read the instruction manual provided by the manufacturer.
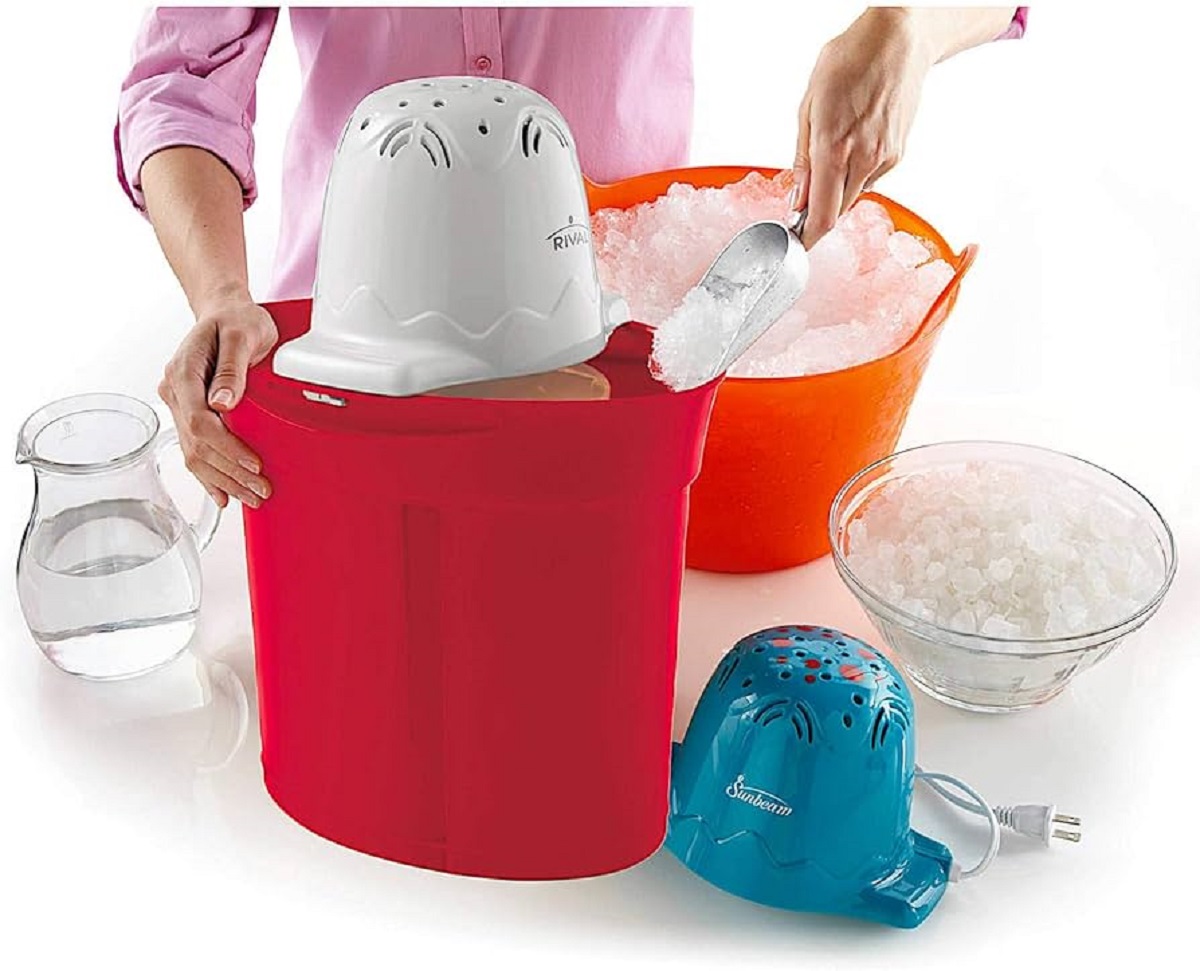
2. Freeze the Freezer Bowl: Most Rival Ice Cream Makers require the freezer bowl to be frozen prior to use. Place the bowl in the freezer for the recommended amount of time, typically between 12 to 24 hours, until it is completely frozen. It’s a good idea to keep the freezer bowl stored in the freezer so that you’re always ready to make ice cream whenever the craving strikes.
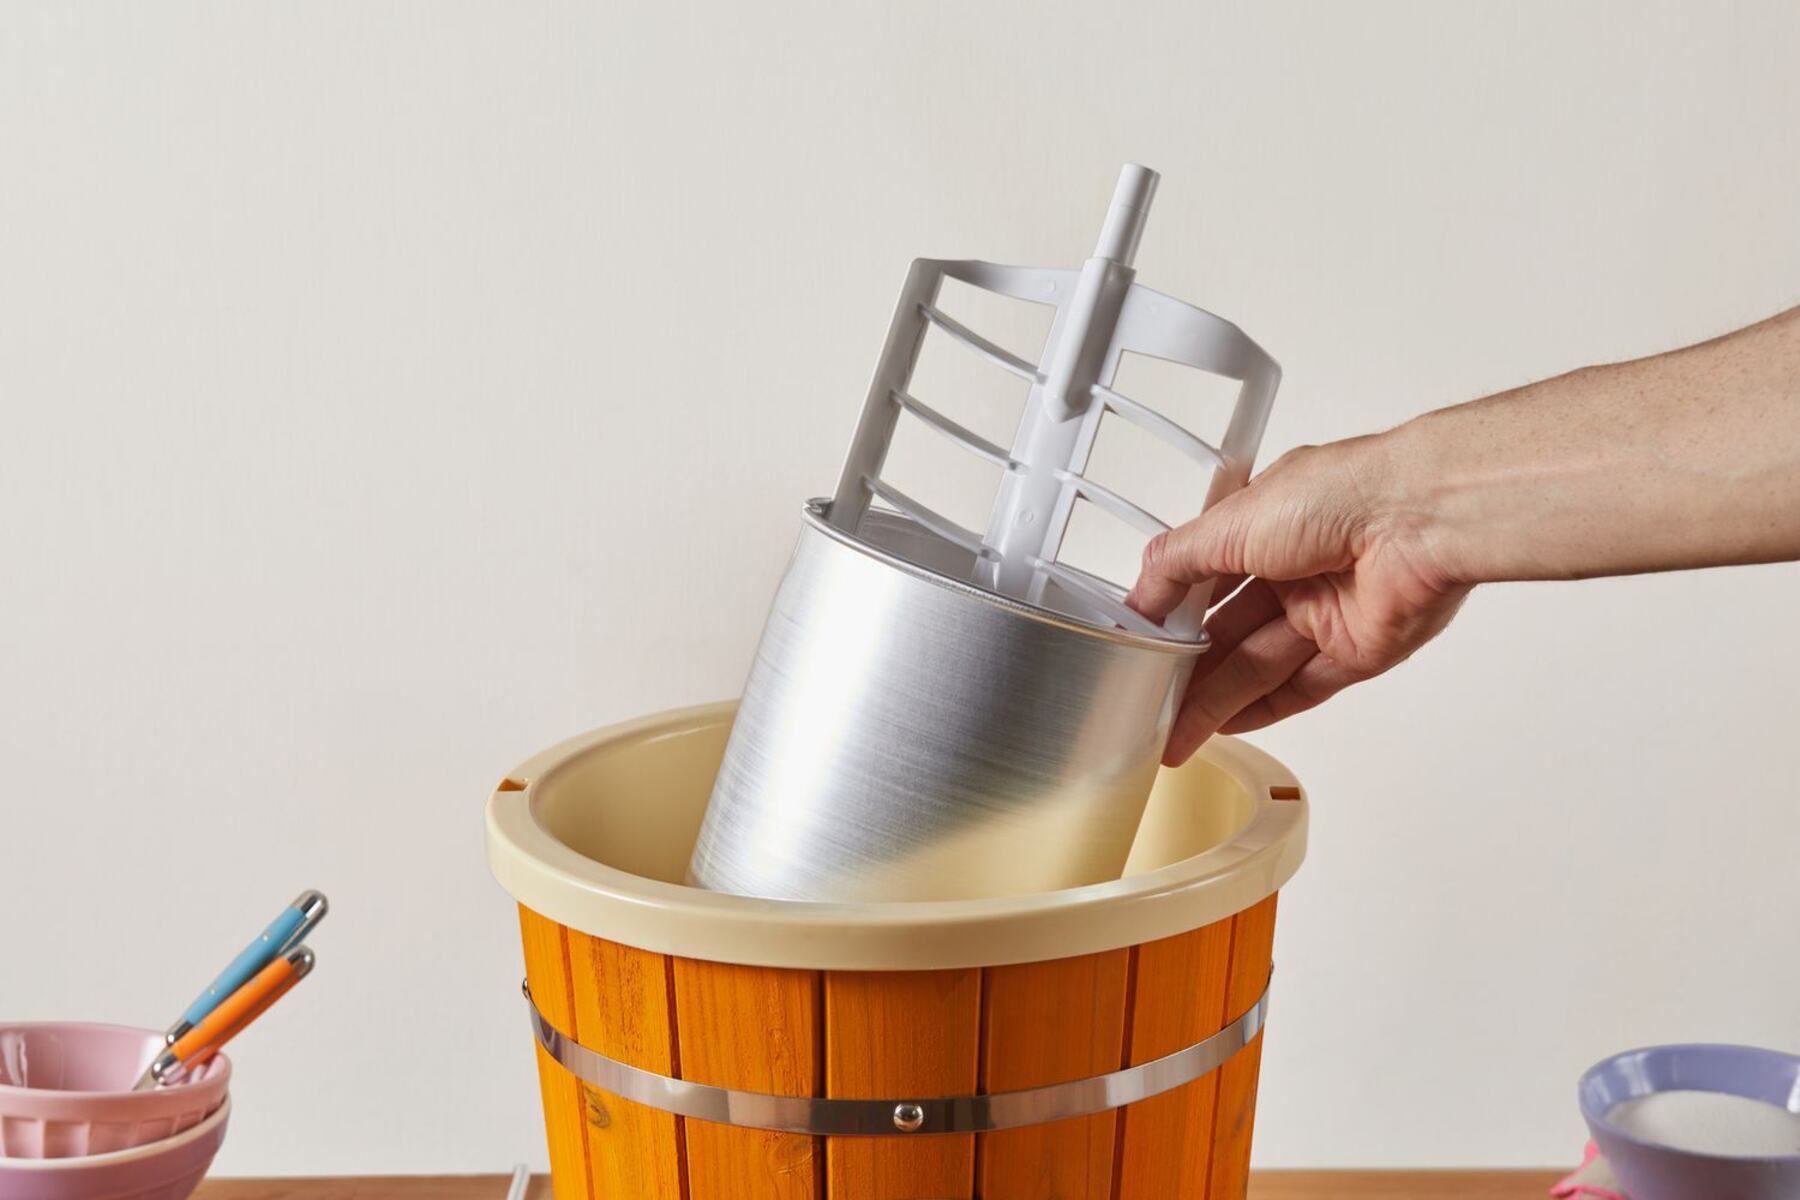
3. Assemble the Ice Cream Maker: Once the freezer bowl is frozen, assemble the Rival Ice Cream Maker according to the manufacturer’s instructions. This usually involves attaching the churner to the motorized base and ensuring that all components are securely in place.
4. Prepare the Ice Cream Mixture: While the Rival Ice Cream Maker is prepping, it’s time to prepare the ice cream mixture. You can use a tried-and-true recipe or get creative with your own flavor combinations. Be sure to chill the mixture in the refrigerator before pouring it into the freezer bowl.
5. Add the Mixture to the Freezer Bowl: Remove the frozen freezer bowl from the freezer and quickly pour the chilled ice cream mixture into the bowl. It’s essential to work swiftly to prevent the mixture from melting before it starts to freeze.
6. Attach the Lid and Start Churning: Place the lid on top of the ice cream maker, ensuring that it is securely in place. Depending on the model, you might need to turn on the motorized base before attaching the lid. Once everything is set, turn on the ice cream maker and let it churn for the recommended time.
7. Monitor the Churning Process: Keep an eye on the ice cream as it churns. You should see it gradually thicken and become creamy in texture. The churning time may vary depending on the recipe or the manufacturer’s instructions. The average churn time ranges from 20 to 30 minutes.
8. Check for Desired Consistency: After the recommended churning time has elapsed, check the consistency of the ice cream. It should be thick and creamy but may not be fully frozen yet. Remember that it will continue to firm up during the freezing process.
9. Transfer and Freeze: Once you’re satisfied with the consistency of the ice cream, transfer it to a lidded container and place it in the freezer. Allow it to freeze for at least a few hours, or until it reaches your desired firmness.
Now that you’ve successfully started using your Rival Ice Cream Maker, you’re ready to explore different recipes and flavors. In the next section, we’ll delve into the process of preparing the ice cream mixture to create a base for your delicious frozen treats.
Preparing the Ice Cream Mixture
Now that you have your Rival Ice Cream Maker set up and ready to go, it’s time to prepare the ice cream mixture. The ice cream mixture serves as the base for your frozen treat, and you can get as creative as you want with flavors and ingredients. Here’s a step-by-step guide on how to prepare the perfect ice cream mixture for your Rival Ice Cream Maker.
1. Choose your Recipe: Start by selecting a recipe that suits your taste preferences. You can find countless ice cream recipes online or in cookbooks. Whether you’re in the mood for classic vanilla, indulgent chocolate, or a unique flavor like lavender honey, the options are endless. Make sure to follow the recipe closely for the best results.
2. Gather the Ingredients: Once you’ve chosen your recipe, gather all the necessary ingredients. This usually includes milk or cream, sugar, eggs (or egg substitute for a no-churn recipe), and any additional flavorings or mix-ins. Be sure to use high-quality ingredients for the best-tasting ice cream.
3. Measure and Mix: Start by measuring the required amount of milk or cream and placing it in a saucepan. Add the sugar to the saucepan and heat the mixture over medium heat, stirring constantly until the sugar has dissolved. If the recipe calls for eggs, whisk them in a separate bowl and temper them by gradually adding the warm milk mixture while whisking continuously.
4. Customize the Flavor: This is where you can get creative and personalize your ice cream. Add in your desired flavorings, such as vanilla extract, chocolate syrup, fruit puree, or coffee. Feel free to experiment and adjust the flavors based on your preferences. Remember, a little goes a long way with concentrated flavorings, so start with a small amount and add more if needed.
5. Chill the Mixture: Once the ice cream base is mixed and flavored to perfection, it’s time to chill the mixture. Pour it into a container and place it in the refrigerator for a few hours or overnight. Chilling the mixture before churning will help it freeze faster and result in a smoother texture.
6. Review Safety Guidelines: It’s essential to note that some ice cream recipes contain raw eggs. If this is the case, it’s crucial to use pasteurized eggs or egg substitute to reduce the risk of salmonella. It’s also important to handle the ice cream mixture safely, maintaining proper food hygiene throughout the preparation process.
By following these steps and customizing the ice cream mixture to your liking, you’ll be well on your way to creating delectable frozen treats with your Rival Ice Cream Maker. In the next section, we’ll explore the exciting process of churning the ice cream and transforming your mixture into a creamy delight.
Churning the Ice Cream
Now comes the exciting part – churning the ice cream in your Rival Ice Cream Maker. This process transforms the ice cream mixture into a creamy, frozen treat. Follow these steps to achieve the perfect texture and consistency:
1. Set Up Your Churner: Make sure that the freezer bowl of your Rival Ice Cream Maker is thoroughly frozen. Take it out of the freezer and assemble the churner according to the manufacturer’s instructions. Place the assembled churner in the motorized base.
2. Pour the Mixture into the Freezer Bowl: Remove the chilled ice cream mixture from the refrigerator and give it a good stir. Pour it into the freezer bowl of your Rival Ice Cream Maker. Avoid overfilling the bowl, as the ice cream will expand as it freezes.
3. Secure the Lid: Place the lid securely on top of the ice cream maker. This helps to prevent any spills or leaks during the churning process. Some models may have a locking mechanism to ensure a tight fit.
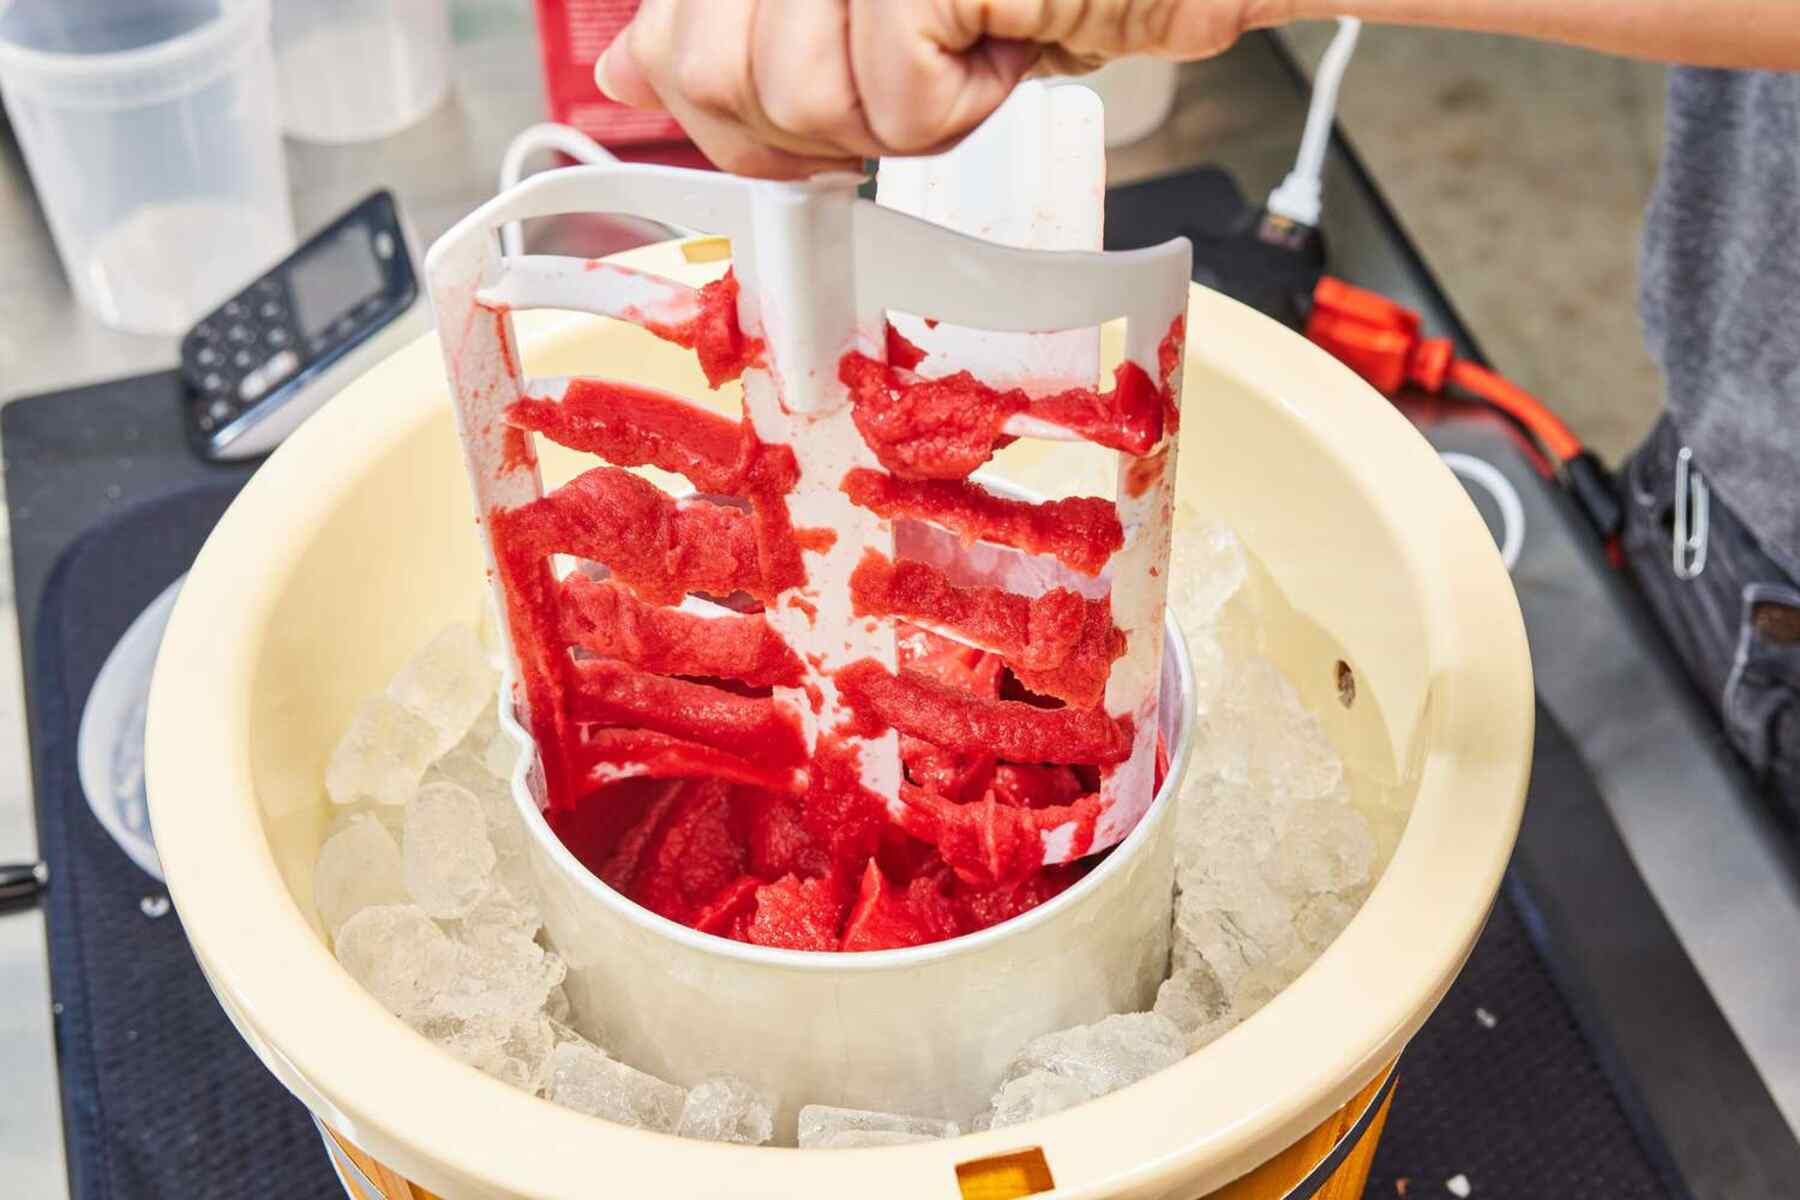
4. Start Churning: Turn on the motor of your Rival Ice Cream Maker to begin the churning process. The motor will rotate the churner inside the freezer bowl, continuously mixing and freezing the ice cream mixture.
5. Monitor the Churning Time: Each recipe may have a recommended churning time, but typically it takes around 20 to 30 minutes for the ice cream to reach the desired consistency. Keep an eye on the progress and check the manufacturer’s instructions for guidance on the optimal churning time.
6. Avoid Over-Churning: It’s crucial not to over-churn the ice cream, as it can result in a dense and icy texture. Once you notice that the ice cream has thickened and reached a soft-serve consistency, it’s time to move on to the next step. Be cautious not to exceed the recommended churning time.
7. Add Mix-ins, If Desired: If you want to incorporate mix-ins like chocolate chips, cookies, or nuts, this is the time to do it. Most Rival Ice Cream Makers have an opening or spout in the lid that allows you to add the mix-ins while the ice cream is churning. Simply pour the mix-ins into the opening, and they will be evenly distributed throughout the ice cream.
8. Finish Churning: After adding the mix-ins, allow the ice cream maker to continue churning for a brief period, just enough to distribute the mix-ins evenly. Then, turn off the machine, and your ice cream is ready for the next step.
Churning the ice cream in your Rival Ice Cream Maker is an exciting process that brings the mixture to life. The next section will explore the option to add mix-ins and how to enhance the flavors and textures of your homemade ice cream.
Adding Mix-ins
Adding mix-ins to your homemade ice cream is a delightful way to enhance flavors and textures. Whether you crave bits of chocolate, swirls of caramel, or crunchy nuts, incorporating mix-ins takes your ice cream to the next level. Here’s how to do it with your Rival Ice Cream Maker:
1. Prepare Your Mix-ins: Before you start churning, gather and prepare your desired mix-ins. This can include chocolate chips, fruit chunks, cookie dough, chopped nuts, or any other additions that complement your ice cream flavor. Ensure that your mix-ins are chopped or prepared to the desired size, making them easy to incorporate into the ice cream.
2. Timing is Key: Timing plays a crucial role when it comes to adding mix-ins to your ice cream. It’s best to add them during the last few minutes of churning or when the ice cream has reached a soft-serve consistency. Adding them too early may cause the mix-ins to sink to the bottom or melt excessively.
3. Add Mix-ins Gradually: To ensure even distribution, add your mix-ins gradually rather than dumping them all in at once. Slowly pour or sprinkle them into the opening or spout on the lid of your Rival Ice Cream Maker while it is still churning. This allows the mix-ins to be evenly dispersed throughout the ice cream.
4. Mix-ins Ideas: Get creative with your mix-ins to create unique flavor combinations. For a classic touch, add chocolate chips to a vanilla base, or swirl in caramel or fudge sauce for a decadent treat. Experiment with crushed cookies, candy pieces, or vibrant fruit purees to elevate the flavor and add visual appeal to your homemade ice cream.
5. Avoid Overdoing It: While it’s tempting to go overboard with mix-ins, be mindful of the capacity of your ice cream maker. Adding excessive amounts of mix-ins can overpower the ice cream or prevent it from freezing properly. Aim for a good balance so that the mix-ins enhance rather than dominate the overall flavor and texture of your homemade ice cream.
6. Adjust Churning Time: Adding mix-ins can slightly extend the churning time of your ice cream. Keep an eye on the consistency of the ice cream and adjust the churning time accordingly. Be careful not to over-churn, as it can result in an overly firm or dense texture.
Remember, the goal is to create a harmonious blend of flavors and textures. By adding mix-ins to your homemade ice cream, you can customize your frozen creations and surprise your taste buds with delightful bursts of flavor. In the next section, we’ll share some valuable tips to ensure better results when using your Rival Ice Cream Maker.
Tips for Better Results
While using your Rival Ice Cream Maker is a straightforward and enjoyable process, there are a few tips and tricks you can follow to ensure even better results. These tips will help you create the creamiest, most delicious homemade ice cream every time:
1. Ensure a Frozen Freezer Bowl: Before starting, make sure that the freezer bowl is thoroughly frozen. Keep it stored in the freezer at all times, so you’re always ready to churn a fresh batch of ice cream when the craving strikes.
2. Chill the Ice Cream Mixture: It’s essential to chill the ice cream mixture in the refrigerator for a few hours or overnight before pouring it into the freezer bowl. This step helps the ice cream mix freeze faster and results in a smoother texture.
3. Use Quality Ingredients: Opt for high-quality ingredients, such as fresh dairy, real vanilla extract, and natural flavorings. This will enhance the flavor and overall quality of your homemade ice cream.
4. Experiment with Ratios: Don’t be afraid to experiment with ingredient ratios. Adjusting the amount of cream, milk, sugar, or other flavorings can impact the creaminess and sweetness of the ice cream. Keep notes of your variations to find your perfect recipe.
5. Don’t Overfill the Freezer Bowl: Avoid overfilling the freezer bowl with the ice cream mixture. Overfilling can lead to overflow or difficulty in churning the ice cream evenly. Leave some space for the mixture to expand as it freezes.
6. Patience is Key: During the churning process, be patient and resist the temptation to open the lid frequently. Opening it allows heat to enter, which can slow down the freezing process and affect the texture of the ice cream.
7. Pre-Freeze Mix-ins: If you’re adding mix-ins to your ice cream, pre-freeze them beforehand. This prevents them from melting or sinking quickly into the ice cream and ensures that they stay evenly distributed.
8. Store Correctly: Once the ice cream is churned and set to your desired consistency, transfer it to a lidded container and store it in the freezer. Placing a piece of plastic wrap directly on the surface of the ice cream can help prevent ice crystals from forming.
9. Experiment with Flavors: Don’t be afraid to experiment with different flavors, extracts, and mix-ins. Let your creativity shine and try unique combinations to discover your favorite homemade ice cream flavors.
By following these tips, you’ll be well on your way to achieving better results with your Rival Ice Cream Maker. Now that you have all the knowledge and guidance needed to make delicious ice cream, it’s time to enjoy the fruits of your labor. So go ahead and indulge in your homemade frozen treats!
Cleaning and Maintaining Your Rival Ice Cream Maker
Proper cleaning and maintenance of your Rival Ice Cream Maker are essential for ensuring its longevity and optimal performance. Here are some important guidelines to follow:
1. Unplug and Disassemble: Before cleaning, always make sure to unplug your Rival Ice Cream Maker and allow it to cool down. Then, disassemble the machine as instructed in the manual. Typically, this involves removing the freezer bowl and churner.
2. Hand Wash Parts: Wash the parts of your Rival Ice Cream Maker by hand using warm, soapy water. Be gentle when cleaning the freezer bowl and churner to prevent any damage. Avoid using abrasive cleaners or brushes that may scratch the surfaces.
3. Dry Thoroughly: After washing, ensure that all parts are completely dry before reassembling the machine or storing it away. Moisture left on the parts can lead to mold or damage over time.
4. Wipe Down Motor Base: Use a damp cloth to wipe down the motor base of your Rival Ice Cream Maker. Be careful not to allow any liquid to enter the motor housing, as this can cause damage.
5. Store Properly: When not in use, store your Rival Ice Cream Maker in a dry and clean space. Keep the freezer bowl stored in the freezer so that it’s always ready for use. Ensure that all parts are dry and free from any moisture before storing.
6. Regular Maintenance: It’s essential to perform regular maintenance tasks to keep your Rival Ice Cream Maker in optimal condition. These may include checking the motor and components for any signs of wear or damage, lubricating moving parts as recommended by the manufacturer, and following any maintenance schedule provided in the manual.
7. Safety First: Always prioritize safety when using and maintaining your Rival Ice Cream Maker. Keep it away from water sources and flammable materials. Follow all instructions and warnings provided by the manufacturer to prevent accidents or damage.
By following these cleaning and maintenance practices, you can ensure that your Rival Ice Cream Maker stays in excellent working condition for years to come. With proper care, your machine will continue to churn out delicious ice cream and bring joy to your kitchen.
Troubleshooting Common Issues
While using your Rival Ice Cream Maker, you may encounter some common issues that can be easily resolved. Here are a few troubleshooting tips to help you overcome these challenges:
1. Ice Cream Not Freezing: If your ice cream isn’t freezing properly, ensure that the freezer bowl is completely frozen before starting. Check that the ice cream mixture is chilled adequately before pouring it into the bowl. Additionally, make sure you’re using the correct ratio of ingredients as specified in the recipe.
2. Ice Cream Not Churning: If the ice cream mixture is not churning, double-check that the motorized base is properly connected and turned on. Ensure that the lid is securely in place, as some models have a safety mechanism that prevents churning until the lid is properly closed.
3. Ice Cream Texture is Not Smooth: If the texture of your ice cream is not smooth, the most common culprit is improper churning or inadequate freezing time. Make sure you are following the recommended churning time and freezing the ice cream for a sufficient period after churning. If you’re still experiencing issues, try adjusting the ingredients or the proportions in your recipe.
4. Frozen Parts or Motor Overheating: If you notice any issues with the freezer bowl, churner, or motor, it’s important to stop using the ice cream maker immediately. Allow the machine to cool down and inspect it for any signs of damage or malfunctions. Contact the manufacturer’s customer support for assistance or take it to an authorized service center if needed.
5. Excessive Noise or Vibrations: If your Rival Ice Cream Maker is making unusual noises or excessive vibrations, there may be a problem with the motor or other components. Ensure that the machine is on a stable and level surface. If the issue persists, contact the manufacturer for troubleshooting or repair options.
6. Leaking or Spillage: If you experience any leaking or spills during the churning process, check that all the components are properly assembled and that the lid is securely locked. Avoid overfilling the freezer bowl, as this can cause overflow. Clean up any spills promptly to prevent damage to the motor base or other parts.
If you encounter any other issues with your Rival Ice Cream Maker that are not addressed here, consult the instruction manual or reach out to the manufacturer’s customer support for further assistance. They will be able to provide specific troubleshooting guidance based on the model of your ice cream maker.
By following these troubleshooting tips, you can quickly resolve common issues and continue enjoying the delightful experience of making homemade ice cream with your Rival Ice Cream Maker.
Conclusion
Congratulations! You’ve now learned how to use your Rival Ice Cream Maker to create delicious homemade ice cream. With this wonderful appliance, you can indulge in creamy, flavorful frozen treats right in the comfort of your own kitchen.
From getting started with setting up your Rival Ice Cream Maker to preparing the ice cream mixture, churning it to perfection, adding mix-ins, and troubleshooting common issues, you now have the knowledge and tools to create delectable frozen desserts.
Remember to follow the instructions provided by the manufacturer and the recipes you choose to ensure the best results. Experiment with different flavors, mix-ins, and ratios to find your favorite combinations. The possibilities are endless, and the enjoyment of making your own ice cream is immeasurable.
Cleaning and maintaining your Rival Ice Cream Maker will help keep it in optimal condition for long-lasting use. With regular care, your machine will continue to churn out delightful ice cream creations for years to come.
So, what are you waiting for? Start exploring new flavors, experimenting with ingredients, and delighting your taste buds with homemade ice cream. Unleash your creativity and enjoy the sweet satisfaction of creating frozen treats that are uniquely yours.
Now that you have all the information and tips you need, it’s time to embark on your ice cream-making journey with your trusty Rival Ice Cream Maker. Get ready to impress your friends and family with mouthwatering desserts that showcase your culinary skills.
So, gather your ingredients, freeze your freezer bowl, and let the churning begin. Have fun, savor the process, and enjoy every spoonful of your homemade ice cream.
Happy ice cream making!