Introduction
Are you craving a scoop of rich and creamy chocolate ice cream, but don’t have an ice cream maker? Don’t worry, because you can still indulge in homemade deliciousness with just a few simple ingredients and a little bit of patience. Making homemade chocolate ice cream without using an ice cream maker is easier than you might think, and the results are absolutely amazing.
There’s something incredibly satisfying about creating your own frozen treat from scratch, with each spoonful bursting with your favorite flavors. With this recipe, you can achieve that dreamy texture and intense chocolate flavor without any fancy equipment. It’s a fantastic way to beat the heat or simply indulge in a decadent dessert anytime you please.
By following a few simple steps and using basic kitchen tools, you can whip up a batch of creamy chocolate ice cream that rivals any store-bought variety. Plus, you have the added bonus of knowing exactly what goes into your creation – no artificial additives or preservatives. So, without further ado, let’s dive into the delightful world of homemade chocolate ice cream without an ice cream maker.
Ingredients
Making homemade chocolate ice cream without an ice cream maker requires just a handful of simple ingredients that you probably already have in your pantry. Here’s what you’ll need to gather before you get started:
- 2 cups of heavy cream: This is the key ingredient that provides a luscious and creamy texture to the ice cream.
- 1 cup of whole milk: The addition of milk helps balance the richness of the cream and gives a smooth consistency to the ice cream.
- 3/4 cup of granulated sugar: Sweetness is essential in any ice cream recipe, and granulated sugar gets the job done perfectly.
- 1/2 cup of unsweetened cocoa powder: This is where the rich chocolate flavor comes from. Make sure to use high-quality cocoa powder for the best results.
- 2 teaspoons of pure vanilla extract: Vanilla extract adds depth of flavor and enhances the overall taste of the ice cream.
- A pinch of salt: Salt may seem like an odd addition to a sweet dessert, but it actually intensifies the flavors and balances the sweetness.
Feel free to customize the recipe according to your taste preference. You can add a tablespoon of espresso powder for a hint of coffee flavor or throw in some chocolate chips or crushed cookies for added texture. Remember, this is your chocolate ice cream creation, so don’t be afraid to get creative with mix-ins!
Step 1: Make the Chocolate Base
To start, you’ll need to prepare the chocolate base for your homemade ice cream. This step involves combining the cocoa powder, sugar, and salt in a mixing bowl. Whisk these dry ingredients together until they are well combined and there are no lumps.
Next, pour in the heavy cream and whole milk into a saucepan and heat it gently over medium-low heat. Stir occasionally to prevent the mixture from scorching or forming a skin on top. Heat the mixture until it is hot, but not boiling. You should see steam rising from the surface, but there should be no bubbles.
Once the cream and milk mixture is hot, slowly pour it into the bowl with the cocoa powder, sugar, and salt mixture. Whisk everything together until the dry ingredients are fully dissolved and the mixture becomes smooth and homogeneous. As you whisk, you’ll notice the rich chocolate color and aroma coming through, which is a great sign that you’re on the right track.
Lastly, add in the pure vanilla extract and give it a final stir. The vanilla extract will enhance the flavors of the chocolate and give your ice cream a delightful fragrance. At this point, your chocolate base is ready, and it’s time to move on to the next step.
Step 2: Chilling the Mixture
After making the chocolate base, it’s important to let it cool down before moving on to the next step. Chilling the mixture allows the flavors to meld together and helps achieve a smooth and creamy texture in the final ice cream.
Transfer the chocolate base into a clean, airtight container or bowl. Cover it with plastic wrap, ensuring that the plastic wrap directly touches the surface of the mixture. This prevents a skin from forming as it cools. Place the container in the refrigerator and let it chill for at least 4 hours, or preferably overnight.
During the chilling process, the mixture will thicken slightly and the flavors will continue to develop. It’s important to be patient and allow enough time for this crucial step. The longer the mixture chills, the better the texture and taste of the final ice cream will be.
You can also place the container in the freezer for about 30 minutes to speed up the chilling process. However, make sure to check on the mixture frequently to prevent it from freezing completely. We want it to be chilled, not frozen solid.
Once the chocolate base is thoroughly chilled, it’s time to move on to the next step of the process – freezing the ice cream.
Step 3: Freezing the Ice Cream
Now that the chocolate base has chilled, it’s time to transform it into velvety ice cream. While we don’t have an ice cream maker, we can still achieve a creamy texture by using a simple method.
First, take the chilled chocolate base out of the refrigerator and give it a good stir to ensure it’s well mixed. Then, pour the mixture into a shallow, freezer-safe container. A metal loaf pan or a baking dish will work perfectly for this. The shallow container allows the ice cream to freeze more quickly and evenly.
Cover the container with a tight-fitting lid or use plastic wrap to seal it tightly. This will prevent any ice crystals from forming on the surface and ensure a smooth texture.
Place the container in the freezer and let it freeze for about 1 to 2 hours, or until the mixture starts to freeze around the edges. At this point, remove it from the freezer and give it a good stir with a spoon or whisk. This breaks up any ice crystals and helps distribute the colder parts of the mixture to the warmer areas, resulting in a creamier consistency.
Repeat this process of stirring the partially frozen ice cream every 30 minutes or so for the next 2 to 3 hours. Each time you stir, you’ll notice the mixture becoming thicker and creamier. This step is crucial as it prevents the formation of large ice crystals and helps achieve a smooth and creamy texture.
Continue freezing and stirring the ice cream until it reaches your desired consistency. It usually takes about 4 to 6 hours of freezing time, depending on your freezer’s temperature and the texture you prefer.
Once the ice cream reaches the desired consistency, it’s time to move on to the next step of the process – mixing and churning the ice cream.
Step 4: Mixing and Churning the Ice Cream
To achieve that perfect creamy texture, we need to mix and churn the partially frozen ice cream. This step will help break up any remaining ice crystals and incorporate more air, resulting in a light and smooth consistency.
Transfer the partially frozen ice cream into a mixing bowl and use an electric mixer or a whisk to beat it on medium speed. This will help break up any ice crystals and create a smoother texture. Mix for about 2-3 minutes until the ice cream becomes creamy and fluffy.
If you prefer a softer texture, you can enjoy the ice cream right away. But if you prefer a firmer consistency, transfer the ice cream back into the shallow container and place it back in the freezer for another 1-2 hours to firm up.
During this time, it’s important to keep an eye on the ice cream and check the consistency regularly. The goal is to achieve a scoopable texture that’s not too hard or too soft.
Once the ice cream has reached your desired firmness, it’s time to move on to the next step – repeating the freezing process.
Step 5: Repeat the Process
After mixing and churning the ice cream, we need to repeat the freezing process to further enhance its texture and ensure a smooth consistency. This step helps to break down any remaining ice crystals and allows the flavors to meld together.
Transfer the mixed ice cream back into the shallow container and cover it tightly with a lid or plastic wrap. Place it back in the freezer and let it freeze for an additional 2-3 hours, or until it reaches your desired firmness.
Like before, it’s important to stir the ice cream every 30 minutes to break up any ice crystals and maintain an even texture. This step ensures that your homemade ice cream achieves that creamy and velvety consistency.
Repeat the freezing and stirring process for a total of 2 to 3 times, depending on how patient you can be. The more times you repeat this step, the smoother and creamier the ice cream will become.
Once the ice cream has reached the desired consistency, you can proceed to the next step – adding mix-ins if desired.
Step 6: Adding Mix-ins (Optional)
Now it’s time to take your homemade chocolate ice cream to the next level by adding in some delicious mix-ins. This step is completely optional, but it allows you to personalize your ice cream with your favorite flavors and textures.
There are countless mix-in options to choose from. You can add crushed cookies, chopped nuts, chocolate chips, or even swirls of caramel or fudge sauce. Get creative and experiment with different combinations to tailor the ice cream to your taste preferences.
To add the mix-ins, gently fold them into the partially frozen ice cream using a spatula or spoon. Be careful not to overmix, as you want the mix-ins to be evenly distributed without melting the ice cream too much.
Once the mix-ins are incorporated, transfer the ice cream back into the shallow container and smooth out the top. Cover it again with a lid or plastic wrap, and place it back in the freezer for another 1-2 hours to allow the flavors to meld together and the mix-ins to set.
During this time, check on the ice cream occasionally to make sure it’s firming up nicely. Once it has reached the desired consistency, you can move on to the final step of the process – the last round of freezing.
Remember, adding mix-ins is a fun and creative way to elevate your homemade ice cream, but it’s entirely optional. If you prefer a pure and classic chocolate ice cream, feel free to skip this step and proceed to the next one.
Step 7: Final Freezing
After adding the mix-ins, it’s time for the final round of freezing to allow the ice cream to fully set and develop its flavors. This step ensures that your homemade chocolate ice cream is ready to be served and enjoyed.
Place the container with the ice cream back into the freezer and let it freeze for an additional 2-3 hours, or until it reaches your desired firmness. During this time, keep the lid or plastic wrap tightly sealed to prevent any unwanted odors or flavors from seeping into the ice cream.
Be sure to check the consistency of the ice cream periodically. It should be firm but still scoopable. If it becomes too hard, you can let it sit at room temperature for a few minutes before serving to soften it slightly.
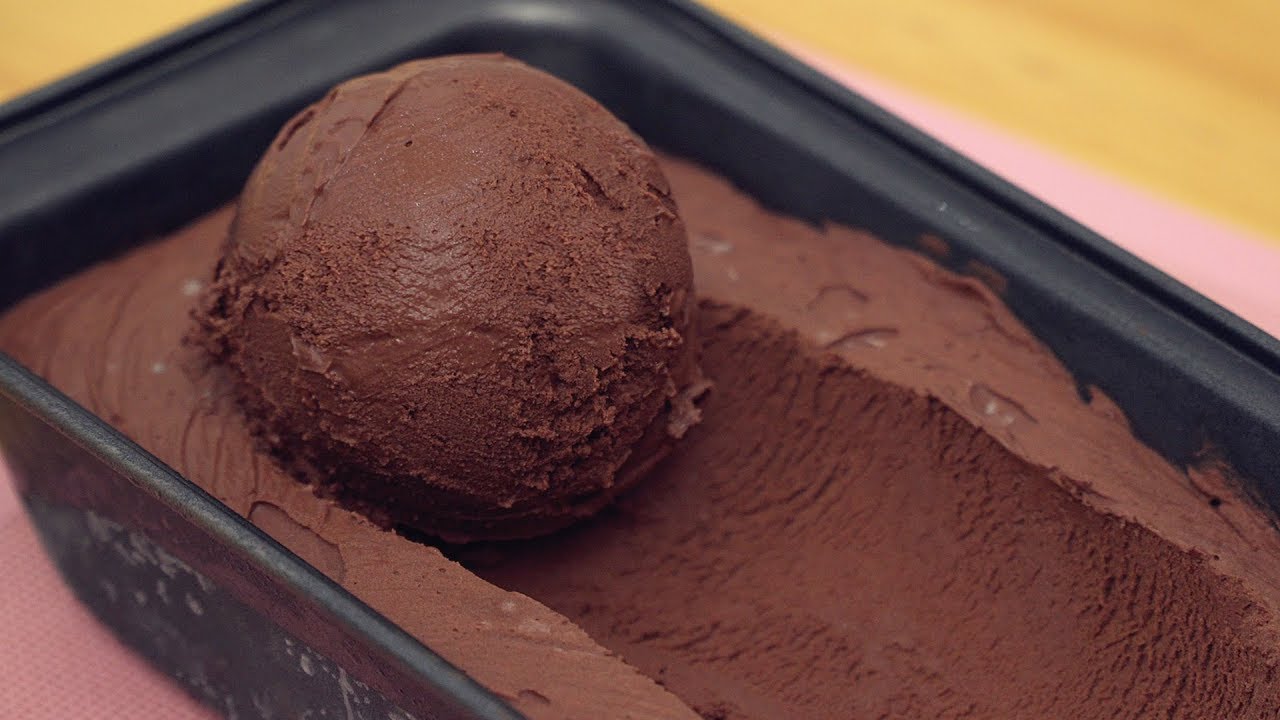
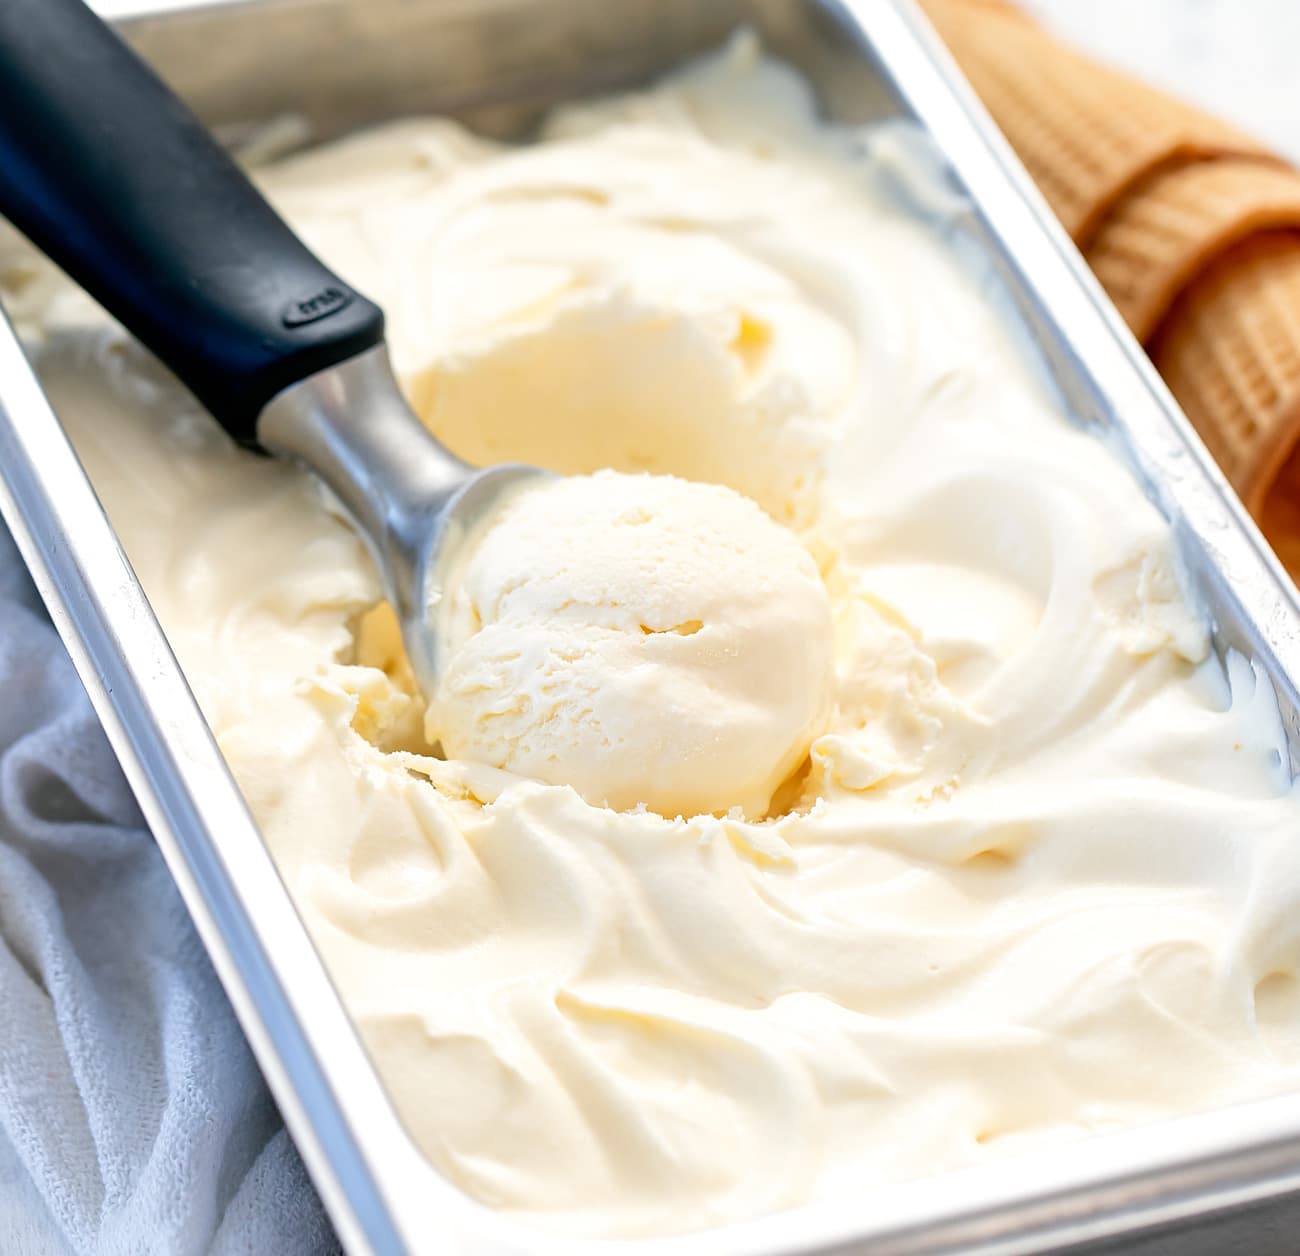
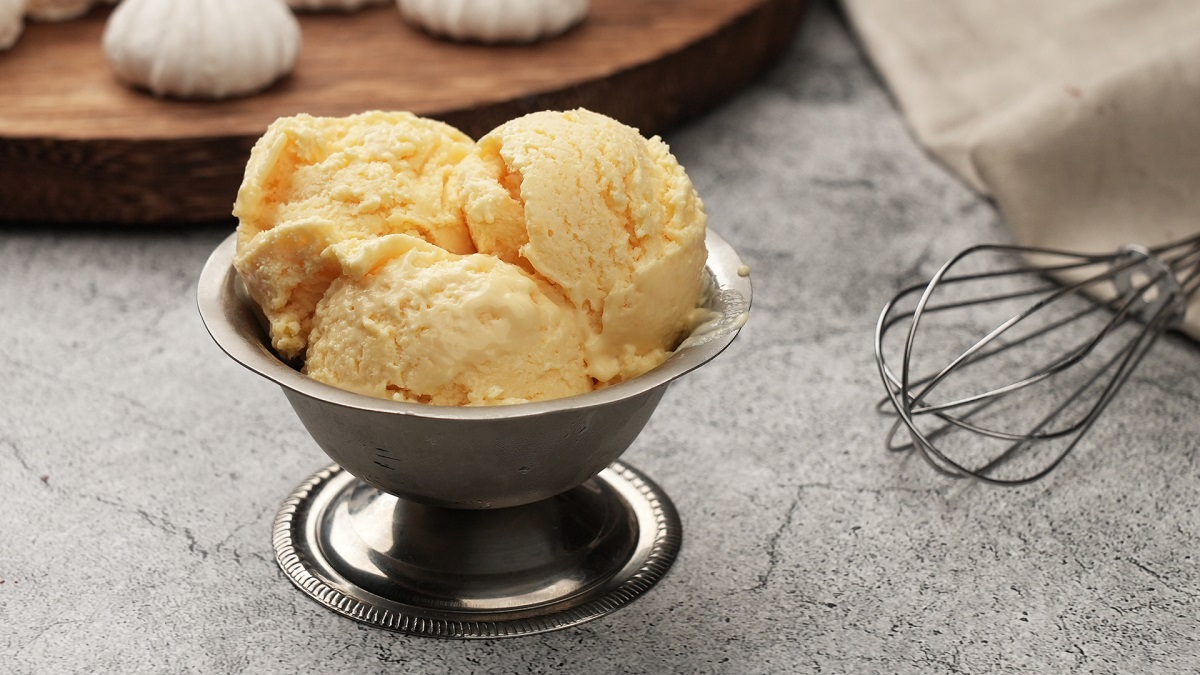
Once the ice cream has fully set, it is ready to be enjoyed. Scoop it into bowls or cones, garnish with your favorite toppings, and indulge in the creamy, chocolaty goodness you’ve created.
If you have any leftovers, store them in an airtight container in the freezer for up to a few weeks. However, homemade ice cream is best enjoyed fresh, so try to consume it within the first few days for the best flavor and texture.
Now that you’ve followed these steps, you can savor the satisfaction of making delicious homemade chocolate ice cream without the need for an ice cream maker. Let your taste buds rejoice in the rich and creamy goodness, and share this delightful treat with family and friends. Enjoy!
Step 8: Serving and Enjoying
Congratulations! You’ve reached the final step of creating your homemade chocolate ice cream. Now it’s time to serve it up and savor the fruits of your labor. Here’s how to enjoy your delectable creation:
Using an ice cream scoop or a spoon, carefully scoop generous portions of the chocolate ice cream into bowls, cones, or even on top of warm brownies for an extra indulgent treat. You can also drizzle some chocolate sauce or sprinkle crushed cookies on top for added flavor and texture.
As you take that first bite, relish the smooth and creamy texture that melts on your tongue. Allow the rich chocolate flavor to envelop your taste buds, leaving you in a state of pure bliss. Each spoonful is a delightful reminder of the hard work and love you put into making this homemade treat.
Share the joy with your loved ones! Serve them a scoop of your homemade chocolate ice cream and watch as their faces light up with delight. Whether it’s a casual gathering, a special occasion, or simply a sweet treat for yourself, this homemade ice cream is sure to be a crowd-pleaser.
Remember, homemade ice cream can melt quickly, so enjoy it promptly. Devour each scoop, savoring the flavors and textures. Take the time to appreciate the taste of your creation and bask in the satisfaction of your culinary accomplishment.
If you have any leftovers, store them in an airtight container in the freezer. However, note that homemade ice cream is best enjoyed fresh. The texture may slightly change after freezing, but it will still be delicious!
Now, sit back, relax, and relish in the joy that comes from creating and savoring a homemade treat. Your homemade chocolate ice cream is a testament to your culinary skills and will surely become a go-to dessert in your household. Enjoy every spoonful and share the love of homemade goodness with the world.
Conclusion
Making homemade chocolate ice cream without an ice cream maker is a delightful and rewarding experience. With just a few simple ingredients and a little patience, you can create a creamy and delicious treat that rivals any store-bought version. This process allows you to customize your ice cream with your favorite mix-ins and eliminates the need for specialized equipment.
Starting with a rich chocolate base, chilling the mixture, freezing, stirring, and repeating the process helps to achieve a smooth and creamy texture. Adding mix-ins is a fun option to customize your ice cream, but it’s entirely optional. Finally, the last round of freezing ensures that your ice cream is firm and ready to be served.
By following these steps, you can indulge in homemade chocolate ice cream that is not only bursting with flavor but also made with love and care. It’s a fantastic treat to enjoy on a hot summer day, for a special occasion, or simply whenever you have a craving for something sweet.
So, gather your ingredients, put on your apron, and embark on the journey of creating your own homemade chocolate ice cream without an ice cream maker. The process may require some time and patience, but the end result is absolutely worth it. So go ahead, whip up a batch, and delight in the deliciousness of your homemade creation. Enjoy every spoonful and share the joy with your loved ones. Get ready to experience ice cream bliss like never before!