Introduction
Everyone loves a good birthday cake, and what’s even better than that? Birthday cake ice cream! If you’re looking to satisfy your sweet tooth and enjoy the nostalgic flavors of birthday cake, then this recipe is for you. With just a few simple ingredients and an ice cream maker, you can create a creamy, dreamy dessert that will delight both children and adults alike.
What makes birthday cake ice cream so special is its unique combination of flavors. It captures the essence of a classic birthday cake with its vanilla base and swirls of colorful sprinkles. Plus, it’s incredibly versatile – you can customize it with your favorite cake flavors and mix-ins to make it truly your own.
In this article, we’ll walk you through the step-by-step process of making birthday cake ice cream using an ice cream maker. From preparing the cake to churning the ice cream and adding the finishing touches, we’ll cover everything you need to know to create a delectable homemade treat.
So, gather your ingredients, dust off that ice cream maker, and let’s dive into the world of homemade birthday cake ice cream. Get ready for a delightful dessert that will transport you back to childhood and make every day feel like a celebration!
Ingredients
Before you start making your birthday cake ice cream, gather all the necessary ingredients. Here’s what you’ll need:
- 2 cups heavy cream
- 1 cup whole milk
- 3/4 cup granulated sugar
- 1 tablespoon pure vanilla extract
- 1/2 cup cake mix (your preferred flavor)
- 1/4 cup rainbow sprinkles
- 1/2 cup cake pieces (from a prepared cake)
These ingredients will ensure that your homemade birthday cake ice cream is rich, creamy, and bursting with flavor. The heavy cream and whole milk provide the base for a velvety texture, while the sugar adds sweetness. The pure vanilla extract enhances the overall flavor, giving it that classic birthday cake taste.
Now, let’s talk about the star ingredients that make this ice cream truly special: the cake mix, rainbow sprinkles, and cake pieces. By adding cake mix to the ice cream base, you infuse it with the distinct flavors of your chosen cake flavor. The rainbow sprinkles not only bring a pop of color but also add a delightful crunch in every bite. And of course, the cake pieces will provide extra texture and remind you of enjoying a slice of birthday cake.
Feel free to customize the recipe by using your favorite cake mix flavor, whether it’s chocolate, vanilla, funfetti, or any other flavor that tickles your taste buds. You can also experiment with different types of cake pieces, such as chocolate, strawberry, or even cookie crumbles. The possibilities are endless, so don’t be afraid to get creative!
Now that you have all the ingredients ready, it’s time to gather the necessary equipment and dive into the step-by-step process of making your homemade birthday cake ice cream.
Equipment Needed
To make birthday cake ice cream, you’ll need a few essential tools and equipment. Here’s what you’ll need:
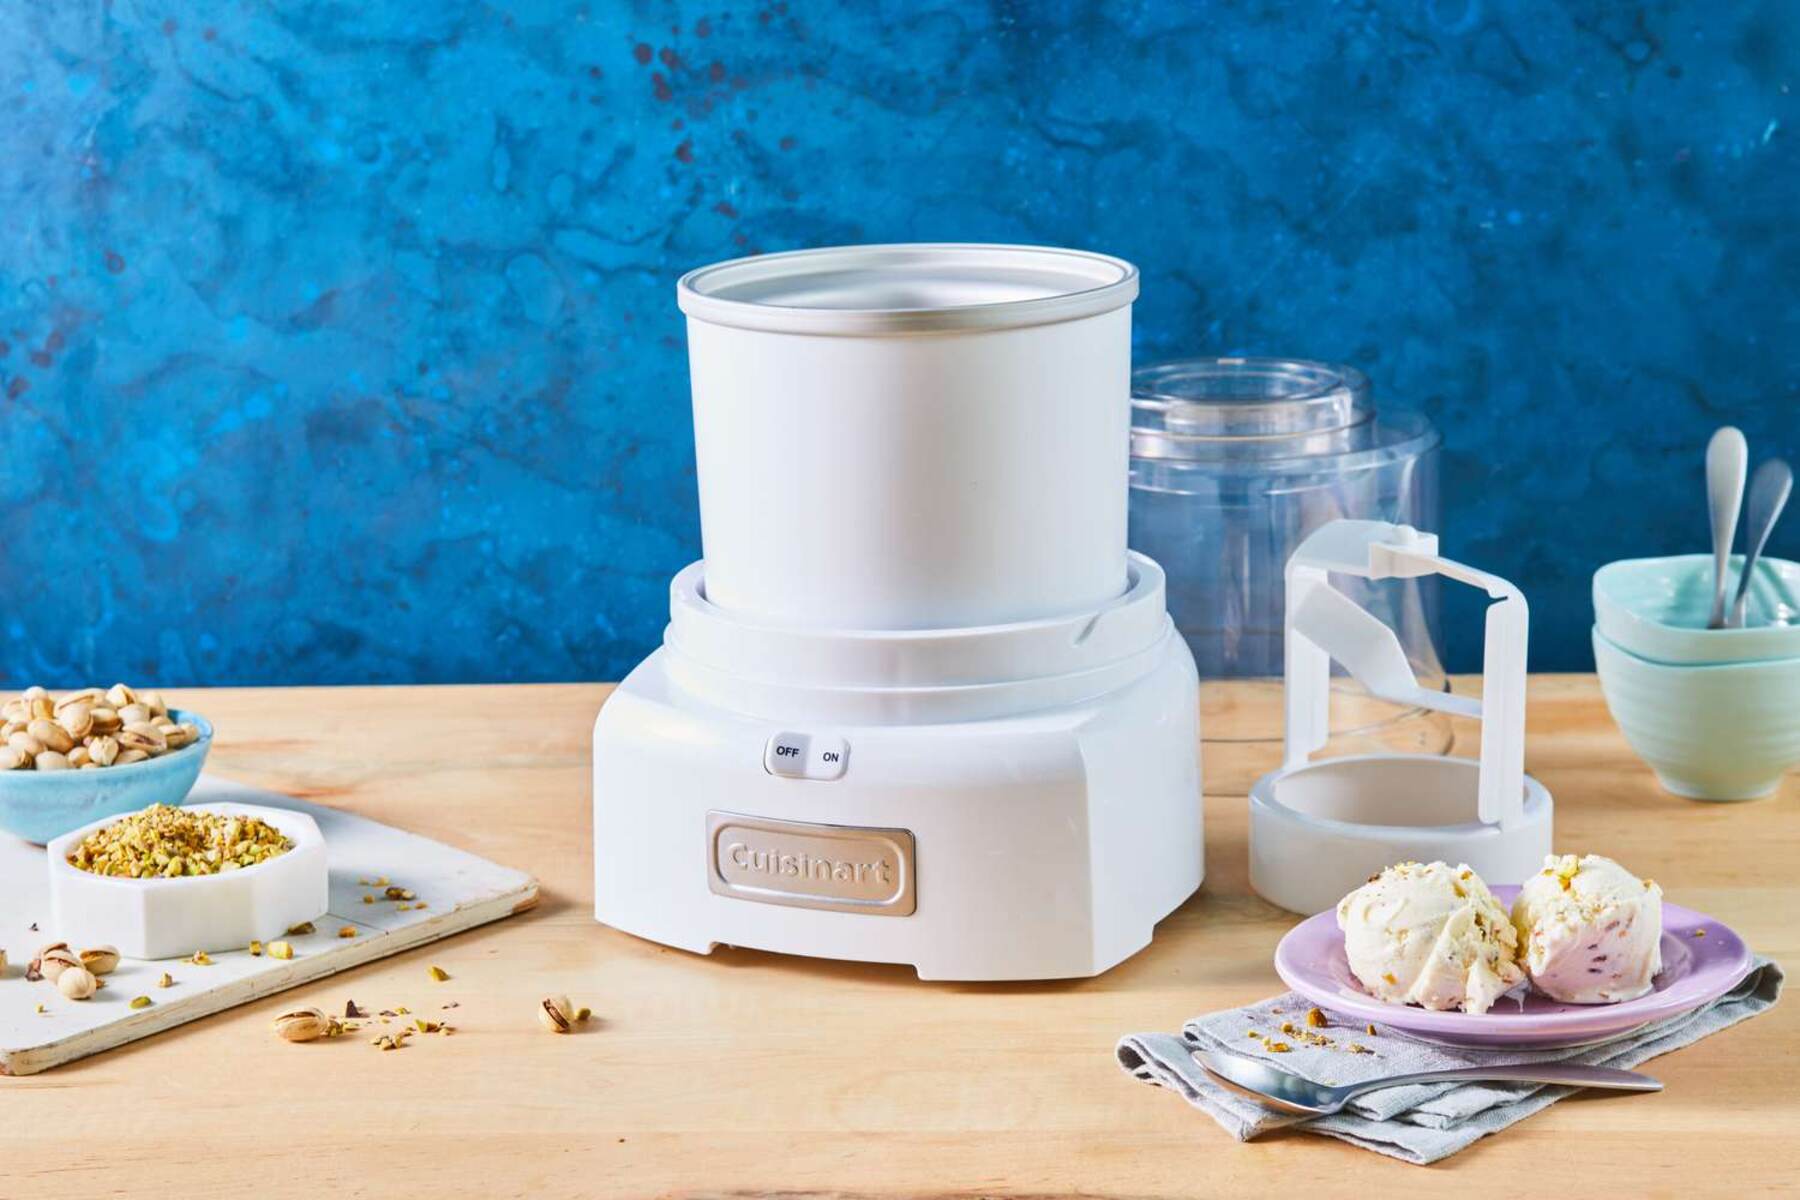
- Ice cream maker: This is the most crucial piece of equipment for making homemade ice cream. There are various types of ice cream makers available, including electric and manual ones. Choose one that suits your preferences and budget.
- Mixing bowls: You’ll need a few mixing bowls to prepare the ice cream base, cake mix, and any other flavorings you want to add.
- Whisk or electric mixer: A whisk or electric mixer will come in handy for mixing the heavy cream, milk, sugar, and vanilla extract together to create the ice cream base.
- Spatula: You’ll need a spatula to scrape the sides of the bowls and ensure all the ingredients are well mixed. It’s also useful for folding in the cake pieces and other mix-ins later on.
- Measuring cups and spoons: Accurate measurements are crucial for the success of your ice cream. Make sure you have measuring cups and spoons to measure out the ingredients precisely.
- Cake pan: You’ll need a cake pan to bake a cake that will be sliced into pieces and added to the ice cream. Choose a size that fits your ice cream maker and allows you to cut the cake into small chunks.
- Plastic wrap: Plastic wrap will be used to cover the cake pan and protect the cake from drying out while it cools.
- Freezer-safe container: Once the ice cream is churned, you’ll need a container to freeze and store it in. Make sure it’s freezer-safe and has a lid to prevent freezer burn.
- Ice cream scoop: Finally, don’t forget an ice cream scoop for serving up perfectly portioned scoops of your homemade birthday cake ice cream.
Having all the necessary equipment ready before you start will make the process smoother and more enjoyable. Now that you have everything you need, it’s time to delve into the step-by-step process of making your delightful birthday cake ice cream.
Step 1: Prepare the Cake
The first step in making birthday cake ice cream is to prepare the cake that will be added to the ice cream later on. You have a couple of options for this step:
- Bake a cake from scratch: If you enjoy baking and want to take the extra time to make a homemade cake, go ahead and choose your favorite flavor. Follow your preferred cake recipe and bake it in a cake pan according to the instructions. Once the cake is baked and cooled, cut it into small chunks.
- Use a store-bought cake: If you’re short on time or prefer convenience, you can purchase a pre-made cake from your local bakery or grocery store. Make sure to choose a cake flavor that complements your ice cream base. Once you have the cake, cut it into small chunks.
Regardless of which option you choose, the key is to have bite-sized cake pieces that will blend well into the ice cream mixture. This will ensure that every scoop of ice cream is filled with delicious cake flavor.
Once you have your cake pieces ready, set them aside and move on to the next step of making your homemade birthday cake ice cream.
Step 2: Make the Ice Cream Base
Now that you have your cake pieces ready, it’s time to prepare the ice cream base. The base serves as the foundation for your birthday cake ice cream, providing the creamy and smooth texture that we all love. Follow these steps to create the perfect ice cream base:
- Combine the heavy cream and milk: In a mixing bowl, pour in the heavy cream and whole milk. Use a whisk or an electric mixer on low speed to combine the two until they are well mixed.
- Add the sugar: Gradually add the granulated sugar to the cream and milk mixture, stirring continuously until the sugar is completely dissolved. This will sweeten the ice cream base and provide a balanced flavor.
- Mix in the vanilla extract: Pour in the pure vanilla extract and continue to mix until it is thoroughly incorporated into the mixture. The vanilla extract will add a delightful aroma and enhance the overall taste of the ice cream.
- Stir in the cake mix: Slowly add the cake mix to the ice cream base, continuously stirring to ensure that it is well combined. The cake mix will infuse the base with the flavors of the chosen cake, giving it that distinct birthday cake taste.
Once all the ingredients are mixed together, you should have a smooth and creamy ice cream base with a lovely hint of cake flavor. Take a moment to taste the mixture and adjust the sweetness or vanilla flavor if necessary.
With the ice cream base prepared, you’re one step closer to enjoying a delicious bowl of homemade birthday cake ice cream. Now it’s time to add some extra flavorings to make it even more special. Let’s proceed to the next step.
Step 3: Add Flavorings
Now that you have your ice cream base ready, it’s time to add some flavorings to take your birthday cake ice cream to the next level. Here’s how you can do it:
- Add sprinkles: Sprinkle in the rainbow sprinkles into the ice cream base. These colorful little gems will not only add a festive touch but also provide a delightful pop of texture and flavor.
- Optional mix-ins: If you’re feeling adventurous, you can incorporate additional mix-ins to customize your ice cream. Consider adding chocolate chips, crushed cookies, or even chunks of candy bars. These add-ins will create a unique blend of flavors and textures that will elevate your ice cream experience.
Gently fold in the sprinkles and any additional mix-ins into the ice cream base using a spatula. Be careful not to overmix as you want to maintain the creamy texture of the ice cream.
Once the flavorings are incorporated, take a moment to appreciate the colorful specks and enticing aromas that will make your birthday cake ice cream truly exceptional.
Now that you’ve enhanced the flavor profile of your ice cream, it’s time to move on to the next step and churn the mixture to achieve that creamy, smooth texture we all crave. Let’s continue to the next step.
Step 4: Churn the Ice Cream
Churning the ice cream is a crucial step that will transform your ice cream base into a creamy and smooth texture. Follow these steps to achieve the perfect consistency:
- Prep your ice cream maker: Make sure your ice cream maker is clean and has been pre-chilled according to the manufacturer’s instructions. This will help maintain a consistent temperature throughout the churning process.
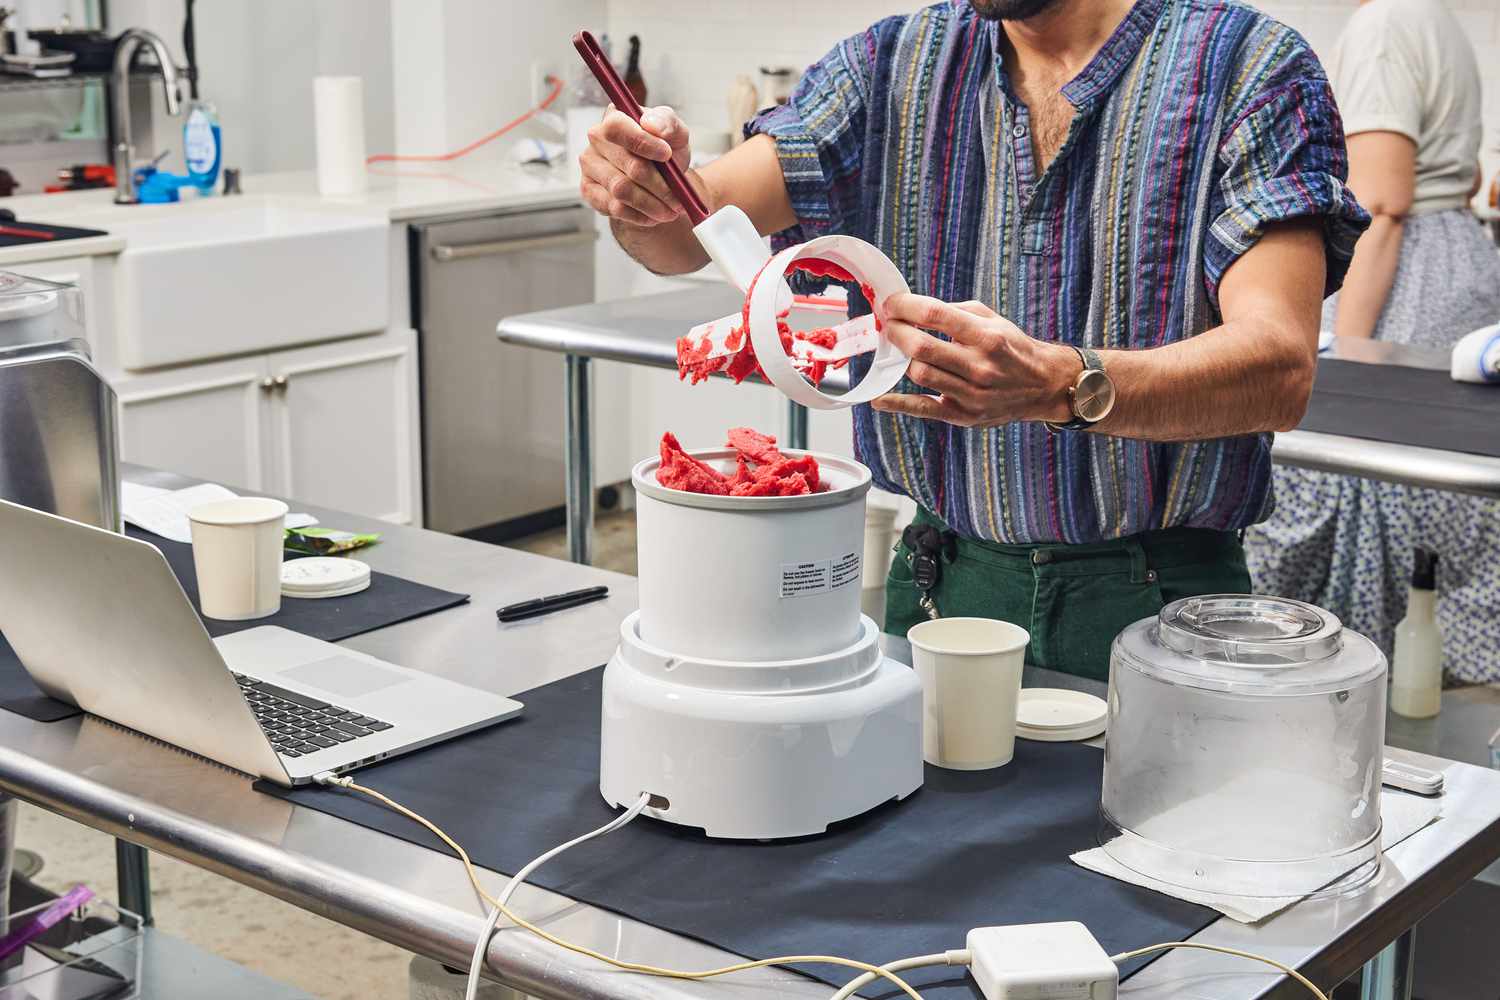
- Pour the ice cream base into the ice cream maker: Carefully pour the prepared ice cream base into the chilled chamber of the ice cream maker. The machine will churn the mixture while freezing it at the same time.
- Churn according to the manufacturer’s instructions: Turn on the ice cream maker and let it churn the mixture for the recommended amount of time, usually around 20-30 minutes. The churning action will incorporate air into the mixture, resulting in a lighter and creamier texture.
- Observe the ice cream consistency: Keep an eye on the ice cream’s consistency as it churns. It should gradually thicken and increase in volume. When it reaches a soft-serve consistency, it’s ready for the next step. Avoid overchurning, as it may lead to a grainy texture.
As the ice cream churns, prepare yourself for the mouthwatering aroma that will fill your kitchen. The anticipation of the finished product will only add to the excitement of enjoying your homemade birthday cake ice cream.
Once the ice cream has reached the desired consistency, it’s time to proceed to the next step and add the final touch – the cake pieces. Let’s move on!
Step 5: Add Cake Pieces
Now that your ice cream is at the perfect soft-serve consistency, it’s time to add in the cake pieces. This step will infuse your birthday cake ice cream with even more deliciousness. Follow these steps to incorporate the cake pieces:
- Retrieve the cake pieces: Take out the prepared cake pieces that you had set aside earlier. Make sure they are cut into small, bite-sized chunks.
- Transfer the churned ice cream to a freezer-safe container: Carefully scoop the churned ice cream into a freezer-safe container, layering it alternately with the cake pieces. Use a spatula or spoon to gently fold in the cake pieces as you add them to distribute them evenly throughout the ice cream.
- Continue layering until all the ice cream and cake pieces are added: Repeat the process of layering the ice cream and cake pieces until you have incorporated all the churned ice cream and cake pieces. The distribution of cake pieces ensures that every scoop of ice cream will have delightful surprises of cake in it.
Don’t be afraid to get creative with how you layer the ice cream and cake pieces. You can create swirls or mix them in for a more even distribution. Remember to work quickly to prevent the ice cream from melting too much during this step.
Once all the cake pieces are added, admire the beautiful combination of creamy ice cream and colorful cake chunks. Getting close to the final step, it’s time to freeze your birthday cake ice cream to achieve the perfect scoopable texture. Let’s move on!
Step 6: Freeze the Ice Cream
Now that you have added the cake pieces to your ice cream, it’s time to freeze it to the ideal firmness. Follow these steps to ensure your birthday cake ice cream freezes correctly:
- Cover the container: Place a lid or cover on the container to protect the ice cream from absorbing any unwanted flavors or odors from the freezer.
- Transfer to the freezer: Carefully place the container in the freezer, making sure it sits on a level surface. Leave enough space around the container to allow for air circulation and prevent the ice cream from touching any other items in the freezer.
- Freeze for at least 4 hours (or overnight): Allow the ice cream to freeze undisturbed for a minimum of 4 hours, or preferably overnight. This ensures that it reaches the desired firmness and texture.
It’s important to note that homemade ice cream may freeze harder than store-bought varieties due to the absence of stabilizers and additives. To make it easier to scoop, you can let the ice cream sit at room temperature for a few minutes before serving. Alternatively, you can use a warm ice cream scoop to dip into the frozen treat.
While the ice cream is freezing, take the time to clean up your workspace and enjoy the anticipation of indulging in a creamy, homemade birthday cake ice cream. After the freezing period, you’re ready for the final step – serving and savoring your creation. Let’s move on!
Step 7: Serve and Enjoy
Congratulations! You’ve reached the final step in creating your delicious homemade birthday cake ice cream. Now it’s time to serve it up and enjoy the fruits of your labor. Here’s how:
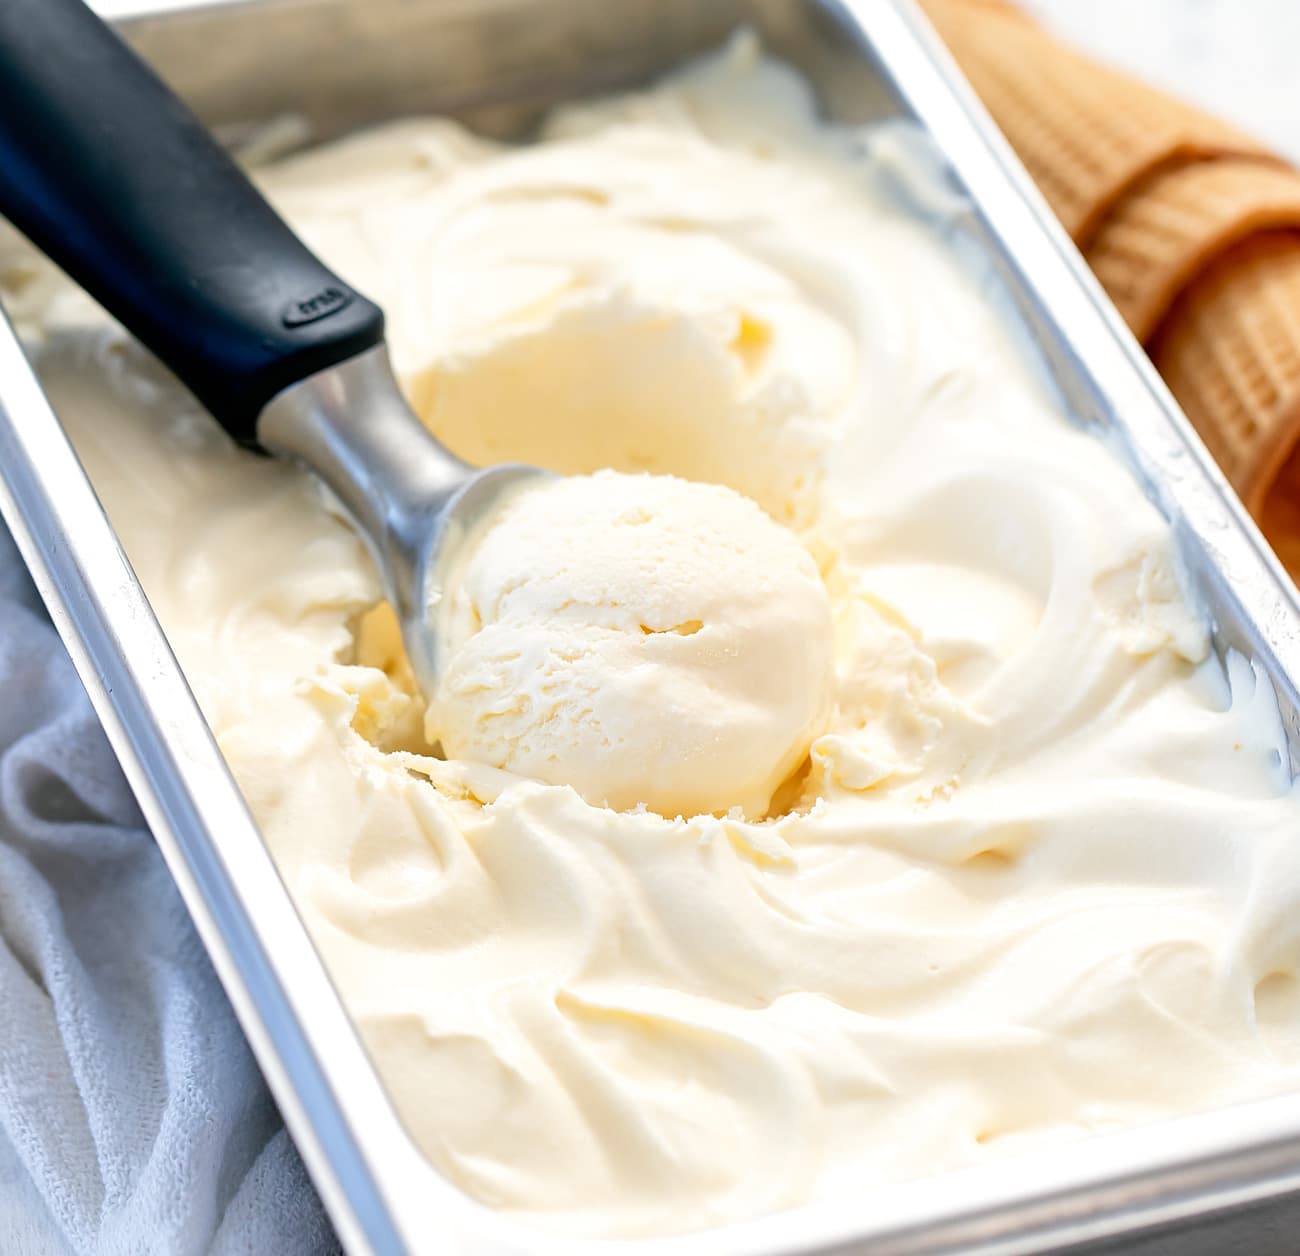
- Remove the ice cream from the freezer: Take the container of frozen ice cream out of the freezer and let it sit at room temperature for a couple of minutes to soften slightly. This will make it easier to scoop.
- Grab your favorite ice cream scoop: Using an ice cream scoop, dig into the frozen goodness and portion out generous scoops into bowls or cones. Feel free to garnish with extra sprinkles or cake crumbs if desired.
- Share and savor the moment: Distribute the bowls of birthday cake ice cream to your eager family or friends, or simply enjoy it on your own. Each spoonful is a celebration of flavors and memories.
As you take that first creamy bite, savor the taste of the velvety ice cream, the bursts of cake flavor, and the crunch of the sprinkles. Let the flavors transport you to birthdays past and create new sweet memories.
Remember, homemade ice cream is best enjoyed immediately after it’s scooped. However, if you have leftovers, you can store the remaining ice cream in an airtight container in the freezer. Just be sure to let it thaw for a few minutes before serving, as it will firm up when frozen.
Now that you’ve mastered the art of making birthday cake ice cream, you can impress your loved ones with this delightful treat on any special occasion or simply indulge in it whenever the craving strikes. Enjoy the creamy, dreamy goodness of your homemade creation, and let it bring a smile to your face with every spoonful.
Conclusion
Congratulations on successfully making your very own birthday cake ice cream! You’ve embarked on a flavorful journey that combines the joy of a classic birthday cake with the creamy delight of homemade ice cream. With just a handful of ingredients and an ice cream maker, you’ve created a dessert that is sure to bring smiles to the faces of everyone who tries it.
Throughout this article, we discussed the step-by-step process of making birthday cake ice cream, starting with preparing the cake and creating the ice cream base. We then added flavorings, churned the mixture, incorporated cake pieces, and finally froze the ice cream to perfection. Each step was carefully crafted to ensure a rich, creamy, and indulgent ice cream that captures the essence of a birthday celebration.
The beauty of homemade birthday cake ice cream lies in its versatility. You can customize it to your liking by choosing different cake flavors, mix-ins, and garnishes. Let your creativity shine as you experiment with various combinations and surprise your taste buds with new and exciting flavors.
Whether you’re celebrating a special occasion or simply craving a nostalgic treat, homemade birthday cake ice cream is a delightful way to indulge in a little sweetness. It’s a celebration in every spoonful, transporting you back to childhood memories and capturing the joy of blowing out candles on a birthday cake.
So, the next time you want to delight your family or friends, whip up a batch of homemade birthday cake ice cream. Watch their faces light up as they savor the creamy, dreamy goodness and taste the familiar flavors of a beloved tradition.
Once again, congratulations on mastering the art of making birthday cake ice cream. Enjoy the process and the delicious results it brings. May every scoop be a sweet reminder of the happy moments and celebrations that life has to offer.