Choosing the Right Rival Ice Cream Maker for You
When it comes to making homemade ice cream, having the right equipment is essential. Rival offers a range of ice cream makers that can help you create delicious frozen treats to satisfy your cravings. However, with so many options available, it can be challenging to figure out which Rival ice cream maker is the best fit for you. Here are some factors to consider when making your decision:
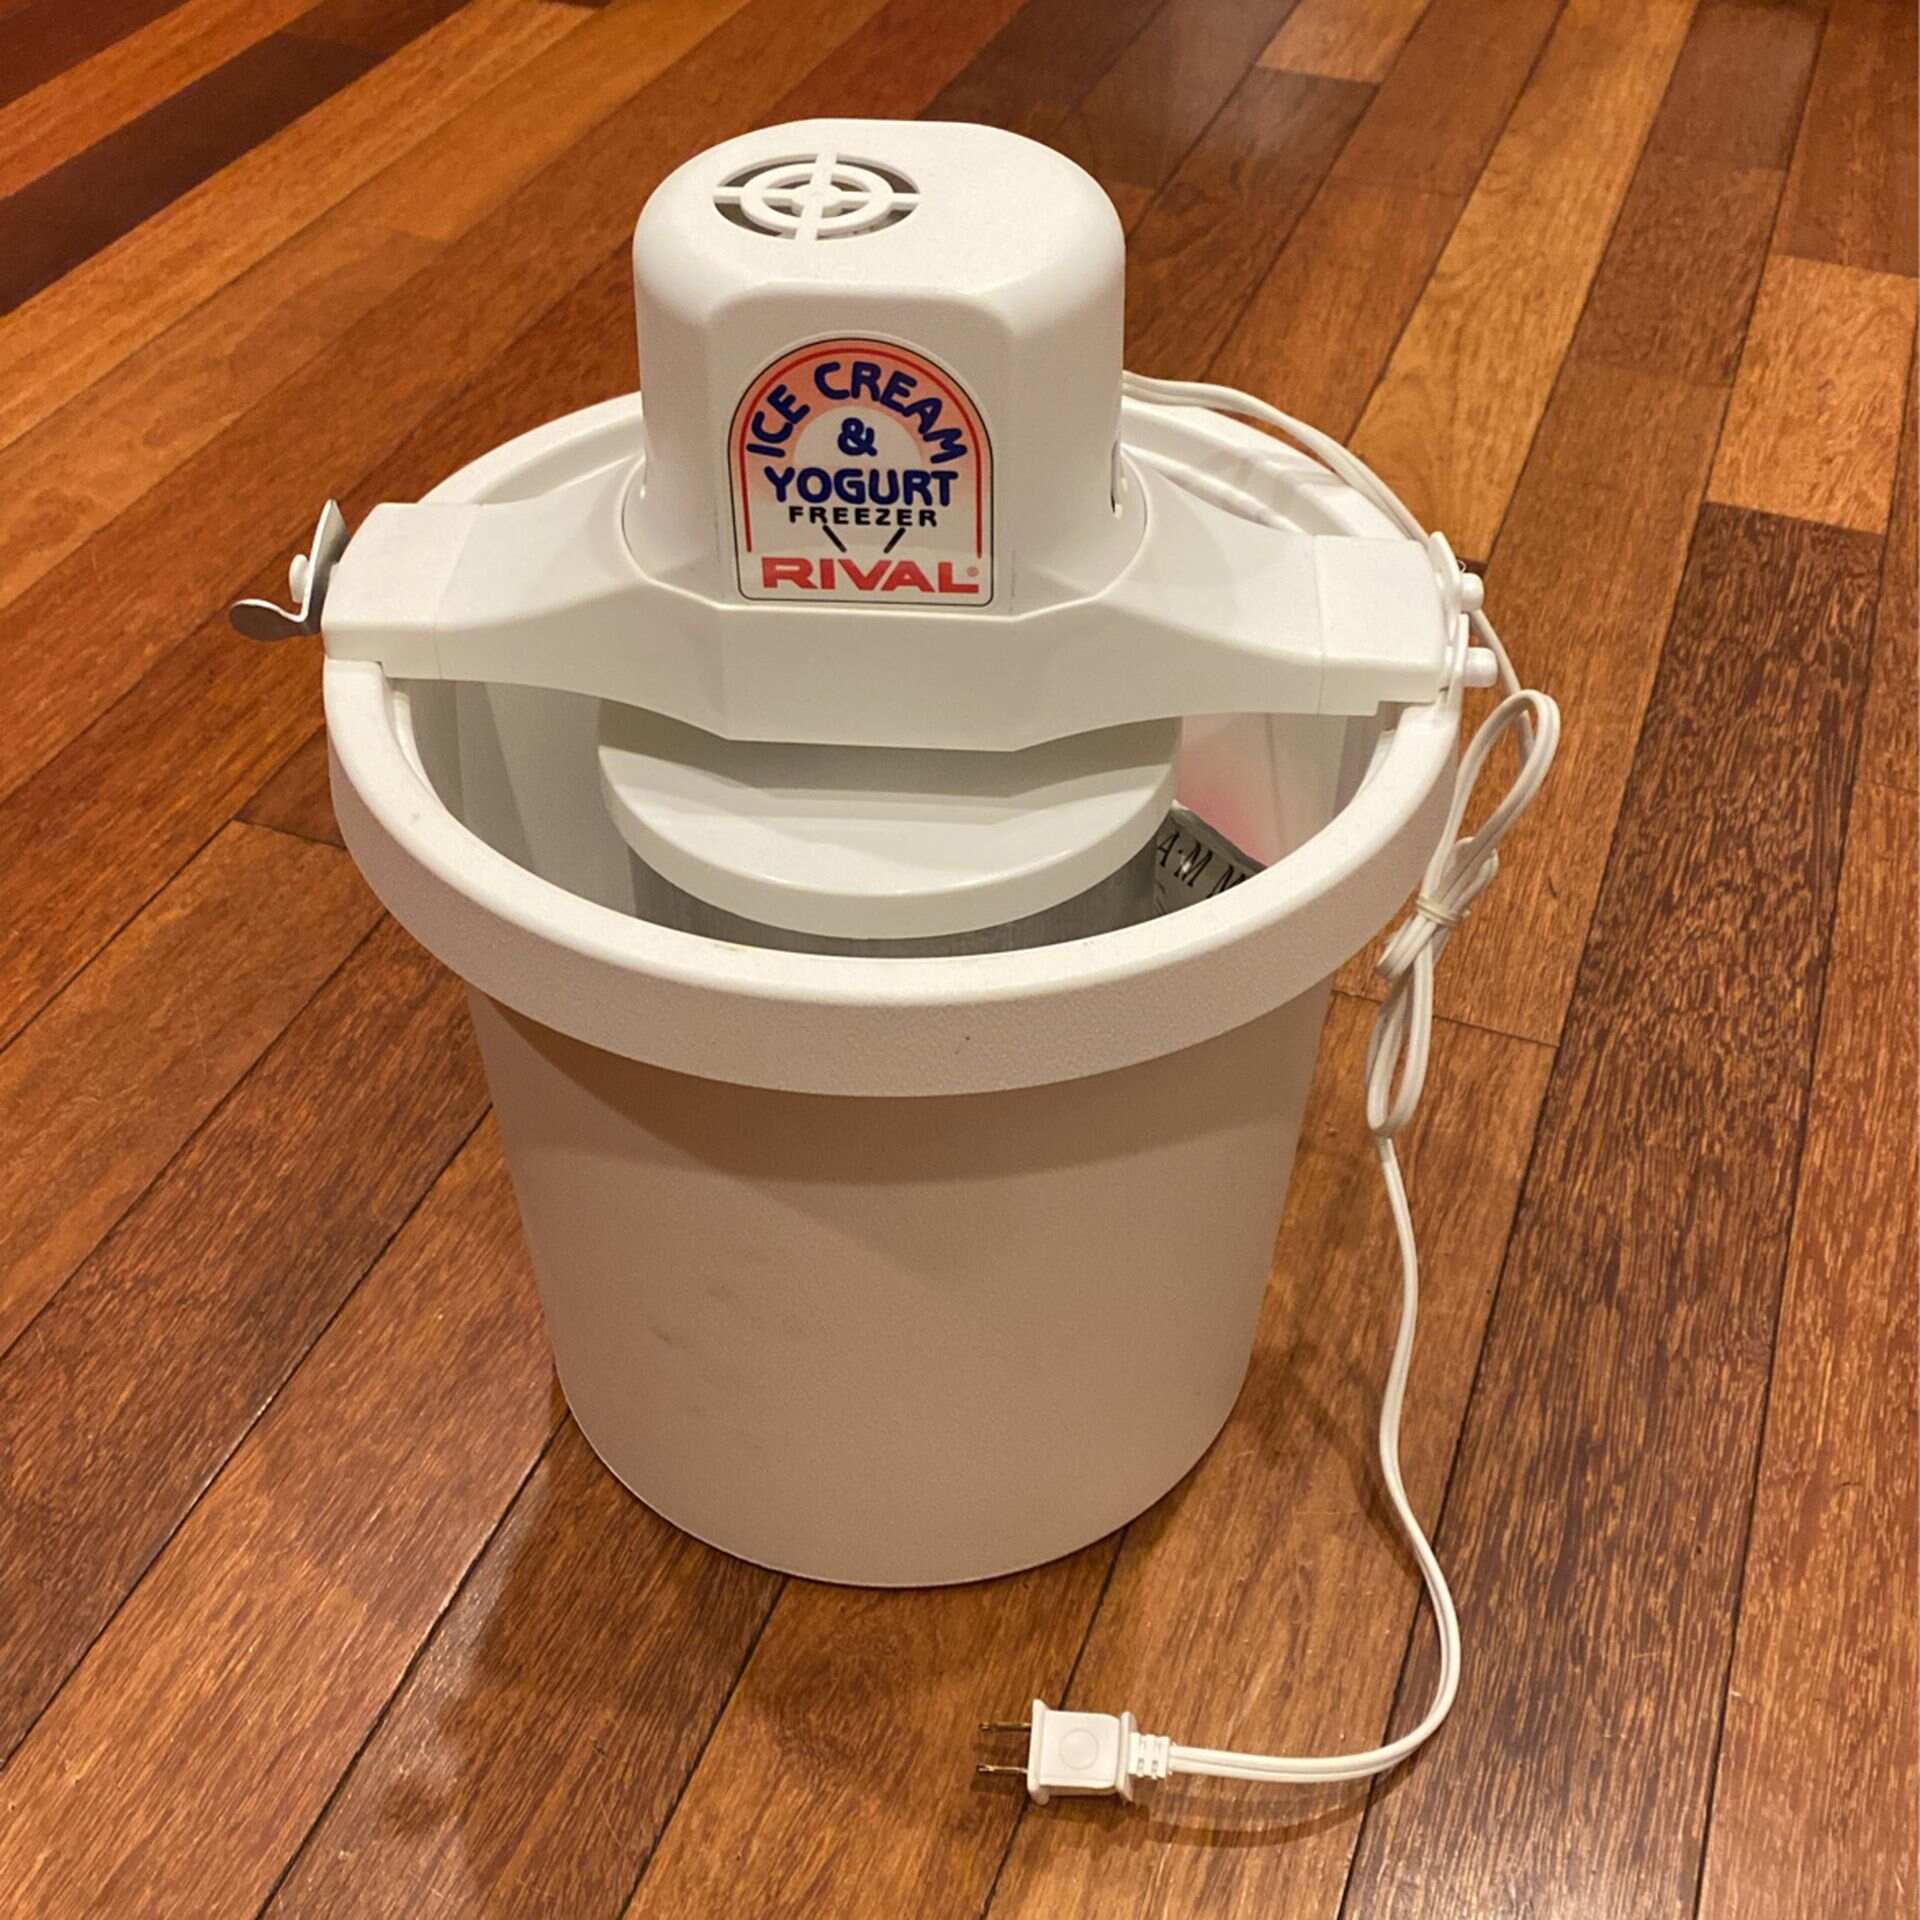
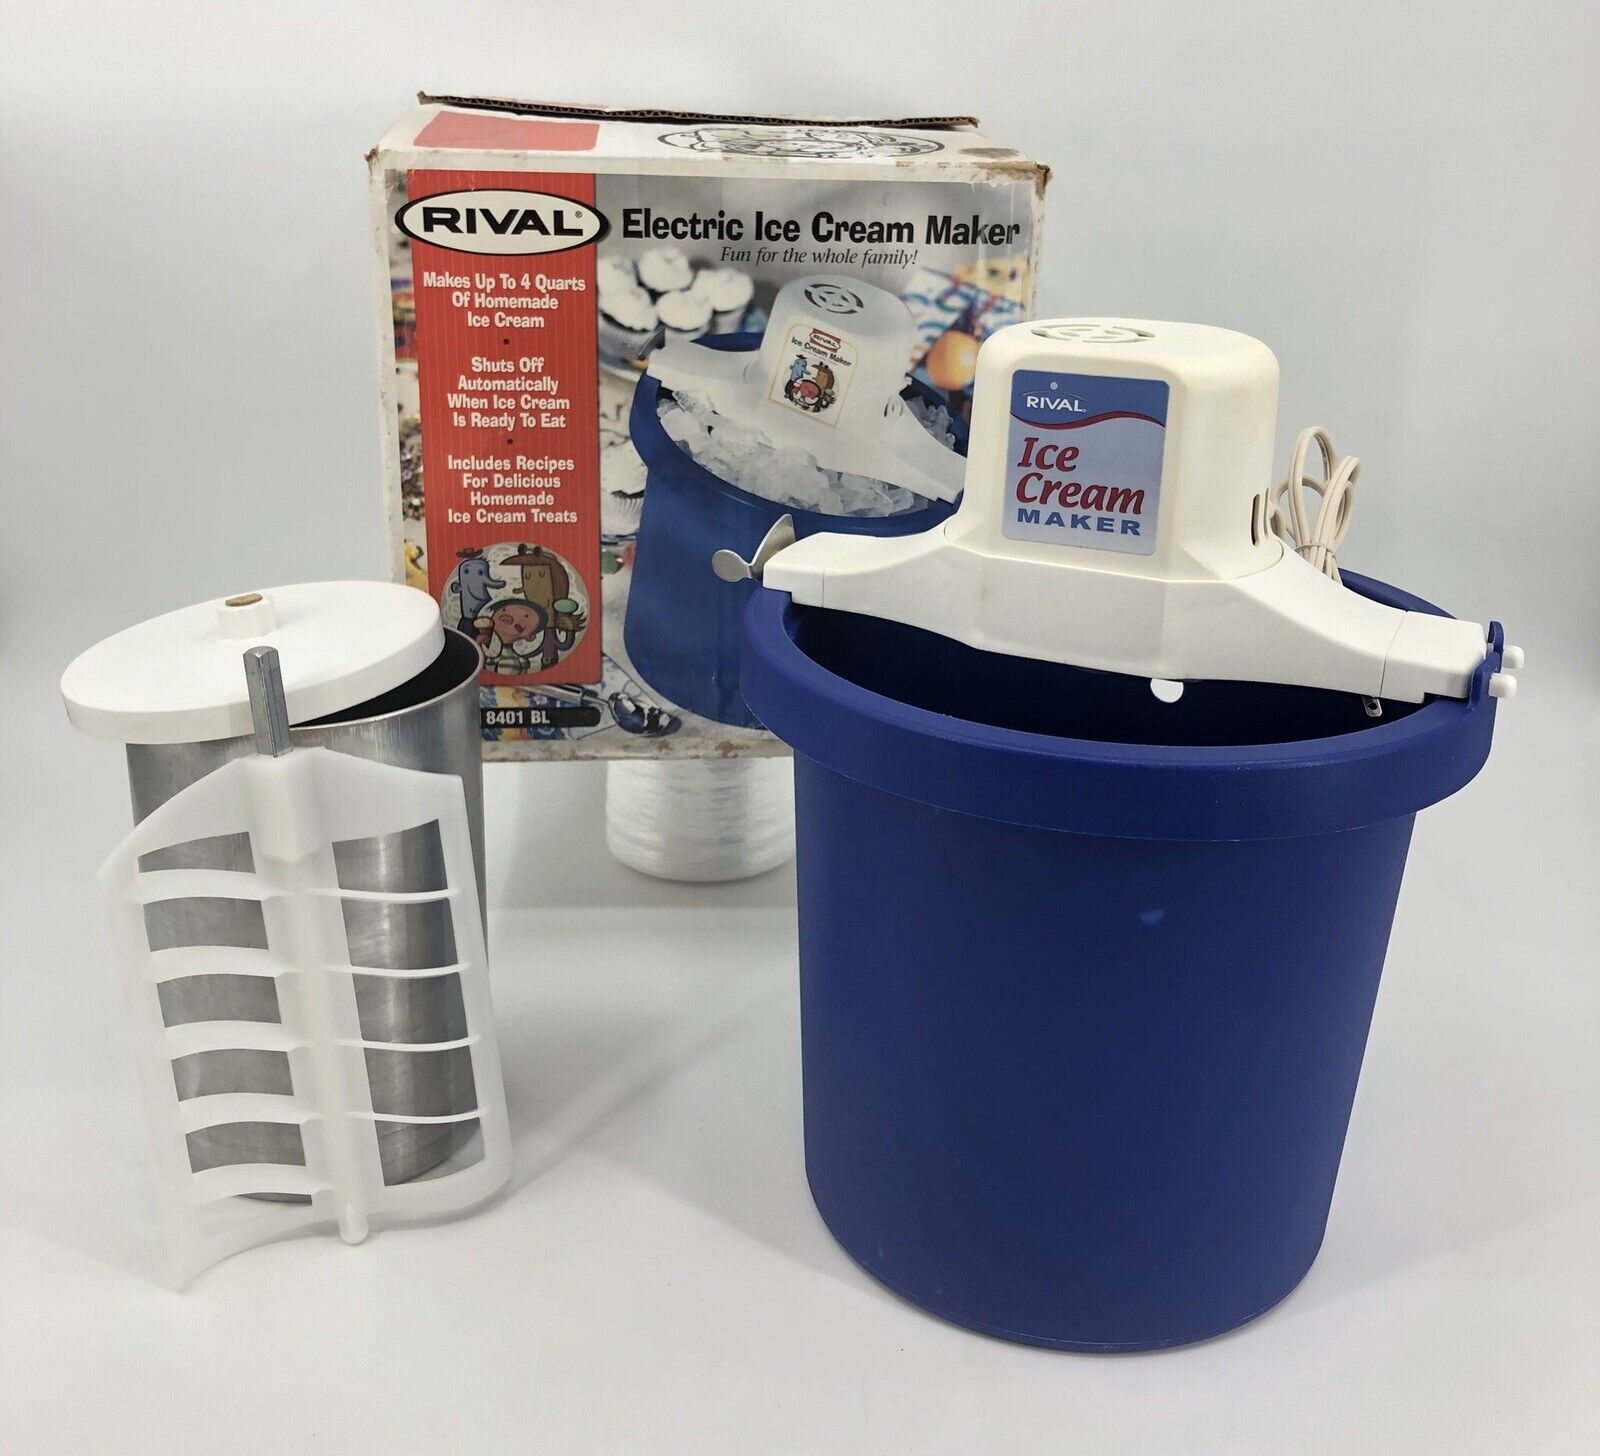
Type of Ice Cream Maker: Rival offers both electric and manual ice cream makers. Electric models typically offer convenience and ease of use, with automatic mixing and freezing functions. Manual models, on the other hand, require some physical effort but provide a hands-on, nostalgic ice cream making experience.
Capacity: Consider how much ice cream you plan to make at once. Rival ice cream makers come in various sizes, ranging from 1-quart to 4-quart capacities. If you have a small household or don’t plan on making large batches, a smaller capacity model may suffice. However, if you often entertain or have a big family, a larger capacity option may be more suitable.
Freezing Method: Different Rival ice cream makers use different freezing methods. Some models require you to pre-freeze the canister before using it, while others have a built-in freezer or compressor. If you don’t have much freezer space or prefer a quicker freezing process, a model with a built-in freezer or compressor may be your best bet.
Features and Settings: Consider the features and settings offered by different Rival ice cream makers. Some models come with multiple speed options to control the consistency of your ice cream, while others have timers or automatic shut-off functions. Think about what features are important to you and choose a model that suits your preferences.
Price: Of course, the price is an important factor to consider when choosing an ice cream maker. Rival offers a range of price points, so you can find a model that fits within your budget. Keep in mind that more expensive models often come with additional features and higher capacities.
By considering these factors, you can select the Rival ice cream maker that best fits your needs and preferences. Whether you opt for an electric or manual model, a smaller or larger capacity, or a specific freezing method, Rival has an ice cream maker that will help you churn out delicious homemade ice cream.
Gathering the Necessary Ingredients and Equipment
Before diving into the delightful world of homemade ice cream, it’s important to gather all the necessary ingredients and equipment. Having everything prepared and organized will save you time and ensure a smooth ice cream-making process. Here’s a checklist of what you’ll need:
Ingredients:
- Fresh dairy or non-dairy base: Whether you prefer a classic custard base made with cream, milk, sugar, and egg yolks, or a non-dairy alternative like coconut milk or almond milk, ensure you have enough for your desired recipe.
- Sweeteners: Depending on your taste preference, you may need granulated sugar, honey, maple syrup, or alternative sweeteners.
- Flavorings: Extracts like vanilla, chocolate, coffee, or fruit purees are common choices for infusing flavors into your ice cream.
- Mix-ins: Get creative with mix-ins like chocolate chips, crushed cookies, nuts, fruit chunks, or caramel swirls to add texture and flavor to your ice cream.
- Optional toppings: Don’t forget about exciting finishing touches like whipped cream, sprinkles, chocolate sauce, or fresh fruit.
Equipment:
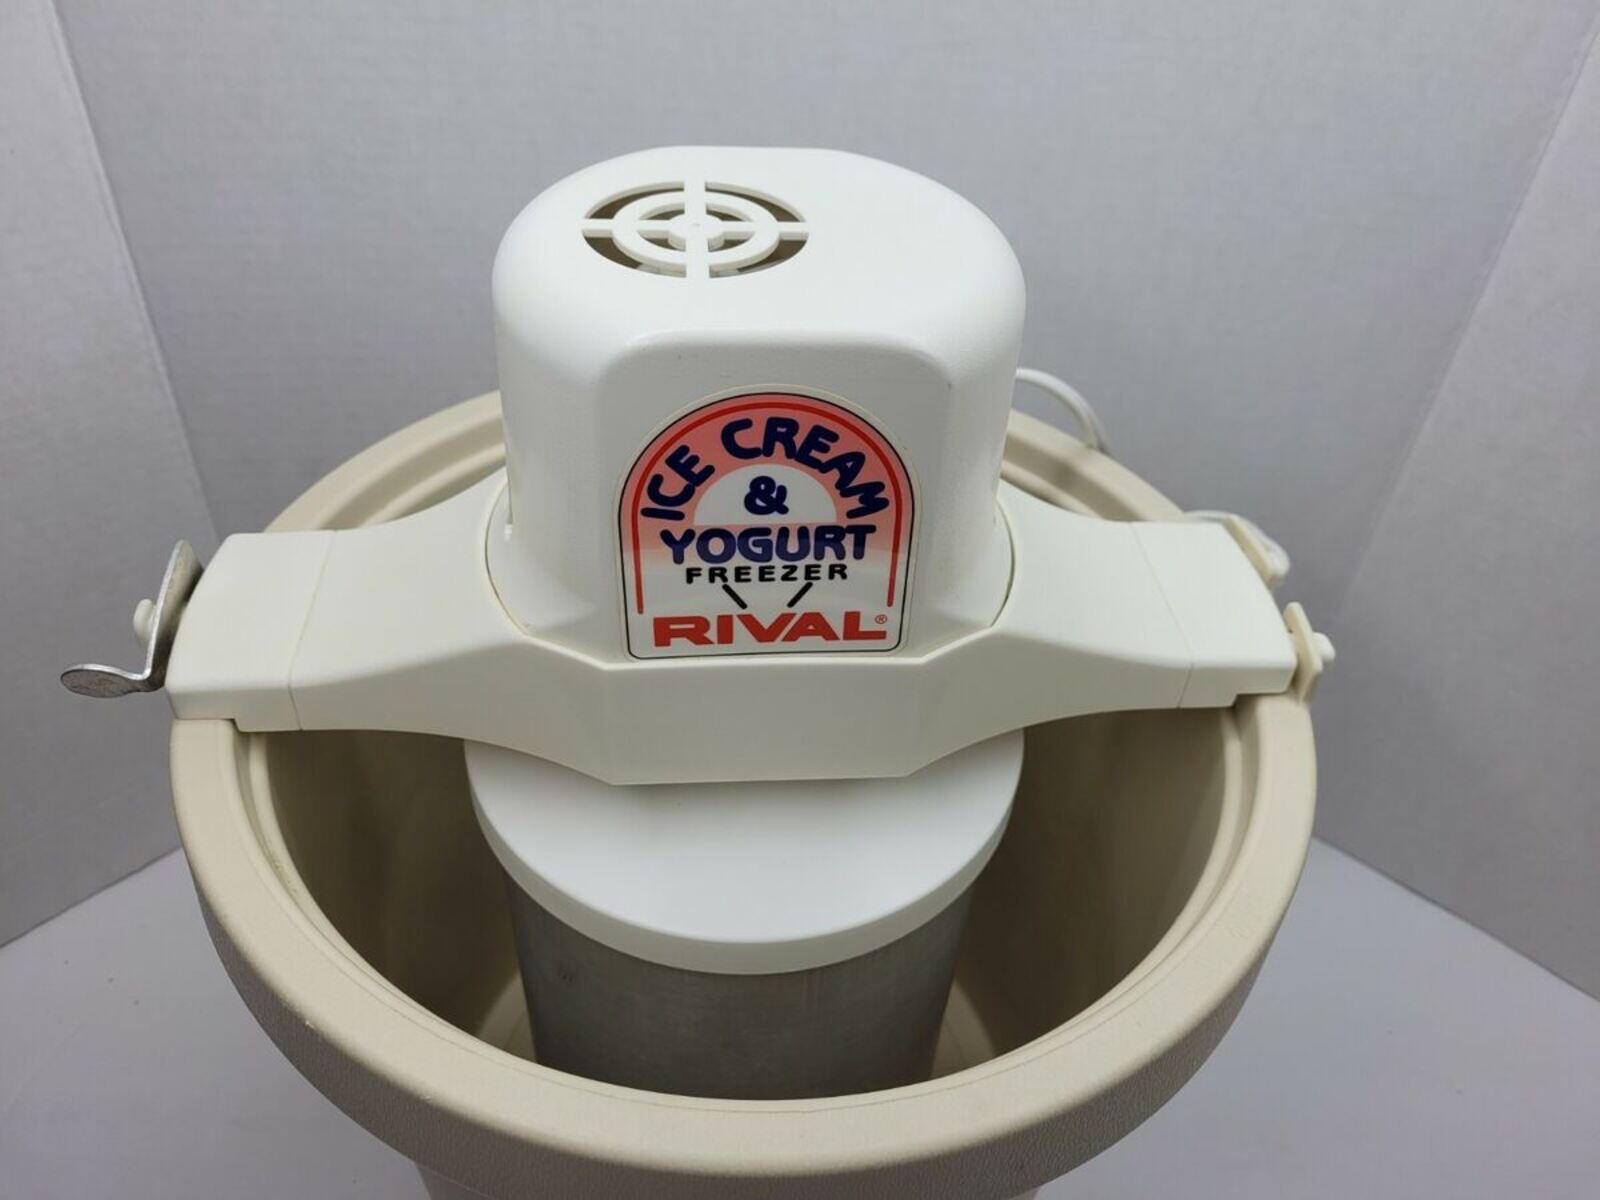
- Rival ice cream maker: Make sure you have the specific Rival ice cream maker you have chosen, with all the necessary parts, including the canister, paddle, and cover.
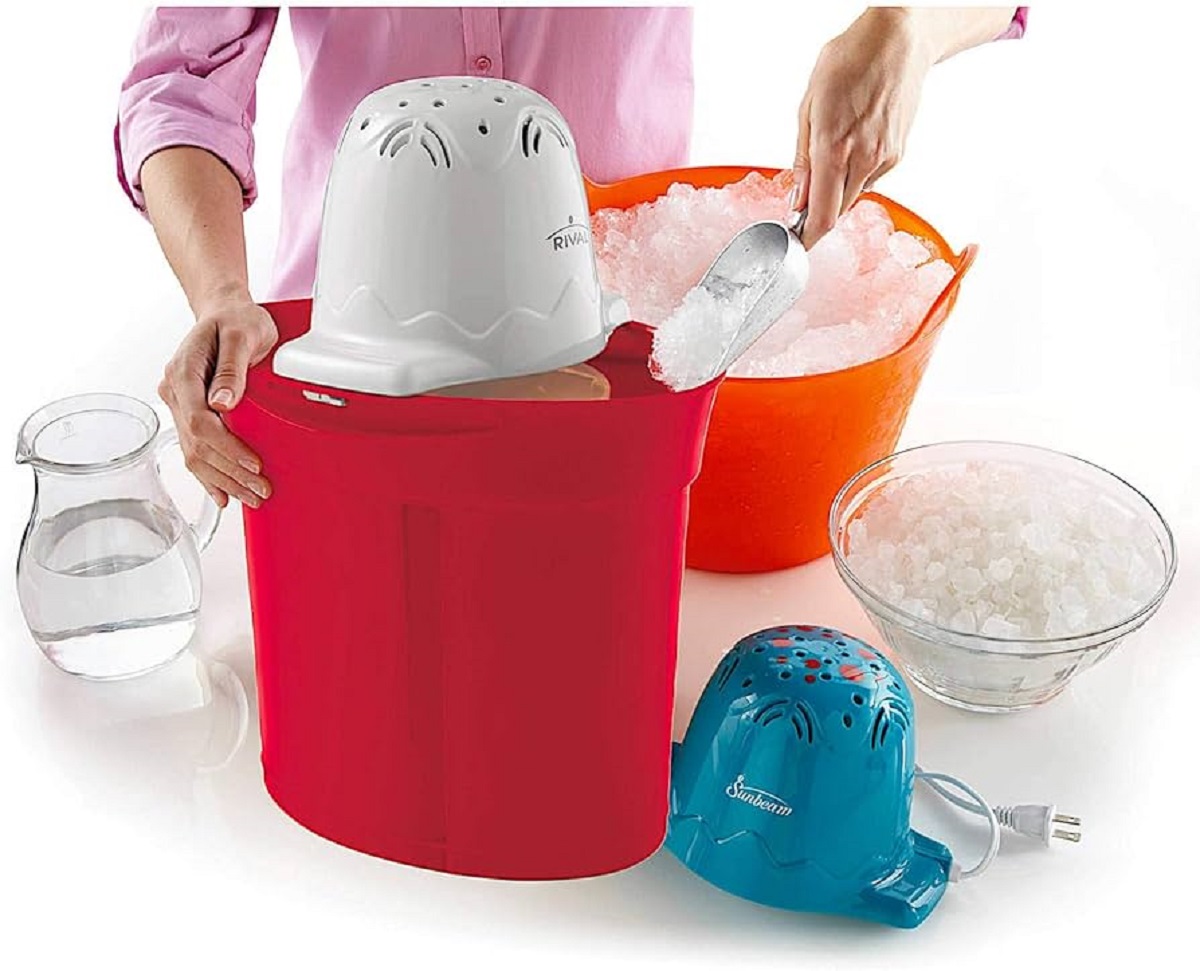
- Ice and rock salt: Most Rival ice cream makers require ice and rock salt to create the freezing environment. Keep plenty on hand to ensure continuous freezing.
- Mixing bowls and utensils: Have a large mixing bowl to prepare the ice cream base and smaller bowls for measuring ingredients. Make sure you have a whisk or spatula for mixing.
- Measuring cups and spoons: Accurate measurements are key to a successful ice cream recipe, so make sure you have a set of measuring cups and spoons.
- Funnel: A funnel can be useful for pouring the ice cream mixture into the Rival ice cream maker without any spills.
- Plastic wrap or containers: Once your ice cream is ready, you’ll need containers to store it. Use airtight containers or wrap it tightly with plastic to prevent freezer burn.
Having all the ingredients and equipment ready will save you from last-minute frustrations during the ice cream making process. Take the time to gather everything beforehand, ensuring that you have enough of each ingredient to make the desired quantity of ice cream. This preparation will make the experience enjoyable and help you create delectable homemade ice cream that will be worth sharing and savoring.
Prepping the Ice Cream Mixture
Now that you have gathered all the necessary ingredients and equipment, it’s time to start prepping the ice cream mixture. This crucial step sets the foundation for the flavors and textures you’ll achieve in your homemade ice cream. Follow these steps to properly prepare your ice cream mixture:
1. Follow the Recipe: Start by selecting a recipe that suits your taste and dietary preferences. Whether you’re making a classic vanilla or experimenting with unique flavor combinations, ensure you have a detailed recipe to guide you through the process.
2. Mixing the Base: In a large mixing bowl, combine the dairy or non-dairy base with the sweeteners, such as sugar or alternative sweeteners. Whisk the mixture until the sweeteners are fully dissolved and incorporated. If your recipe calls for any flavor extracts or additions, such as vanilla or cocoa powder, add them now and mix well.
3. Adjusting the Sweetness: Taste the mixture to ensure the sweetness level meets your preference. If it needs to be sweeter, add a small amount of sweetener at a time and continue to whisk until desired sweetness is achieved. Remember that the sweetness may reduce slightly when frozen, so consider that while adjusting.
4. Chilling the Mixture: To ensure a smoother and creamier ice cream texture, it’s crucial to chill the mixture before churning. Cover the mixing bowl with plastic wrap and refrigerate for at least 2 hours, or overnight if possible. This chilling process will allow the flavors to meld together and develop.
5. Preparing the Ice Cream Maker: While the mixture is chilling, make sure that your Rival ice cream maker is clean and ready to use. If required, pre-freeze the canister according to the manufacturer’s instructions. This step is essential for achieving the right freezing consistency during the churning process.
6. Mix-In Preparation: If you plan to add mix-ins, such as chocolate chips or fruit chunks, prepare them while the mixture is chilling. Chop or crush the mix-ins to the desired size and have them ready to add at the appropriate stage during churning.
7. Final Check: Before starting the churning process, double-check that your ice cream mixture is well chilled and the ice cream maker is properly prepped. The mixture should be thoroughly chilled but not frozen solid.
By following these steps, you will be well on your way to creating a delicious ice cream mixture that is ready to be transformed into the frozen treat of your dreams. Take the time to ensure all the ingredients are properly mixed and the mixture is adequately chilled before moving on to the next step.
Assembling and Operating the Rival Ice Cream Maker
With the ice cream mixture prepped and ready to go, it’s time to assemble and operate your Rival ice cream maker. This step is where the magic happens, transforming your mixture into delectable ice cream. Follow these instructions to assemble and operate your ice cream maker:
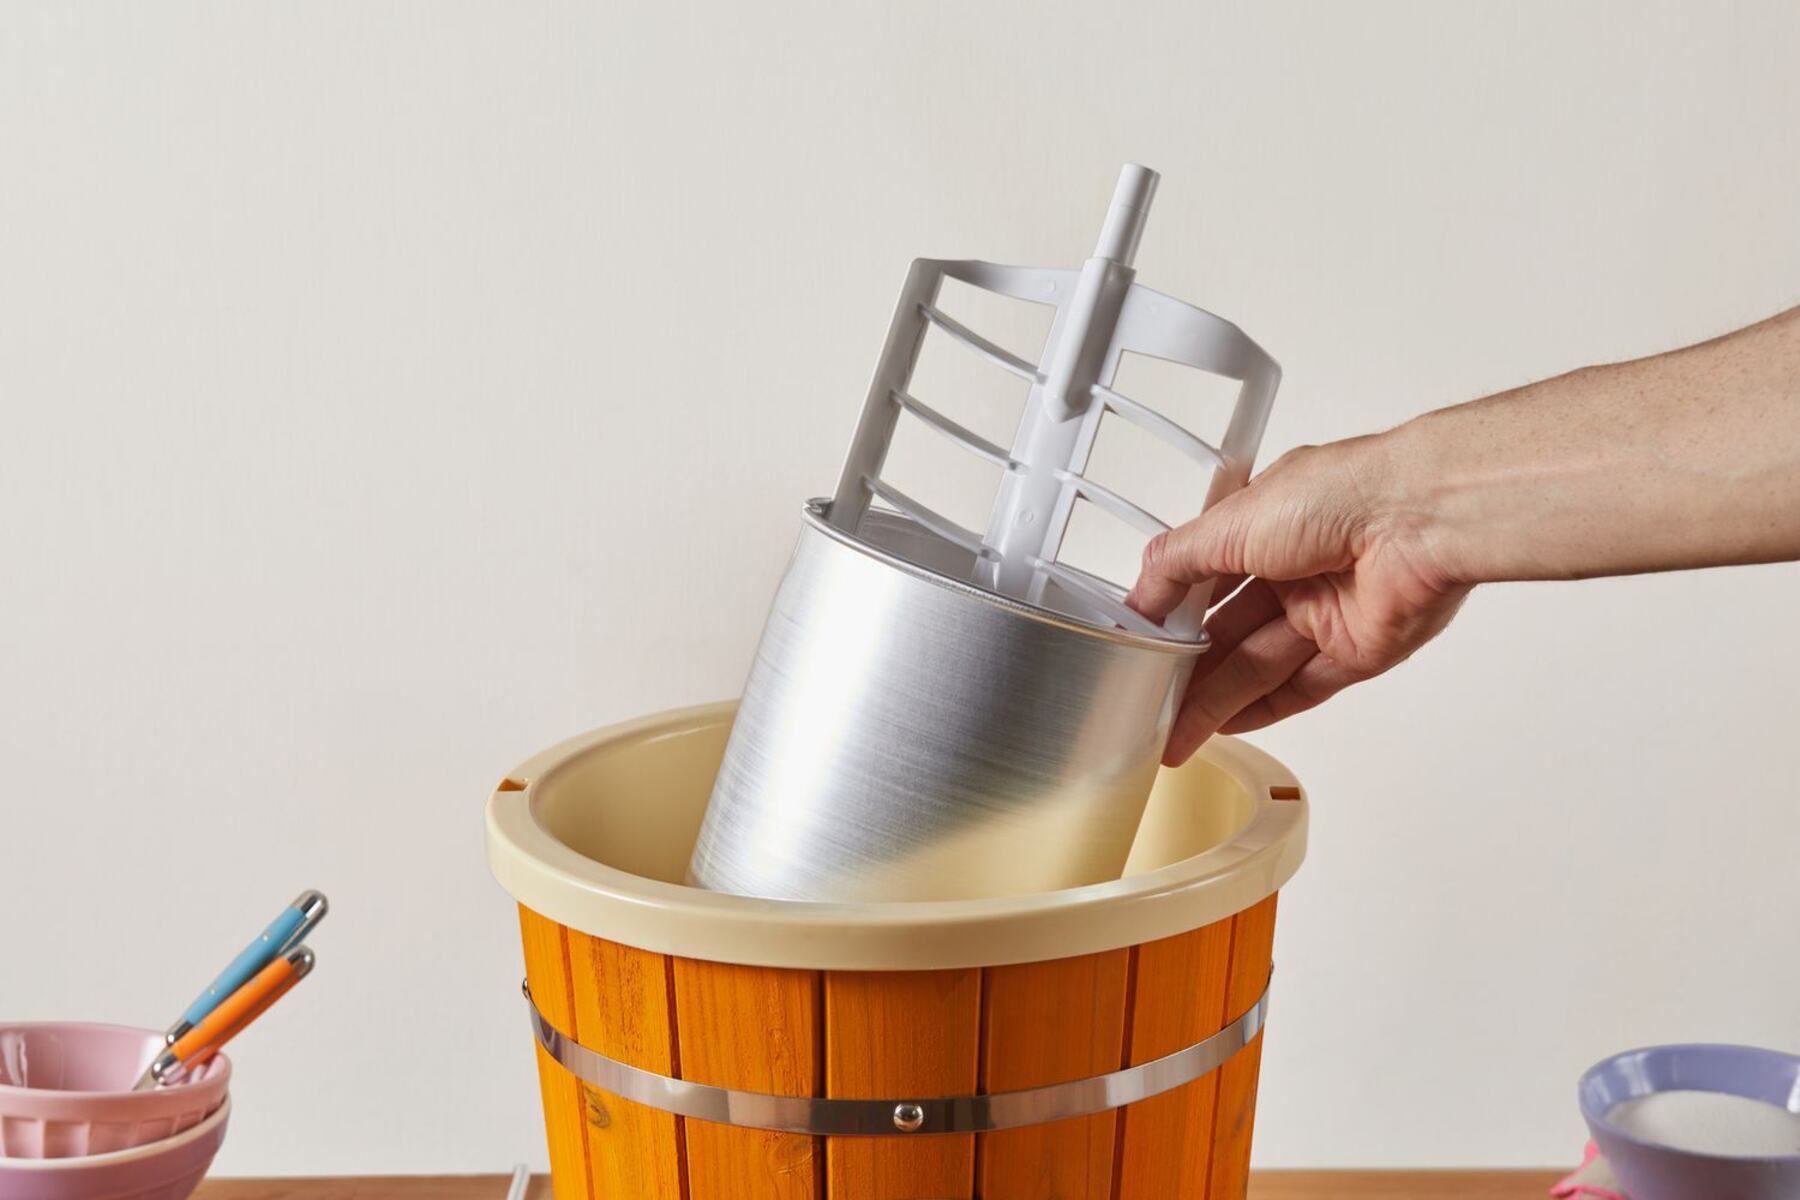
1. Assembly: Start by placing the frozen canister into the base of the Rival ice cream maker. Ensure it is securely locked into place. Attach the dasher or paddle onto the motorized unit according to the manufacturer’s instructions. Double-check that all parts are correctly assembled.
2. Preparing the Ice Cream Maker: If your Rival ice cream maker requires the use of ice and rock salt, layer the ice and salt alternately around the canister. Refer to the instructions provided with your specific model for the recommended amounts. Make sure the ice and salt surround the canister evenly.
3. Pouring the Mixture: Take the chilled ice cream mixture from the refrigerator and give it a final stir. Use a funnel if needed to pour the mixture into the canister, without overfilling. Leave some room for the mixture to expand as it churns and freezes.
4. Securing the Lid: Place the lid securely on top of the canister, ensuring a tight fit. This will prevent any ice and rock salt from entering the ice cream mixture during the churning process.
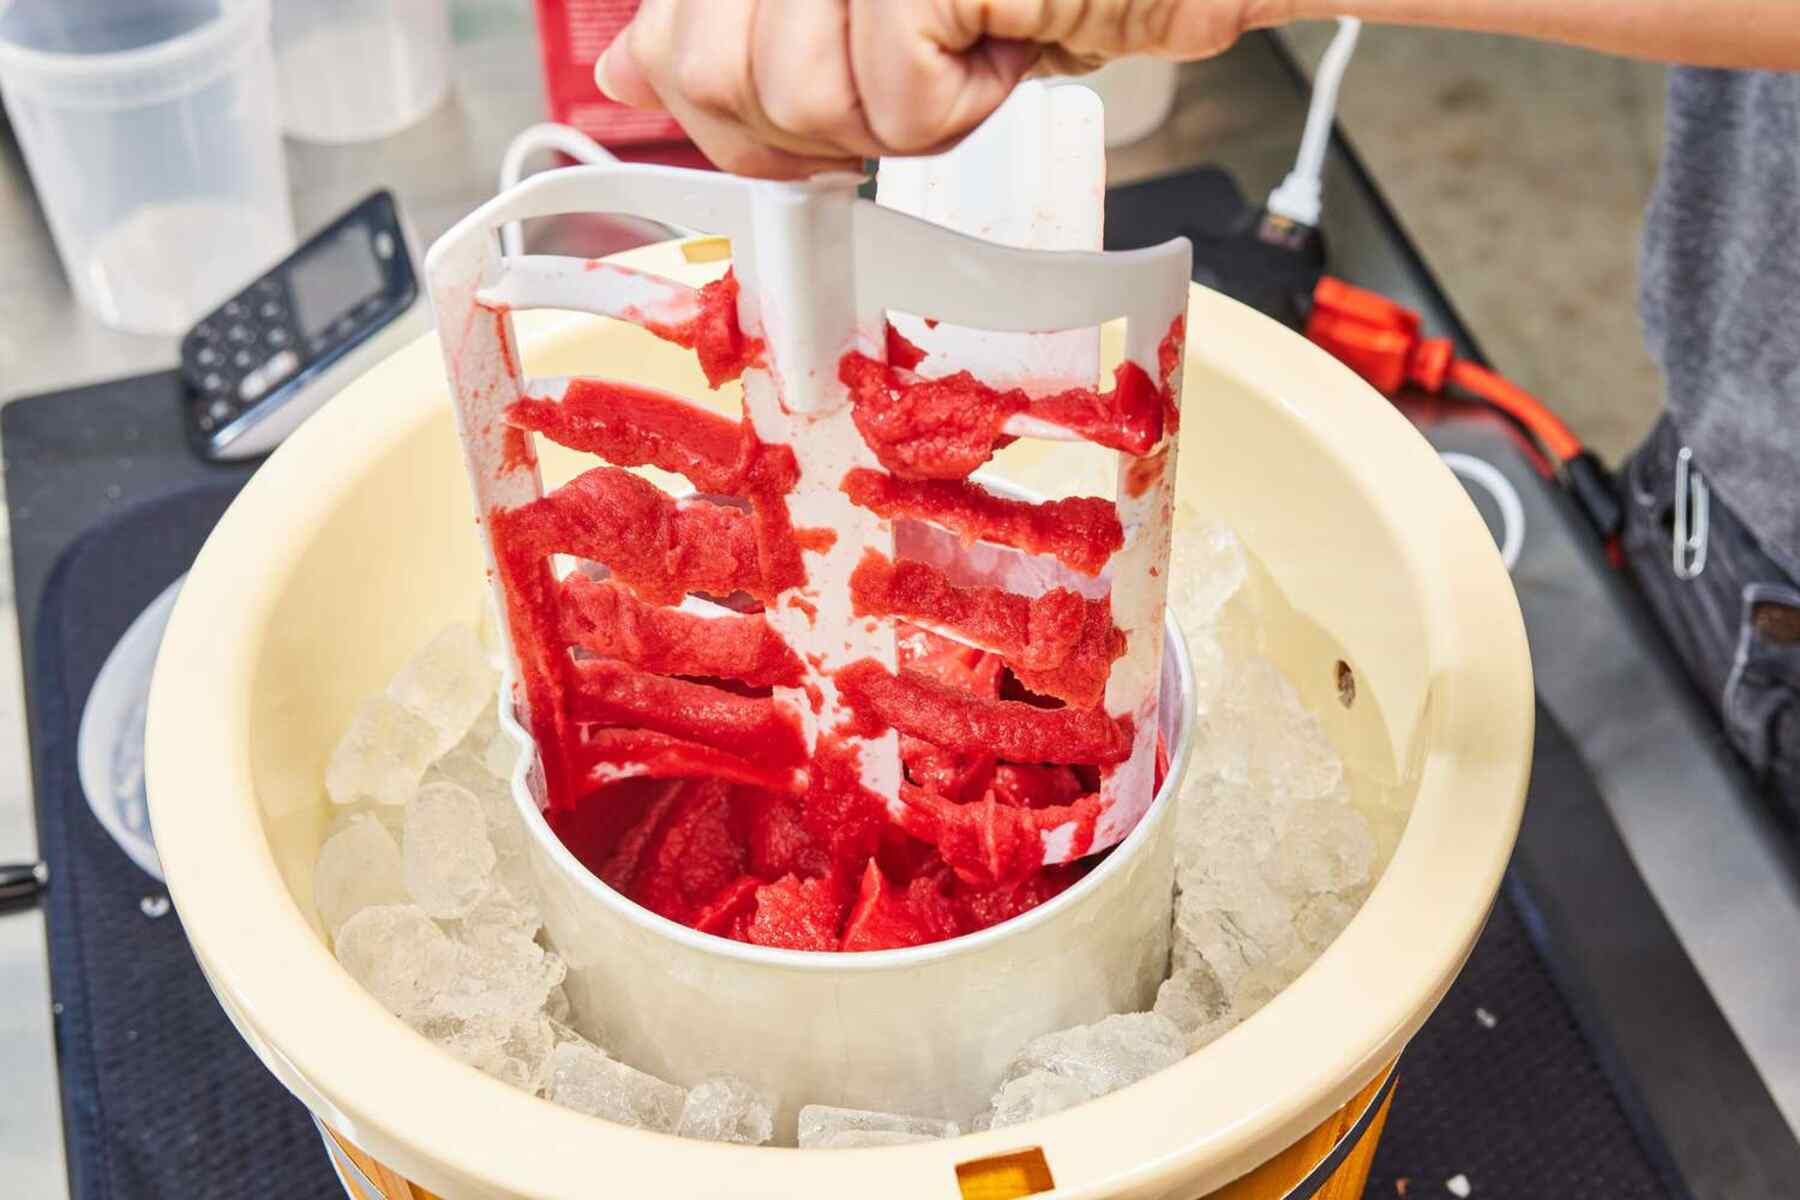
5. Operating the Ice Cream Maker: Turn on the Rival ice cream maker and let it churn for the recommended time specified in your recipe. Most electric models have a set time for churning, while manual models may require a bit of effort on your part to turn the crank. Follow the instructions provided with your specific model for the recommended churning time and speed settings.
6. Monitoring the Churning Process: Keep a close eye on the ice cream maker as it churns. You’ll notice the mixture gradually thickening and freezing. Avoid over-churning, as this can result in a grainy texture. The ice cream is ready when it reaches a soft-serve consistency or the desired consistency mentioned in your recipe.
7. Removing the Ice Cream: Once your ice cream has reached the desired consistency, turn off the ice cream maker and carefully remove the paddle or dasher. Use a rubber spatula to scrape off any excess ice cream from the paddle back into the canister. Remove the lid and use a spoon or scoop to transfer the ice cream into a freezer-safe container.
By following these steps, you’ll be able to assemble and operate your Rival ice cream maker with ease. Whether you have an electric or manual model, the process of churning will result in creamy, homemade ice cream that is sure to impress. Get ready to indulge in a frozen treat that you’ve created from scratch.
Monitoring the Ice Cream’s Progress
As you eagerly await the transformation of your ice cream mixture into a delightful frozen treat, it’s crucial to actively monitor the ice cream’s progress to achieve the perfect consistency. Proper monitoring ensures that you achieve the desired texture and prevents any potential issues. Here’s how to effectively monitor the progress of your ice cream:
1. Visual Inspection: Throughout the churning process, visually assess the ice cream’s consistency. As it churns, the mixture will start thickening and freezing gradually. Observe the texture and appearance of the ice cream, looking for signs of proper freezing and smoothness.
2. Consistency Check: One way to evaluate the ice cream’s progress is by periodically checking its consistency. Pause the churning process and take a small spoonful of the ice cream. Examine its texture and consistency, ensuring it’s not overly soft or too firm. The ice cream should be smooth and hold its shape without melting too quickly.
3. Taste-test: Sampling the ice cream during the churning process allows you to evaluate its flavor and sweetness. Take a small taste to determine if it matches your desired level of sweetness and flavor intensity. Keep in mind that the flavors may develop further as the ice cream continues to freeze.
4. Adjusting the Churning Time: If the ice cream reaches the desired consistency before the recommended churning time, you can stop the churning process. However, if the ice cream is still too soft or not fully frozen, continue churning for a few more minutes. Adjust the churning time based on your preferences and the specific instructions in your recipe.
5. Managing External Factors: Be mindful of external conditions that may affect the ice cream’s progress. If you’re making ice cream in a warm environment, the churning process may take longer. In that case, consider chilling the mixture and the ice cream maker components for a longer period before starting the churning process.
6. Preventing Ice Crystals: While monitoring the ice cream’s progress, be vigilant about preventing the formation of ice crystals. Ice crystals can make the ice cream gritty and affect its texture. If you notice any ice crystals forming on the sides of the canister, use a rubber spatula to scrape them back into the mixture.
7. Adapting for Mix-Ins: If you plan to add mix-ins such as chocolate chips or nuts, monitor the ice cream’s progress to determine the right time to incorporate them. Most recipes suggest adding mix-ins during the last few minutes of churning, ensuring they are evenly distributed throughout the ice cream.
By actively monitoring the ice cream’s progress, making necessary adjustments, and adhering to the recommended guidelines, you’ll achieve a perfectly churned ice cream with a smooth, creamy texture. Enjoy the process and anticipate the joy of savoring your homemade frozen treat.
Adding Mix-Ins and Flavorings
Adding mix-ins and flavorings to your homemade ice cream is a delightful way to enhance its taste and texture. Whether you prefer a classic combination like chocolate chips in vanilla ice cream or more adventurous mix-ins like crushed cookies or fruit chunks, this step allows for endless customization. Follow these tips to incorporate mix-ins and flavorings into your ice cream:
1. Timing: Timing is crucial when adding mix-ins to your ice cream. Most recipes suggest adding them during the last few minutes of churning. This ensures even distribution without overmixing or crushing the mix-ins.
2. Freezing Mix-Ins: If your mix-ins, such as chocolate chips or fruit chunks, tend to soften or melt quickly, it’s a good idea to freeze them beforehand. Freezing the mix-ins helps them retain their shape and texture when added to the ice cream.
3. Gentle Folding: When adding mix-ins, gently fold them into the partially churned ice cream using a rubber spatula. Avoid vigorous stirring or overmixing, as it can break up the mix-ins and result in a less desirable texture.
4. Layering: For certain mix-ins, such as swirls of caramel or ribbons of fudge, you can create layers by adding them between layers of ice cream when transferring it to a storage container. This creates beautiful visual appeal and provides pockets of flavor throughout the ice cream.
5. Prepping Flavorings: If you are planning to add flavorings like extracts or concentrates, ensure they are of high quality and appropriate for the ice cream base. Remember that a little goes a long way, so start with a small amount and gradually increase to achieve your desired taste.
6. Experiment with Combinations: Don’t be afraid to get creative with mix-in and flavoring combinations. Consider flavor pairings like chocolate and peanut butter or fresh berries and mint. Use your imagination and taste preferences to create unique and exciting flavor profiles.
7. Consider Texture: When deciding on mix-ins, think about the texture contrast they will provide. Opt for ingredients that add crunch, chewiness, or creaminess to the ice cream, balancing the smoothness of the base with interesting textures.
8. Adjusting Quantities: Depending on the intensity of your mix-ins or flavorings, you may need to adjust the quantities to maintain a good balance. Start with a moderate amount and taste-test along the way to achieve the desired flavor profile.
By adding mix-ins and flavorings, you can transform your ice cream into a personalized and indulgent dessert. Whether you prefer a simple combination or a complex medley of flavors, the process of customizing your ice cream allows for endless possibilities to tantalize your taste buds.
Transferring and Storing the Ice Cream
Once you’ve successfully churned your homemade ice cream to perfection, it’s time to transfer and store it properly to maintain its texture and flavor. Here are some essential tips for transferring and storing your ice cream:
1. Immediate Transfer: As soon as the ice cream reaches the desired consistency, transfer it from the ice cream maker to a freezer-safe container. This prevents it from melting and ensures it sets properly.
2. Container Selection: Choose a container that is freezer-safe and airtight to prevent the formation of ice crystals and to keep the ice cream fresh. Consider using a shallow container to hasten the freezing process and facilitate easy scooping.
3. Layering: To create layers or incorporate swirls of sauces or syrups, add small amounts of the ice cream mixture to the container, followed by the desired layer of sauce or syrup. Repeat this process until all the ice cream mixture and toppings are used, creating a beautifully layered effect.
4. Smooth the Surface: Use a spatula or the back of a spoon to smooth the surface of the ice cream in the container. This helps eliminate air pockets, resulting in a more uniform texture and appearance.
5. Covering: Once the ice cream is in the container, make sure to cover it tightly with a lid or plastic wrap. This prevents the ice cream from absorbing any unwanted odors and helps maintain its freshness.
6. Labeling: It’s always a good idea to label your ice cream container with the flavor and date of preparation. This way, you can keep track of which flavor is inside, and it helps you consume the ice cream while it’s still at its best quality.
7. Freezing Time: Transfer the ice cream to the coldest part of the freezer, typically the back of the freezer. Allow it to freeze for a minimum of 4-6 hours, or overnight, to ensure it is fully set and ready to enjoy.
8. Proper Storage Duration: Homemade ice cream is best enjoyed within 1-2 weeks of freezing. While it will technically remain safe to eat beyond that timeframe, its texture and flavor may start to deteriorate over time.
9. Preventing Freezer Burn: To prevent freezer burn, which can negatively impact the texture and taste of your ice cream, make sure the container is sealed tightly and avoid excessive fluctuations in temperature by keeping the freezer door closed as much as possible.
10. Thawing the Ice Cream: When it’s time to enjoy your ice cream, remove the container from the freezer and allow it to sit at room temperature for a few minutes to slightly soften. This makes scooping easier and allows the flavors to be fully enjoyed.
By following these steps, you can ensure that your homemade ice cream stays fresh, maintains its desired texture, and is ready to be savored whenever you’re in the mood for a delightful frozen treat.
Troubleshooting Common Issues
While making homemade ice cream can be a delightful experience, it’s not uncommon to encounter a few hiccups along the way. Thankfully, most issues have simple solutions. Here are some common issues you may encounter when making ice cream and how to troubleshoot them:
1. Ice Cream Not Freezing: If your ice cream is not freezing properly, check that the Rival ice cream maker has been pre-frozen according to the manufacturer’s instructions. Also, ensure that the ice and rock salt are layered properly around the canister. If it still doesn’t freeze, the mixture may not be cold enough. Place it in the refrigerator for an additional 30 minutes to chill before trying again.
2. Ice Crystals Forming: Ice crystals can make your ice cream grainy and affect its texture. To prevent this, make sure the ice cream mixture is adequately chilled before churning. Additionally, ensure that the canister is properly pre-frozen and the ice cream maker is operating efficiently. Scraping any ice crystals from the sides of the canister during churning can also help prevent them from mixing back into the ice cream.
3. Thin or Runny Ice Cream: If your ice cream turns out too thin or runny, it may be due to not adding enough fats, such as cream or egg yolks, in the initial mixture. Double-check the ingredients and make sure to follow the recipe correctly. Alternatively, the churning time may have been too short. Extend the churning time slightly to allow the mixture to thicken and develop a creamier consistency.
4. Overly Thick or Firm Ice Cream: If your ice cream turns out overly thick or firm, it may have been churned for too long. Churning for an extended period can cause excess air to be incorporated, resulting in a denser texture. Shorten the churning time in your next batch to achieve a lighter consistency.
5. Lumpy or Curdled Texture: If your ice cream mixture appears lumpy or curdled, it may be due to not fully dissolving the sweeteners or not properly incorporating the ingredients. Ensure that all the ingredients are thoroughly mixed before chilling the mixture. If lumps persist, strain the mixture through a fine-mesh sieve to remove any clumps before churning.
6. Ice Cream Melting Too Quickly: If your ice cream melts too quickly, it may be due to the freezer temperature being too high or constant opening and closing of the freezer door. Check and ensure that the freezer is set to the appropriate temperature. When retrieving ice cream from the freezer, minimize the amount of time the freezer door is open to avoid temperature fluctuations.
7. Uneven Mix-Ins: If your mix-ins are not evenly distributed throughout the ice cream, consider adding them in smaller increments during churning. Alternatively, you can layer the mix-ins with the ice cream when transferring to the storage container, creating pockets of flavor throughout.
By troubleshooting these common issues, you’ll be able to overcome any obstacles and produce homemade ice cream that is smooth, creamy, and satisfying. Don’t be discouraged if you encounter a challenge along the way—experimentation and practice will lead to mastering the art of making homemade ice cream.
Cleaning and Maintaining Your Rival Ice Cream Maker
Proper cleaning and maintenance of your Rival ice cream maker ensure its longevity and optimal performance. Regular upkeep will help you continue making delicious homemade ice cream for years to come. Here are some essential tips for cleaning and maintaining your Rival ice cream maker:
1. Safety Precautions: Before cleaning, always ensure that the ice cream maker is unplugged or its power source is disconnected to prevent any accidents.
2. Disassembling the Parts: Begin the cleaning process by removing and disassembling all the removable parts of the ice cream maker, such as the canister, paddle, and lid. Follow the manufacturer’s instructions for a safe and efficient disassembly process.
3. Hand Washing: Most of the parts, such as the canister and paddle, can be hand-washed with warm, soapy water. Use a gentle dish soap and a non-abrasive sponge to clean the parts thoroughly. Avoid using harsh cleaning agents or scouring pads, as they may damage the surfaces or affect the ice cream’s taste.
4. Drying: After washing, make sure all the parts are thoroughly dried before reassembling the ice cream maker. Use a clean towel or air-dry the parts naturally to prevent any moisture from lingering, which could lead to mold or other issues.
5. Cleaning the Exterior: Use a damp cloth or sponge with mild soapy water to clean the exterior of the ice cream maker. Wipe away any spills, stains, or residue to keep the appliance looking clean and presentable.
6. Storing the Ice Cream Maker: When not in use, store your Rival ice cream maker in a clean and dry location. Consider storing the removable parts inside the canister or assembly to prevent them from getting lost or damaged.
7. Maintenance Tips: To maintain the performance of your Rival ice cream maker, periodically check for any signs of wear or damage. Inspect the power cord for fraying, and if you notice any issues, contact the manufacturer for guidance or professional servicing.
8. Lubrication (if applicable): If your Rival ice cream maker has parts that require lubrication, follow the manufacturer’s instructions for proper lubrication. This will help ensure smooth operation and prevent any potential damage.
9. Regular Use: Regularly using your Rival ice cream maker can help keep its components in good working condition. Frequent use prevents parts from becoming stiff or malfunctioning due to extended periods of inactivity.
10. Follow Manufacturer’s Instructions: Always refer to the specific cleaning and maintenance instructions provided by the manufacturer of your Rival ice cream maker. They may have additional guidelines or specific recommendations based on the model you own.
With proper cleaning and maintenance, your Rival ice cream maker will continue to churn out delectable homemade treats. By following these tips, you can extend the life of your ice cream maker and ensure it remains in optimal condition for years to come.
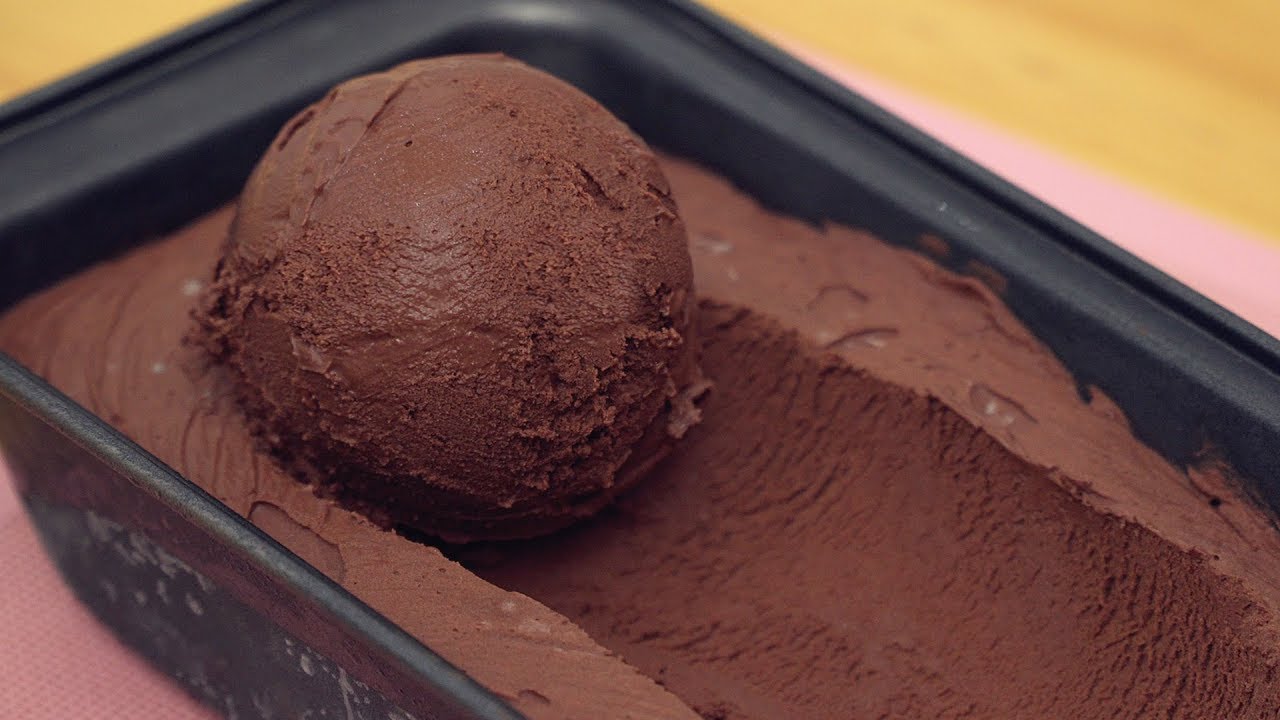
Enjoying Your Homemade Ice Cream!
After all the hard work and anticipation, it’s time to savor the fruits of your labor and indulge in the deliciousness of your homemade ice cream. Here are some tips to enhance your enjoyment of your frozen creation:
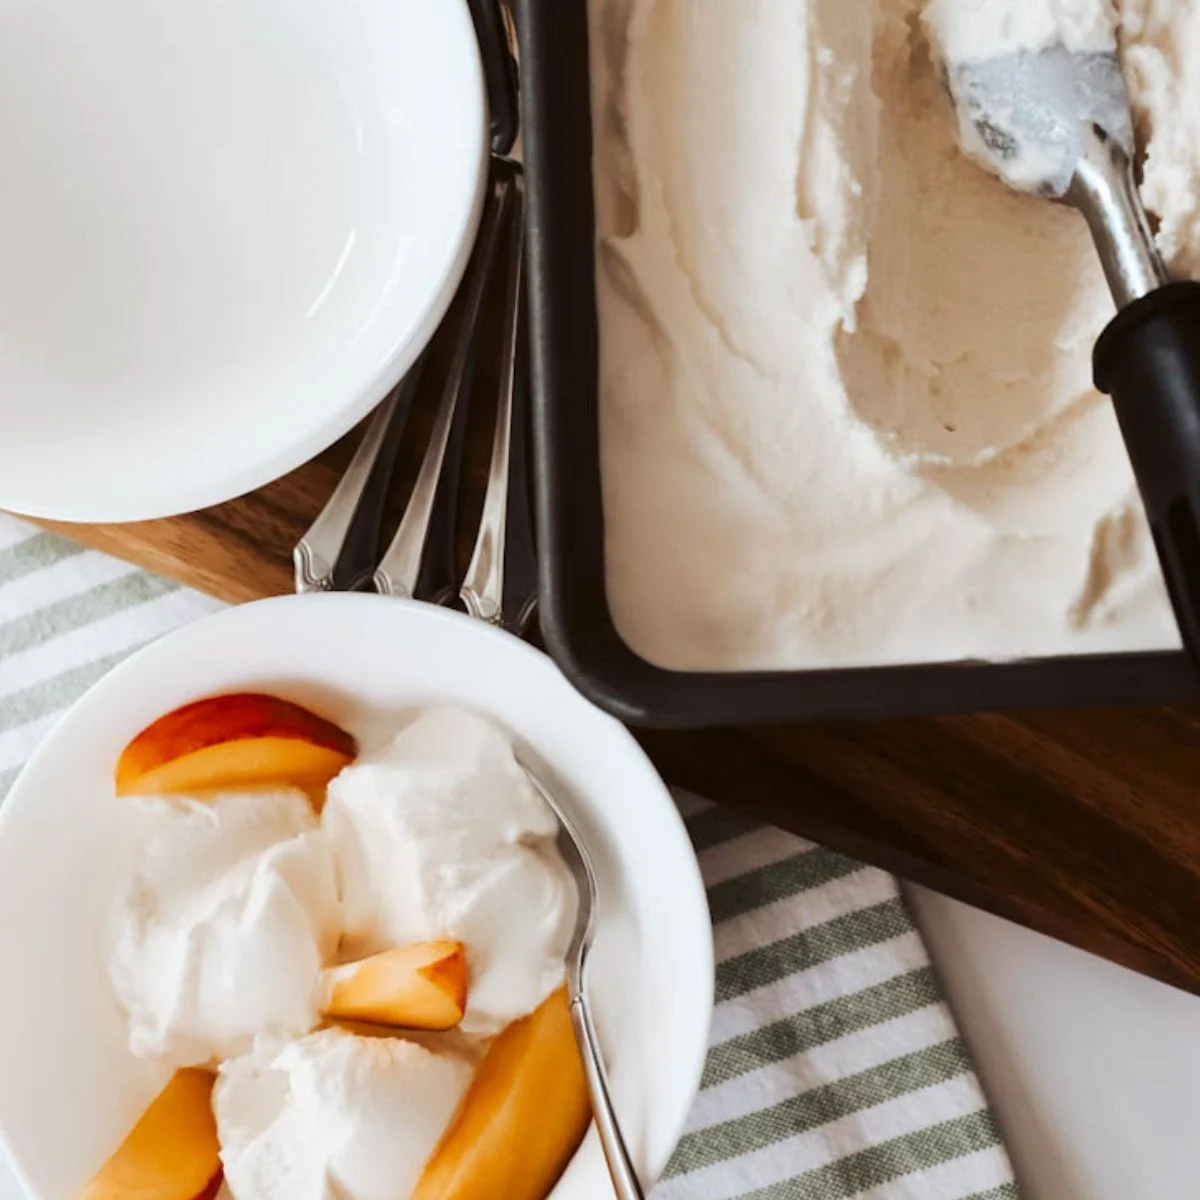
1. Serving Suggestions: Serve your ice cream in bowls, cones, or even make ice cream sandwiches. Get creative with presentation and toppings to make your ice cream even more enticing.
2. Pairing Flavors: Experiment with flavor combinations by pairing your homemade ice cream with complementary treats. For example, serve a scoop of rich chocolate ice cream with a warm brownie or top a fruity sorbet with fresh seasonal fruit.
3. Experimenting with Toppings: Enhance the flavors and textures of your ice cream by adding an array of toppings. Sprinkle crushed cookies, chopped nuts, or colorful sprinkles on top for a delightful crunch.
4. Sharing the Joy: Share the joy of homemade ice cream with family and friends. Host an ice cream party or simply invite loved ones over for a sweet treat. Seeing the smiles on their faces as they enjoy your creation is truly rewarding.
5. Experimenting with Mix-Ins: Continue to get creative with mix-ins and new flavor combinations. Try adding different chocolates, candies, or fruits to the ice cream base for exciting variations. The possibilities are endless!
6. Freezing Leftovers: If you have any leftovers, store them in a freezer-safe container for later indulgence. Place them at the back of the freezer to maintain their quality and prevent freezer burn. Enjoy your homemade ice cream whenever your cravings strike!
7. Trying New Recipes: Expand your ice cream-making repertoire by exploring new recipes. There are countless recipes online, in books, and from fellow ice cream enthusiasts. Challenge yourself to try new flavor profiles and techniques.
8. Customizing to Dietary Needs: Experiment with alternative ingredients to cater to specific dietary needs. Create dairy-free, vegan, or low-sugar ice cream options using plant-based milks, natural sweeteners, and other substitutes.
9. Documenting Your Creations: Take photos of your beautiful homemade ice cream creations and share them on social media or with friends and family. You’ll have a visual record of your culinary journey and can inspire others to try making their own ice cream.
10. Reminiscing: Enjoy the nostalgia of homemade ice cream by reminiscing about fond memories associated with this timeless treat. Whether it’s childhood memories of going to the ice cream shop or happy moments spent making ice cream with loved ones, let the flavors take you back in time.
Sit back, relax, and relish the incredible satisfaction that comes with enjoying your homemade ice cream. Whether you’re savoring it alone or sharing it with others, the love and care you poured into making it will shine through with every delicious bite.