Introduction
Ice cream has always been a favorite treat for people of all ages. Whether enjoyed on a hot summer day or as a dessert after a delicious meal, there is no denying the joy that comes from indulging in a creamy scoop of ice cream. While store-bought ice cream offers convenience, making your own homemade ice cream can be a fun and rewarding experience.
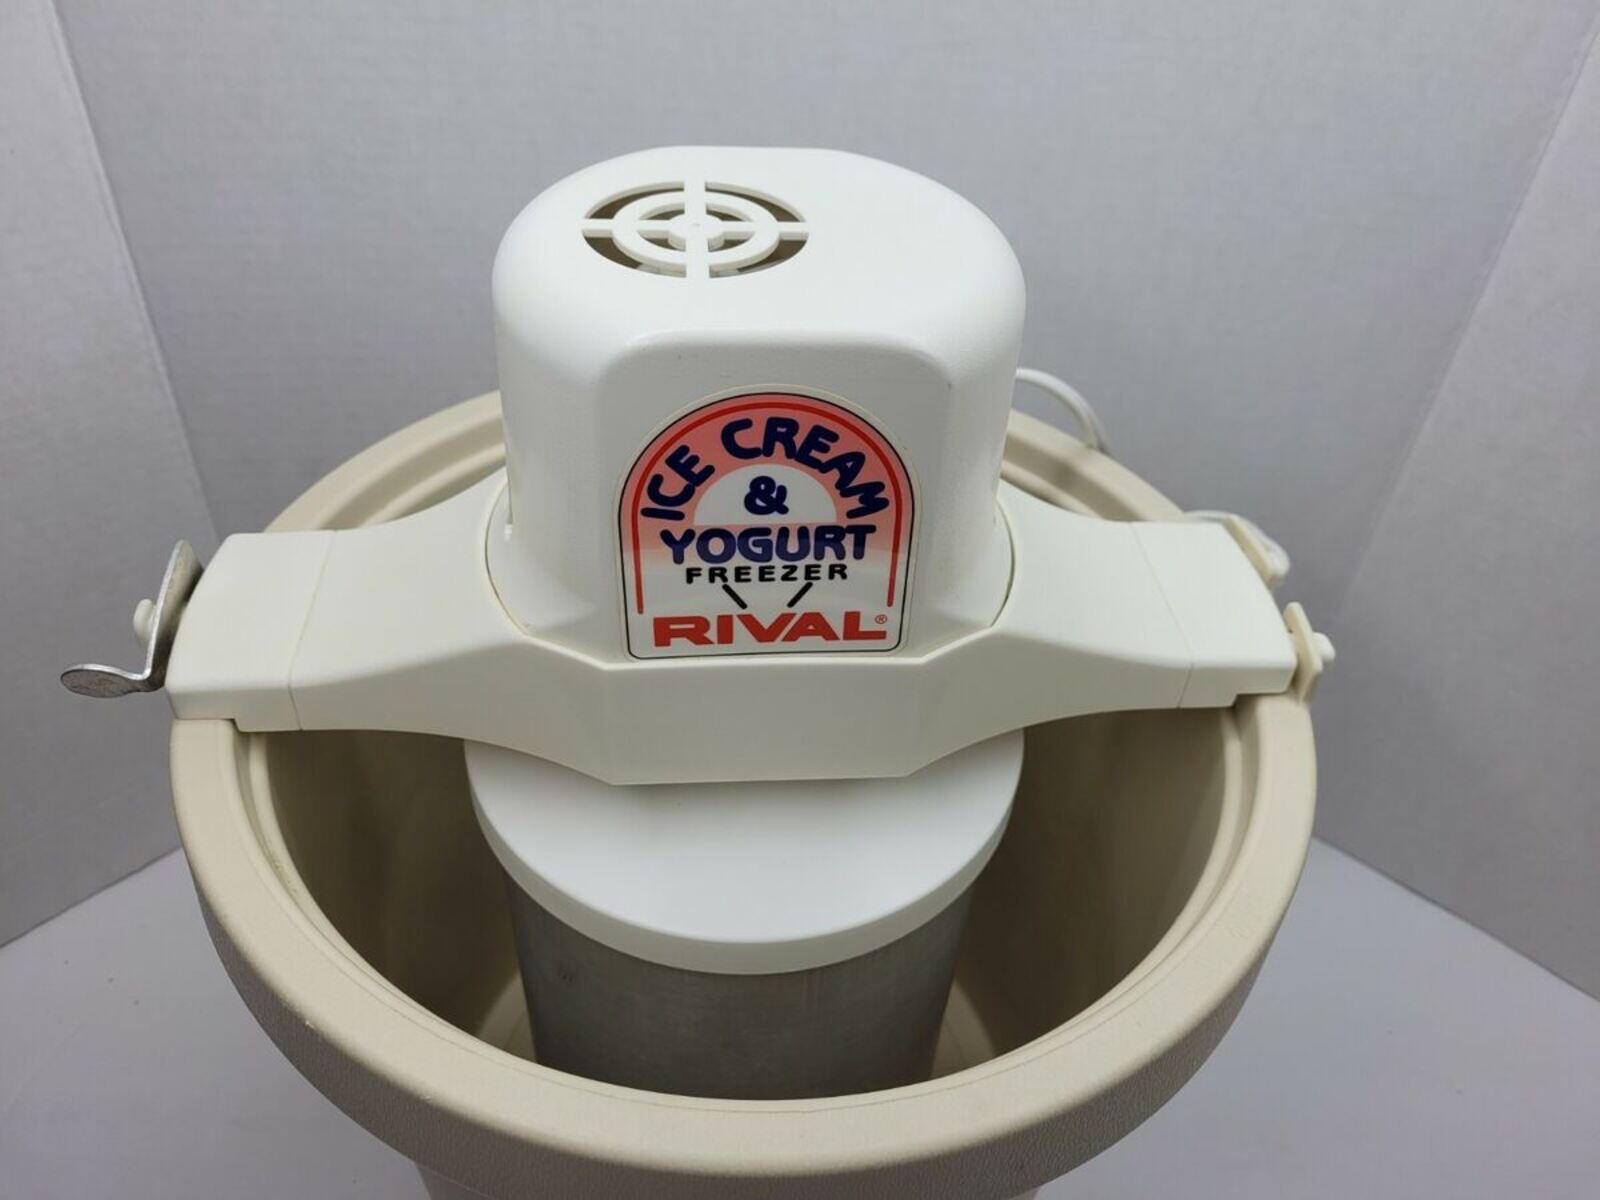
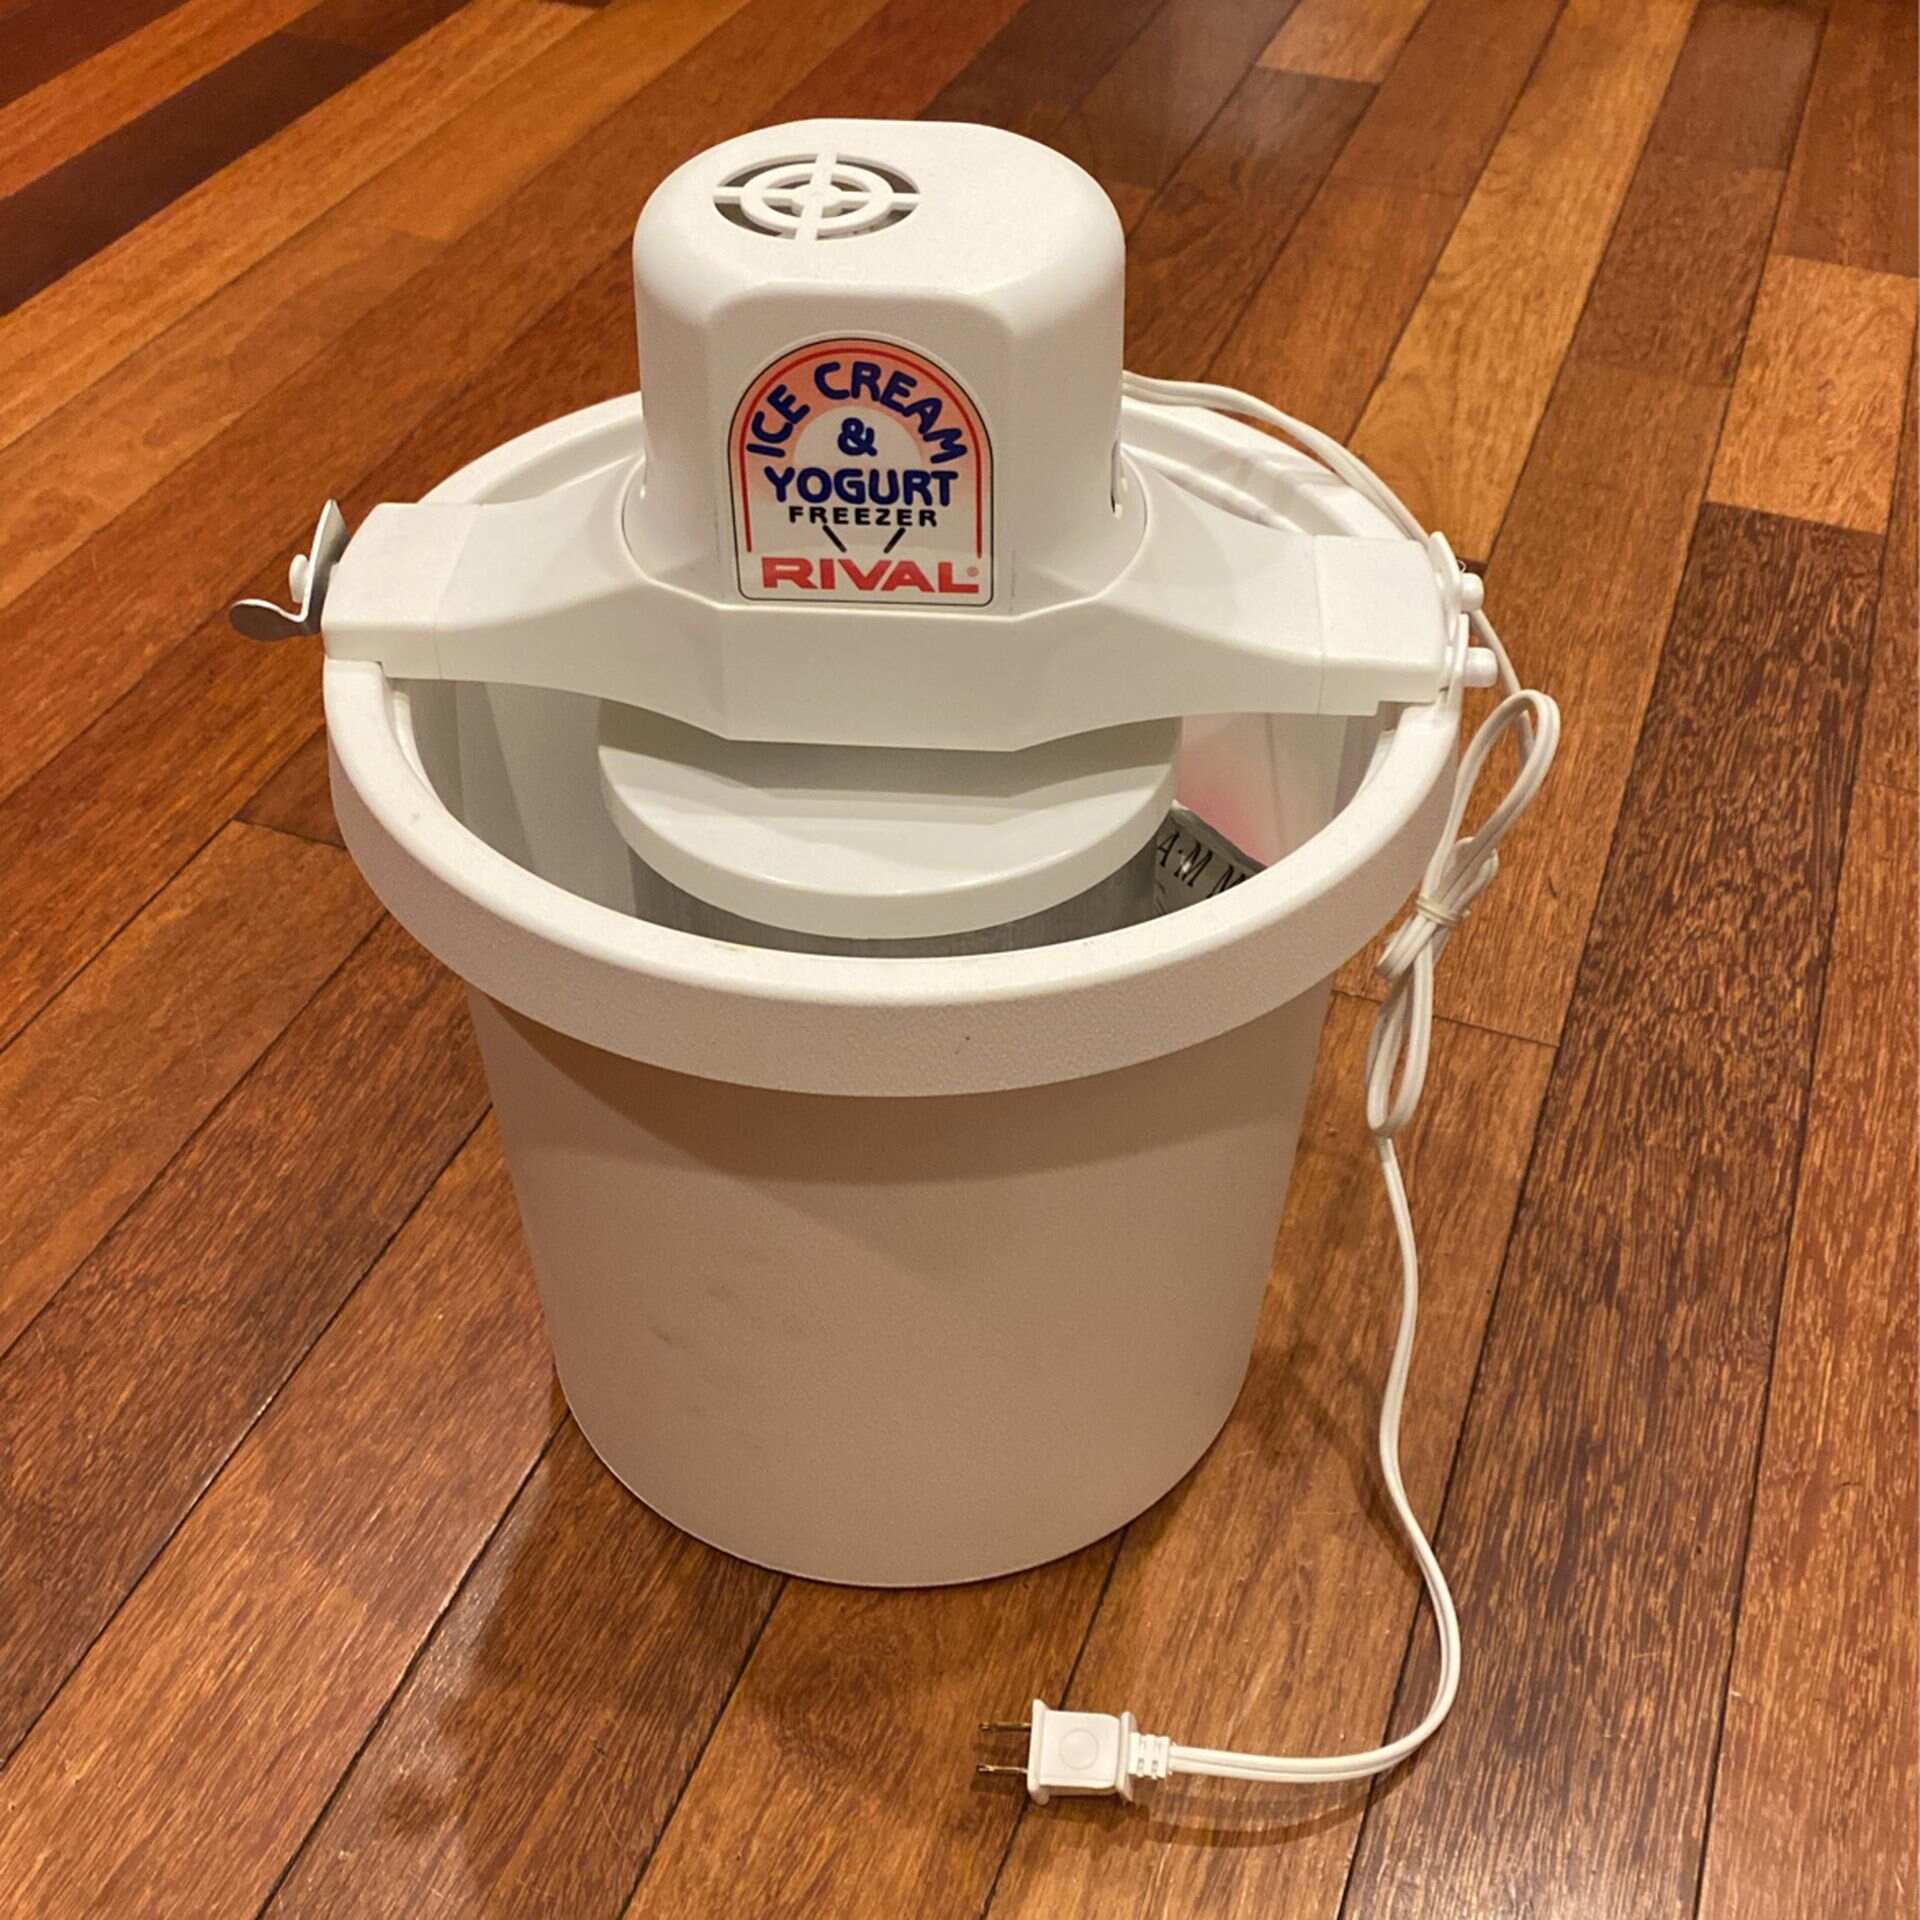
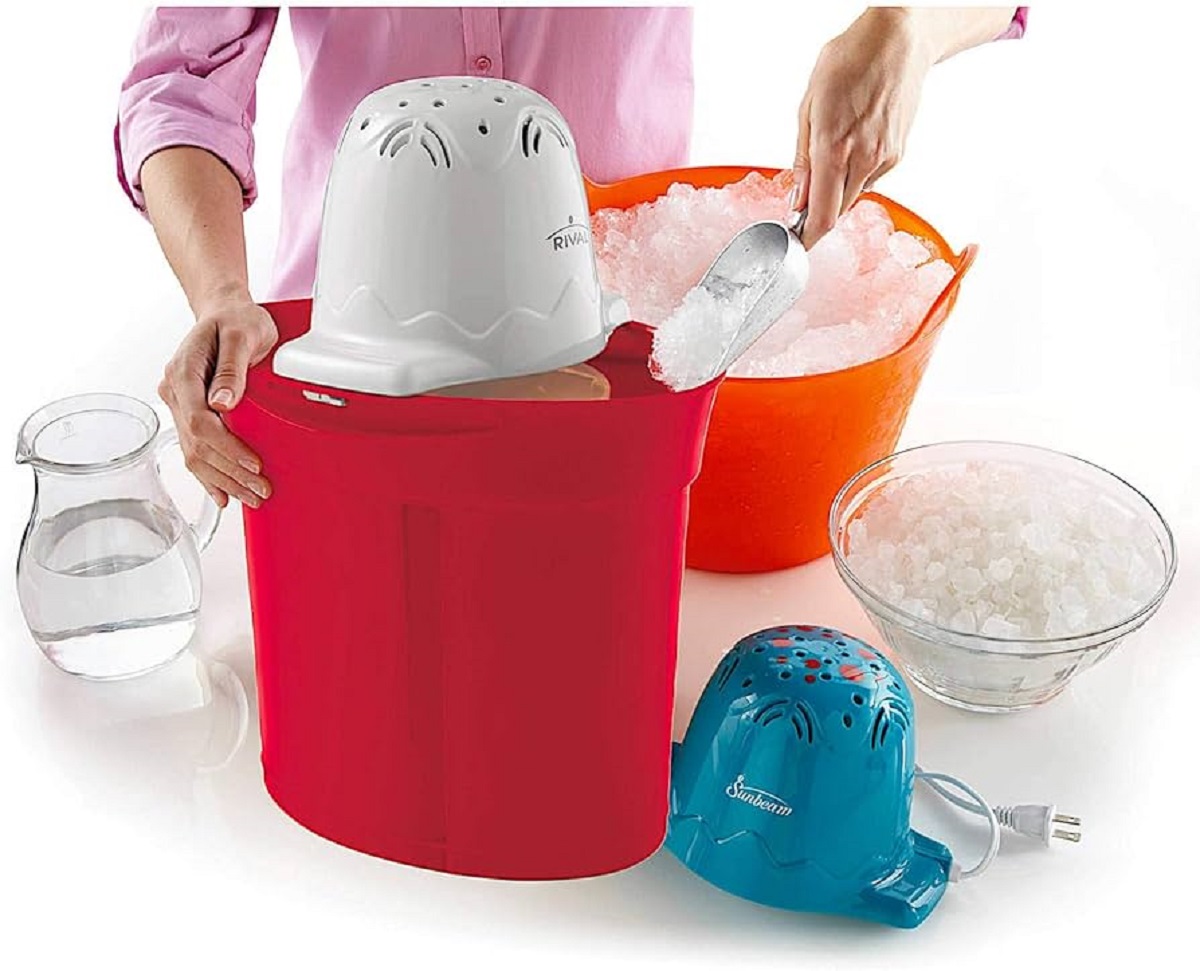
One popular option for making ice cream at home is using a Rival ice cream maker. These machines are designed to take the hassle out of making ice cream by automating the churning process. But how long does it actually take to make ice cream in a Rival ice cream maker?
The answer to this question can vary depending on several factors, such as the type of ice cream mixture, the freezing time, and any additional mix-ins you choose to add. In this article, we will explore the process of making ice cream with a Rival ice cream maker and uncover the factors that can affect the overall time it takes to achieve that perfect scoop of homemade ice cream.
Whether you are a beginner or an experienced home cook, understanding the timeline of making ice cream will help you plan your dessert preparation accordingly. So, let’s dive in and discover the secrets behind creating delicious homemade ice cream in a Rival ice cream maker!
How Does a Rival Ice Cream Maker Work?
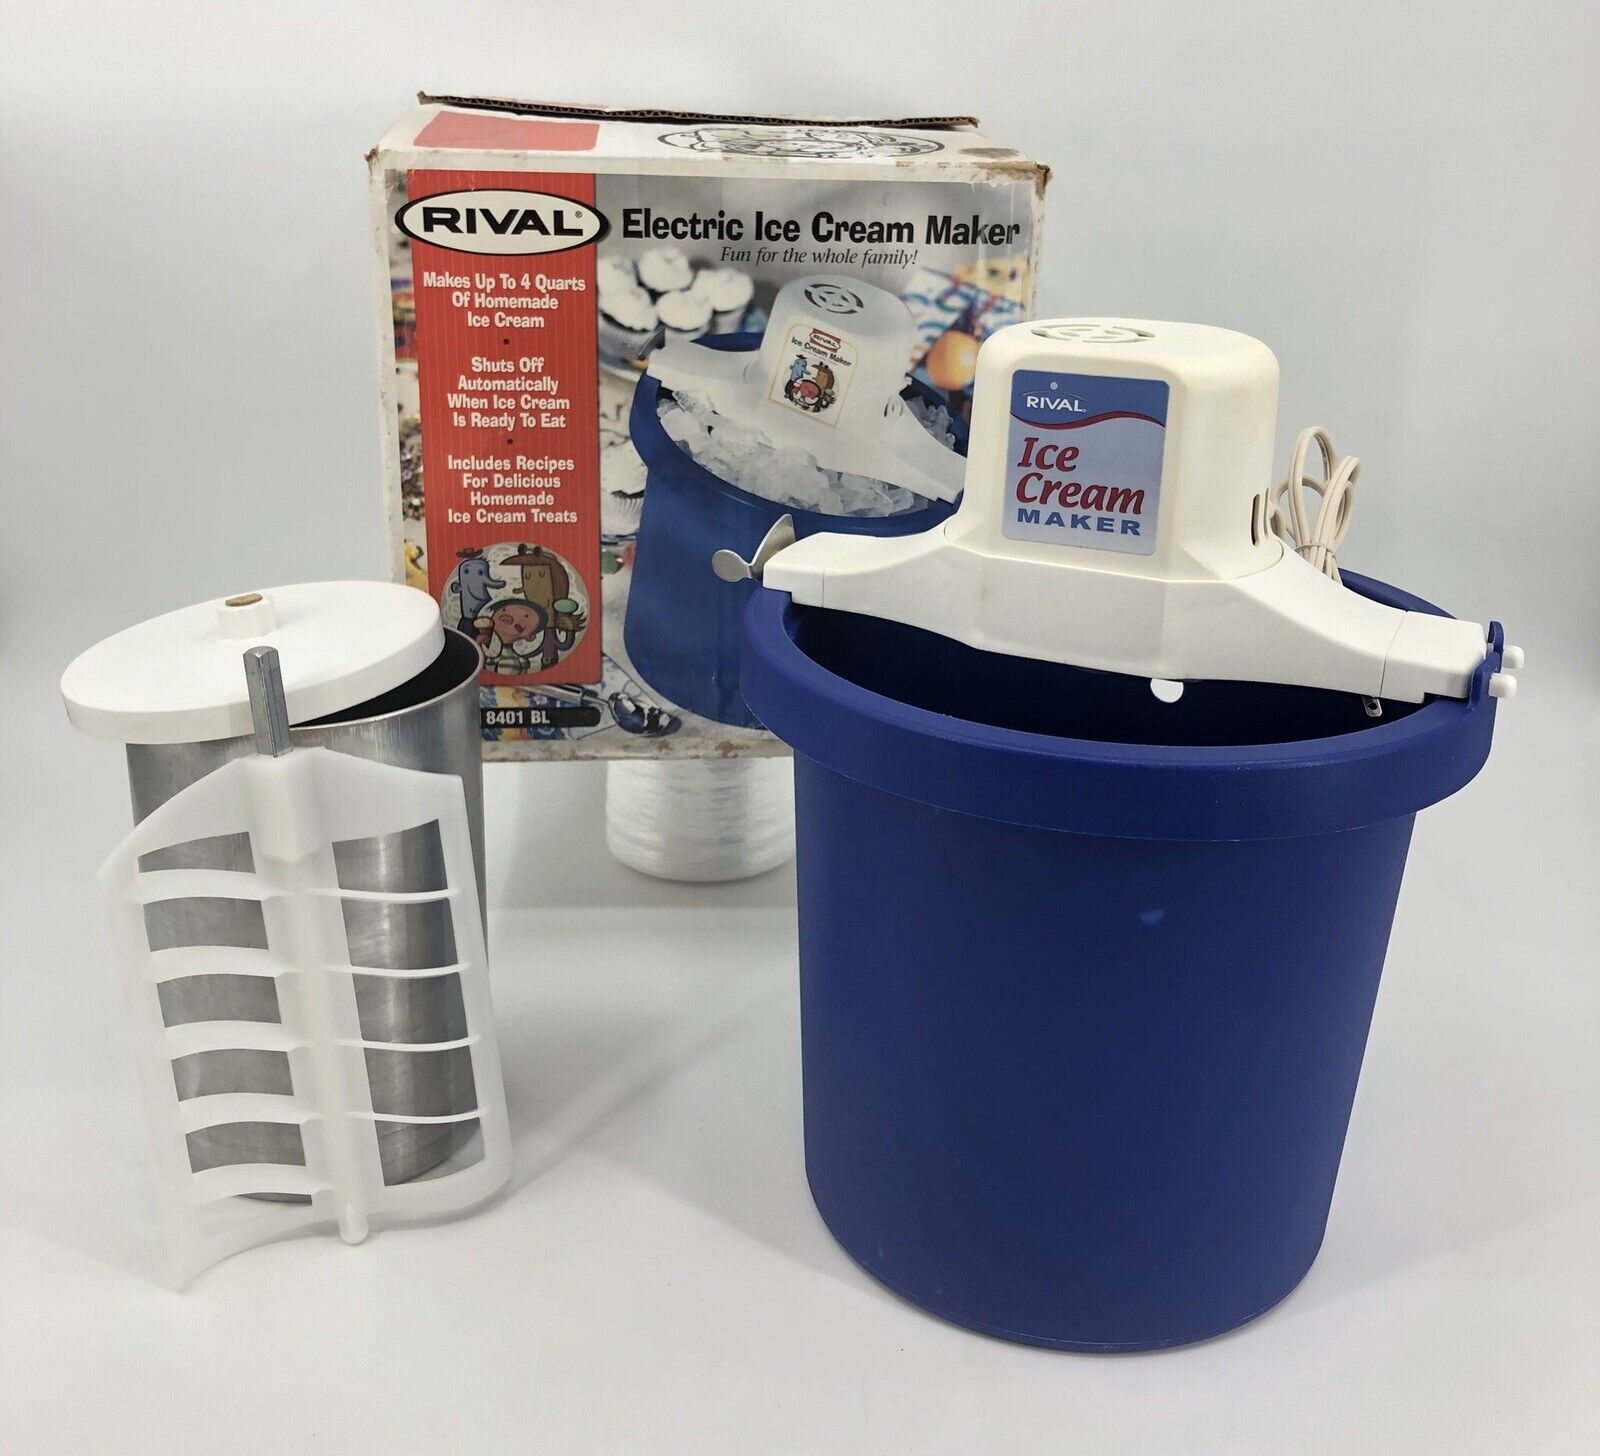
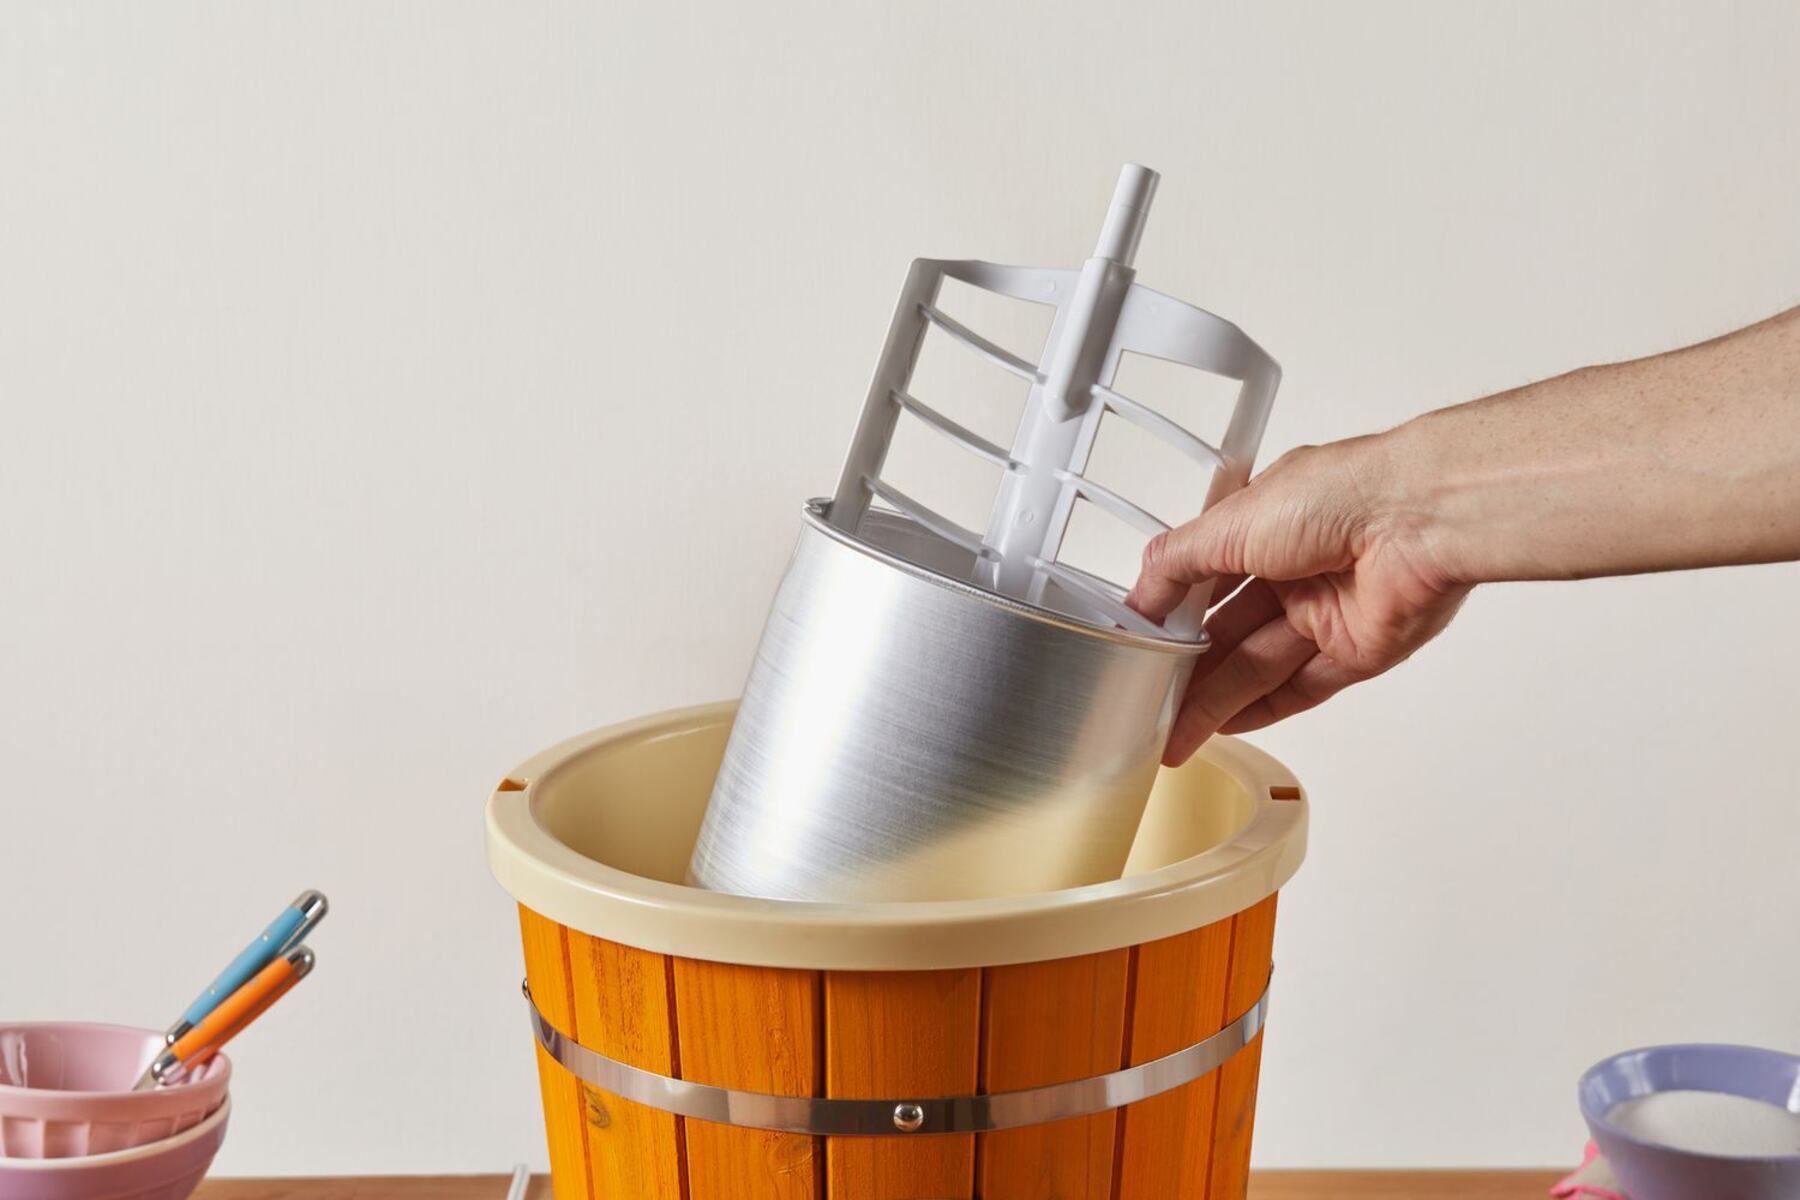
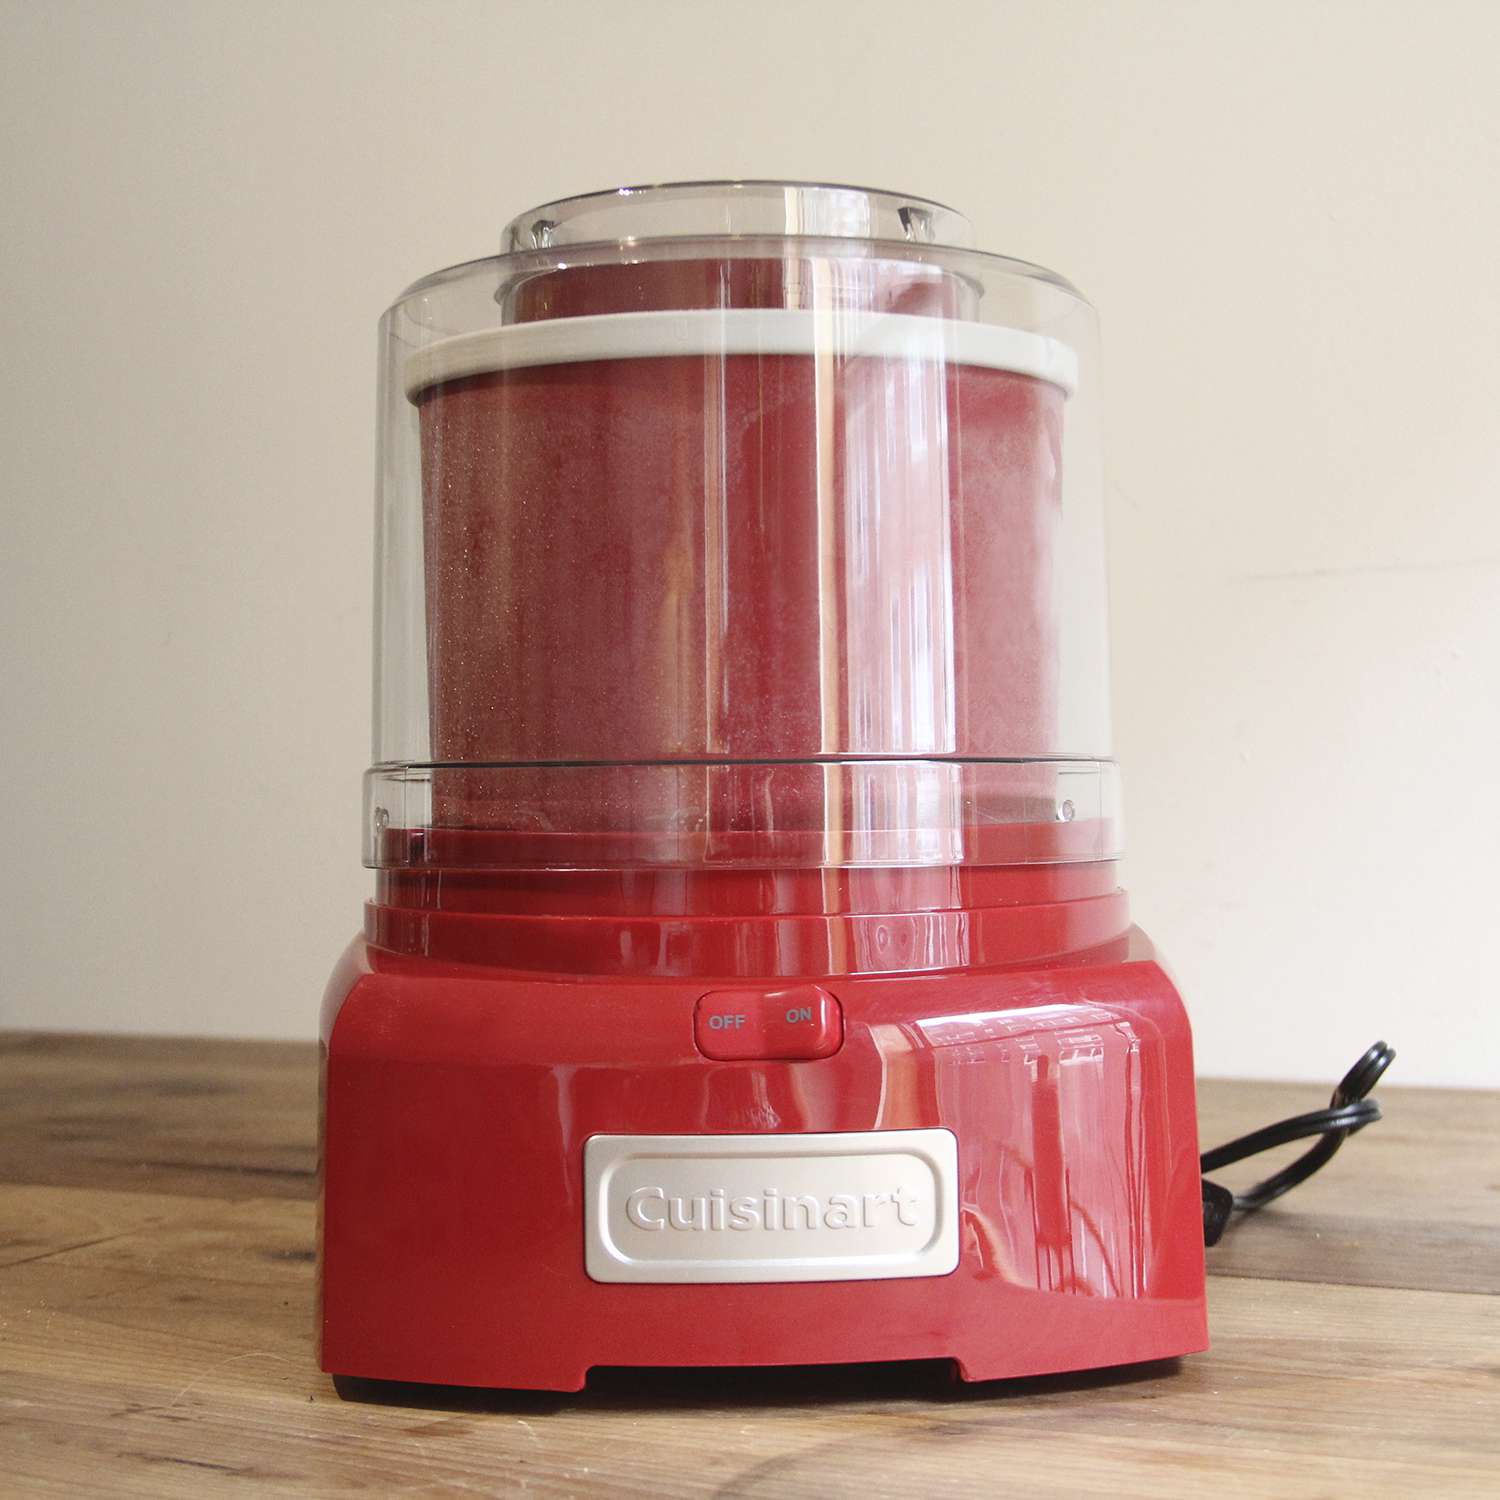
Before we delve into the time it takes to make ice cream in a Rival ice cream maker, let’s first understand how these machines work. A Rival ice cream maker operates on a simple yet effective principle: freezing and churning. The machine consists of a removable freezer bowl, a motorized base, and a paddle or dasher.
The first step in using a Rival ice cream maker is to freeze the freezer bowl. This can typically take anywhere from 12 to 24 hours, depending on the model and the specific freezing requirements outlined in the user manual. Pre-freezing the bowl is essential as it ensures that the ice cream mixture freezes uniformly during the churning process.
Once the freezer bowl is adequately frozen, it is placed onto the motorized base, which powers the churning mechanism. The paddle or dasher, attached to the base, rotates inside the freezer bowl and continuously scrapes the frozen mixture off the sides of the bowl while incorporating air into the mixture. This churning process helps create the smooth and creamy texture we associate with ice cream.
As the mixture churns, the cold temperature of the freezer bowl freezes the liquid ingredients, transforming them into ice cream. The continuous churning also helps prevent the formation of large ice crystals, resulting in a smoother final product.
It’s worth noting that different Rival ice cream maker models may have variations in terms of churning speed, paddle design, and freezing time. However, the basic principle remains the same across all models.
Now that we have a clear understanding of how a Rival ice cream maker works, let’s explore the factors that can impact the time it takes to make ice cream in one.
Factors Affecting Ice Cream Making Time
The time it takes to make ice cream in a Rival ice cream maker can vary depending on several factors. These factors can influence both the preparation time before using the machine and the actual churning time. Let’s take a closer look at the key factors that can affect the overall ice cream making time:
- Type of Ice Cream Mixture: The composition and ingredients of your ice cream mixture play a significant role in determining the freezing time. Generally, mixtures with higher fat content, such as custard-based recipes, take longer to freeze compared to lighter mixtures like sorbets.
- Freezing Time: Pre-freezing the freezer bowl is essential for achieving the desired consistency of ice cream. The freezing time can vary depending on the specific model and the instructions provided by the manufacturer. It is recommended to freeze the bowl for at least 12 hours, but some models may require longer freezing times.
- Room Temperature: The ambient temperature of your surroundings can impact the efficiency of the ice cream maker. Warmer room temperatures may result in longer freezing and churning times, while colder temperatures can expedite the process.
- Churning Speed: Some Rival ice cream makers offer multiple churning speeds. Higher speeds can accelerate the churning process, reducing the overall time to make ice cream. However, it’s essential to follow the instructions provided by the manufacturer to achieve the best results.
- Quantity of Mixture: The amount of ice cream mixture you prepare can affect the churning time. Larger quantities of mixture take longer to freeze, so it’s important to consider this when planning your ice cream making adventure.
By understanding these factors, you can adjust your expectations and plan your ice cream making accordingly. While the specific time can vary based on these factors, the joy and satisfaction of homemade ice cream are well worth the effort and patience.
Preparing the Ice Cream Mixture
The first step in making ice cream with a Rival ice cream maker is to prepare the ice cream mixture. This step is crucial as it sets the foundation for the flavor and texture of your homemade treat. Here are the key steps involved in preparing the ice cream mixture:
- Choosing a Recipe: Start by selecting a recipe that suits your taste preferences. There are countless ice cream recipes available, ranging from classic vanilla to unique flavors like salted caramel or mint chocolate chip.
- Gathering the Ingredients: Once you have chosen your recipe, gather all the necessary ingredients. This typically includes dairy (such as milk and cream), sweeteners (like sugar), flavorings (such as vanilla extract or cocoa powder), and any additional mix-ins you desire.
- Mixing the Ingredients: In a mixing bowl, combine the ingredients according to the recipe. For some recipes, you may need to heat the mixture on the stove to create a custard base, while others may require simple mixing of the ingredients.
- Chilling the Mixture: After mixing the ingredients, it is important to chill the mixture thoroughly before pouring it into the Rival ice cream maker. This step helps ensure a smoother consistency and faster freezing time. Place the mixture in the refrigerator for a few hours or overnight, as recommended by the recipe.
During the preparation stage, keep in mind the factors that can affect ice cream making time, such as the fat content of the mixture and the desired flavors. Adjustments in ingredient quantities or proportions may be necessary to achieve the desired texture and freezing time.
Once your ice cream mixture is chilled and ready, it’s time to assemble the Rival ice cream maker and begin the churning process. We will explore these steps in the next sections to complete the journey towards a delicious batch of homemade ice cream.
Assembling the Rival Ice Cream Maker
Now that you have prepared the ice cream mixture, it’s time to assemble the Rival ice cream maker and get ready for the churning process. Follow these steps to ensure a successful assembly:
- Retrieve the Freezer Bowl: Start by removing the freezer bowl from the freezer. Make sure it has been thoroughly frozen for the recommended time period, as stated in the user manual.
- Attach the Motorized Base: Place the motorized base on a flat and sturdy surface. Ensure that the on/off switch is in the “off” position. Take the frozen freezer bowl and securely place it on top of the motorized base. The bowl should fit snugly and lock into place.
- Attach the Paddle or Dasher: Locate the paddle or dasher that came with your Rival ice cream maker. Depending on the model, it may attach to the motorized base or directly to the freezer bowl. Follow the instructions provided in the user manual to affix the paddle securely.
- Secure the Lid: Once the paddle or dasher is attached, carefully place the lid on top of the freezer bowl. Ensure that the lid fits tightly and securely, as it prevents any external elements from contaminating the ice cream during the churning process.
Double-check that all the components are properly connected and secured before proceeding. It’s important to follow the specific assembly instructions provided by the manufacturer, as it may vary across different Rival ice cream maker models.
With the Rival ice cream maker assembled, it’s time to move on to the exciting part: the churning process. In the next section, we will explore how the churning process works and the steps involved in monitoring the ice cream as it transforms into a delightful frozen treat.
Churning Process
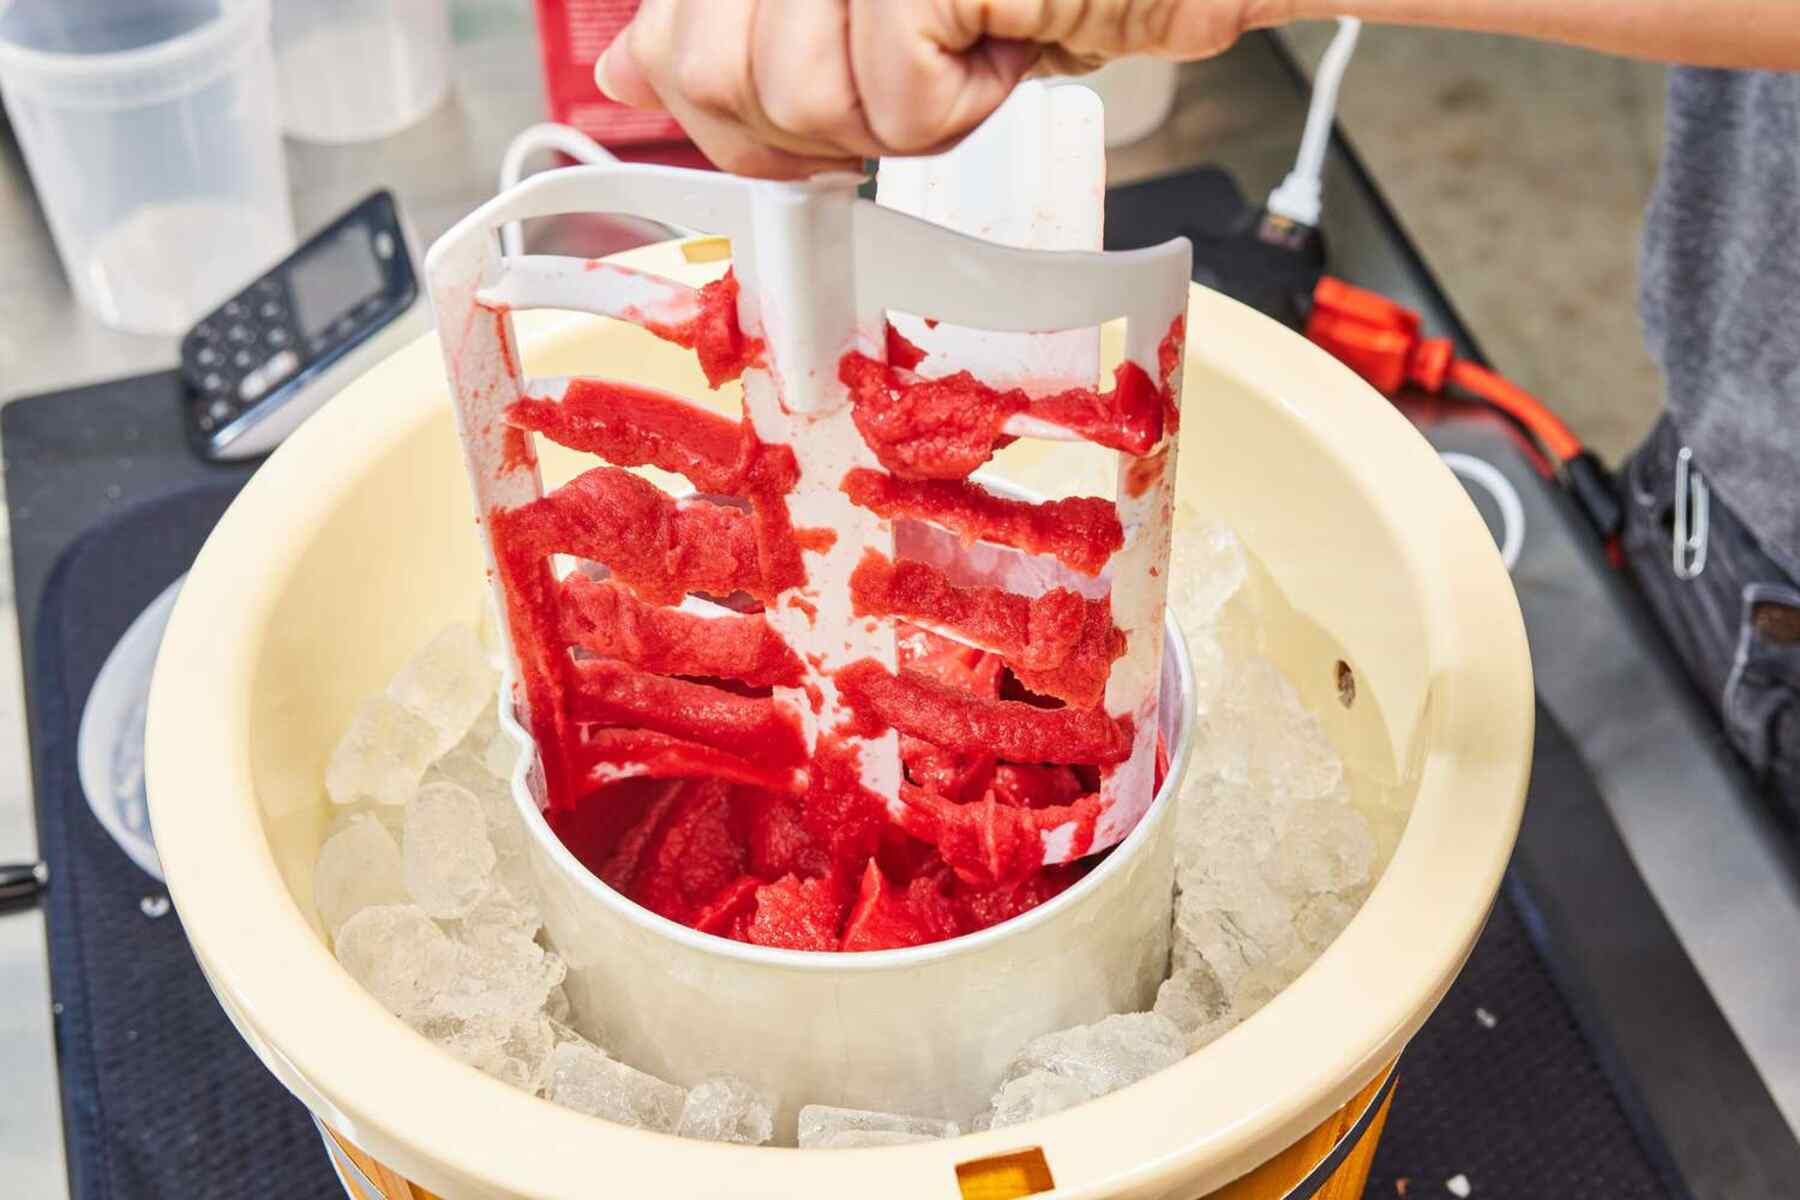
The churning process is the heart of making ice cream in a Rival ice cream maker. It is during this step that the magic happens, transforming your ice cream mixture into a creamy and delicious treat. Let’s take a closer look at how the churning process works:
- Pouring the Mixture: Start by carefully pouring your chilled ice cream mixture into the freezer bowl of the Rival ice cream maker. Be mindful not to exceed the maximum fill line indicated on the bowl to prevent overflow during churning.
- Turning on the Machine: Once the mixture is in the freezer bowl, assemble the lid securely, and ensure that the motorized base is stable. Turn on the machine by flipping the on/off switch to the “on” position. The paddle or dasher will begin to rotate, churning the mixture.
- Churning Time: The recommended churning time can vary depending on the specific recipe and the desired consistency of the ice cream. Most recipes suggest a churning time of around 20 to 30 minutes. However, it’s important to refer to the recipe instructions to determine the optimal churning time for your ice cream.
- Monitoring the Texture: As the machine churns, it’s essential to monitor the texture of the ice cream carefully. The mixture will gradually thicken and become more solid as it freezes. You can periodically check the texture by lifting the lid and observing the consistency of the ice cream. It should resemble a soft-serve consistency.
- Adjusting Churning Duration: If you desire a firmer texture, you can extend the churning time by a few minutes. However, be cautious not to over churn, as it can result in a grainy or icy texture. Again, refer to the recipe or the user manual for guidance on the optimal churning time.
Throughout the churning process, you may notice that the noise or vibration of the Rival ice cream maker changes. This is normal as the mixture thickens and freezes. Just ensure that the machine remains stable and secure on the countertop.
The churning process is an exciting stage as you witness the transformation of the liquid mixture into delicious ice cream. Once the desired consistency is achieved, it’s time to move on to the next steps of the ice cream making journey, such as adding mix-ins and finalizing the ice cream. We will explore these steps in the upcoming sections.
Monitoring the Ice Cream
As the ice cream churns in the Rival ice cream maker, it’s important to monitor its progress to ensure the desired texture and prevent any issues from arising. Here are some key points to keep in mind while monitoring the ice cream:
- Texture Observation: As the churning process continues, you can visually assess the texture of the ice cream by lifting the lid of the Rival ice cream maker. It should thicken and become creamier as it freezes. Ideally, the ice cream should reach a soft-serve consistency.
- Consistency Check: Occasionally, you can dip a spoon or spatula into the mixture to check the consistency. The ice cream should cling to the utensil and hold its shape without being too liquid or too firm.
- Freezing Time Adjustment: If the ice cream is not reaching the desired consistency within the recommended churning time, you may need to increase the freezing time. However, be cautious not to over churn, as it can result in a grainy or icy texture.
- Temperature Control: It’s important to maintain a consistent temperature during the churning process. If the room temperature is warm, you may need to place the freezer bowl or the machine itself in a cooler setting to prevent the ice cream from melting or taking longer to freeze.
Monitoring the ice cream allows you to make any necessary adjustments to ensure a smooth and creamy texture. However, it’s important to remember that the churning time and texture can vary depending on the specific recipe and personal preferences.
Once the ice cream has reached your desired consistency, it’s time to move on to the next step, which is adding any delicious mix-ins to enhance the flavor and texture. We will explore this step in detail in the upcoming section.
Adding Mix-ins
Adding mix-ins to your homemade ice cream is a great way to customize the flavor and add exciting textures to your frozen treat. Whether it’s chunks of chocolate, swirls of fruit puree, or a sprinkle of nuts, mix-ins can take your ice cream to the next level. Here’s how to incorporate mix-ins into your ice cream:
- Prepping the Mix-ins: Before you begin adding mix-ins, ensure that they are prepared and ready to go. Chop any solid ingredients into small, bite-sized pieces. For sauces or syrups, have them at room temperature for easier incorporation.
- Timing: It’s important to time the addition of mix-ins correctly to ensure they are evenly distributed throughout the ice cream. The ideal time to add most mix-ins is during the last few minutes of churning. However, for larger mix-ins like cookies or brownie chunks, they can be added towards the end of the churning process or even during the finalizing stage.
- Adding the Mix-ins: Stop the Rival ice cream maker a few minutes before the recommended churning time is complete. With the machine turned off, remove the lid and pour the mix-ins into the partially churned ice cream. Use a spatula or wooden spoon to gently fold in the mix-ins, ensuring they are well distributed.
- Final Churning: Once the mix-ins are added, replace the lid and resume the churning process for a few more minutes. This allows the mix-ins to be evenly incorporated into the ice cream while ensuring a consistent texture.
Keep in mind that some mix-ins, like delicate fruits, may need to be folded in by hand after transferring the ice cream to a separate container. This will prevent them from getting mashed or broken up during the churning process.
Adding mix-ins to your ice cream not only enhances the flavor but also adds visual appeal and delightful surprises with each spoonful. Be creative and experiment with different combinations of mix-ins to create your own unique ice cream flavors.
With the mix-ins successfully incorporated, it’s time to move on to the final step to complete your homemade ice cream masterpiece. We will explore the process of finalizing the ice cream in the next section.
Finalizing the Ice Cream
After the mix-ins have been added and incorporated into the ice cream mixture, the final step is to complete the process of making homemade ice cream in your Rival ice cream maker. Here are the steps to finalize your ice cream:
- Checking the Consistency: Once the final churning has been completed, check the consistency of the ice cream. It should be thick, creamy, and hold its shape. If it’s not to your desired consistency, continue churning for a few more minutes.
- Transferring to a Container: Turn off the machine and remove the freezer bowl from the motorized base. Carefully transfer the churned ice cream from the bowl to a lidded container that is freezer-safe. Silicone containers or traditional plastic containers work well for this purpose.
- Pressing a Layer: To prevent the formation of ice crystals, press a layer of plastic wrap directly against the surface of the ice cream before covering it with the lid. This helps create a protective barrier and maintain the ice cream’s creamy texture.
- Freezing Time: Place the container of ice cream in the freezer and allow it to freeze for several hours or overnight. The exact freezing time will depend on the recipe and your personal preference. Longer freezing times will result in a firmer ice cream.
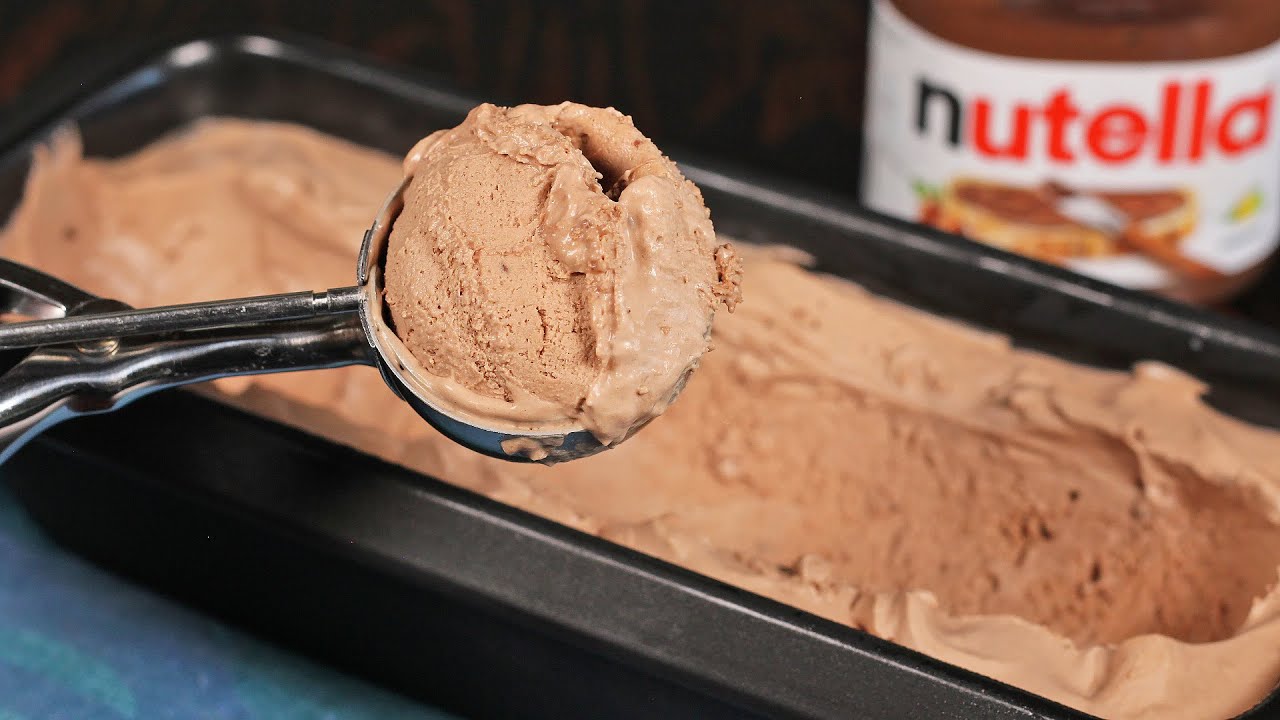
Once the ice cream has reached the desired frozen consistency, it is ready to be enjoyed! Scoop it into bowls or cones, and savor the fruits of your labor. Alternatively, you can use your homemade ice cream as a base for crafting indulgent sundaes or pairing it with your favorite desserts.
Remember to store any leftover ice cream in an airtight container in the freezer to maintain its freshness and prevent freezer burn. Homemade ice cream is best consumed within a few weeks for optimal flavor.
By following these steps to finalize your ice cream, you can create a delightful frozen treat that rivals any store-bought option. Enjoy your homemade ice cream and revel in the satisfaction of creating a delicious dessert from scratch!
Tips for Faster Ice Cream Making
While making ice cream with a Rival ice cream maker is a delightful process, it’s natural to want your frozen treat to be ready as quickly as possible. Here are some helpful tips to speed up the ice cream making process:
- Pre-Chill Ingredients: Before making the ice cream mixture, chill the liquid ingredients, such as milk and cream, in the refrigerator. This helps lower their temperature and reduces the time needed for freezing during the churning process.
- Pre-Freeze the Freezer Bowl: Ensure that the freezer bowl is properly pre-frozen for the recommended time stated in the user manual. To expedite the freezing process, store the bowl in the coldest part of your freezer or even at a lower temperature setting.
- Use Colder Surroundings: Choose a cooler room in your house or even consider making ice cream during the cooler times of the day, especially if your space tends to be warmer. Lower room temperatures can help accelerate the freezing process.
- Break Up Mix-ins Smaller: If you plan to add mix-ins to your ice cream, ensure that they are finely chopped or broken up smaller. This allows them to freeze faster and distribute more evenly throughout the ice cream.
- Decrease Mixture Quantity: If you are in a hurry, consider making smaller batches of ice cream. Less volume means faster freezing and churning times, resulting in ice cream that is ready to be enjoyed sooner.
- Chill Ice Cream Mixture Longer: After preparing the ice cream mixture, chill it in the refrigerator for an extended period before pouring it into the freezer bowl. This allows the mixture to cool down further and speeds up the freezing process in the ice cream maker.
- Chill Freezer Bowl in a Deep Freeze: If you have access to a deep freeze or an extra cold freezer, use it to pre-freeze the freezer bowl. The lower temperature can significantly reduce the freezing time and hasten the ice cream making process.
Remember to follow the instructions provided in the user manual of your specific Rival ice cream maker model. Each model may have unique features and recommendations that can help optimize the ice cream making time.
By implementing these tips, you can enjoy homemade ice cream in a shorter amount of time, making it perfect for impromptu dessert cravings or last-minute gatherings. So, whip up your favorite ice cream flavor faster and savor the sweet reward!
Conclusion
Making ice cream in a Rival ice cream maker is a delightful and rewarding experience. From preparing the ice cream mixture to monitoring the churning process and adding delicious mix-ins, each step brings you closer to a creamy and flavorful homemade treat. While the exact time it takes to make ice cream in a Rival ice cream maker can vary based on factors like the type of mixture, freezing time, and room temperature, the joy of creating your own ice cream is worth the wait.
By understanding the mechanics of a Rival ice cream maker and following the steps outlined in this article, you can make ice cream with ease and confidence. From assembling the machine and patiently churning the mixture to adding mix-ins and finalizing the ice cream, each stage contributes to the creation of a delectable dessert.
Remember to experiment with different flavors, mix-ins, and techniques to create unique ice cream creations that suit your taste preferences. Whether indulging in classic flavors like vanilla and chocolate or exploring more adventurous combinations, the possibilities are endless.
So, gather your ingredients, unleash your creativity, and embrace the joy of making homemade ice cream in a Rival ice cream maker. Delight in the anticipation as the ice cream churns, savor the sweet rewards of your labor, and create delicious memories to be cherished with every scoop.