Introduction
Welcome to the world of homemade ice cream! There’s nothing quite like the creamy, flavorful goodness of a scoop of homemade ice cream. If you have an ice cream maker and some milk, you’re well on your way to creating your own frozen masterpiece. Making ice cream with milk in an ice cream maker is a fun and rewarding process that allows you to customize flavors and create delicious treats for yourself and your loved ones.
In this article, we will guide you through the steps of making ice cream with milk in an ice cream maker. We will cover everything from choosing the right ice cream maker to selecting the perfect milk for your recipe. We will also provide tips and techniques to help you achieve the perfect texture and flavor in your homemade ice cream.
Whether you’re a beginner or an experienced home cook, making homemade ice cream can be a delightful experience. It allows you to experiment with different flavors, add your favorite mix-ins, and create frozen desserts that are tailored to your personal taste preferences. With the right tools and techniques, you can create ice cream that rivals your favorite artisanal brands.
So, let’s dive in and discover how to make ice cream with milk in an ice cream maker. Get ready to embark on a delicious and rewarding journey that will have you craving homemade ice cream all year round.
Choosing the Right Ice Cream Maker
When it comes to making homemade ice cream, having the right ice cream maker can make all the difference in the final result. There are several types of ice cream makers available on the market, each with its own set of advantages and considerations.
One popular option is a traditional ice cream maker that requires ice and rock salt. These machines have a canister that needs to be frozen beforehand, and the ice and rock salt create a cold environment that churns the ice cream mixture. This type of ice cream maker tends to be more affordable and produces large quantities of ice cream, making it ideal for larger gatherings or families.
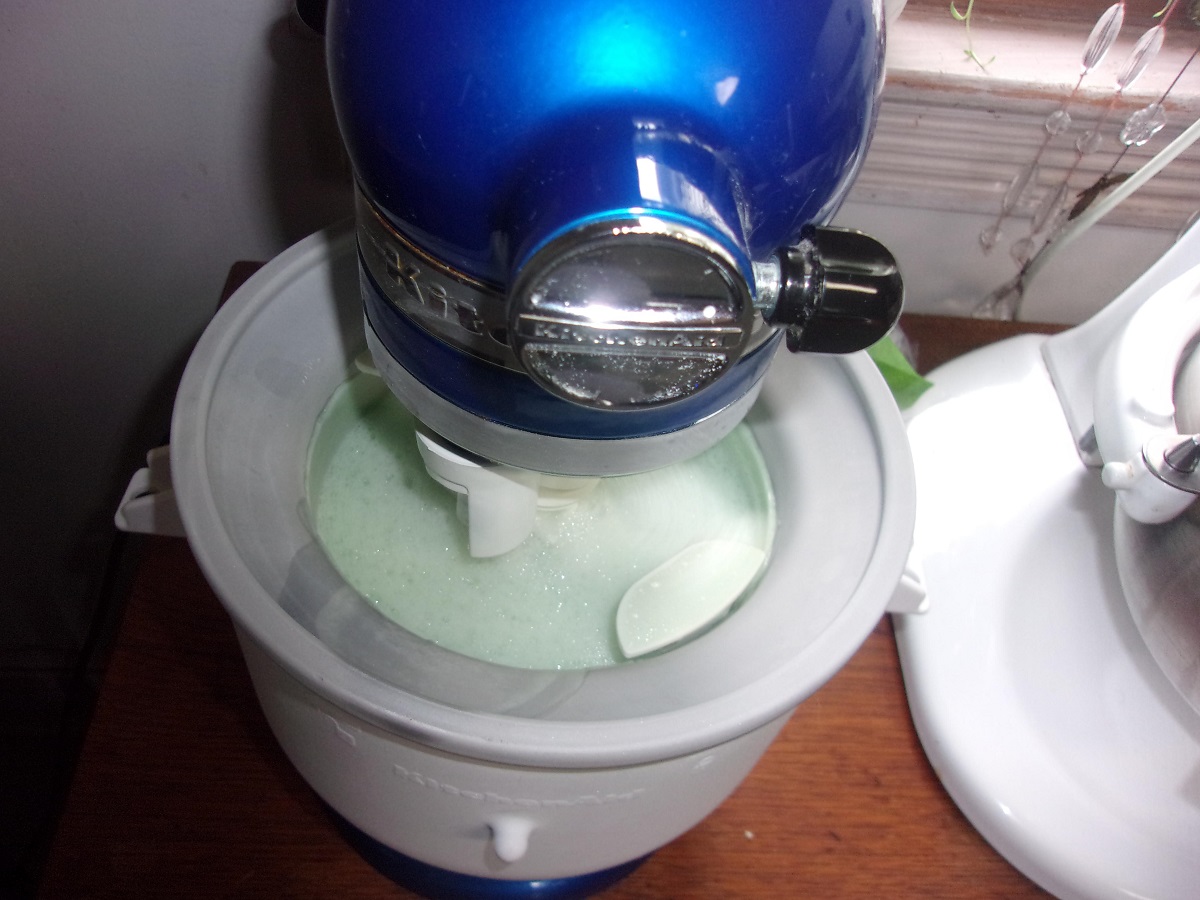
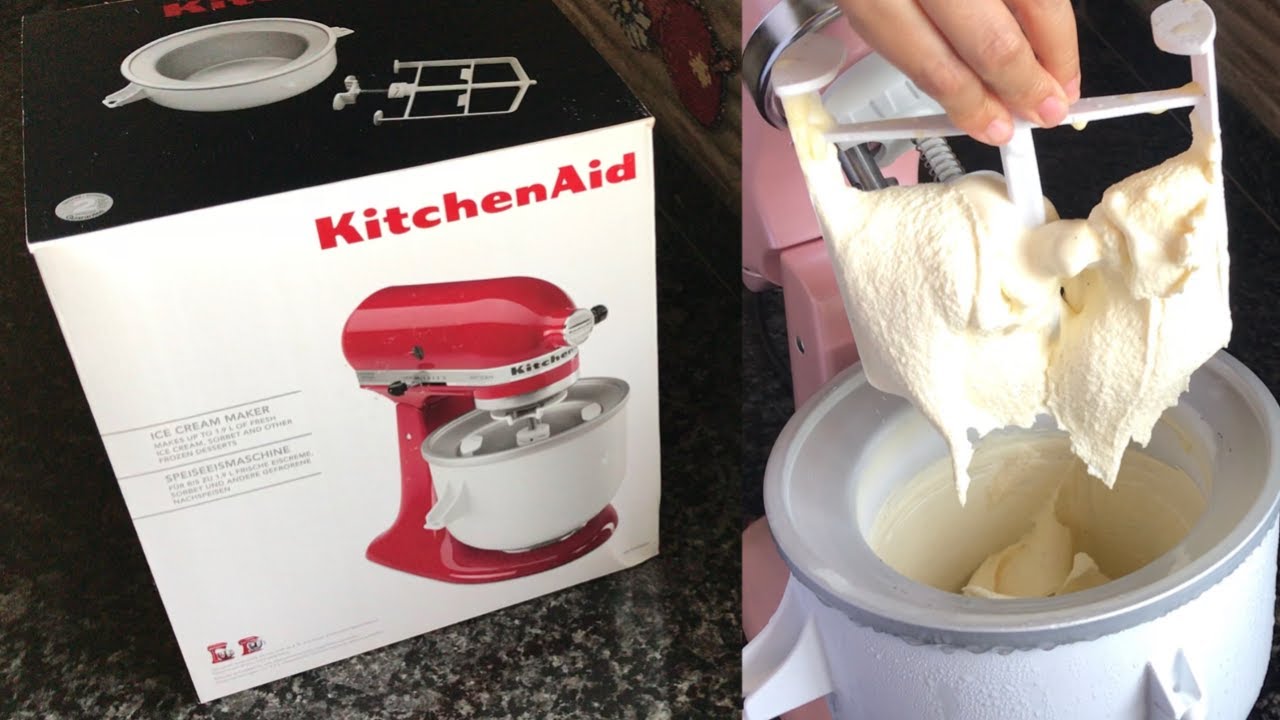
Another option is an electric ice cream maker, which is more convenient and doesn’t require the use of ice and rock salt. These machines have a built-in freezing mechanism and can churn the ice cream in a shorter amount of time. Electric ice cream makers are a great choice for those who want to make smaller batches of ice cream more frequently.
It’s important to consider the capacity of the ice cream maker as well. Think about how much ice cream you want to make at a time and choose a machine that fits your needs. Keep in mind that larger capacity machines may require more space for storage.
Additionally, consider the ease of use and maintenance of the ice cream maker. Look for features like a removable mixing bowl for easy cleaning and a clear lid that allows you to monitor the churning process without interrupting it.
Last but not least, read reviews and gather feedback from other users before making a decision. This will give you insights into the performance and durability of the ice cream maker.
By choosing the right ice cream maker, you’ll have a reliable and efficient tool to help you create delicious homemade ice cream with milk. So, take your time and do some research to find the perfect machine for your ice cream-making adventures.
Choosing the Right Milk
When it comes to making ice cream with milk, choosing the right type and quality of milk can greatly impact the taste and texture of your homemade treat. Here are some factors to consider when selecting the milk for your ice cream:
1. Fat Content: The fat content of the milk plays a crucial role in the overall creaminess and richness of the ice cream. Whole milk, which contains around 3.5% fat, is a common choice as it provides a smooth and creamy result. However, if you prefer a lighter ice cream, you can opt for lower fat milk options like 2% or even skim milk.
2. Freshness: Using fresh milk is key to achieving the best flavor in your ice cream. Opt for milk with a later expiration date to ensure the milk is as fresh as possible. If you have access to local dairy farms or farmers’ markets, consider using fresh milk straight from the source for an even more flavorful homemade ice cream.
3. Organic and Hormone-Free: If you have concerns about additives or hormones in your milk, consider using organic or hormone-free milk for your ice cream. These options are often free from synthetic growth hormones and other additives, resulting in a purer and more natural taste in your homemade ice cream.
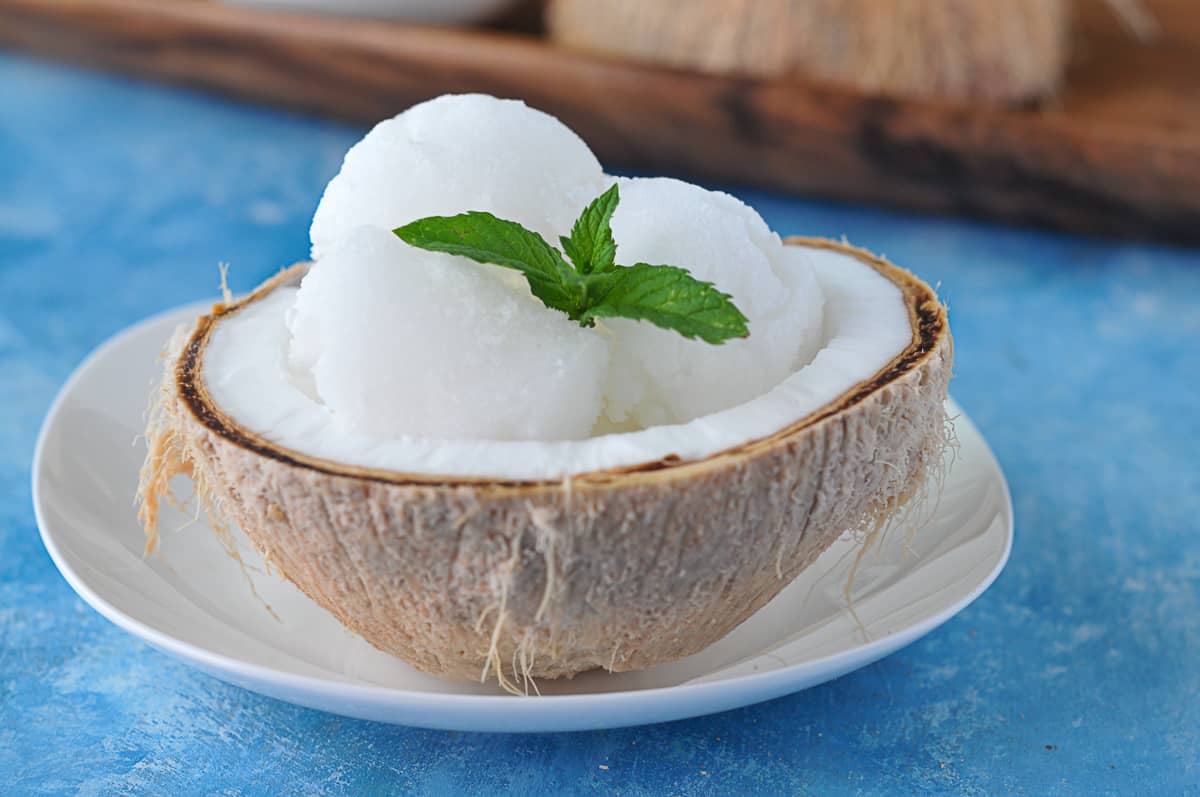
4. Non-Dairy Alternatives: For those who are lactose intolerant or follow a vegan diet, non-dairy milk alternatives can be used to make delicious ice cream. Coconut milk, almond milk, cashew milk, and soy milk are popular alternatives that can provide a creamy base for your ice cream. Just be aware that the texture and taste may differ slightly from traditional dairy-based ice cream.
5. Experimentation: Don’t be afraid to experiment with different types of milk to find your favorite flavor combination. You can try mixing different milks together or adding a splash of heavy cream to enhance the creaminess of the ice cream. The possibilities are endless, so feel free to get creative and tailor the milk selection to your preferences.
By choosing the right milk for your homemade ice cream, you can ensure a creamy, flavorful result that satisfies your taste buds. Consider the fat content, freshness, organic options, and non-dairy alternatives to find the perfect milk for your ice cream-making adventures.
Preparing the Ice Cream Mixture
Now that you have chosen the right milk for your ice cream, it’s time to prepare the ice cream mixture. The ice cream mixture serves as the base for your frozen dessert and can be customized with various flavors and sweeteners. Here’s how to prepare the perfect ice cream mixture:
1. Gather your ingredients: In addition to milk, you will need sugar, a pinch of salt, and any desired flavorings. Common flavorings include vanilla extract, cocoa powder, fruit purees, or even coffee. Make sure all your ingredients are measured and ready to go.
2. In a mixing bowl, whisk together the milk, sugar, and salt until the sugar is completely dissolved. The amount of sugar can vary depending on your personal preference and the sweetness of the desired ice cream. Start with a moderate amount and adjust to taste.
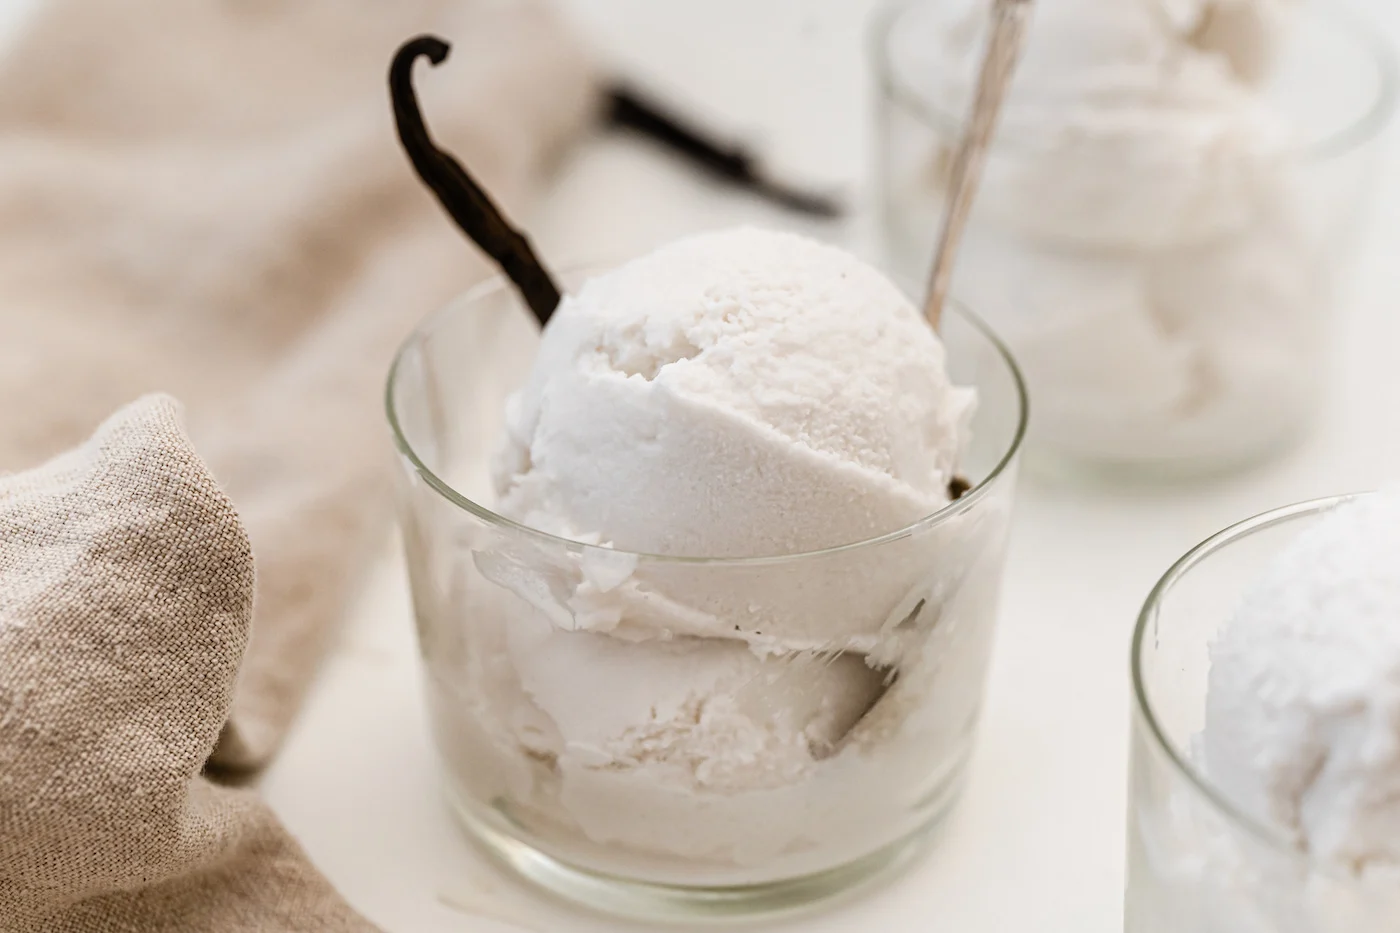
3. Add in your desired flavoring. For vanilla ice cream, add a teaspoon or two of vanilla extract. For chocolate ice cream, whisk in cocoa powder. Feel free to experiment with different flavor combinations to create your own unique ice cream flavors.
4. If you prefer an egg-based ice cream, you can add beaten egg yolks to the mixture. The eggs will add richness and a smooth custard-like texture to the ice cream. Be sure to temper the eggs by gradually whisking in a bit of the warm milk mixture before adding the eggs to the rest of the mixture.
5. Continue whisking until all the ingredients are well combined and the mixture is smooth. You want to achieve a homogeneous mixture with no lumps or visible sugar granules.
6. Take a moment to taste the mixture and adjust the sweetness or flavorings if needed. Remember that the flavors will intensify slightly once the ice cream is churned and frozen, so don’t be afraid to err on the slightly milder side.
By carefully preparing the ice cream mixture, you are laying the foundation for a decadent and flavorful homemade treat. Pay attention to measurements, flavors, and the overall consistency of the mixture to achieve the best possible results when it comes time to churn the ice cream.
Chilling the Mixture
After preparing the ice cream mixture, it’s essential to chill it thoroughly before churning. Chilling the mixture helps to develop the flavors, improve the texture, and ensure the ice cream freezes properly. Here’s what you need to do:
1. Transfer the ice cream mixture to a lidded container or a bowl covered with plastic wrap. This will prevent any unwanted flavors or odors from seeping into the mixture.
2. Place the container in the refrigerator. The chilling process typically takes a few hours, but overnight chilling is even better. This allows the flavors to meld together, creating a more cohesive and delicious ice cream.
3. During the chilling process, the mixture may thicken slightly. This is a normal occurrence, as the ingredients in the mixture cool and come together. Give the mixture a quick stir before transferring it to the ice cream maker to ensure a consistent texture throughout.
4. If you’re short on time, you can speed up the chilling process by placing the container in an ice bath. Fill a larger bowl or sink with ice water and place the container with the ice cream mixture in the ice bath. Stir the mixture occasionally to promote even cooling. Be careful not to let any water from the ice bath enter the container.
It’s important to thoroughly chill the ice cream mixture before churning to achieve a smooth and creamy texture in the final product. This step allows the flavors to develop and the ingredients to meld together, resulting in a more flavorful and enjoyable ice cream experience.
Preparing the Ice Cream Maker
Before you start churning your ice cream, it’s important to properly prepare your ice cream maker to ensure optimal results. Here’s how to get your ice cream maker ready:
1. Read the manufacturer’s instructions: Different ice cream makers have different operating procedures and requirements. It’s crucial to read and understand the instructions provided with your specific ice cream maker. This will help you to set up the machine correctly and avoid any mishaps.
2. Freeze the ice cream maker bowl: Most ice cream makers require a frozen bowl to create the cold environment necessary for churning the ice cream. Make sure to place the bowl in the freezer for the recommended amount of time before starting the process. It’s typically recommended to freeze the bowl for at least 24 hours prior to churning.
3. Check for proper assembly: Ensure that all parts of the ice cream maker are properly assembled according to the manufacturer’s instructions. Double-check that the paddle or dasher is securely attached and that the motor is in place if using an electric ice cream maker. This will prevent any issues or malfunctions during the churning process.
4. Set up the ice cream maker: Place the frozen bowl onto the base of the ice cream maker and secure it in place. Close the lid or cover and make sure it is properly locked. If your ice cream maker has a built-in freezing mechanism, plug it into a power source.
5. Turn on the ice cream maker: Start the ice cream maker according to the manufacturer’s instructions. The machine will begin churning, creating the ideal conditions for freezing the ice cream mixture and incorporating air for a creamy texture.
By properly preparing your ice cream maker, you are setting the stage for successful ice cream making. Freezing the bowl, assembling the machine correctly, and following the instructions will ensure that the ice cream churns evenly and achieves the desired consistency and texture.
Pouring the Mixture Into the Ice Cream Maker
Now that you have prepared the ice cream mixture and your ice cream maker is ready, it’s time to pour the mixture into the machine for churning. This step is crucial in transforming your ingredients into a creamy and delightful frozen treat. Here’s how to pour the mixture into the ice cream maker:
1. Take the chilled ice cream mixture out of the refrigerator. Give it a quick stir to ensure that the ingredients are evenly distributed. This will help to prevent any separation and create a uniform texture in the ice cream.
2. Open the lid or cover of your ice cream maker. If necessary, remove the freezer bowl from the machine to avoid any spills or messes.
3. Slowly pour the prepared ice cream mixture into the ice cream maker’s freezer bowl. Be cautious not to overfill the bowl, as the mixture will expand as it freezes and churns. Leave enough room for the ice cream to expand and incorporate air during the churning process.
4. Replace the lid or cover of the ice cream maker and ensure it is securely closed. This will prevent any leakage or spills during the churning process.
5. If using an electric ice cream maker, plug it in and turn it on according to the manufacturer’s instructions. The machine will begin churning the mixture, gradually freezing it and transforming it into ice cream.
6. If using a manual ice cream maker, insert the dasher or paddle into the mixture and start cranking or turning the handle. This will churn the mixture and help incorporate air, creating a light and creamy texture.
Remember to follow the specific instructions provided by your ice cream maker’s manufacturer. The churning time and process may vary depending on the machine. Typically, it takes around 20-30 minutes to churn the ice cream to the desired consistency.
Pouring the ice cream mixture into the ice cream maker sets the stage for the churning and freezing process. Take care to pour the mixture slowly and avoid overfilling to ensure optimum results. With the mixture in the machine, sit back, relax, and let your ice cream maker work its magic!
Churning the Ice Cream
Churning is a crucial step in the ice cream making process that transforms the liquid mixture into a creamy and smooth frozen dessert. Proper churning helps to incorporate air, prevent the formation of ice crystals, and achieve the desired texture. Here’s how to effectively churn your ice cream:
1. Start the churning process: Once you have poured the ice cream mixture into the ice cream maker and secured the lid or cover, it’s time to start the churning process. Follow the manufacturer’s instructions to turn on the machine and initiate the churning motion.
2. Monitor the churning: Keep an eye on the ice cream as it churns. You may notice the mixture gradually thickening and increasing in volume. This is an indication that the ice cream is coming together and freezing properly. Depending on your ice cream maker, the churning process typically takes around 20-30 minutes, but it can vary.
3. Avoid over-churning: While you want to ensure that the ice cream mixture churns long enough to achieve a creamy texture, be cautious not to over-churn. Over-churning can result in the formation of small ice crystals and a grainy texture. Pay attention to the consistency of the ice cream and begin checking for doneness around the recommended churning time.
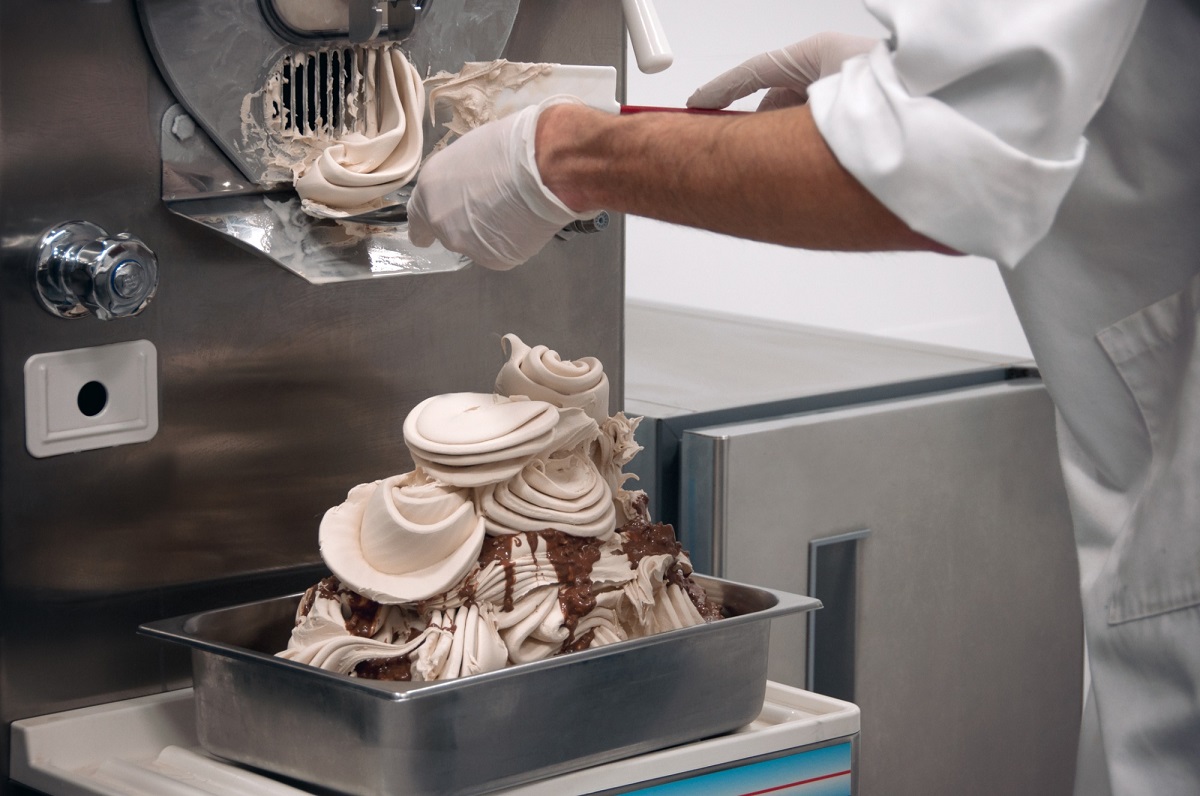
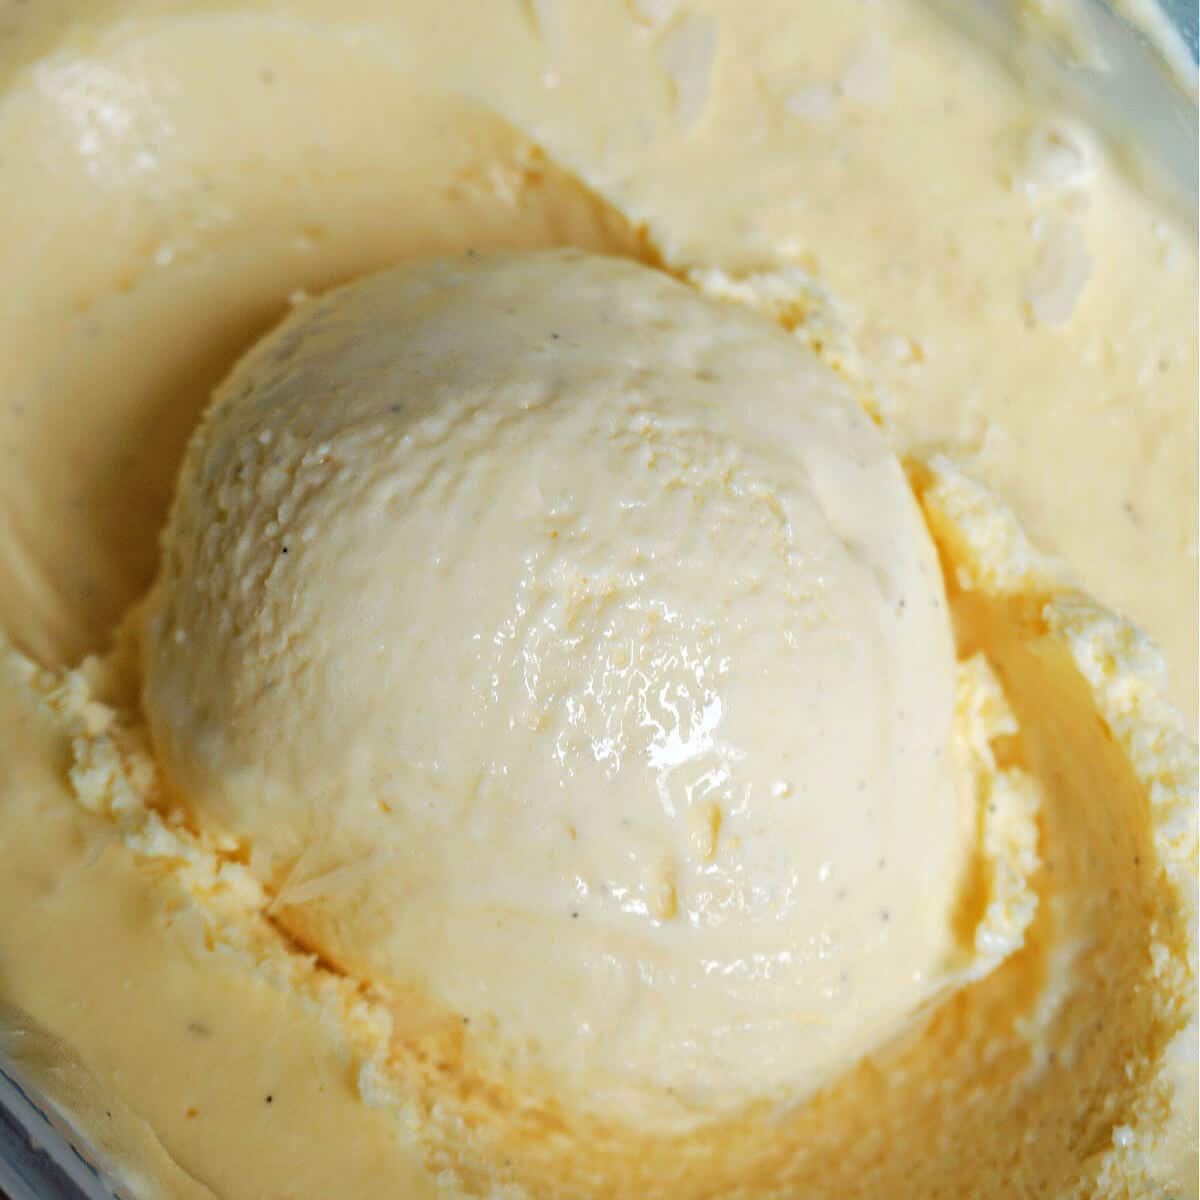
4. Check for the “soft-serve” consistency: To determine if the ice cream is ready, check for the “soft-serve” consistency. The ice cream should be thick and creamy, resembling the texture of soft-serve ice cream from a machine. You can use a spoon or spatula to lift a small amount of the churned mixture and assess its consistency.
5. Adjust churning time if needed: If the ice cream is too soft and doesn’t hold its shape, it may need more time to churn. Continue the churning process in short increments, checking for the desired consistency until it reaches the desired texture. Avoid churning for too long, as it can begin to melt the ice cream and result in a runny mixture.
6. Stop the churning and remove the ice cream: Once the ice cream has reached the desired consistency, stop the churning process and turn off the machine. Carefully remove the dasher or paddle from the ice cream maker, making sure not to spill any of the churned mixture.
Churning is a transformative step that turns the liquid ice cream mixture into a velvety and luscious frozen treat. By monitoring the churning process and ensuring the proper consistency, you will achieve a delectable ice cream with a smooth texture that melts in your mouth.
Adding Mix-Ins (Optional)
Adding mix-ins to your homemade ice cream can take the flavor and texture to the next level. Mix-ins are additional ingredients that can be folded or swirled into the churned ice cream, adding extra bursts of flavor, crunch, or variety. Here’s how to incorporate mix-ins into your ice cream:
1. Choose your mix-ins: The options for mix-ins are practically endless. You can add crushed cookies, chopped nuts, chocolate chips, fruit puree, swirls of caramel or fudge, or even small pieces of candy or brownie chunks. Consider the flavors that pair well with your ice cream base and select mix-ins that will complement or contrast with the chosen flavor.
2. Prepare the mix-ins: Depending on the chosen mix-ins, you may need to prepare them in advance. For example, if you’re using homemade caramel sauce or fruit puree, it’s best to have them ready and at room temperature. If you’re using solid mix-ins like chocolate chips or nuts, chop or crush them to your desired size.
3. Add mix-ins during churning: Once your ice cream has reached the soft-serve consistency, it’s time to add the mix-ins. With the ice cream maker still running, slowly pour in the prepared mix-ins. Be careful not to overload the ice cream maker and consider the size of the machine and the capacity of the mixture. Gradually fold or swirl the mix-ins into the ice cream using a spatula or spoon.
4. Distribute mix-ins evenly: Ensure that the mix-ins are distributed evenly throughout the ice cream. Gently fold or stir the mixture, making sure that no clumps of mix-ins remain concentrated in one area. This will result in a uniform distribution of flavor and texture.
5. Adjust churning time if needed: Adding mix-ins may increase the volume of the ice cream, potentially extending the churning time. Keep an eye on the mixture and adjust the churning time accordingly. Continue churning until the mix-ins are well incorporated, and the ice cream reaches the desired consistency.
Adding mix-ins to your ice cream allows you to unleash your creativity and customize your frozen treat. From classic combinations like cookies and cream to unique creations of your own, the addition of mix-ins enhances the taste, texture, and overall experience of your homemade ice cream.
Transferring the Ice Cream to a Container
Once your ice cream has reached the desired consistency and the mix-ins have been incorporated, it’s time to transfer the ice cream from the churner to a container for further freezing. Properly transferring the ice cream ensures that it maintains its texture and flavor during storage. Here’s how to transfer your ice cream to a container:
1. Prepare a storage container: Choose a container that is freezer-safe and has a tight-fitting lid. It’s important to use a container that will prevent any air or moisture from reaching the ice cream, which could result in ice crystals or freezer burn. You can use a lidded plastic or glass container or even a metal loaf pan that is lined with plastic wrap.
2. Transfer the ice cream: Scoop the churned ice cream into the prepared container using a spatula or ice cream scoop. Work quickly to minimize melting and maintain the desired texture. Smooth the surface of the ice cream, ensuring an even layer in the container. Avoid over-packing or compressing the ice cream, as this can result in a denser and less creamy final product.
3. Press plastic wrap on the surface (optional): To further prevent ice crystals from forming, you can press a layer of plastic wrap directly onto the surface of the ice cream. This creates a barrier between the ice cream and the surrounding air, helping to maintain its creamy texture and flavor.
4. Seal the container: Place the lid securely on the container or wrap the container tightly with plastic wrap. This will create an airtight seal, ensuring the ice cream stays fresh and protected from freezer odors.
5. Label and date the container (optional): If you plan to store the ice cream for an extended period, it’s helpful to label the container with the flavor and the date it was made. This will help you keep track of the contents in your freezer and ensure that you consume the ice cream at its peak quality.
6. Place the container in the freezer: Carefully transfer the container to the freezer and place it in a flat position. Allow the ice cream to freeze for at least 4-6 hours or until it reaches a firm and scoopable consistency.
By transferring the ice cream to a container properly, you can preserve its creamy texture and delicious flavor. Take care to work efficiently and use appropriate storage techniques to ensure that your homemade ice cream stays fresh and enjoyable until it’s time to indulge.
Storing and Serving the Ice Cream
After you have transferred your homemade ice cream to a container and allowed it to freeze to the desired consistency, it’s time to store it properly and get ready to serve. These steps will help you maintain the quality of your ice cream and ensure a delightful serving experience:
1. Store in the freezer: Place the container of ice cream in the coldest part of your freezer, ideally towards the back where the temperature is most consistent. This will help maintain the texture and prevent any melting or thawing during storage. Keep the ice cream away from strong-smelling foods to avoid any flavor transfers.
2. Properly seal the container: Ensure that the container is tightly sealed to prevent air from entering and causing the ice cream to develop freezer burn. If using a lidded container, make sure the lid is securely in place. If using plastic wrap or aluminum foil, wrap it tightly to create an airtight seal.
3. Respectful stack: If you have limited freezer space and need to stack containers, be careful not to squish or apply weight to the ice cream containers. Allow enough space around each container to maintain their shape and avoid any deformation.
4. Serve at the right temperature: When it’s time to serve the ice cream, allow it to sit at room temperature for a few minutes to soften slightly. This will make scooping easier and ensure a smoother texture. However, be cautious not to let the ice cream melt completely.
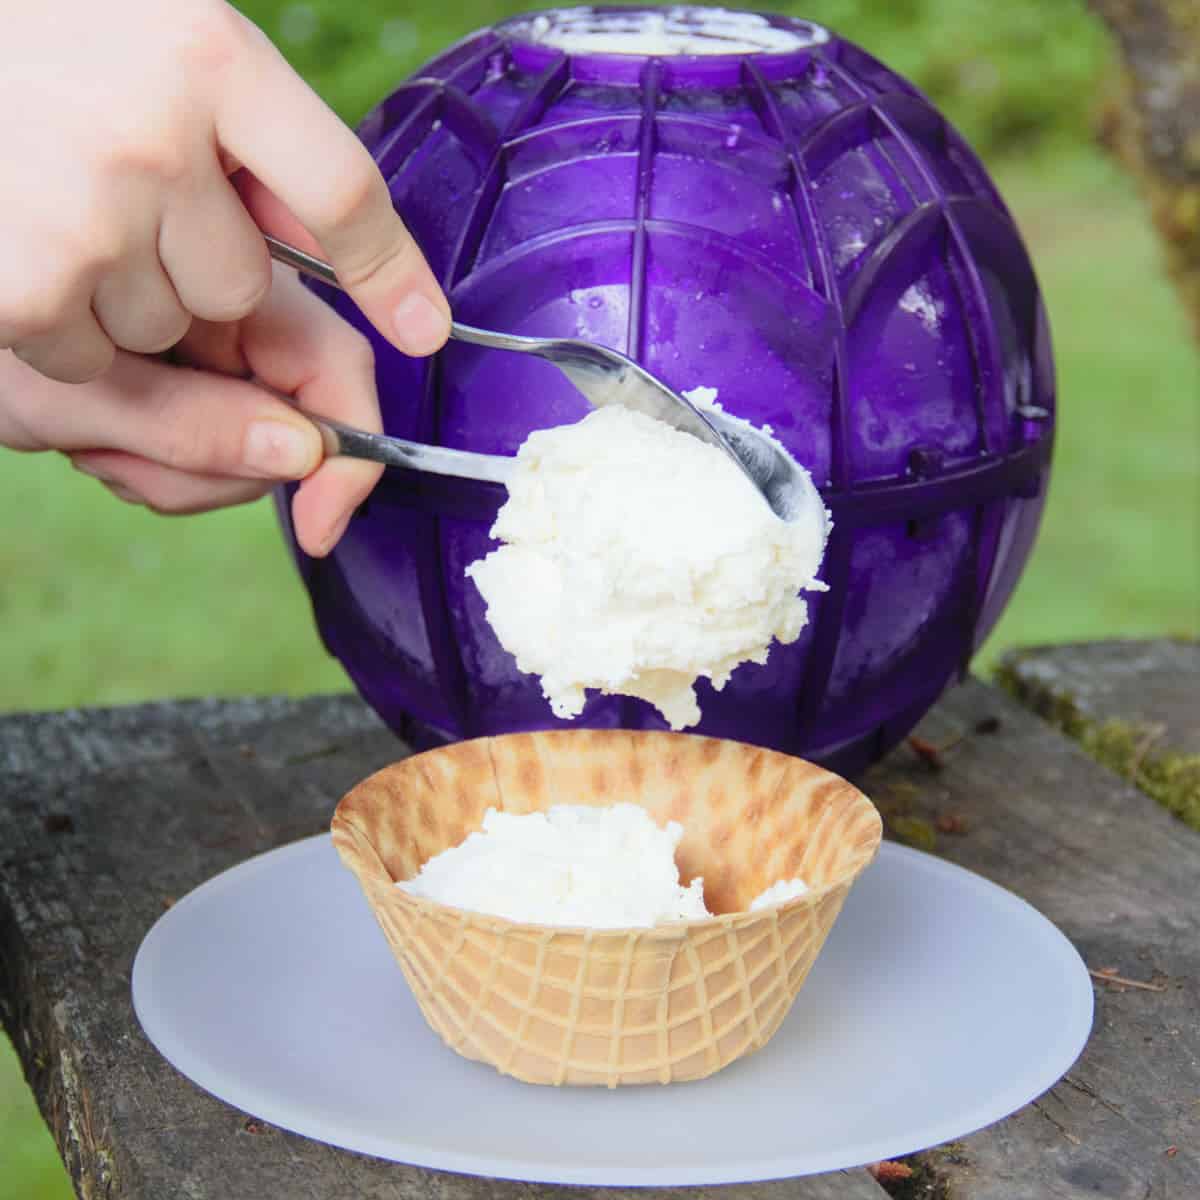
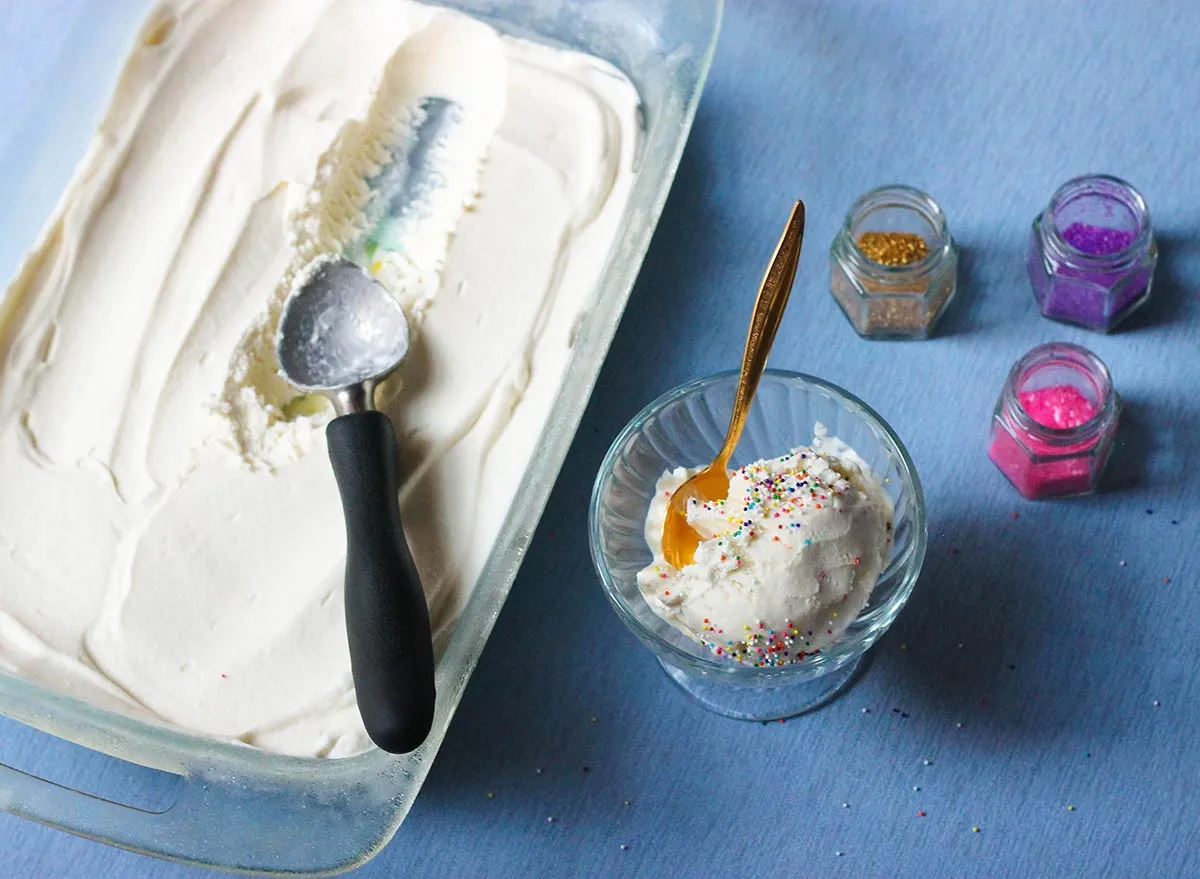
5. Scoop away: Use an ice cream scoop or a sturdy spoon to scoop the ice cream into bowls or cones. Dip the scoop in warm water and wipe it clean between each scoop to help prevent sticking and ensure neat, presentable servings. Take care to retain the shape and texture of the scoops as much as possible.
6. Add toppings (optional): Enhance your ice cream experience by adding delicious toppings. Consider options like hot fudge, caramel sauce, sprinkles, nuts, whipped cream, or fresh fruit. The toppings can provide additional flavors, textures, and visual appeal to your already delicious homemade ice cream.
7. Enjoy and savor: Sit back, relax, and savor each creamy scoop of your homemade ice cream. Take the time to enjoy the flavors and textures you created and share the frozen delight with family and friends.
By properly storing and serving your ice cream, you can ensure that it remains fresh, creamy, and enjoyable until the last bite. Respectful storage techniques and thoughtful serving practices will help you maintain the quality of your homemade creation for a delightful ice cream experience.
Conclusion
Congratulations! You’ve now learned the step-by-step process of making delicious homemade ice cream with milk in an ice cream maker. From choosing the right ice cream maker and milk to preparing the ice cream mixture, chilling it, and pouring it into the machine, you’re well on your way to creating frozen delights in your own kitchen.
By following the instructions for churning the ice cream and optionally adding mix-ins, you have the freedom to customize your flavors, experiment with different combinations, and create unique treats that cater to your personal taste preferences. Whether you prefer classic vanilla, rich chocolate, or unique flavor combinations, homemade ice cream allows you to explore your culinary creativity.
Remember to properly transfer the churned ice cream into a container, seal it tightly, and store it in the freezer for future enjoyment. When it’s time to serve, allow the ice cream to soften slightly, scoop it into bowls or cones, and feel free to add delectable toppings to enhance the experience.
Making ice cream with milk in an ice cream maker is not only a fun and rewarding process, but it also allows you to create delectable frozen treats to share with friends and family. So, gather your ingredients, embrace your creativity, and start making your own homemade ice cream that will keep you cool and satisfied all year round.