Introduction
There’s nothing quite like the indulgent and creamy taste of homemade ice cream, especially when it’s made from scratch using an old-fashioned ice cream maker. While modern ice cream machines offer convenience and speed, there is a certain charm and nostalgia associated with using traditional methods.
In this guide, we will take you through the step-by-step process of making ice cream with an old-fashioned ice cream maker. Whether you’re a seasoned ice cream lover or a beginner looking to try your hand at homemade treats, this article will provide you with all the tips and tricks you need to create delicious ice cream that will impress your friends and family.
Choosing to make ice cream with an old-fashioned ice cream maker allows you to have complete control over the ingredients and flavors. You can customize your creations, experiment with different mix-ins, and even make your own unique flavors that are not available in store-bought varieties.
So, dust off that vintage ice cream maker, gather your ingredients, and get ready to embark on a delightful journey of creating irresistibly creamy and flavorful ice cream. Let’s dive into the world of old-fashioned ice cream making and discover how you can turn simple ingredients into a frozen masterpiece.
Choosing the Right Old-Fashioned Ice Cream Maker
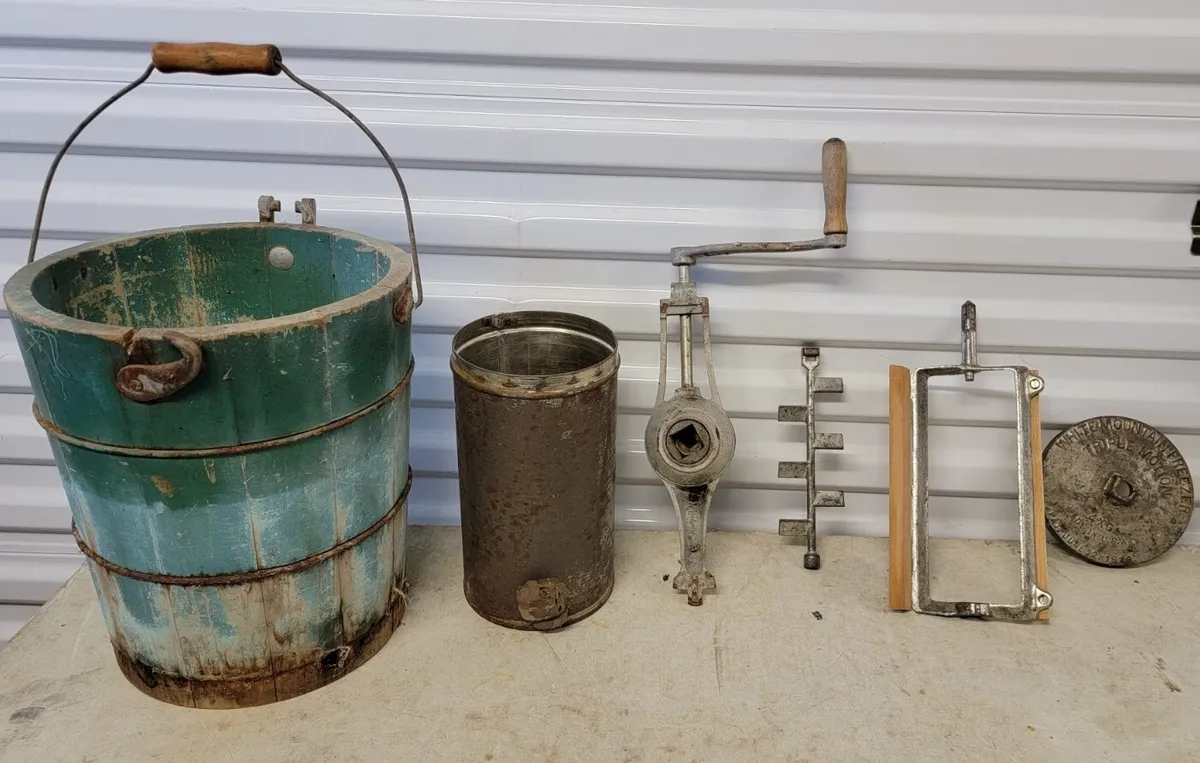
Before you start making delicious homemade ice cream, it’s important to choose the right old-fashioned ice cream maker that suits your needs and preferences. With various types and models available, here are some factors to consider when making your selection:
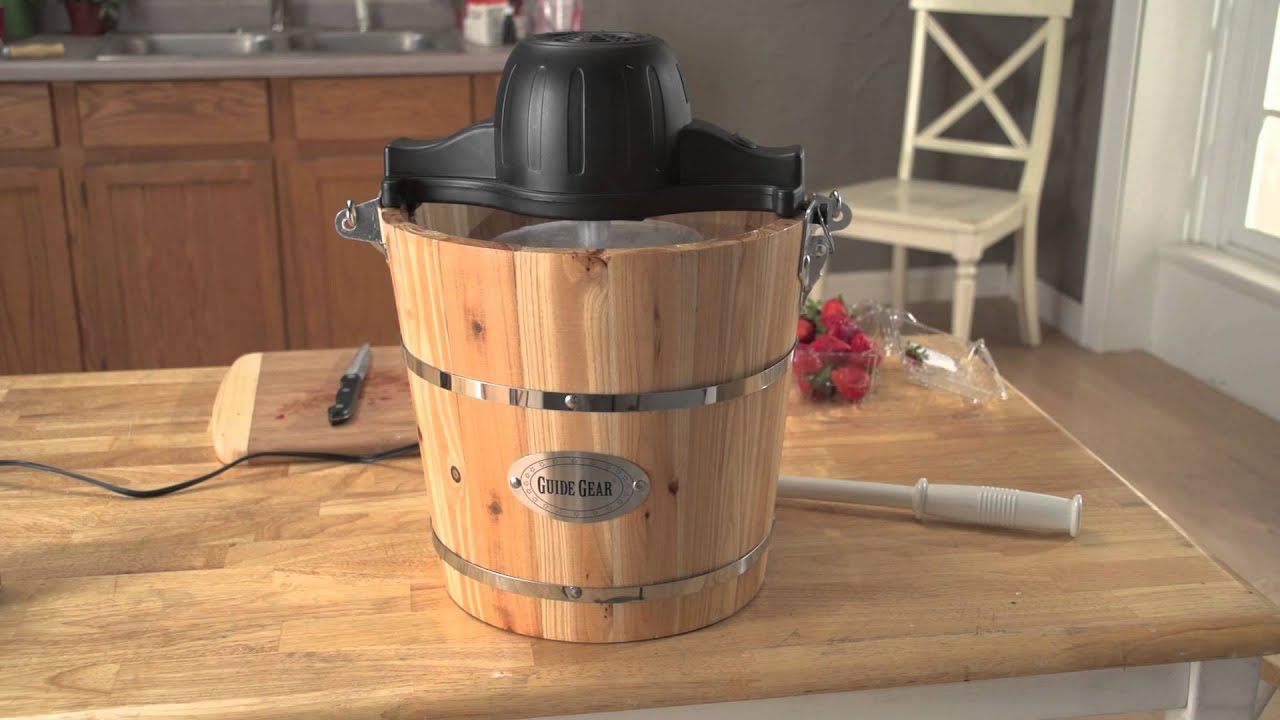
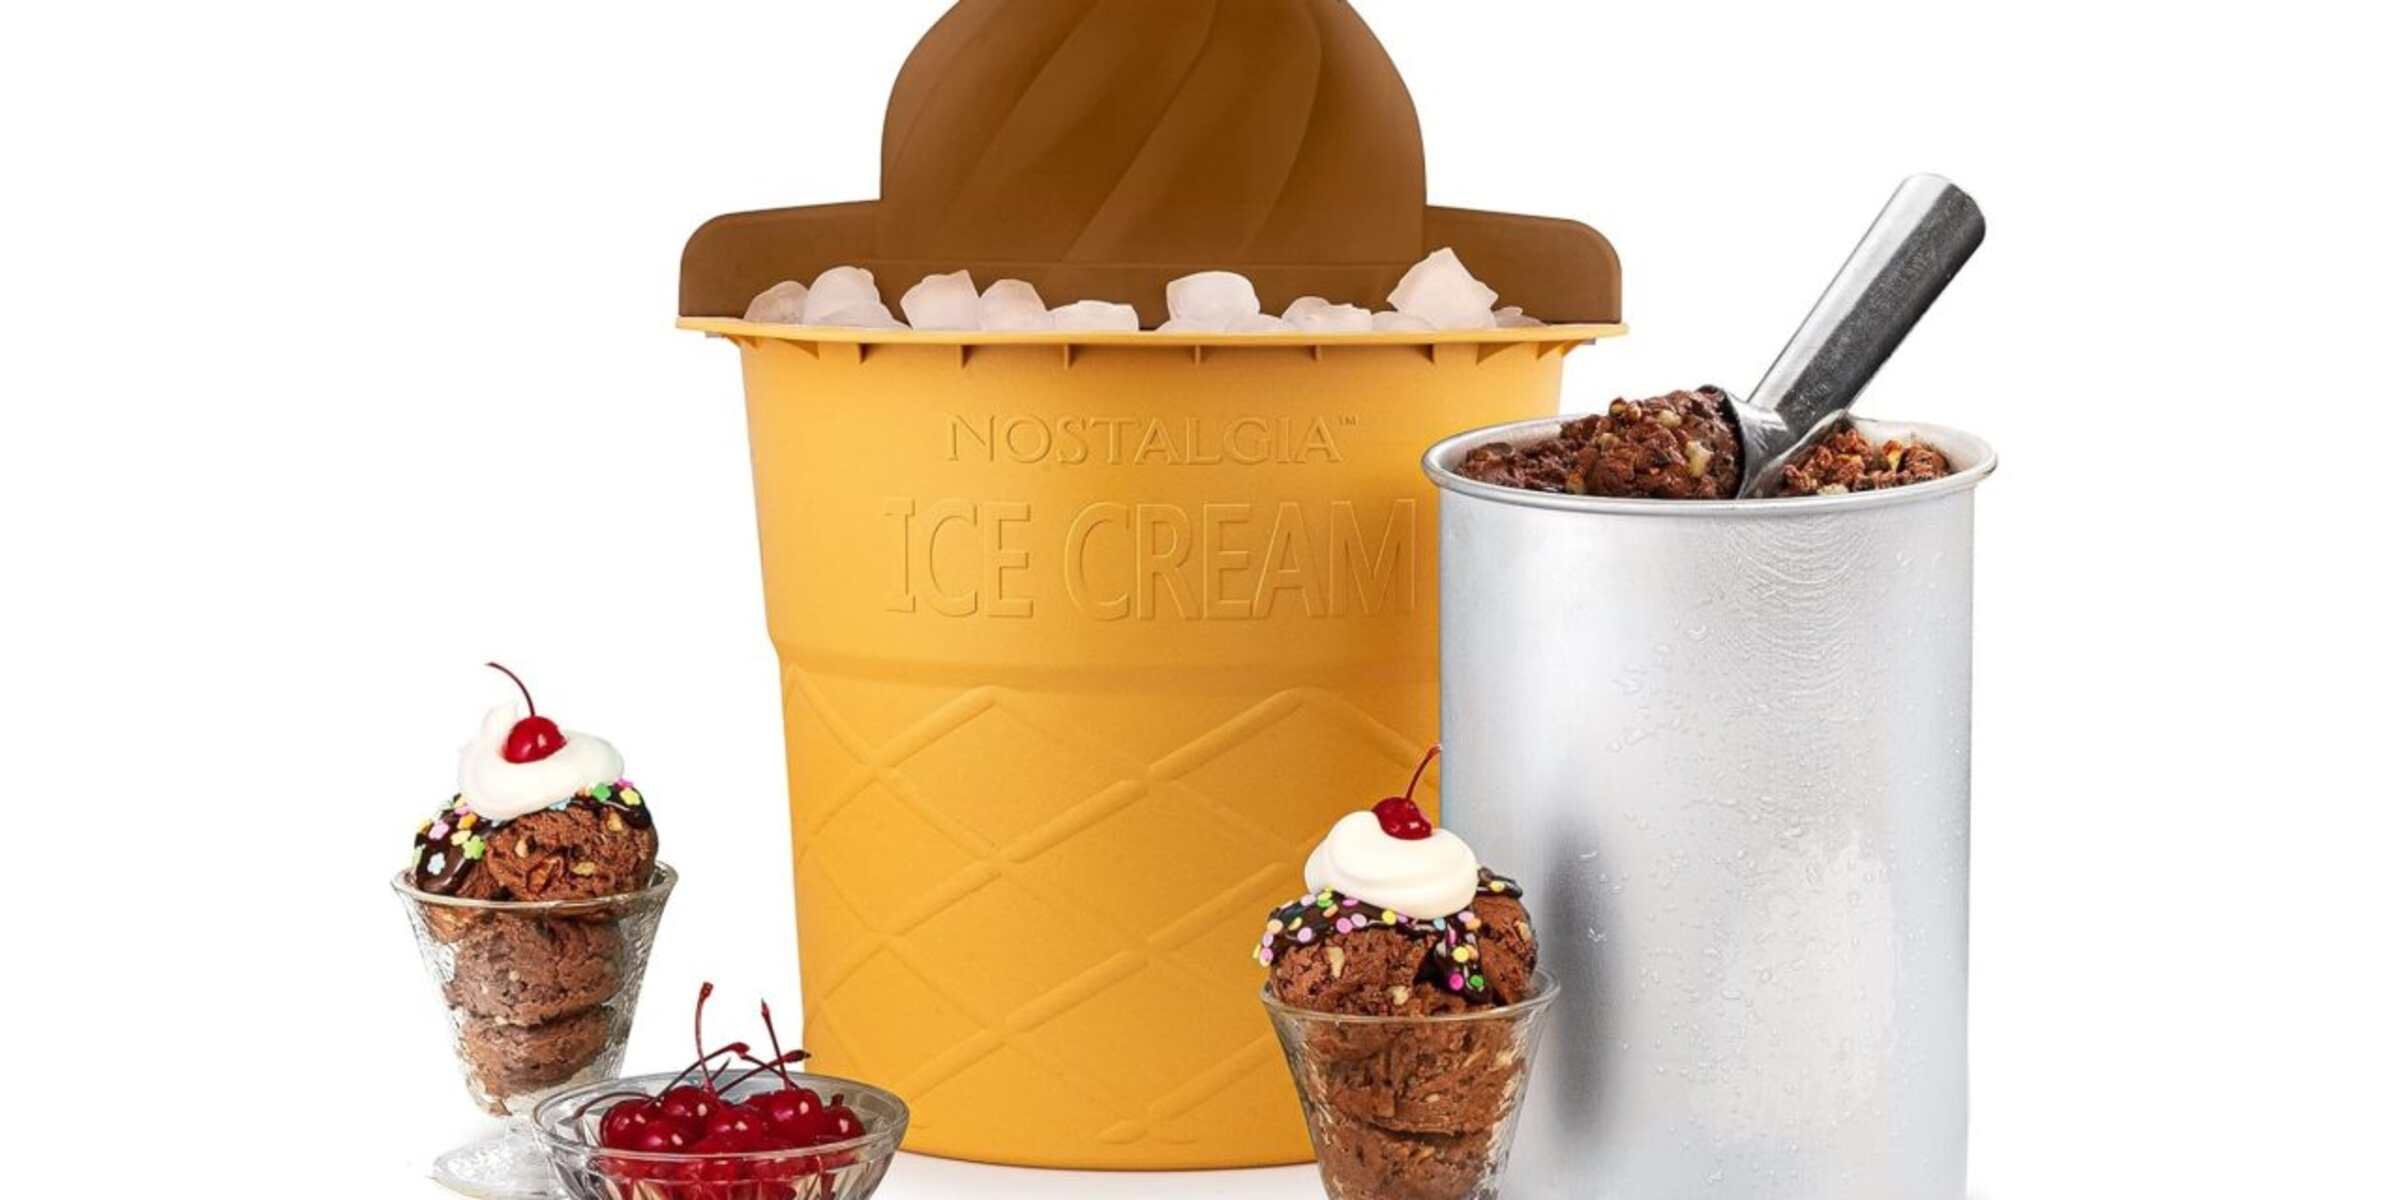
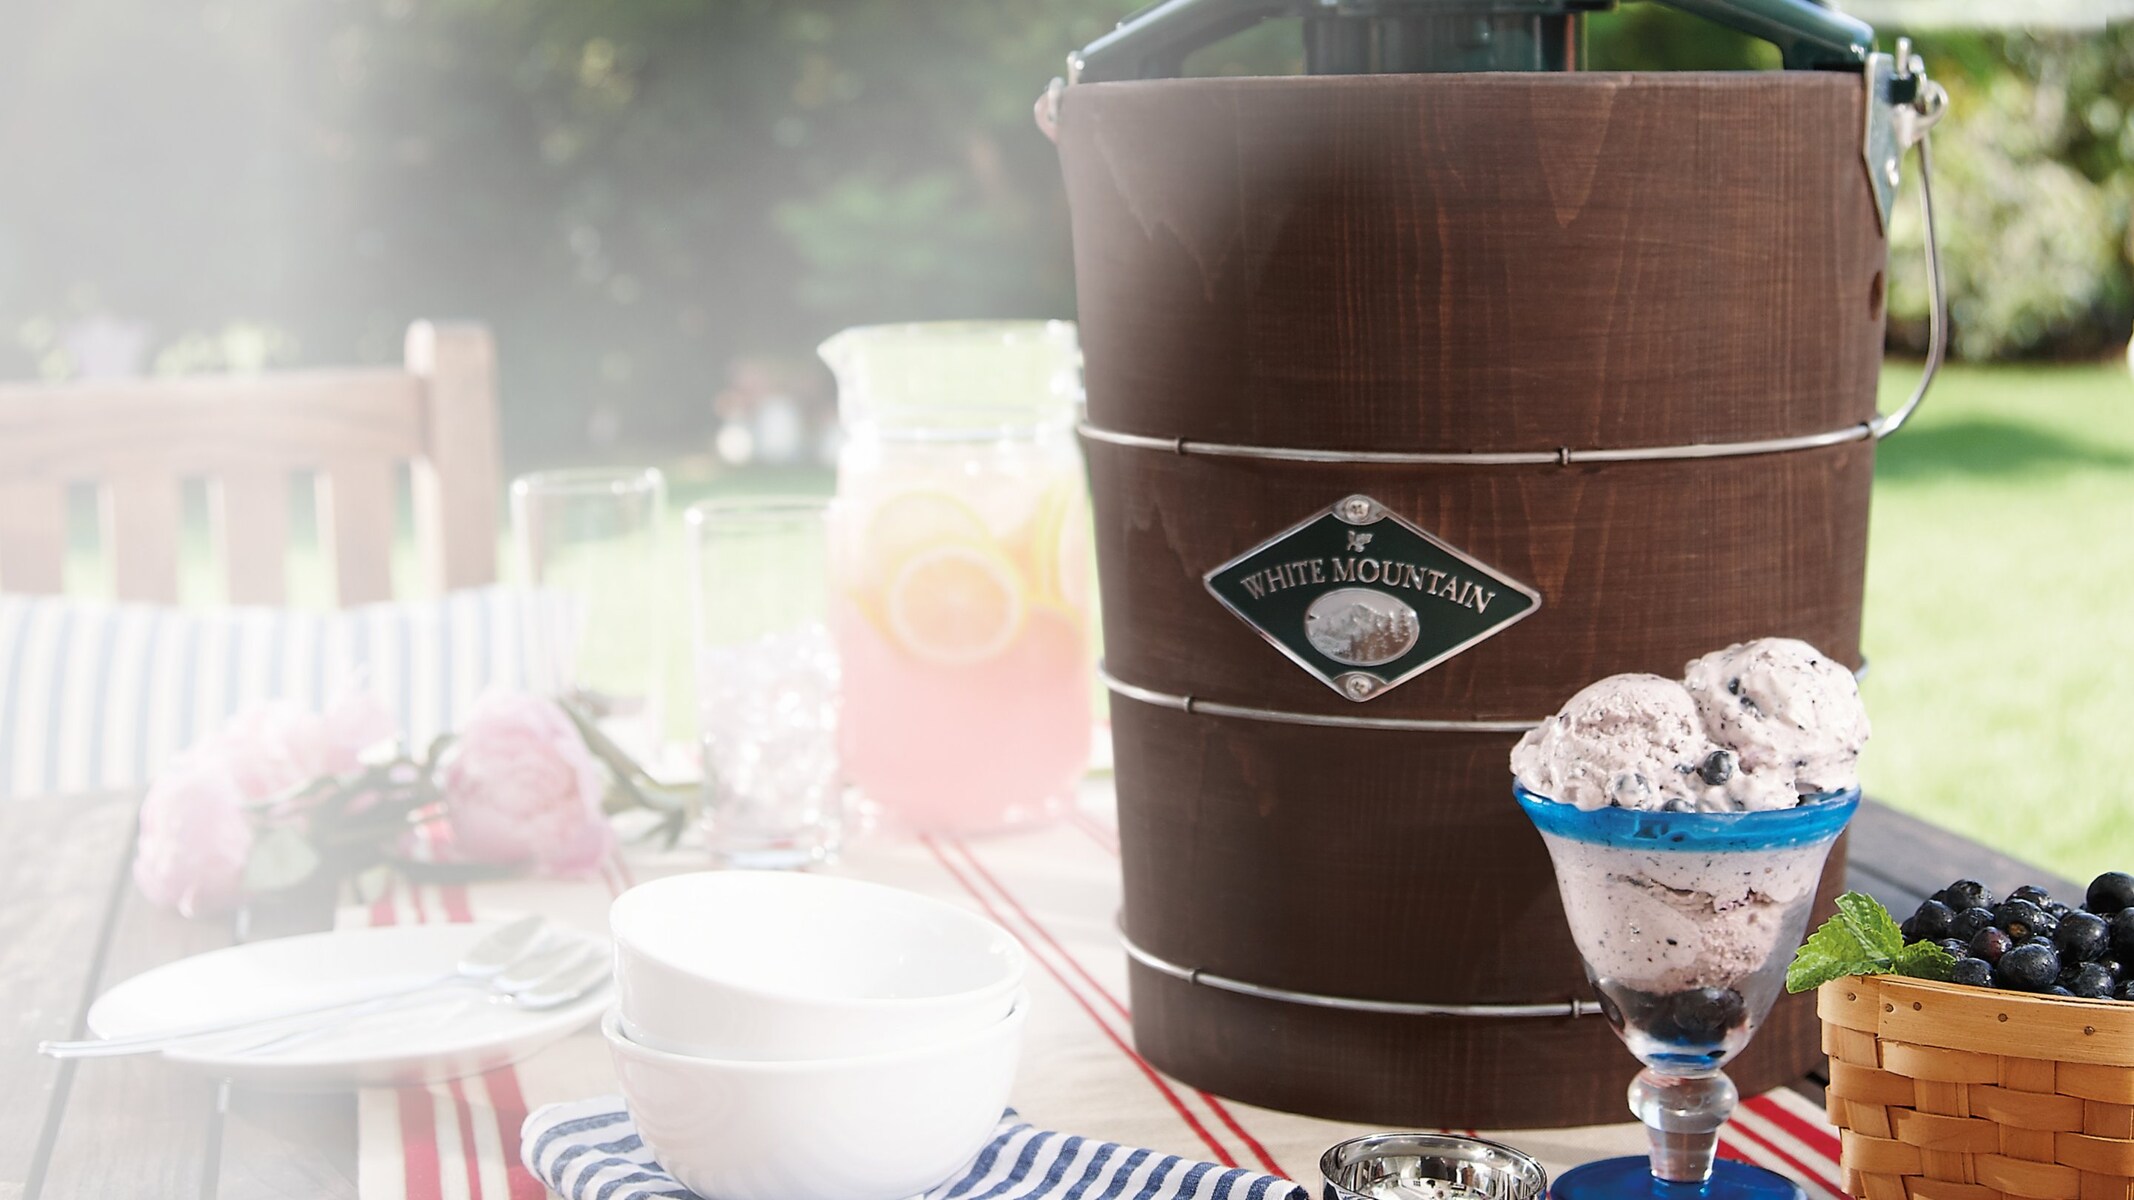
- Type of Ice Cream Maker: There are two main types of old-fashioned ice cream makers to choose from – the hand-cranked machine and the electric machine. The hand-cranked machines require manual effort to churn the ice cream, while the electric machines automate the process. Consider how involved you want to be in the churning process and choose accordingly.
- Capacity: The capacity of the ice cream maker determines how much ice cream you can make in one batch. If you have a large family or plan on making ice cream for gatherings, a larger capacity machine would be ideal. On the other hand, if you have limited storage space or prefer making small batches, a smaller capacity machine would be more suitable.
- Freezing Method: Some old-fashioned ice cream makers require pre-freezing the mixing bowl for a specific amount of time before use. Others use a built-in freezer or ice and salt mixture to freeze the ice cream. Consider which method aligns with your preferences and convenience.
- Construction and Durability: Look for an ice cream maker with sturdy construction, made from high-quality materials such as stainless steel or durable plastic. It’s important to choose a machine that can withstand regular use and last for years to come.
- Price: Old-fashioned ice cream makers come in a range of prices, so consider your budget before making a purchase. While higher-end machines may offer more features and durability, there are also affordable options available that can still produce excellent homemade ice cream.
- Customer Reviews: Take the time to read customer reviews and ratings of different ice cream makers. This can provide insights into the performance, ease of use, and overall satisfaction of other users, helping you make an informed decision.
By considering these factors and evaluating your specific needs, you can choose the perfect old-fashioned ice cream maker that will make your homemade ice cream-making experience enjoyable and hassle-free. Once you’ve selected your ice cream maker, it’s time to move on to the next step – gathering the ingredients.
Gathering the Ingredients
Now that you have your old-fashioned ice cream maker ready, it’s time to gather the ingredients for your homemade ice cream. Here’s a list of the essential ingredients you’ll need:
- Heavy Cream: Choose a high-fat heavy cream, as it will contribute to the rich and creamy texture of the ice cream. Look for cream with a fat content of at least 35%.
- Whole Milk: Whole milk adds a velvety smoothness to the ice cream base. You can also use a combination of milk and cream to achieve the desired richness.
- Sugar: Depending on your taste preference, you can use granulated sugar, brown sugar, or a combination of both. The sugar not only sweetens the ice cream but also helps to lower the freezing point for a smoother texture.
- Eggs: Traditional ice cream recipes call for egg yolks, which contribute to the creamy consistency and richness. Make sure to use fresh eggs from a reliable source.
- Vanilla Extract: A splash of vanilla extract enhances the flavor profile of the ice cream. Opt for pure vanilla extract for the best taste.
- Salt: A pinch of salt helps to balance the sweetness and enhance the overall flavors of the ice cream.
- Optional Mix-ins and Flavors: This is where you can get creative and customize your ice cream. Whether it’s chocolate chips, chopped nuts, fruit puree, or crushed cookies, feel free to add your favorite mix-ins and flavors to take your homemade ice cream to the next level.
Prior to starting the ice cream-making process, ensure that you have all the ingredients measured and ready. This will help streamline the process and prevent any delays or errors while making the ice cream base.
Now that you have gathered all the ingredients, it’s time to move on to the next step – preparing the ice cream base.
Preparing the Ice Cream Base
With the ingredients in hand, it’s time to start preparing the ice cream base for your old-fashioned ice cream maker. Follow these steps to create a creamy and flavorful base:
- Combine the Cream and Milk: In a saucepan, pour in the heavy cream and whole milk. Heat the mixture over medium heat until it reaches a gentle simmer. Stir occasionally to prevent scorching.
- Whisk the Sugar and Eggs: While the cream and milk mixture heats up, in a separate bowl, whisk together the sugar and egg yolks until well combined. Whisking vigorously helps to incorporate air and create a smooth texture.
- Temper the Eggs: Slowly pour a small amount of the heated cream and milk mixture into the bowl with the sugar and eggs, whisking continuously. This step is crucial to temper the eggs and prevent them from curdling when they come into contact with the hot liquid.
- Cook the Mixture: Gradually pour the tempered egg mixture back into the saucepan with the remaining cream and milk. Cook over medium heat, stirring constantly with a wooden spoon or spatula, until the mixture thickens and coats the back of the spoon. This process, known as “custard-making,” helps to develop the creamy consistency and flavor of the ice cream base.
- Remove from heat and add flavorings: Once the base is thickened, remove the saucepan from heat. Stir in the vanilla extract and any other flavorings you desire, such as chocolate, fruit puree, or coffee extract. Mix well to ensure even distribution.
- Cool the Ice Cream Base: Pour the ice cream base into a clean container or bowl. Place a sheet of plastic wrap directly onto the surface of the base to prevent a skin from forming. Allow the mixture to cool to room temperature, then refrigerate for at least 4 hours or overnight. Chilling the base thoroughly enhances the texture and flavor of the ice cream.
Once the ice cream base has chilled and you’re ready to proceed, it’s time to set up your old-fashioned ice cream maker and start churning the ice cream.
Setting Up the Ice Cream Maker
Now that your ice cream base is prepared and chilled, it’s time to set up your old-fashioned ice cream maker before you start churning. Follow these steps to get your ice cream maker ready:
- Freeze the Mixing Bowl: Some old-fashioned ice cream makers require a freezing process for the mixing bowl. Make sure to check the manufacturer’s instructions to determine if you need to pre-freeze the bowl and for how long. Be sure to place the bowl in the coldest part of your freezer.
- Assemble the Ice Cream Maker: Once the mixing bowl is properly frozen, assemble the ice cream maker according to the manufacturer’s instructions. This typically involves attaching the paddle or dasher and securing the lid tightly.
- Remove the Ice Cream Base from the Fridge: Take the chilled ice cream base out of the refrigerator, and give it a gentle stir to ensure it’s well mixed. This allows for even distribution of the flavors and ingredients.
- Place the Mixing Bowl in the Ice Cream Maker: Carefully remove the freezing bowl from the freezer and place it into the ice cream maker. Ensure that the bowl is properly aligned and secured in its place.
- Pour the Ice Cream Base into the Mixing Bowl: Slowly pour the chilled ice cream base into the freezing bowl of the ice cream maker. Avoid overfilling, as the base needs space to expand and churn properly. Leave a small gap at the top to prevent overflow as it churns.
- Secure the Lid: Once the ice cream base is poured in, securely fasten the lid onto the ice cream maker. This prevents any leaks or accidents during the churning process.
- Plug in the Ice Cream Maker: If your ice cream maker is electric, plug it into a power source. Ensure that the machine is placed on a stable surface where it won’t wobble or move excessively while churning.
With the ice cream maker set up and ready to go, it’s time to churn the ice cream and transform the base into a frozen, creamy delight. The next section will guide you through the churning process step by step.
Churning the Ice Cream
Now that the ice cream maker is set up and the ice cream base is poured in, it’s time to start churning the mixture. The churning process helps to incorporate air into the ice cream, creating a smooth and creamy texture. Follow these steps to churn your ice cream to perfection:
- Turn on the Ice Cream Maker: If your ice cream maker is electric, switch it on to start the churning process. If it’s a hand-cranked machine, begin turning the handle to rotate the dasher inside the freezing bowl.
- Monitor the Churning Process: Keep an eye on the ice cream as it churns. The time it takes to churn may vary depending on the specific ice cream maker and the temperature of the ice cream base. Typically, churning takes around 20 to 30 minutes, but it’s important to refer to the manufacturer’s instructions for guidance.
- Check the Consistency: After a few minutes of churning, you can check the consistency of the ice cream by lifting the lid or stopping the hand-crank and carefully removing the freezing bowl. Use a spoon to scoop a small amount of the partially frozen mixture and check for a soft, creamy texture. If it’s not yet ready, continue churning for a bit longer.
- Add Mix-ins and Flavors: If you want to incorporate mix-ins or additional flavors, such as chocolate chips or nuts, this is the time to add them. Open the lid of the ice cream maker and carefully fold in the mix-ins using a spatula or spoon. Be sure not to over-mix, as it can result in a muddled appearance.
- Finish Churning: Continue churning until the ice cream reaches a firm but still soft consistency. It should be thick enough to hold its shape but not so firm that it becomes difficult to scoop. Avoid churning for too long, as over-churning can lead to a grainy texture.
- Turn off the Ice Cream Maker: Once the ice cream has reached the desired consistency, turn off the ice cream maker or stop cranking the handle. The churning process is now complete.
Now that your ice cream is perfectly churned, it’s time to add the finishing touches by incorporating flavors and mix-ins, creating a delectable and personalized frozen treat. The next section will guide you through the process of adding mix-ins and flavors to elevate your homemade ice cream.
Adding Mix-ins and Flavors
Adding mix-ins and flavors is a fun and creative part of making homemade ice cream. This is where you can personalize your frozen treat and take it to the next level. Follow these steps to incorporate mix-ins and flavors into your churned ice cream:
- Remove the Freezing Bowl: Before adding mix-ins or flavors, carefully remove the freezing bowl from the ice cream maker and place it on a stable surface. Make sure to use oven mitts or a towel as the bowl can be very cold.
- Add Mix-ins: If you want to add mix-ins, such as chocolate chips, chopped nuts, or cookie chunks, this is the time to do it. Gently fold in your desired mix-ins using a spoon or spatula. Be sure to evenly distribute the mix-ins throughout the ice cream to ensure that each scoop is bursting with flavor.
- Swirl in Flavors: If you want to incorporate flavors like fruit puree, caramel sauce, or fudge swirls, pour the desired flavor over the churned ice cream in alternating layers. Use a spoon or knife to gently swirl the flavors into the ice cream, creating beautiful patterns and enhancing the taste experience.
- Be Creative: Don’t be afraid to experiment with different combinations of mix-ins and flavors. Whether it’s adding crushed cookies, sprinkles, or a drizzle of your favorite syrup, let your creativity flow and make your ice cream truly unique.
- Return to Freezer: Once you’ve added the mix-ins and flavors, carefully place the freezing bowl back into the ice cream maker. Make sure it is properly aligned and secured, ready for the next step.
- Continue Freezing or Transfer to a Container: Depending on the desired consistency of your ice cream, you can either continue freezing it in the ice cream maker for a firmer texture, or transfer it to a separate container for additional freezing. If transferring, use a clean, airtight container and press a layer of plastic wrap onto the surface of the ice cream to prevent ice crystals from forming.
Adding mix-ins and flavors allows you to unleash your creativity and tailor your homemade ice cream to your taste preferences. Whether you prefer a classic combination or an innovative twist, this step creates an exciting and personalized touch to your frozen treat.
Now that your ice cream is infused with tasty mix-ins and flavors, it’s time to freeze and store it properly to preserve its texture and taste. The next section will guide you through the freezing and storage process.
Freezing and Storing the Ice Cream
After adding your desired mix-ins and flavors, it’s important to properly freeze and store your homemade ice cream to maintain its texture and taste. Follow these steps to ensure that your frozen treat remains delicious:
- Freeze the Ice Cream: If you have chosen to continue freezing the ice cream in the ice cream maker, allow it to churn for an additional 10-15 minutes or until it reaches your desired consistency. This extra freezing time will help firm up the ice cream.
- Transfer to an Airtight Container: Once your ice cream has reached the desired consistency, transfer it from the freezing bowl or ice cream maker into a clean and airtight container. Make sure the container has enough space to accommodate the ice cream without overflowing.
- Smooth the Surface: Use a spatula or the back of a spoon to smooth the surface of the ice cream in the container. This helps to create a more even texture and prevents any air bubbles from forming.
- Protect from Freezer Burn: To prevent freezer burn and maintain the quality of your ice cream, press a layer of plastic wrap directly onto the surface of the ice cream. This creates a barrier between the ice cream and the air in the container, preserving its texture and flavor.
- Seal and Label: Secure the lid or cover tightly on the container and label it with the date and flavor of the ice cream. This will make it easier to identify and track the freshness of your homemade treat.
- Store in the Freezer: Place the container of ice cream in the coldest part of your freezer. Make sure it is not exposed to any temperature fluctuations or direct contact with other frozen foods, as this can affect the texture and taste.
- Freeze for a Few Hours: Allow the ice cream to freeze for at least 3-4 hours, or until it is firm and scoopable. The longer you leave it in the freezer, the harder it will become.
- Enjoy within a Reasonable Timeframe: While homemade ice cream can be stored in the freezer for several weeks, it is best enjoyed within 1-2 weeks for optimal taste and texture.
Properly freezing and storing your homemade ice cream helps to preserve its flavor, prevent ice crystals from forming, and maintain its creamy texture. Now, it’s time to savor the fruits of your labor by serving and enjoying your delicious homemade ice cream!
Serving and Enjoying Your Homemade Ice Cream
After patiently waiting for your homemade ice cream to freeze, it’s finally time to serve and enjoy your delicious creation. Follow these steps to ensure the perfect presentation and enjoyment of your homemade ice cream:
- Take the Ice Cream Out of the Freezer: Remove the container of ice cream from the freezer and let it sit at room temperature for a few minutes to soften slightly. This will make scooping easier and ensure a creamy and smooth texture.
- Scoop into Serving Bowls or Cones: Use an ice cream scoop or a sturdy spoon to portion out scoops of your homemade ice cream into individual serving bowls or crispy cones. Dig the scoop deeply into the container to get those satisfyingly round and generous scoops.
- Add Toppings: Enhance the flavor and presentation of your ice cream by adding your favorite toppings. Whether it’s a drizzle of chocolate syrup, a sprinkle of colorful sprinkles, or a dollop of whipped cream, toppings can take your ice cream experience to the next level.
- Garnish with Fresh Fruits or Nuts: For a touch of freshness and added texture, consider garnishing your ice cream with sliced fresh fruits, such as berries or banana, or a handful of toasted nuts. These additions not only provide a pop of color but also complement the creamy sweetness of the ice cream.
- Indulge in the Creamy Bliss: Finally, take a moment to appreciate your homemade ice cream creation. Relish each bite, savoring the creamy texture and enjoying the burst of flavors that you’ve carefully crafted. Share it with loved ones or savor it as a personal treat to celebrate your culinary success.
Remember, homemade ice cream is a labor of love, and with each creamy spoonful, you can take pride in the fact that you created a delectable frozen dessert from scratch. Now, it’s time to sit back, relax, and enjoy the sweet rewards of your homemade ice cream.
Conclusion
Making ice cream with an old-fashioned ice cream maker is a delightful and rewarding experience. By carefully selecting the right ice cream maker, gathering high-quality ingredients, and following the proper steps, you can create creamy and flavorful ice cream straight from your own kitchen.
Choosing an old-fashioned ice cream maker allows you to have full control over the ingredients, flavors, and textures of your homemade ice cream. From the classic vanilla to the most creative and unique flavor combinations, the possibilities are endless.
By properly preparing the ice cream base, setting up the ice cream maker, and churning the mixture, you can achieve a velvety smooth and perfectly churned ice cream. Adding mix-ins and flavors further enhances the taste and offers endless opportunities for creativity.
After freezing and storing your homemade ice cream, the moment of joy finally arrives when you can scoop it into bowls or cones, add your favorite toppings, and indulge in the creamy bliss. Each bite is a testament to your culinary skills and a delightful treat for your taste buds.
So, don’t hesitate to dust off that old-fashioned ice cream maker and embark on a journey of creating homemade ice cream. Whether you enjoy it on a hot summer day or as a special treat any time of the year, the satisfaction and joy that come with making and savoring your own ice cream are truly incomparable.
Now, go ahead and unleash your creativity, experiment with flavors, and delight in the magic of homemade ice cream. It’s time to make memories and enjoy the sweet rewards of your culinary creation!