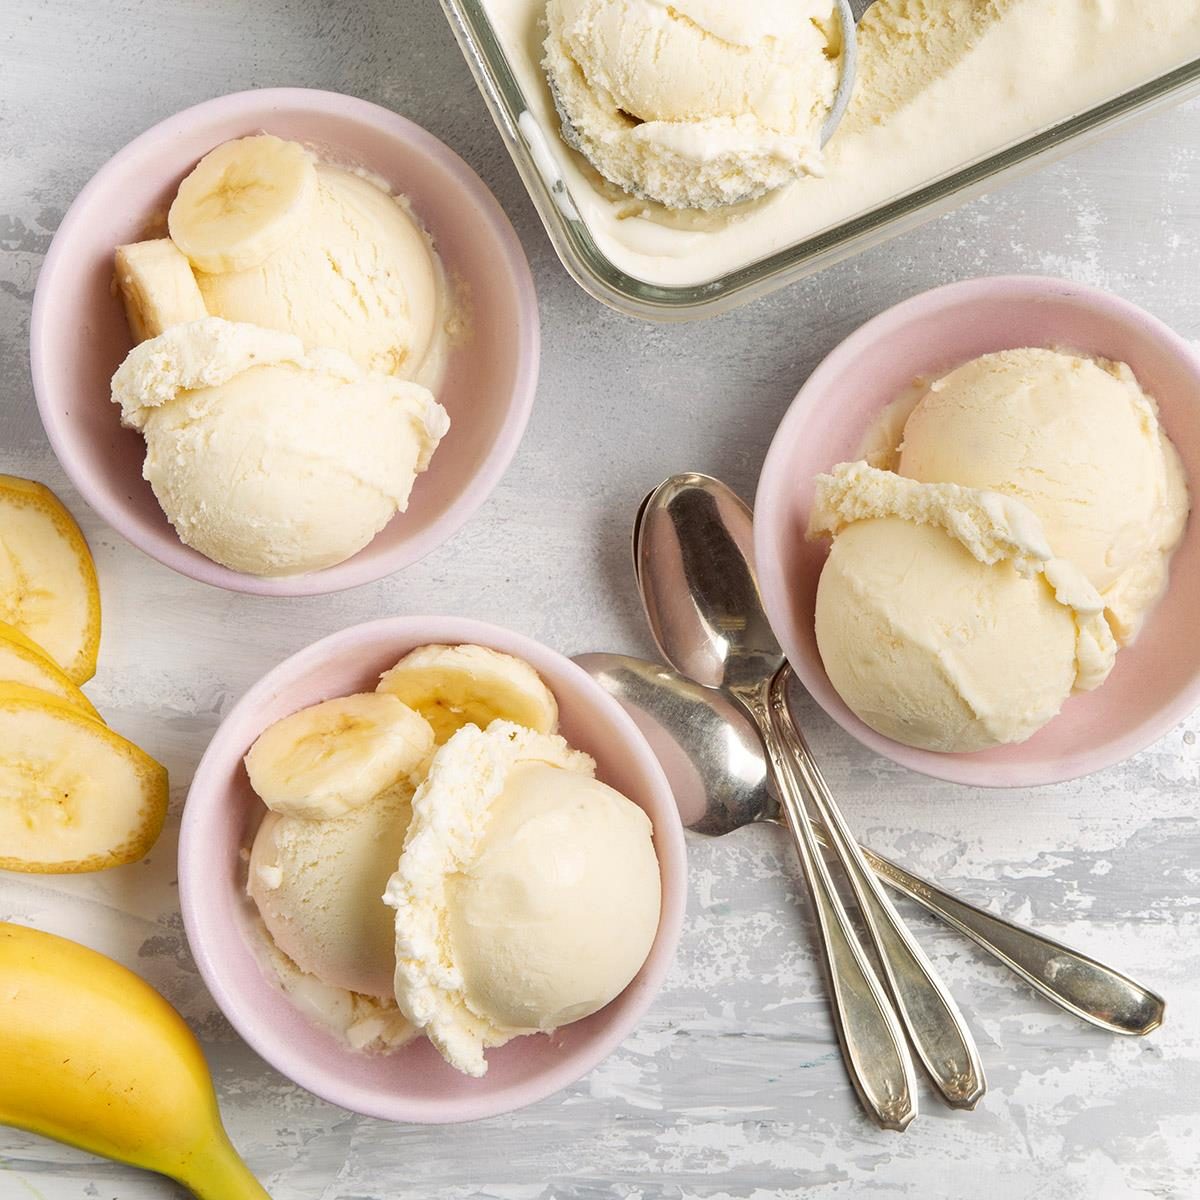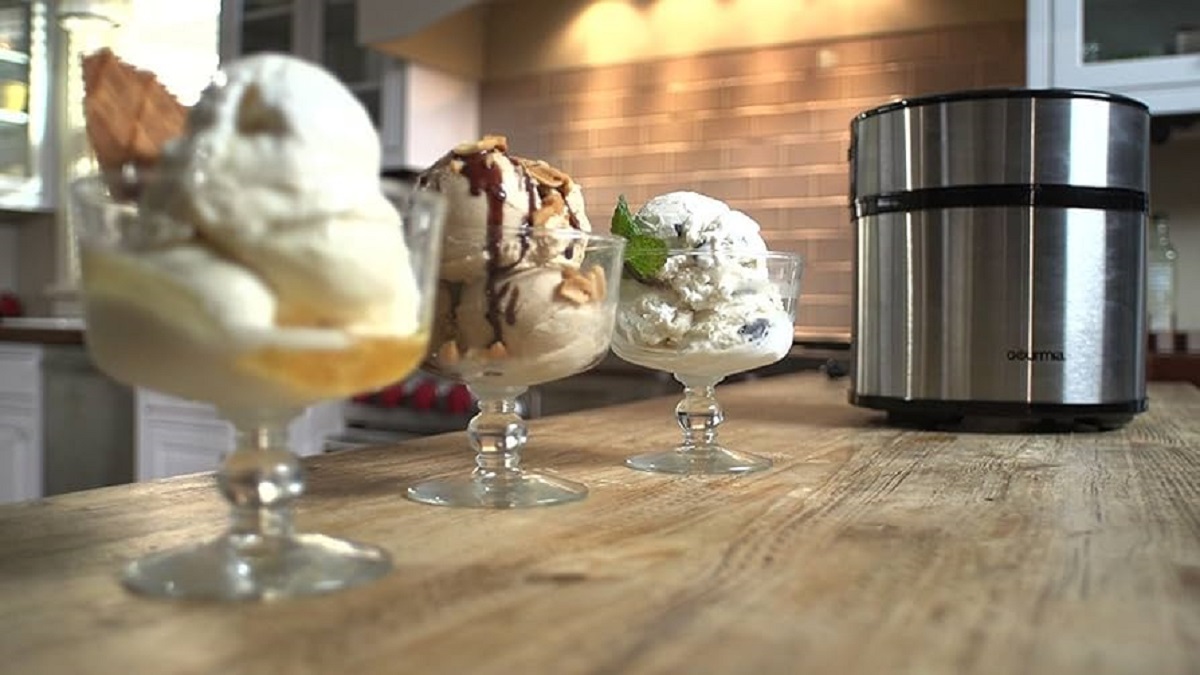
Introduction
Welcome to the world of homemade ice cream! Making your own delicious ice cream at home can be a fun and rewarding experience. However, sometimes things don’t go as planned and the ice cream doesn’t turn out quite right. One common issue that many people face when using an ice cream maker is that the ice cream fails to solidify and remains in a liquid or semi-liquid state.
In this article, we will explore the potential reasons why your ice cream may not be turning into the desired texture despite using an ice cream maker. By understanding these factors, you can troubleshoot the problem and improve your chances of success in creating creamy, tasty ice cream.
While there may be multiple reasons for this issue, it is important to note that making ice cream involves a delicate balance of ingredients, chilling time, and technique. So, before diagnosing the problem, let’s take a closer look at the potential culprits and how to overcome them.
Whether you’re a seasoned ice cream enthusiast or a beginner just starting out, this article will provide valuable insights into troubleshooting your ice cream making process.
Reasons why the ice cream may not turn into ice cream in the ice cream maker
While the ice cream maker is a fantastic appliance that can create creamy and delicious frozen treats, there are several factors that can contribute to the ice cream not turning out as expected. Let’s explore some of the most common reasons:
- Insufficient chilling time: One of the main reasons for the ice cream not solidifying is not giving it enough time to chill in the ice cream maker. It’s crucial to follow the manufacturer’s instructions and ensure that the mixture is churned for the recommended amount of time. Insufficient chilling time can result in a softer consistency.
- Not using frozen ingredients: Another critical aspect is using properly frozen ingredients. The base mixture should be chilled before pouring it into the ice cream maker, and any additional mix-ins should also be frozen. Using warm or thawed ingredients can hinder the freezing process and prevent the ice cream from setting properly.
- Improper ratio of ingredients: Achieving the right balance of ingredients is crucial for successful ice cream making. Using too much or too little of certain ingredients, such as sugar or fat, can affect the texture and prevent the ice cream from setting. Ensure that you follow a trusted recipe and measure the ingredients accurately.
- Lack of fat content: Fat content plays a significant role in the texture and scoopability of ice cream. If your ice cream maker requires a certain percentage of fat, ensure that you use a suitable recipe that meets those requirements. Insufficient fat content can result in a icy or grainy texture.
- Overfilling the ice cream maker: It’s essential not to overfill the ice cream maker, as this can hinder the freezing process. Leave sufficient room for the mixture to expand and churn properly. Overfilling can lead to inconsistent freezing and prevent the ice cream from setting evenly.
- Incorrect freezer temperature: The freezer in which the ice cream maker bowl is placed plays a crucial role in the freezing process. If the freezer temperature is too high, the mixture may not freeze properly. Ensure that your freezer is set to the recommended temperature for optimal freezing results.
- Faulty ice cream maker: In some cases, the issue may lie with the ice cream maker itself. Check for any defects or malfunctions that may be affecting the freezing process. If necessary, consult the manufacturer’s instructions or seek professional assistance to troubleshoot and resolve any issues.
By identifying these potential reasons, you can now understand why your ice cream may not be turning into the desired texture. Stay tuned for the next section where we will explore solutions to these problems and tips for achieving perfect homemade ice cream.
Insufficient chilling time
When it comes to making ice cream, chilling time is a critical factor in achieving the desired texture. If the ice cream mixture is not chilled long enough, it can lead to a softer or even runny consistency. To ensure that your ice cream sets properly, it is important to follow the recommended chilling time specified by your ice cream maker’s instructions or recipe.
Chilling time allows the ingredients in the ice cream mixture to cool down and meld together, resulting in a smoother and firmer texture. It also helps to develop the flavors and prevents ice crystals from forming during the freezing process.
Here are a few tips to ensure sufficient chilling time for your ice cream:
- Pre-chill the mixture: Before pouring the mixture into the ice cream maker, make sure it is thoroughly chilled in the refrigerator. This step is especially crucial if you have cooked the ice cream base or if the recipe calls for a specific chilling time.
- Use a well-chilled ice cream maker bowl: Ensure that the bowl of your ice cream maker is properly chilled. Most ice cream makers require pre-freezing the bowl for several hours or overnight. Follow the manufacturer’s instructions for the recommended chilling time to achieve optimal results.
- Churn for the recommended duration: Once the ice cream mixture is in the machine, allow it to churn for the recommended duration specified in the instructions or recipe. Churning helps incorporate air into the mixture, resulting in smoother, creamier ice cream. Be patient and avoid cutting the chilling time short.
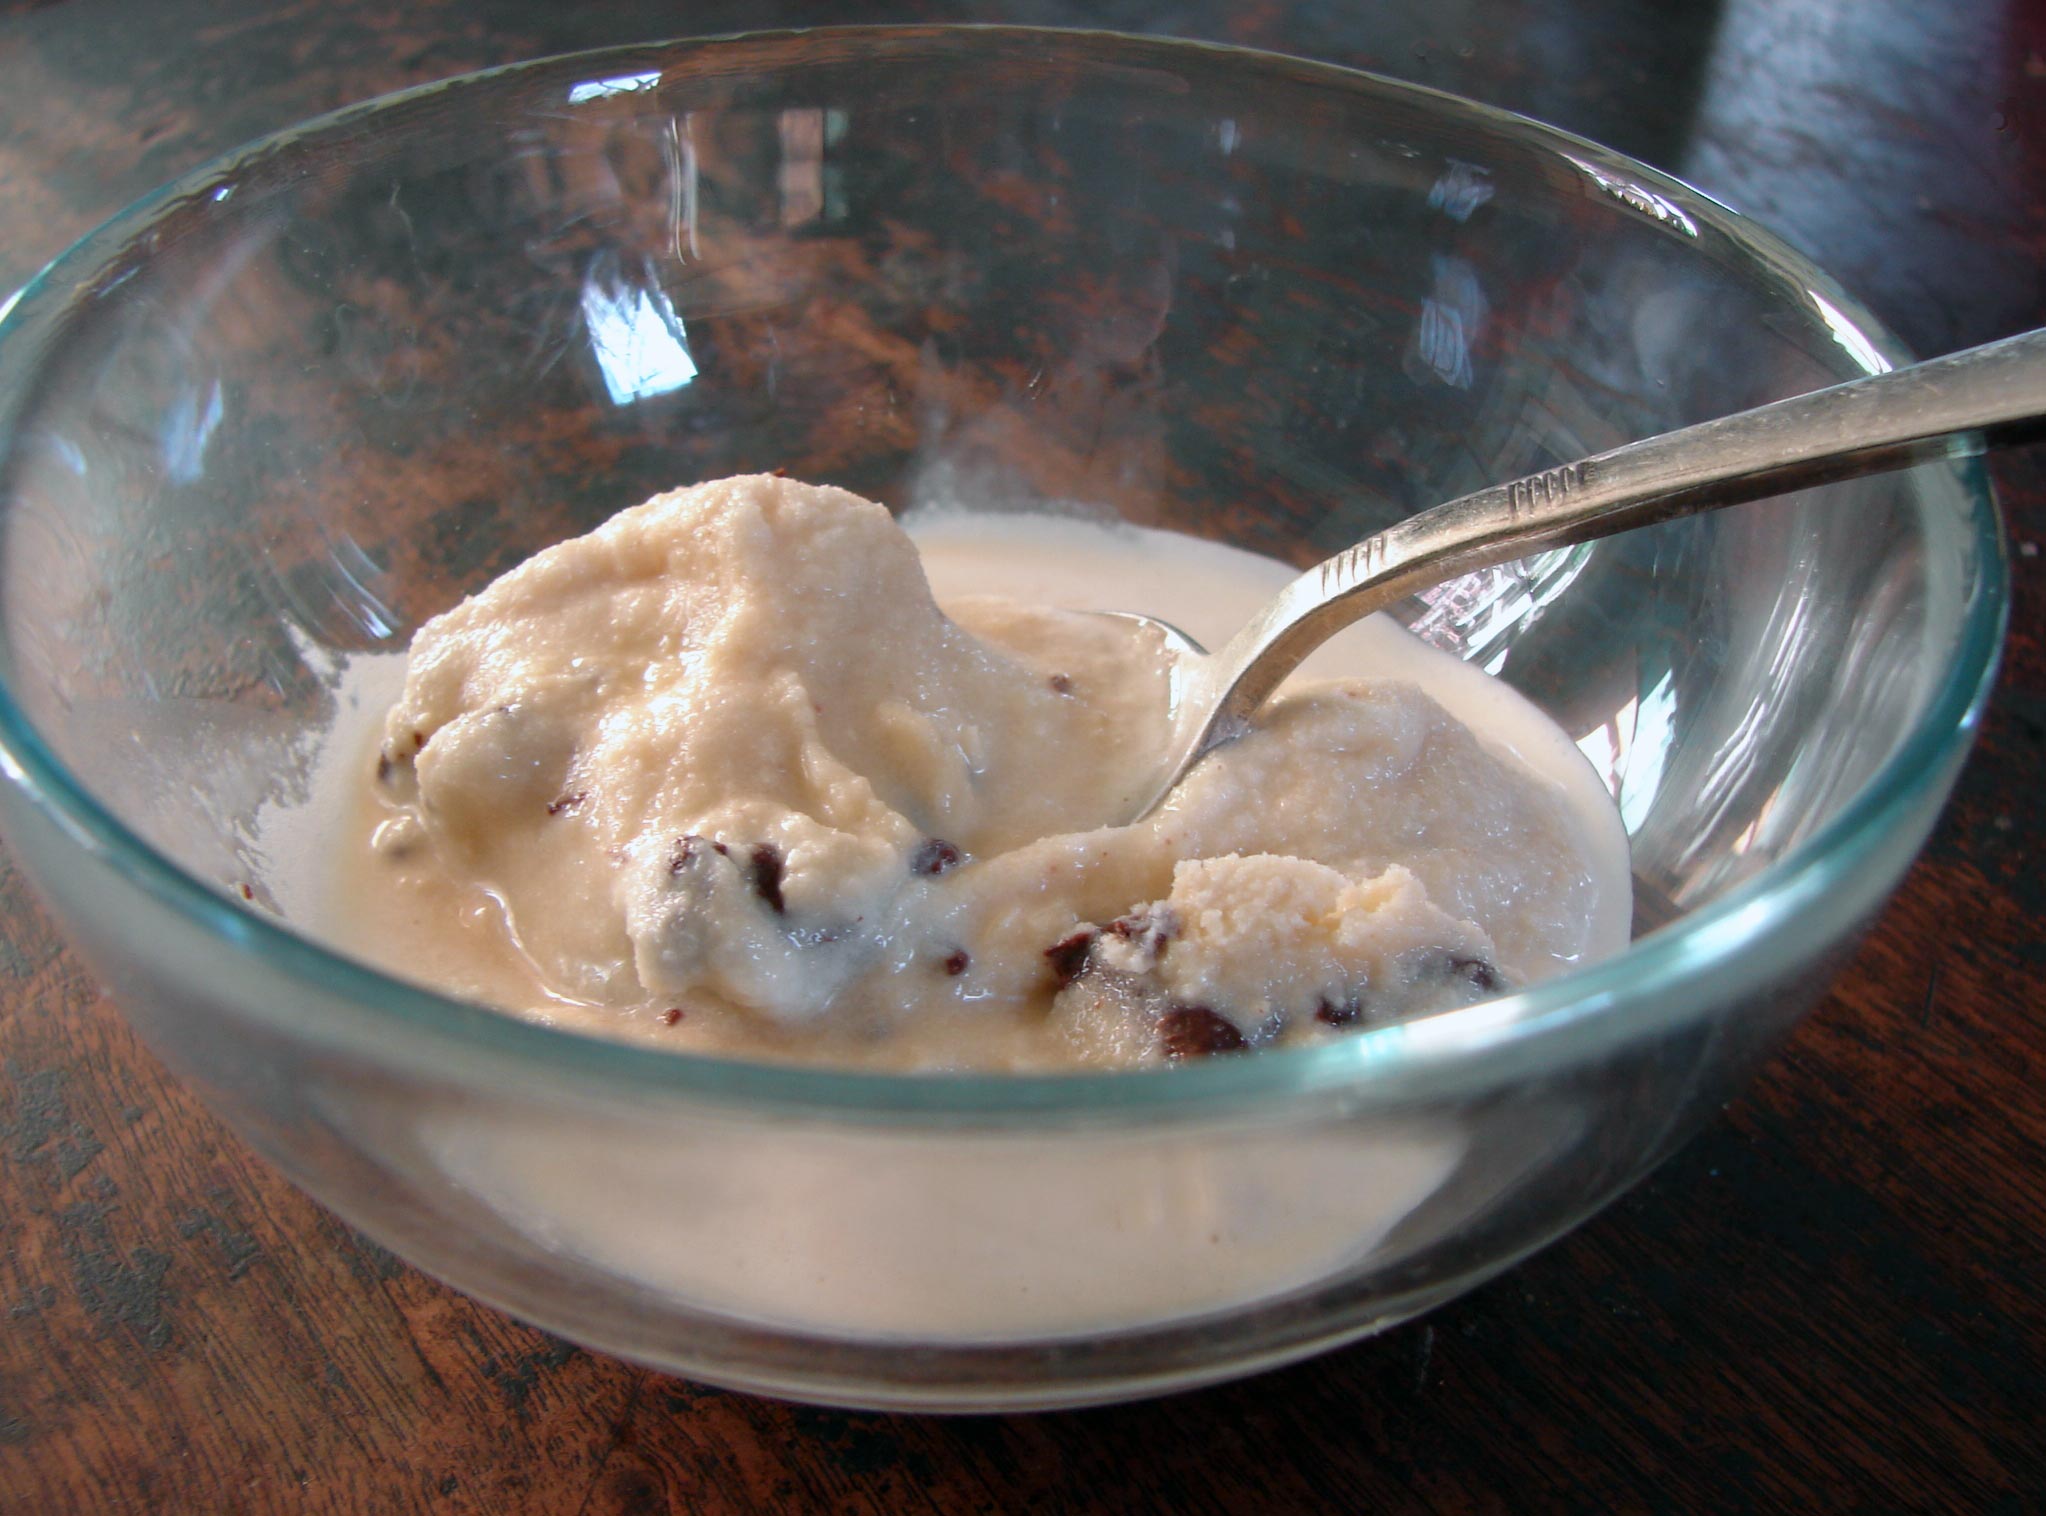
- Test the consistency: Towards the end of the recommended chilling time, you can check the consistency of the ice cream by scooping a small amount with a spoon. It should hold its shape and have a firm but not overly hard texture. If it is still too soft, allow it to churn for a little longer.
- Transfer to the freezer if needed: If the ice cream is not yet firm enough after the recommended chilling time, you can transfer it to a lidded container and place it in the freezer for an additional amount of time. This will help further solidify the ice cream before serving.
Remember, chilling time is crucial for achieving the perfect texture and consistency of your homemade ice cream. By ensuring sufficient chilling time, you can improve your chances of success and enjoy delightful frozen treats.
Not using frozen ingredients
When making ice cream, using properly frozen ingredients is essential to ensure the proper freezing and solidification of the mixture. If you don’t use frozen ingredients, it can negatively affect the texture and consistency of your ice cream, resulting in a slushy or soupy outcome.
Here are some key factors to consider when using frozen ingredients for your ice cream:
- Chill the base mixture: Before pouring the mixture into the ice cream maker, ensure that the base mixture is thoroughly chilled. Whether you’re using a custard base or a simple mixture of cream and sugar, chilling it in the refrigerator before freezing will help maintain a colder temperature throughout the ice cream-making process.
- Freeze any additional mix-ins: If you plan to include mix-ins such as chocolate chips, fruit chunks, or cookie dough, make sure they are also properly frozen. Using thawed or room temperature mix-ins can raise the temperature of the ice cream mixture, hindering the freezing process and preventing the ice cream from setting properly.
- Cut ingredients into small pieces: To ensure even freezing and distribution of mix-ins, it is recommended to cut them into small pieces. This allows them to freeze quickly and evenly when added to the ice cream mixture. Frozen ingredients that are too large or clumped together can create pockets of thawed areas within the ice cream.
- Pre-freeze the ice cream maker bowl: The bowl of your ice cream maker needs to be properly frozen before use. Most ice cream makers require pre-freezing the bowl for several hours or overnight. This ensures that the freezing process begins immediately when the ice cream mixture is added, resulting in a quicker and more efficient freeze.
- Keep ingredients chilled during preparation: While you’re preparing the ingredients and getting ready to make ice cream, it’s important to keep them chilled. Return the base mixture and any mix-ins to the refrigerator if they start to warm up. This will help maintain a low temperature and promote proper freezing.
By using properly frozen ingredients, you can enhance the freezing process and improve the texture and consistency of your ice cream. Remember to follow these guidelines to achieve delicious and creamy homemade frozen treats!
Improper ratio of ingredients
The ratio of ingredients plays a crucial role in the texture, consistency, and overall success of your homemade ice cream. Using an improper ratio of ingredients can result in a range of issues, including ice cream that fails to solidify properly. To ensure the perfect balance and achieve the desired results, it is essential to follow a trusted recipe and measure the ingredients accurately.
Here are some key considerations when it comes to the ratio of ingredients in your ice cream:
- Sugar: Sugar not only adds sweetness to the ice cream but also helps control freezing point depression and texture. Too much sugar can result in a softer ice cream that doesn’t freeze well, while too little sugar can make the ice cream icy and overly firm. Follow the recipe and measure the sugar accurately to maintain the right balance.
- Fat content: Fat contributes to the richness, creaminess, and smooth texture of ice cream. Different recipes may call for varying fat percentages, depending on the desired outcome. Using too little fat can result in a less creamy and more icy texture, while too much fat can make the ice cream overly dense. Pay attention to the fat content specified in the recipe to achieve the right balance.
- Stabilizers and emulsifiers: Some ice cream recipes may call for the addition of stabilizers and emulsifiers, such as egg yolks, cornstarch, or gelatin. These ingredients help improve the texture and prevent ice crystallization, resulting in a smoother mouthfeel. Follow the recipe instructions and measure these ingredients accurately to ensure their beneficial effects.
- Flavorings: Whether you’re adding vanilla extract, cocoa powder, fruit purees, or other flavorings, it’s important to consider their impact on the overall balance of the ice cream. Too much or too little flavoring can affect the texture and taste. Follow the recipe and make adjustments based on personal preference and the specific flavors you want to achieve.
- Mix-ins: When adding mix-ins such as chocolate chips, nuts, or cookie dough, it’s crucial to consider their proportion to the ice cream base. While mix-ins can enhance the flavor and add texture to the ice cream, using too many or too few can disrupt the freezing process and result in an uneven distribution. Maintain a good balance to ensure that the ice cream freezes uniformly.
Understanding and maintaining the proper ratio of ingredients in your ice cream recipe is vital for achieving the desired texture and consistency. Follow trusted recipes, measure accurately, and make adjustments based on personal preference and experimentation to create delicious homemade ice cream.
Lack of fat content
The fat content in ice cream plays a significant role in its texture, creaminess, and overall mouthfeel. Without sufficient fat, the ice cream may fail to solidify properly and result in a less-than-desirable consistency. It is important to pay attention to the fat content in your ice cream recipe to achieve the perfect balance.
Here are some key considerations when it comes to the fat content in your ice cream:
- Importance of fat: Fat is an essential component of ice cream as it contributes to its smoothness and richness. It coats the ice crystals, giving the ice cream a creamy texture and preventing the formation of ice crystals that can make the ice cream grainy. A lack of fat can result in ice cream that is overly icy or firm.
- Follow the recipe: When preparing homemade ice cream, it is crucial to follow the recipe’s recommended fat content. Different recipes may call for different fat percentages, depending on the desired outcome. Be sure to measure the fat-containing ingredients, such as cream or milk, accurately to maintain the specified fat content.
- Consider the type of dairy: The type of dairy products used in the ice cream base can also impact the fat content. Heavy cream typically has a higher fat content than milk, resulting in a richer and creamier ice cream. Using a combination of different dairy products, such as whole milk and heavy cream, can help achieve the desired fat content and balance.
- Explore alternative fats: If you have dietary restrictions or preferences, there are alternatives to traditional dairy-based fat sources. Ingredients like coconut milk or almond milk can provide a different fat source for those following a vegan or dairy-free diet. However, it is important to note that alternative fats may result in a slightly different texture and flavor profile.
- Experiment with fat ratios: If you want to customize the fat content in your ice cream, you can experiment with different ratios of dairy products. Increasing the amount of heavy cream, for example, can result in a creamier and richer ice cream. However, it is crucial to maintain a proper balance and avoid adding too much fat, as it can lead to an excessively dense and heavy ice cream.
By understanding the importance of fat content and considering these factors, you can ensure that your ice cream has the right balance of creaminess and texture. Whether you follow a recipe or experiment with different fat ratios, achieving the desired fat content is key to creating delicious homemade ice cream.
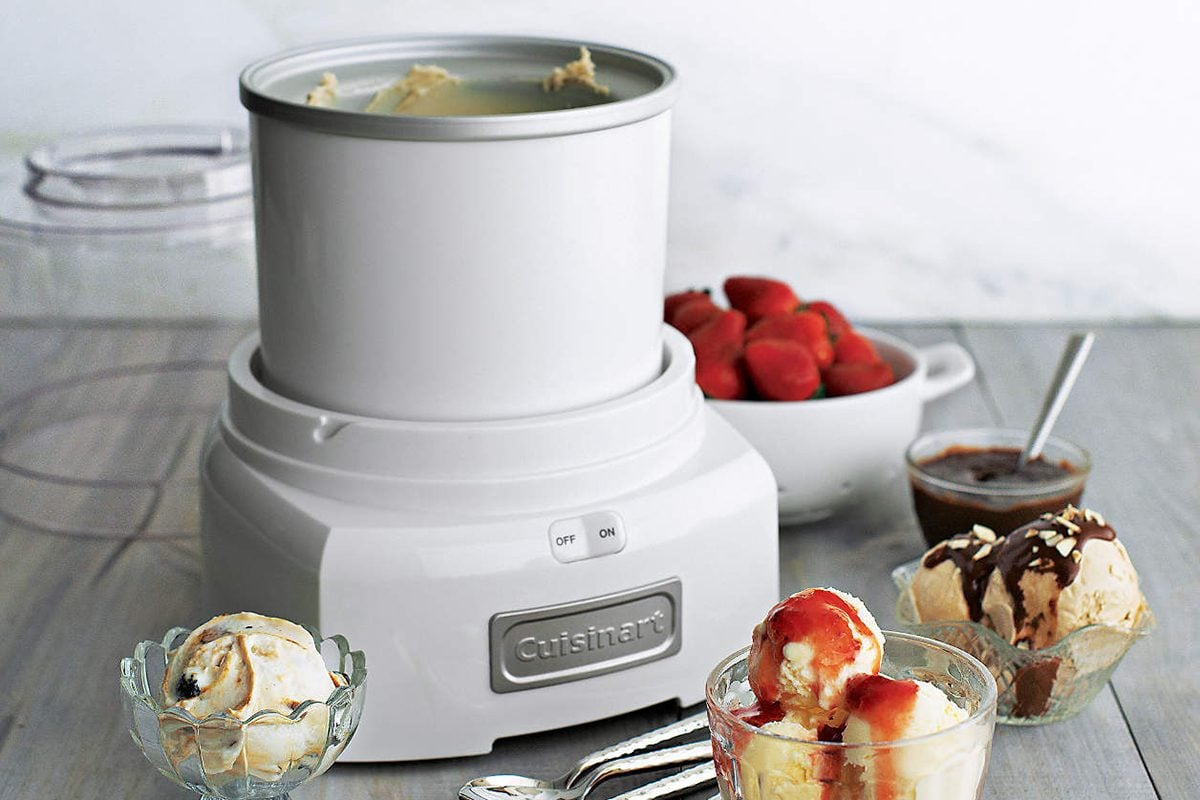
Overfilling the ice cream maker
When using an ice cream maker, it is important to avoid overfilling the machine as it can hinder the freezing process and prevent the ice cream from setting properly. Overfilling the ice cream maker can lead to uneven freezing, resulting in a mixture that fails to solidify consistently.
Here are some key points to consider when it comes to filling your ice cream maker:
- Follow the manufacturer’s instructions: Different ice cream makers have different capacities and guidelines for filling. It is crucial to follow the specific instructions provided by the manufacturer to ensure optimal performance. Overfilling the ice cream maker can cause the mixture to overflow during churning, leading to a messy and ineffective freezing process.
- Allow room for expansion: As the ice cream churns, it incorporates air and expands in volume. It is important to leave sufficient room in the ice cream maker for the mixture to expand and churn properly without overflowing or spilling. A general rule of thumb is to fill the machine about two-thirds full to allow space for expansion.
- Consider the type of ice cream maker: The type of ice cream maker you are using can also affect how much you can fill it. Some machines have a fixed bowl with a specific capacity, while others have a detachable insert that can be pre-frozen and have a larger capacity. Take the capacity and design of your ice cream maker into consideration when determining the appropriate amount of mixture to add.
- Work in batches if necessary: If your ice cream maker has a limited capacity and you have a large amount of mixture, it may be necessary to work in batches. Churn a portion of the mixture at a time, allowing enough space in the machine for efficient freezing. This ensures that each batch freezes properly and yields consistent results.
- Avoid excessive mix-ins: While adding mix-ins like chocolate chips or nuts can enhance the flavor and texture of your ice cream, it is important not to go overboard. Excessive mix-ins can take up valuable space in the ice cream maker and prevent the mixture from churning and freezing effectively. Maintain a good balance between the base mixture and mix-ins.
By avoiding overfilling your ice cream maker, you can ensure that the mixture has enough room to churn and freeze properly, resulting in a creamy, evenly frozen ice cream. Follow the manufacturer’s instructions and take the capacity of your machine into account to achieve the best results.
Incorrect freezer temperature
The freezer temperature plays a crucial role in the freezing process of your ice cream. If the freezer temperature is incorrect, it can hinder the solidification of the ice cream and prevent it from reaching the desired consistency. It is important to ensure that your freezer is set to the appropriate temperature to achieve optimal freezing results.
Here are some key considerations for setting the correct freezer temperature:
- Check the manufacturer’s recommendations: Different ice cream makers may have specific recommendations regarding the freezer temperature. Consult the instruction manual or the manufacturer’s website to determine the ideal temperature for your specific ice cream maker. Following these recommendations will ensure the best freezing conditions.
- Optimal temperature range: Generally, the freezer temperature for making ice cream is around 0°F (-18°C) or below. This low temperature ensures efficient freezing and solidification of the ice cream mixture. Setting your freezer to this temperature will help achieve the desired results. However, it’s important to avoid excessively low temperatures, as they may lead to a rock-hard texture.
- Calibrate your freezer: Over time, the internal temperature of your freezer may fluctuate and deviate from the set temperature. To ensure accuracy, consider using a refrigerator thermometer to calibrate your freezer. This will allow you to adjust the temperature accordingly and maintain the ideal freezing conditions for your ice cream.
- Keep the freezer door closed: Opening the freezer door frequently or leaving it open for extended periods can cause temperature fluctuations, affecting the freezing process. Avoid unnecessary opening and closing of the freezer door while the ice cream is in the freezing process. Additionally, make sure the freezer door seal is functioning properly to prevent cold air leaks.
- Regularly clean and defrost the freezer: Ice build-up and food debris can affect the efficiency of your freezer and potentially impact the freezing process of your ice cream. Regularly clean and defrost your freezer to remove any obstructions that may be interfering with its performance. This will help maintain a consistent and appropriate temperature for freezing ice cream.
By ensuring that your freezer is set to the correct temperature, you create the optimal environment for freezing your ice cream. Follow the manufacturer’s recommendations, monitor the temperature with a thermometer, and take the necessary steps to maintain a clean and well-functioning freezer. These precautions will help to achieve the desired consistency when preparing your homemade ice cream.
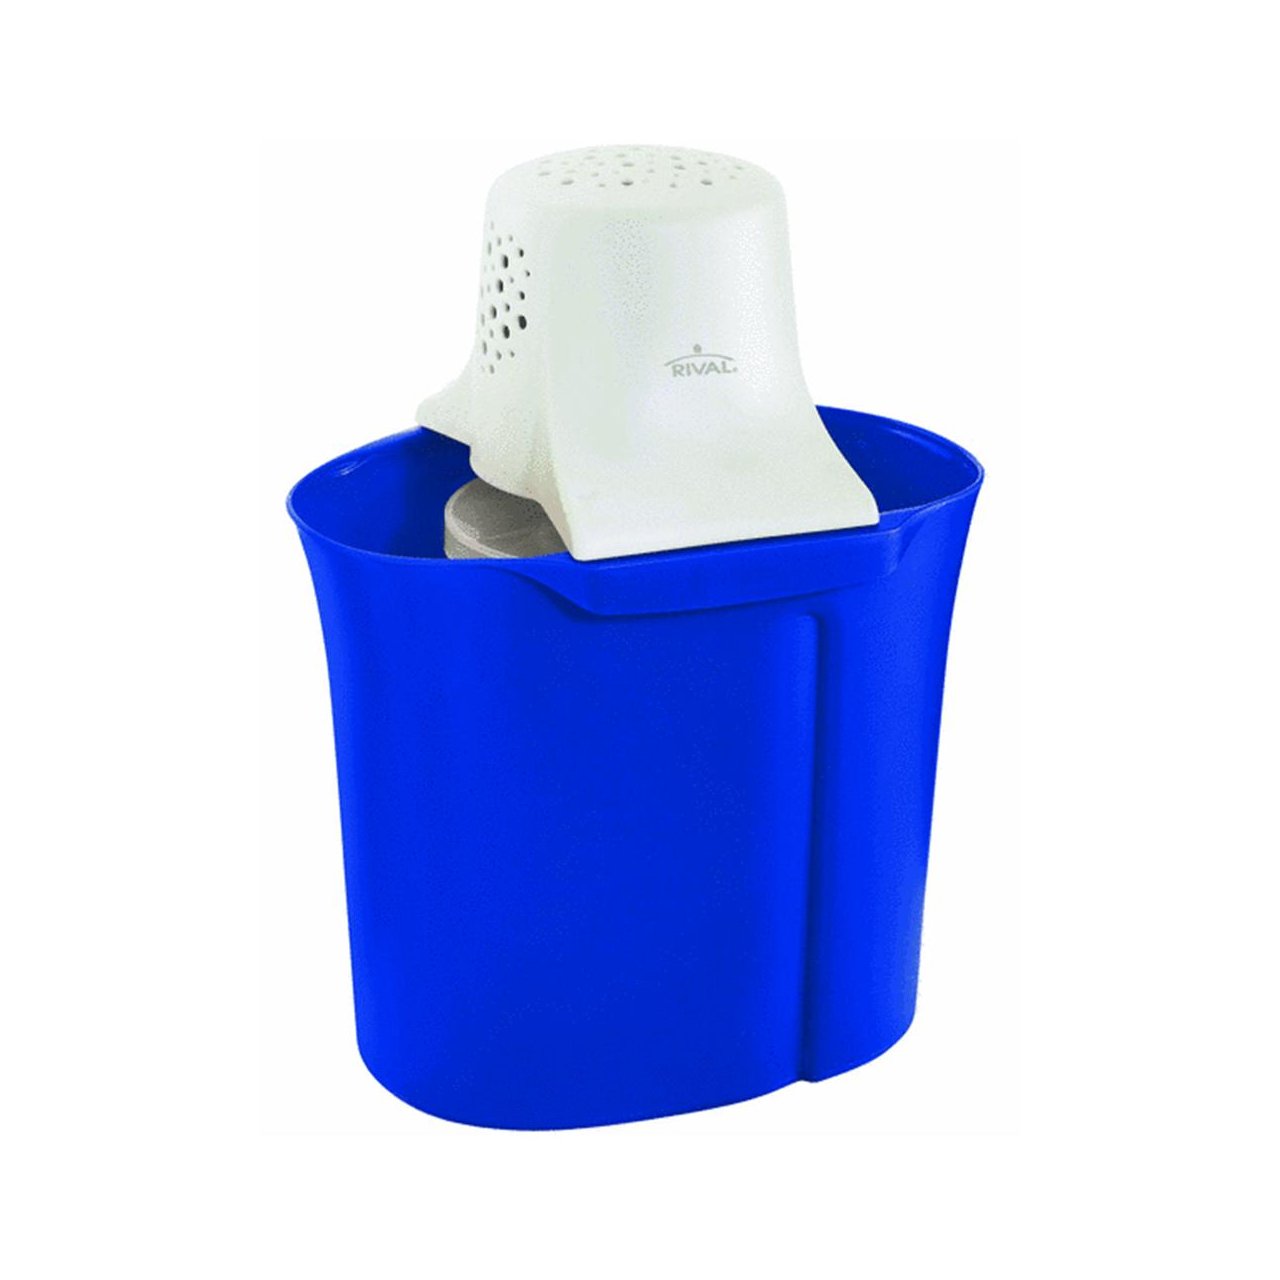
Faulty ice cream maker
Sometimes, despite your best efforts, the ice cream may not freeze properly due to a faulty ice cream maker. If you’ve followed the recipe and taken all the necessary steps but still experience consistent issues with the texture and solidification of your ice cream, it may be time to consider if your ice cream maker is faulty.
Here are some signs that your ice cream maker may be faulty:
- Inconsistent freezing: If your ice cream maker consistently fails to freeze the ice cream or freezes it unevenly, it may indicate a problem. The mixture may remain in a liquid or semi-liquid state, and you may notice icy or slushy sections instead of a creamy and solid consistency.
- Unusual noises or vibrations: Ice cream makers typically operate quietly and smoothly. If you notice excessive noise, rattling, or unusual vibrations during the freezing process, it could be a sign of a mechanical issue with the machine. These irregularities may affect the freezing performance and prevent the ice cream from reaching the desired consistency.
- Excessive cooling time: If your ice cream maker takes significantly longer than the recommended time to freeze the ice cream, it could point to a problem with the freezing mechanism. Extended freezing times can impact the texture and result in ice cream that is too soft or doesn’t set properly.
- Leaks or cracks: Inspect your ice cream maker for any leaks or cracks in the machine or the freezer bowl. If you notice any signs of a leak, it could prevent the proper freezing of the ice cream. Check for any visible damage that may be hindering the performance of the ice cream maker.
- Temperature control issues: If your ice cream maker has built-in temperature control settings and they are not functioning properly, it can affect the freezing process. The machine may not reach the necessary freezing temperature, leading to unsatisfactory results.
If you suspect that your ice cream maker is faulty, here are a few steps you can take:
- Refer to the instruction manual: Consult the instruction manual that came with your machine for troubleshooting tips and guidance specific to your ice cream maker model.
- Contact customer support: Reach out to the manufacturer’s customer support for assistance. They may be able to provide troubleshooting advice or recommend a repair service if needed.
- Consider professional repair: If the issue persists and your ice cream maker is still under warranty, contact the manufacturer to explore repair options. If it is out of warranty, you can consider taking it to a professional appliance repair service for assessment and repair.
- Replace if necessary: If the ice cream maker is beyond repair or the cost of repairing it is not feasible, it may be time to invest in a new ice cream maker that meets your needs and ensures proper freezing.
Remember, a faulty ice cream maker can hinder your ice cream-making endeavors. Assess the performance of your machine, explore troubleshooting options, and consider seeking professional assistance or replacing it if necessary.
Conclusion
Making homemade ice cream can be a delightful and satisfying experience. However, when the ice cream fails to solidify properly in the ice cream maker, it can be frustrating. By understanding the potential reasons behind this issue, you can troubleshoot and improve your ice cream-making process.
We explored various factors that can contribute to the ice cream not turning into the desired texture. These include insufficient chilling time, not using frozen ingredients, improper ratio of ingredients, lack of fat content, overfilling the ice cream maker, incorrect freezer temperature, and a faulty ice cream maker.
To overcome these challenges, we provided helpful tips such as ensuring sufficient chilling time, using properly frozen ingredients, maintaining the correct ratio of ingredients, considering the fat content, avoiding overfilling the ice cream maker, setting the correct freezer temperature, and addressing any issues with a faulty ice cream maker.
Remember to follow the manufacturer’s instructions, measure ingredients accurately, and experiment with different techniques to achieve the perfect balance of flavors and textures in your homemade ice cream. Personalize your ice cream-making experience by using creative mix-ins and flavors while still maintaining the basic principles of proper chilling, freezing, and balancing the ratios of ingredients.
With patience, practice, and attention to detail, you can create creamy and delicious homemade ice cream that delights your taste buds. Enjoy the process, have fun experimenting with flavors, and savor the sweet rewards of your homemade frozen treats.