Introduction
Are you a devoted fan of gelato but find it challenging to make it at home without the aid of a professional ice cream maker? Look no further! In this article, we will guide you through the process of making delicious gelato using an ice cream maker, all without the use of eggs.
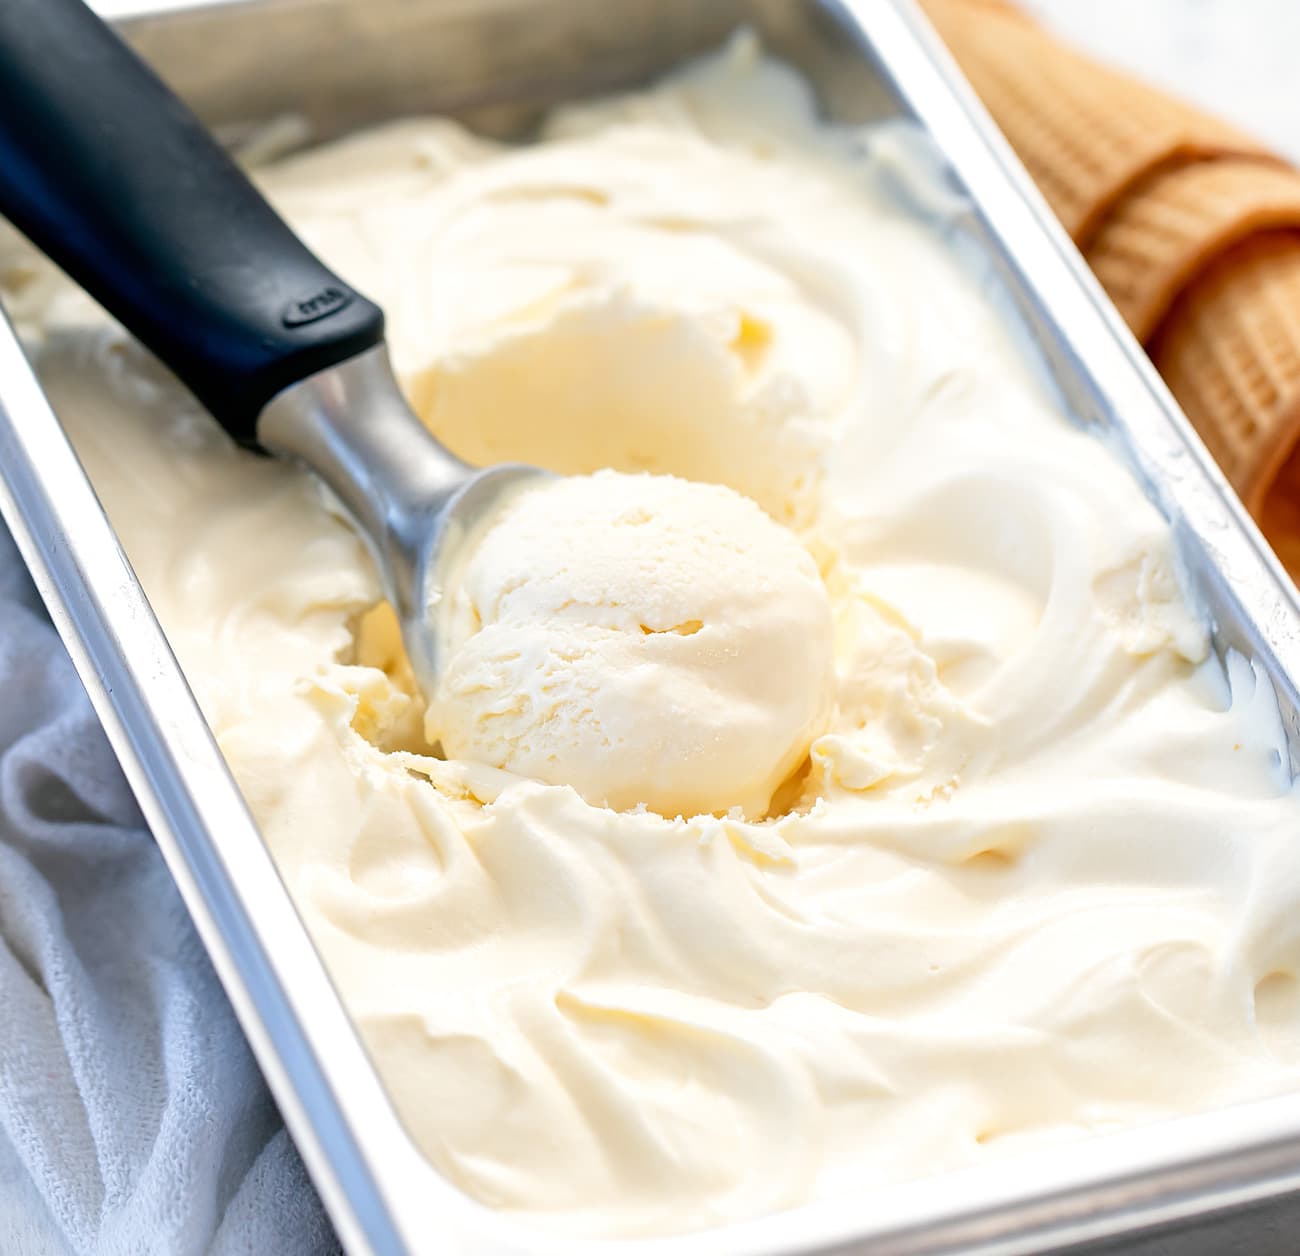
Gelato is an Italian frozen dessert known for its smooth and creamy texture, intense flavor, and lower fat content compared to traditional ice cream. By eliminating the eggs from the recipe, we can achieve a lighter, silkier gelato that highlights the pure flavor of the ingredients. This recipe is perfect for those who have an allergy to eggs or simply prefer a lighter alternative.
While making gelato at home may seem daunting, it is actually a straightforward process, especially with the help of an ice cream maker. By following a few simple steps and using quality ingredients, you can create a gelato that rivals any gelateria.
In this article, we will discuss the ingredients and equipment needed, as well as the step-by-step process to make gelato without eggs using an ice cream maker. We will also provide tips and variations to help you customize your gelato according to your taste preferences.
So, get ready to embark on a gelato-making adventure in the comfort of your own kitchen. With a little effort and some patience, you’ll be rewarded with a delectable and refreshing treat that will impress your family and friends. Let’s dive in and discover the joy of homemade egg-free gelato!
What is Gelato and Why Make it Without Eggs?
Gelato is a popular Italian frozen dessert that has gained popularity worldwide for its rich and smooth texture. Unlike traditional ice cream, gelato is made with a higher proportion of milk and a lower proportion of cream, resulting in a lower fat content. Additionally, gelato is churned at a slower speed, which incorporates less air, giving it a denser texture and more intense flavor.
One of the key differences between gelato and ice cream is the use of eggs. While ice cream typically contains egg yolks to provide richness and stability, gelato can be made without eggs. Making gelato without eggs has its advantages, making it a preferable choice for those with dietary restrictions or preferences.
The absence of eggs in gelato allows the flavors of the ingredients to shine through. With a simpler base, the individual flavors of fresh fruits, nuts, chocolates, or other add-ins become more prominent. This is especially important for delicate and nuanced flavors, as the absence of eggs prevents any overpowering eggy taste that may mask the desired flavors.
Another advantage of making gelato without eggs is the texture. Since eggs contain fat and protein, they can contribute to a richer and denser texture in ice cream. By omitting eggs, gelato becomes lighter and silkier, resulting in a smoother mouthfeel. The absence of egg yolks also reduces the risk of experiencing a grainy texture, as overcooking or improper tempering of eggs can result in unwanted texture issues in ice cream.
Furthermore, making gelato without eggs makes it more accessible to individuals with dietary restrictions or specific dietary choices, such as those following a vegan or vegetarian lifestyle. By using alternative dairy products, such as almond milk or coconut milk, and replacing traditional sweeteners with natural alternatives like maple syrup or agave, egg-free gelato can accommodate various dietary needs and preferences.
In summary, making gelato without eggs offers several advantages, from allowing the flavors to shine through to achieving a lighter texture and accommodating dietary restrictions. By opting for an egg-free gelato recipe, you can enjoy a refreshing and creamy treat that is versatile and customizable to fit your unique taste preferences and dietary requirements.
Ingredients
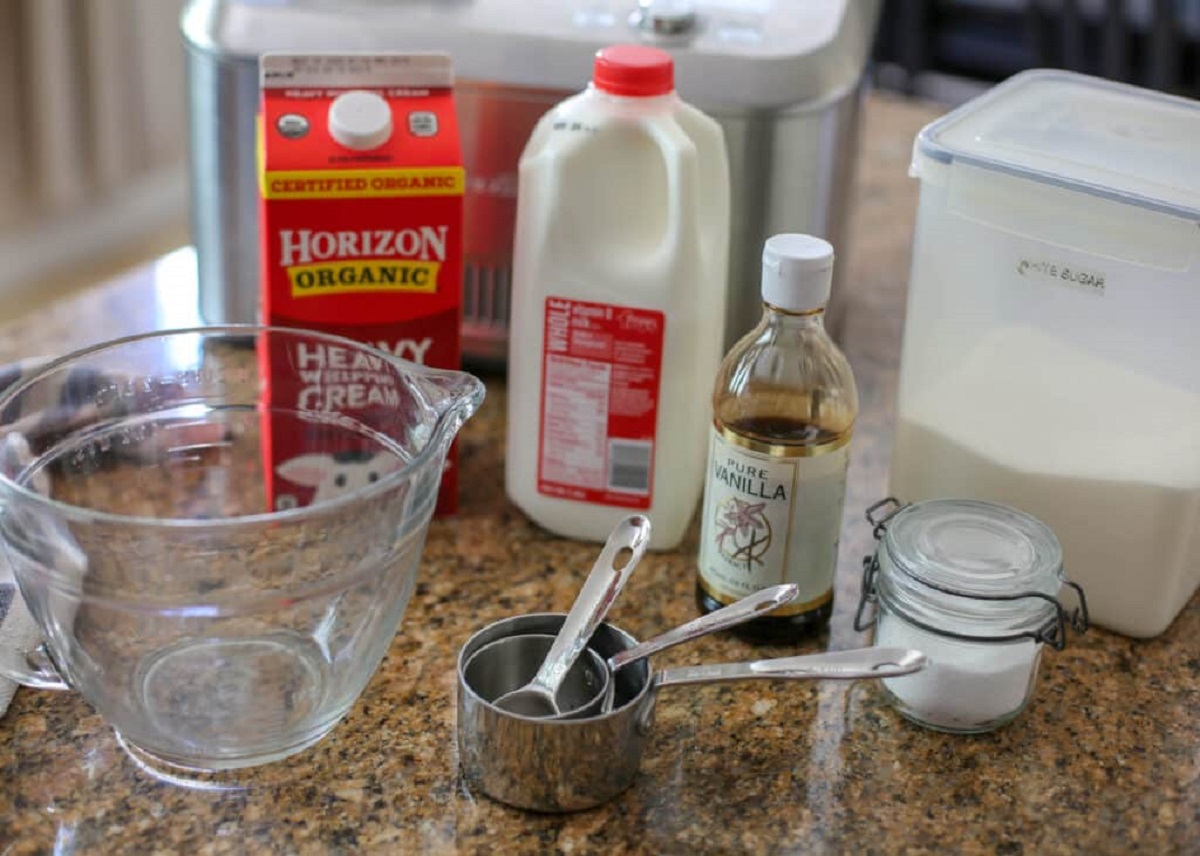
To make gelato without eggs, you will need the following ingredients:
- Milk or alternative dairy products (such as almond milk, coconut milk, or soy milk): The milk forms the base of the gelato and contributes to its creamy texture. You can choose your preferred type of milk or explore dairy-free options for a vegan-friendly version.
- Heavy cream or alternative cream: Adding a small amount of cream provides richness and helps create a smooth texture. Similar to milk, you can opt for dairy-free alternatives like coconut cream or cashew cream.
- Sugar: Sweeten the gelato base to your liking. Granulated sugar, cane sugar, or alternative sweeteners such as maple syrup or agave can be used.
- Flavorings: Depending on the desired flavor, you can add ingredients such as vanilla extract, cocoa powder, almond extract, espresso, fresh fruit puree, or chopped nuts.
- Stabilizers (optional): Stabilizers like cornstarch or guar gum can be added for enhanced texture and to prevent ice crystals from forming. They are not essential but can improve your gelato’s consistency.
It’s important to use high-quality ingredients in your gelato to achieve the best flavor and texture. Fresh and ripe fruits, pure extracts, and premium cocoa powder can make all the difference. Additionally, opt for organic and sustainably sourced ingredients when possible for a healthier and more environmentally friendly treat.
Remember that the quantity of ingredients may vary depending on the specific recipe you follow. Make sure to check the amounts and proportions mentioned in the recipe you choose to ensure a successful outcome.
Equipment
To make gelato without eggs, you will need the following equipment:
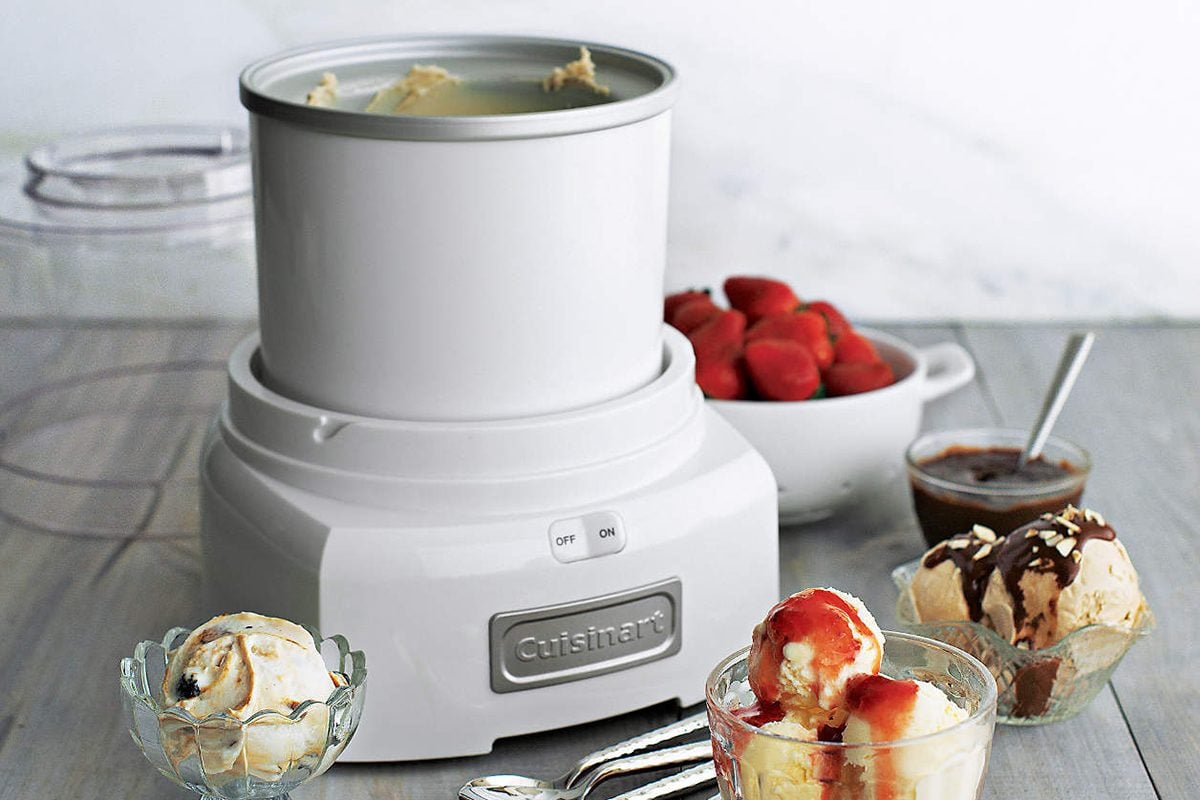
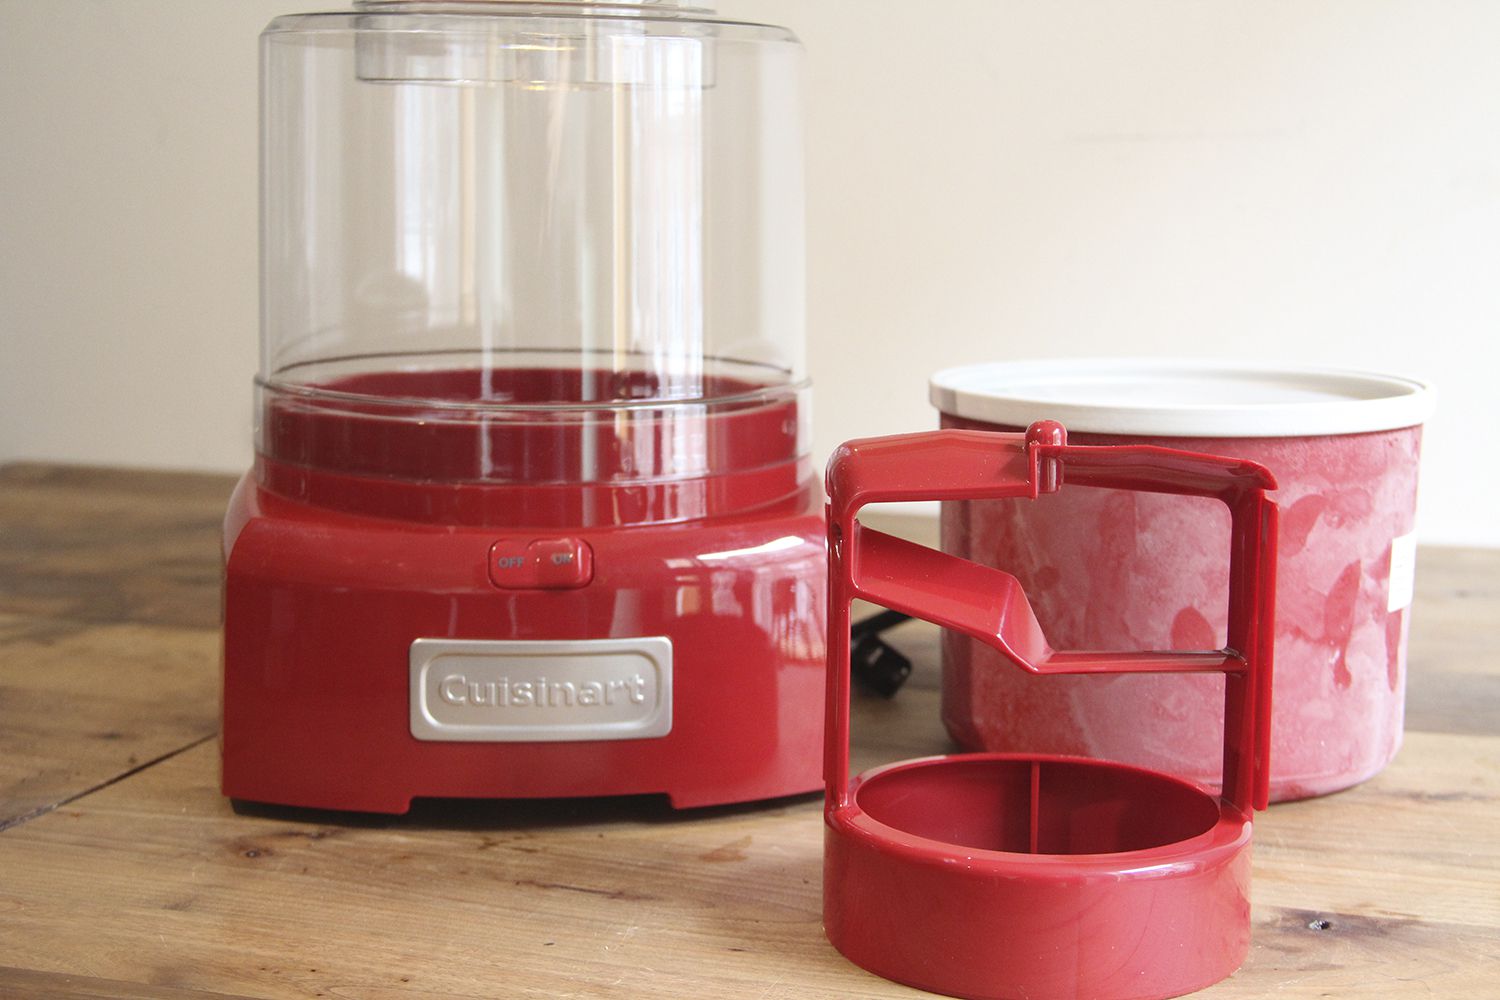
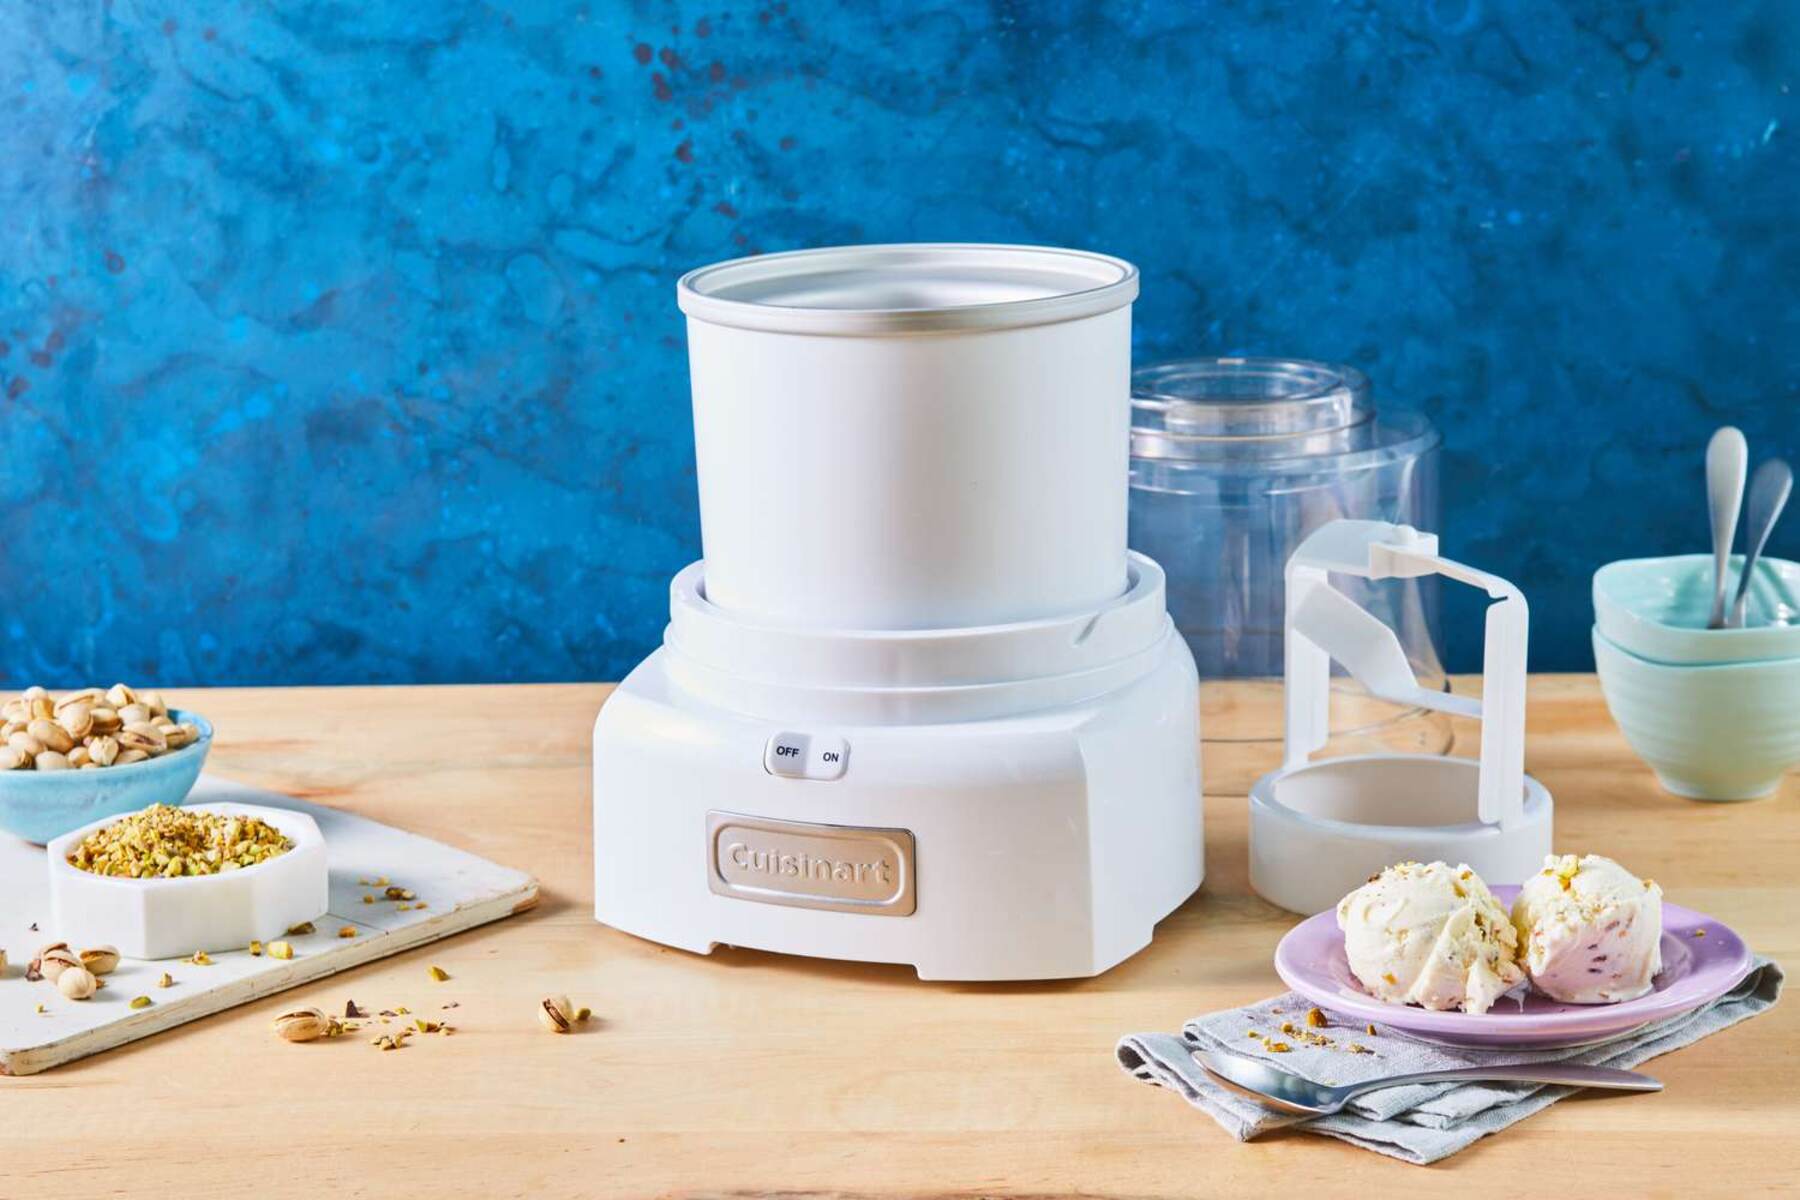
- Ice cream maker: An ice cream maker is essential for achieving the perfect texture in your gelato. There are various types of ice cream makers available, including electric, manual, and freezer bowl attachments. Choose the one that best suits your needs and budget.
- Mixing bowls: Use mixing bowls to combine and chill the ingredients before transferring them to the ice cream maker.
- Whisk or handheld mixer: A whisk or handheld mixer is useful for thoroughly mixing the gelato base and ensuring all the ingredients are well incorporated.
- Saucepan: Use a saucepan to heat the gelato base and dissolve the sugar, if necessary.
- Measuring cups and spoons: Accurate measurements are crucial for a successful gelato recipe. Use measuring cups and spoons to measure the ingredients precisely.
- Spatula or wooden spoon: A spatula or wooden spoon is handy for stirring and scraping the gelato base as it heats on the stovetop, ensuring it doesn’t stick to the bottom of the pan.
- Strainer: Strain the gelato base before chilling it to remove any lumps or unwanted particles for a smooth consistency.
- Gelato storage containers: Once the gelato is finished, transfer it to airtight containers for proper storage in the freezer. This will help maintain its freshness and prevent freezer burn.
It’s important to note that while an ice cream maker is essential for making gelato, if you don’t have one, you can still follow a no-churn gelato recipe that requires no special equipment. In this case, you would typically make the gelato base and freeze it in a shallow container, stirring it every 30 minutes until it reaches the desired consistency.
Ensure all your equipment is clean and in good working condition before starting to make your gelato. Properly maintained and functional equipment will help you achieve the best results and enjoy your homemade gelato to the fullest.
Step 1: Preparing the Base
To start making gelato without eggs, you need to prepare the base mixture. This mixture forms the foundation of your gelato and provides the flavor and texture you desire. Here’s how to prepare the base:
- In a saucepan, combine the milk, cream, and sugar. Stir over low heat until the sugar has completely dissolved. Ensure that the mixture does not boil.
- If you are using any flavorings, such as vanilla extract or cocoa powder, add them to the mixture and whisk until well combined.
- For added texture and stability, you can add a small amount of stabilizer, such as cornstarch or guar gum, at this stage. Follow the instructions on the packaging for the recommended amount.
- Continue cooking the mixture over low heat, stirring constantly, until it thickens slightly. This usually takes around 5-7 minutes. Be careful not to overcook it, as this can affect the final texture. The base should be smooth and slightly thickened.
- Remove the saucepan from the heat and strain the mixture through a fine-mesh sieve into a clean bowl. This step ensures that any lumps or impurities are removed, resulting in a smoother gelato.
Once you have prepared the gelato base, you can move on to the next step: chilling it before transferring it to the ice cream maker. It’s important to note that the base should be completely cooled before adding it to the ice cream maker to ensure optimal freezing and consistency.
Storing the base in the refrigerator for at least 2-4 hours or overnight allows it to cool thoroughly and allows the flavors to meld together, resulting in a more flavorful gelato. Once chilled, you are ready to move on to the next step of the gelato-making process.
Step 2: Chilling the Base
After preparing the gelato base, it’s crucial to chill it before transferring it to the ice cream maker. Chilling the base helps to enhance the texture and flavor of the final gelato. Here’s how to properly chill the base:
- Transfer the prepared gelato base to a clean, airtight container. Ensure that the container is large enough to hold the mixture and leave some room for expansion as it freezes.
- Cover the container with plastic wrap, ensuring it touches the surface of the gelato base. This helps prevent a skin from forming on top of the mixture.
- Place the container in the refrigerator to chill for a minimum of 2-4 hours or, preferably, overnight. Chilling the base thoroughly allows the flavors to meld and develop, resulting in a more flavorful gelato.
During the chilling process, the gelato base will cool down completely, allowing the ingredients to come together harmoniously. This step is essential for achieving a well-incorporated mixture and a smoother texture in the final gelato.
It’s important to note that the chilling time may vary depending on the specific recipe you are following. Some recipes may require longer chilling times, especially if the mixture contains ingredients like fruit puree that need more time to cool and infuse their flavors into the base.
Once the gelato base has chilled thoroughly, you are ready to move on to the next step: using the ice cream maker to freeze and churn the gelato. The chilled base will ensure that the gelato freezes evenly and achieves the desired creamy consistency.
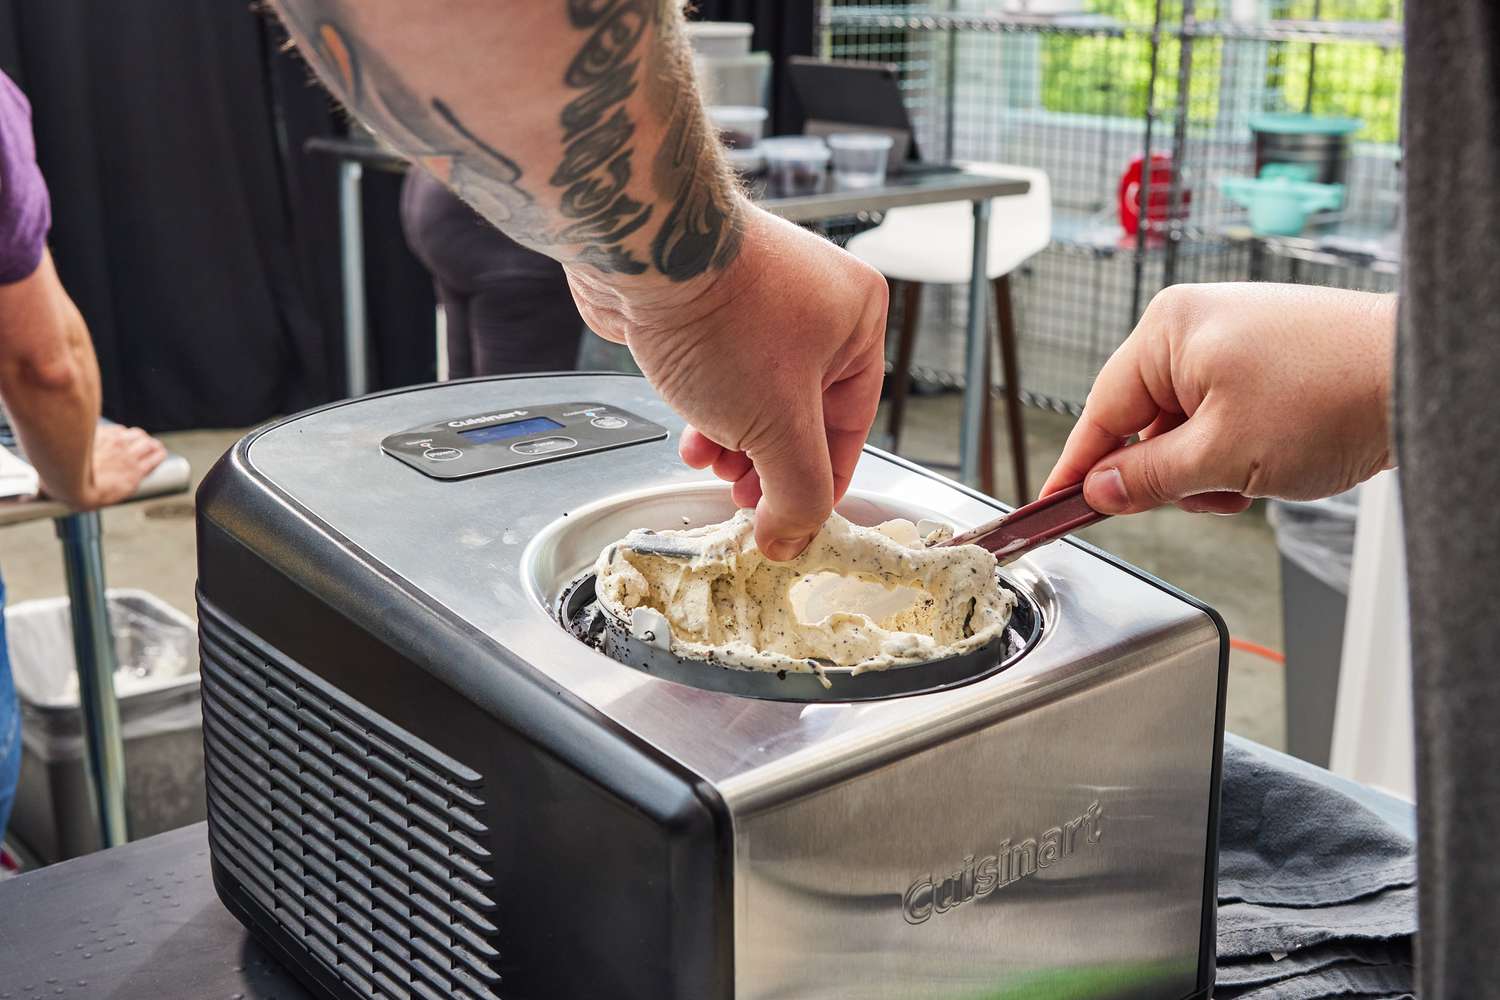
Step 3: Using the Ice Cream Maker
Now that your gelato base is properly chilled, it’s time to use your ice cream maker to freeze and churn it into a creamy and delectable treat. Follow these steps to use the ice cream maker effectively:
- Set up your ice cream maker according to the manufacturer’s instructions. This may involve attaching a mixing bowl, ensuring the freezing canister is properly frozen, or other specific steps.
- Remove the gelato base from the refrigerator, and give it a quick stir to ensure it is well mixed.
- Pour the gelato base into the ice cream maker’s freezing canister. Be careful not to overfill it, as the mixture will expand as it freezes. Leave some space for the mixture to churn and incorporate air.
- Secure the lid of the ice cream maker, and turn it on. Allow the machine to run according to the manufacturer’s instructions. Typically, it takes around 20-30 minutes for the gelato to reach a soft-serve consistency.
- While the gelato is churning, resist the temptation to open the lid frequently. Opening the lid can disrupt the freezing process and cause the gelato to take longer to reach the desired consistency.
- Monitor the gelato as it churns. You will notice that the mixture will thicken and increase in volume as air is incorporated. It should have a smooth and creamy texture when done.
It’s important to follow the instructions provided with your specific ice cream maker, as different models may have different freezing times and instructions. Some machines may require pre-freezing the canister, while others may have built-in freezing mechanisms. Ensure that your gelato reaches a soft-serve consistency before proceeding to the next step.
Once the gelato has churned to the desired consistency, it’s time to transfer it to a storage container and continue the freezing process. The gelato will be soft at this stage, so it’s best to transfer it using a spatula or a dedicated ice cream scoop.
Now that your gelato has gone through the churning process, it’s time to freeze and solidify it further. Continue to the next step to ensure your gelato achieves the perfect texture and can be enjoyed at its best.
Step 4: Freezing the Gelato
After using the ice cream maker to churn your gelato to a soft-serve consistency, the next step is to freeze it further to achieve the desired firmness. Follow these steps to freeze your gelato properly:
- Transfer the churned gelato from the ice cream maker into an airtight container. A container with a lid is ideal for preserving the texture and preventing any crystallization.
- Smooth the surface of the gelato with a spatula or the back of a spoon to ensure an even and appealing appearance.
- Place the container in the freezer, and let the gelato freeze for at least 4-6 hours or overnight. During this time, the gelato will solidify and reach its optimal texture.
It’s important to note that gelato freezes at a slightly higher temperature than traditional ice cream. This allows it to maintain a softer and creamier consistency, even when fully frozen. However, it’s still vital to seal the container tightly to prevent any exposure to air or potential freezer burn.
When freezing the gelato, it’s advisable to keep it away from other strong-smelling foods in the freezer, as the gelato can absorb odors easily. Store the gelato in a dedicated spot where it won’t be disturbed or stacked by other items.
If you prefer a firmer gelato, you can extend the freezing time accordingly. However, it’s important not to freeze the gelato for too long, as it may become too hard and difficult to scoop. Gelato is best enjoyed when it has a smooth and creamy texture.
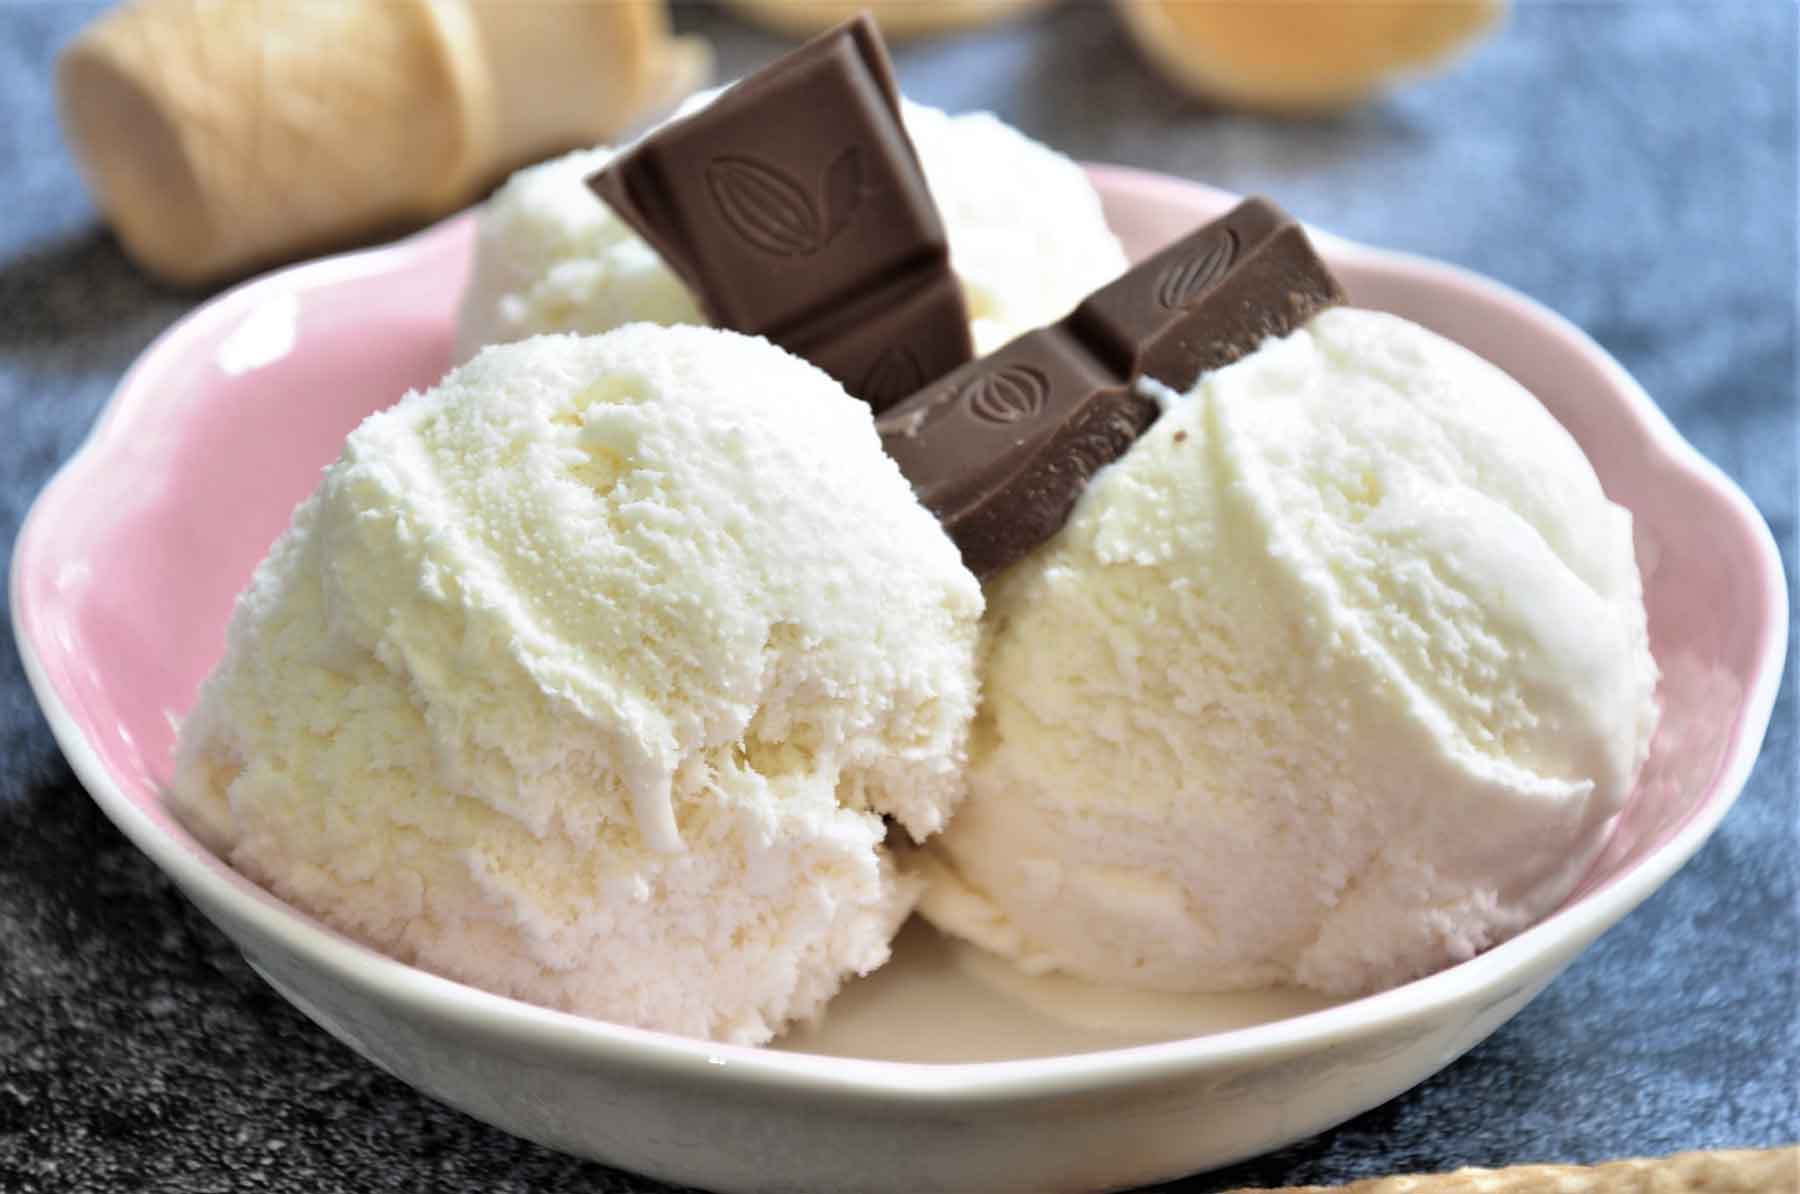
Once the gelato has reached the desired frozen consistency, it is ready to be enjoyed. Serve it in bowls or cones, and savor the delightful taste and texture of your homemade gelato.
Remember to return any remaining gelato to the freezer promptly after serving to maintain its quality. Properly stored gelato can be kept in the freezer for up to two weeks, although it is recommended to consume it within one week for the best flavor and texture.
Step 5: Serving and Storing Gelato
Now that your gelato is frozen to perfection, it’s time to serve and store it to ensure its freshness and taste. Here’s how to serve and store gelato properly:
- Remove the gelato container from the freezer and let it sit at room temperature for a few minutes. This will allow the gelato to soften slightly, making it easier to scoop and serve.
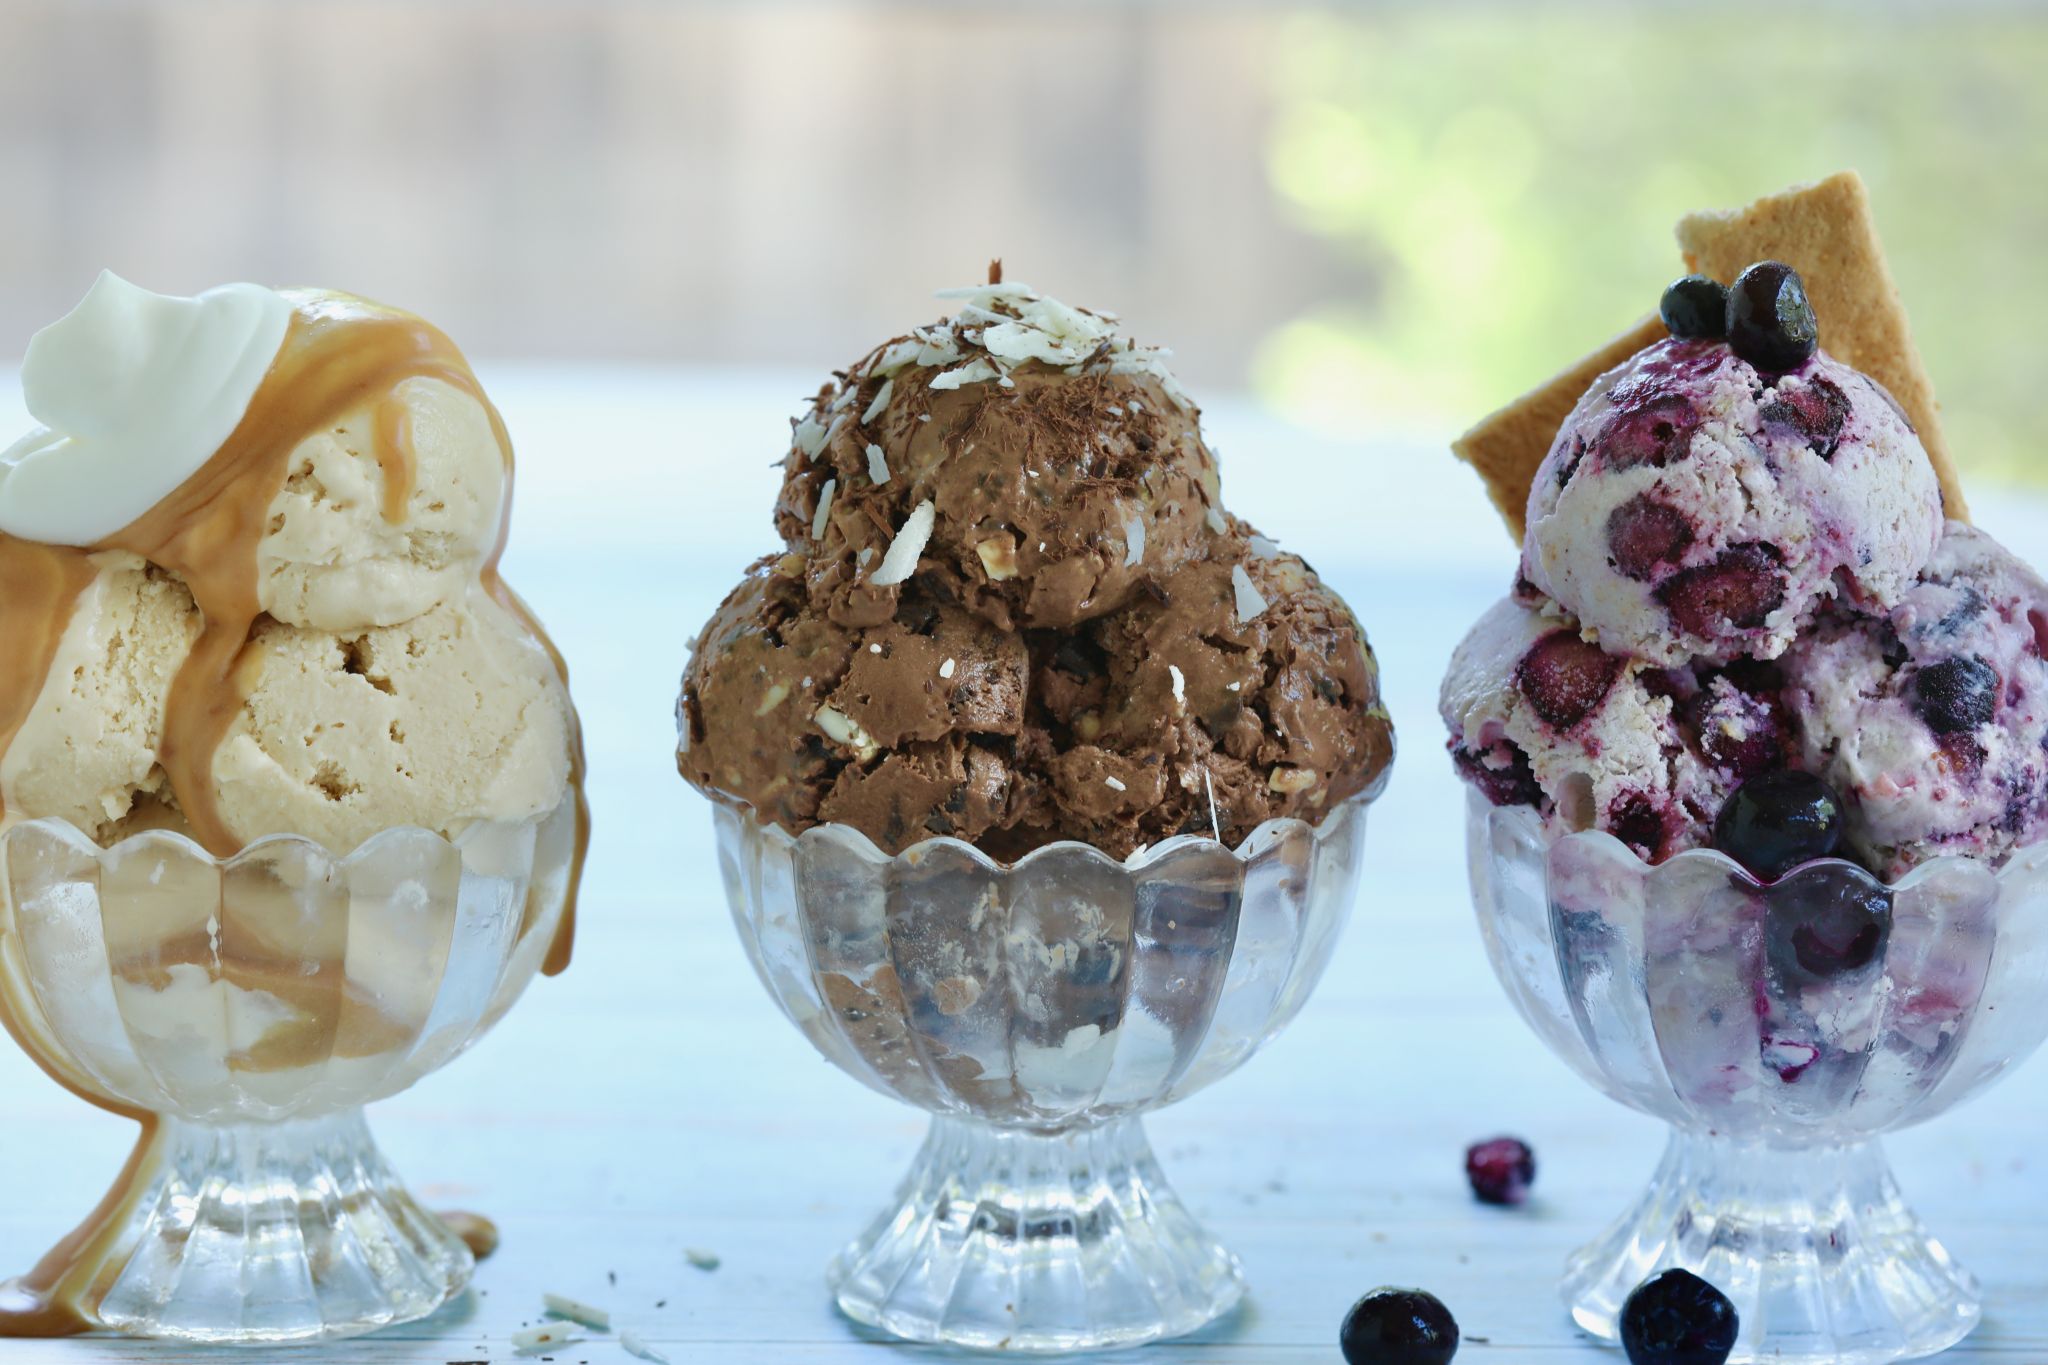
- Using an ice cream scoop or a spoon, portion the gelato into serving bowls or cones. You can garnish the gelato with fresh fruits, nuts, chocolate shavings, or a drizzle of your favorite sauce for an extra touch of indulgence.
- Serve the gelato immediately to enjoy it at its best. Gelato has a lower melting point compared to ice cream, so be mindful of serving it in a cool environment or under controlled temperatures if you’re hosting a gathering.
- If there are leftovers, promptly return the remaining gelato to its airtight container. Smooth the surface again to minimize air exposure and prevent ice crystals from forming.
- Place the container back in the freezer, ensuring it is in a stable position where it won’t be knocked over or disturbed. Avoid stacking anything on top of the gelato to preserve its texture.
- Gelato can be stored in the freezer for up to two weeks, but it is recommended to consume it within one week for optimal freshness and flavor.
When serving gelato, it’s important to scoop it with a gentle hand to maintain its smooth and creamy texture. Allow it to melt in your mouth for a moment to fully appreciate the flavors.
Remember, gelato is meant to be savored slowly. Take your time and enjoy each spoonful of this delightful frozen treat. Whether you’re enjoying it on a hot summer day or as a special dessert after a meal, homemade gelato is a wonderful indulgence to share with family and friends.
Now that you know how to serve and store gelato properly, you can enjoy your homemade creation whenever your sweet tooth calls. So, sit back, relax, and savor the lusciousness of your homemade gelato!
Tips and Variations
Making gelato without eggs opens up a world of possibilities for creativity and flavor experimentation. Here are some tips and variations to enhance your gelato-making experience:
- Experiment with flavors: Use your favorite fruits, such as strawberries, mangoes, or peaches, to create fruity gelato variations. You can also incorporate nuts, chocolates, or cookies for added texture and richness.
- Consider dairy-free options: If you’re lactose intolerant or prefer a dairy-free gelato, substitute regular milk and cream with alternatives like almond milk, coconut milk, or soy milk. These options can yield deliciously creamy results.
- Add mix-ins: For extra bursts of flavor, add mix-ins like chocolate chips, crushed cookies, or caramel swirls during the last few minutes of churning. This will create delightful surprises throughout your gelato.
- Use natural sweeteners: Explore natural sweeteners like honey, maple syrup, or agave nectar as alternatives to granulated sugar. These options can lend distinct flavors and nuances to your gelato.
- Don’t skip the straining step: Straining the gelato base after cooking helps achieve a smoother and velvety texture by removing any solids or lumps that may have formed during the cooking process.
- Keep it fresh: Use high-quality ingredients to ensure the best taste and texture in your gelato. Fresh and ripe fruits, premium cocoa powder, and pure extracts will make a difference in the final outcome.
- Be patient with freezing: Allow the gelato to freeze for the recommended time, but remember that gelato is best enjoyed when it has a softer consistency compared to ice cream. Its unique texture sets it apart.
- Customize toppings: Elevate your gelato experience with various toppings like whipped cream, fresh berries, toasted nuts, or a drizzle of chocolate sauce. Get creative and make it visually appealing.
Remember, making gelato is a fun and creative process. Feel free to experiment with flavors, ratios, and techniques to find your perfect version of this delectable frozen dessert. Whether you’re following a classic recipe or putting your own spin on it, the joy of homemade gelato is in the journey of discovery and the satisfaction of enjoying a personalized treat.
So, unleash your culinary imagination and create gelato masterpieces that will impress your loved ones and leave them craving for more. Happy gelato-making!
Conclusion
Congratulations! You have now learned how to make delicious gelato without eggs using an ice cream maker. By following the step-by-step process, you can create a creamy and flavorful frozen treat right in the comfort of your own kitchen.
Making gelato without eggs allows the pure flavors of the ingredients to shine through while achieving a lighter and smoother texture. With the right ingredients and equipment, you can customize your gelato to suit your taste preferences and dietary needs.
Remember to properly prepare the gelato base, chill it, use the ice cream maker to churn it to the perfect consistency, freeze it, and serve it with flair. Don’t forget to explore different flavors and variations for endless gelato possibilities.
Whether you prefer fruity combinations, indulgent mix-ins, or dairy-free alternatives, making gelato at home is an enjoyable and rewarding experience. You can impress your family and friends with your homemade creations while savoring the satisfaction of a perfectly crafted gelato.
So, gather your ingredients, set up your ice cream maker, and let your creativity flow. Have fun experimenting with flavors, textures, and toppings to create gelato that is uniquely yours. The joy of making gelato lies not only in the end result but also in the process itself.
Now, it’s time to delight in the exquisite taste of your homemade egg-free gelato. Enjoy every spoonful, share it with loved ones, and celebrate the sweet moments that gelato brings. Happy gelato-making and happy indulging!