Introduction
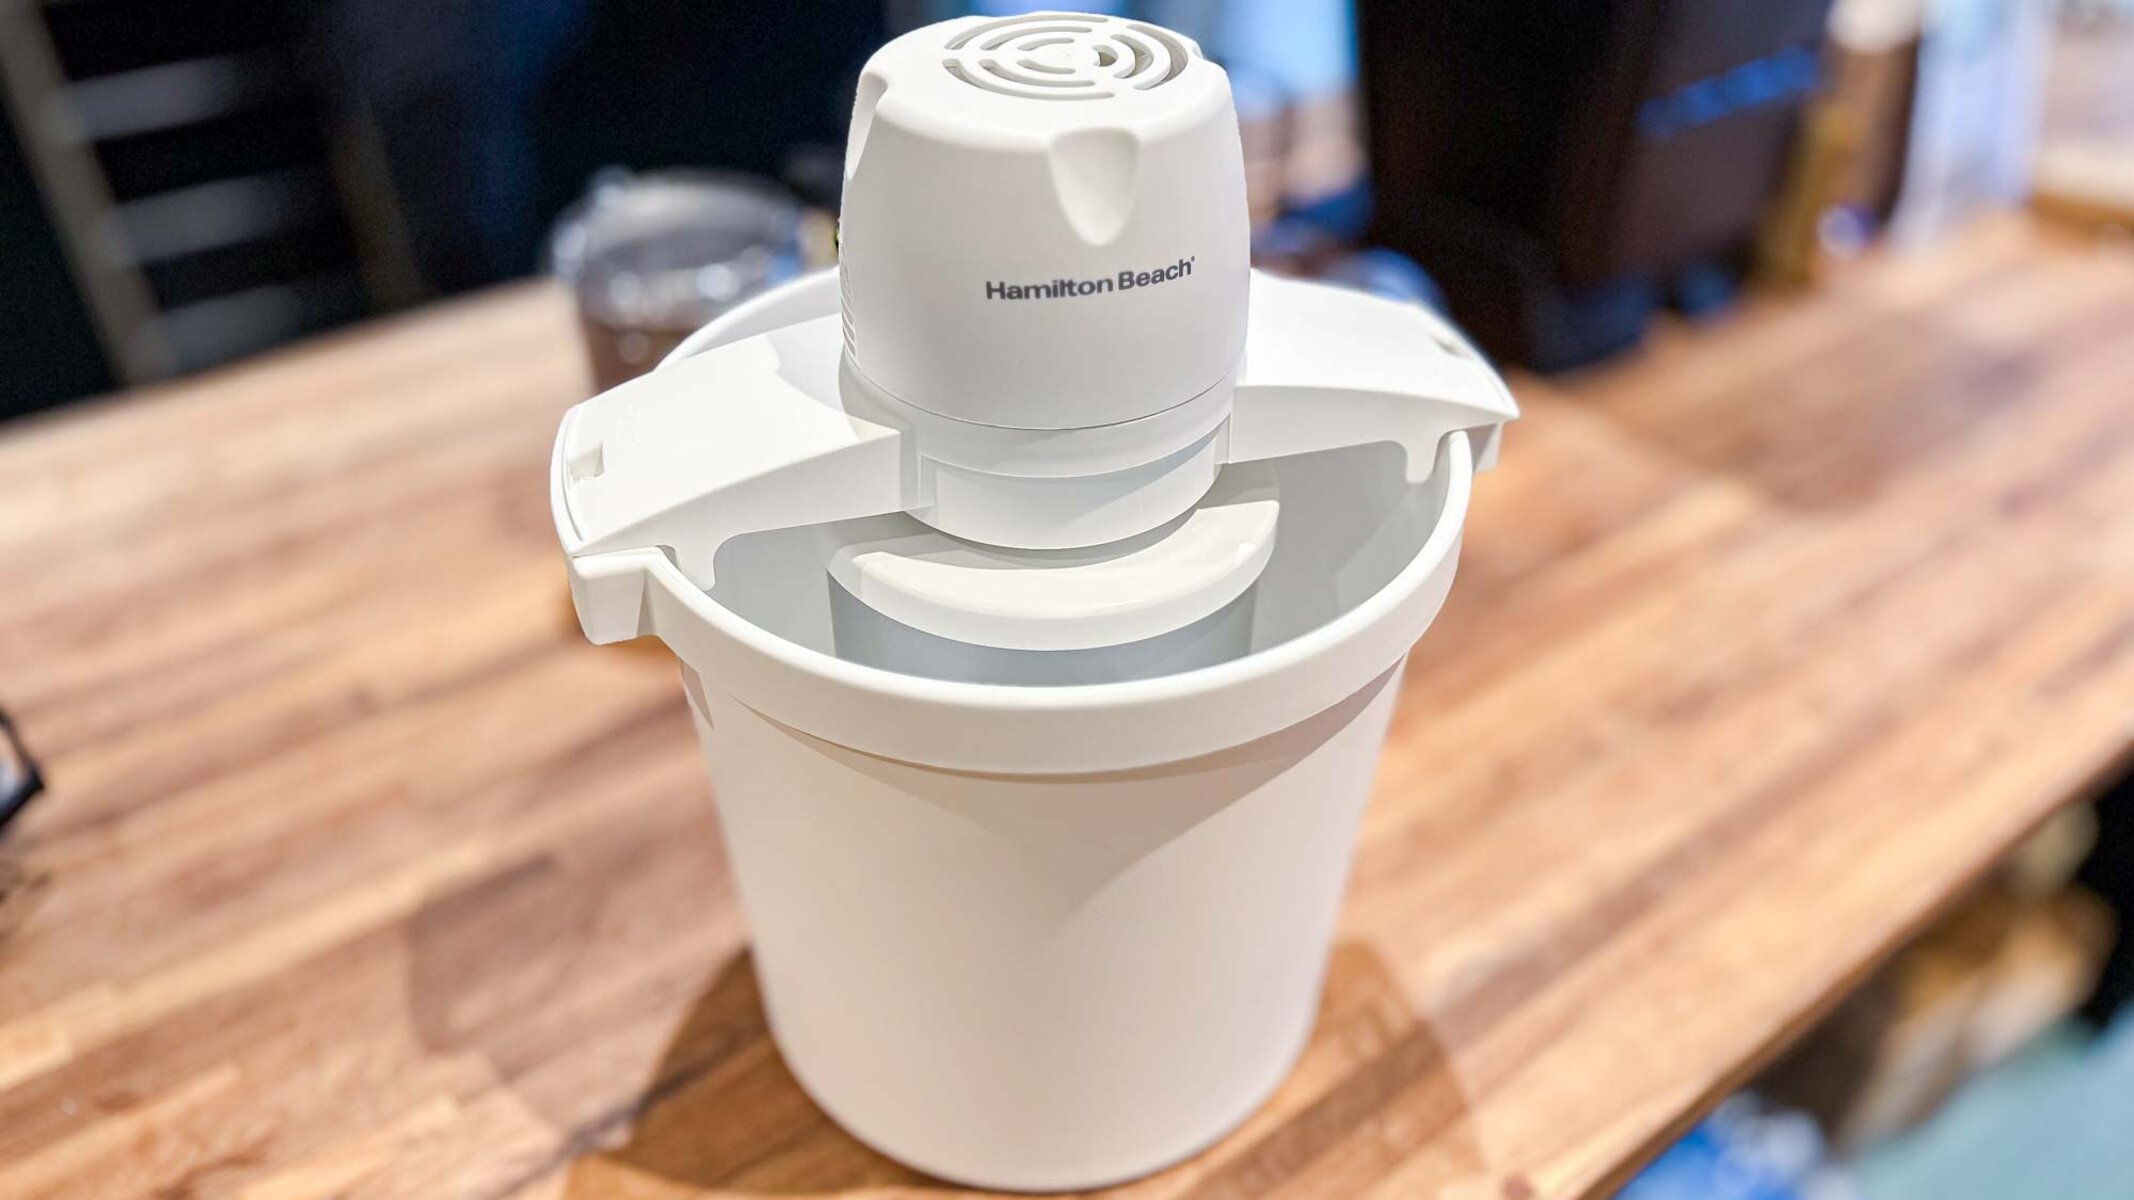
Ice cream is a delightful indulgence loved by people of all ages. Whether it’s a classic vanilla cone or a fancy sundae, the creamy goodness never fails to bring smiles. And what makes homemade ice cream even more enticing is the use of an ice cream maker. However, have you ever noticed a mysterious black substance forming on the top of your beloved ice cream maker? What is it, and why does it appear?
The black substance on the top of an ice cream maker can be both puzzling and concerning. It may give rise to questions about cleanliness, hygiene, and the safety of the equipment. Understanding the causes of this phenomenon and how to prevent it will not only ensure that your ice cream maker remains in excellent condition but also guarantee that you can enjoy delicious homemade treats without any worries.
In this article, we will explore the potential causes of the black substance on top of the ice cream maker. We will discuss the possibilities of mold or mildew growth, bacteria or yeast formation, and mineral deposits. We will also provide helpful tips on how to prevent this issue from occurring in the first place. By following these guidelines, you can maintain a clean and efficient ice cream maker and continue to create delectable frozen concoctions for years to come.
What is the black substance on top of the ice cream maker?
The black substance that often appears on the top of an ice cream maker can be concerning, but it is usually not a cause for alarm. There are several potential reasons for its presence, and understanding these causes will help you address the issue effectively.
One possibility is the growth of mold or mildew. When moisture accumulates in the nooks and crannies of the ice cream maker, especially if it is not properly dried after use, it creates an ideal environment for mold and mildew spores to thrive. These organisms can appear as black patches or specks on the surface of the machine.
Another explanation could be the growth of bacteria or yeast. Just like mold and mildew, bacteria and yeast require moisture and a suitable environment to grow. If the ice cream maker is not properly cleaned and sanitized, residual dairy products or other ingredients can provide the necessary nutrients for these microorganisms to proliferate, leading to the development of a black substance.
Lastly, the black substance on the ice cream maker could be comprised of mineral deposits. Tap water often contains minerals such as calcium and magnesium, which can accumulate over time. When water splashes or evaporates on the top of the machine, these minerals can leave behind dark, crusty residue.
It is important to note that the black substance on top of the ice cream maker is usually harmless. However, it is still necessary to address its presence to ensure a clean and hygienic environment for making ice cream. In the following sections, we will provide tips to prevent the formation of this black substance and maintain the optimal condition of your ice cream maker.
Possible Causes of the Black Substance
When you notice a black substance on the top of your ice cream maker, there are several potential causes to consider. Understanding these causes will help you identify the source and take appropriate measures to prevent its formation in the future. Let’s explore these possible culprits in detail.
Mold or Mildew: One of the common causes of the black substance is the growth of mold or mildew. Mold and mildew thrive in damp and humid environments. If your ice cream maker is not thoroughly dried after each use, moisture can accumulate and create the perfect breeding ground for these microorganisms. They can appear as dark patches or specks on the top of the machine.
Bacteria or Yeast Growth: Another potential cause of the black substance is the growth of bacteria or yeast. If the ice cream maker is not properly cleaned and sanitized, leftover traces of dairy products or other ingredients can provide a food source for bacteria and yeast to multiply. As they grow, they can produce pigments that manifest as a black substance on the surface of the machine.
Mineral Deposits: Tap water often contains minerals like calcium and magnesium. Over time, if water splashes or evaporates on the top of the ice cream maker, these minerals can leave behind dark, crusty residue. These mineral deposits can contribute to the formation of the black substance on the surface of the machine.
By understanding these potential causes, you can pinpoint the origin of the black substance on your ice cream maker. In the next section, we will discuss preventive measures to help you keep your ice cream maker clean and free from this unsightly issue.
Mold or Mildew
One of the common culprits behind the black substance on top of an ice cream maker is the growth of mold or mildew. These fungi thrive in damp, dark, and humid environments, making the interior of an ice cream maker an ideal breeding ground if it is not properly dried after use.
Mold and mildew can appear as black patches or specks on the surface of the machine. They are not only unsightly but can also pose potential health risks if left unaddressed. Inhaling or ingesting mold spores can lead to respiratory issues and allergies, which is why it is crucial to take immediate action to prevent their growth.
To combat mold and mildew on your ice cream maker, follow these preventive measures:
- Thoroughly clean and dry: After each use, disassemble the ice cream maker components and clean them thoroughly with warm soapy water. Pay extra attention to areas prone to moisture accumulation, such as the removable parts and crevices. Rinse thoroughly and allow them to air dry completely before reassembling.
- Store in a dry location: When not in use, store the ice cream maker in a dry area to minimize the chances of moisture buildup. Choose a well-ventilated spot away from direct sunlight or humid environments such as the kitchen sink or dishwasher.
- Use a clean cloth: Before assembling the ice cream maker, wipe down the interior surfaces with a clean, dry cloth to remove any lingering moisture. This step helps ensure a dry environment, making it less conducive for mold and mildew growth.
- Inspect and replace parts if necessary: Regularly inspect the gaskets, seals, and other components of the ice cream maker for signs of wear or damage. If you notice any cracks or deterioration, replace them promptly. Damaged parts can trap moisture and provide a breeding ground for mold and mildew.
By following these preventive measures, you can significantly reduce the likelihood of mold or mildew growth on your ice cream maker. In the next section, we will explore another possible cause of the black substance: bacteria or yeast growth.
Bacteria or Yeast Growth
Another potential cause of the black substance on the top of your ice cream maker is the growth of bacteria or yeast. These microorganisms can thrive in moist and unclean environments, using residual food particles or ingredients left behind after making ice cream as a food source.
When bacteria or yeast colonies multiply, they can produce pigments that give rise to the black substance on the surface of the machine. Not only does this look unappealing, but it can also compromise the hygiene and safety of your ice cream maker.
To prevent bacteria or yeast growth on your ice cream maker, here are some effective preventive measures:
- Thorough cleaning: After each use, disassemble the ice cream maker and clean all the parts thoroughly. Use warm soapy water and a brush or sponge to remove any food residue or buildup. Pay attention to hard-to-reach areas and crevices where bacteria and yeast can accumulate.
- Sanitize: In addition to cleaning, it is essential to sanitize your ice cream maker regularly. Use a solution of bleach and water or a food-grade sanitizer to disinfect the parts. Follow the manufacturer’s instructions for specific sanitization steps or consult the user manual if available.
- Proper ingredient handling: When preparing the ingredients for your ice cream, ensure that everything is fresh and uncontaminated. Avoid cross-contamination by using separate utensils and containers for different ingredients, especially when dealing with raw eggs or dairy products.
- Prompt cleaning: After making ice cream, clean the ice cream maker immediately. Do not leave it sitting with residual ingredients inside, as this can create an ideal environment for bacteria and yeast to grow. Rinse all the components thoroughly, and allow them to dry completely before storing.
By implementing these preventive measures, you can significantly reduce the risk of bacteria or yeast growth on your ice cream maker and maintain a hygienic environment for your frozen treats. Next, we will discuss another potential cause of the black substance: mineral deposits.
Mineral Deposits
Tap water contains minerals like calcium and magnesium, which can leave behind residue when water splashes or evaporates on the top of your ice cream maker. Over time, these mineral deposits can contribute to the formation of the black substance on the surface of the machine.
Mineral deposits are commonly seen as dark, crusty residues and can be challenging to remove if left unattended. Although they pose no harm to your health, they can affect the performance and appearance of your ice cream maker.
To prevent mineral deposits from forming on your ice cream maker, follow these preventive measures:
- Use filtered or distilled water: Consider using filtered or distilled water when filling your ice cream maker’s reservoir. These types of water have reduced mineral content compared to regular tap water, decreasing the likelihood of mineral deposits.
- Clean and descale periodically: Regularly clean and descale your ice cream maker to remove any existing mineral deposits. Follow the manufacturer’s instructions for specific cleaning and descaling methods. Use a descaling solution appropriate for your machine or a mixture of vinegar and water to dissolve and remove the mineral buildup.
- Dry the surface: After each use, wipe down the top surface of your ice cream maker to remove any water residue. Use a clean, dry cloth or towel to ensure that no moisture remains, minimizing the chances of mineral deposits forming.
- Avoid harsh chemicals: When cleaning your ice cream maker, avoid using harsh cleaning chemicals or abrasive substances that can damage the machine’s surface. Opt for mild dish soap or cleaning agents recommended by the manufacturer to maintain the integrity of the equipment.
By implementing these preventive measures, you can minimize the formation of mineral deposits on your ice cream maker and keep it looking clean and functional. In the next section, we will discuss essential steps to prevent the formation of the black substance and maintain the overall cleanliness of your ice cream maker.
How to Prevent the Black Substance from Forming
Preventing the formation of the black substance on your ice cream maker requires regular maintenance and proper care. By following these essential steps, you can keep your ice cream maker clean, hygienic, and free from unsightly black residue.
- Regular cleaning and maintenance: After each use, disassemble the ice cream maker and clean all the components thoroughly. Use warm soapy water and a brush or sponge to remove any food residue or buildup. Pay attention to hard-to-reach areas and crevices. Rinse all the parts and air dry them completely before reassembling.
- Keeping the ice cream maker dry: Properly dry the ice cream maker after cleaning or before storage to minimize the chances of mold, mildew, and bacterial growth. Wipe the interior surfaces with a clean, dry cloth to remove any moisture. Store the ice cream maker in a dry area away from sources of humidity to further prevent moisture accumulation.
- Using distilled water or filtered water: To minimize mineral deposits, consider using distilled water or filtered water when filling the reservoir of your ice cream maker. These types of water have reduced mineral content and can help prevent the formation of dark residue on the surface of the machine.
- Inspecting and replacing parts if necessary: Regularly inspect the gaskets, seals, and other components of your ice cream maker for signs of wear or damage. Damaged parts can trap moisture and promote the growth of mold, mildew, or bacteria. If you notice any cracks, deterioration, or malfunctioning parts, replace them promptly to maintain the optimal condition of your ice cream maker.
By incorporating these preventive measures into your ice cream maker maintenance routine, you can significantly reduce the chances of the black substance forming on top of your machine. Additionally, these practices will help ensure the longevity and hygienic operation of your ice cream maker, allowing you to enjoy delicious frozen treats with peace of mind.
Regular Cleaning and Maintenance
Regular cleaning and maintenance are crucial for keeping your ice cream maker in optimal condition and preventing the formation of the black substance. By following proper cleaning practices, you can maintain a clean and hygienic environment for making delicious homemade ice cream. Here are some important steps to include in your regular cleaning and maintenance routine:
- Disassemble the ice cream maker: After each use, carefully disassemble the ice cream maker by removing any detachable parts, such as the mixing bowl, paddle, and lid. Refer to the manufacturer’s instructions for guidance on how to properly disassemble the machine.
- Clean with warm soapy water: Wash all the removable parts with warm soapy water. Use a soft sponge or brush to gently scrub away any residue or buildup. Pay special attention to hard-to-reach areas and crevices where leftover ingredients may be trapped.
- Rinse thoroughly: Once you have cleaned the components, rinse them thoroughly with clean water to remove any soap or residue. Ensure that no cleaning agents are left behind, as they can affect the taste and quality of your ice cream.
- Air dry completely: After rinsing, allow the parts to air dry completely. Place them on a clean, dry towel or rack, ensuring proper airflow around them. Avoid using paper towels, as they can leave fibers on the surfaces.
- Wipe the exterior: While the removable parts are drying, use a damp cloth to wipe the exterior of the ice cream maker. Remove any spills or drips to prevent them from becoming sticky or attracting dirt and debris.
- Reassemble and store: Once all the parts are completely dry, reassemble the ice cream maker. Follow the manufacturer’s instructions to ensure that the components are properly aligned and securely attached. Store the machine in a clean and dry location, away from dust and moisture.
- Periodic deep cleaning: In addition to regular cleaning, it is recommended to perform deep cleaning sessions periodically. Refer to the manufacturer’s instructions for specific guidelines on how to deep clean your ice cream maker. This may involve using a descaling solution or performing additional maintenance steps.
By incorporating these regular cleaning and maintenance practices into your ice cream maker care routine, you can keep your machine in excellent condition and maintain a high standard of cleanliness. This will not only prevent the formation of the black substance but also ensure that your ice cream tastes and looks its best when served.
Keeping the Ice Cream Maker Dry
Properly drying your ice cream maker after each use is essential for preventing the formation of the black substance and maintaining its overall cleanliness. Excess moisture can create a favorable environment for mold, mildew, and bacterial growth, which can lead to unpleasant odors and compromised hygiene. Follow these tips to ensure your ice cream maker remains dry and in optimal condition:
- Thoroughly clean before drying: After using the ice cream maker, disassemble it and clean all the parts thoroughly with warm soapy water. Remove any residue, food particles, or sticky substances to prevent them from becoming a breeding ground for microorganisms.
- Air dry the parts: After cleaning, allow the removable parts to air dry completely before reassembling them. Place them on a clean and dry rack or towel, ensuring proper airflow to promote quick and thorough drying.
- Wipe the interior surface: Before reassembling the ice cream maker, use a clean, dry cloth to wipe the interior surface, removing any remaining moisture. Pay attention to hard-to-reach areas and corners where water might have accumulated.
- Ensure a dry storage area: Choose a dry location for storing your ice cream maker. Avoid areas with high humidity, such as near the sink or dishwasher. Moisture in the air can condense on the machine, promoting the growth of mold and mildew. Ideally, store it in a cupboard or pantry away from direct sunlight and other sources of moisture.
- Inspect for any lingering moisture: Before storing the ice cream maker, check for any signs of lingering moisture. Ensure that all components are completely dry, including the exterior of the machine. Wipe down any remaining moisture with a clean, dry cloth.
- Allow for proper ventilation: If possible, leave the ice cream maker uncovered during storage to promote ventilation and discourage the buildup of moisture or trapped humidity. This will help prevent the growth of mold and mildew.
By following these practices and keeping your ice cream maker dry, you can minimize the risk of mold, mildew, and bacterial growth. This will not only maintain the cleanliness and hygiene of your machine but also ensure that the ice cream you make is of the highest quality. Taking the extra step to keep the ice cream maker dry will contribute to years of delicious frozen treats.
Using Distilled Water or Filtered Water
The quality of water you use in your ice cream maker plays a significant role in preventing the formation of the black substance and maintaining the longevity of the machine. Tap water often contains minerals like calcium and magnesium, which can contribute to the buildup of mineral deposits on the surface of the ice cream maker. By using distilled water or filtered water, you can minimize the mineral content and reduce the chances of residue forming. Here’s how you can incorporate distilled water or filtered water into your ice cream making process:
- Distilled water: Consider using distilled water as an alternative to tap water when filling the reservoir of your ice cream maker. Distilled water is free from impurities and minerals, making it less likely to leave behind deposits or residue on the machine’s surface.
- Filtered water: If you don’t have access to distilled water, using filtered water is another good option. A water filtration system can help remove impurities and minerals, providing cleaner water for your ice cream maker. Use a filter pitcher or attach an under-sink or faucet filter to your water supply to ensure a consistently filtered water source.
- Follow manufacturer’s recommendations: Check the user manual or manufacturer’s instructions for any specific guidelines regarding the type of water to use in your ice cream maker. Some machines may recommend using distilled or filtered water to prevent mineral buildup and ensure optimal performance.
- Regularly clean and descale: Even when using distilled or filtered water, it is important to regularly clean and descale your ice cream maker to remove any potential residue or buildup. Over time, traces of other ingredients or materials can still accumulate, so cleaning remains an essential step in the maintenance of your machine.
By using distilled water or filtered water in your ice cream maker, you can minimize the mineral content and reduce the risk of mineral deposits forming on the surface of the machine. This will help keep your ice cream maker clean and functioning efficiently, allowing you to enjoy homemade ice cream without any undesired residue. Remember to follow the manufacturer’s recommendations and maintain regular cleaning practices for the best results.
Conclusion
The presence of a black substance on the top of an ice cream maker can be a cause for concern, but understanding the potential causes and implementing preventive measures can help you maintain a clean and hygienic machine. Mold or mildew, bacteria or yeast growth, and mineral deposits are common culprits behind the black substance formation. By practicing regular cleaning and maintenance, keeping the ice cream maker dry, using distilled or filtered water, and inspecting and replacing damaged parts, you can prevent the formation of the black substance.
Proper care and attention to your ice cream maker not only ensure its longevity but also contribute to the quality and safety of the ice cream you make. Regularly disassembling, cleaning, and drying the machine after each use, as well as periodic deep cleaning, are crucial in preventing the growth of mold, mildew, bacteria, and mineral deposits. Additionally, using distilled or filtered water reduces the risk of mineral buildup on the surface of the machine.
By incorporating these preventive measures into your ice cream maker routine, you can continue to enjoy homemade ice cream without worrying about the presence of the black substance. Remember to consult the manufacturer’s instructions for specific guidelines, as different ice cream maker models may have unique maintenance requirements. With proper care and attention, your ice cream maker will provide you with countless batches of delicious frozen treats for years to come.