Introduction
Making your own homemade ice cream is a delightful experience that allows you to customize flavors and indulge in creamy, refreshing treats. While traditional ice cream recipes often call for eggs, there are many reasons why you might prefer to make eggless ice cream.
Whether you have dietary restrictions, allergies, or simply prefer to avoid eggs, rest assured that you can still create deliciously smooth and creamy ice cream without them. In this article, we will guide you through the process of making eggless ice cream using an ice cream maker.
By following our step-by-step instructions and using the right ingredients and techniques, you’ll be able to craft your own eggless ice cream that rivals store-bought options. Whether you’re craving classic flavors like vanilla and chocolate or adventurous combinations like strawberry cheesecake or mint chocolate chip, this guide will help you create the perfect frozen treat.
Not only will you have the satisfaction of knowing exactly what goes into your ice cream, but you’ll also have the freedom to experiment with different flavors, mix-ins, and even dietary preferences. So, gather your ingredients and let’s get started on the journey to creating delicious egg-free ice cream!
Ingredients
Making eggless ice cream requires a handful of common ingredients that you can easily find in your local grocery store. Here’s what you’ll need:
- 2 cups of heavy cream: This will give your ice cream its rich and creamy texture.
- 1 cup of whole milk: The milk adds a smooth consistency to the ice cream.
- 1 cup of granulated sugar: Sweetens the ice cream and helps prevent ice crystals from forming.
- 2 teaspoons of pure vanilla extract: Adds a delightful flavor to your ice cream base.
- Optional flavors and mix-ins: Depending on your preferences, you can add ingredients like cocoa powder, fruit puree, chocolate chips, nuts, or cookie crumbles to enhance the flavor and texture of your ice cream.
Keep in mind that these measurements serve as a general guideline, and you can adjust them according to your taste preferences. Additionally, if you have dietary restrictions, you can substitute the heavy cream and whole milk with alternatives such as coconut milk or almond milk to create a creamy and dairy-free ice cream.
Now that you have gathered all the necessary ingredients, it’s time to move on to the next step: preparing your eggless ice cream base.
Step 1: Gather your ingredients and equipment
The first step in making eggless ice cream is to gather all the necessary ingredients and equipment. Here’s what you’ll need:
Ingredients:
- 2 cups of heavy cream
- 1 cup of whole milk
- 1 cup of granulated sugar
- 2 teaspoons of pure vanilla extract
- Optional flavors and mix-ins (such as cocoa powder, fruit puree, chocolate chips, nuts, or cookie crumbles)
Equipment:
- An ice cream maker: This is a key tool for churning and freezing your ice cream.
- A mixing bowl: For combining all your ingredients.
- A whisk or electric mixer: To thoroughly mix your ice cream base.
- A spatula or wooden spoon: For stirring and scraping the sides of the bowl.
- A container with a lid: To store your finished ice cream in the freezer.
Make sure all your ingredients are properly measured and ready to use. It’s also a good idea to have your equipment clean and within reach before you begin. This way, you can easily move through the steps without interruptions.
Once you have everything prepared, you’re ready to move on to the next step: preparing your eggless ice cream base.
Step 2: Prepare your ice cream base
Now that you have gathered all your ingredients and equipment, it’s time to prepare your eggless ice cream base. Follow these steps:
- In a mixing bowl, combine the heavy cream, whole milk, granulated sugar, and vanilla extract. Using a whisk or electric mixer, mix the ingredients until the sugar is completely dissolved and the mixture is smooth.
- Take a moment to taste the base and adjust the sweetness or flavorings if desired. You can add a little more sugar or vanilla extract to suit your preferences.
- Once your ice cream base is well-mixed, cover the bowl with plastic wrap or a lid and refrigerate it for at least 2 hours, or overnight if possible. Chilling the base will allow the flavors to meld together and the mixture to become cold, which is crucial for proper churning and freezing.
- While your ice cream base is chilling, it’s a good time to prepare any additional flavors or mix-ins you want to add later. You can melt chocolate, puree fruits, or crush cookies to be incorporated into your ice cream.
Remember, the success of your eggless ice cream largely depends on having a well-mixed and properly chilled ice cream base. This will ensure a smooth and creamy texture in the final product.
Now that your ice cream base is prepared and chilling, you’re ready to move on to the next step: cooling and churning your ice cream.
Step 3: Cool and churn your ice cream
After preparing your ice cream base, it’s time to cool it down and churn it to create that creamy texture we all love. Follow these steps:
- Remove your chilled ice cream base from the refrigerator and give it a quick stir to ensure it’s well-mixed.
- Set up your ice cream maker according to the manufacturer’s instructions. This usually involves placing the freezer bowl into the machine and ensuring it’s properly frozen prior to use.
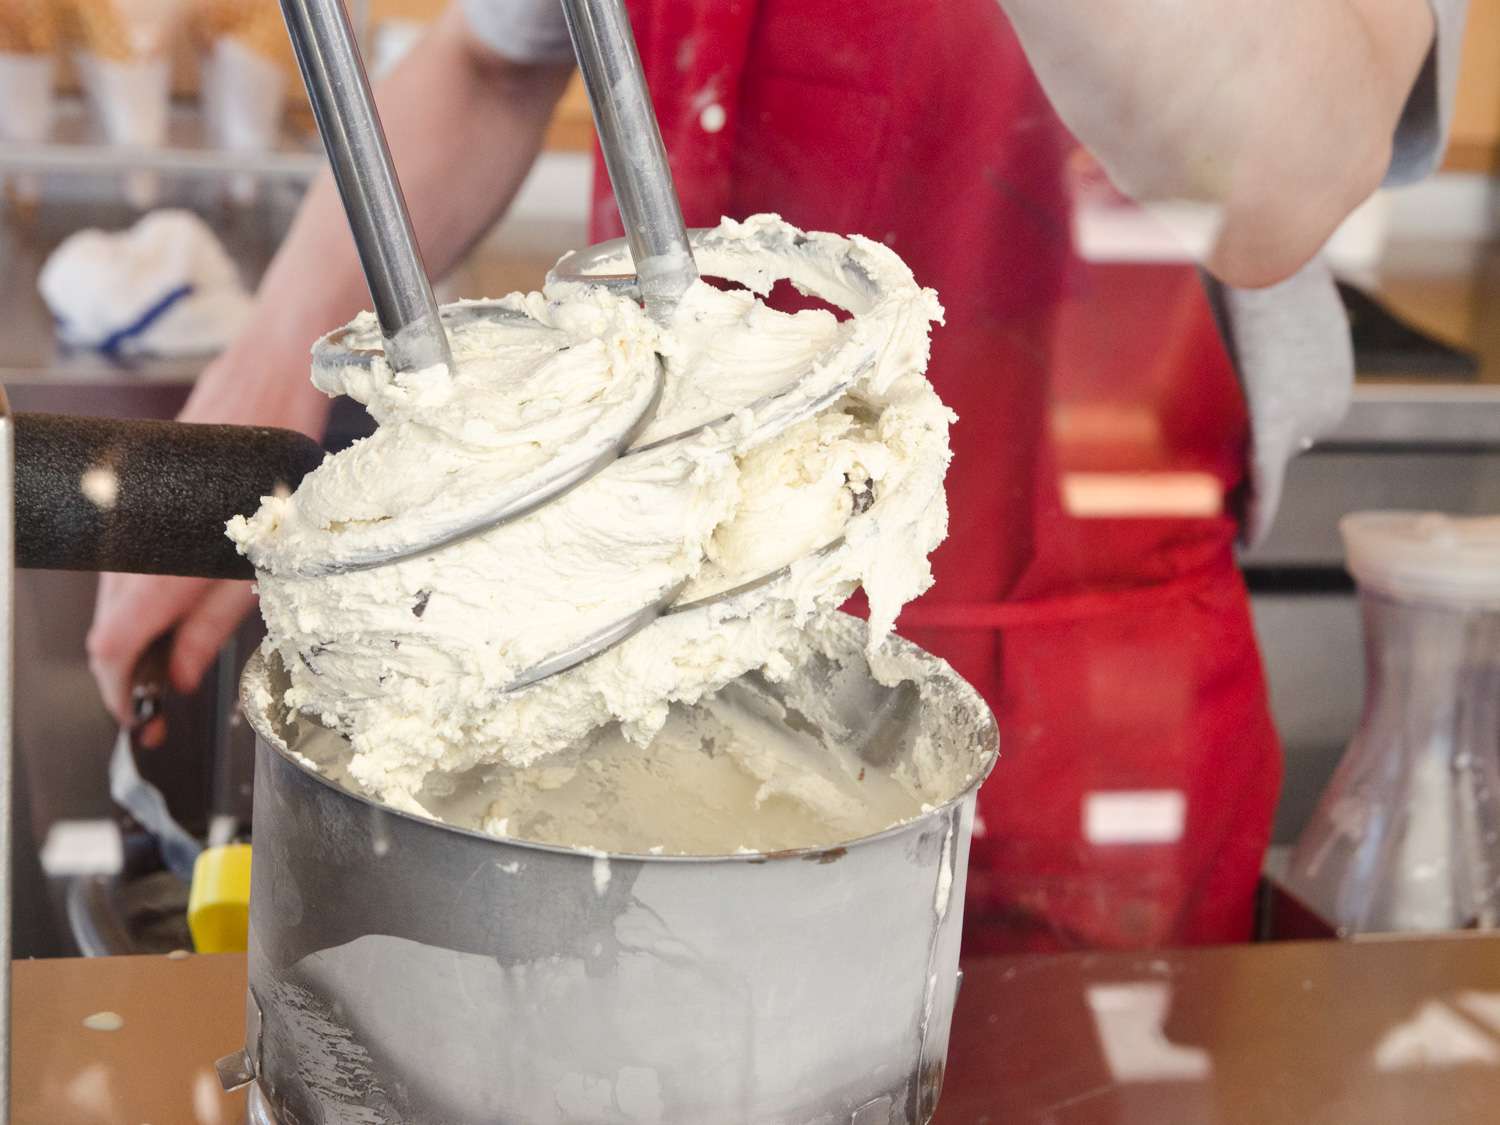
- Pour your ice cream base into the ice cream maker and turn it on. The machine’s paddle will stir the mixture while incorporating air to give your ice cream a light and fluffy texture.
- Let the ice cream maker churn the mixture for about 20-30 minutes, or until the ice cream thickens to the desired consistency. Be sure to refer to your specific machine’s instructions as churn times may vary.
- During the churning process, you can also add your desired flavors and mix-ins. Pour in melted chocolate, fruit puree, or any other ingredients you prepared earlier. The machine will distribute them evenly throughout the ice cream.
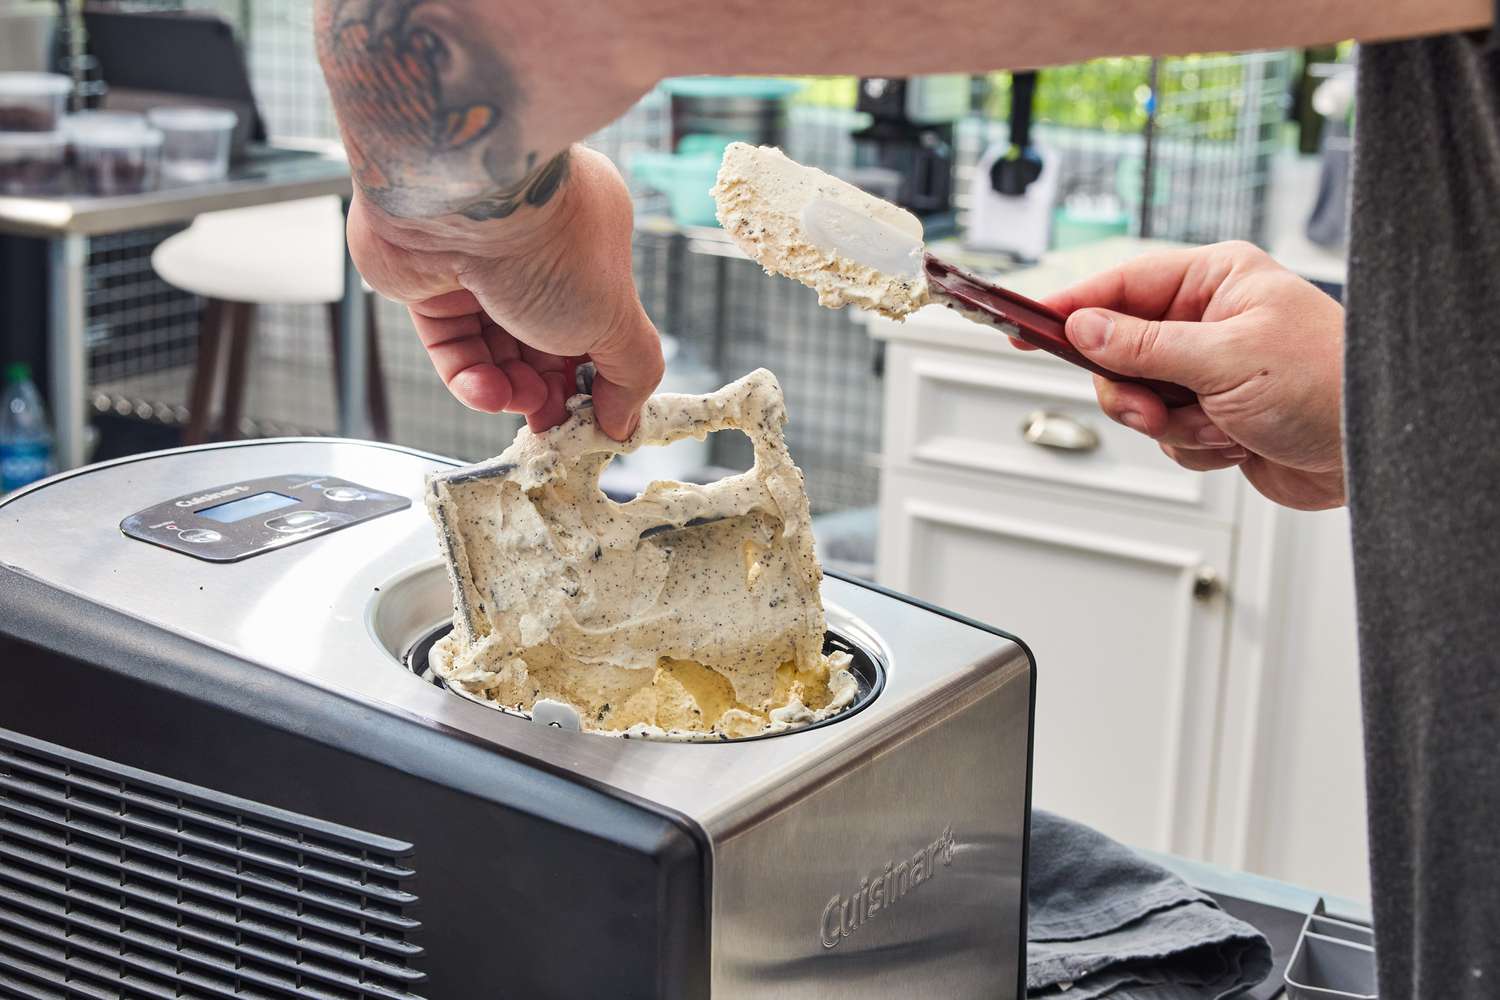
- Once the ice cream reaches the desired consistency, turn off the machine and remove the ice cream from the freezer bowl. At this point, the ice cream will be soft-serve consistency.
Note that the texture of the ice cream may be slightly different from traditional egg-based ice cream due to the absence of eggs. However, with the proper technique and ingredients, you can still achieve a delightful and creamy result.
Now that your ice cream is churned to perfection, it’s time to move on to the final step: adding your desired flavors and mix-ins.
Step 4: Add your desired flavors and mix-ins
Now that your base is churned and at a soft-serve consistency, it’s time to take your eggless ice cream to the next level by adding your preferred flavors and mix-ins. Follow these steps:
- If you haven’t already done so, prepare your desired flavors and mix-ins. This can include ingredients such as cocoa powder, fruit puree, chocolate chips, nuts, or cookie crumbles.
- Gently fold in your flavors and mix-ins into the churned ice cream. Ensure even distribution, but be careful not to overmix, as you want to maintain the texture and integrity of the added ingredients.
- Consider layering your mix-ins to create a visually appealing and flavorful experience. For example, alternate layers of chocolate chips and cookie crumbles for a cookies and cream effect.
- Once your desired flavors and mix-ins are added, give the ice cream a final gentle stir to incorporate everything together smoothly.
- If you prefer a firmer consistency, transfer the ice cream to a container with a lid, and place it in the freezer to allow it to harden further. This typically takes 2-4 hours, depending on the temperature of your freezer.
Remember to taste your ice cream along the way to ensure the flavors are to your liking, and adjust as needed. The beauty of making your own eggless ice cream is that you have the freedom to experiment and create unique flavor combinations that suit your preferences.
Now that your flavors and mix-ins are incorporated, it’s time to move on to the final step: freezing your homemade eggless ice cream.
Step 5: Freeze your homemade ice cream
After incorporating your desired flavors and mix-ins into your eggless ice cream, it’s time to freeze it to achieve the perfect texture and consistency. Follow these steps:
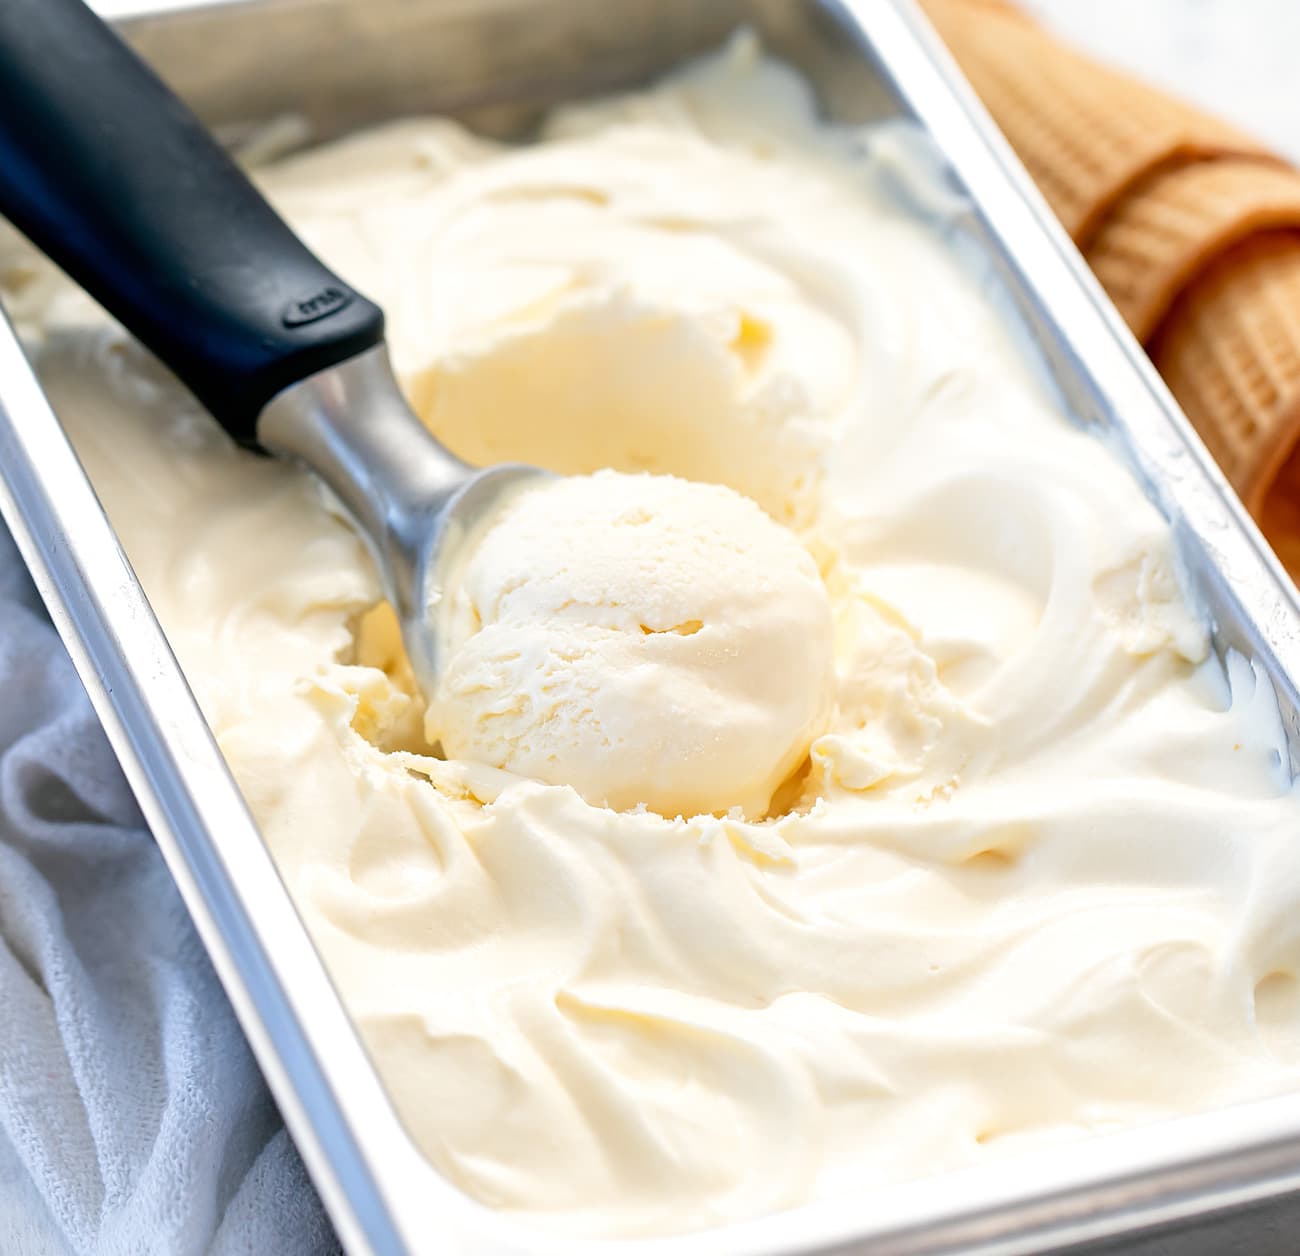
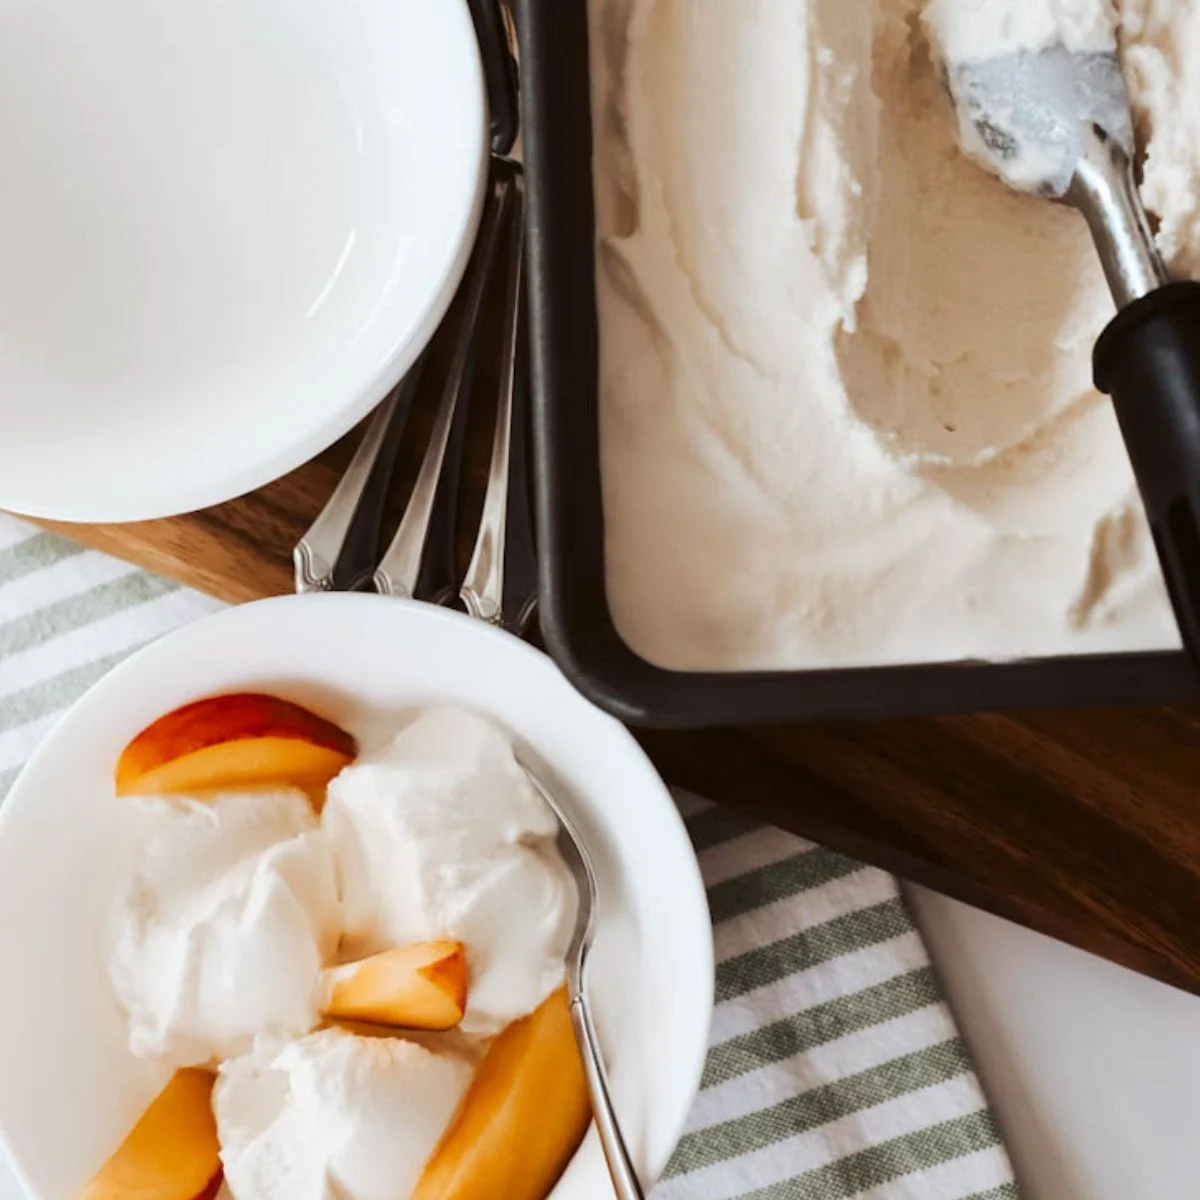
- Transfer your churned ice cream into a container with a tight-fitting lid. A shallow and wide container works best as it allows for faster and more even freezing.
- Smooth out the surface of the ice cream with a spatula or the back of a spoon to create an even layer.
- Place the lid securely on the container to prevent any air from entering, which can cause ice crystals to form and affect the texture of your ice cream.
- Put the container in the coldest part of your freezer and allow it to freeze for a minimum of 4-6 hours, or ideally overnight. The longer it freezes, the firmer and creamier your ice cream will become.
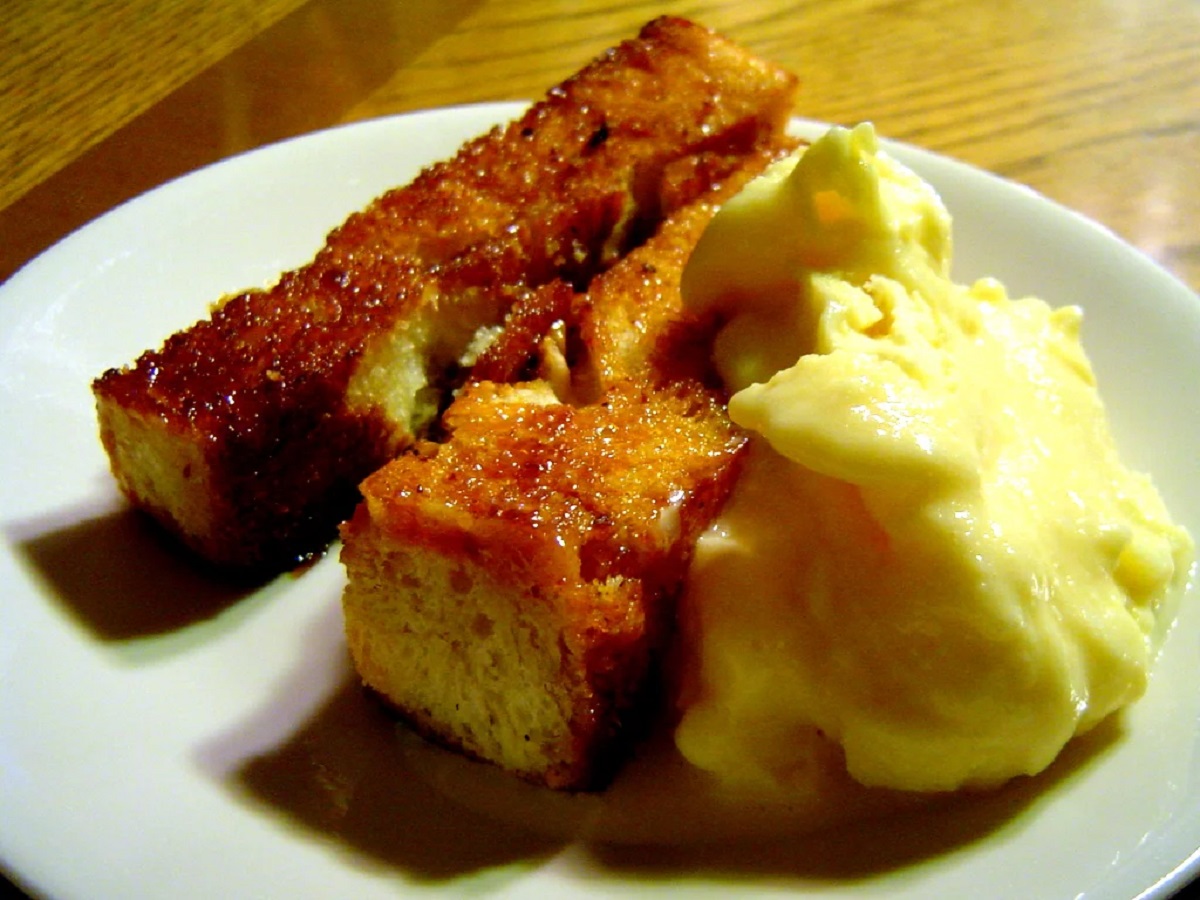
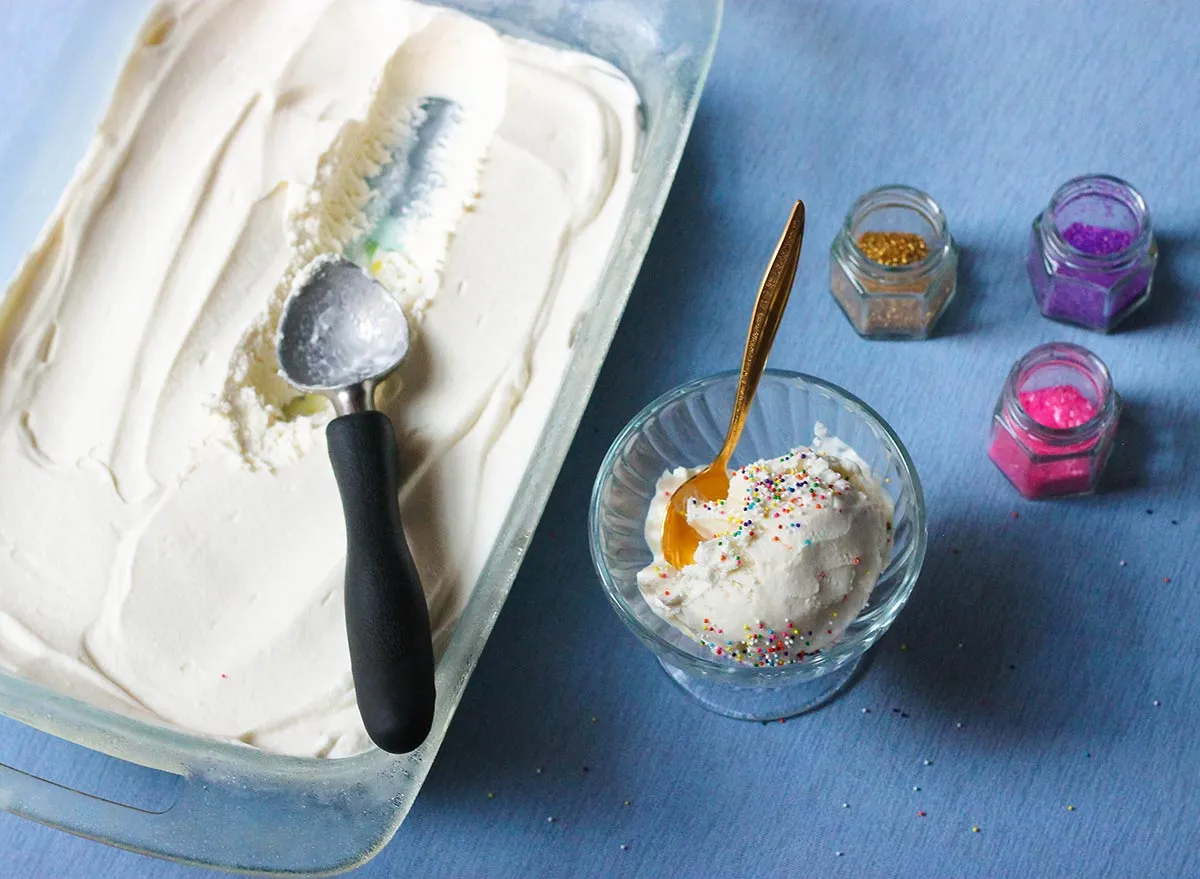
- Once your homemade ice cream is fully frozen, it’s ready to be enjoyed! Scoop it into bowls or cones, and savor the delicious flavors and creamy texture that you’ve created.
Keep in mind that homemade ice cream can be more prone to freezing harder than store-bought ice cream due to the absence of stabilizers and preservatives. To soften it before serving, simply let it sit at room temperature for a few minutes before scooping.
Now that your eggless ice cream is perfectly frozen, it’s time to serve and indulge in your delightful creation. Enjoy every spoonful and savor the satisfaction of making your own homemade ice cream!
Tips for making eggless ice cream
Creating eggless ice cream requires a few specific considerations to ensure a successful and delicious outcome. Here are some helpful tips to keep in mind:
- Use high-quality ingredients: Since eggless ice cream relies heavily on the flavors and textures of the ingredients, it’s important to choose high-quality cream, milk, and flavorings. Opt for fresh and natural ingredients to enhance the overall taste of your ice cream.
- Properly chill your ice cream base: Make sure to refrigerate your ice cream base for at least 2 hours, or even overnight if possible. Chilling allows the flavors to meld together and improves the texture of the final ice cream.
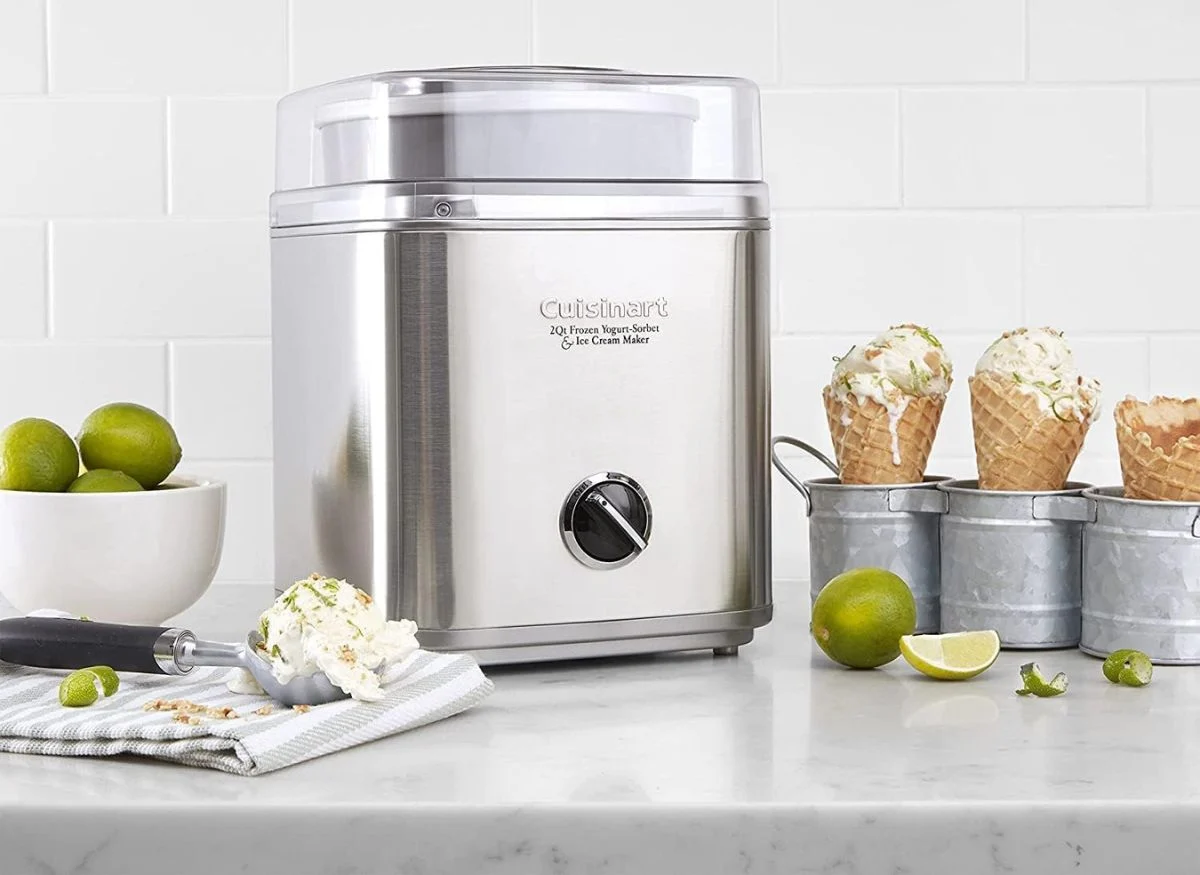
- Invest in a good ice cream maker: While it is possible to make ice cream without an ice cream maker, having one will significantly simplify the process and result in a smoother and creamier texture. Consider investing in a quality ice cream maker for the best results.
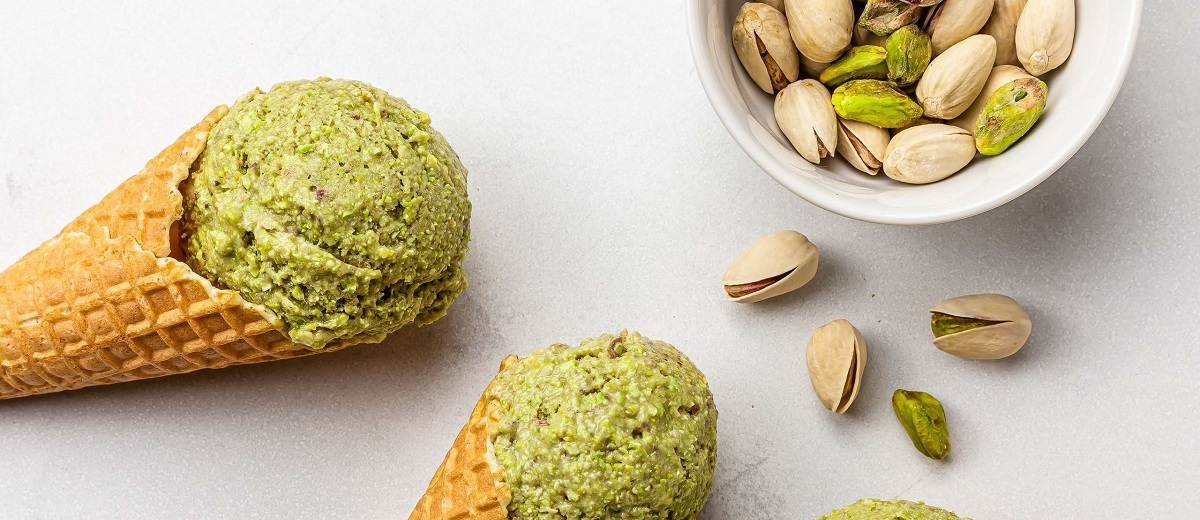
- Experiment with flavors and mix-ins: One of the joys of making your own ice cream is the ability to customize flavors and add enticing mix-ins. Don’t be afraid to get creative and try unique combinations to discover your favorite flavors.
- Be mindful of mix-in additions: When adding mix-ins like chocolate chips or nuts, make sure they are in small, manageable sizes. Larger mix-ins can affect the texture of the ice cream and may result in difficulty scooping or uneven distribution.
- Consider using alternative bases: If you prefer a dairy-free or vegan option, you can substitute the heavy cream and whole milk with alternatives such as coconut milk, almond milk, or cashew milk. Experiment and adjust the ratios according to your taste and dietary preferences.
- Freeze ice cream in smaller batches: Instead of freezing all your ice cream in one large container, consider using smaller containers or individual portions. This will allow for quicker freezing and easier scooping when you’re ready to serve.
- Label and date your ice cream: To keep track of flavors and freshness, label each container with the flavor and the date it was made. This will help you prioritize which ones to enjoy first and avoid freezer burn.
With these tips in mind, you’re well-equipped to create delectable eggless ice cream in a variety of flavors and styles. Have fun experimenting, and enjoy the fruits (or rather, scoops) of your labor!
Conclusion
Making eggless ice cream is a delightful and rewarding endeavor. By following the steps outlined in this guide and incorporating your favorite flavors and mix-ins, you can create creamy, delicious ice cream without the need for eggs. Whether you have dietary restrictions, allergies, or simply prefer to avoid eggs, this guide has provided you with the necessary techniques and tips to make homemade eggless ice cream a success.
Remember to gather all your ingredients and equipment, prepare your ice cream base, cool and churn it in an ice cream maker, add your desired flavors and mix-ins, and freeze it to achieve the perfect texture. Along the way, feel free to experiment with different flavor combinations and use alternative bases if desired.
Creating your own eggless ice cream allows you to have control over the ingredients, flavors, and consistency, giving you a truly personalized frozen treat. Enjoy the excitement of trying new combinations and the satisfaction of serving a dessert that you made from scratch.
So, what are you waiting for? Gather your ingredients, unleash your creativity, and embark on the delicious journey of making eggless ice cream at home. Indulge in the creamy goodness and bring smiles to the faces of your family and friends with your homemade frozen creations. Happy ice cream making!