Introduction
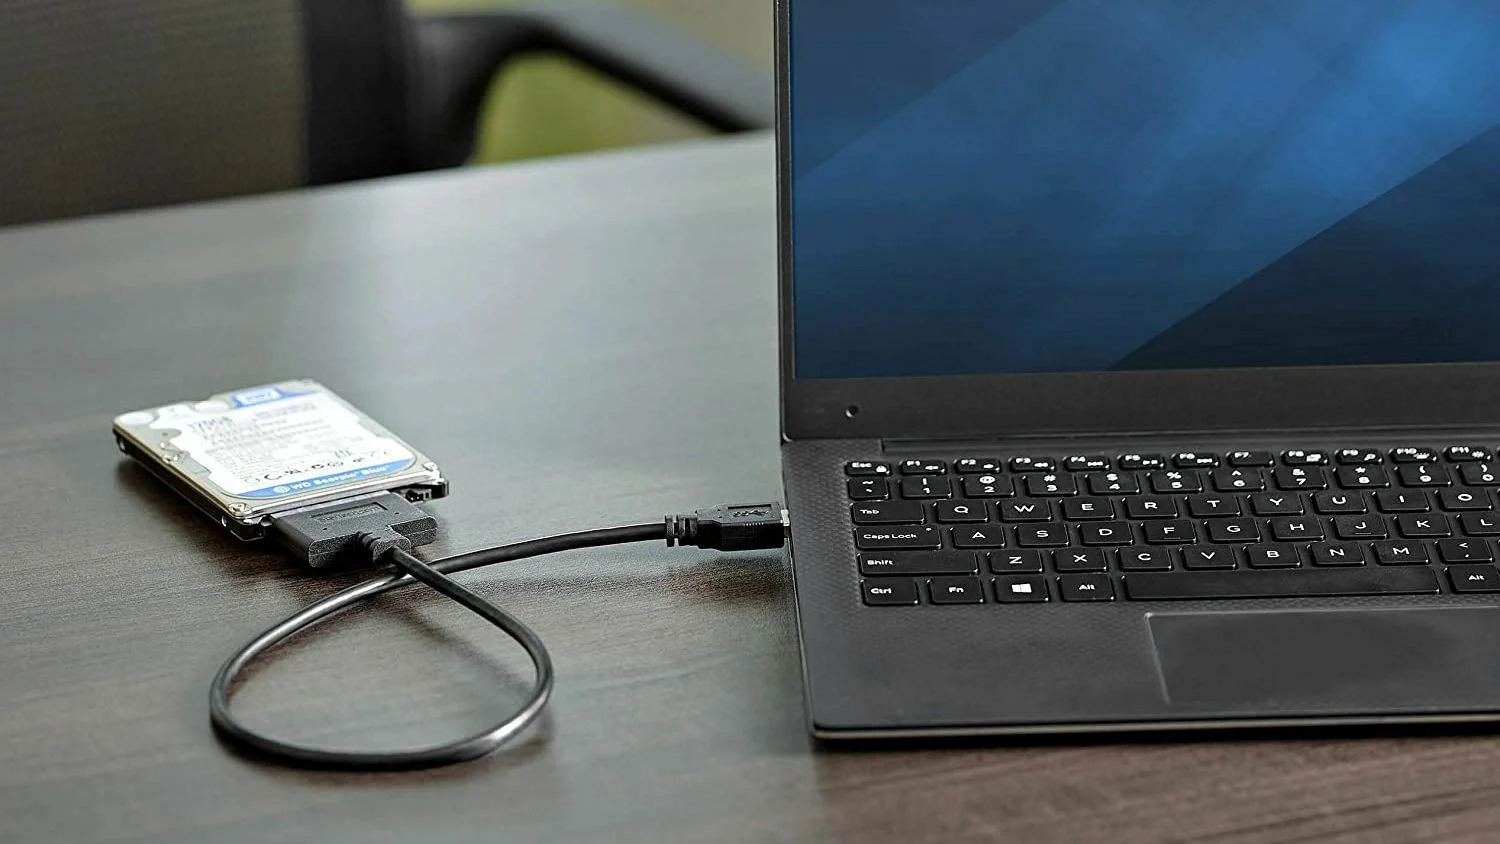
Having an external hard drive is a convenient way to store and backup important files. However, there may come a time when you connect your external hard drive to your computer, only to find that it is not being detected. This can be a frustrating experience, especially if you have valuable data stored on the drive.
There can be several reasons why an external hard drive is not detected by your computer. It could be due to a faulty cable connection, driver issues, or even problems with the drive itself. Whatever the reason may be, it’s important to troubleshoot and resolve the issue to recover your files.
In this article, we will explore the common reasons why an external hard drive may not be detected and provide you with step-by-step troubleshooting methods to recover your files. Whether you are using a Windows PC or a Mac, these tips and techniques can help you get your external hard drive up and running again.
We will start by checking the physical connections to ensure that everything is properly connected. From there, we will move on to resolving any driver issues that may be causing the problem. We will also show you how to use the Disk Management utility to detect and initialize the drive. If all else fails, we will guide you through the process of recovering your files using data recovery software.
By the end of this article, you will have a comprehensive understanding of how to troubleshoot and recover files from an external hard drive that is not being detected. So let’s get started and get your valuable data back!
Reasons why an external hard drive may not be detected
When your external hard drive is not being detected by your computer, it can be frustrating and worrisome. However, there are several common reasons why this issue may occur. Understanding these reasons will help you troubleshoot and resolve the problem effectively. Here are some possible reasons why your external hard drive may not be detected:
- Faulty or loose cable connections: The first thing to check is the physical connections between your external hard drive and your computer. Ensure that the cables are securely plugged in and that there are no damages or loose connections.
- Driver issues: Outdated or incompatible drivers can prevent your computer from recognizing your external hard drive. It is essential to ensure that you have the latest drivers installed for your external hard drive to work properly.
- Drive letter conflict: Sometimes, your external hard drive may not be assigned a drive letter, which can prevent it from being detected. This can happen if there are conflicting drive letters on your system.
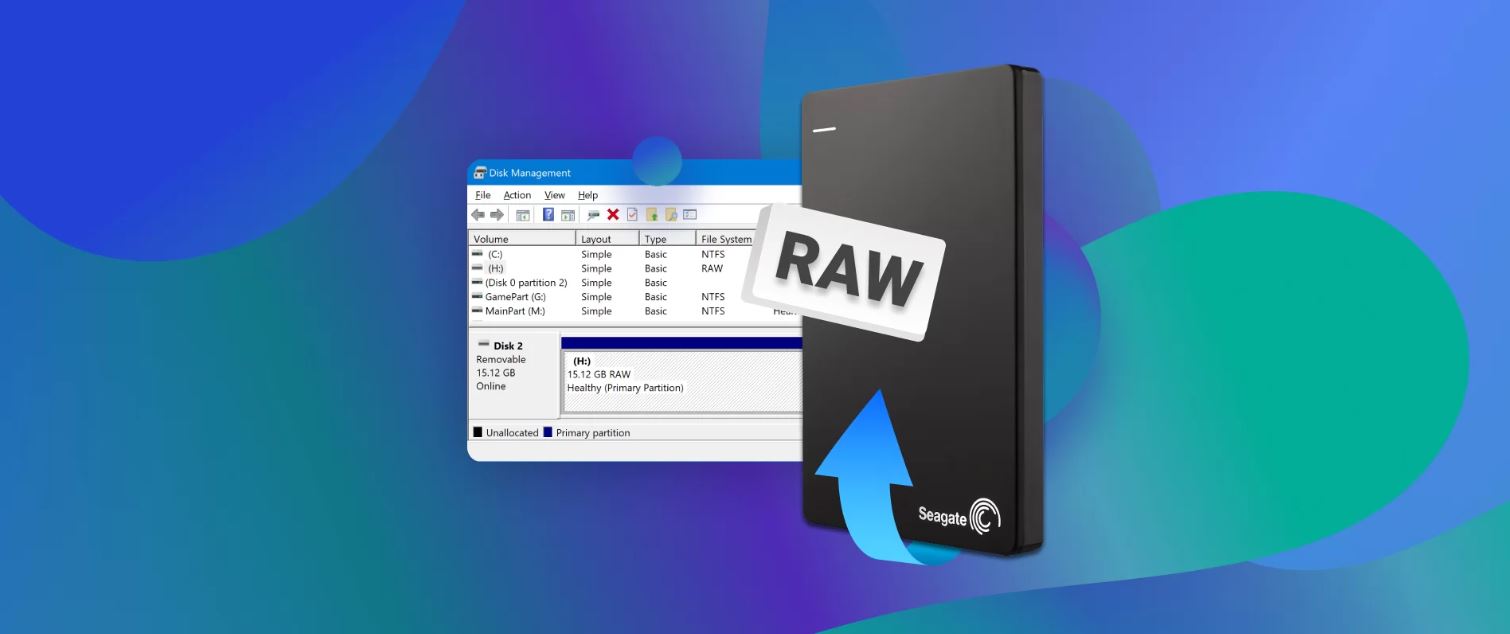
- Unallocated drive space:If the drive space on your external hard drive is unallocated or not properly formatted, your computer may not be able to recognize it. This can happen if the drive was recently formatted or if there are partitioning issues.
- Power supply issues: Insufficient power supply or fluctuations in power can also cause an external hard drive to not be detected. It is crucial to ensure that your external hard drive is receiving enough power to function properly.
These are just a few possible reasons why your external hard drive may not be detected. By understanding these reasons, you can start troubleshooting the issue and take the necessary steps to recover your files. In the following sections, we will guide you through the troubleshooting process step by step, so you can resolve the problem and regain access to your valuable data.
Troubleshooting steps
When your external hard drive is not being detected, it’s important to follow a systematic approach to pinpoint and resolve the issue. Here are the essential troubleshooting steps to get your external hard drive up and running again:
- Check the physical connections: Start by checking the cable connections between your external hard drive and your computer. Ensure that the USB cable or other connecting cables are securely plugged in and that there are no damages or loose connections. Try using a different cable or a different USB port on your computer to rule out any potential issues.
- Restart your computer: Sometimes, a simple restart can fix the issue. Restart your computer and reconnect the external hard drive to see if it is detected. This can help refresh the system and reestablish the connection between your computer and the external drive.
- Update the drivers: Outdated or incompatible drivers can prevent your computer from recognizing the external hard drive. Visit the manufacturer’s website and download the latest drivers for your specific model. Install the updated drivers and reconnect the external hard drive to see if it is detected.
- Assign a drive letter: If your external hard drive is not assigned a drive letter, you can manually assign one using the Disk Management utility. Open Disk Management by right-clicking on the Start menu and selecting “Disk Management.” Locate your external hard drive, right-click on it, and select “Change Drive Letter and Paths.” Assign a drive letter to the external drive, and it should be detected by your computer.
- Check Disk Management: Launch the Disk Management utility, as mentioned above, to check if the external hard drive is recognized but not initialized or formatted. If you see the drive listed as unallocated or not initialized, right-click on it and select the appropriate option to initialize or format the drive. Be cautious not to format your drive if it contains important data without proper backup.
- Try on a different computer: If the external hard drive is still not being detected, try connecting it to a different computer. This can help determine if the issue lies with the drive itself or with your computer’s settings.
These troubleshooting steps should help you identify and resolve the issue preventing your external hard drive from being detected. If none of these steps work, it may be time to consider data recovery options or seek professional assistance. However, in most cases, following these steps will help you recover access to your files and restore the functionality of your external hard drive.
Checking the physical connections
One of the first troubleshooting steps to take when your external hard drive is not being detected is to check the physical connections. Sometimes, a loose or faulty cable connection can be the culprit behind the issue. Follow these steps to ensure that the physical connections are properly established:
- Check the USB cable: The USB cable is the primary connection between your external hard drive and your computer. Inspect the cable for any visible damages or frayed wires. If you notice any issues, try using a different USB cable.
- Inspect the ports: Ensure that the USB port on your computer is not damaged or obstructed. Dust, debris, or bent pins can prevent proper connectivity. Use a flashlight to inspect the port and gently clean it if necessary.
- Try a different USB port: Connect your external hard drive to a different USB port on your computer. This can help determine if the problem lies with the specific USB port or if it’s a general connectivity issue.
- Use a powered USB hub: In cases where the USB ports on your computer are not providing enough power to the external hard drive, using a powered USB hub can solve the problem. A powered USB hub has its own power supply, ensuring sufficient power for the external hard drive.
- Check the power source: If your external hard drive requires separate power, make sure it is properly connected and receiving power. Ensure that the power adapter is plugged in correctly and that the power source is functioning. Try using a different power outlet to rule out any power supply issues.
By thoroughly checking the physical connections between your external hard drive and your computer, you can eliminate any potential issues related to cable or port connectivity. If the physical connections are secure and intact, proceed to the next troubleshooting steps to further isolate and resolve the problem.
Resolving driver issues
Outdated or incompatible drivers can often be a common reason why an external hard drive is not being detected by your computer. To resolve driver issues, follow these steps:
- Check for driver updates: Visit the manufacturer’s website for your external hard drive and look for driver updates specifically designed for your model. Download and install the latest driver package onto your computer.
- Update drivers through Device Manager (Windows): On a Windows PC, you can update drivers through the Device Manager. Right-click on the Start menu and select “Device Manager.” Locate the external hard drive under the “Disk Drives” or “USB Controllers” section, right-click on it, and select “Update driver.” Choose the option to search for drivers automatically. If any updates are found, follow the prompts to install them.
- Update drivers through System Preferences (Mac): On a Mac, you can update drivers through the System Preferences. Click on the Apple menu and select “System Preferences.” Choose “Software Update” and allow the system to check for any available updates. If there are updates for driver software, follow the prompts to install them.
- Uninstall and reinstall drivers: If updating the drivers does not resolve the issue, you may need to uninstall and reinstall them. To do this, go to Device Manager (Windows) or System Preferences (Mac), locate the external hard drive, right-click on it, and select “Uninstall” or “Remove.” Disconnect the external hard drive, restart your computer, and then reconnect the drive. The drivers should be reinstalled automatically.
- Use third-party driver update software: If you are unsure or uncomfortable with manually updating the drivers, you can use third-party driver update software. These programs can automatically scan your computer, detect outdated or incompatible drivers, and install the necessary updates.
By ensuring that your drivers are up to date and compatible with your operating system, you can eliminate driver issues as a potential cause for your external hard drive not being detected. If the driver updates do not resolve the issue, proceed to the next troubleshooting steps.
Using Disk Management to detect the drive
If your external hard drive is not being detected by your computer, using the Disk Management utility can help identify and resolve the issue. Here’s how to use Disk Management to detect the drive:
- Open Disk Management: On a Windows PC, right-click on the Start menu and select “Disk Management.” This will open the Disk Management utility.
- Check for the external hard drive: In Disk Management, look for your external hard drive. It should be listed under the “Disk Drives” or “External” section. If you can locate the drive, but it is labeled as “Unallocated” or “Not Initialized,” it means that the drive is recognized but not yet usable by your computer.
- Initialize the drive: Right-click on the drive and select the “Initialize Disk” option. Choose the appropriate partition style (MBR or GPT) and click OK. Follow any on-screen prompts to complete the initialization process.
- Assign a drive letter: After initializing the drive, right-click on it again and select “Change Drive Letter and Paths.” Click on the “Add” button and choose a drive letter from the drop-down menu. Click OK to assign the drive letter.
- Format the drive: If the external hard drive was unallocated or not initialized, you may need to format it to make it usable. Right-click on the drive, select “Format,” and choose the desired file system (such as NTFS or exFAT). Keep in mind that formatting will erase all data on the drive, so proceed with caution.
- Complete the process: Once the drive is initialized, assigned a drive letter, and formatted, it should now be detected by your computer. Close the Disk Management utility and check if the external hard drive is accessible in File Explorer or Finder.
Using the Disk Management utility can help detect and initialize your external hard drive, making it usable by your computer. If the drive is still not being detected or if there are errors during the process, it may be necessary to seek professional assistance or use data recovery software to retrieve your files.
Recovering files using data recovery software
If your external hard drive is not being detected or if you have accidentally deleted files from the drive, data recovery software can help you retrieve your lost data. Here’s how you can recover files using data recovery software:
- Choose reliable data recovery software: There are several data recovery software options available, such as EaseUS Data Recovery Wizard, Recuva, or Disk Drill. Research and choose a reputable software that suits your needs.
- Install the software: Download and install the data recovery software on your computer. Be careful not to install it directly on the external hard drive that needs data recovery to avoid overwriting any lost files.
- Launch the software and select the drive: Open the data recovery software and select the external hard drive that is not being detected. Choose the appropriate scan options, such as Quick Scan or Deep Scan, depending on the severity of the data loss.
- Begin the scanning process: Start the scanning process and allow the software to analyze the drive for recoverable files. This may take some time, depending on the size of the drive and the extent of data loss.
- Preview and recover the files: Once the scan is complete, the software will display a list of recoverable files. Preview the files to ensure their integrity and select the files you want to recover. Choose a safe location on your computer to save the recovered files.
- Save the recovered files: Follow the prompts to save the recovered files to the designated location. Avoid saving the files back to the same external hard drive to prevent overwriting any remaining data.
It is important to note that the success of data recovery depends on various factors, such as the extent of data loss, the condition of the external hard drive, and the effectiveness of the chosen software. If the data recovery software is unable to retrieve your lost files, it is recommended to seek professional data recovery services.
Remember to regularly back up your important files to avoid data loss. Having a backup will ensure that you have a copy of your files in case of any future issues with your external hard drive.
Avoiding data loss in the future
Data loss can be a frustrating and devastating experience. To prevent such incidents and ensure the safety of your valuable files in the future, consider implementing the following measures:
- Regularly backup your data: Make it a habit to regularly back up your important files to an external hard drive, cloud storage, or an online backup service. This provides an additional layer of protection and ensures that you have a copy of your data in case of any unforeseen events.
- Use reliable and up-to-date antivirus software: Keep your computer protected from malware and viruses by using reputable antivirus software. Regularly update the antivirus software to safeguard your data from potential threats that can cause data loss.
- Avoid abrupt disconnection: When using an external hard drive, always make sure to safely eject or disconnect the drive from your computer. Abruptly pulling out the cable or powering off the drive without proper procedures can result in data corruption or loss.
- Protect against power surges: Power surges can cause damage to your external hard drive and lead to data loss. Use a surge protector or an uninterruptible power supply (UPS) to protect your devices from sudden power fluctuations or outages.
- Handle the external hard drive with care: Treat your external hard drive with care and avoid dropping it or subjecting it to excessive physical pressure. Protect it from extreme temperatures to prevent damage that could result in data loss.
- Regular hardware maintenance: Periodically check the cables, ports, and connectors of your external hard drive for any damages or signs of wear. Also, keep the drive clean and free from dust and debris to ensure proper functioning.
By implementing these preventive measures, you can greatly reduce the risk of data loss and ensure the long-term safety of your files. Remember, prevention is always better than dealing with the consequences of data loss.
Conclusion
Experiencing an external hard drive not being detected can be a frustrating situation, but with the right troubleshooting steps, the issue can often be resolved. In this article, we explored the reasons why an external hard drive may not be detected and provided a step-by-step guide to help you recover your files.
We discussed the importance of checking the physical connections and ensuring that the cables are securely plugged in. We also delved into resolving driver issues by updating or reinstalling the drivers for your external hard drive. Additionally, we explored how to use the Disk Management utility to detect the drive and initialize it if necessary.
In situations where the above steps do not yield results, we recommended using data recovery software to retrieve lost files from the external hard drive. However, it is important to note that the success of data recovery depends on various factors, and it may be necessary to seek professional assistance if the software is unable to recover your files.
To avoid data loss in the future, we emphasized the importance of regular backups, using reliable antivirus software, handling the external hard drive with care, and protecting against power surges. By implementing these preventive measures, you can minimize the risk of data loss and safeguard your valuable files.
Dealing with an external hard drive not being detected can be a challenging task, but by following the troubleshooting steps outlined in this article and taking preventive measures, you can increase the chances of recovering your files and prevent future data loss.
Remember, data loss prevention is crucial, so make it a habit to back up your files regularly and take necessary precautions to ensure the safety of your data. With proper care and a proactive approach, you can maintain the integrity of your files and ensure a seamless computing experience.