Introduction
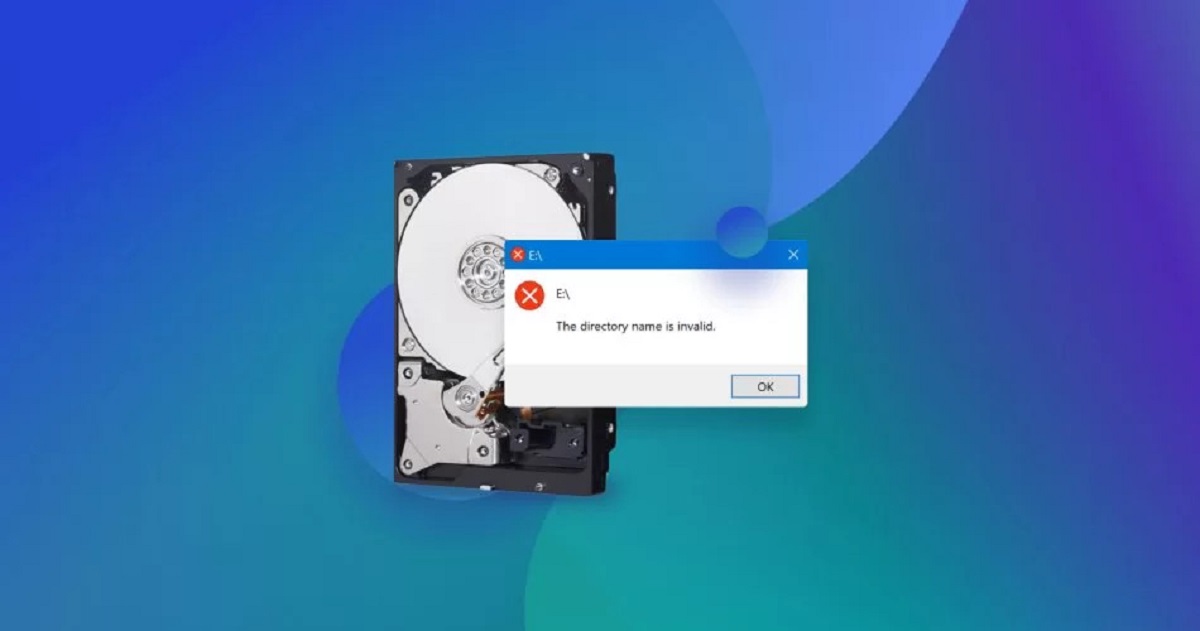
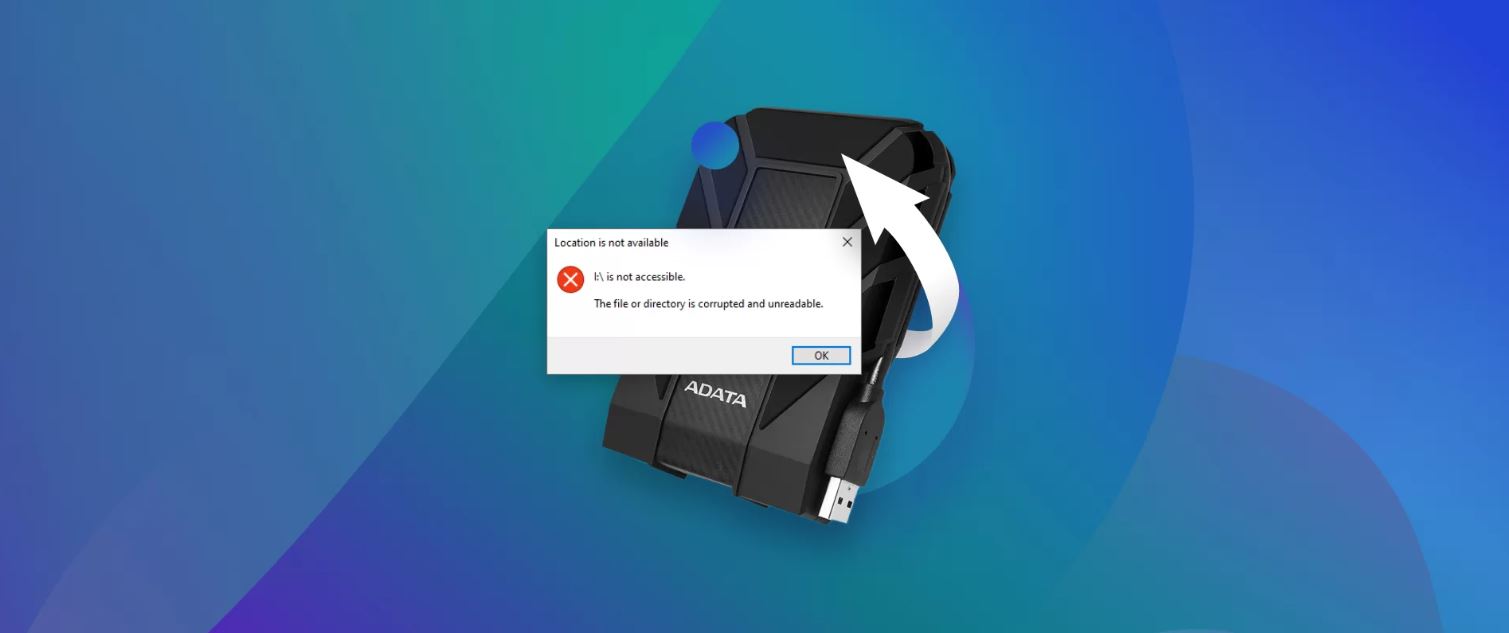
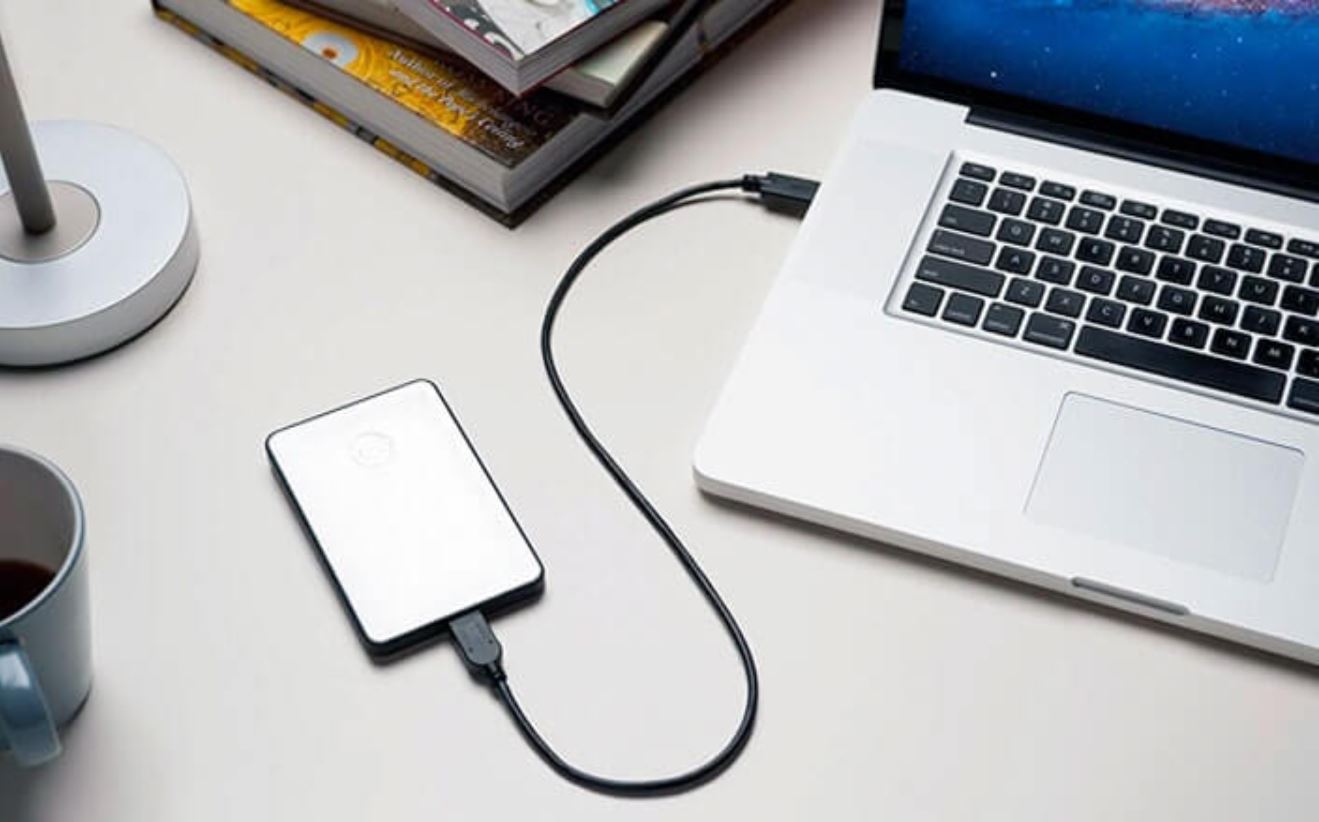
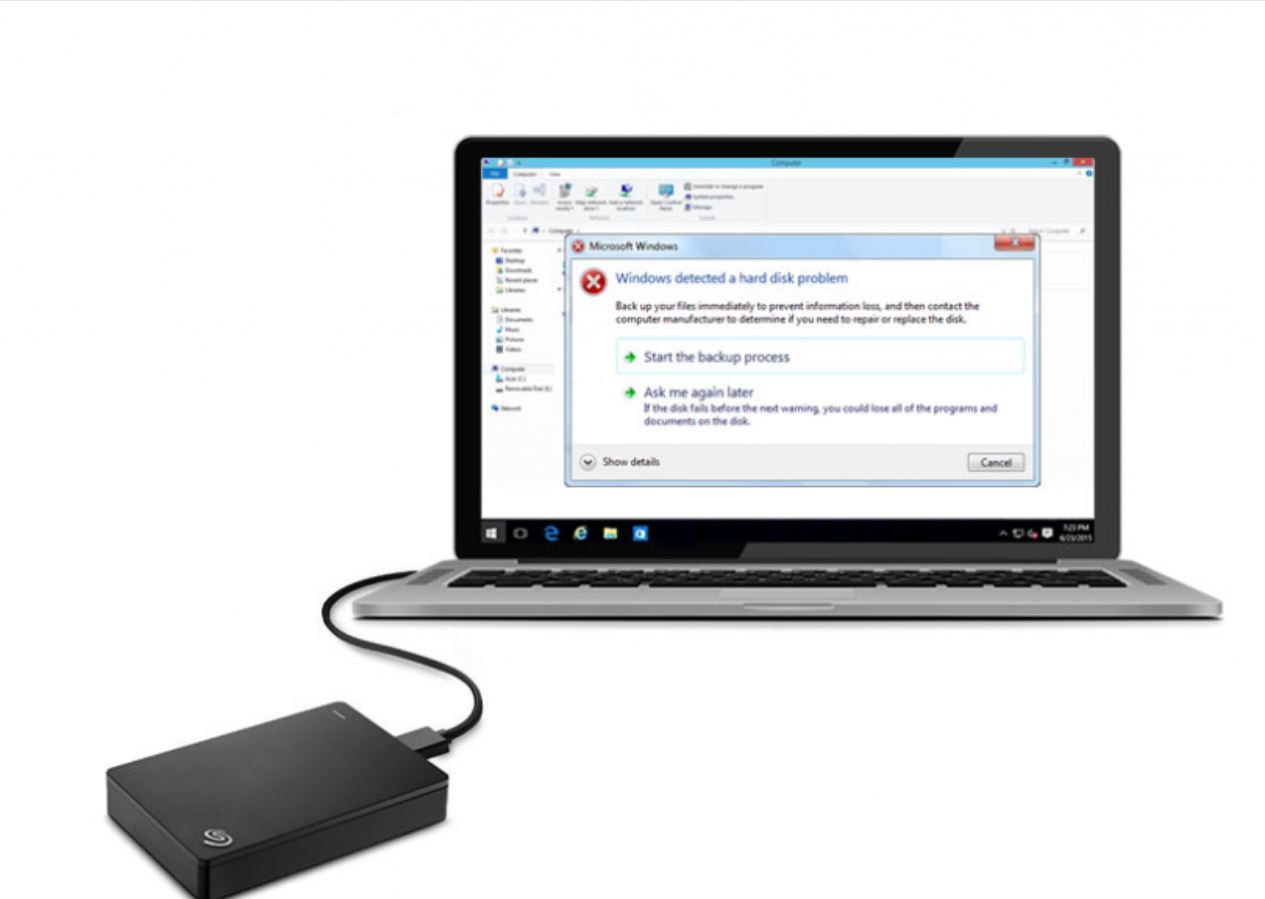
Having a corrupted external hard drive can be a frustrating experience. It can lead to data loss and make it impossible to access your important files and documents. Fortunately, there are steps you can take to recover a corrupted external hard drive and retrieve your data.
In this article, we will guide you through the process of recovering a corrupted external hard drive. We will explain the common causes of corruption, the troubleshooting steps you can take, and the various methods to recover your data.
Whether you’re using a Windows or Mac system, these steps can help you salvage your data and get your external hard drive up and running again.
Before we dive into the recovery process, it’s important to understand the common causes of corruption. Corrupted external hard drives can be the result of various factors, such as:
- Physical damage: Dropping or mishandling an external hard drive can cause damage to the internal components, resulting in corruption.
- Power failure: Abruptly disconnecting the external hard drive from the power source or experiencing power surges can lead to file system corruption.
- Virus or malware infection: Certain viruses or malware can infect and damage files on the external hard drive, rendering them inaccessible.
- File system errors: Issues with the file system structure, such as corrupted sectors or lost clusters, can cause the external hard drive to become unreadable.
Now that we have a better understanding of the potential causes of external hard drive corruption, let’s move on to the troubleshooting steps you can take to resolve the issue.
Understanding Corrupted External Hard Drives
When an external hard drive becomes corrupted, it means that the file system or the data stored on the drive has been damaged or altered in some way. This can result in the drive becoming inaccessible, files being deleted or corrupted, and the drive displaying error messages.
There are different levels of corruption that can occur, ranging from minor file system errors to severe physical damage. Understanding the type and extent of the corruption can help determine the best course of action for recovering the data.
One common cause of corruption is file system errors. The file system is responsible for organizing and managing the data on the hard drive. If the file system is damaged or develops errors, it can lead to data corruption and loss. This can happen due to sudden power loss, improper ejection of the drive, or even software errors.
Another cause of corruption is physical damage to the external hard drive. Dropping the drive, exposing it to extreme temperatures, or water damage can result in physical components becoming faulty or malfunctioning. This can lead to data corruption or the drive becoming completely unreadable.
Virus or malware infections are also a common cause of external hard drive corruption. Certain types of malware can infect the files stored on the drive and alter or delete them. This can render the drive inaccessible or cause the data to become corrupted.
It’s important to note that not all forms of corruption can be fixed. If the physical damage to the drive is severe or the data has been overwritten, recovery may not be possible. However, in many cases, if the drive is still in working condition and the data is not irreversibly damaged, there are steps you can take to recover the corrupted data.
In the next sections, we will explore the troubleshooting steps and techniques you can use to recover a corrupted external hard drive and retrieve your valuable data.
Step 1: Troubleshooting
Before diving into more advanced recovery methods, it is crucial to start with basic troubleshooting steps. These initial troubleshooting steps can often resolve minor issues that may be causing the external hard drive corruption.
Here are some troubleshooting steps you can follow:
- Check the connections: Ensure that the external hard drive is properly connected to your computer or device. Sometimes, loose or faulty connections can cause the drive to appear corrupted.
- Try a different USB port or cable: It’s possible that the USB port or cable you are using is faulty. Try connecting the external hard drive to a different USB port or using a different USB cable to see if that resolves the issue.
- Restart your computer: Sometimes, a simple restart can resolve software or driver conflicts that may be causing the external hard drive corruption. Restart your computer and then reconnect the external hard drive to check if the issue is resolved.
- Use a different computer: If possible, try connecting the external hard drive to a different computer. This can help determine whether the issue is specific to your computer or if it is a problem with the drive itself.
If these basic troubleshooting steps do not resolve the issue and the external hard drive is still showing signs of corruption, you can move on to more advanced methods of recovery.
Note that before proceeding with any recovery methods, it is important to make sure you have a backup of your data. This will prevent further data loss in case any errors occur during the recovery process.
In the next steps, we will explore specific methods for recovering a corrupted external hard drive on both Windows and Mac systems. These methods can help you repair the file system errors, recover the data, and get your external hard drive back to a functional state.
Step 2: Using Disk Utility (Windows)
If you’re using a Windows system, one of the first steps you can take to recover a corrupted external hard drive is by using the built-in Disk Utility tool. Disk Utility is a powerful utility that allows you to manage and repair drives on your Windows computer.
Here’s how you can use Disk Utility to recover a corrupted external hard drive:
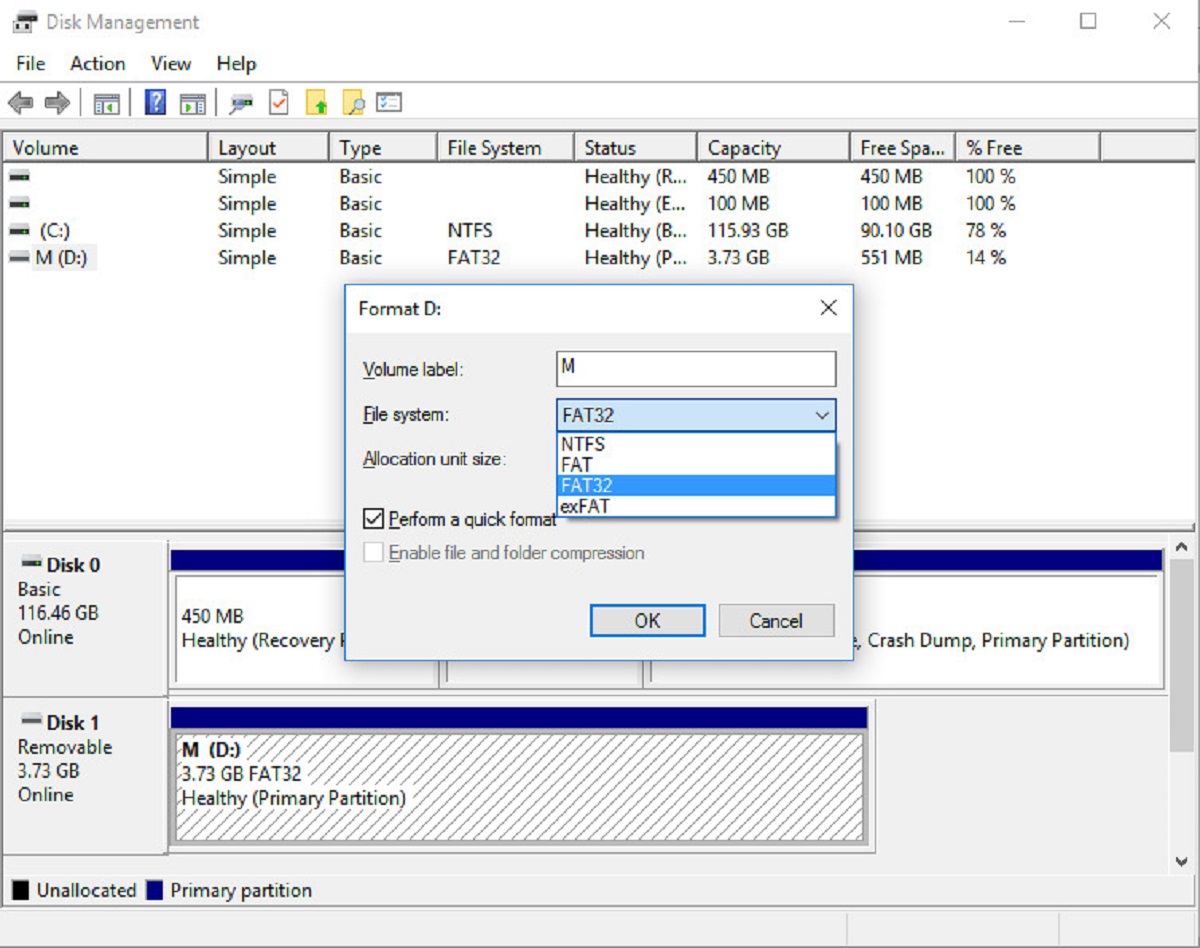
- Open Disk Management: Press the
Winkey and type “Disk Management” in the search bar. Click on the “Create and format hard disk partitions” option that appears. - Identify the corrupted drive: In Disk Management, look for the external hard drive that is showing signs of corruption. It will typically be labeled as “Unknown” or “Not Initialized.”
- Initialize the disk: Right-click on the corrupted drive and select “Initialize Disk.” Choose the appropriate disk initialization option (MBR or GPT) and proceed. This will initialize the disk and make it usable again.
- Create a new partition: After initializing the disk, right-click on the unallocated space on the drive and select “New Simple Volume.” Follow the on-screen instructions to create a new partition on the drive.
- Format the partition: Once the partition is created, right-click on it and select “Format.” Choose the file system you want to use for the partition (NTFS is recommended for Windows) and proceed with the formatting process.
After completing these steps, the corrupted external hard drive should be accessible again, and you should be able to save files and data on it. Remember to always back up your important data to prevent future data loss.
If the Disk Utility tool fails to repair the corrupted drive, there are other advanced recovery methods and third-party data recovery software you can try. These methods will be discussed in the subsequent steps.
Step 3: Using Disk Utility (Mac)
If you’re using a Mac, Disk Utility is a powerful tool that can help you recover a corrupted external hard drive. Disk Utility is a built-in application that allows you to manage, format, and repair drives on your Mac system.
Here’s how you can use Disk Utility to recover a corrupted external hard drive on your Mac:
- Open Disk Utility: Go to the “Applications” folder and then open the “Utilities” folder. Launch the Disk Utility application.
- Identify the corrupted drive: In the Disk Utility window, look for the external hard drive that is showing signs of corruption. It will typically be listed on the sidebar under the “External” section.
- Verify the disk: Select the corrupted drive and click on the “First Aid” button in the toolbar. Click on the “Run” button next to “Verify Disk” to check for any file system errors or disk corruption.
- Repair the disk: If Disk Utility detects any errors on the drive, click on the “Run” button next to “Repair Disk” to fix the issues. This process may take some time depending on the size and condition of the drive.
- Erase and reformat the drive: If the repair process is unsuccessful or if you want to start fresh, you can erase and reformat the corrupted drive. Select the drive and click on the “Erase” button in the toolbar. Choose the appropriate format (such as “Mac OS Extended (Journaled)”) and give the drive a new name. Click on “Erase” to proceed with the formatting.
Once the disk repair or formatting process is complete, the corrupted external hard drive should be repaired and accessible again. Make sure to back up your important data on a regular basis to avoid data loss in the future.
If Disk Utility fails to repair the corrupted drive, there are other advanced recovery methods and third-party data recovery software options available. We will explore these methods in the subsequent steps.
Step 4: Running CHKDSK (Windows)
If you’re using a Windows system and the Disk Utility tool did not resolve the corruption on your external hard drive, you can try running the CHKDSK (Check Disk) utility as the next step. CHKDSK is a built-in command-line tool that can scan and fix errors on drives.
Here’s how you can run CHKDSK to repair a corrupted external hard drive:
- Open Command Prompt: Press the
Winkey and type “Command Prompt” in the search bar. Right-click on “Command Prompt” and select “Run as administrator” to open Command Prompt with administrative privileges. - Identify the drive letter: In Command Prompt, type “
diskpart” and press Enter. Then, type “list volume” and press Enter. Look for the external hard drive in the list of volumes and note down its drive letter (e.g., C:, D:, E:, etc.). - Run CHKDSK: In Command Prompt, type “
chkdsk /f X:” (replace X: with the drive letter of your corrupted drive) and press Enter. This will initiate the CHKDSK scan and repair process on the selected drive. - Wait for the process to complete: Depending on the size and condition of the drive, the CHKDSK process may take some time to complete. Do not interrupt the process and let it run until it finishes.
Once CHKDSK completes the scan and repair process, the corrupted external hard drive should be repaired and accessible again. You can now try accessing the drive to see if your data is intact.
If running CHKDSK does not resolve the corruption or if it encounters any issues during the process, there are other advanced recovery methods and third-party data recovery software options available. These methods will be discussed in the subsequent steps.
Step 5: Repairing File System Errors (Mac)
If you’re using a Mac and the Disk Utility tool did not successfully repair the corruption on your external hard drive, you can try repairing the file system errors using the built-in macOS utility called “fsck” (File System Consistency Check).
Here’s how you can repair file system errors on a corrupted external hard drive using fsck:
- Open Terminal: Go to the “Applications” folder and then open the “Utilities” folder. Launch the Terminal application.
- Unmount the drive: In Terminal, type “
diskutil list” and press Enter to get a list of detected drives. Identify the corrupted external hard drive and note down its identifier (e.g., disk2s2). Then, type “diskutil unmountDisk /dev/diskX” (replace X with the disk identifier of your corrupted drive) and press Enter to unmount the drive. - Run fsck: In Terminal, type “
sudo fsck_hfs -fy /dev/diskXsY” (replace X with the disk number and Y with the partition number of your corrupted drive) and press Enter. You will be prompted to enter your administrator password. - Allow fsck to repair errors: Let fsck run and repair any file system errors it detects on the drive. This process may take some time depending on the size and condition of the drive.
Once fsck completes the repair process, you can check if the corrupted external hard drive is now accessible and if your data is intact. If the repairs were successful, you should be able to use the drive again without any issues.
If repairing file system errors with fsck does not resolve the corruption or if it encounters any difficulties during the process, there are other advanced recovery methods and third-party data recovery software options available. We will explore these methods in the subsequent steps.
Step 6: Performing a Deep Scan
If previous steps have not been successful in recovering your data from a corrupted external hard drive, it may be necessary to perform a deep scan using specialized data recovery software. A deep scan can help to locate and retrieve lost or damaged files that are not accessible through regular methods.
Here’s how you can perform a deep scan on a corrupted external hard drive:
- Choose a data recovery software: There are various data recovery software options available, both free and paid. Research and select a reliable software that is compatible with your operating system.
- Install and launch the software: Follow the instructions provided by the data recovery software to install it on your system. Once installed, open the software.
- Select the corrupted external hard drive: Within the software, choose the corrupted external hard drive as the target for the deep scan. Make sure to select the correct drive to avoid accidental data loss on other drives.
- Start the deep scan: Initiate the deep scan process within the software. This process may take a significant amount of time, depending on the size and condition of the drive.
- Review the scan results: Once the deep scan is complete, the software will provide a list of recoverable files. Take your time to carefully review the files and select the ones you wish to recover.
- Recover the files: Follow the prompts within the software to recover the selected files. Choose a location on a different drive to save the recovered data to avoid overwriting any remaining corrupted data on the external hard drive.
Performing a deep scan can often recover lost or damaged files from a corrupted external hard drive. However, there is no guarantee that all files will be recoverable or intact. It is always recommended to regularly back up your important data to prevent permanent data loss.
If the deep scan does not yield satisfactory results or if you encounter any difficulties during the process, there are still further recovery methods that can be attempted. We will discuss these methods in the subsequent steps.
Step 7: Using Data Recovery Software
If previous steps have not been successful in recovering your data from a corrupted external hard drive, using specialized data recovery software can be a viable solution. Data recovery software is designed to scan and analyze your drive to recover lost or damaged files that may not be accessible through regular methods.
Here’s how you can use data recovery software to recover data from a corrupted external hard drive:
- Research and choose the right software: There are various data recovery software options available, each with its own set of features and capabilities. Take the time to research and select a reputable and reliable software that suits your needs.
- Install and launch the software: Follow the instructions provided by the data recovery software to install it on your computer. Once installed, launch the software.
- Select the corrupted external hard drive: Within the software, choose the corrupted external hard drive as the target for the data recovery process. Make sure you select the correct drive to avoid accidental data loss on other drives.
- Scan the drive: Initiate the scanning process within the software. The software will scan the drive for recoverable files, analyzing its structure and attempting to locate any lost or damaged data.
- Preview and select the files: Once the scan is complete, the software will provide a list of recoverable files. Take the time to preview and select the files you want to recover. Some software may offer a preview feature that allows you to view the content of certain file types before recovering them.
- Recover the files: Follow the prompts within the software to recover the selected files. Choose a different location, preferably on a separate drive, to save the recovered data and prevent overwriting any remaining corrupted data on the external hard drive.
Data recovery software can be highly effective in recovering lost or damaged files from a corrupted external hard drive. However, the success of the recovery process depends on various factors, such as the extent of the corruption and the condition of the drive. It is always recommended to back up your important data regularly to minimize the risk of permanent data loss.
If the data recovery software does not yield satisfactory results or if you encounter any difficulties during the process, there are still additional recovery methods that can be attempted. These methods will be discussed in the subsequent steps.
Step 8: Formatting the Hard Drive
If all previous recovery methods have failed to resolve the corruption on your external hard drive or if you no longer need the data on the drive, formatting the hard drive can be a last resort to get it back to a usable state. However, it’s important to note that formatting will erase all data on the drive, so make sure you have a backup of any important files before proceeding.
Here’s how you can format the hard drive:
- Open Disk Management (Windows) or Disk Utility (Mac): Depending on your operating system, open the respective disk management utility.
- Select the corrupted external hard drive: In the disk management utility, locate the external hard drive that you want to format. Be absolutely sure that you have selected the correct drive to avoid accidental data loss.
- Format the drive: Right-click on the drive and select the “Format” option. Choose the desired file system format (such as NTFS for Windows or Mac OS Extended for Mac) and provide a name for the drive.
- Start the formatting process: Click on “Start” or “Format” to begin the formatting process. The utility will erase all data on the drive and reconfigure its file system.
- Wait for the formatting to complete: The formatting process may take some time, depending on the size and speed of the drive. Do not interrupt the process and let it complete.
Once the formatting is complete, the external hard drive should be restored to its original state and ready for use. However, it is essential to keep in mind that formatting will permanently erase all data on the drive, so make sure you have no valuable files left on it.
If formatting the hard drive does not resolve the issue or if you still encounter problems with the drive, it may indicate a physical hardware problem that requires professional assistance. In such cases, consider contacting a data recovery specialist for further analysis and assistance.
Conclusion
Dealing with a corrupted external hard drive can be a frustrating experience, but there are steps you can take to recover your data and get the drive back to a functional state. By following the troubleshooting steps, utilizing built-in tools like Disk Utility, running CHKDSK, performing a deep scan, and using data recovery software, you can increase the chances of recovering your important files.
Remember to always back up your data regularly to minimize the risk of permanent data loss. Additionally, it’s crucial to determine the cause of the corruption to prevent future occurrences. Taking proper care of your external hard drive, avoiding sudden power loss, and protecting it from physical damage can help maintain its integrity and reliability.
If all methods fail to recover your data or if you encounter hardware problems with the drive, seeking professional assistance from data recovery specialists may be necessary.
Recovering a corrupted external hard drive can be a complex process, and results may vary depending on the extent of the corruption and the condition of the drive. Patience and caution are key throughout the recovery process to ensure the best possible outcome.
By following the steps and using the appropriate tools and techniques, you can increase the chances of successfully recovering your data and restoring functionality to your external hard drive.