Introduction
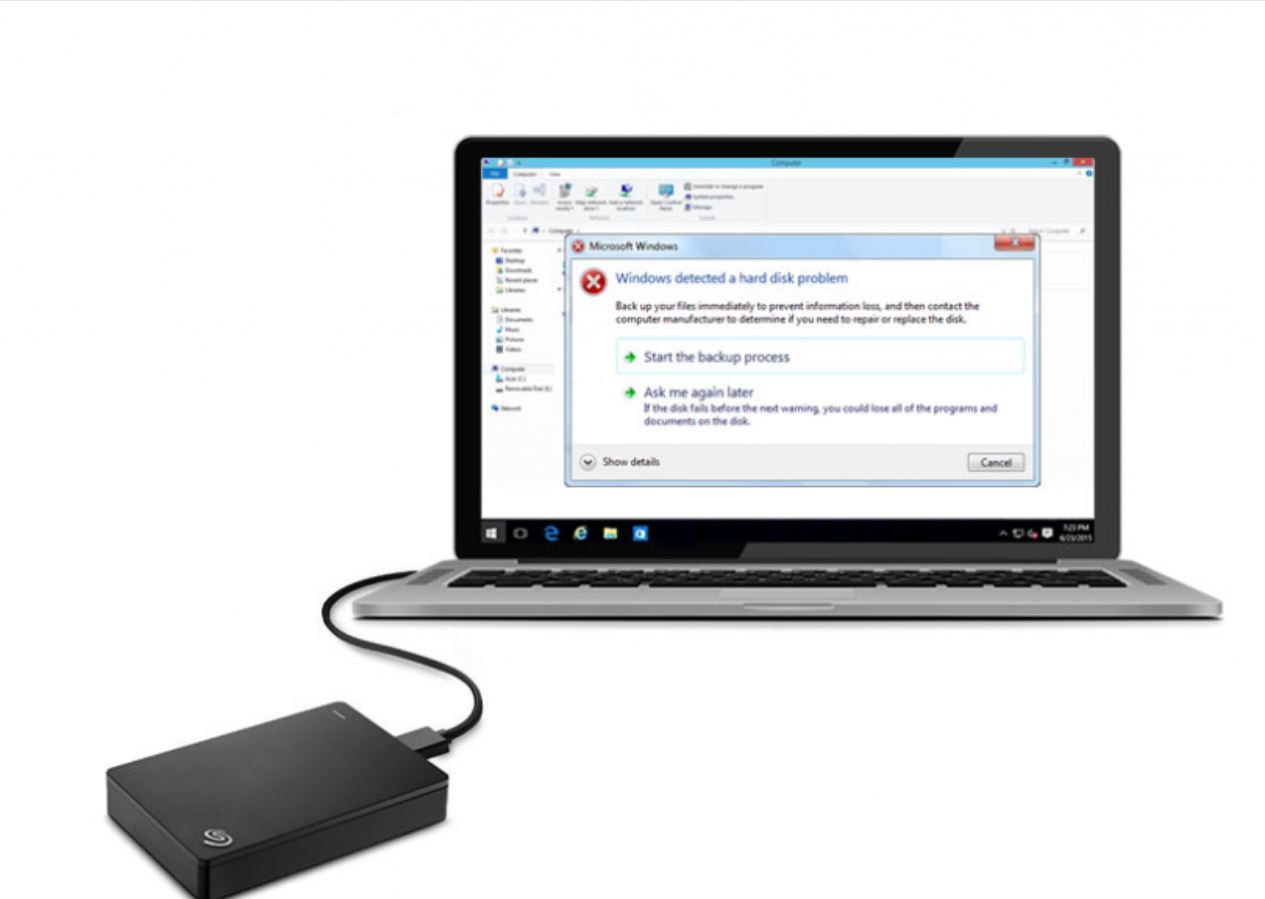
Scanning an external hard drive for viruses is an essential task to ensure the security and integrity of your files. With the ever-increasing threat of malware and malicious software, it is crucial to regularly check your external hard drive for any potential infections.
An external hard drive is a convenient storage device that allows you to keep your important data safe and accessible. Whether you use it for storing personal files, backing up your computer data, or transferring large files between devices, it is important to keep it protected from viruses and other malware.
Running a virus scan on your external hard drive helps to identify and eliminate any harmful files or malware that might have infected the device. By doing so, you can prevent these threats from spreading to other devices and potentially causing damage or data loss.
In this article, we will guide you through the process of scanning an external hard drive for viruses. We will outline the necessary steps and provide you with helpful tips to ensure a thorough and effective scan.
To begin, you will need to have antivirus software installed on your computer. This software is designed to detect and remove a wide range of viruses, malware, and other security threats. By using a reputable antivirus program, you can enhance the protection of your external hard drive and safeguard your files.
Once you have installed the antivirus software, you can proceed to connect your external hard drive to your computer. Ensure that the connection is secure and stable to avoid any interruptions during the scan.
In the following steps, we will show you how to open the antivirus program, select the appropriate scan options, choose the external hard drive to scan, initiate the scan process, review the scan results, and take action on any detected threats. We will also guide you on how to safely disconnect your external hard drive after the scan is complete.
By following these steps, you can have peace of mind knowing that your external hard drive is free from viruses and malware. So, let’s get started and learn how to scan an external hard drive for viruses.
Step 1: Install Antivirus Software
The first step in scanning an external hard drive for viruses is to ensure that you have a reliable antivirus software installed on your computer. There are various antivirus software options available, both free and paid, that offer protection against viruses, malware, and other security threats.
To install antivirus software, you can follow these general steps:
- Research and choose a reputable antivirus software: Look for software that has positive reviews, a strong track record of virus detection and removal, and regular updates to stay ahead of new threats.
- Visit the official website of the antivirus software of your choice: Go to the manufacturer’s website to download the software directly.
- Download the antivirus software: Look for the appropriate download link based on your operating system (Windows, macOS, or Linux).
- Run the installer: Locate the downloaded file and double-click on it to run the installation process.
- Follow the on-screen instructions: The installation wizard will guide you through the necessary steps, such as selecting the installation location and configuring the initial settings.
- Complete the installation: Once the installation process is finished, the antivirus software will be ready to use.
Keep in mind that it is essential to keep your antivirus software up to date. Regularly check for updates and install them promptly to ensure that your antivirus program has the latest virus definitions and protection mechanisms.
By having a reliable antivirus software installed on your computer, you can effectively detect and remove any threats that may be present on your external hard drive during the scanning process. It is an essential step to safeguard your files and maintain the security of your devices.
Now that you have installed antivirus software on your computer, you are ready to proceed with the next steps of scanning your external hard drive for viruses. Let’s move on to step 2: Connecting your external hard drive to your computer.
Step 2: Connect External Hard Drive to Your Computer
After installing the antivirus software on your computer, the next step is to connect your external hard drive. This step is crucial as it allows the antivirus program to scan the files and folders stored on the external hard drive for any potential viruses or malware.
To connect your external hard drive to your computer, follow these steps:
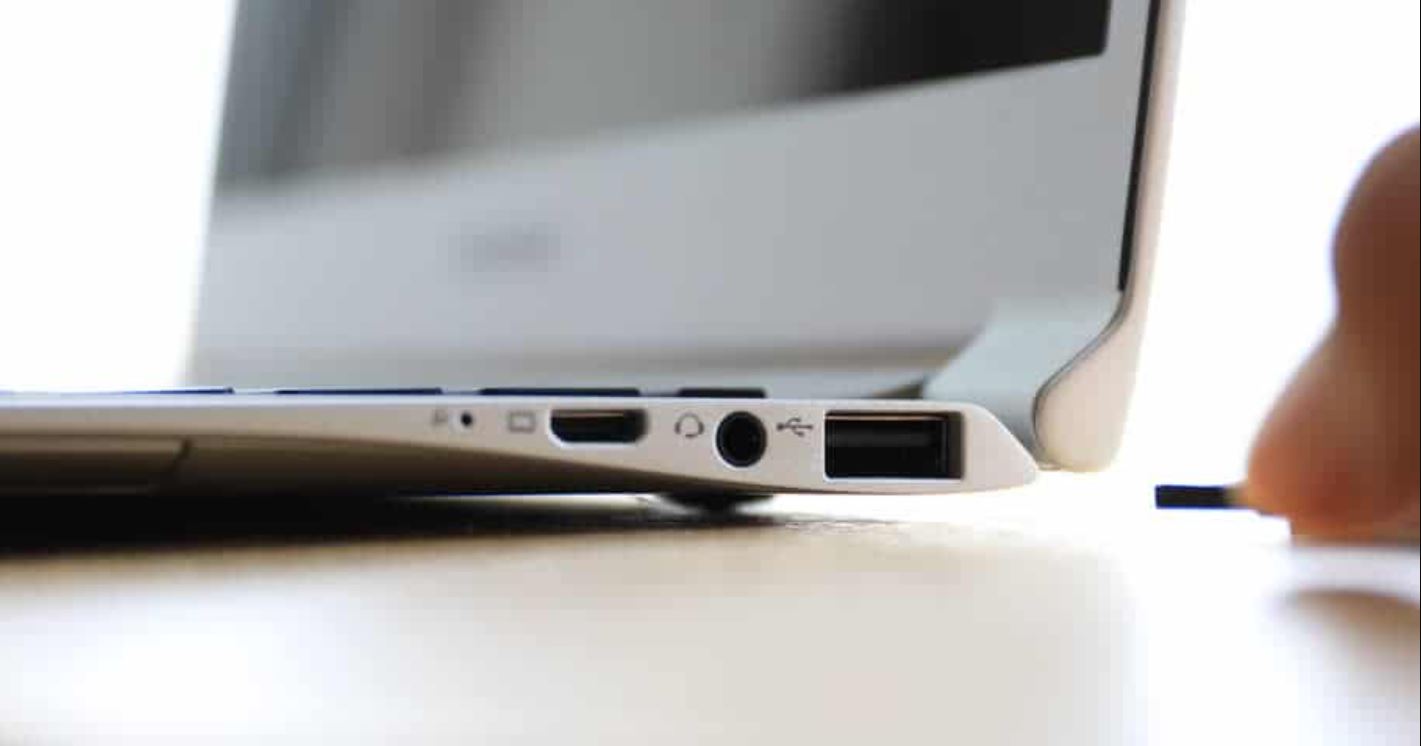
- Locate the appropriate cables: Depending on the type of external hard drive you have, you may need to use a USB-A, USB-C, Thunderbolt, or eSATA cable. Make sure you have the correct cable on hand.
- Connect one end of the cable to your computer: Plug the appropriate end of the cable into an available USB port, Thunderbolt port, or eSATA port on your computer. Ensure that the connection is secure.
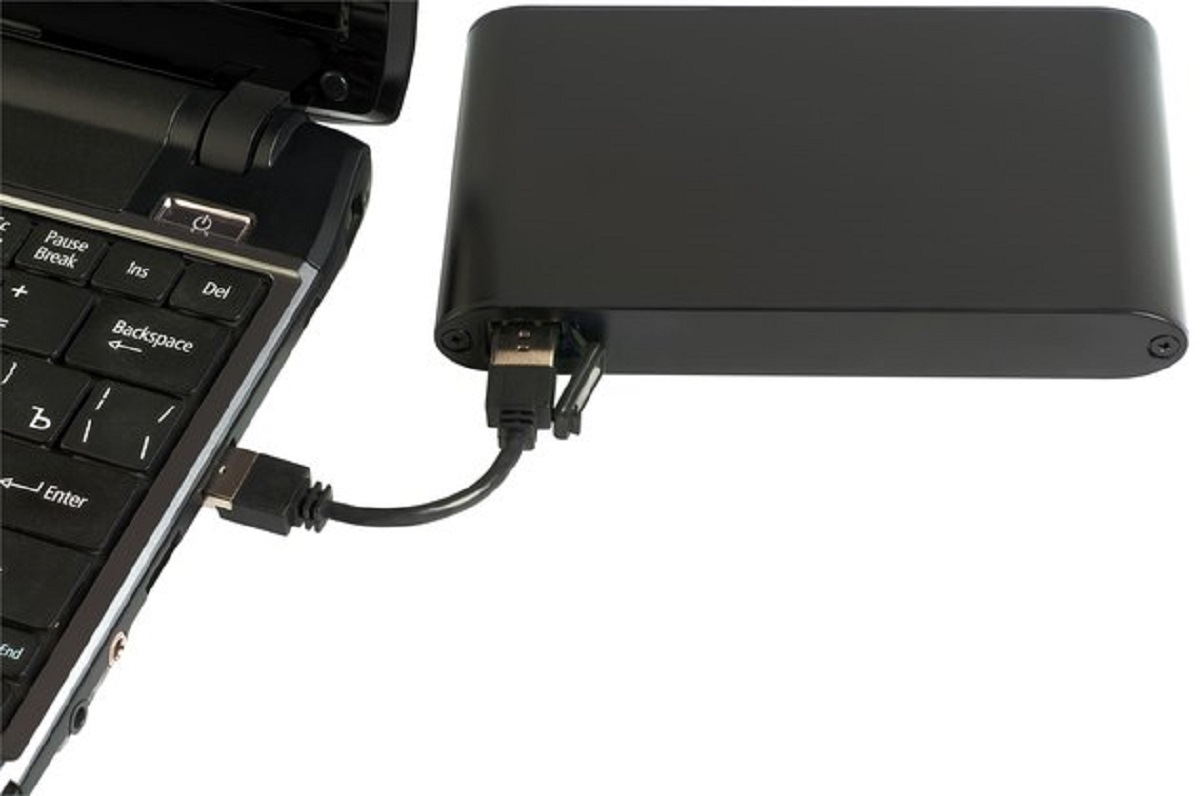
- Connect the other end of the cable to your external hard drive: Plug the other end of the cable into the corresponding port on your external hard drive. Again, ensure that the connection is secure.
- Power on your external hard drive: If your external hard drive requires its own power source, make sure it is plugged in or powered on.
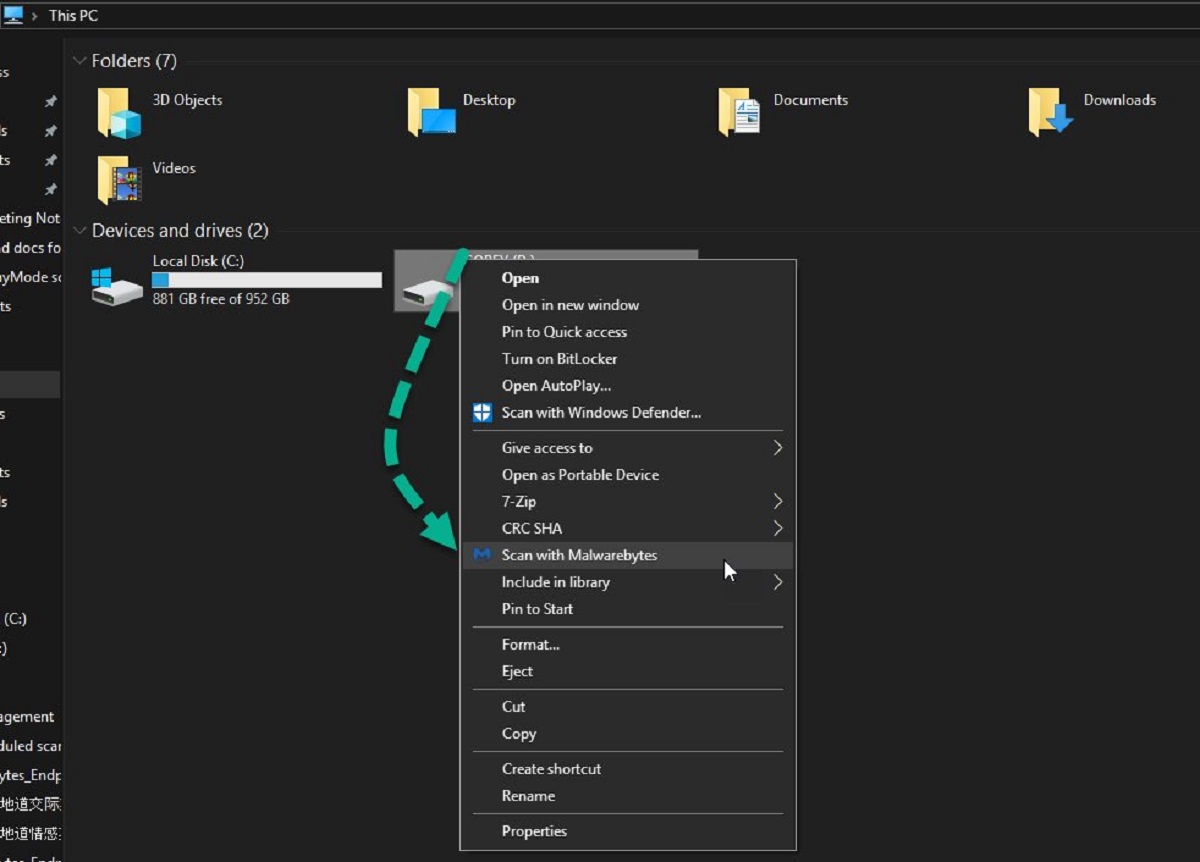
Once connected, your computer should recognize the external hard drive and assign it a drive letter or mount it as a storage device. You can verify the successful connection by checking if the external hard drive is listed in “My Computer” on Windows or “Finder” on macOS.
It’s important to note that you should avoid disconnecting the external hard drive while the antivirus scan is in progress. Doing so can interrupt the scanning process and potentially lead to incomplete or inaccurate results. Ensure that the connection remains stable throughout the scanning process.
Now that your external hard drive is properly connected to your computer, let’s move on to the next step: Opening the antivirus program to begin the scanning process.
Step 3: Open Antivirus Program
Once you have successfully connected your external hard drive to your computer, it’s time to open the antivirus program. Opening the antivirus program allows you to access its features and controls, including initiating the scan on your external hard drive.
Here are the general steps to open the antivirus program:
- Locate the antivirus program icon: Most antivirus software applications have a desktop shortcut or can be found in the Windows Start menu or macOS Applications folder. Look for the program’s icon and double-click on it.
- Wait for the antivirus program to launch: Depending on your computer’s speed and the antivirus software you are using, it may take a few seconds for the program to fully load.
Once the antivirus program is open, you will see the main interface with various options and features. The interface may differ based on the antivirus software you are using, but most programs have a clear and user-friendly layout.
Take a moment to familiarize yourself with the antivirus program’s interface, as it will help you navigate through the available features and settings. Look for the scan options or a dedicated button to start the scanning process.
If you are unsure about how to open the antivirus program, refer to the software’s documentation or visit the manufacturer’s website for specific instructions related to your antivirus software.
With the antivirus program now open, you are ready to proceed to the next step: selecting the scan options for your external hard drive. This will allow you to customize the scanning process based on your preferences and requirements.
Step 4: Select Scan Options
Once you have opened the antivirus program, the next step is to select the appropriate scan options for your external hard drive. Different antivirus software may offer varying scan options, but the basic principles remain the same.
Follow these steps to select the scan options:
- Look for the scan options or settings menu: This can typically be found on the main interface of the antivirus program.
- Choose the type of scan: Antivirus software usually provides different types of scans, such as a quick scan, a full scan, or a custom scan. The quick scan is a faster option that focuses on the most commonly infected areas, while the full scan thoroughly scans all files and folders on the external hard drive. A custom scan allows you to specify specific files, folders, or drives to be scanned.
- Select the external hard drive for scanning: If the antivirus program allows you to choose specific drives or devices for scanning, make sure to select your external hard drive. This ensures that the scan targets the files and folders stored on the external hard drive specifically.
- Configure additional scan options (if available): Depending on your antivirus software, you may have additional options to configure. These may include enabling heuristic scanning, enabling rootkit detection, or choosing whether to scan inside compressed files. Adjust these options based on your preferences and the level of thoroughness you require.
It’s important to note that the scanning options and settings may vary between antivirus software. If you are unsure about which options to select, consult the documentation or online support resources provided by the antivirus software manufacturer.
By selecting the appropriate scan options, you can customize the scanning process to suit your needs and preferences. This ensures a more targeted and efficient scan of your external hard drive for potential viruses and malware.
With the scan options now configured, you are ready to move on to the next step: choosing your external hard drive for scanning. This will initiate the actual scan process and help uncover any potential threats that may be lurking on your external hard drive.
Step 5: Choose External Hard Drive to Scan
After selecting the scan options in your antivirus program, the next step is to choose your external hard drive for scanning. This step ensures that the antivirus software targets and scans the files and folders specifically stored on the external hard drive.
Follow these steps to choose your external hard drive for scanning:
- Navigate to the scan settings or configuration menu in your antivirus program.
- Look for the option to choose specific drives, devices, or locations for scanning.
- Select your external hard drive from the available options.
Choosing the external hard drive indicates to the antivirus program that you want it to focus its scanning efforts on this particular storage device. This allows the software to thoroughly inspect the files and folders stored on the external hard drive for any potential viruses, malware, or other security threats.
In some antivirus programs, you may have the option to perform a scan on multiple drives simultaneously. If you have more than one external hard drive connected to your computer, make sure to select the appropriate drives for scanning. You can also choose to scan other connected devices, such as USB flash drives or memory cards, if needed.
Ensure that you have selected the correct external hard drive before proceeding with the scan. This helps prevent unnecessary scanning on other drives and optimizes the overall scanning process.
Now that you have chosen the external hard drive for scanning, you are ready to move on to the next step: initiating the scan process. This will start the antivirus software’s examination of the files and folders on your external hard drive to detect any potential threats.
Step 6: Initiate Scan Process
Now that you have selected your external hard drive for scanning, it’s time to initiate the scan process. This step involves starting the antivirus software’s examination of the files and folders stored on your external hard drive to identify any potential viruses or malware.
Follow these steps to initiate the scan process:
- Locate the scan button or option in your antivirus program’s interface.
- Click on the scan button or select the appropriate scan option based on the type of scan you have chosen (e.g., quick scan, full scan, custom scan).
- Wait for the scan to begin. The duration of the scan will depend on the size of your external hard drive, the speed of your computer, and the selected scan type.
During the scan, the antivirus software will systematically go through the files and folders on your external hard drive, examining them for any signs of viruses, malware, or other security threats. The software will compare the files against its virus database or use heuristic analysis to detect any suspicious behavior or patterns.
It’s important to note that the scan may take some time to complete, especially if you have selected a full scan or if your external hard drive contains a large amount of data. It’s best to be patient and avoid interrupting the scan process, as this could lead to inaccurate or incomplete results.
While the scan is in progress, you can monitor the scanning activity in the antivirus program’s interface. Some programs may provide real-time updates on the number of files scanned, any threats detected, or the progress of the scan overall.
Once the scan is complete, you can proceed to review the scan results. This will give you insights into any potential threats that have been detected on your external hard drive.
Continue reading to learn more about Step 7: Review Scan Results and what actions you can take upon detecting threats.
Step 7: Review Scan Results
After the scan process has completed, it’s time to review the scan results provided by your antivirus software. This step allows you to assess the findings and determine whether any potential threats have been detected on your external hard drive.
Follow these steps to review the scan results:
- Navigate to the scan results section in your antivirus program’s interface.
- Look for a summary or detailed report of the scan findings.
- Review the list of detected threats, if any, along with their severity or risk levels.
The scan results will provide you with important information about the potential threats identified by the antivirus software. This can include the names of specific viruses, malware, or suspicious files that were found on your external hard drive.
When reviewing the scan results, keep the following points in mind:
- Severity Levels: Antivirus software often assigns severity levels to the detected threats, such as low, medium, or high. This helps you prioritize and take appropriate actions based on the severity of the identified threats.
- False Positives: Occasionally, antivirus programs may flag files or applications that are mistakenly identified as malicious. It’s important to carefully review the scan results to determine if any false positives are present.
- Action Recommendations: The antivirus software may provide recommendations on how to deal with the detected threats. This can include options such as quarantine, delete, or ignore. Consider these recommendations and take suitable actions accordingly.
If the scan results indicate the presence of real threats, it’s imperative to take appropriate actions to mitigate the risks and protect your data. Follow the recommendations provided by the antivirus software to ensure the integrity and security of your external hard drive.
Keep in mind that some antivirus programs offer additional features, such as automatic remediation or the ability to restore infected files from a backup. Explore these options if available and relevant to your situation.
Now that you have reviewed the scan results and identified any potential threats, it’s time to proceed to the next step: taking action on the detected threats to ensure the safety of your external hard drive and files.
Step 8: Take Action on Detected Threats
Once you have reviewed the scan results and identified any potential threats on your external hard drive, it’s crucial to take immediate action to protect your data and prevent further damage. Taking appropriate measures to address the detected threats will help ensure the security and integrity of your files.
Follow these steps to take action on the detected threats:
- Follow the recommendations provided by the antivirus software: The scan results will likely include recommendations on how to deal with the detected threats. These may include options such as quarantine, delete, or ignore.
- Quarantine or delete the infected files: For confirmed threats, it is recommended to quarantine or delete the infected files. Quarantining isolates the infected files from the rest of your system, preventing them from causing further harm. If you are certain that a file is a false positive, you may choose to exclude it from further scans in your antivirus settings.
- Consider restoring files from a backup: If you have a backup of your important files, and the antivirus software has identified threats in those files, you can restore them from a clean backup to ensure their safety. This step is especially important if deleting or quarantining the infected files will result in data loss.
- Update your antivirus software: Keeping your antivirus software up to date is vital for enhanced protection against new and emerging threats. Ensure that you have the latest virus definitions and security patches installed. Set your antivirus software to automatically update itself to stay protected in real-time.
It is essential to follow the recommendations provided by your antivirus software and take appropriate action promptly. Ignoring or neglecting the detected threats can put your data and system at risk, increasing the chances of further infection or data loss.
Additionally, if the scanned threats indicate the presence of a more complex or sophisticated malware infection, it is recommended to seek professional assistance from cybersecurity experts. They can provide advanced guidance and help you address the issue effectively.
By taking immediate action on the detected threats, you can safeguard your external hard drive and ensure the security of your files and data. Now that you have addressed the identified threats, you can proceed to the final step of safely disconnecting your external hard drive.
Step 9: Disconnect External Hard Drive
Once you have completed the necessary actions to address the detected threats on your external hard drive, it’s important to properly disconnect the device from your computer. Safely disconnecting the external hard drive ensures that all operations have been completed, and it reduces the risk of data corruption or damage to the device.
Follow these steps to safely disconnect your external hard drive:
- Ensure that all antivirus scans and processes related to your external hard drive have been completed.
- Close any open files or applications that are stored on the external hard drive.
- Locate the “Safely Remove Hardware” or “Eject” option on your computer.
- Click on the “Safely Remove Hardware” or “Eject” icon.
- Select the external hard drive from the list of connected devices.
- Wait for the computer to confirm that it is safe to remove the external hard drive.
- Once you receive the confirmation, disconnect the external hard drive by gently unplugging the cable from both the computer and the device.
It’s crucial to follow these steps to ensure the integrity of the data stored on your external hard drive and prevent any potential data loss. Abruptly disconnecting the device without going through the proper steps can lead to data corruption or damage to the files.
After disconnecting the external hard drive, make sure to store it in a safe and secure location. Protect the device from physical damage and additional risks, such as extreme temperatures or moisture, which can affect its performance and longevity.
Regularly scanning your external hard drive for viruses and malware and taking appropriate actions to address any threats is essential for maintaining the security of your files. Consider implementing a routine scanning schedule to ensure that your external hard drive remains protected against potential risks.
By performing these steps and safely disconnecting your external hard drive, you have successfully completed the process of scanning your external hard drive for viruses and safeguarding your valuable data.
Conclusion
Scanning an external hard drive for viruses is a crucial task to protect your files and maintain the security of your data. By following the step-by-step process outlined in this article, you can effectively scan your external hard drive and address any potential threats.
Installing a reliable antivirus software is the first step, ensuring that you have the necessary tools to detect and eliminate viruses, malware, and other security threats on your external hard drive. Connecting your external hard drive to your computer and opening the antivirus program allows you to select the appropriate scan options and initiate the scanning process.
Reviewing the scan results is critical in understanding the scope of potential threats. Taking immediate action based on the scan results, such as quarantining or deleting infected files, helps mitigate risks and protect your data. Regularly updating your antivirus software and considering restoring files from a backup enhances your overall cybersecurity posture.
Finally, after completing the necessary actions and addressing any detected threats, it is vital to safely disconnect your external hard drive from your computer. Following the recommended steps ensures the integrity of your data and reduces the risk of data corruption.
Remember, scanning your external hard drive for viruses should be a regular practice to proactively protect your files. Stay vigilant and ensure your antivirus software is up to date to stay ahead of emerging threats.
By following these steps and incorporating these practices into your routine, you can have peace of mind knowing that your external hard drive is safeguarded against potential security risks, preserving the integrity of your valuable data.