Introduction
Have you ever encountered the frustrating situation where you are unable to write or save any data on your external hard drive? This issue, known as write protection, can be incredibly inconvenient, especially when you need to transfer or save important files.
Write protection is a security feature designed to prevent accidental deletion or modification of data on storage devices. While it is a useful safety measure, it can become a hindrance when you need to write or modify files on your external hard drive.
In this article, we will explore various methods to remove write protection on your external hard drive. Whether it is due to a physical switch, registry settings, or malware, we’ve got you covered. So, if you’re ready to unlock your external hard drive and regain full control over your data, let’s dive in!
Before we proceed, it’s important to note that these methods are applicable to Windows operating systems. They may not be compatible with other operating systems or variations, so make sure you are following the steps on a Windows-based device.
It’s also worth mentioning that write protection issues can occur on different types of external storage devices, such as USB flash drives, memory cards, or solid-state drives (SSDs). However, for the purpose of this article, we will primarily focus on external hard drives.
Now that we have covered the basics, let’s explore the common causes of write protection on external hard drives and the various methods you can use to resolve the issue.
Common Causes of Write Protection on External Hard Drive
Write protection on external hard drives can be caused by various factors. Understanding these common causes can help you pinpoint the issue and apply the appropriate solution:
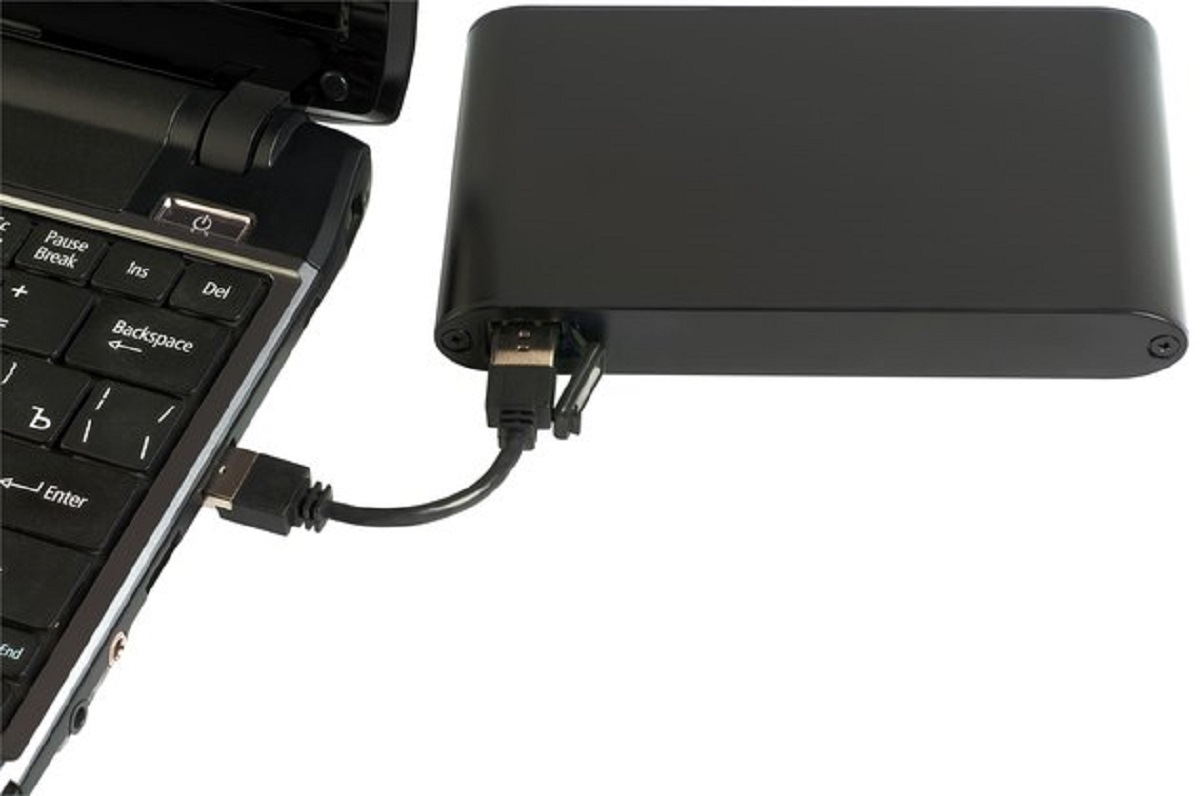
1. Physical Write Protection Switch: Some external hard drives have a physical switch that allows you to enable or disable write protection. Check if your external hard drive has this switch and ensure it is positioned correctly.
2. Corrupted File System: If the file system on your external hard drive becomes corrupted, it can trigger write protection. This can occur due to improper ejection of the drive, abrupt power failure, or malware infection.
3. Registry Settings: Incorrect or altered registry settings can also cause write protection on external hard drives. These settings control the behavior of the operating system, including the write permissions for storage devices.
4. Virus or Malware Infection: Certain viruses or malware can change the security settings on your external hard drive, including enabling write protection. It’s important to regularly scan your device for malicious software and take appropriate action.
5. Third-Party Software: In some cases, third-party software installed on your computer can inadvertently enable write protection on your external hard drive. Disable or uninstall any recently installed programs to see if it resolves the issue.
These are some of the most common causes of write protection on external hard drives. By understanding these factors, you can narrow down the potential solutions to address your specific situation. In the following sections, we will explore various methods to remove write protection and regain full access to your external hard drive.
Method 1: Checking Physical Write Protection Switch
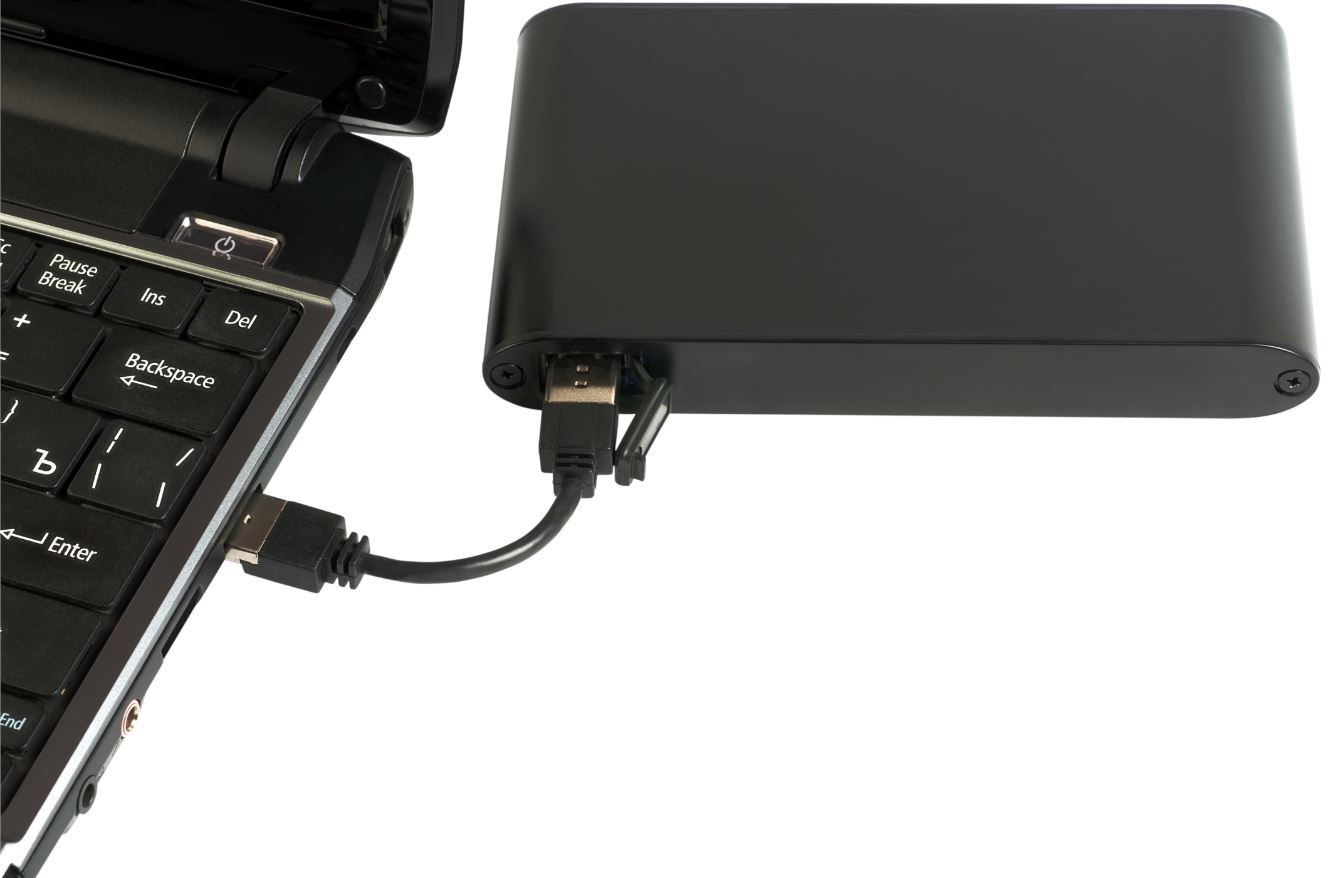
One of the first steps to troubleshoot write protection on your external hard drive is to check if it has a physical write protection switch. This switch is usually located on the side or back of the drive and is used to enable or disable write protection.
To check if your external hard drive has a physical write protection switch, follow these steps:
- Disconnect the external hard drive from your computer.
- Locate the physical switch on the drive. It is typically labeled as “Lock” or “Write Protect.”
- If the switch is in the “Lock” or “Write Protect” position, move it to the opposite position to disable write protection.
- Reconnect the external hard drive to your computer and try writing or modifying files.
If your external hard drive does not have a physical write protection switch or changing its position does not resolve the issue, move on to the next method.
It’s important to note that not all external hard drives have a physical write protection switch. This feature varies from model to model, so it’s important to check the user manual or search online for information specific to your external hard drive.
Now that we have checked the physical write protection switch, let’s move onto the next method to remove write protection from your external hard drive.
Method 2: Modifying Registry Settings
If checking the physical write protection switch did not resolve the issue, you can try modifying the registry settings on your computer. Please note that modifying the registry can have serious consequences, so proceed with caution and follow these steps:
- Press the Windows key + R on your keyboard to open the Run dialog box.
- Type “regedit” (without quotes) and press Enter to open the Registry Editor.
- In the Registry Editor, navigate to the following location:
- If you cannot find the “StorageDevicePolicies” folder, right-click on the “Control” folder, select New, and then click on Key. Name the new folder “StorageDevicePolicies”.
- Within the “StorageDevicePolicies” folder, right-click on an empty space, select New, and then click on DWORD (32-bit) Value.
- Name the new DWORD value “WriteProtect” (without quotes).
- Double-click on the “WriteProtect” value and set the Value data to “0” to disable write protection.
- Click OK and close the Registry Editor.
HKEY_LOCAL_MACHINE\SYSTEM\CurrentControlSet\Control\StorageDevicePolicies+
After making these changes to the registry, reconnect your external hard drive to your computer and check if the write protection issue has been resolved.
If this method does not work or you encounter any issues while modifying the registry, it is recommended to seek assistance from a professional or knowledgeable individual.
In the next section, we will explore another method to remove write protection from your external hard drive.
Method 3: Using Diskpart Command Prompt
If the previous methods did not remove the write protection on your external hard drive, you can try using the Diskpart command prompt utility. Diskpart is a powerful command-line tool provided by Windows that allows you to manage disk partitions and volumes. Here’s how you can use Diskpart to remove write protection:
- Connect your external hard drive to your computer.
- Press the Windows key + X on your keyboard and select “Command Prompt (Admin)” or “Windows PowerShell (Admin)” to open an elevated command prompt.
- In the command prompt window, type “diskpart” and press Enter to launch the Diskpart utility.
- Type “list disk” and press Enter to view a list of the disks connected to your computer.
- Identify your external hard drive from the list based on its size and other relevant information.
- Type “select disk X” (replace X with the number assigned to your external hard drive) and press Enter to select the disk.
- Next, type “attributes disk clear readonly” and press Enter. This command will clear the read-only attribute on the disk, which may be causing the write protection.
- Close the command prompt window and reconnect your external hard drive.
After performing these steps, check if the write protection has been removed from your external hard drive. If the issue persists, try the next method.
Remember to exercise caution while using Diskpart as it deals with disk management functions. Make sure you select the correct disk to avoid unintended data loss.
Next, we will look at another method to remove write protection from your external hard drive.
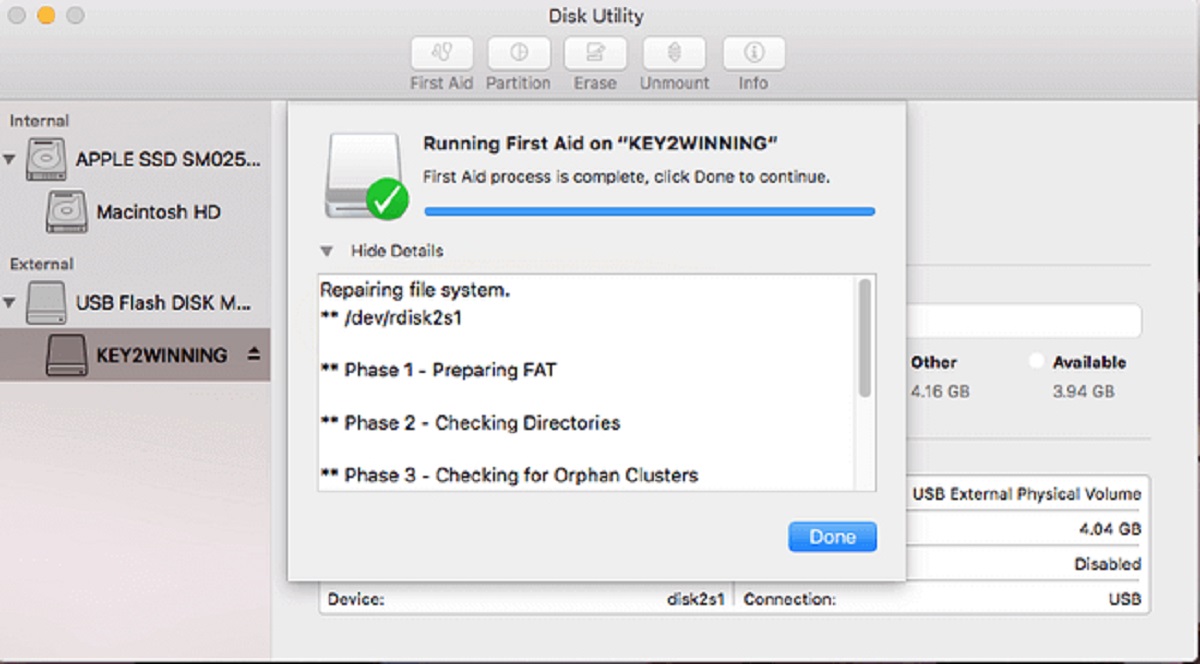
Method 4: Formatting External Hard Drive
If the previous methods did not resolve the write protection issue on your external hard drive, you can try formatting the drive. Formatting erases all the data on the drive, so make sure you have a backup if there are any important files. Here’s how you can format your external hard drive:
- Connect your external hard drive to your computer.
- Press the Windows key + E to open the File Explorer.
- In the File Explorer, locate and right-click on your external hard drive.
- Select “Format” from the context menu.
- In the Format window, specify the desired file system (such as NTFS or exFAT) and allocation unit size.
- Ensure that the “Quick Format” option is selected.
- Click on the “Start” button to begin the formatting process.
- Follow the on-screen prompts and wait for the formatting to complete.
- Once the formatting is finished, reconnect your external hard drive and check if the write protection has been removed.
Please note that formatting your external hard drive will erase all the data on it. Make sure you have a backup of any important files before proceeding with the formatting process.
If formatting the drive does not remove the write protection or if you are unable to format it, there may be a hardware issue with the drive. In such cases, it is advisable to contact the manufacturer or seek professional assistance.
In the next section, we will explore another method to troubleshoot the write protection issue on your external hard drive.
Method 5: Updating or Reinstalling USB Drivers
Outdated or corrupt USB drivers can sometimes cause write protection issues on external hard drives. Updating or reinstalling the USB drivers can potentially resolve this problem. Here’s how you can do it:
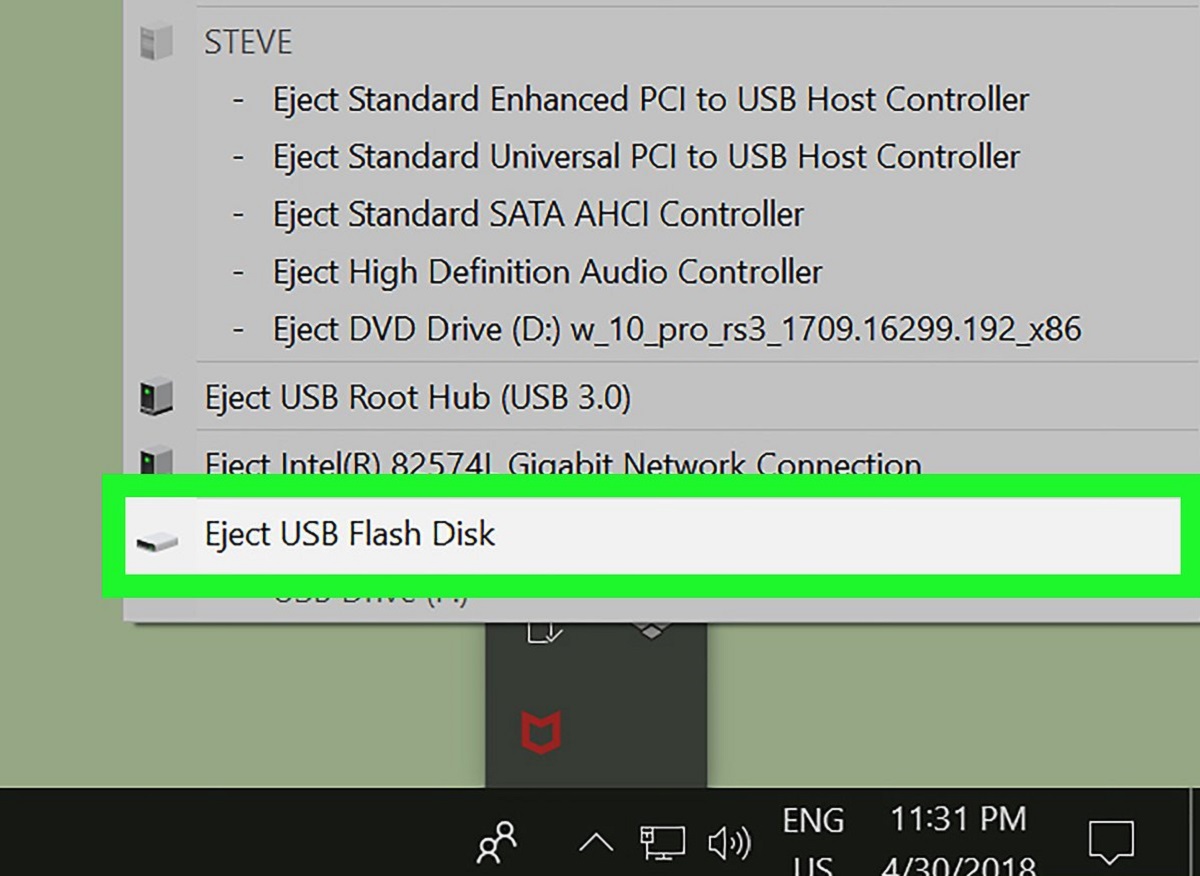
- Press the Windows key + X on your keyboard and select “Device Manager” from the menu.
- In the Device Manager window, expand the “Universal Serial Bus controllers” category.
- Locate the USB drivers associated with your external hard drive. Right-click on them and select either “Update driver” or “Uninstall device.”
- If you choose to update the driver, follow the on-screen instructions to download and install the latest driver updates for the USB controllers.
- If you select “Uninstall device,” confirm the action and then restart your computer. Windows will automatically reinstall the USB drivers upon reboot.
- Once the USB drivers are updated or reinstalled, reconnect your external hard drive and check if the write protection issue has been resolved.
Updating or reinstalling USB drivers can help resolve compatibility issues and ensure that the communication between your computer and the external hard drive is functioning properly. If this method does not solve the problem, proceed to the final method.
If you are unsure about updating or reinstalling USB drivers, it is advisable to consult the manufacturer’s support website or seek assistance from a knowledgeable professional.
In the next section, we will explore another method to address the write protection issue on your external hard drive.
Method 6: Checking for Malware or Viruses
Malware or viruses can sometimes affect the security settings on your external hard drive and trigger write protection. Conducting a thorough scan for malicious software can help identify and remove any potential threats. Here’s how you can check for malware or viruses:
- Ensure you have updated antivirus software installed on your computer. If you don’t have any, download and install a reputable antivirus program.
- Open the antivirus software and navigate to the scan options.
- Select the option to perform a full scan on all connected drives, including the external hard drive.
- Initiate the scan and let the antivirus software examine the files and folders on your computer and external hard drive.
- If any malware or viruses are detected, follow the recommended actions provided by the antivirus software to remove or quarantine the threats.
- Once the scanning and cleaning process is complete, reconnect your external hard drive and check if the write protection issue has been resolved.
Regularly scanning your computer and external devices for malware or viruses is crucial for maintaining the security of your data. Keeping your antivirus software up to date and running scans periodically can help prevent write protection issues caused by malicious software.
If the write protection issue persists even after scanning for malware or viruses, it may be necessary to seek further assistance from an IT professional or the manufacturer.
Now that we have explored various methods to remove write protection on your external hard drive, let’s summarize what we have learned in the concluding section.
Conclusion
Dealing with write protection issues on your external hard drive can be frustrating, but with the methods outlined in this article, you have a range of options to help resolve the problem.
We started by understanding the common causes of write protection, which include physical switches, registry settings, viruses or malware, and more. By identifying the root cause, you can form a targeted approach to fix the issue.
We then explored a series of methods to remove write protection:
- Checking the physical write protection switch, if applicable
- Modifying registry settings
- Using the Diskpart command prompt utility
- Formatting the external hard drive
- Updating or reinstalling USB drivers
- Scanning for malware or viruses
It’s important to note that not all methods may work in every situation, and some methods may be more appropriate than others depending on the specific cause of the write protection problem.
Remember to exercise caution when modifying registry settings or using Diskpart, as these actions can have significant consequences if performed incorrectly. It’s always a good idea to have a backup of important data before attempting any changes.
If you have exhausted all the methods mentioned and the write protection issue persists, it may indicate a hardware problem with your external hard drive. In such cases, reaching out to the manufacturer or consulting a professional technician can provide further guidance and support.
We hope that this article has provided you with valuable insights and effective solutions to remove write protection on your external hard drive. By following these methods, you can regain full control over your data and ensure a smooth and unrestricted experience with your external storage device.