Introduction
A write-protected hard disk drive can be a frustrating issue, preventing you from making any changes or modifications to the files or folders stored on the drive. This can be especially problematic if you need to update or delete important data. However, with the right knowledge and steps, you can unlock a write-protected hard disk drive and regain control over your files.
In this article, we will explore various methods to remove the write-protection from your hard disk drive. We will discuss both hardware and software approaches, providing you with multiple options to choose from based on your specific situation.
Before we dive into the solutions, it is essential to understand what write-protection means in the context of a hard disk drive. Write-protection is a security feature that prevents any modifications to the data stored on the drive. It ensures that the information remains intact and is not accidentally or maliciously altered or deleted. While write-protection can provide valuable safeguards for sensitive data, it can sometimes become an inconvenience when you need to make changes.
The reasons behind a write-protected hard disk drive can vary. It could be due to a hardware write-protection switch on the drive itself or software settings in the operating system. By identifying the cause of the write-protection, you can take the appropriate steps to remove it and regain full access to the drive.
In the following sections, we will explore different methods to unlock a write-protected hard disk drive. These methods range from checking for a hardware write-protection switch, modifying registry settings, using command prompt tools, changing permissions, to formatting the drive. Each method has its own advantages and considerations, so it’s important to understand the implications before proceeding.
So, let’s jump in and explore the methods that will help you unlock a write-protected hard disk drive and reclaim control over your files and folders.
Understanding Write-Protected Hard Disk Drives
Before we delve into the methods of unlocking a write-protected hard disk drive, it’s crucial to understand what exactly write-protection entails.
A write-protected hard disk drive is a storage device that has been configured to prevent any modifications to its content. This means that you cannot add, delete, or modify files or folders on the drive. This feature is implemented to safeguard data integrity and prevent unintentional or unauthorized changes to critical information.
Write-protection can be applied at different levels. It can be set at the hardware level, where the hard disk drive itself has a physical mechanism to enable or disable write access. Alternatively, it can be implemented at the software level, in the operating system or other disk management tools.
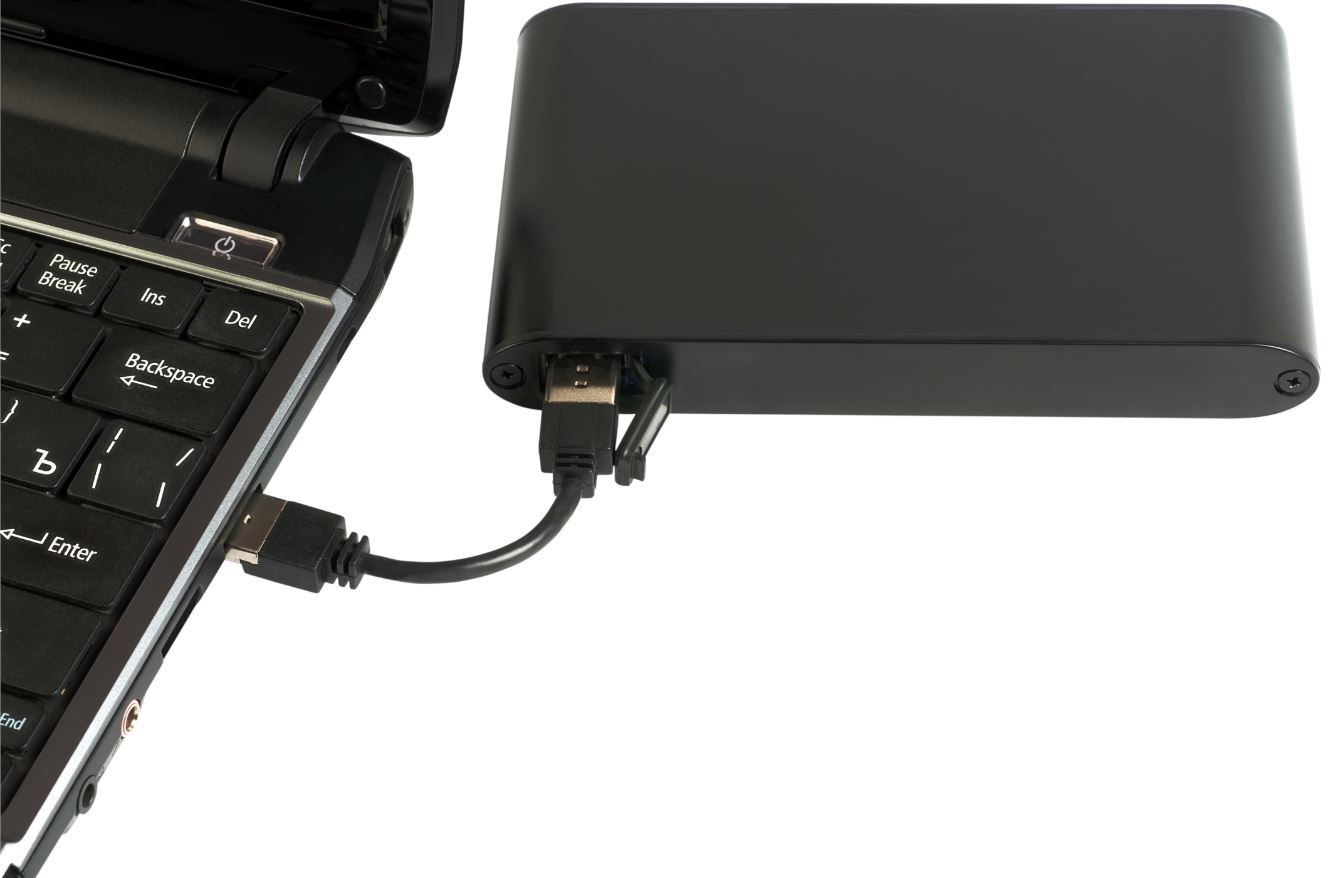
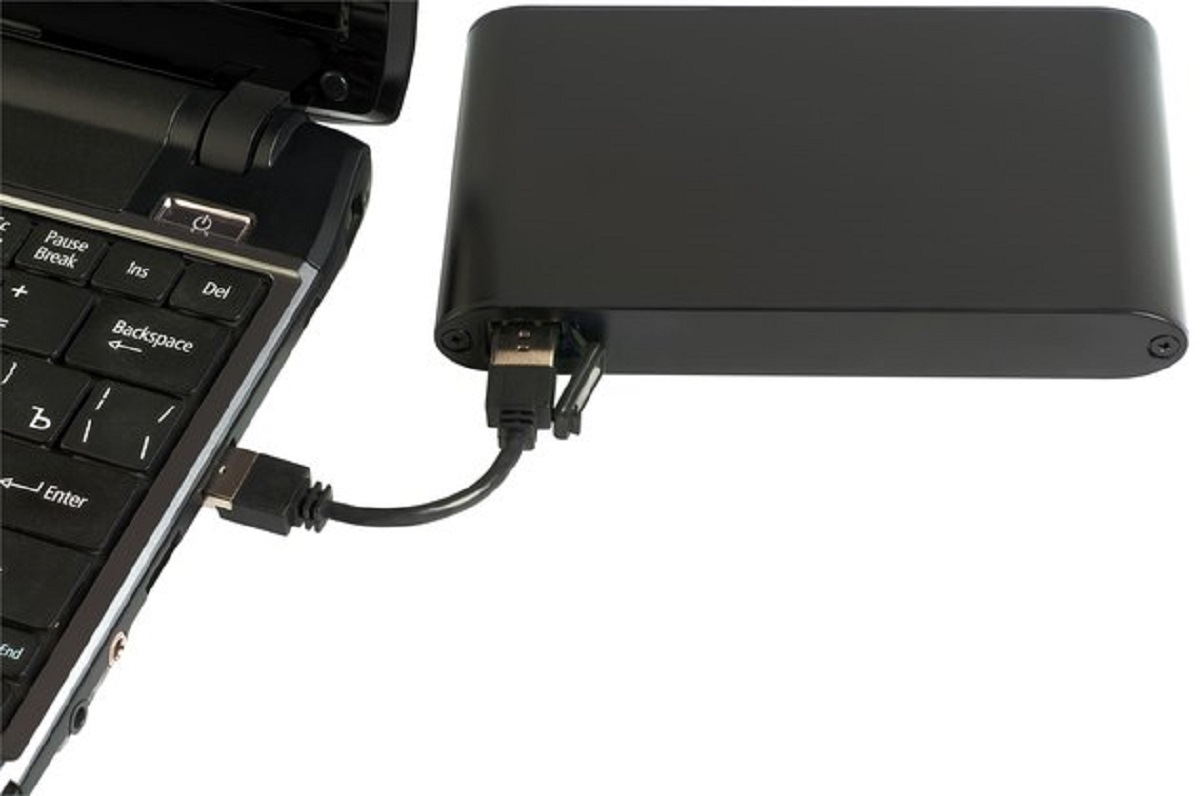
Hardware write-protection is typically achieved using a physical switch on the external casing of certain hard disk drives. This switch, when enabled, prevents any writing operations to the drive. It acts as a simple yet effective way to ensure the safety and security of the data stored on the drive.
Software write-protection, on the other hand, is governed by the operating system or other disk management tools. It can be enabled or disabled through various settings and configurations. Software write-protection is usually more flexible and allows for finer control over write access to specific files, folders, or even the entire drive.
Write-protection can serve various purposes, depending on the context and use case. It is commonly employed in scenarios where data integrity is of utmost importance, such as on removable storage devices like USB flash drives or SD cards. This prevents accidental data loss or corruption caused by writing operations.
Additionally, write-protection can be useful in protecting critical system files or sensitive information from being modified or tampered with. System files that are key to the functioning of the operating system can be write-protected to prevent unauthorized alterations that could potentially destabilize the system.
Understanding the concept and benefits of write-protection is crucial when attempting to unlock a write-protected hard disk drive. By knowing the underlying mechanisms and reasons behind write-protection, you will be better equipped to select the most appropriate method to remove the write-protection and regain control over your data.
Why is Your Hard Disk Drive Write-Protected?
Encountering a write-protected hard disk drive can leave you wondering why you are unable to make changes to your files. Understanding the reasons behind the write-protection is essential to determine the appropriate solutions. Let’s explore some common factors that can contribute to your hard disk drive being write-protected.
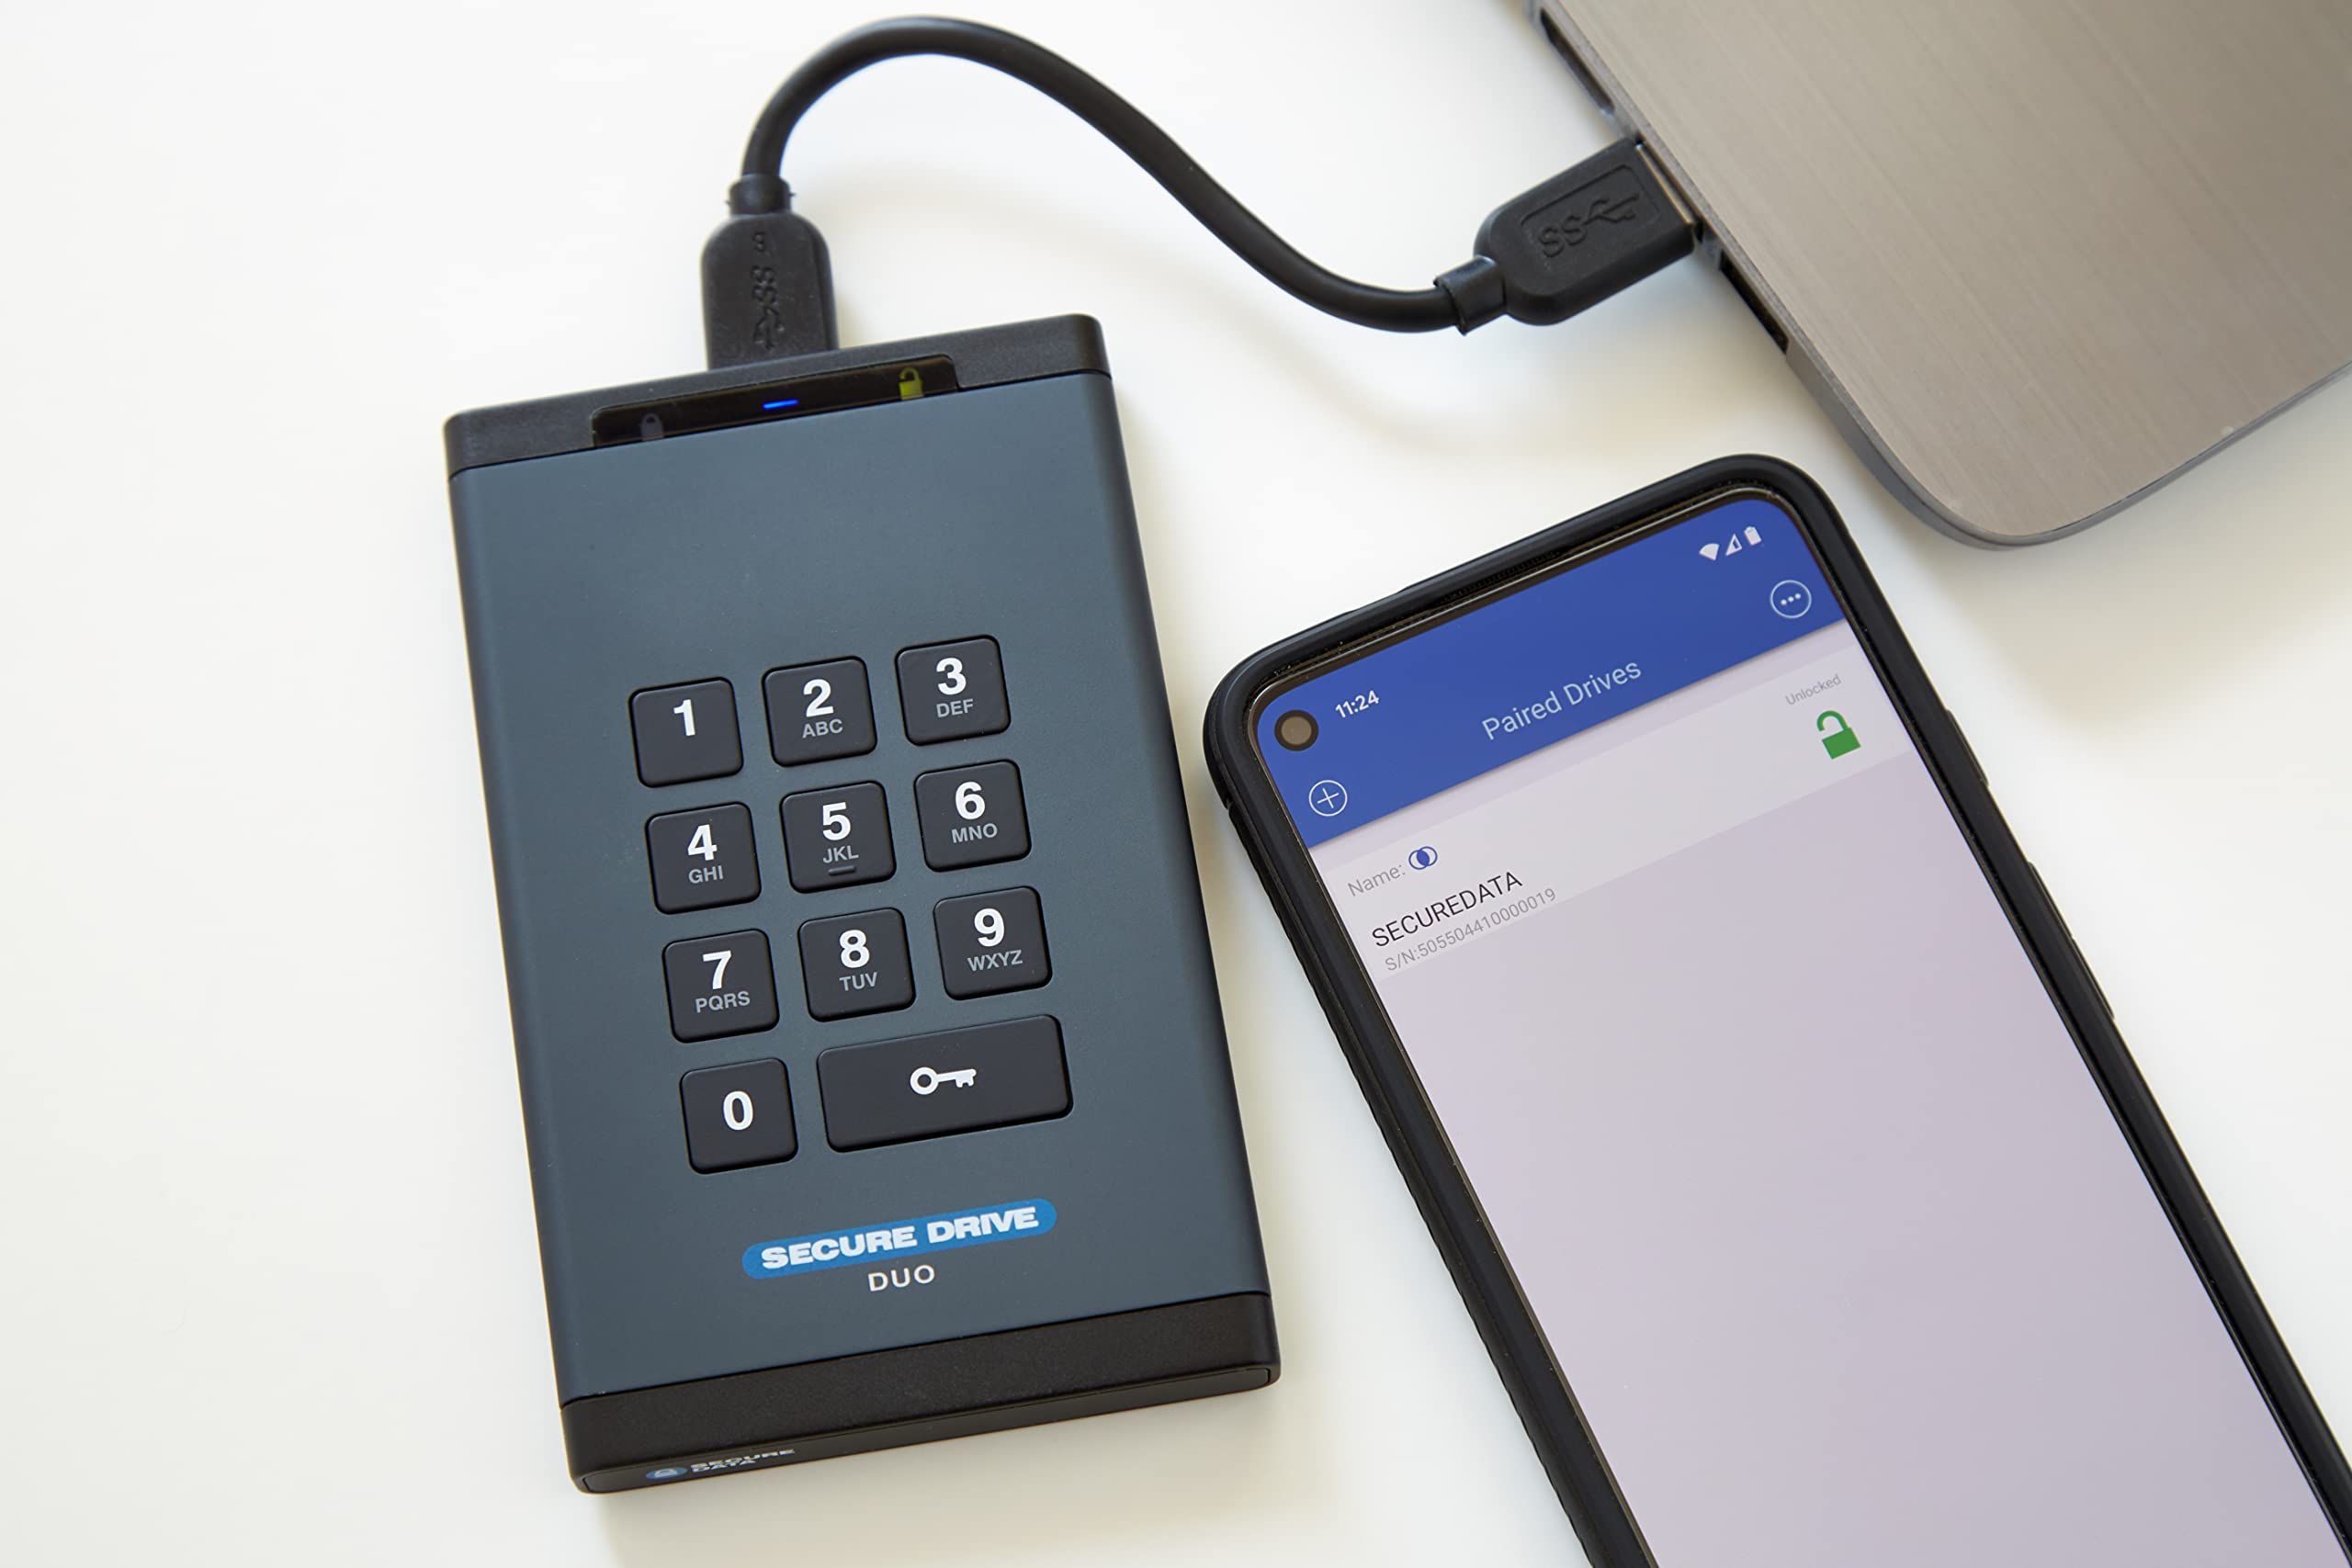
1. Hardware Write-Protection Switch: Some external hard disk drives have a physical switch on the casing that enables or disables write access. If this switch is in the write-protected position, it prevents any modifications to the data on the drive. It’s important to check if your hard disk drive has a hardware write-protection switch and ensure it is set correctly.
2. File System Permissions: The file system of the hard disk drive may have specific permissions applied to it, restricting write access. This can occur when the drive is formatted with a file system that does not allow write operations by default or when permissions are modified for specific files or folders. Checking and modifying the file system permissions can help resolve write-protection issues.
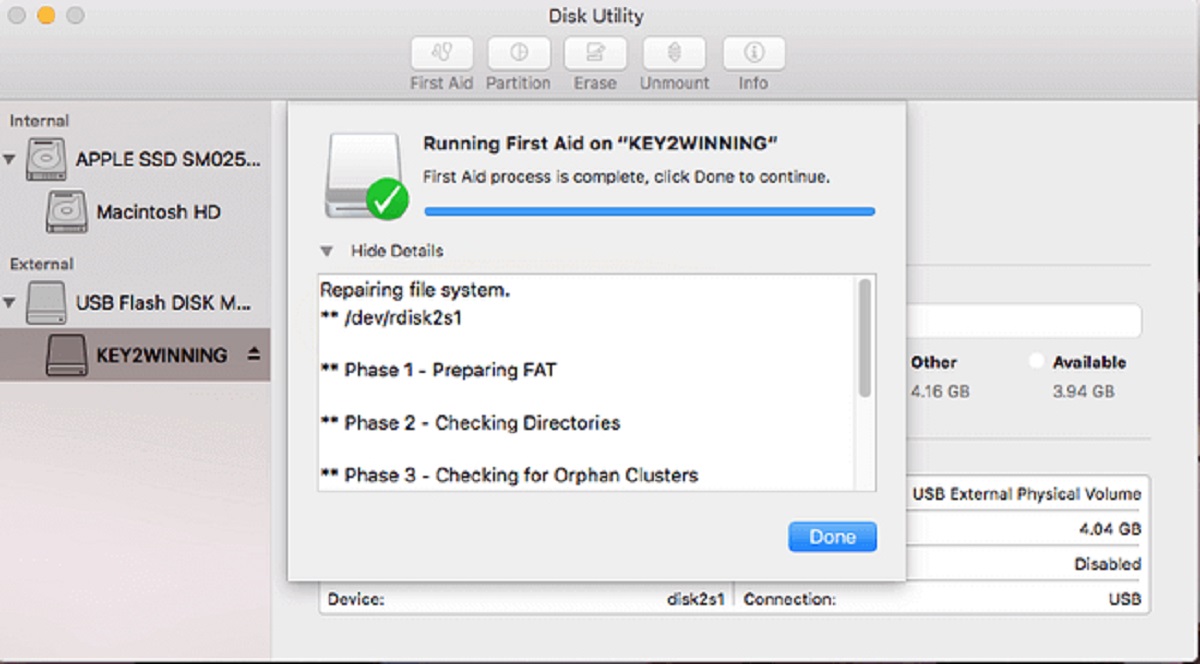
3. Corrupted File System: A corrupted file system can also cause a hard disk drive to become write-protected. Errors or issues within the file system structure can trigger a write-protection mechanism to prevent further damage and data loss. Repairing or recovering the file system can help resolve this issue and remove the write-protection.
4. Malware or Virus Infection: Malicious software or viruses can alter the settings of your hard disk drive, including enabling write-protection. This can be a security measure to prevent any modifications by unauthorized entities. Running a thorough antivirus scan and removing any detected malware can help restore normal write access.
5. Registry Settings: The Windows Registry contains settings and configurations for various aspects of the operating system, including disk management. Incorrect or misconfigured registry settings can inadvertently trigger the write-protection on your hard disk drive. Modifying or resetting these settings can potentially resolve the issue.
6. Disk Errors: Physical or logical errors on the hard disk drive can also lead to write-protection. These errors can be caused by factors such as bad sectors, disk corruption, or disk failure. Running disk diagnostics and repair utilities can help identify and fix these errors, potentially removing the write-protection.
By understanding the reasons why your hard disk drive is write-protected, you can narrow down the possible causes and choose the appropriate methods to unlock it. It’s important to carefully analyze your specific situation and select the most suitable solution to resolve the write-protection issue and regain control over your data.
Method 1: Check for a Hardware Write-Protection Switch
One of the first things to check when dealing with a write-protected hard disk drive is whether it has a hardware write-protection switch. This switch, if present, physically enables or disables write access to the drive. Follow these steps to determine if your hard disk drive has a hardware write-protection switch:
1. Inspect the External Casing: Examine the external casing of your hard disk drive for any switches or buttons. The write-protection switch is usually small and may be labeled as “Write Protect” or “Lock.”
2. Check the Switch Position: If you locate the write-protection switch, check its current position. If it is set to the write-protected position, it will prevent any modifications to the data on the drive. Flip the switch to the unlocked position.
3. Verify Write Access: After adjusting the hardware write-protection switch, connect the hard disk drive to your computer and attempt to make changes to the files or folders on the drive. If the switch was the cause of the write-protection, you should now be able to modify the data.
If your hard disk drive does not have a hardware write-protection switch or if adjusting the switch does not resolve the issue, move on to the next method to try alternative solutions.
It’s important to note that not all hard disk drives have a hardware write-protection switch. This feature is more commonly found on external hard drives or storage devices. Internal hard drives typically do not have this switch as they rely on software-based write-protection settings.
Checking for a hardware write-protection switch is a straightforward initial step in troubleshooting a write-protected hard disk drive. It allows you to quickly determine if the write-protection is due to a simple hardware switch setting. If this method does not solve the issue, continue exploring the other methods to unlock your write-protected hard disk drive.
Method 2: Use Diskpart to Remove Write-Protection
If your hard disk drive does not have a hardware write-protection switch or adjusting the switch did not solve the write-protection issue, you can try using the Diskpart command-line utility to remove the write-protection. Diskpart allows you to manage disks, partitions, and volumes in Windows. Follow these steps to use Diskpart:
1. Open Command Prompt: Press the Windows key + R to open the Run dialog box. Type “cmd” and press Enter to open the Command Prompt.
2. Run Diskpart: In the Command Prompt, type “diskpart” and press Enter to launch the Diskpart utility. If prompted by User Account Control, click “Yes” to grant administrative permissions.
3. List Disks: Type “list disk” and press Enter to display a list of all the disks connected to your computer. Locate the disk number that corresponds to your write-protected hard disk drive.
4. Select the Disk: Type “select disk X” (replace X with the disk number) and press Enter. This will select the write-protected disk for further operations.
5. Clear Write-Protection: Type “attributes disk clear readonly” and press Enter. This command will clear the write-protection status on the selected disk.
6. Exit Diskpart: Type “exit” and press Enter to exit the Diskpart utility.
Your hard disk drive should now be free from write-protection. Test by attempting to modify files or folders on the drive to confirm the successful removal of write-protection.
It’s important to note that modifying disks and partitions using Diskpart requires administrative privileges. Make sure you are logged in as an administrator or have the necessary permissions to perform these actions.
If using Diskpart does not resolve the write-protection issue, try the following methods to unlock your hard disk drive. Remember to proceed with caution and ensure that you have backed up any important data before attempting any modifications to your disk.
Method 3: Modify the Registry Settings
If your hard disk drive remains write-protected after checking for a hardware write-protection switch and using Diskpart, you can try modifying the registry settings in Windows. This method involves making changes to the Windows Registry, which is a crucial component of the operating system. Follow these steps to modify the registry settings:
1. Open the Registry Editor: Press the Windows key + R to open the Run dialog box. Type “regedit” and press Enter to open the Registry Editor. If prompted by User Account Control, click “Yes” to grant administrative permissions.
2. Navigate to the StorageDevicePolicies Key: In the Registry Editor, navigate to the following key:
HKEY_LOCAL_MACHINE\SYSTEM\CurrentControlSet\Control\StorageDevicePolicies
If the StorageDevicePolicies key does not exist, you may need to create it. Right-click on the “Control” key, select “New,” and then click on “Key” to create a new key. Name the key as “StorageDevicePolicies.”
3. Modify the WriteProtect Value: Inside the StorageDevicePolicies key, right-click on an empty space in the right pane. Choose “New” and then click on “DWORD (32-bit) Value.” Name the new value as “WriteProtect.”
4. Set the Value Data: Double-click on the WriteProtect value and set the value data to “0.” This will disable the write-protection feature.
5. Restart your computer: After modifying the registry settings, restart your computer to apply the changes.
Upon reboot, check if the write-protection on your hard disk drive is removed. You should now be able to modify files and folders on the drive. If the issue persists, try the next method to resolve the write-protection issue.
Modifying the registry can have significant impacts on the functioning of your operating system. It is important to exercise caution when making changes to the registry, as incorrect modifications can lead to system issues. If you are uncomfortable with modifying the registry, consider seeking assistance from a knowledgeable individual or professional.
Method 4: Clear Write-Protection using Command Prompt
If your hard disk drive is still write-protected after trying the previous methods, you can attempt to clear the write-protection using the Command Prompt. This method involves using specific command-line commands to modify the write-protection status. Follow these steps to clear the write-protection using Command Prompt:
1. Open Command Prompt: Press the Windows key + R to open the Run dialog box. Type “cmd” and press Enter to open the Command Prompt.
2. Run as Administrator: Right-click on the Command Prompt icon in the search results and select “Run as administrator.” This will give you administrative privileges in the Command Prompt.
3. Navigate to the Drive: In the Command Prompt, type the drive letter of the write-protected hard disk drive followed by a colon (e.g., “E:”). Press Enter to navigate to the drive.
4. Clear the Write-Protection: Type “attrib -r -s -h /s /d *.*” and press Enter. This command removes the read-only, system, and hidden attributes from all files and folders on the drive.
5. Check Write Access: After executing the command, check if the write-protection is cleared by attempting to modify files or folders on the drive.
If the write-protection is successfully cleared, you should now be able to make changes to the content of the hard disk drive. If the problem persists, you may consider trying the next method to unlock your write-protected hard disk drive.
Using Command Prompt commands can be a powerful way to modify drive attributes and clear write-protection. However, be cautious when executing commands as they can have unintended consequences if used improperly. Double-check the entered commands before pressing Enter to ensure accuracy.
Method 5: Change Permissions on the Drive
If your hard disk drive is still write-protected, you can attempt to remove the write-protection by changing the permissions on the drive. This method involves modifying the access rights and permissions to allow write access. Follow these steps to change permissions on the drive:
1. Right-click on the write-protected hard disk drive and select “Properties” from the context menu.
2. In the Properties window, navigate to the “Security” tab.
3. Click on the “Edit” button to modify the permissions.
4. In the Permissions dialog box, select your user account or the “Users” group from the list of Group or user names.
5. In the “Permissions for Users” section, check the box for “Full control” to allow complete read and write access to the drive. You can also customize the permissions according to your requirements.
6. Click “Apply” and then “OK” to save the changes.
If prompted, you may need to provide administrative credentials or confirm the permission changes.
After modifying the permissions, check if the write-protection is removed by attempting to modify files or folders on the drive. If the issue persists, you can try the next method to unlock your write-protected hard disk drive.
Changing permissions on the drive grants you greater control over the access rights to the files and folders. However, it’s important to exercise caution when changing permissions, as improper modifications can lead to unintended consequences and security risks. Be sure to understand the implications of the changes you are making and carefully select the appropriate permissions.
Method 6: Format the Hard Disk Drive
If none of the previous methods have successfully removed the write-protection from your hard disk drive, you can consider formatting the drive. Formatting will erase all data on the drive and reset it to its factory settings. Before proceeding with this method, ensure that you have backed up any important data as it will be permanently deleted. Follow these steps to format the hard disk drive:
1. Open “This PC” (Windows/File) Explorer and locate the write-protected hard disk drive.
2. Right-click on the drive and select “Format” from the context menu.
3. In the Format dialog box, you can customize the settings such as the file system, allocation unit size, and volume label. Leave the default settings or modify them according to your requirements.
4. Uncheck the option for “Quick Format” if you want to perform a full format that thoroughly checks for errors on the drive.
5. Click “Start” to initiate the formatting process.
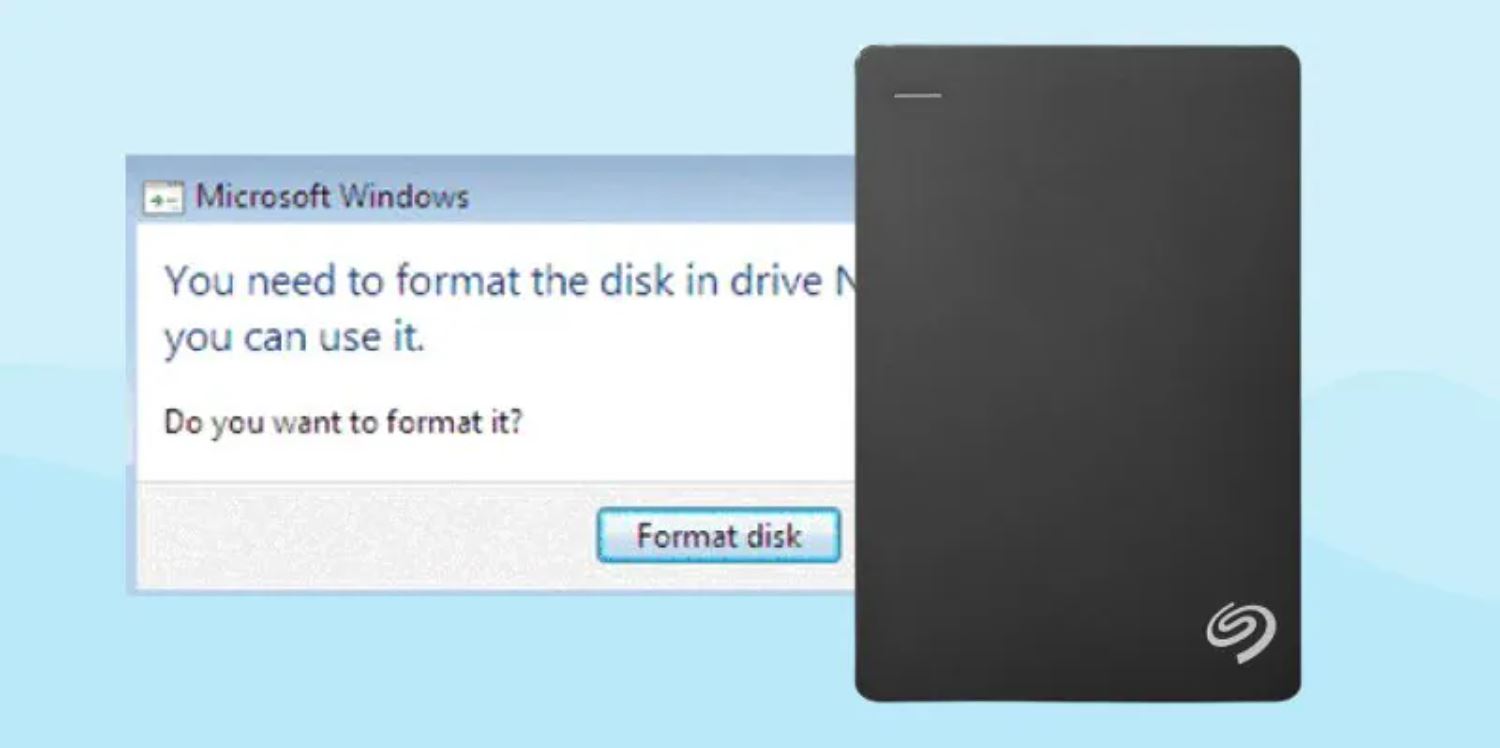
6. A warning message will appear, stating that all data on the drive will be deleted. Confirm by clicking “OK” to proceed with the formatting.
The formatting process may take some time, depending on the size and speed of the drive. Once completed, the write-protection should be removed, and you will have a clean, writable hard disk drive. Test by attempting to modify files or folders on the drive.
Formatting your hard disk drive should be considered as a last resort, as it will erase all data. Ensure that you have backed up any important files before proceeding. Additionally, keep in mind that formatting will not solve hardware-related write-protection issues; it is primarily intended for resolving software-related conflicts.
If formatting does not resolve the write-protection issue, it is recommended to consult with a professional or the manufacturer for further assistance.
Conclusion
Dealing with a write-protected hard disk drive can be frustrating, but with the right knowledge and methods, you can overcome this issue. Throughout this article, we have explored various methods to unlock a write-protected hard disk drive.
We began by understanding what write-protection means and the reasons behind it. We then explored different approaches to remove the write-protection, such as checking for a hardware write-protection switch, using Diskpart, modifying registry settings, clearing write-protection using Command Prompt, changing permissions on the drive, and ultimately, formatting the hard disk drive.
Each method offers a unique solution with varying complexities and potential risks. It is essential to consider your specific situation and choose the method that suits your needs and technical proficiency.
Remember to exercise caution when making any changes to your hard disk drive and always back up important data before attempting any modifications. If you are unsure or uncomfortable with the procedures, it is recommended to seek the assistance of a professional or the support provided by the manufacturer.
By following the methods outlined in this article, you can increase the chances of successfully removing the write-protection on your hard disk drive and regain control over your files and folders.
Before proceeding, it is advisable to ensure that the write-protection is indeed necessary. Write-protection serves important security purposes, such as protecting system files or preventing unintentional modifications to critical data. Ensure that you are making changes only when it is appropriate and necessary.
We hope that the information and methods provided in this article have been helpful to you. By employing the right techniques, you can unlock your write-protected hard disk drive and continue managing your files without any limitations.