Introduction
Are you looking to download video footage from your Lorex DVR? Whether you want to save a memorable moment, review surveillance footage, or gather evidence, downloading videos from your Lorex DVR is a simple process that allows you to have a copy of the footage on your computer or other devices.
Lorex DVRs are widely used for home security systems and provide a reliable and efficient way to monitor your premises. While the primary purpose of a DVR is real-time monitoring, it is equally important to have the ability to download and save video footage for future reference or sharing purposes.
Downloading video from your Lorex DVR not only allows you to have a backup of important events but also provides you the freedom to review the footage at your own convenience. You can also share the recorded video with friends, family, or authorities if needed.
In this guide, we will walk you through the step-by-step process of downloading video from your Lorex DVR. We will cover everything from accessing the DVR menu to transferring the downloaded video to a device or storage medium. By the end of this guide, you will have the knowledge and confidence to easily download video footage from your Lorex DVR.
Before we dive into the steps, it’s important to note that the downloading process may vary slightly depending on the model of your Lorex DVR. However, the basic principles and steps remain the same throughout. Now, let’s get started with the first step of accessing the Lorex DVR.
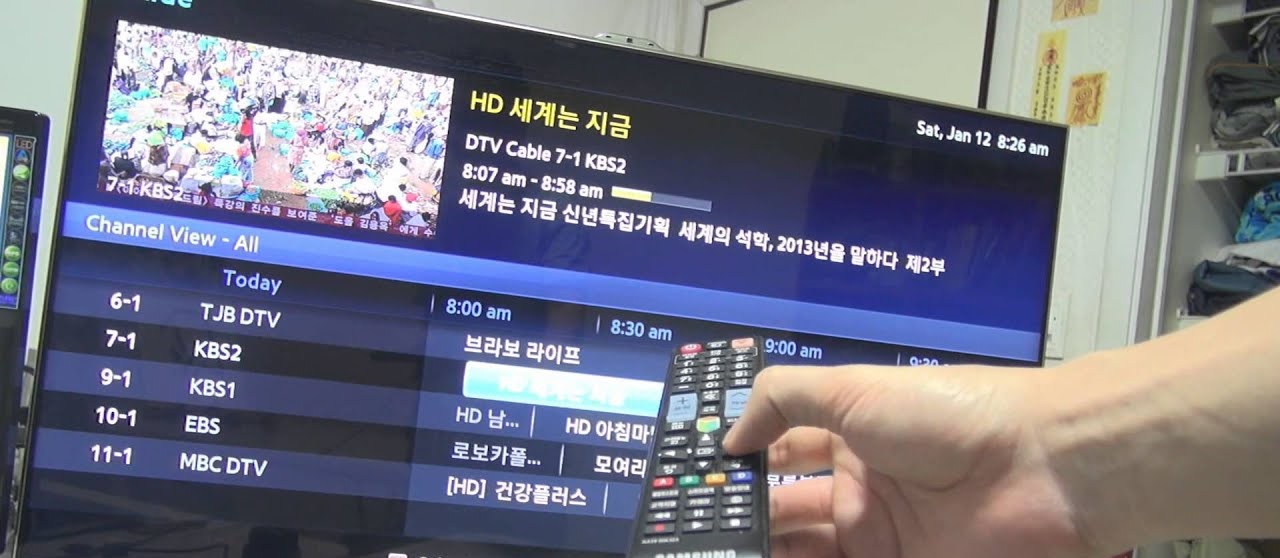
Step 1: Accessing the Lorex DVR
To begin downloading video from your Lorex DVR, you first need to access the DVR’s menu. This can be done by following these simple steps:
- Ensure that your Lorex DVR is powered on and connected to a monitor or TV. You will need a display to navigate the DVR’s menu.
- Locate the remote control that came with your Lorex DVR. The remote control allows you to access the DVR’s functions and settings.
- Point the remote control towards the Lorex DVR and press the power button to turn it on, if it is not already powered on.
- If required, use the input or source button on your TV or monitor to select the correct HDMI or VGA input that the DVR is connected to.
- You will now see the Lorex DVR’s menu displayed on the screen. The menu may vary slightly depending on the model of your DVR, but it typically includes options such as live view, playback, settings, and more.
Once you have successfully accessed the Lorex DVR’s menu, you are ready to navigate and select the video footage that you want to download. In the next step, we will guide you through the process of navigating the DVR menu.
Step 2: Navigating the DVR Menu
Now that you have accessed the Lorex DVR’s menu, it’s time to navigate through the options and find the video footage that you want to download. Follow these steps to navigate the DVR menu:
- Using the arrow buttons on your remote control, move the cursor or highlight box to the “Playback” option in the DVR menu. Press the select or enter button to enter the playback mode.
- You will be presented with a timeline that represents the recorded video footage on your Lorex DVR. The timeline is usually displayed as a bar with different colored segments representing different recording intervals, such as hours or days.
- Use the arrow buttons to move the cursor or highlight box along the timeline to the desired date and time when the video footage was recorded. As you move the cursor, the screen will display a preview of the recorded video.
- Once you have positioned the cursor at the desired date and time, press the select or enter button to view the available video footage for that specific recording interval.
- The Lorex DVR allows you to view multiple camera channels simultaneously. To switch between camera channels, use the arrow buttons to select the desired camera channel, and then press the select or enter button to load the video footage for that specific camera.
By successfully navigating the DVR menu, you have located the video footage that you want to download. In the next step, we will explain how to select the specific video footage for download.
Step 3: Selecting the Desired Video Footage
Now that you have found the video footage you want to download, it’s time to select the specific footage segments for download. Follow these steps to select the desired video footage:
- Using the arrow buttons on your remote control, navigate to the start of the video segment you want to download. The cursor or highlight box will indicate the current position on the timeline.
- Press the select or enter button to mark the starting point of the video segment. A marker or indicator will appear to denote the selected starting position.
- Move the cursor or highlight box to the end of the video segment by using the arrow buttons. Press the select or enter button again to mark the ending point of the video segment. The selected video footage will now be highlighted or marked on the timeline.
- If you want to download multiple video segments, repeat steps 1-3 to select each additional segment. You can select as many segments as you need within the available storage capacity of your Lorex DVR.
By following these steps, you have successfully selected the desired video footage for downloading. In the next step, we will explain how to choose the download option and customize the settings before initiating the download process.
Step 4: Choosing the Download Option
After selecting the desired video footage segments, the next step is to choose the download option on your Lorex DVR. Follow these steps to proceed:
- While still in the playback mode, navigate to the menu options on your DVR using the arrow buttons on your remote control. Look for the option that allows you to download or export the selected video footage.
- Once you have located the download option, press the select or enter button to enter the download settings menu. This menu will give you the ability to customize the download format, quality, and other settings.
- In the download settings menu, you will typically find options such as file format (e.g., AVI or MP4), resolution (e.g., 720p or 1080p), and compression settings. Select the desired settings based on your preferences.
- If you want to download the audio along with the video footage, make sure to enable the audio recording option in the settings menu. This will ensure that the downloaded video includes the corresponding audio track.
- Once you have selected the desired download settings, navigate to the “Start” or “Download” option and press the select or enter button to initiate the download process.
By following these steps, you have successfully chosen the download option and customized the settings for your Lorex DVR. In the next step, we will explain how to start the download process and retrieve the downloaded video footage.
Step 5: Selecting the File Format and Quality
Now that you have entered the download settings menu on your Lorex DVR, it’s time to select the file format and quality for your downloaded video footage. Follow these steps to proceed:
- Using the arrow buttons on your remote control, navigate to the file format option in the settings menu. Common file formats available for download on Lorex DVRs include AVI and MP4.
- Once you have selected the desired file format, use the arrow buttons to navigate to the quality or resolution option. Depending on your DVR model, you may have options like 720p or 1080p. Select the quality that meets your requirements.
- If your Lorex DVR offers advanced settings for video compression, you can adjust these settings as well. Compression settings allow you to further optimize the file size without significant loss in video quality. Choose the compression level based on your preference and available storage capacity.
It’s worth mentioning that higher-quality video settings and lower compression levels will result in larger file sizes, while lower-quality settings and higher compression levels will yield smaller file sizes. Consider your specific needs for video quality, storage capacity, and playback capabilities when selecting the file format and quality.
Once you have made your selections, navigate to the “Start” or “Download” option and press the select or enter button to initiate the download process. The Lorex DVR will now start creating the video file based on your chosen settings.
By following these steps, you have successfully selected the file format and quality for your downloaded video footage. In the next step, we will explain how to start the download process and retrieve the downloaded video to a device or storage medium.
Step 6: Starting the Download Process
Once you have selected the download settings for your video footage, it’s time to start the actual download process on your Lorex DVR. Follow these steps to proceed:
- After confirming the file format, quality, and other settings, navigate to the “Start” or “Download” option in the download settings menu using the arrow buttons on your remote control.
- Press the select or enter button to initiate the download process. The Lorex DVR will begin creating the video file based on your chosen settings.
- Be patient and allow the download process to complete. Depending on the length and quality of the selected video footage, this process may take some time. The DVR may display a progress bar or indicator to show the status of the download.
- Do not interrupt the download process by turning off the DVR or removing any storage devices. Interrupting the download process may result in incomplete video files or data corruption.
- Once the download is complete, the Lorex DVR will usually display a notification or message indicating that the video footage has been successfully downloaded.
It’s important to note that the downloaded video file will be saved on the internal storage of the Lorex DVR or on an external storage device, such as a USB flash drive or a hard disk drive connected to the DVR. Make sure to have sufficient storage capacity available to accommodate the size of the downloaded video files.
By following these steps, you have successfully started the download process on your Lorex DVR. In the next step, we will explain how to transfer the downloaded video footage to a device or storage medium for further use or playback.
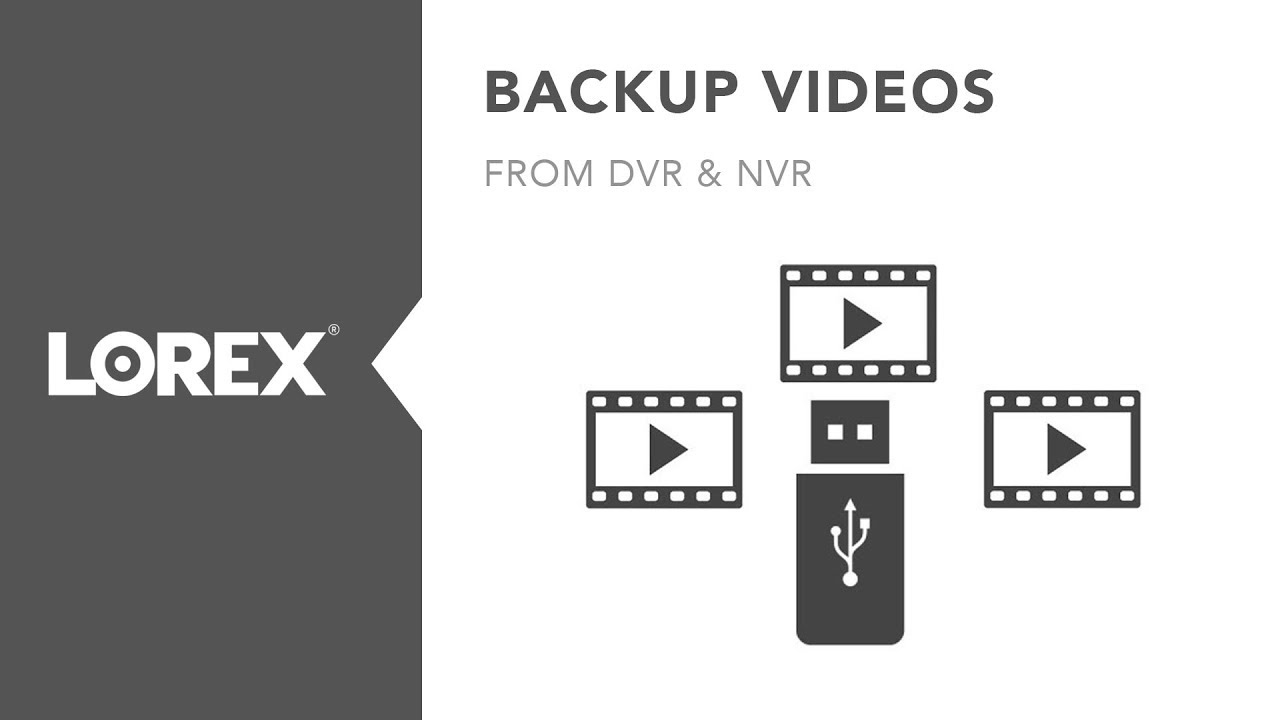
Step 7: Transferring the Downloaded Video to a Device or Storage Medium
After successfully downloading the video footage from your Lorex DVR, you may want to transfer it to another device or storage medium for further use or playback. Follow these steps to transfer the downloaded video:
- If the downloaded video footage is saved on the internal storage of your Lorex DVR, connect a USB flash drive or an external hard disk drive to the DVR’s USB port. Make sure the storage device is compatible with your Lorex DVR.
- Using the remote control, navigate to the file management or export options in the DVR’s menu. Select the downloaded video file or files that you want to transfer.
- Once you have selected the files, choose the transfer option, which is typically labeled as “Export” or “Copy to USB.” The DVR will start copying the selected video files to the connected storage device.
- Do not disconnect the storage device or turn off the DVR while the transfer is in progress. It may take some time depending on the size of the video files.
- Once the transfer is complete, safely eject the storage device from the DVR, following the appropriate procedure to ensure data integrity.
If you want to transfer the downloaded video to a computer or another device, remove the USB flash drive or external hard disk drive from the DVR and connect it to the desired device. The video files should be accessible and ready for playback or further processing.
It’s important to note that the process of transferring the downloaded video may vary depending on the device or storage medium you are using. Always refer to the user manual or documentation of your specific Lorex DVR model for detailed instructions on file management and data transfer.
By following these steps, you have successfully transferred the downloaded video from your Lorex DVR to a device or storage medium. Now you can enjoy and utilize the video footage as needed.
Conclusion
Downloading video footage from your Lorex DVR is a straightforward process that allows you to have a copy of important moments, surveillance recordings, or evidence. By following the steps outlined in this guide, you can easily access the DVR menu, navigate through the options, select the desired video footage, customize the download settings, and initiate the download process.
Remember to choose the appropriate file format and quality based on your preferences and available storage capacity. Be patient during the download process and avoid interrupting it to ensure the successful creation of video files. Once the download is complete, you can transfer the video footage to a device or storage medium for further use or playback.
It’s important to note that the exact steps and options may vary slightly depending on the model of your Lorex DVR. Always refer to the user manual or documentation of your specific device for precise instructions tailored to your device’s features and capabilities.
By being able to download and retain video footage from your Lorex DVR, you can have peace of mind, easy access to important recordings, and the ability to share footage with relevant parties if needed. Whether it’s for personal memories, reviewing security footage, or providing evidence, downloading video from your Lorex DVR gives you the flexibility and control over your recorded content.
We hope that this guide has been helpful in guiding you through the process of downloading video from your Lorex DVR. Enjoy your newfound ability to capture and store important moments with ease!