Introduction
Nowadays, with the exponential growth of digital photos and videos, it has become increasingly important to find efficient ways to store and organize our precious memories. Google Photos has emerged as a popular platform for managing and backing up our media files. However, relying solely on cloud storage can be limiting, especially when you have a large collection of photos and videos.
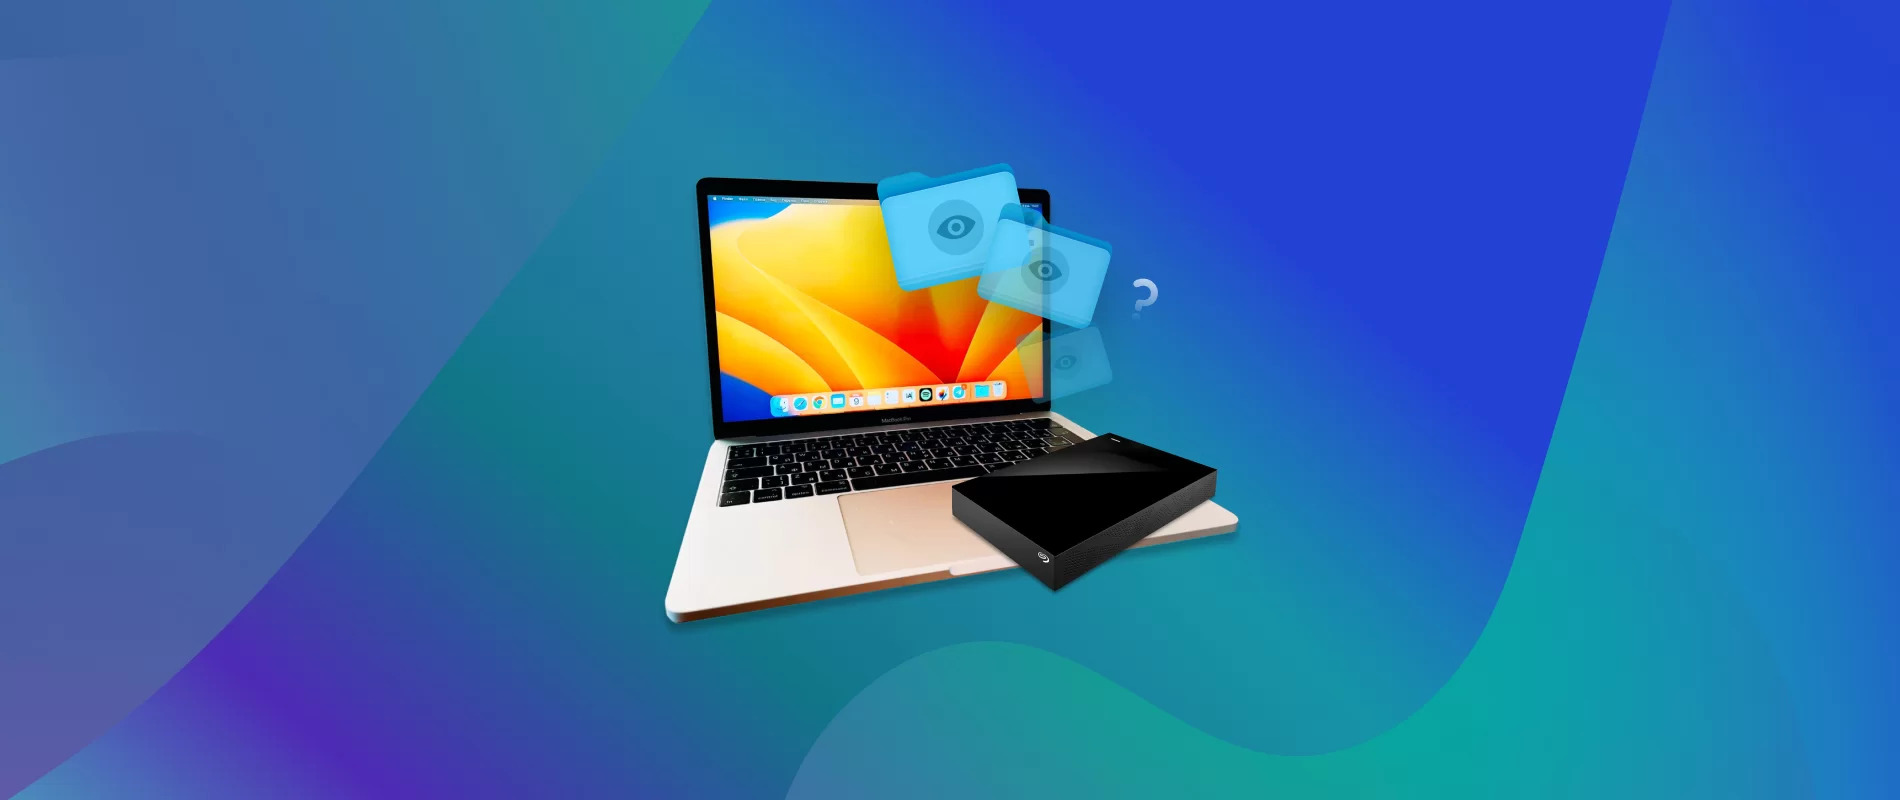
If you are running out of storage space or simply prefer having physical control over your media, transferring your Google Photos to an external hard drive can be a great solution. By doing so, you can free up space on your devices while having a secure backup of your cherished moments.
In this guide, we will walk you through the step-by-step process of moving your Google Photos to an external hard drive. Whether you’re using a Windows PC or a Mac, these instructions will help you seamlessly transfer your photos and videos while ensuring their safety.
But before we begin, it’s important to note that although moving your photos to an external hard drive provides an extra layer of security, it’s always a good idea to have multiple backups in different physical locations to protect against any potential data loss.
Now, let’s dive into the process and learn how to move your Google Photos to an external hard drive!
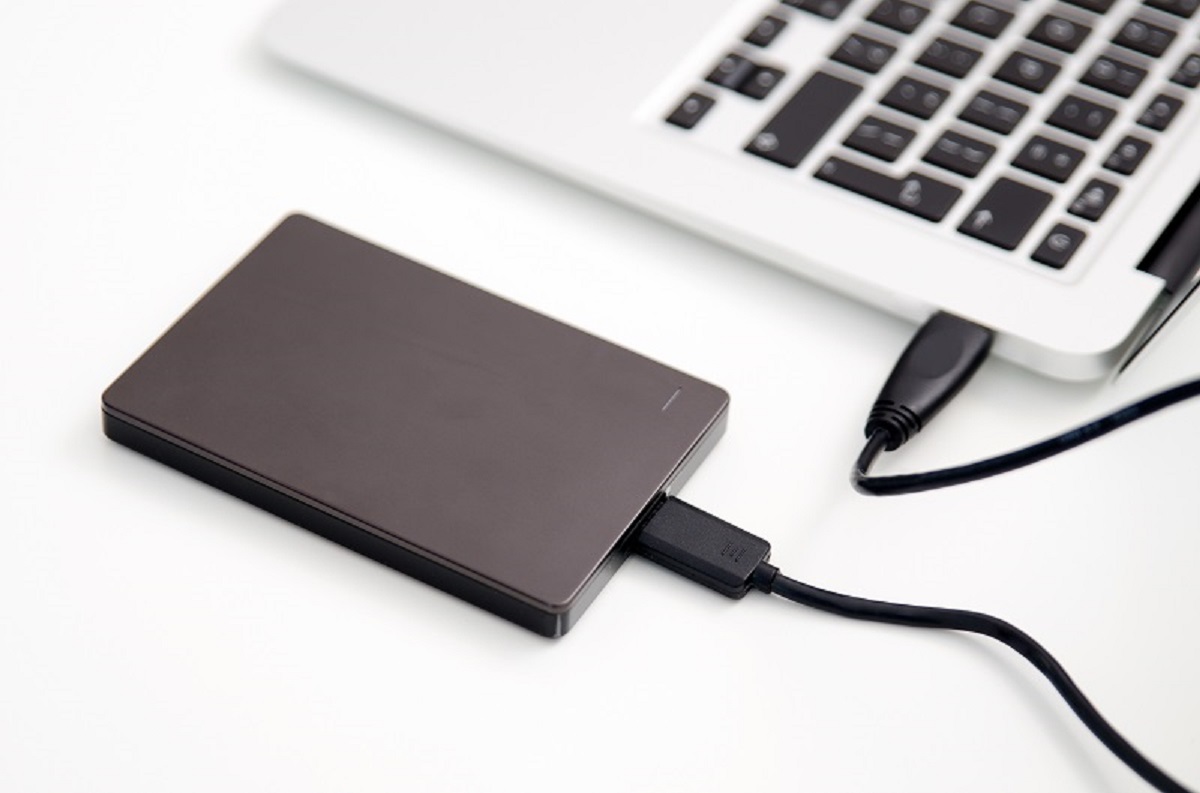
Step 1: Connect the External Hard Drive to your Computer
The first step in transferring your Google Photos to an external hard drive is to establish a connection between the external hard drive and your computer. Ensure that both devices are powered on and ready for use.
If you are using a Windows PC, locate an available USB port on your computer and plug in the USB cable provided with the external hard drive. Make sure the cable is securely inserted into both the USB port of your computer and the corresponding port on the external hard drive.
For Mac users, depending on the model of your Mac, you may need to use either a USB or Thunderbolt port to connect the external hard drive. Locate the appropriate port on your Mac and connect the USB or Thunderbolt cable accordingly.
Once the external hard drive is connected to your computer, it should be recognized and assigned a drive letter or be visible in the Finder on Mac. You can verify this by checking File Explorer on Windows or Finder on Mac.
It’s important to note that some external hard drives may require additional power sources, such as an external power adapter. Ensure that your external hard drive is properly powered if required.
Now that your external hard drive is successfully connected to your computer, we can proceed to the next step of the process.
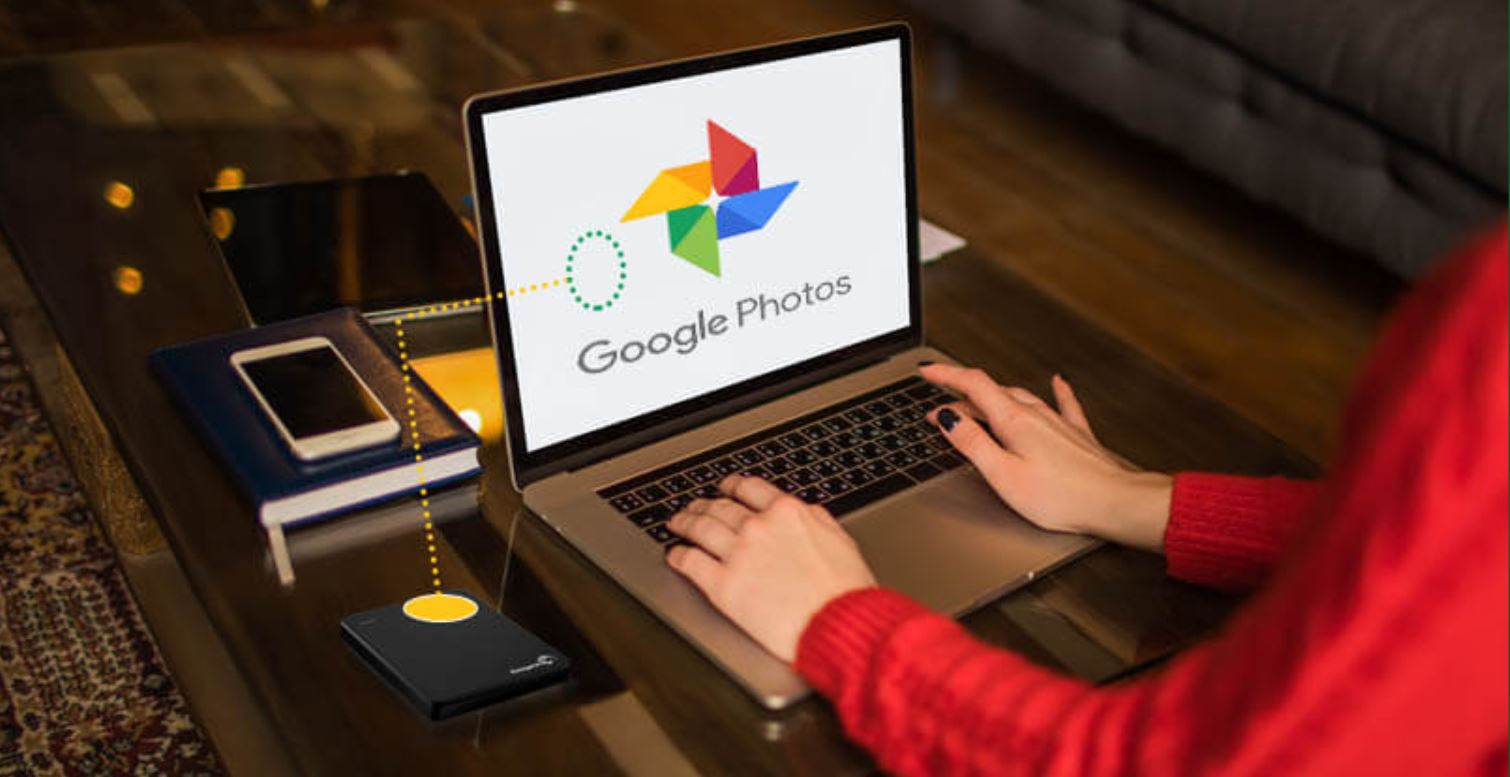
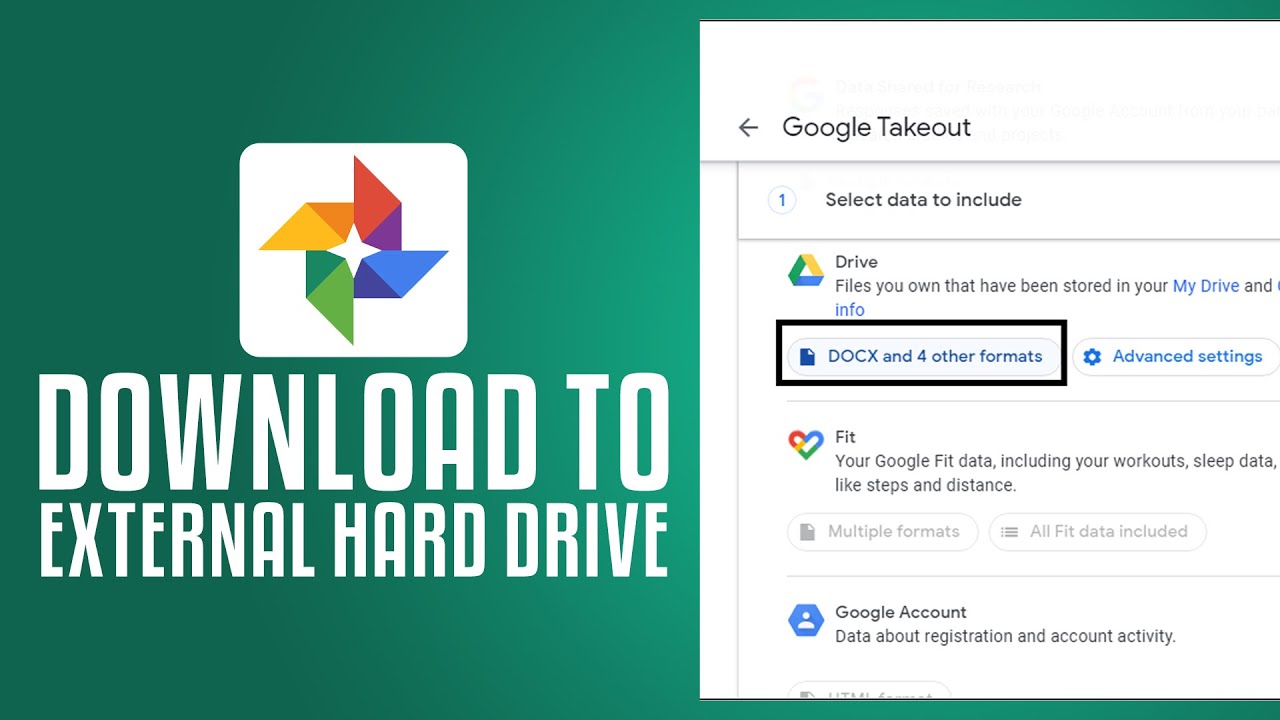
Step 2: Download and Install Google Photos Desktop Uploader
In order to transfer your Google Photos to the external hard drive, you’ll need to download and install the Google Photos Desktop Uploader application on your computer. This application allows you to easily upload and sync your photos and videos with your Google Photos account.
Start by opening the web browser on your computer and navigating to the Google Photos website. Once there, click on the “Download” or “Download Desktop Uploader” button to begin downloading the application.
After the download is complete, locate the downloaded file on your computer and double-click on it to initiate the installation process. Follow the on-screen prompts and instructions to install the Google Photos Desktop Uploader on your computer.
During the installation, you may be asked to sign in to your Google account or create a new one if you don’t already have an account. Provide the necessary credentials and proceed with the installation.
Once the installation is complete, launch the Google Photos Desktop Uploader application on your computer. You may be prompted to sign in again using your Google account credentials.
After signing in, the application will automatically scan your computer for photos and videos. It will display a preview of the media files it has found, allowing you to select which ones you want to upload to your Google Photos account.
In the next step, we’ll guide you on how to sign in to your Google Photos account using the Google Photos Desktop Uploader.
Step 3: Sign in to Google Photos
Now that you have successfully installed the Google Photos Desktop Uploader on your computer, it’s time to sign in to your Google Photos account. This will allow you to access your photos and videos and proceed with the transfer process.
Launch the Google Photos Desktop Uploader application on your computer. If prompted, enter your Google account credentials to sign in. This should be the same account that you use for your Google Photos.
If you don’t have a Google account, you can create one by clicking on the “Create account” or “Sign up” links provided within the application. Follow the prompts to create your account and then sign in using your newly created credentials.
Once you have signed in, the Google Photos Desktop Uploader will sync with your Google Photos account and display the media files it has detected on your computer.
It’s important to note that the sync process may take some time, especially if you have a large number of media files on your computer. Be patient and let the application complete the scanning and syncing process.
Once the syncing is complete, you will be ready to select the specific photos and videos you want to transfer to the external hard drive. We’ll cover this in the next step of the process.
Step 4: Select the Photos and Videos You Want to Move
Now that you have signed in to your Google Photos account using the Google Photos Desktop Uploader, it’s time to choose the specific photos and videos that you want to transfer to your external hard drive.
In the application, you will see a preview of the media files that have been synced with your Google Photos account. Take some time to browse through the available photos and videos to ensure you select the ones you want to move.
To select individual photos or videos, simply click on them. You can also use the shift key or the control/command key to select multiple files at once. Alternatively, you can click on the “Select All” button to choose all the available media files.
If you want to filter the files based on certain criteria, you can use the search bar, which allows you to search for specific dates, locations, or keywords associated with your photos and videos.
Once you have selected the desired media files, you can proceed to the next step, where we will configure the upload settings to ensure a smooth transfer process.
Before moving forward, make sure you have enough space available on your external hard drive to accommodate the selected media files. It’s a good idea to check the storage capacity of the hard drive and compare it to the total size of the files you have selected.
Step 5: Configure the Upload Settings
After selecting the photos and videos you want to move to your external hard drive, it’s important to configure the upload settings in the Google Photos Desktop Uploader. These settings will determine the quality of the files being transferred and the overall transfer process.
To configure the upload settings, click on the “Settings” or “Preferences” option within the Google Photos Desktop Uploader application. This will open a menu where you can make adjustments to suit your preferences.
One of the key settings to consider is the upload quality. Google offers two options – High quality and Original quality. High quality compresses the files to save storage space while maintaining good image and video quality. Original quality preserves the files in their original resolution but utilises storage quota from your Google account.
Additionally, you can choose the upload path, which is the location on your external hard drive where the transferred files will be stored. By default, the uploader will create a new folder named “Google Photos” on your external hard drive, but you can choose a different folder name or location if desired.
You may also want to consider enabling the “Automatically upload photos and videos from a connected camera” option if you want to sync your camera’s photos and videos to your Google Photos account in the future.
Once you have adjusted the settings to your liking, save the changes and proceed to the next step.
It’s important to note that these settings can be modified at any time, so if you decide to make changes after the initial transfer, you can simply reconfigure the upload settings within the Google Photos Desktop Uploader application.
Step 6: Start the Upload Process
With the upload settings configured in the Google Photos Desktop Uploader, you are now ready to initiate the transfer of your selected photos and videos to your external hard drive.
To start the upload process, simply click on the “Upload” or “Start” button within the Google Photos Desktop Uploader application. The application will begin transferring the chosen files from your computer to the specified location on your external hard drive.
Depending on the size and number of files you have selected, the upload process may take some time. It’s important to be patient and let the software complete the transfer without interruption.
You can monitor the progress of the upload by checking the status bar or progress indicator within the Google Photos Desktop Uploader application. This will give you an idea of how much time is remaining and how many files have been successfully transferred.
During the upload process, it’s advisable not to disconnect your external hard drive or shut down your computer, as this could interrupt the transfer and potentially lead to data corruption or loss.
Once the upload is complete, you can verify the transfer by checking the destination folder on your external hard drive. The transferred files should be present and accessible for viewing.
Now that the upload process has finished, we can move on to the final step of verifying the completion of the transfer.
Step 7: Verify that the Transfer is Complete
After the upload process is finished, it is important to verify that the transfer of your Google Photos to the external hard drive was successful. This step ensures that all your selected photos and videos have been safely moved and are accessible on the external hard drive.
To do this, navigate to the folder on your external hard drive where the Google Photos were transferred. Open the folder and browse through the files to confirm that all the images and videos are present.
Take some time to randomly open a few photos or play some videos to ensure that they are intact and can be viewed without any issues. This step helps you make sure that none of the media files were corrupted or lost during the transfer process.
If you encounter any missing files or encounter any issues with the transferred media, it’s recommended to retrace your steps and go back to the previous steps to identify and resolve any potential issues. If necessary, you may need to repeat the transfer process.
Once you have verified that all the files have been successfully transferred and are accessible on the external hard drive, you can breathe a sigh of relief knowing that your Google Photos are now safely stored on a physical device.
Remember to keep your external hard drive in a safe place and consider making additional backups of your important photos and videos to other storage devices or cloud services for added protection.
Congratulations! You have successfully completed the process of moving your Google Photos to an external hard drive, giving you extra storage space and a secure backup solution for your cherished memories.
By following these steps, you can ensure that your photos and videos are accessible even if something happens to your computer or your cloud storage. Enjoy the peace of mind and the convenience offered by having your Google Photos stored on an external hard drive!
Conclusion
Moving your Google Photos to an external hard drive is a practical and secure way to free up space on your devices while having a physical backup of your precious memories. By following the step-by-step guide outlined in this article, you can successfully transfer your Google Photos to an external hard drive with ease.
First, ensure that you connect the external hard drive to your computer properly. Then, download and install the Google Photos Desktop Uploader to sync your photos and videos with your Google Photos account.
After signing in to your Google Photos account, carefully select the photos and videos you want to move to the external hard drive. Configure the upload settings according to your preferences, such as upload quality and destination folder.
Once you have made these selections, start the upload process and patiently wait for the files to transfer. Finally, verify that the transfer is complete by checking the destination folder on your external hard drive and ensuring that the files are accessible without any issues.
Remember to keep your external hard drive in a safe place and consider additional backup solutions for added peace of mind.
By following these steps, you can effectively move your Google Photos to an external hard drive, giving you extra storage space on your device and a physical copy of your memories. Enjoy the convenience and security of having your photos and videos stored on an external hard drive!