Introduction
Welcome to the world of gaming, where immersive virtual experiences and thrilling adventures await. If you’re an Xbox One owner, you probably have a growing collection of games that you love to play. However, as your game library expands, you might start running out of space on your console’s internal hard drive. Instead of deleting games to make room for new ones, there is a convenient solution – transferring games to an external hard drive.
Transferring games to an external hard drive provides several benefits, such as expanding your storage capacity, improving load times, and simplifying game management. Having additional storage space allows you to keep all your favorite games in one place, without worrying about limited space on your console.
In this article, we will guide you through the process of transferring games from your Xbox One to an external hard drive. We’ll cover everything you need to know, from choosing the right external hard drive to managing and playing games directly from the external drive.
Before we dive into the specifics, it’s important to note that transferring games to an external hard drive requires a USB 3.0 compatible hard drive that meets the Xbox One’s minimum requirements. Additionally, make sure to backup any important game saves or data to avoid any potential loss during the transfer process.
Now, let’s explore the benefits of transferring games to an external hard drive and help you take full advantage of the storage options available for your Xbox One.
Note: Remember to always follow the manufacturer’s instructions when working with your Xbox One or any external hardware to ensure proper installation and usage.
Benefits of Transferring Games to External Hard Drive
There are numerous benefits to transferring your games to an external hard drive for your Xbox One. Let’s explore some of the key advantages:
- Expanded Storage Capacity: One of the most significant benefits is the ability to expand your Xbox One’s storage capacity. The internal hard drive of the console has limited space, and as your game library grows, it can quickly become insufficient. By transferring games to an external hard drive, you can free up valuable space on your console and store a larger collection of games.
- Improved Load Times: Another advantage of using an external hard drive is the potential for improved load times. External hard drives often have faster read and write speeds compared to the internal drive of the Xbox One. This can result in shorter loading times and smoother gameplay experiences, allowing you to spend more time playing and less time waiting.
- Easier Game Management: With an external hard drive, managing your games becomes much simpler. You can organize your games on the external drive in a way that suits your preferences, whether it’s by genre, alphabetical order, or any other criteria. This eliminates the need to constantly delete and re-download games to make space on your console, saving you time and effort.
- Portability: Another notable benefit is the portability of an external hard drive. You can easily disconnect the hard drive from your Xbox One and take it with you to a friend’s house or on a trip. This means you can bring your entire game library with you wherever you go without the need to carry your console.
- Backup and Security: Transferring games to an external hard drive also provides an extra layer of backup and security for your game data. If something were to happen to your console, such as a hardware failure or accidental damage, your games will be safe on the external drive. Additionally, you can easily connect the hard drive to a new Xbox One console and continue playing your games without starting from scratch.
These benefits make transferring games to an external hard drive a practical and advantageous option for Xbox One owners. Not only does it provide additional storage space, but it also enhances gameplay performance and simplifies game management. Now that we understand the advantages, let’s move on to the next step: choosing the right external hard drive for your Xbox One.
Choosing the Right External Hard Drive for Xbox One
When it comes to selecting an external hard drive for your Xbox One, there are a few key factors to consider. Here’s what you need to keep in mind:
- Storage Capacity: The first consideration is the storage capacity of the external hard drive. Xbox One games can be quite large, with some exceeding 100 GB in size, so it’s crucial to choose a drive with enough space to accommodate your current and future game collection. A minimum of 1 TB is recommended, although higher capacities such as 2 TB or even 4 TB will provide ample storage for most gamers.
- USB 3.0 Compatibility: The external hard drive you choose must be USB 3.0 compatible. The Xbox One requires the faster transfer speeds provided by USB 3.0 to ensure smooth gameplay and reliable performance. USB 3.0 is backward compatible with USB 2.0, so if you already have a USB 2.0 drive, it will still work, but you may experience slower load times.
- Speed and Performance: Consider the speed and performance of the external hard drive. Look for drives with high RPM (Revolutions Per Minute) or SSD (Solid-State Drive) technology, as they offer faster data access, resulting in improved load times. However, it’s important to note that SSDs can be more expensive than traditional hard drives.
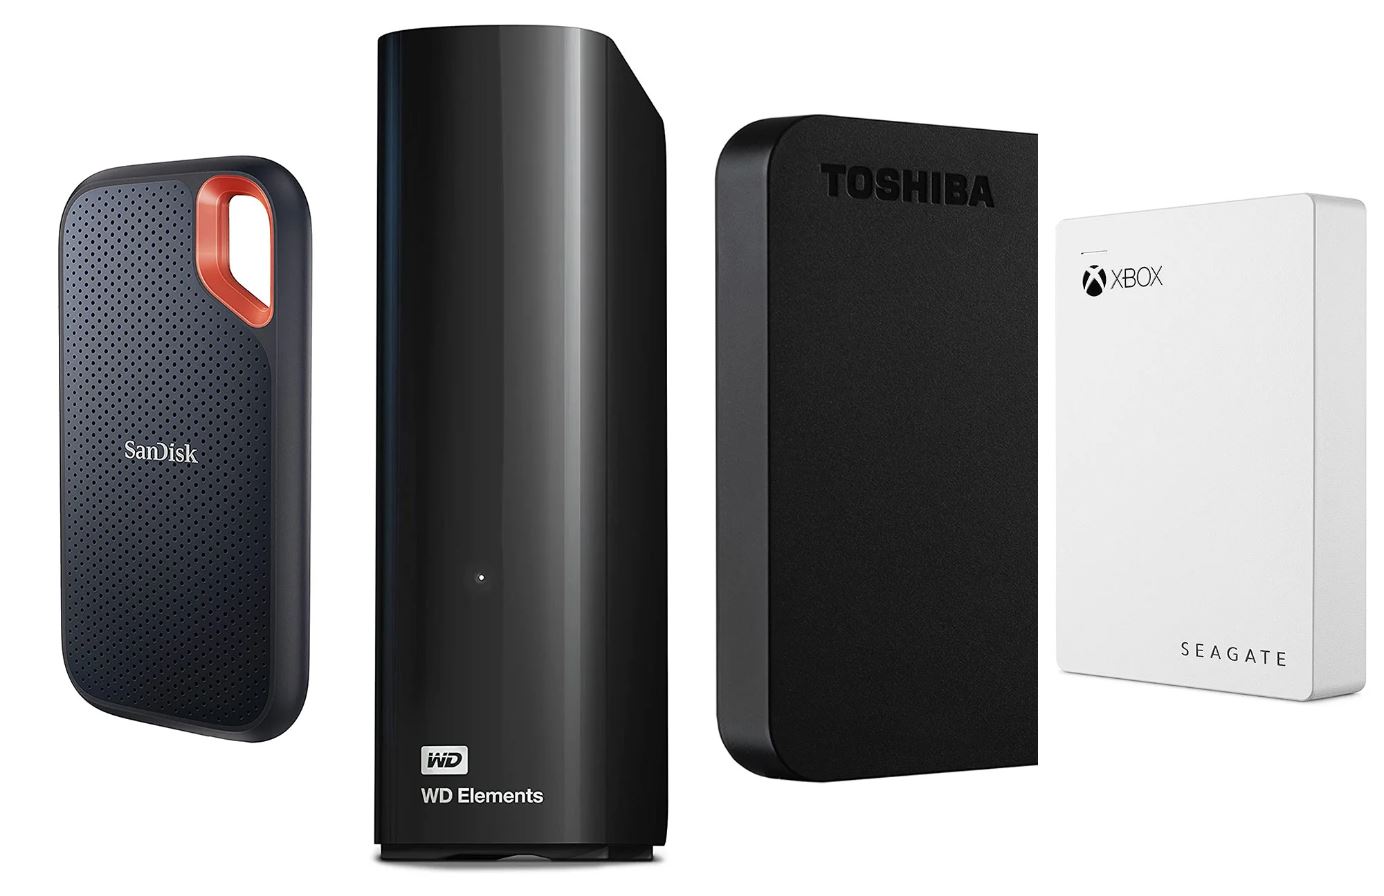
- Reliability and Durability: Choose a reputable brand known for producing reliable and durable external hard drives. Read reviews and customer feedback to get an idea of the drive’s performance and lifespan. A drive with shock-resistant features and robust build quality will provide added protection against accidental drops or impacts.
- Portability: If you plan on taking your external hard drive with you often, consider its portability features. Look for compact and lightweight models that are easy to transport. Some drives even come with protective cases for added convenience and security during travel.
- Price: Lastly, consider your budget and find an external hard drive that offers the best balance of features and price. While it’s tempting to opt for the cheapest option, remember that the drive will be responsible for storing your valuable game collection, so investing in a reliable and high-quality drive is worth considering.
By taking these factors into account, you can choose the right external hard drive that meets your storage needs, performance expectations, and budget. Once you’ve selected the perfect drive, the next step is to format it correctly for use with your Xbox One.
Formatting the External Hard Drive for Xbox One
Before you can start transferring games to your external hard drive for Xbox One, you need to properly format it to ensure compatibility and optimal performance. Here’s how to format your external hard drive:
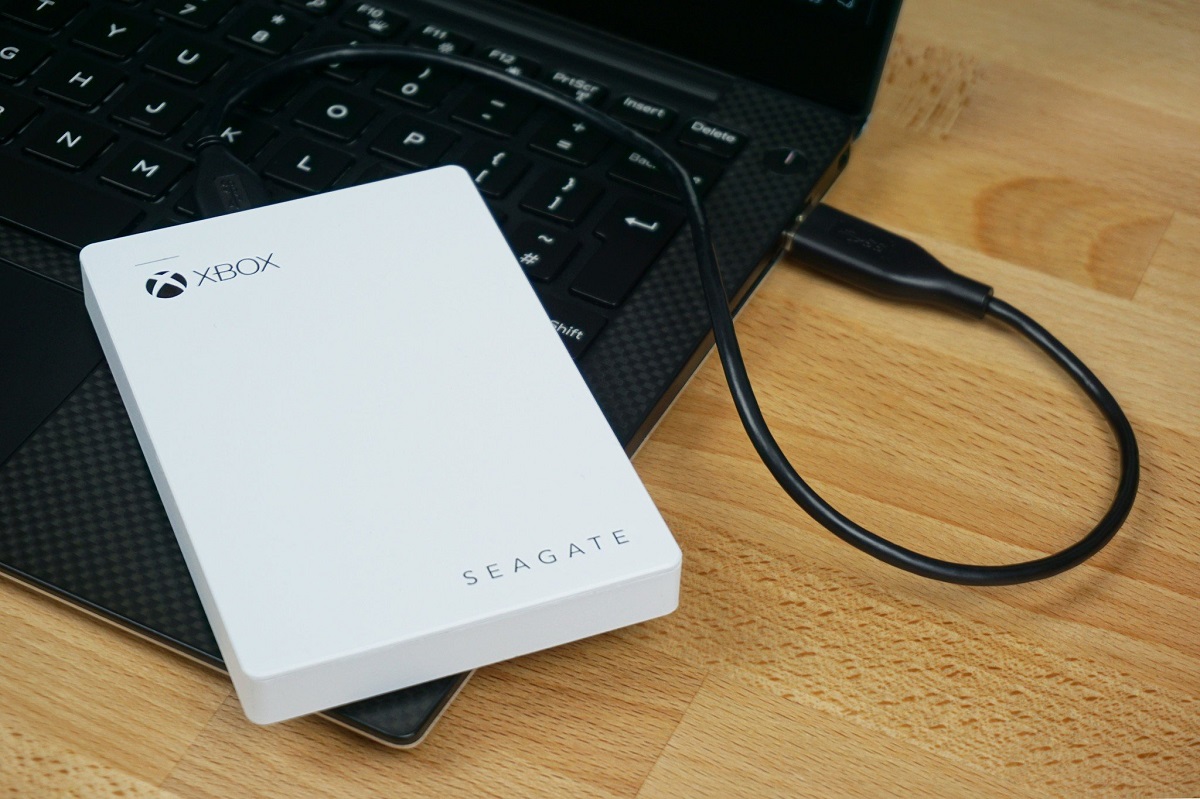
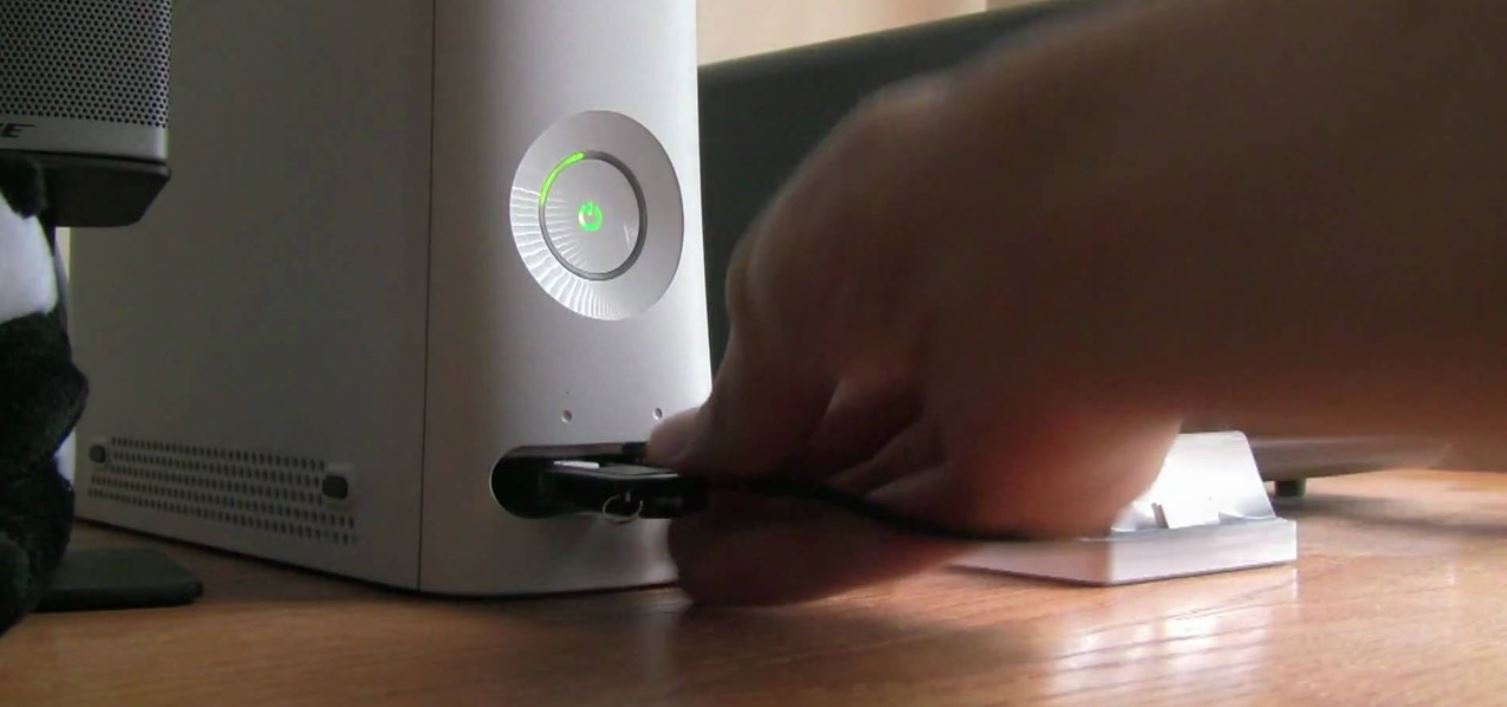
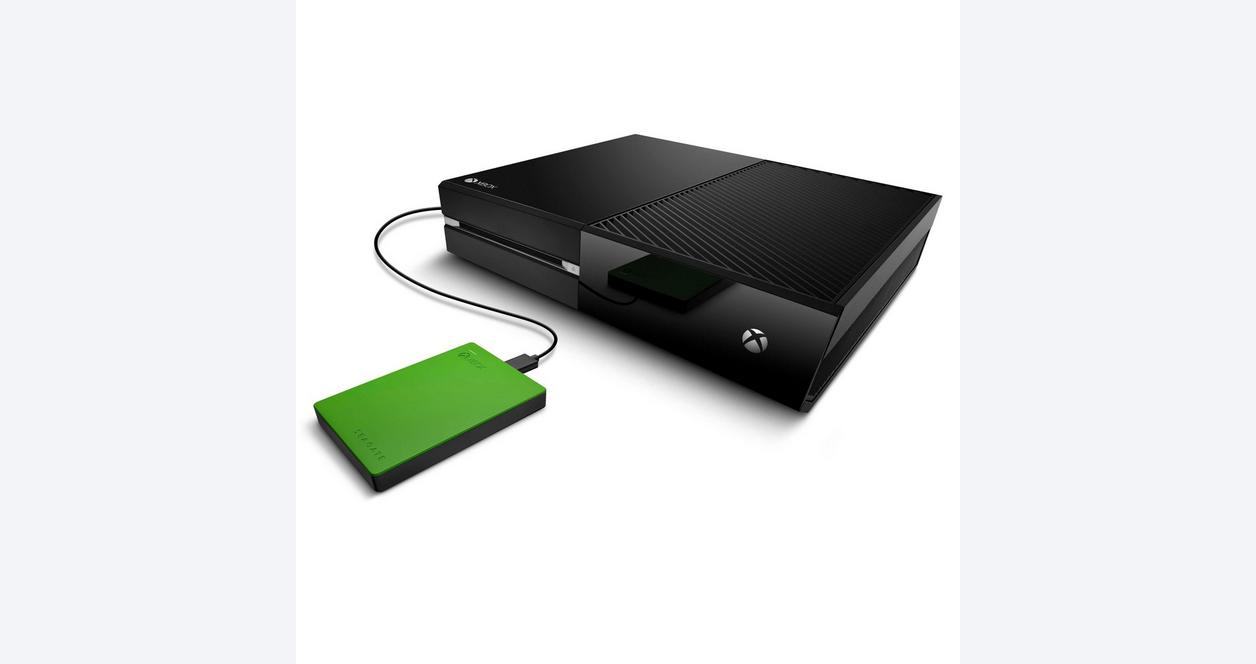
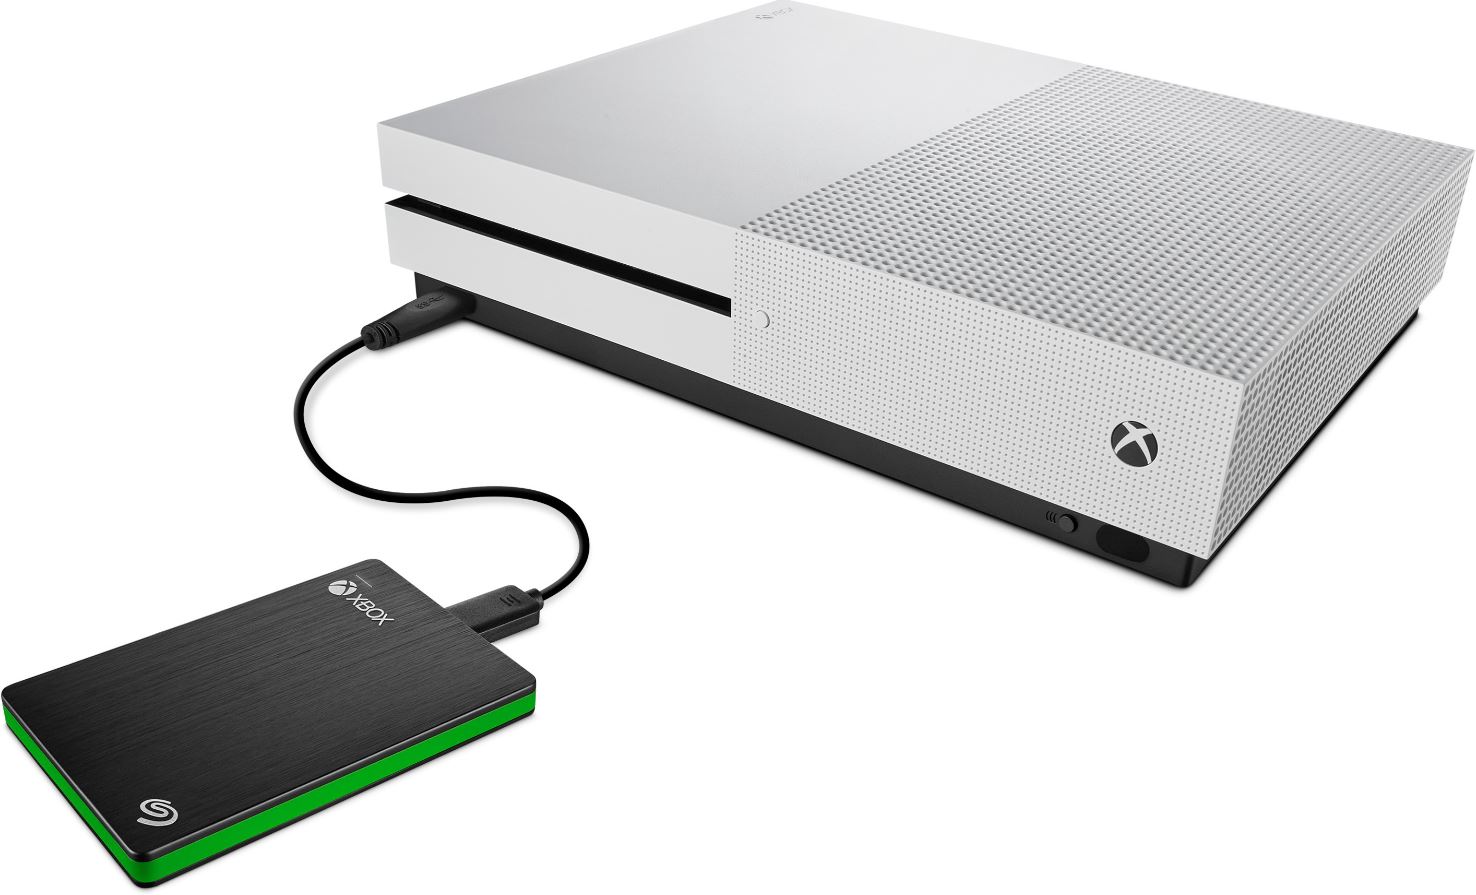
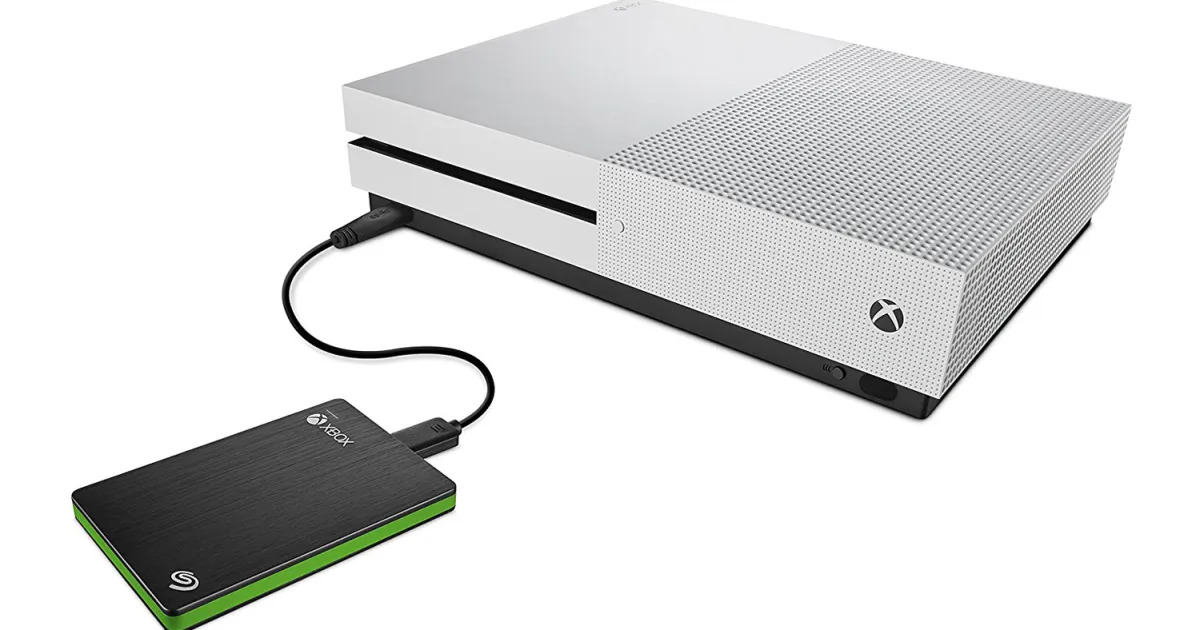
- Connecting the Hard Drive: Connect your external hard drive to one of the USB ports on your Xbox One console. Make sure it is securely plugged in.
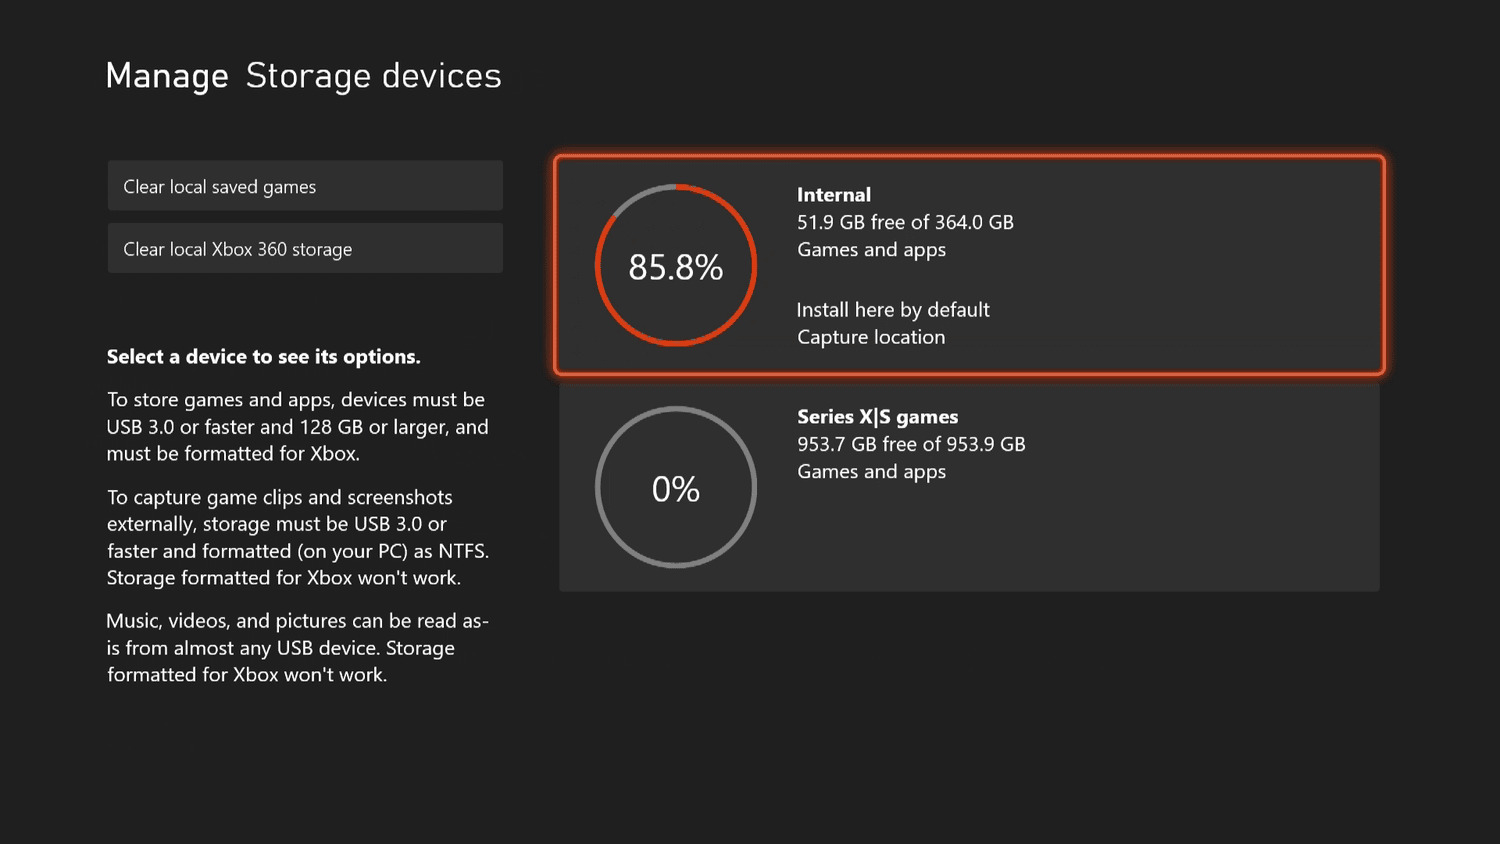
- Accessing the Storage Settings: Turn on your Xbox One and go to the Home screen. Navigate to the System tab and select “Settings”. From the Settings menu, choose “System” and then “Storage”. This will display a list of available storage devices, including your external hard drive.
- Formatting the Drive: Select your external hard drive from the list of storage devices. Choose the “Format for Games & Apps” option to begin the formatting process. Be aware that formatting the drive will erase all existing data, so ensure you have backed up any important files before proceeding.
- Confirming the Format: The Xbox One will display a warning message informing you that formatting the drive will erase all its contents. Confirm that you want to proceed with the format by selecting “Yes”. Please note that this action cannot be undone.
- Waiting for the Format: The formatting process may take a few minutes, depending on the size of the hard drive. Be patient and allow the Xbox One to complete the format. Once it is done, you will receive a notification indicating that the format was successful.
- Assigning a Name: After the format is complete, you have the option to assign a name to your external hard drive. This step is not mandatory but can help you identify the drive easily.
- Completing the Process: Once you’ve assigned a name or chosen to skip this step, your external hard drive is now formatted and ready for use with your Xbox One. You can now commence transferring games from your console’s internal hard drive to the external drive.
Formatting your external hard drive ensures that it is compatible with the Xbox One system and optimizes its performance for game installations and playback. With a properly formatted drive, you can now transfer games and manage your game library efficiently. In the next section, we will explore the process of transferring games from your Xbox One to the external hard drive.
Transferring Games from Xbox One to External Hard Drive
Now that you have successfully formatted your external hard drive, it’s time to transfer your games from your Xbox One’s internal storage to the new external drive. Follow these steps to transfer games:
- Accessing the Storage Settings: Turn on your Xbox One and go to the Home screen. Navigate to the System tab and select “Settings”. From the Settings menu, choose “System” and then “Storage”. This will display a list of available storage devices.
- Selecting the Game: Select “Manage games & add-ons” to access your games library. You will see a list of all the installed games on your Xbox One’s internal hard drive.
- Choosing a Game to Transfer: Scroll through the list and select the game you want to transfer to the external hard drive. This will bring up the options for that game.
- Moving the Game: In the game’s options menu, select “Move”, then choose the external hard drive as the destination. Confirm the transfer by selecting “Move” again. The Xbox One will begin transferring the game from the internal storage to the external hard drive.
- Monitor the Transfer: You can monitor the progress of the transfer in the “Queue” section, which can be accessed through the main storage settings. This will show you the status of the ongoing transfers.
- Repeating the Process: Repeat the process for each game you wish to transfer to the external hard drive. This allows you to manage your game library effectively, moving games you play less frequently to the external drive.
- Playing Games from the External Hard Drive: Once the transfer is complete, you can play games directly from the external hard drive. Simply select the game from the Xbox One’s home screen, and it will run directly from the external drive without any noticeable difference in performance.
Transferring games from your Xbox One to an external hard drive provides you with the flexibility to store and play your games from a larger storage space, without taking up precious internal storage. It also allows you to manage your game library more efficiently, moving games back and forth between the external drive and the internal storage as needed. In the next section, we will explore some tips on managing games on your external hard drive.
Managing Games on External Hard Drive
Now that you have successfully transferred your games to the external hard drive, it’s important to know how to effectively manage your game library. Here are some tips for managing games on your external hard drive:
- Organizing Games: Take advantage of the larger storage capacity and organize your games in a way that suits your preferences. You can create folders or use the sorting options provided by the Xbox One to arrange your games by genre, title, or any other criteria that makes it easier for you to locate and access them.
- Deleting Games: If you no longer play certain games or need to free up space on your external hard drive, you can delete games directly from the storage settings. Simply select the game you want to remove, choose “Uninstall”, and confirm the deletion. Remember that deleting a game will remove it from both the external hard drive and your Xbox One’s internal storage.
- Managing Updates and DLC: Keep track of game updates and additional content, such as downloadable content (DLC). These updates and DLC are typically stored on the Xbox One’s internal storage. However, you can manage these items through the “Manage games & add-ons” option in the storage settings. You can choose to install updates and DLC on either the internal or external drive.
- Moving Games Back to Internal Storage: If you find yourself playing specific games more frequently, you can move them back to your Xbox One’s internal storage. Simply go to the storage settings, choose the game you want to move, and select “Move”. Then, select the internal storage as the destination. This allows you to prioritize the games you play often and ensure quicker load times.
- Regular Maintenance: Perform regular maintenance on your external hard drive by checking for firmware updates, if applicable, and running disk checks to prevent any potential issues. Also, ensure that your drive is connected securely and functioning properly to avoid any data loss or corruption.
By effectively managing your games on the external hard drive, you can optimize storage space, easily find and access your games, and keep your game library organized. This will enhance your gaming experience by providing a seamless and efficient way to choose and play your favorite games. In the next section, we will discuss how to play games directly from the external hard drive.
Playing Games from External Hard Drive
Now that you have successfully transferred and managed your games on the external hard drive, it’s time to enjoy playing them directly from the drive. Here’s how to play games from your external hard drive on Xbox One:
- Connecting the Hard Drive: Ensure that your external hard drive is connected securely to one of the USB ports on your Xbox One console.
- Powering on the Xbox One: Turn on your Xbox One console.
- Accessing the Games: From the Home screen, navigate to the “My games & apps” section.
- Selecting the Game: In the “Games” tab, you will see a list of all your installed games. Scroll through the list and select the game you want to play.
- Launching the Game: Once you have selected the game, press the “A” button on your controller to launch it.
- Playing the Game: The game will start running directly from the external hard drive. You can enjoy your gaming experience as you normally would, without any noticeable difference in performance or gameplay.
Playing games from your external hard drive eliminates the need to transfer games back and forth between the external drive and internal storage. It provides a convenient and efficient solution for accessing and enjoying your game library. Whether it’s a new release or an old favorite, you can easily select and play games directly from the external drive without any hassle.
Remember to keep your external hard drive connected to your Xbox One whenever you want to play games from it. If you disconnect the drive, the games stored on it will not be accessible until you reconnect it to your console.
Now that you know how to play games directly from the external hard drive, you can fully enjoy your gaming sessions without worrying about storage limitations or transferring games between different storage devices.
In the next section, we will provide some troubleshooting tips to help you resolve common issues related to your external hard drive for Xbox One.
Troubleshooting Tips for External Hard Drive Issues
While using an external hard drive for your Xbox One can greatly enhance your gaming experience, there may be times when you encounter issues or run into problems. Here are some troubleshooting tips to help you resolve common external hard drive issues:
- Ensure Proper Connection: First and foremost, make sure that the external hard drive is properly connected to your Xbox One console. Check the USB cable and ensure that it is securely plugged into both the console and the hard drive. Try using a different USB port to rule out any potential port-specific issues.
- Check Compatibility: Verify that the external hard drive you are using is compatible with the Xbox One. Ensure that it meets the minimum requirements, such as being USB 3.0 compatible. Refer to the manufacturer’s guidelines and documentation to confirm compatibility.
- Restart the Console: Sometimes, a simple restart can resolve minor issues. Power off your Xbox One console completely, unplug the power cord, and wait for a few minutes. Then, reconnect the power cord and turn on the console again. This can help refresh the system and resolve any temporary glitches.
- Update the Xbox One System: Keeping your Xbox One system up to date with the latest firmware can help ensure compatibility with external storage devices. Check for system updates by going to the Settings menu, selecting “System”, and then “Updates”. Follow the prompts to update your console if a new update is available.
- Verify Drive Format: Ensure that your external hard drive is correctly formatted for use with the Xbox One. Reconnect the drive and go to the storage settings. If the system prompts you to format the drive again, follow the prompts to complete the formatting process.
- Test with Another Device: If you are experiencing issues with your external hard drive, try connecting it to another device, such as a computer or a different gaming console. This can help determine if the issue lies with the drive itself or with the Xbox One console.
- Reset Xbox One’s Power Supply: In some cases, resetting the power supply of the Xbox One might resolve issues. Power off the console and unplug the power cord from the back of the console. Then, unplug the power cord from the power outlet. Wait for about 10 seconds, reconnect the power cord to the power outlet, plug it back into the console, and turn on your Xbox One.
- Contact Customer Support: If you have tried all the troubleshooting steps and are still experiencing issues with your external hard drive, it is recommended to contact Xbox customer support for further assistance. They can provide additional troubleshooting steps or guide you through the process of resolving any hardware-related issues.
By following these troubleshooting tips, you can effectively resolve common issues that may arise with your external hard drive for Xbox One. Remember to always handle and store your external hard drive properly to minimize the risk of physical damage or data loss.
With the proper troubleshooting and maintenance, your external hard drive should provide you with reliable and seamless storage for your games on your Xbox One.
Conclusion
Transferring games to an external hard drive for your Xbox One is a practical solution for expanding storage capacity, improving load times, and simplifying game management. With the right external hard drive, you can enjoy a larger game library without worrying about limited space on your console’s internal drive.
In this article, we discussed the benefits of transferring games to an external hard drive, such as expanded storage capacity, improved load times, easier game management, portability, and added backup and security. We also explored the important factors to consider when choosing the right external hard drive for your Xbox One, including storage capacity, USB 3.0 compatibility, speed and performance, reliability and durability, portability, and price.
We provided a step-by-step guide on how to format your external hard drive for use with your Xbox One, as well as how to transfer games from the internal storage to the external drive. Additionally, we discussed tips for managing your game library on the external hard drive, playing games directly from the drive, and troubleshooting common issues that may arise.
By following the instructions and recommendations in this article, you can optimize your gaming experience and ensure smooth gameplay from your external hard drive. Whether you’re a casual gamer or a hardcore enthusiast, the ability to store and play games directly from an external drive offers convenience and flexibility.
Remember to always refer to the manufacturer’s instructions for your external hard drive and the Xbox One console to ensure proper installation and usage. Regular maintenance and periodic backups of your game saves and data are also recommended to safeguard your gaming collection.
So, what are you waiting for? Take advantage of the benefits of transferring games to an external hard drive and enjoy an expanded and well-organized game library on your Xbox One!