Introduction
Are you tired of swapping out discs every time you want to play a new Xbox 360 game? Well, we have a solution for you! With the help of an external hard drive, you can easily download and play your favorite Xbox 360 games without the hassle of disc swapping. This not only saves you time but also allows you to carry your entire game library wherever you go. In this guide, we will take you through the steps to play downloaded Xbox 360 games from an external hard drive.
Before we dive into the steps, it’s essential to note that this method requires you to have a modded Xbox 360 console or a JTAG/RGH console. Modding your console allows you to bypass certain limitations set by Microsoft, giving you the freedom to install and play games from alternative sources like an external hard drive.
If you have a modded console and are ready to take your gaming experience to the next level, let’s get started with the step-by-step instructions. But first, make sure to backup any important data from your Xbox 360 console and external hard drive before proceeding. Safety first!
Note: This guide is for informational purposes only. Modding your console or downloading unauthorized copies of games may violate copyright laws or terms of service agreements. Always ensure you have the necessary permissions and legal rights before proceeding.
Step 1: Update your Xbox 360 console
Before you can start playing downloaded Xbox 360 games from an external hard drive, it’s crucial to ensure that your console is up to date. Updates provided by Microsoft not only add new features but also include security patches and compatibility improvements.
To update your Xbox 360 console:
- Connect your console to the internet. You can do this by either using an Ethernet cable or setting up a wireless network connection.
- Power on your console and navigate to the Settings menu.
- Select “System” from the available options.
- Choose “Network Settings” and then “Test Xbox Live Connection.” This will check your internet connection and verify if any updates are available.
- If an update is available, follow the on-screen prompts to download and install it. The update process may take some time, so make sure not to interrupt it.
- Once the update is complete, your Xbox 360 console will be ready to proceed with the next steps.
Updating your console is crucial as it ensures compatibility with newer games and provides a smoother gaming experience. It’s good practice to regularly check for updates to keep your console running optimally.
Note: If your Xbox 360 console is already up to date, you can skip this step and move on to the next one.
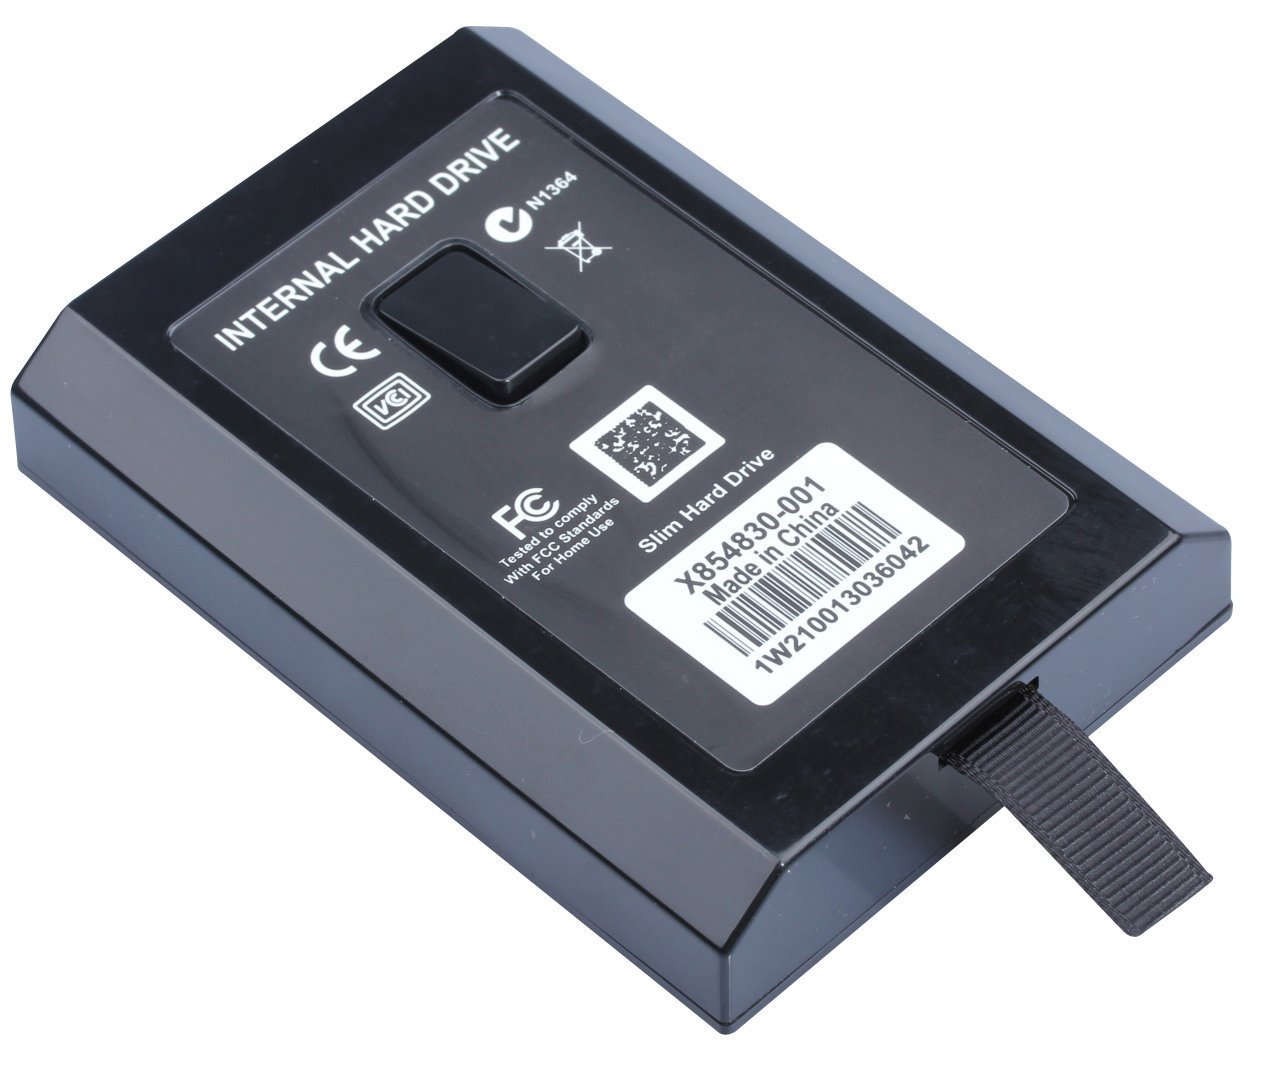
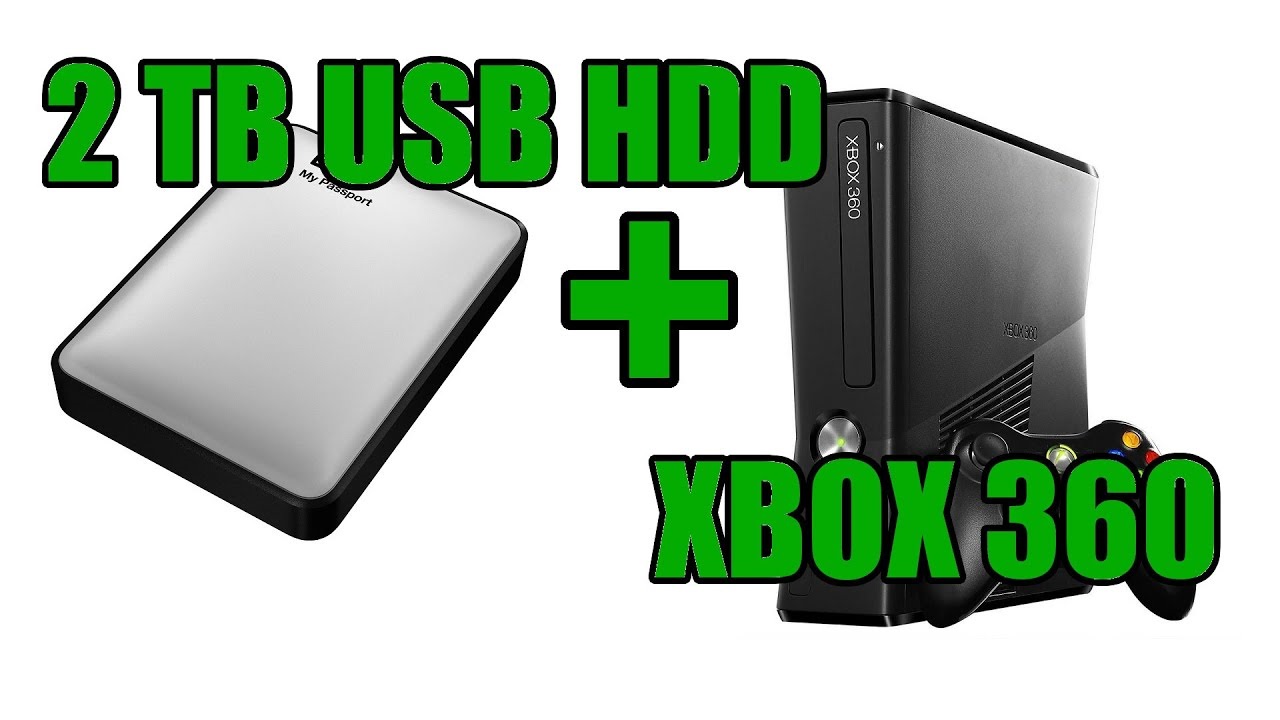
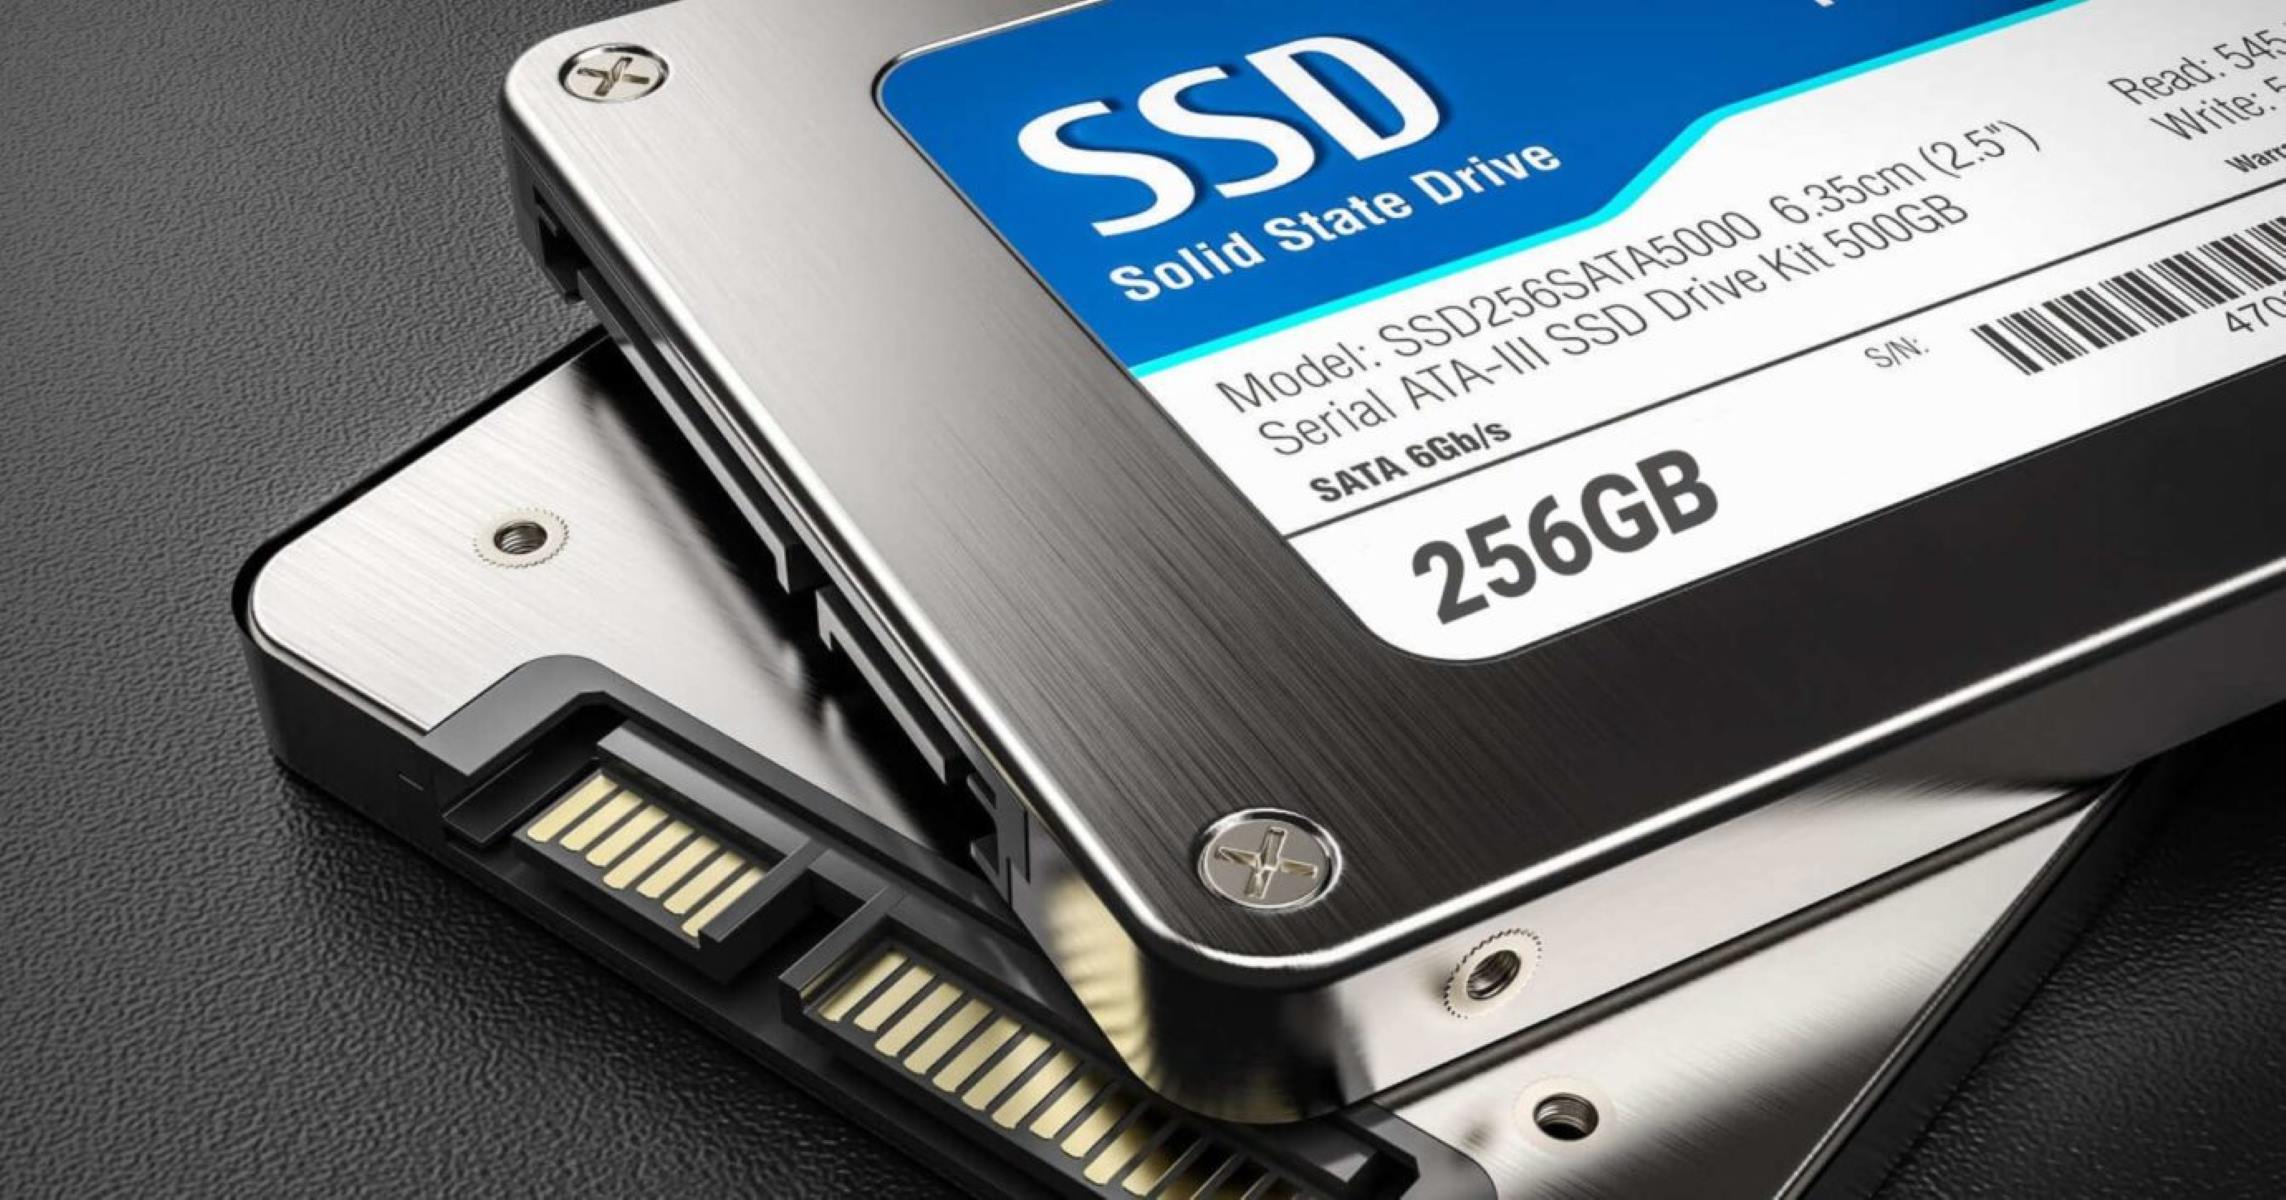
Step 2: Format your external hard drive
Now that your Xbox 360 console is up to date, it’s time to prepare your external hard drive for storing and playing downloaded games. This step involves formatting the external hard drive to the Xbox 360 storage requirements.
Before you begin, it’s important to note that formatting the external hard drive will erase all existing data on it. Therefore, ensure that you have backed up any important files or documents before proceeding.
To format your external hard drive:
- Connect your external hard drive to your computer using a USB cable.
- Open “File Explorer” or “My Computer” and locate your external hard drive.
- Right-click on the external hard drive and select “Format”.
- In the format options, choose the file system as “FAT32”.
- Leave the allocation unit size as “Default” or “4096 bytes”.
- Ensure the “Quick Format” option is checked.
- Click on “Start” to begin the formatting process.
- Wait for the formatting to complete. This may take a few minutes.
Once the formatting process is finished, your external hard drive will be ready to use with your Xbox 360 console.
Note: The Xbox 360 console only supports the FAT32 file system for external storage devices. If your external hard drive is larger than 32GB, you may need to use a third-party partitioning tool to overcome the limitations of FAT32 format. Ensure that any additional partitions on the drive are formatted as FAT32 as well.
Step 3: Download and transfer the Xbox 360 game to the external hard drive
Now that your external hard drive is formatted, it’s time to download and transfer the Xbox 360 game you want to play onto the external hard drive. There are a few different methods you can use to acquire the game:
- Option 1: Purchase and download from Xbox Live Marketplace: If the game you want to play is available on the official Xbox Live Marketplace, you can purchase and download it directly onto your console. Ensure that you have enough space on your console’s internal storage or an additional USB flash drive for the game’s installation.
- Option 2: Use a trusted game-repack website: There are several trustworthy websites online that provide Xbox 360 game downloads, often in the form of repacked or “ripped” versions. These versions are compressed to reduce file size but still maintain the game’s functionality.
- Option 3: Create a backup from your own game discs: If you already own physical copies of Xbox 360 games, you can create backups of these discs using specialized software like “Xbox Backup Creator” or “ImgBurn.”
Regardless of the method you choose, once you have the game downloaded or created a backup, follow these steps to transfer it to the external hard drive:
- Connect the formatted external hard drive to your computer using a USB cable.
- Open “File Explorer” or “My Computer” and locate your external hard drive.
- Create a new folder on the external hard drive and name it something recognizable, like “Xbox Games”.
- Copy or move the downloaded or ripped game files into the newly created folder on the external hard drive. Ensure that you preserve the file structure of the game, including the main game folder, subfolders, and necessary files.
- Eject the external hard drive from your computer safely.
Once you have successfully transferred the game to the external hard drive, you’re one step closer to playing it on your Xbox 360 console. In the next step, we will guide you on connecting the external hard drive to your console.
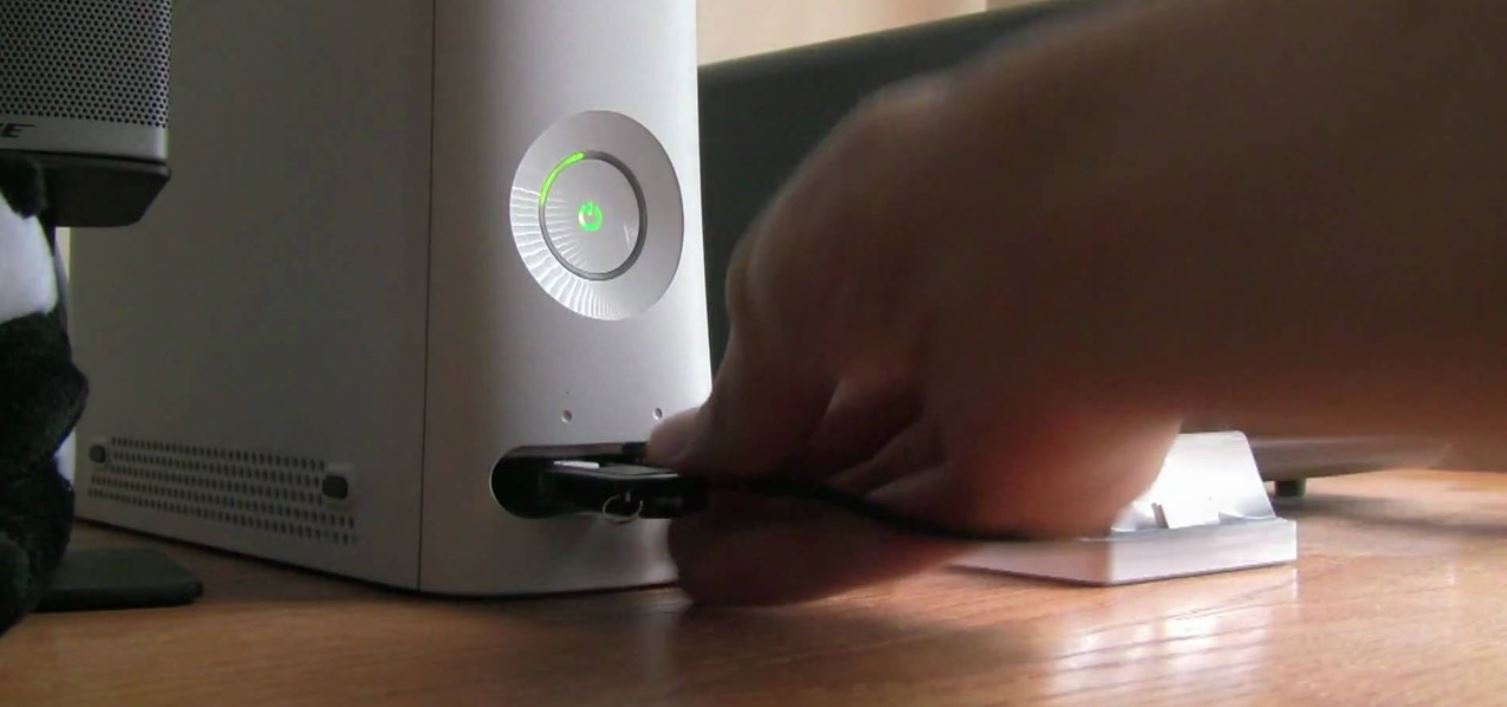
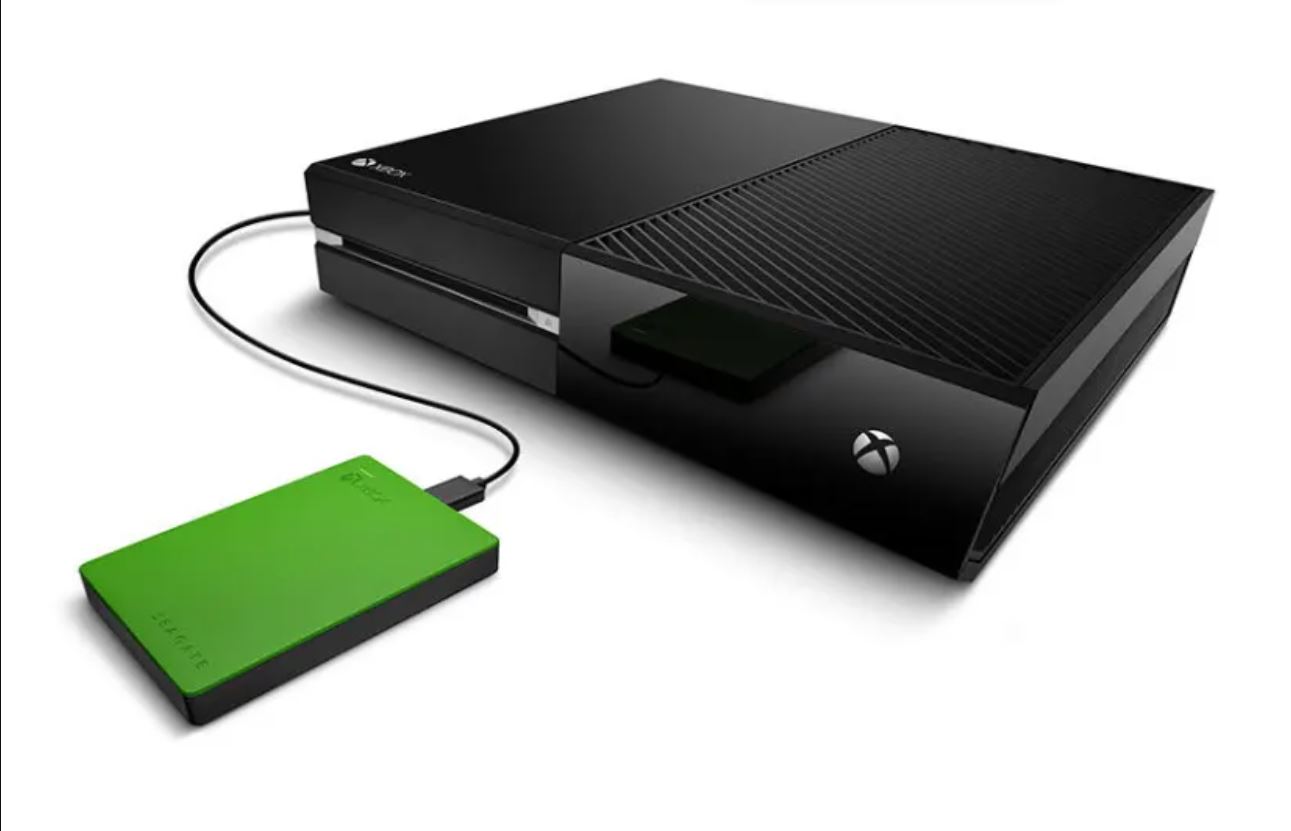
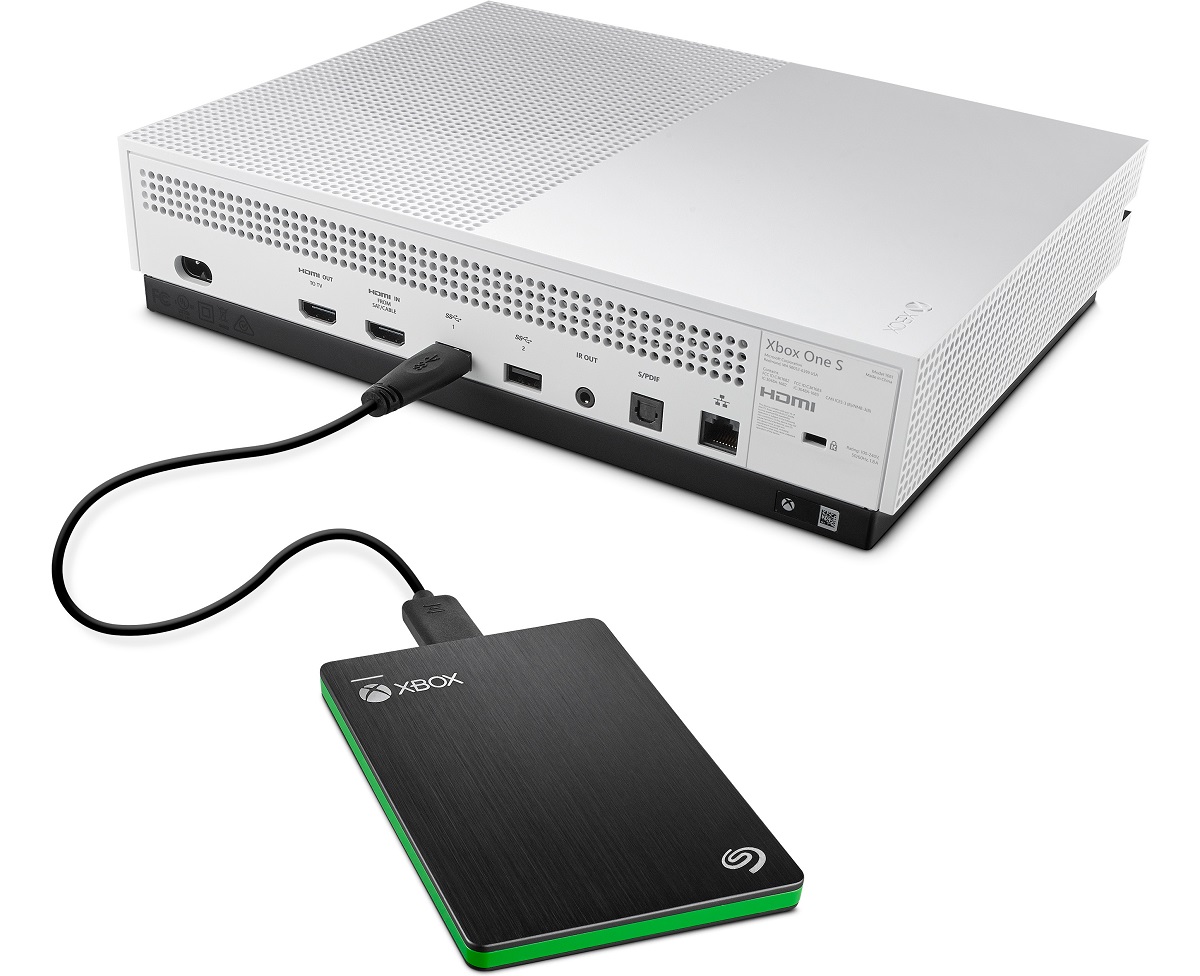
Step 4: Connect the external hard drive to your Xbox 360 console
With the Xbox 360 game downloaded and transferred to the external hard drive, it’s time to connect the external hard drive to your Xbox 360 console. This will allow the console to recognize and access the game files stored on the external hard drive.
To connect the external hard drive to your Xbox 360 console, follow these steps:
- Ensure that your Xbox 360 console is turned off.
- Locate the USB port(s) on your Xbox 360 console. These ports are typically found on the front or back of the console. If your console has multiple USB ports, choose any available port.
- Take the USB cable that is connected to your external hard drive and plug it into one of the USB ports on the Xbox 360 console.
- Ensure that the connection is secure and snug.
- Turn on your Xbox 360 console.
Once you have connected the external hard drive to your Xbox 360 console and turned it on, the console will detect the presence of the external storage device. It may prompt you to format the external hard drive for use with your console. If you have already formatted the external hard drive as per the previous step, select “No” or “Cancel” to proceed.
Your Xbox 360 console is now ready to access the game files stored on the external hard drive. In the next step, we will guide you through the process of accessing the game from the external hard drive.
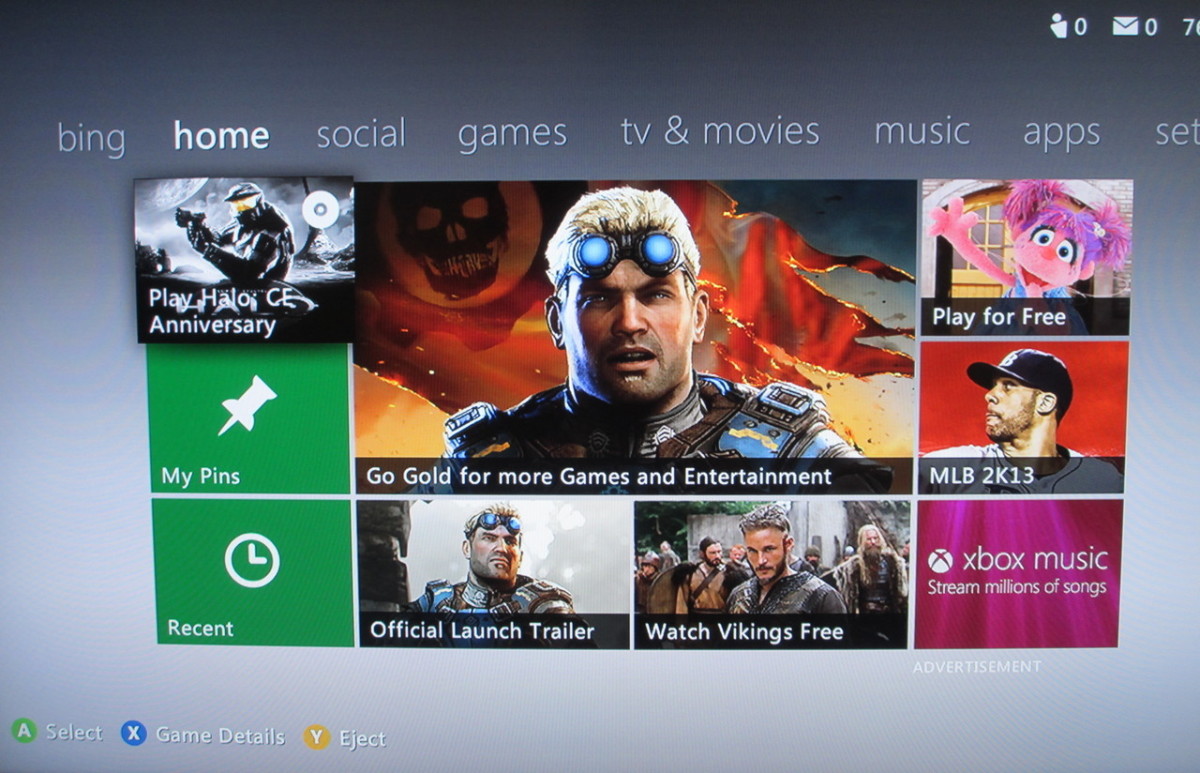
Step 5: Accessing the game from the external hard drive
Now that your external hard drive is connected to your Xbox 360 console, it’s time to access the game you have stored on it. Here’s how you can do it:
- Turn on your Xbox 360 console.
- Navigate to the “Xbox Dashboard” by pressing the Xbox button on your controller or going to the “Home” menu.
- Scroll to the “My Games & Apps” section and select it.
- In the “My Games & Apps” section, you should see a list of all the games and apps installed on your Xbox 360 console.
- Navigate to the “External” tab or the name of your external hard drive to access the games stored on it.
- Locate the game you want to play and select it.
- Follow any on-screen prompts or installation instructions if necessary.
Once you have selected the game, the Xbox 360 console will access the game files from the external hard drive and load the game onto your console’s internal memory or RAM. The game will now be ready to play!
Note: Keep in mind that accessing games from an external hard drive may result in slightly longer loading times compared to playing from a physical disc. This is due to the additional data transfer required from the external storage device.
Now that you have successfully accessed the game from the external hard drive, you are just one step away from diving into the gaming experience. In the final step, we will guide you on how to start playing the downloaded Xbox 360 game from the external hard drive.
Step 6: Start playing the downloaded Xbox 360 game from the external hard drive
You’re now at the final step to start playing the downloaded Xbox 360 game from your external hard drive. Follow these steps to get started:
- Ensure your Xbox 360 console is turned on.
- Navigate to the game you want to play from the external hard drive. You can follow the steps outlined in the previous section to access the game.
- Select the game and press the A button on your controller to start the game.
- Depending on the game, you may be prompted to install any necessary updates or DLC (downloadable content). Follow the on-screen prompts to install them if required.
- Once the game is launched, you can enjoy playing it on your Xbox 360 console, directly from the external hard drive.
While playing the game, it’s important to keep your external hard drive connected to the Xbox 360 console. Removing the external hard drive during gameplay may result in a loss of progress or data, so make sure to avoid accidental disconnections.
Remember, you now have the convenience of accessing and playing downloaded Xbox 360 games directly from your external hard drive. Feel free to explore and enjoy your favorite games without the hassle of disc swapping!
Now that you have completed all the steps, you should be able to successfully play downloaded Xbox 360 games from your external hard drive. Game on and have a fantastic gaming experience!
Conclusion
Playing downloaded Xbox 360 games from an external hard drive brings convenience and flexibility to your gaming experience. No longer do you need to rely on physical discs or constantly switch them out. By following the steps outlined in this guide, you can easily download, transfer, and play your favorite Xbox 360 games directly from an external hard drive.
Remember that modding your Xbox 360 console or downloading unauthorized game copies may infringe upon copyright laws or violate terms of service agreements. Always ensure you have the necessary permissions and legal rights before proceeding with any methods mentioned in this guide.
In this guide, we covered the steps involved in updating your Xbox 360 console, formatting your external hard drive, downloading and transferring games, connecting the external hard drive to your console, accessing the game files, and finally starting to play the downloaded games from the external hard drive.
We hope that this guide has provided you with the necessary knowledge and guidance to enhance your gaming experience by playing downloaded Xbox 360 games from an external hard drive. Enjoy the freedom and convenience that comes with having your entire game library stored on one device, ready to be played at any time.
Now, gather your favorite games, set up your external hard drive, and get ready to embark on an incredible gaming journey!