Introduction
Welcome to the world of Xbox gaming! As an avid gamer, you know that the storage space available on your Xbox console can quickly fill up with games, apps, and updates. But fear not! There is a solution to this storage dilemma – installing Xbox games on an external hard drive.
In this comprehensive guide, we will walk you through the process of installing Xbox games on an external hard drive, step by step. Not only will this expand your storage capacity, but it will also provide you with a seamless gaming experience without worrying about running out of space.
So, whether you have a collection of your favorite games or you want to take advantage of Xbox Game Pass and Xbox Live Gold subscriptions – installing games on an external hard drive will give you the flexibility to access and play your favorite titles anytime, anywhere.
Before we dive into the installation process, let’s take a look at the numerous benefits of installing Xbox games on an external hard drive.
Benefits of Installing Xbox Games on an External Hard Drive
Installing Xbox games on an external hard drive comes with a myriad of benefits that can greatly enhance your gaming experience. Here are some key advantages to consider:
- Expanded Storage Capacity: One of the most obvious benefits is the ability to dramatically increase your storage capacity. The internal storage on the Xbox console can fill up quickly, especially with large game files and updates. By installing games on an external hard drive, you can free up space on your console and have room for more games.
- Portability: Installing games on an external hard drive makes it incredibly convenient to take your games with you wherever you go. Whether you’re visiting a friend’s house or going on a gaming marathon at a LAN party, simply plug in your external hard drive and you’ll have access to all your games without the need for lengthy downloads or installations.
- Easy Game Management: Having games stored on an external hard drive allows for easy organization and management. You can easily add, delete, or even transfer games between external hard drives, making it a breeze to organize your gaming library based on your preferences.
- Faster Loading Times: In some cases, loading times can be improved when games are installed on an external hard drive. External hard drives with faster RPM (revolutions per minute) or solid-state drives (SSDs) can offer faster data transfer speeds compared to the internal storage of the Xbox console, resulting in reduced loading times and smoother gameplay.
- Backup and Security: By having your games stored on an external hard drive, you have the added benefit of creating backups. In the event of console malfunctions, upgrades, or system resets, your games will be safe and easily recoverable, ensuring that you don’t lose progress or have to re-download large game files.
These are just a few of the many advantages of installing Xbox games on an external hard drive. Now that you know the benefits, let’s dive into the process of installing Xbox games on an external hard drive.
Things to Consider Before Installing Xbox Games on an External Hard Drive
Before you start installing Xbox games on an external hard drive, there are a few important factors to consider. Taking the time to understand these considerations will ensure a smooth installation process and optimal gaming experience. Here are some points to keep in mind:
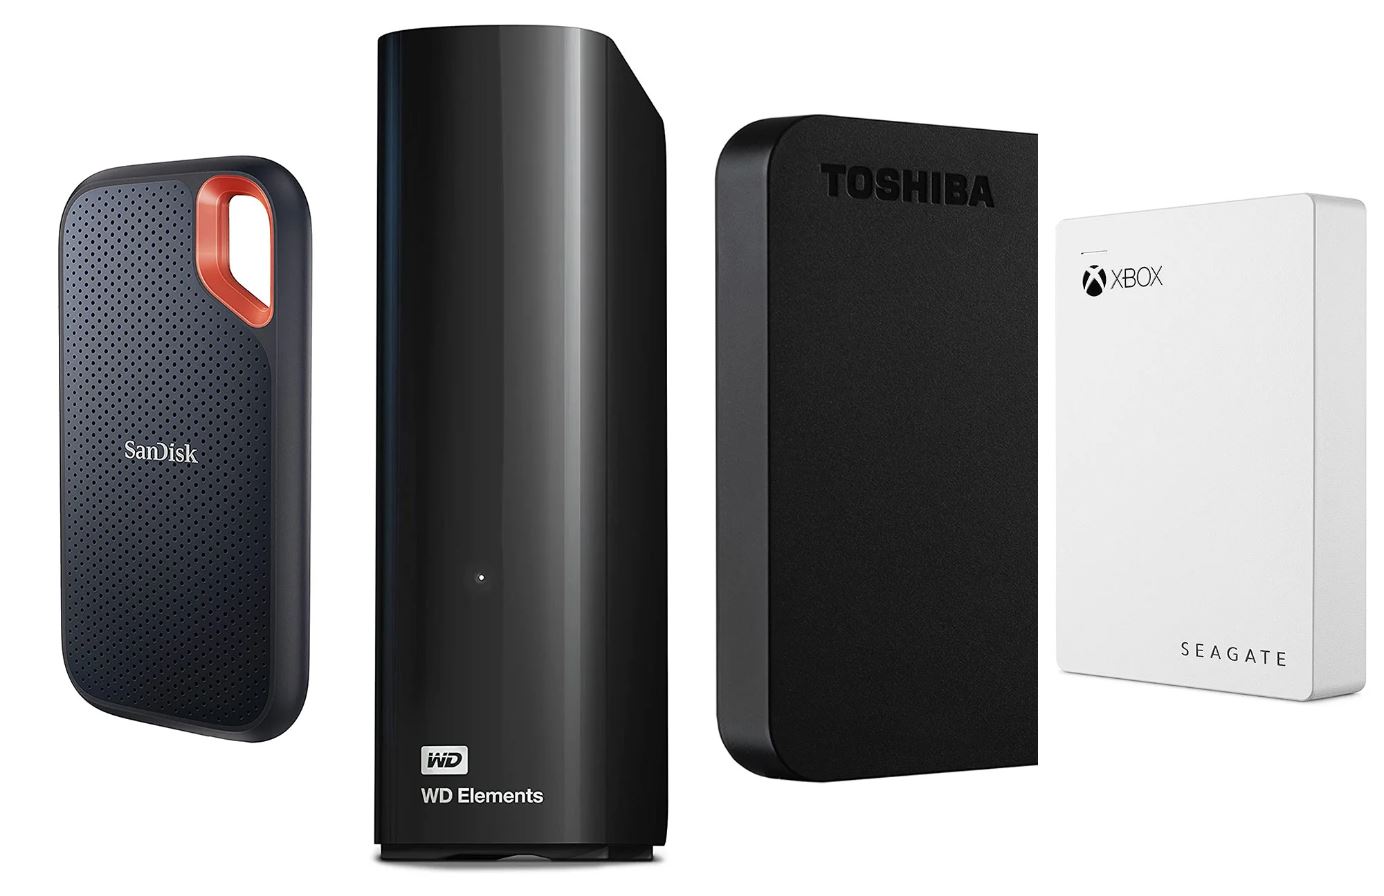
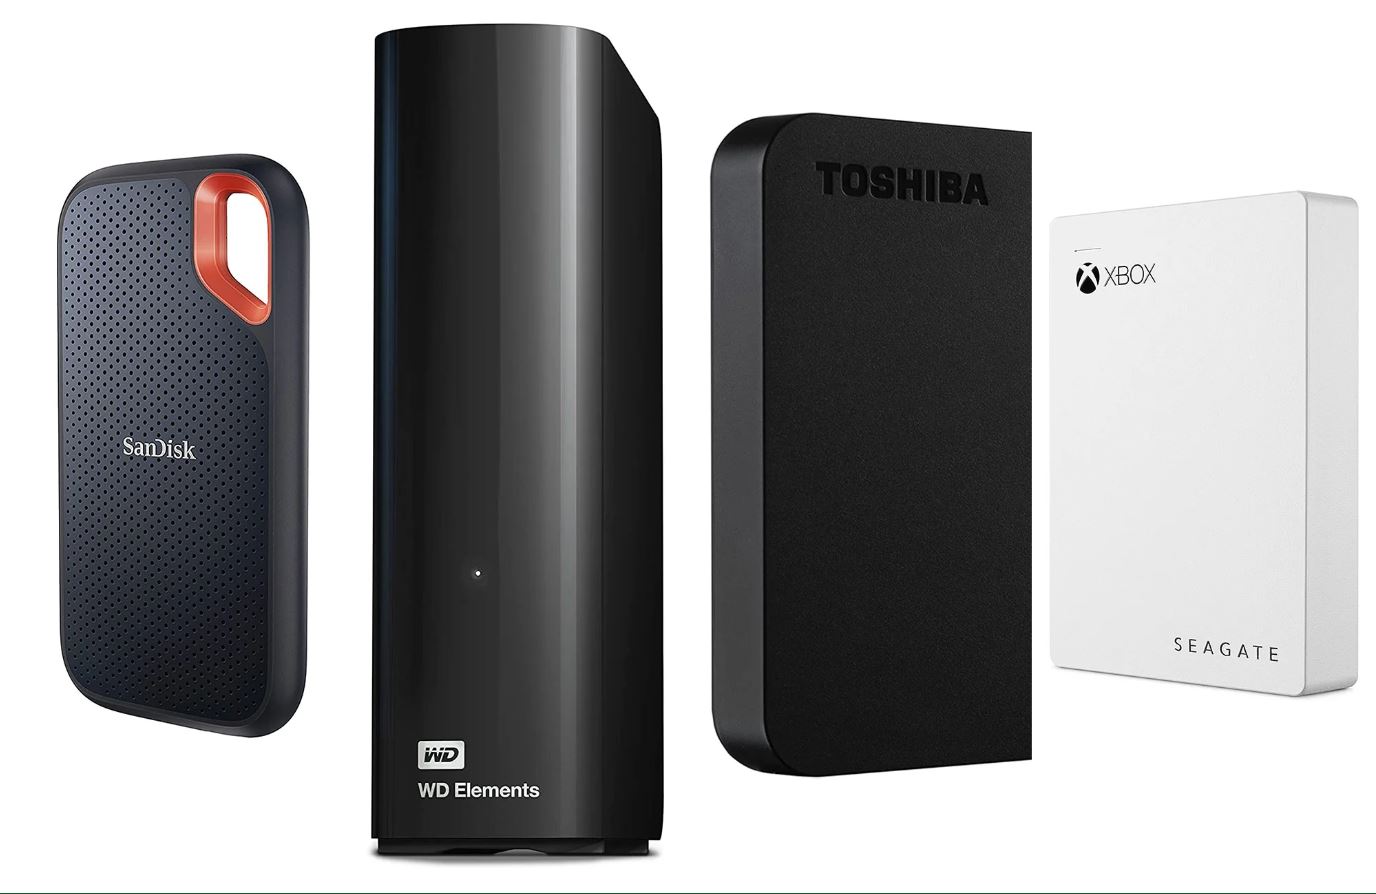
- External Hard Drive Compatibility: Not all external hard drives are compatible with Xbox consoles. It’s crucial to check the compatibility requirements specified by Xbox. Generally, you’ll need an external hard drive with USB 3.0 or higher, with a storage capacity of at least 256GB to handle Xbox games. Be sure to verify compatibility to avoid any issues.
- Drive Formatting: Before you can install games on the external hard drive, you’ll need to format it to the appropriate file system. Xbox consoles require the external hard drive to be formatted in either NTFS or exFAT. Keep in mind that formatting erases all existing data on the drive, so make sure to back up any important files before proceeding.
- Transfer Speeds: The speed of your external hard drive can impact gaming performance. Look for an external hard drive with fast data transfer speeds, such as those with 7200 RPM or solid-state drives (SSDs). These will ensure smoother game loading times and reduce any potential lag during gameplay.
- Game Ownership: It’s important to note that the digital games you install on an external hard drive are still tied to your Xbox Live account. This means that you’ll need to sign in to the respective Xbox Live account on any console you want to play the installed games on.
- Power Supply: Depending on the external hard drive you choose, it may require its own power source or draw power directly from the Xbox console. Ensure that you have the necessary power connections and cables to properly connect and power the external hard drive.
- Game Updates and DLCs: Game updates and downloadable content (DLC) are tied to the specific game installation on the external hard drive. Be mindful of this when updating or adding DLC content, as it will need to be associated with the game on the external hard drive, rather than the internal console storage.
By considering these factors before installing Xbox games on an external hard drive, you’ll set yourself up for a successful and enjoyable gaming experience. Now that you’re aware of these considerations, let’s proceed to the step-by-step process of installing Xbox games on an external hard drive.
Step 1: Formatting the External Hard Drive for Xbox Compatibility
Before you can start installing Xbox games on an external hard drive, you first need to format the drive to ensure it is compatible with your Xbox console. Formatting the external hard drive will erase all existing data, so be sure to back up any important files before proceeding. Here is how you can format the external hard drive:
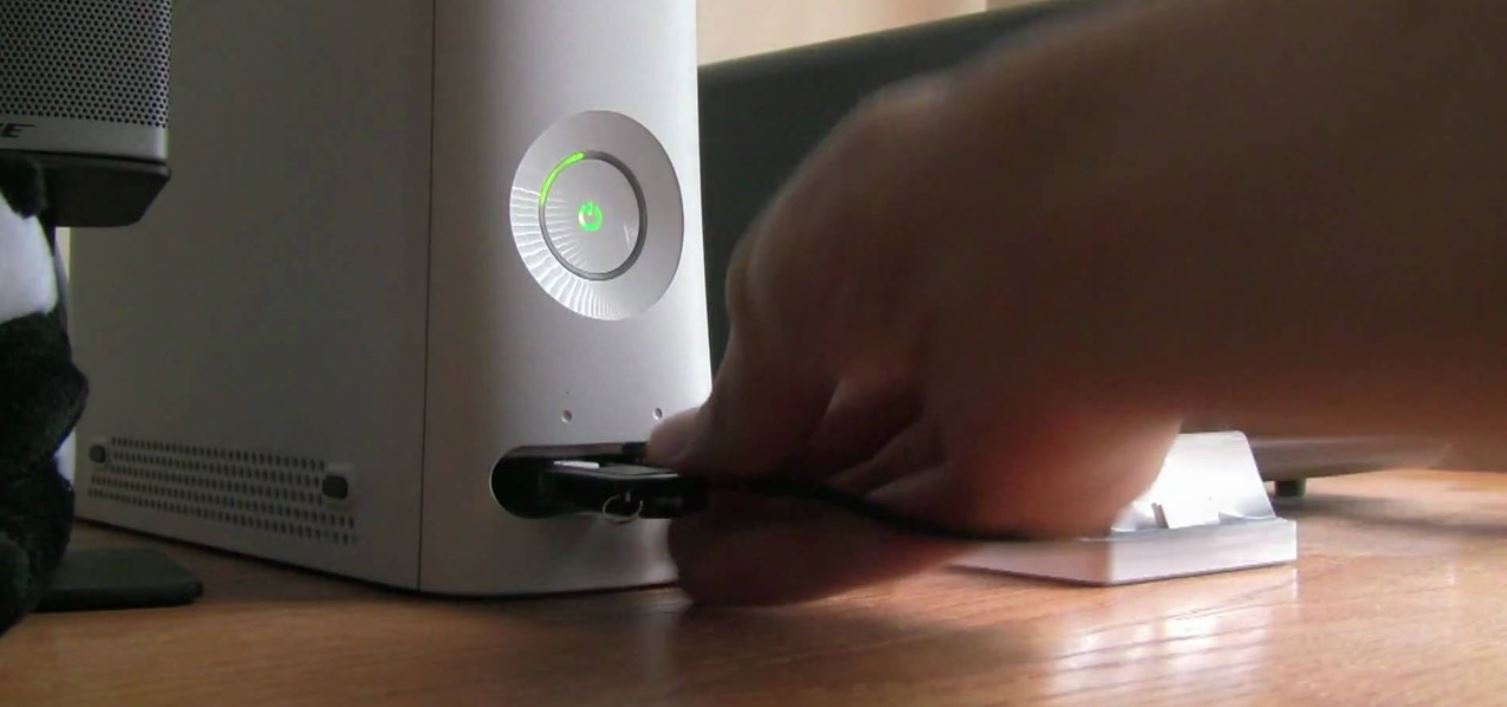
- Connect the External Hard Drive: Plug the external hard drive into an available USB port on your Xbox console. Make sure the console is powered on and running.
- Access the Storage Settings: On your Xbox console, navigate to the “Settings” menu. Go to “System” and then select “Storage”.
- Select the External Hard Drive: In the “Storage” menu, you will see the internal storage of the console along with any connected external storage devices. Select the external hard drive you want to format.
- Format the Hard Drive: Once you have selected the external hard drive, choose the “Format for Games & Apps” option. This will initiate the formatting process. Follow the on-screen prompts and confirm the formatting action.
- Wait for Formatting to Complete: The formatting process may take some time, depending on the size of the external hard drive. During this time, it’s important not to disconnect the drive or power off the console. Let the formatting process complete on its own.
- Verify the Formatting: Once the formatting is complete, you will receive a notification on your console. Go back to the “Storage” menu to ensure that the external hard drive is now formatted and ready for use.
Formatting your external hard drive for Xbox compatibility is an essential step to ensure smooth performance and compatibility with your Xbox console. With the formatting completed, you’re now ready to connect and transfer Xbox games to the external hard drive. In the next step, we’ll guide you through connecting the external hard drive to your Xbox console.
Step 2: Connecting the External Hard Drive to Your Xbox Console
Now that you’ve formatted your external hard drive, it’s time to connect it to your Xbox console. Follow these simple steps to ensure a proper connection:
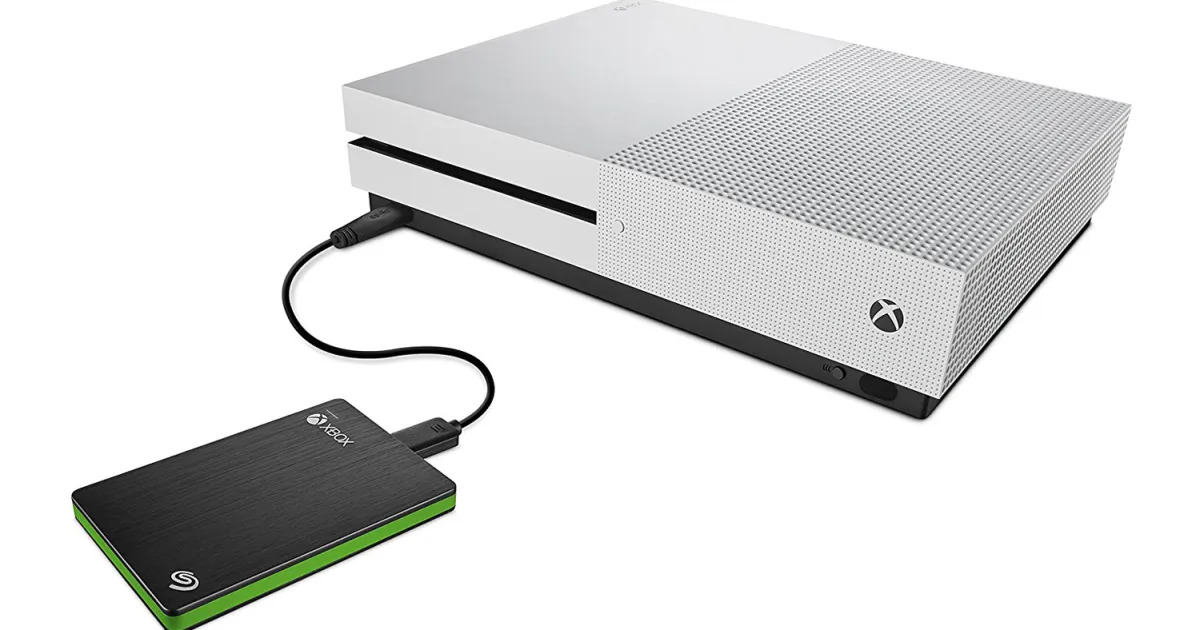
- Locate the USB Port: Depending on your Xbox console model, the USB port might be located on the front, back, or side. Refer to the console’s user manual or visually locate the USB port.
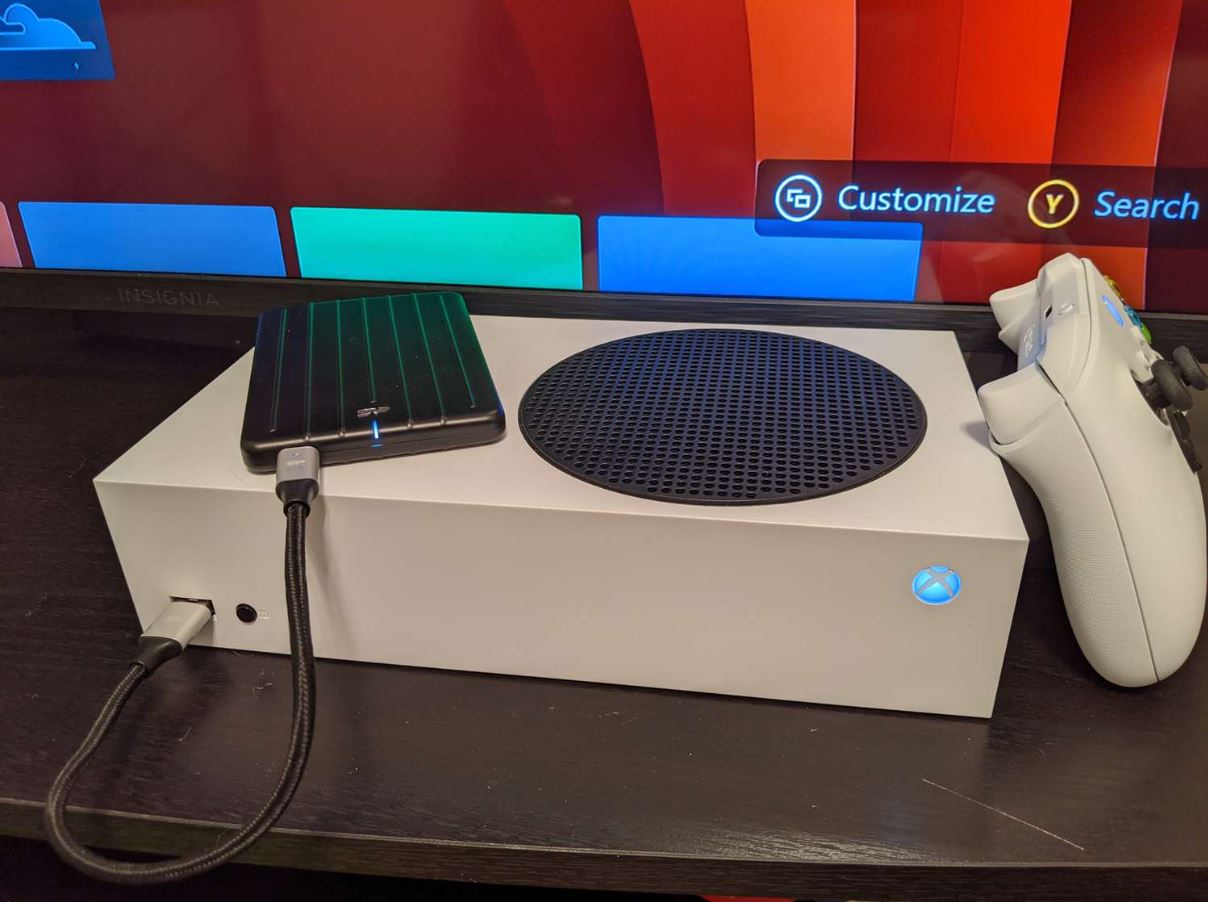
- Plug in the External Hard Drive: Take the USB cable that came with your external hard drive and connect it to the USB port on your Xbox console. Ensure that the connection is secure.
- Power on Your Xbox: Make sure your Xbox console is powered on. If it’s already on, great! If not, press the power button to turn it on.
- Recognizing the External Hard Drive: Once the external hard drive is connected, your Xbox console will automatically detect it. A notification may appear on your screen, indicating that a new storage device has been connected.
- Prepare for Game Transfers: With the external hard drive successfully connected, you’re now ready to start transferring your Xbox games to the external storage. Proceed to the next step to learn how to transfer games to the external hard drive.
Connecting the external hard drive to your Xbox console is a straightforward process. With the connection established, you’re one step closer to expanding your storage capacity and enjoying a larger library of games. In the next step, we’ll guide you through the process of transferring Xbox games to the external hard drive.
Step 3: Transferring Xbox Games to the External Hard Drive
Now that your external hard drive is connected to your Xbox console, it’s time to transfer your Xbox games to the external storage. Follow these steps to transfer your games:
- Access the Games & Apps Menu: On your Xbox console, navigate to the “Home” screen and select the “My games & apps” tile. This will open the Games & Apps menu.
- Select the Games to Transfer: In the Games & Apps menu, select the “Full library” tab to view all your installed games. Use the controller or navigate with the D-pad to select the games you want to transfer.
- Choose the Transfer Option: With the games selected, press the “Menu” button on your controller (the button with three horizontal lines). From the menu that appears, choose the “Manage game & add-ons” option.
- Select “Move All” or “Move Selected”: In the Manage game & add-ons menu, you have the option to move all the content for the selected game(s) or move specific parts of the game (such as the base game or add-ons). Choose the appropriate option based on your preference.
- Choose the External Hard Drive: Select the external hard drive as the destination for the game transfer. If you have multiple external hard drives connected, make sure to select the correct one.
- Start the Transfer Process: Once you’ve confirmed the transfer destination, the transfer process will begin. The duration of the transfer will depend on the size of the games and the transfer speed of your external hard drive.
- Monitor the Transfer Progress: You can monitor the transfer progress in the Games & Apps menu. A progress bar will appear under each game that is transferring. Avoid interrupting the transfer and be patient as the process completes.
- Verify Transferred Games: Once the transfer is complete, you can verify that the games have been successfully transferred to the external hard drive by checking the Games & Apps menu. The games will now be accessible from the external storage.
Transferring your Xbox games to the external hard drive provides you with additional storage space and flexibility. By following these steps, you can ensure a smooth transfer process and have your games readily available on the external storage. In the next step, we will discuss how to manage games on the external hard drive.
Step 4: Managing Games on the External Hard Drive
Now that your Xbox games are successfully transferred to the external hard drive, you can easily manage and organize them to suit your preferences. Here are some tips on managing games on the external hard drive:
- Access the Games & Apps Menu: On your Xbox console, navigate to the “Home” screen and select the “My games & apps” tile. This will open the Games & Apps menu.
- View Installed Games: In the Games & Apps menu, select the “Full library” tab to see all your installed games. You will find a section for games stored on the internal storage and another section for games stored on the external hard drive.
- Sort and Filter Games: The menu provides various sorting and filtering options to help you manage your games effectively. You can sort games alphabetically, by size, or by installation date. Additionally, you can filter games by specific categories, such as genre, publisher, or multiplayer.
- Manage Game Data: To manage game data, select a game from the list and press the “Menu” button on your controller. From the options that appear, choose “Manage game & add-ons”. Here, you can view and manage the game’s installation, update, and downloadable content (DLC).
- Move and Copy Games: If you want to transfer games between the internal storage and the external hard drive, select the game and choose the “Manage game & add-ons” option. From there, you can choose to move the game to a different storage location or make a copy of the game to store it on both the internal and external storage.
- Uninstall Games: If you need to free up space or no longer want a particular game on your external hard drive, you can choose to uninstall it. Select the game and choose the “Uninstall” option to remove it from the external storage.
- Add New Games: When you want to install new games, you can choose to install them directly to the external hard drive. During the installation process, you will be prompted to select the storage location. Simply choose the external hard drive as the installation destination.
- Organize with Game Groups: The Games & Apps menu also allows you to create custom game groups to organize your library. This can help you group games by genre, favorites, or any other criteria you prefer. To create a group, select “Create a group” from the menu and follow the prompts to add games to the group.
By utilizing these management options, you can easily navigate and organize your games on the external hard drive. Whether it’s transferring, uninstalling, or adding new games, taking control of your game library ensures a seamless gaming experience. In the next step, we’ll explore how to play games directly from the external hard drive.
Step 5: Playing Games from the External Hard Drive
With your Xbox games successfully installed on the external hard drive, you’re now ready to enjoy them directly from the external storage. Follow these steps to start playing your games:
- Access the Games & Apps Menu: On your Xbox console, navigate to the “Home” screen and select the “My games & apps” tile. This will open the Games & Apps menu.
- Select the Game to Play: In the Games & Apps menu, choose the game you want to play from the list of installed games. You can use the controller or navigate with the D-pad to select the game.
- Launch the Game: Once you have selected the game, press the “A” button on your controller to launch it. The game will start loading from the external hard drive.
- Enjoy Your Game: Once the game has loaded, you can start playing it directly from the external hard drive. Enjoy the seamless gaming experience without the need for lengthy installations or downloads.
- Switch Between Games: If you want to play a different game, you can easily switch between games stored on the external hard drive by accessing the Games & Apps menu and selecting the desired game. There’s no need to uninstall and reinstall games each time you want to play something new.
- Save Game Progress: As you play games from the external hard drive, your game progress, achievements, and settings will be automatically saved on the console’s internal storage or cloud storage, depending on your settings. Thus, you don’t have to worry about losing progress when switching between consoles or storage devices.
Playing games directly from the external hard drive provides you with the convenience of accessing and enjoying your gaming library without taking up valuable space on the internal storage of your Xbox console. Now that you know how to play games from the external hard drive, you can dive into your favorite titles with ease.
Troubleshooting Common Issues
While installing and playing games from an external hard drive is generally straightforward, you may encounter a few common issues along the way. Here are some troubleshooting tips to help resolve these issues:
- External Hard Drive Not Detected: If your external hard drive is not detected by your Xbox console, try unplugging and reconnecting it. Ensure the connection is secure and try using a different USB port on your console. If the issue persists, check the compatibility of the external hard drive with your Xbox console and consider formatting it again.
- Slow Game Loading: If you experience slow game loading times from the external hard drive, ensure that it has sufficient available space. A nearly full external hard drive may affect performance. Additionally, consider using an external hard drive with faster data transfer speeds, such as a solid-state drive (SSD), to improve loading times.
- Inconsistent Game Performance: If you notice inconsistent game performance or stuttering during gameplay, check the overall health and condition of your external hard drive. Ensure that it is not damaged or encountering read/write errors. If possible, try using a different external hard drive to isolate the issue.
- Game Update Errors: If you encounter errors while updating games on the external hard drive, ensure that the external hard drive has sufficient free space for the update. Additionally, check your internet connection and Xbox Live status to ensure a stable connection for downloading updates. If the issue persists, try restoring the game from a previous backup or reinstalling it.
- Game File Corruption: In rare cases, game files on the external hard drive may become corrupted, resulting in game crashes or errors. If you encounter this issue, try deleting and reinstalling the game. If the problem persists, consider running diagnostics on your external hard drive to check for any hardware issues.
- External Hard Drive Noise: If your external hard drive is making unusual noises, such as clicking or buzzing sounds, it may indicate a faulty drive. In such cases, it’s recommended to back up your data immediately and consider replacing the external hard drive to prevent data loss.
If you continue to experience issues with your external hard drive and gaming performance, it’s advisable to consult with the manufacturer’s support or seek assistance from Xbox customer support for further troubleshooting and guidance.
By keeping these troubleshooting tips in mind, you’ll be better equipped to address common issues that may arise when using an external hard drive for Xbox gaming. Now that you’re prepared to troubleshoot, you can maximize your gaming experience with your external storage solution.
Conclusion
Congratulations! You’ve successfully learned how to install Xbox games on an external hard drive, expanding your storage capacity and enhancing your gaming experience. By following the steps outlined in this guide, you can now enjoy a larger library of games without worrying about running out of space on your Xbox console.
We explored the benefits of installing games on an external hard drive, including expanded storage capacity, portability, easy game management, faster loading times, and backup security. Understanding these advantages allows you to make the most of your gaming experience.
Before proceeding with the installation, it’s important to consider factors such as external hard drive compatibility, formatting requirements, transfer speeds, game ownership, power supply, and game updates. Taking these considerations into account ensures a smooth installation process and optimal compatibility with your Xbox console.
We then walked through the step-by-step process of formatting the external hard drive, connecting it to the Xbox console, transferring games, managing games on the external hard drive, and playing games directly from the external storage. These steps empower you to organize your game library efficiently and enjoy your favorite titles conveniently.
Lastly, we discussed common troubleshooting tips for issues like external hard drive detection, slow game loading, inconsistent performance, update errors, file corruption, and unusual noises. Being aware of these troubleshooting techniques helps you overcome potential obstacles and maintain a seamless gaming experience.
Now that you have acquired the knowledge and skills to install Xbox games on an external hard drive, go ahead and enjoy your vast collection of games without worrying about storage limitations. Expand your gaming possibilities, take your games on the go, and immerse yourself in thrilling adventures with ease.
Remember, with an external hard drive, the possibilities are endless, and your gaming experience is sure to reach new heights. Happy gaming!