Introduction
Welcome to our guide on how to use an external hard drive on your Xbox Series S! The Xbox Series S is a popular gaming console that offers immersive gaming experiences. However, with the increasing size of game files and updates, the internal storage of the console may quickly fill up, leaving you with limited space for new games and apps.
Thankfully, the Xbox Series S supports the use of external hard drives, allowing you to easily expand your storage capacity and continue downloading and enjoying your favorite games and apps. In this guide, we will walk you through the process of connecting, formatting, and managing an external hard drive on your Xbox Series S.
Using an external hard drive offers several benefits. Not only does it provide you with additional storage space, but it also allows you to transfer your games and apps directly to the external drive, freeing up space on your console’s internal storage and potentially improving load times.
Whether you’re a casual gamer who wants to store a few extra games or a hardcore enthusiast with a vast collection, using an external hard drive can greatly enhance your gaming experience on the Xbox Series S. So, let’s dive in and discover how you can make the most of this feature!
Understanding External Hard Drives
Before we delve into the process of using an external hard drive on your Xbox Series S, let’s take a moment to understand what an external hard drive is and how it can benefit your gaming experience.
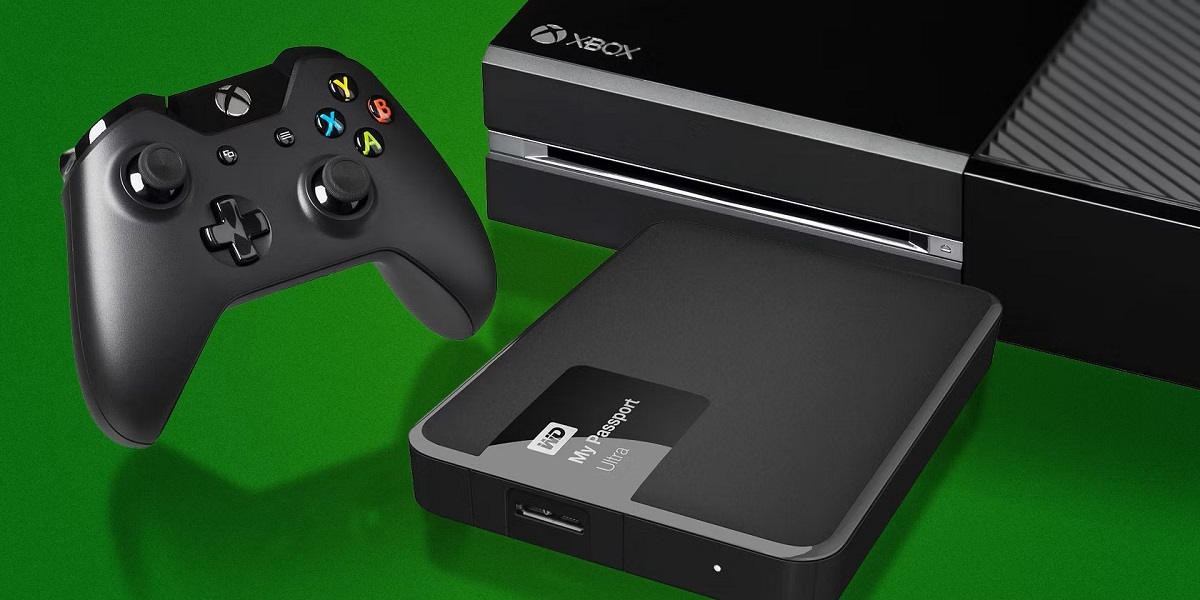
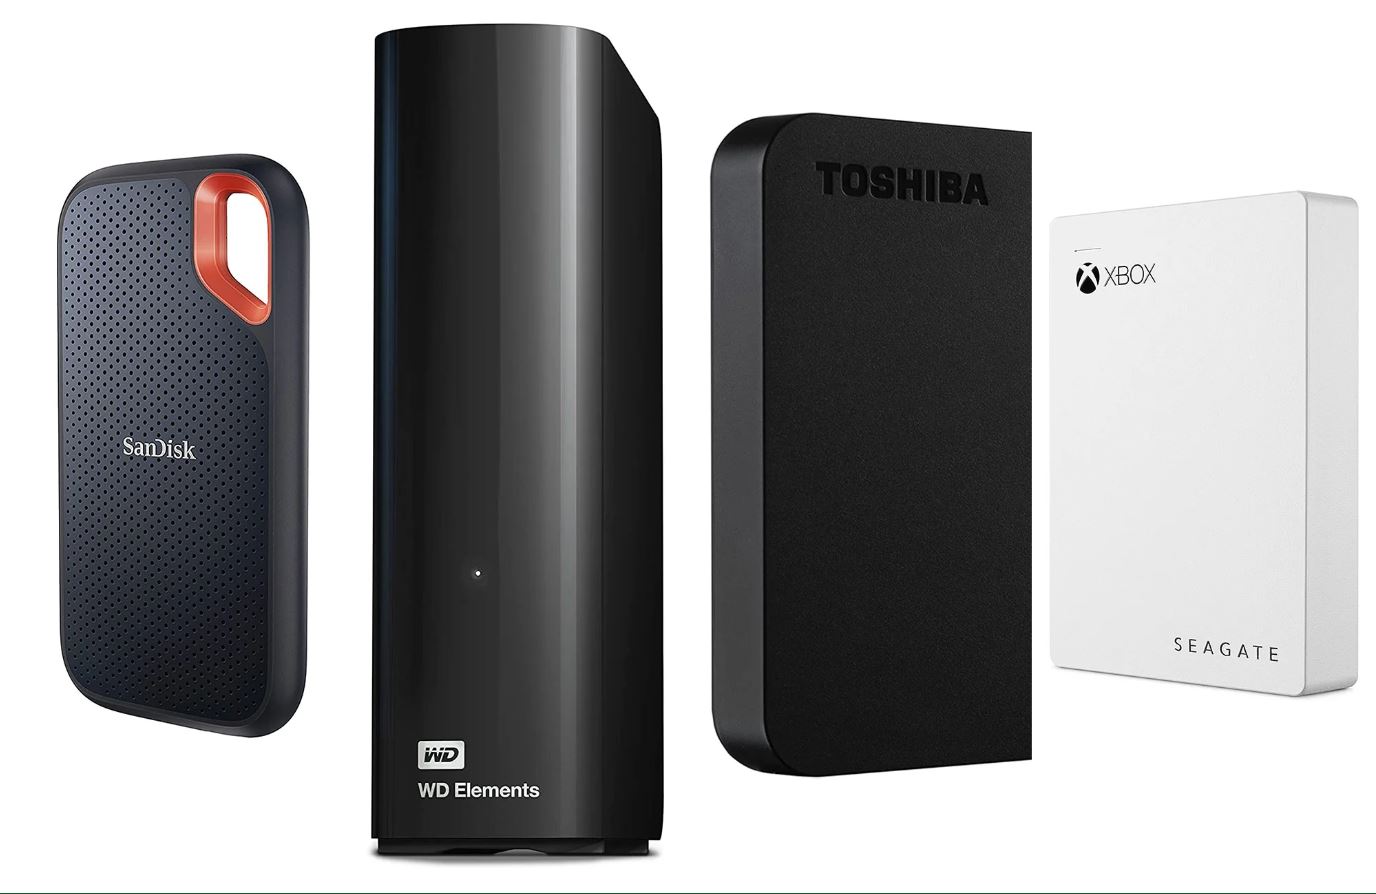
An external hard drive is a portable storage device that can be connected to your Xbox Series S via a USB port. It functions similarly to the internal hard drive of your console but offers the convenience of additional storage space that can be easily expanded.
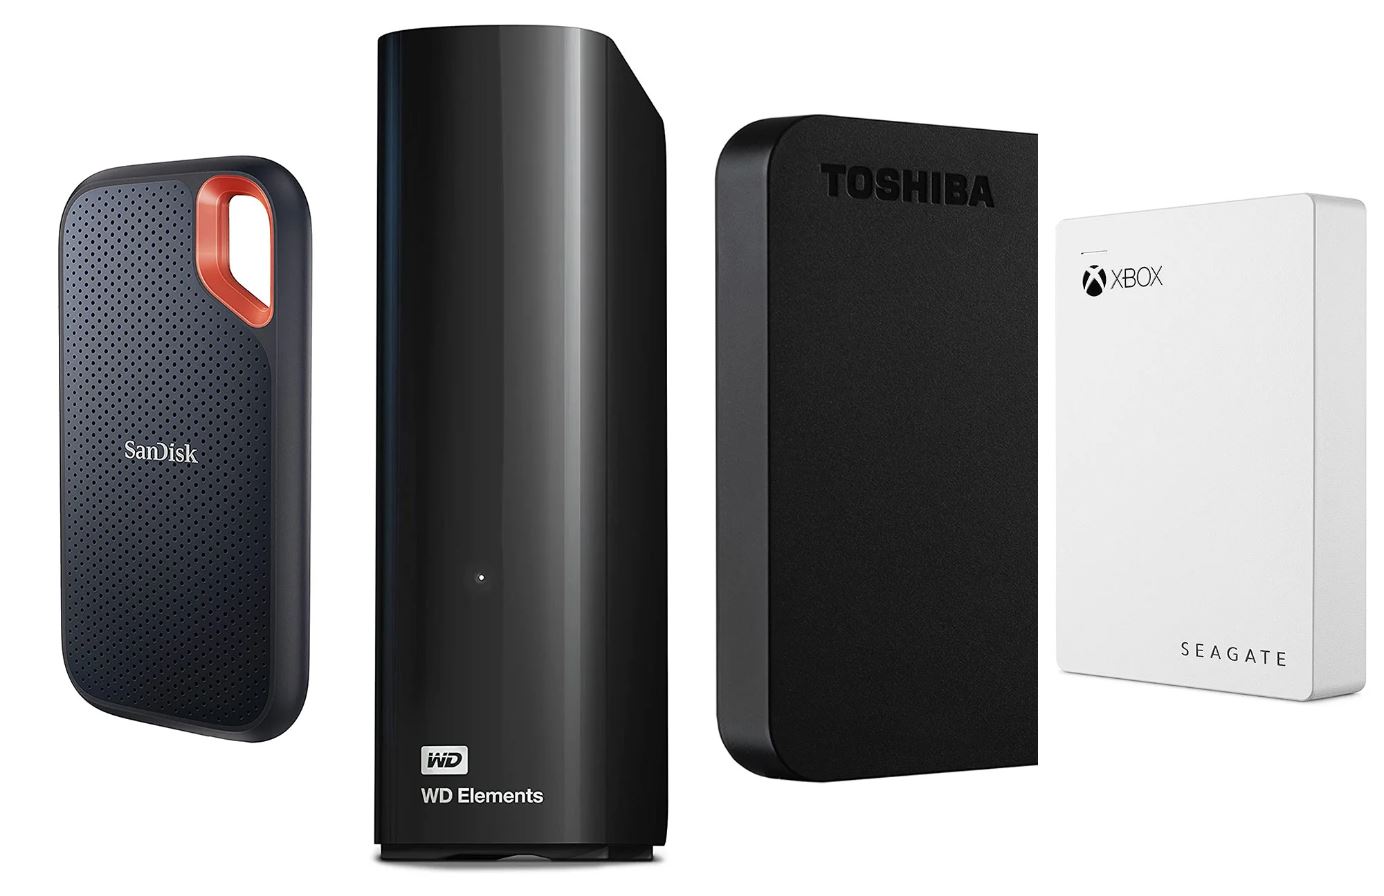
External hard drives come in various sizes and capacities, ranging from a few hundred gigabytes to multiple terabytes. The size you choose depends on your storage needs and the number of games and apps you plan to store. Additionally, consider factors such as transfer speeds and compatibility with your Xbox Series S.
By utilizing an external hard drive, you can overcome the limitations of the internal storage on your Xbox Series S. This is particularly useful if you have a large game library or regularly download new games and apps. Instead of constantly managing your console’s storage space, you can simply connect an external hard drive and enjoy the convenience of expanded storage.
Furthermore, external hard drives are not limited to Xbox Series S storage alone. You can also use them to store music, movies, and other media files, making it a versatile solution for all your storage needs.
It’s important to note that not all external hard drives are compatible with the Xbox Series S. The console supports USB 3.0 external hard drives with a storage capacity of up to 16TB. Ensure that you choose a compatible external hard drive to ensure optimal performance and compatibility with your console.
Now that we’ve covered the basics of external hard drives, let’s move on to the requirements for using one on your Xbox Series S.
Requirements for Using an External Hard Drive on Xbox Series S
Before you can start using an external hard drive on your Xbox Series S, there are a few requirements that you need to meet. Ensuring that you have these requirements in place will help ensure smooth compatibility and functionality.
1. USB 3.0 Port: The Xbox Series S is equipped with one USB 3.0 port, which is used for connecting your external hard drive. Make sure your external hard drive has a USB 3.0 interface to take advantage of the faster transfer speeds that USB 3.0 offers compared to previous versions.
2. Storage Capacity: The Xbox Series S supports external hard drives with capacities up to 16TB. Consider the size of your game library and decide on an appropriate storage capacity for your needs. Keep in mind that games are getting larger in size, so having a higher capacity can accommodate future game downloads.
3. USB Cable: Your external hard drive should come with a USB cable that connects it to the Xbox Series S. Ensure that the cable is in good condition and securely connected to both the console and the external hard drive.
4. External Power Source (Optional): While most external hard drives draw power from the Xbox Series S through the USB connection, some larger capacity drives may require an external power source. Check the specifications of your external hard drive to determine if it requires an external power adapter and, if so, make sure it is properly connected.
Once you have these requirements in place, you’re ready to connect your external hard drive to your Xbox Series S. In the next section, we will guide you through the steps to set up and connect your external hard drive.
Steps to Connect the External Hard Drive to Xbox Series S
Connecting an external hard drive to your Xbox Series S is a straightforward process. Follow these step-by-step instructions to get your external hard drive up and running:
- Step 1: Turn off your Xbox Series S console. Ensure that it is completely powered down before proceeding.
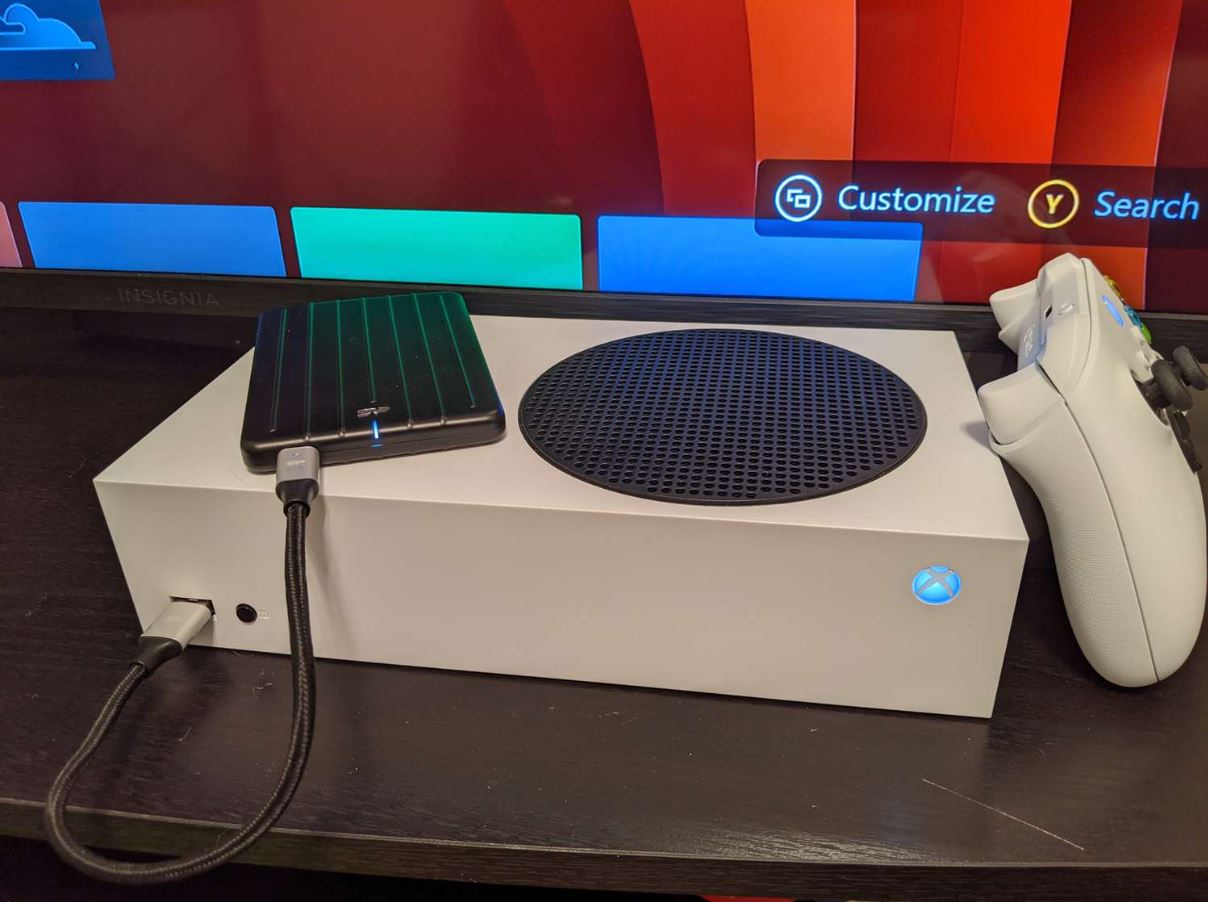
- Step 2: Locate the USB 3.0 port on the back of your Xbox Series S console. This is where you will connect your external hard drive.
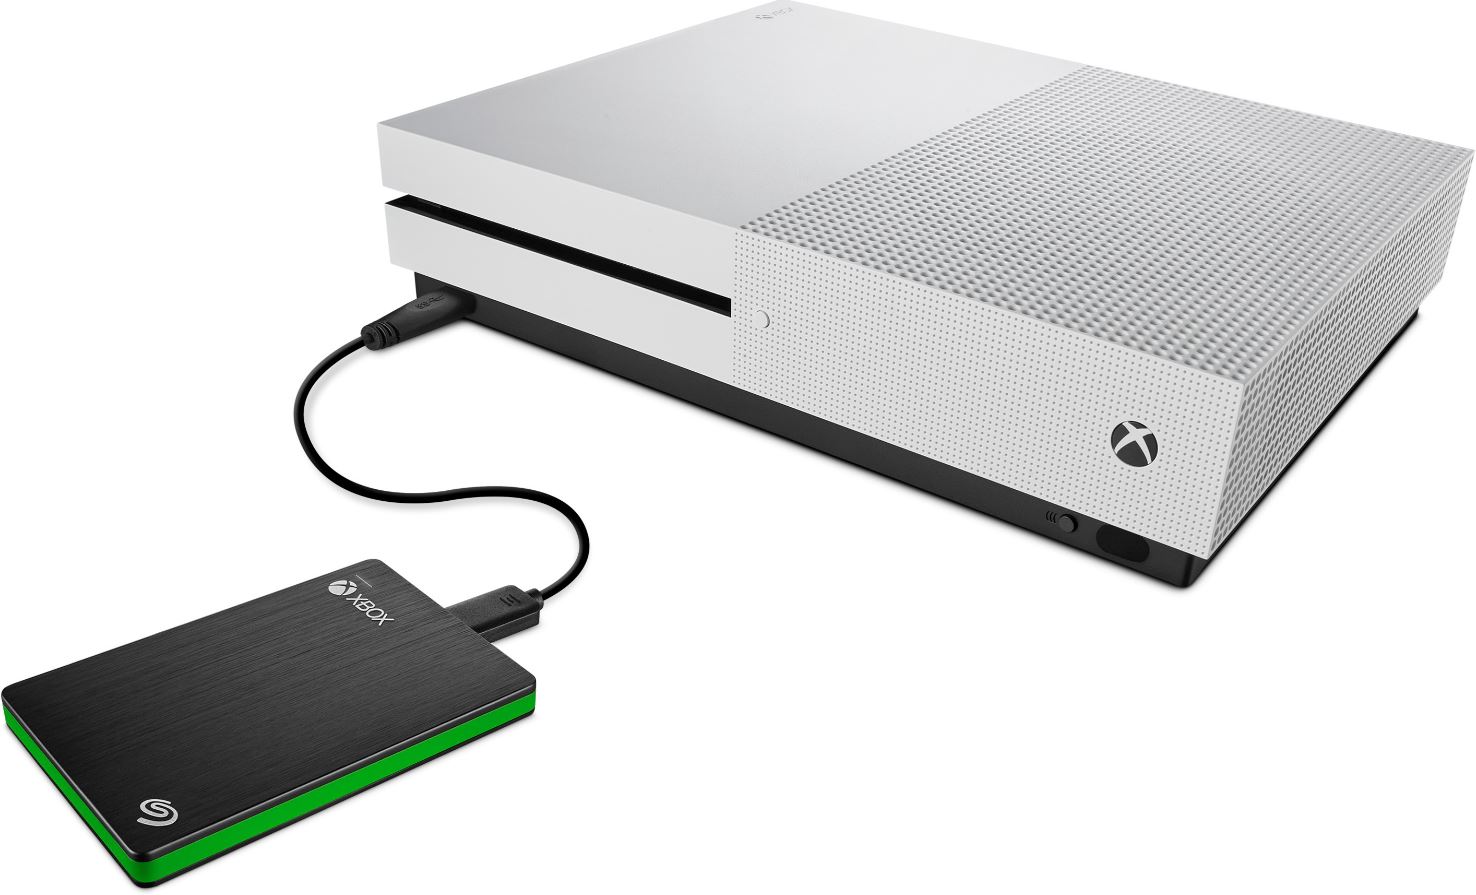
- Step 3: Take the USB cable that came with your external hard drive and plug one end into the USB 3.0 port on your Xbox Series S console.
- Step 4: Connect the other end of the USB cable to your external hard drive. Ensure a secure connection on both ends.
- Step 5: Once the external hard drive is connected, power on your Xbox Series S console.
- Step 6: Navigate to the Xbox Series S home screen and press the Xbox button on your controller to open the Guide.
- Step 7: Using your controller, navigate to the “Profile & system” tab and select “Settings”.
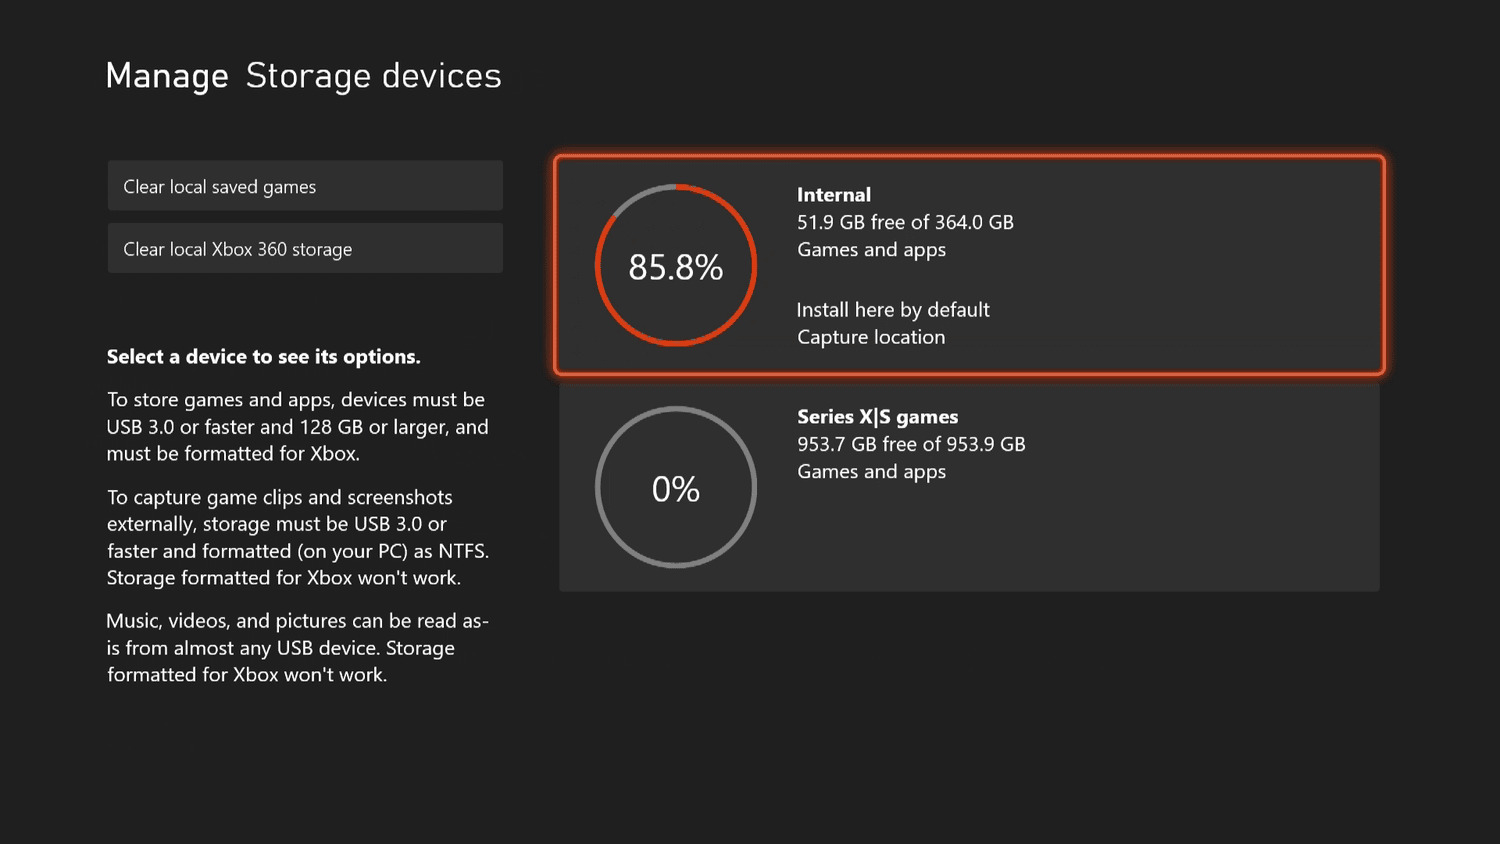
- Step 8: In the Settings menu, select “System” and then choose “Storage”. This will display the available storage options on your Xbox Series S.
- Step 9: Look for your external hard drive among the storage options. It will be labeled with its storage capacity and the name you assigned to it.
- Step 10: Select your external hard drive and choose the “Format storage device” option to prepare it for use with your Xbox Series S. (Note: Formatting will erase all data on the external hard drive, so make sure you have backed up any important files beforehand.)
- Step 11: Follow the on-screen instructions to complete the formatting process. Once done, your external hard drive is ready to be used with your Xbox Series S.
By following these steps, you will successfully connect and prepare your external hard drive for use with your Xbox Series S. In the next section, we will discuss the formatting process in more detail.
Formatting the External Hard Drive
Once you have connected your external hard drive to your Xbox Series S, the next step is to format it for use with the console. Formatting the external hard drive ensures that it is compatible with the Xbox Series S and allows you to store games and apps on it.
Here are the steps to format your external hard drive:
- Step 1: On your Xbox Series S, navigate to the home screen and press the Xbox button on your controller to open the Guide.
- Step 2: Using your controller, go to the “Profile & system” tab and select “Settings”.
- Step 3: In the Settings menu, select “System” and then choose “Storage”.
- Step 4: Look for your external hard drive among the storage options. It should be labeled with its storage capacity and the name you assigned to it.
- Step 5: Select the external hard drive and choose the “Format storage device” option.
- Step 6: A warning message will appear, informing you that formatting will erase all data on the external hard drive. Ensure that you have backed up any important files before proceeding.
- Step 7: Follow the on-screen instructions to confirm the formatting process.
- Step 8: Wait for the formatting process to complete. This may take a few minutes, depending on the size of your external hard drive.
- Step 9: Once the formatting is finished, your external hard drive is ready to be used with your Xbox Series S.
By formatting the external hard drive, you ensure that it is optimized for use with your Xbox Series S, allowing you to store games, apps, and other content on it. It’s important to note that formatting will erase all existing data on the external hard drive, so be sure to back up any important files before proceeding with the process.
Now that your external hard drive is formatted and ready to go, let’s move on to the next section, where we will discuss how to transfer games and apps to the external hard drive.
Transferring Games and Apps to the External Hard Drive
Now that you have successfully connected and formatted your external hard drive on your Xbox Series S, it’s time to transfer your games and apps to the external storage. Transferring your games and apps to the external hard drive not only frees up space on your console’s internal storage but also allows for faster load times and smoother gameplay.
Follow these steps to transfer games and apps to your external hard drive:
- Step 1: On your Xbox Series S, go to the home screen and press the Xbox button on your controller to open the Guide.
- Step 2: Using your controller, navigate to “My games & apps” and select it.
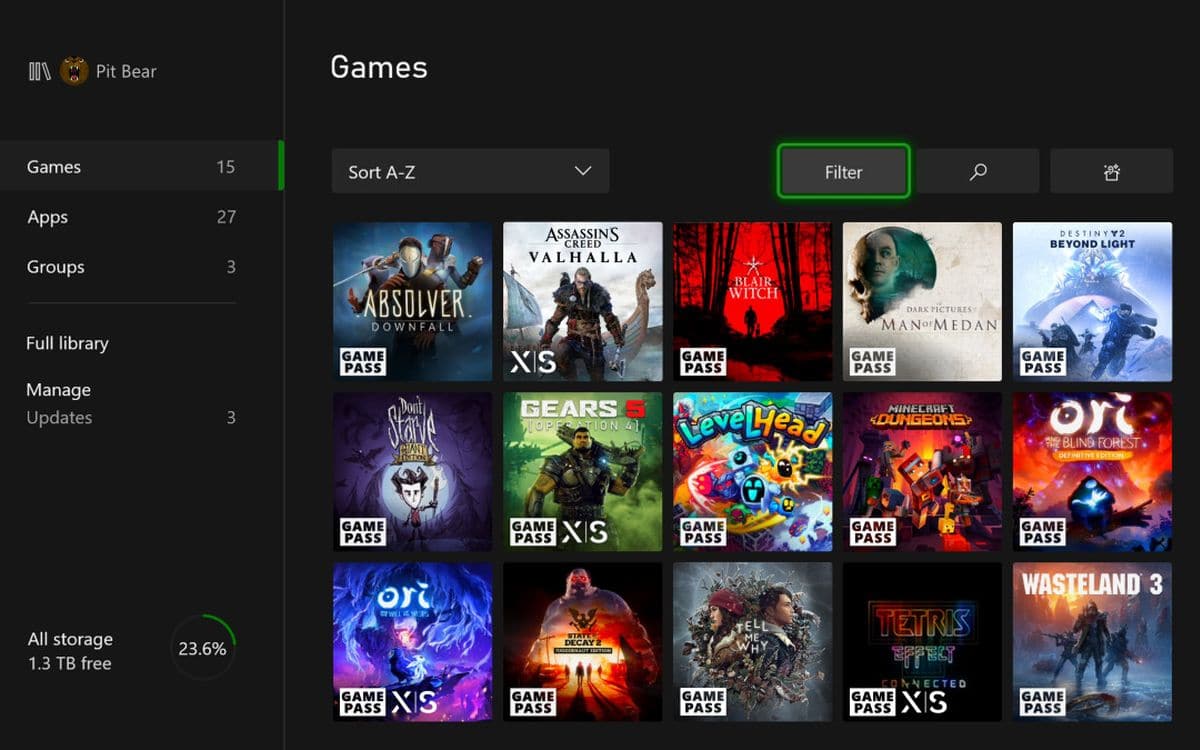
- Step 3: In the “My games & apps” section, select “Full library” to view all your installed games and apps.
- Step 4: Choose the game or app that you want to transfer to the external hard drive.
- Step 5: Press the “Menu” button on your controller (also known as the Start button) to open the options menu for the selected game or app.
- Step 6: From the options menu, select “Manage game & add-ons”.
- Step 7: In the “Manage game & add-ons” section, choose “Move all” or “Move” (depending on your preference) to transfer the game or app to the external hard drive.
- Step 8: Follow the on-screen prompts to confirm the transfer and select the external hard drive as the destination.
- Step 9: Repeat these steps for each game or app that you want to transfer to the external hard drive.
Transferring games and apps to the external hard drive may take some time, depending on the size of the files and the transfer speed of your external hard drive. Make sure to keep your console and external hard drive powered on during the transfer process.
Once the transfer is complete, you can access and play your games and apps directly from the external hard drive. This not only gives you additional storage space on your console’s internal storage but also allows you to easily manage your collection of games and apps.
In the next section, we will discuss how to manage your games and apps on the external hard drive.
Managing Your Games and Apps on the External Hard Drive
Now that you have games and apps stored on your external hard drive connected to your Xbox Series S, it’s important to know how to manage and organize them effectively. Proper management will ensure easy access, efficient storage, and a seamless gaming experience. Let’s explore some tips for managing your games and apps on the external hard drive:
1. Organize into Folders: To keep your games and apps organized, consider creating folders based on genre, type, or personal preference. This will make it easier to find specific titles and keep your collection neat and tidy. To create a folder, select a game or app, press the “Menu” button on your controller, and choose the “Create new folder” option.
2. Sort and Filter Options: Take advantage of the sorting and filtering options available on your Xbox Series S. You can sort your games and apps by various criteria such as title, size, installation date, and more. This provides flexibility in how you view and navigate your collection.
3. Game Updates: Regularly check for game updates on your external hard drive. By updating your games, you can ensure you have the latest bug fixes, improvements, and new features. To check for updates, select a game, press the “Menu” button, and choose the “Manage game & add-ons” option, then select “Updates”.
4. Uninstalling Games or Apps: If you no longer play a particular game or app, consider uninstalling it from the external hard drive to free up space. This can be done by selecting the game or app, pressing the “Menu” button, and choosing the “Uninstall” option.
5. Reinstalling Games or Apps: If you want to reinstall a previously uninstalled game or app from your external hard drive, you can easily do so. Go to the Microsoft Store or your games library, locate the game or app, and choose the option to reinstall it on your console.
6. Storage Management: Keep an eye on your storage capacity on the external hard drive. If it starts to fill up, consider removing games or apps that you don’t play as often to make room for new ones. Regularly managing your storage will help you optimize your gaming experience and ensure you have enough space for future downloads.
By following these tips, you can effectively manage your games and apps on the external hard drive connected to your Xbox Series S. Enjoy the flexibility, storage capacity, and improved performance that having an external hard drive provides.
Now that you know how to manage your games and apps on the external hard drive, let’s move on to the final section where we discuss how to safely remove the external hard drive from your Xbox Series S.
Safely Removing the External Hard Drive from Xbox Series S
Safely removing your external hard drive from your Xbox Series S is essential to prevent data loss or potential damage to your storage device. Following the proper procedure ensures that all data is saved and the external hard drive is safely disconnected. Here’s how you can safely remove the external hard drive:
- Step 1: Ensure that all games, apps, or other content on the external hard drive are closed or not actively being accessed. Save any in-progress games or progress before proceeding.
- Step 2: From the Xbox Series S home screen, press the Xbox button on your controller to open the Guide.
- Step 3: Navigate to the “Profile & system” tab and select “Settings”.
- Step 4: In the Settings menu, select “System” and then choose “Storage”.
- Step 5: Locate your external hard drive among the storage options. It will be labeled with its storage capacity and the name you assigned to it.
- Step 6: Select your external hard drive and choose the “Eject” option.
- Step 7: Once you confirm the eject command, wait for the Xbox Series S to safely disconnect the external hard drive. This may take a few seconds.
- Step 8: Once the external hard drive is safely ejected, you can unplug the USB cable from the Xbox Series S.
- Step 9: If your external hard drive has an external power source, such as an adapter, safely disconnect it as well.
By following these steps, you can safely remove the external hard drive from your Xbox Series S without any risk of data corruption or hardware damage. It’s important to adhere to this procedure every time you want to disconnect the external hard drive to ensure the longevity of your device and the preservation of your data.
Remember that it’s essential to wait for the Xbox Series S to complete the ejection process before physically unplugging the USB cable. This ensures that all data has been properly written and that no ongoing processes are disrupted.
With these steps in mind, you can safely remove and disconnect your external hard drive from your Xbox Series S whenever needed.
Now that you know how to safely remove the external hard drive, let’s wrap up this guide on using an external hard drive on Xbox Series S.
Conclusion
Using an external hard drive on your Xbox Series S is a game-changer when it comes to storage capacity and convenience. It allows you to expand your storage, transfer games and apps, and manage your collection efficiently.
In this guide, we covered the basics of using an external hard drive, including the requirements for compatibility and the steps to connect and format the drive. We also explored how to transfer games and apps to the external hard drive and provided tips for managing and organizing your collection.
Remember to always follow the proper procedures for safely removing the external hard drive from your Xbox Series S to prevent data loss or potential damage.
By using an external hard drive, you can enjoy the benefits of increased storage capacity, faster load times, and a seamless gaming experience. It allows you to expand your game library and freely download new games without worrying about limited space on your console’s internal storage.
Whether you’re a casual gamer with a small collection or a hardcore enthusiast with a vast library, using an external hard drive on your Xbox Series S is a practical and efficient way to manage your games and apps.
So, go ahead and connect an external hard drive to your Xbox Series S to unlock the full potential of your gaming experience. Enjoy the freedom of storing more games, faster load times, and a clutter-free console.
Thank you for reading our guide, and we hope it has been helpful in utilizing an external hard drive on your Xbox Series S. Happy gaming!