Introduction
Transferring files from a Mac to an external hard drive is a common task that many users need to perform for various reasons. Whether you want to free up space on your Mac, create a backup of important files, or simply organize your data, having the ability to transfer files to an external hard drive is essential.
In this article, we will guide you through the step-by-step process of transferring files from a Mac to an external hard drive. By following these instructions, you’ll be able to successfully move your files and ensure they are securely stored on the external drive.
The process of transferring files may vary slightly depending on the version of macOS you are using, but the general steps remain the same. We will provide you with clear instructions that you can easily follow, regardless of your level of technical expertise.
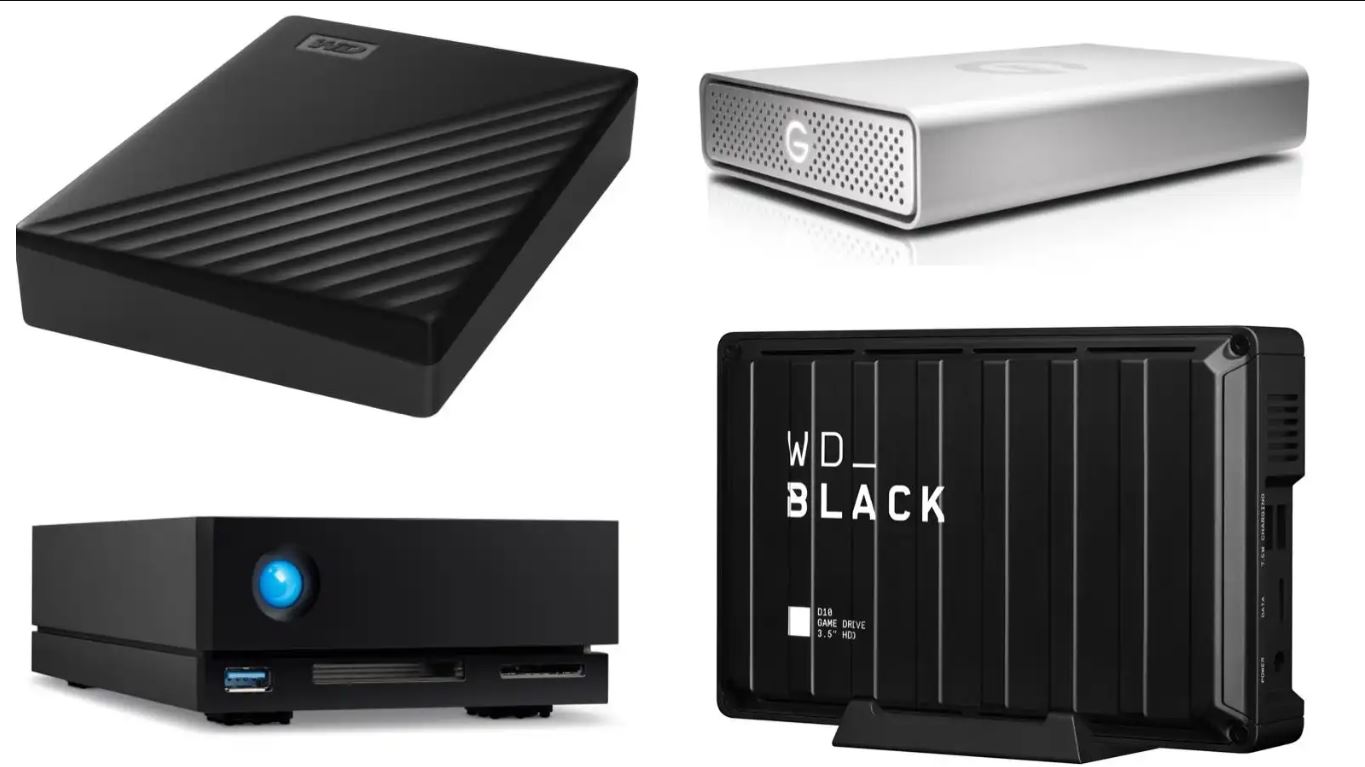
Before we dive into the steps, it’s important to note that you will need a compatible external hard drive and a USB or Thunderbolt cable to connect it to your Mac. Additionally, ensure that your Mac and the external hard drive have enough storage space to accommodate the files you wish to transfer.
Now, let’s get started with the first step of transferring files from a Mac to an external hard drive!
Step 1: Connect the external hard drive to your Mac
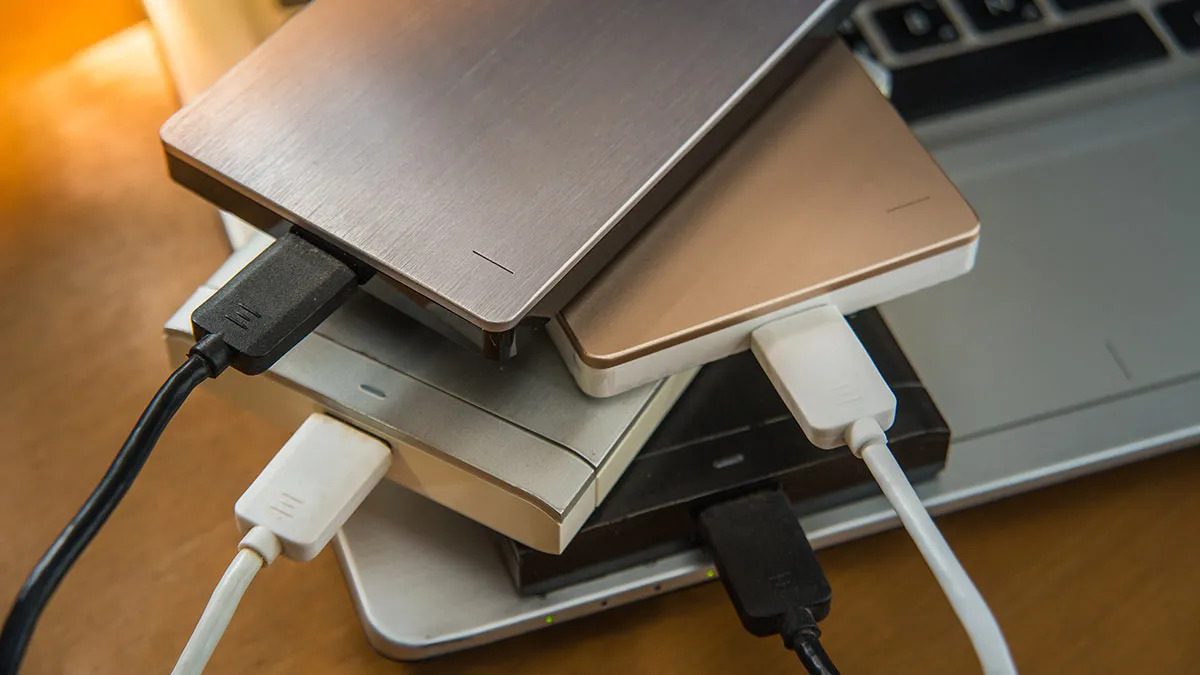
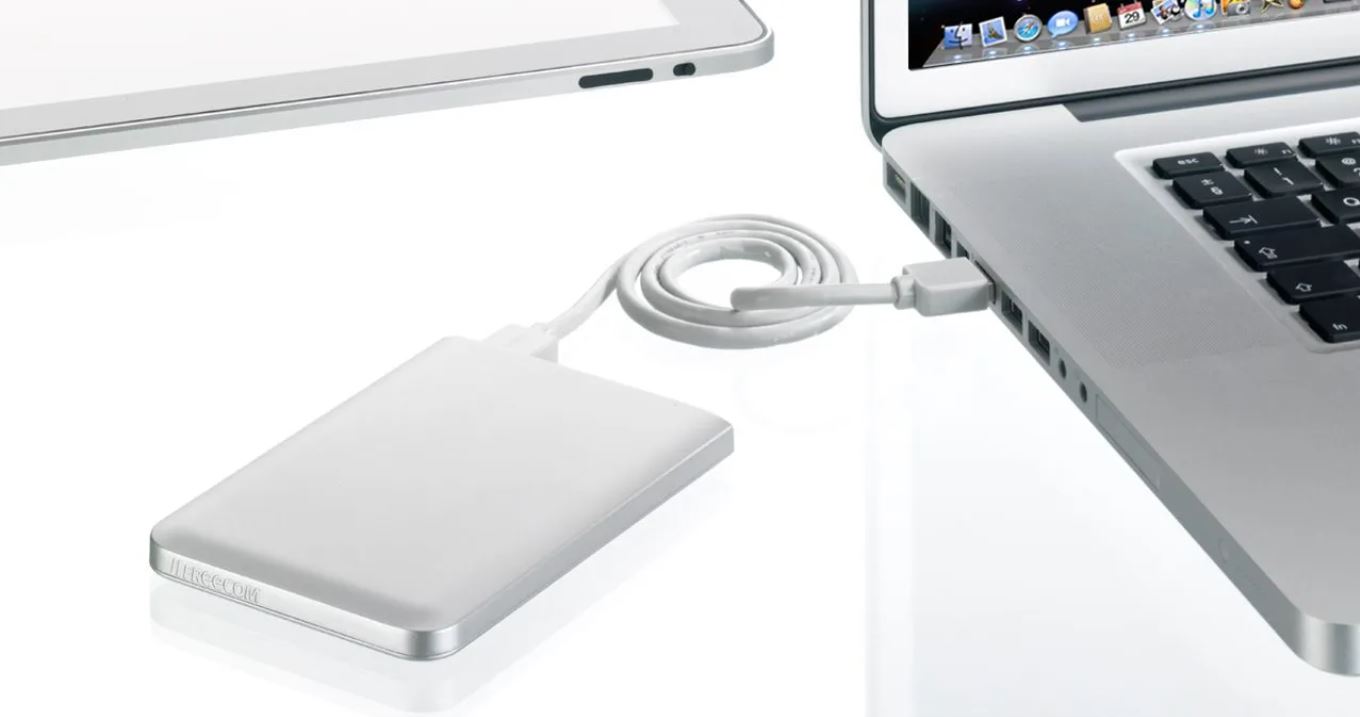
The first step in transferring files from a Mac to an external hard drive is to establish a physical connection between the two devices. Follow these simple steps to connect your external hard drive:
- Locate the USB or Thunderbolt port on your Mac. The type of port you need may vary depending on the age and model of your Mac.
- Plug one end of the USB or Thunderbolt cable into the corresponding port on your Mac.
- Connect the other end of the cable to the appropriate port on your external hard drive. The port on your hard drive may be labeled as “USB” or “Thunderbolt.”
Once the cable is securely connected to both devices, your Mac should recognize the external hard drive and mount it on the desktop or in the Finder sidebar. You may also see a notification on your screen indicating that a new device has been detected.
Now that your external hard drive is connected to your Mac, you are ready to proceed to the next step and start transferring your files. Ensure that the external hard drive is formatted correctly to work with your Mac. If the drive is not recognized or cannot be mounted, you may need to format it using Disk Utility before proceeding.
With the physical connection established, you can now move on to selecting the files you want to transfer from your Mac to the external hard drive. Continue reading to learn about the next step in the process.
Step 2: Locate the files you want to transfer
After connecting your external hard drive to your Mac, the next step is to locate the files that you want to transfer. Follow these steps to find the files you wish to move:
- Open the Finder application on your Mac. You can do this by clicking on the Finder icon in the Dock or by pressing Command + Space and typing “Finder” in the Spotlight search.
- Navigate to the location where your files are stored. This could be your documents folder, desktop, or any other location on your Mac.
- Use the Finder’s search functionality to locate specific files or folders. Click on the magnifying glass icon in the top-right corner of the Finder window, then enter the name or keyword related to the files you want to transfer.
- Review the search results and select the files or folders you want to transfer. You can click and drag to select multiple files or use the Command key to select individual files.
It’s important to carefully choose the files you want to transfer to avoid cluttering your external hard drive with unnecessary files. Consider organizing your files into folders before starting the transfer process for better organization and easier access in the future.
Once you have selected the files you want to transfer, you’re ready to proceed to the next step and copy them to your external hard drive. Continue reading to learn more.
Step 3: Select the files you want to transfer
With the files you want to transfer located on your Mac, it’s time to select them for the transfer process. Follow these steps to choose the files you wish to move to your external hard drive:
- Click on the first file you want to transfer. To select multiple files, hold down the Command key on your keyboard while clicking on each file. You can also click and drag to select a range of files.
- To select all files in a folder, press Command + A. This will highlight all the files in the current folder.
- If you want to select files from different folders or locations, hold down the Command key while clicking on each file.
- Review your selection to ensure you have chosen all the necessary files for transfer. You can deselect a file by clicking on it while holding down the Command key.
It’s important to double-check your file selection before proceeding to the next step. This will help ensure that you don’t miss any important files or include any unnecessary ones in the transfer process.
If you want to transfer entire folders instead of individual files, simply select the folder containing the files you want to transfer. This way, all the files within that folder will be included in the transfer.
Now that you have successfully selected the files you want to transfer, it’s time to move on to the next step and copy them to your external hard drive. Continue reading to learn how.
Step 4: Copy the selected files to the external hard drive
Once you have selected the files you want to transfer, it’s time to copy them to your external hard drive. Follow these steps to complete the transfer:
- Ensure that the external hard drive is still connected to your Mac and that it is properly recognized.
- Open a new Finder window and navigate to the external hard drive. You can usually find it listed in the sidebar under the “Devices” section or on the desktop.
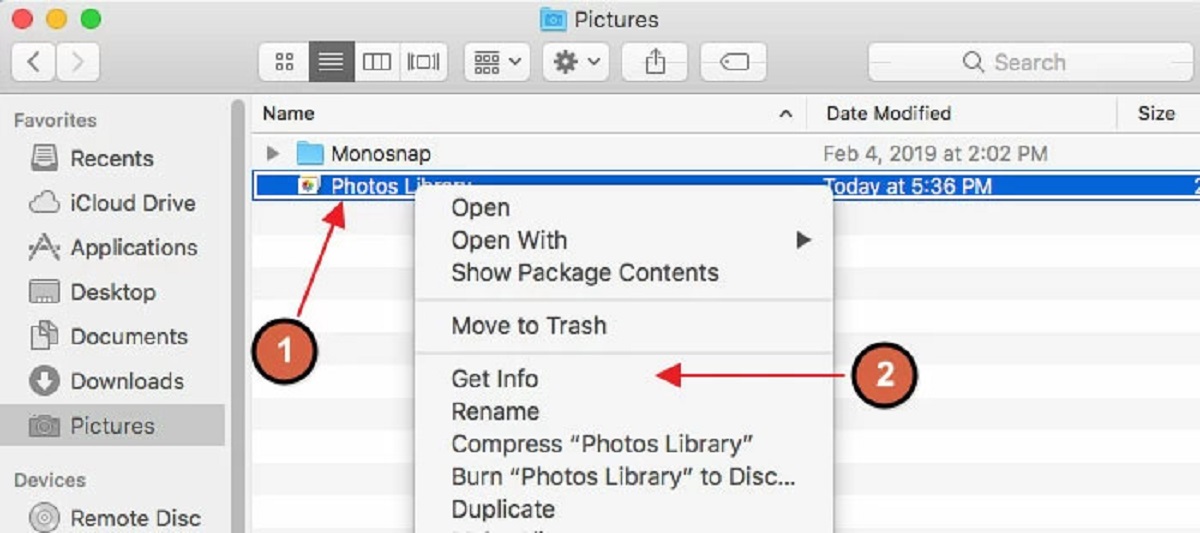
- Drag and drop the selected files from your Mac to the external hard drive window. Alternatively, you can right-click on the selected files and choose “Copy” from the context menu, then navigate to the external hard drive window and right-click again, selecting “Paste” to copy the files.
- Wait for the transfer to complete. The time it takes to transfer the files will depend on the size of the files and the speed of your Mac and external hard drive.
During the file transfer, it’s important not to disconnect the external hard drive, as this may interrupt the process and potentially cause data loss or corruption. Allow the transfer to complete before safely disconnecting the external hard drive.
Once the file transfer is finished, you can verify that the files have been successfully copied to the external hard drive. Open the external hard drive window and check that the transferred files are present and accessible.
Congratulations! You have successfully copied the selected files from your Mac to the external hard drive. Now, let’s move on to the final step of properly ejecting the external hard drive.
Step 5: Eject the external hard drive properly
After completing the file transfer, it is essential to eject the external hard drive properly to ensure the integrity of your data and avoid any potential data loss or corruption. Follow these steps to safely eject your external hard drive:
- Make sure all file transfer operations involving the external hard drive have been completed.
- Locate the external hard drive icon on your desktop or in the Finder sidebar.
- Right-click on the external hard drive icon and select “Eject” from the context menu. Alternatively, you can drag the external hard drive icon to the Trash bin, which will change its appearance to an eject symbol.
- Wait for the external hard drive to be ejected. You will receive a notification or see the icon disappear from the desktop or Finder sidebar.
- Once the external hard drive has been safely ejected, you can unplug the USB or Thunderbolt cable from your Mac and disconnect the external hard drive from your computer.
Ejecting the external hard drive properly ensures that any pending disk operations are completed, and all cached data is written to the drive before it is safely removed. This helps prevent data loss and minimizes the risk of drive errors or corruption.
Remember to always eject your external hard drive before physically disconnecting it from your Mac, even if you are in a rush. Skipping this step can lead to data inconsistencies and potentially damage the drive.
With the external hard drive safely disconnected from your Mac, you have successfully completed the process of transferring files from your Mac to an external hard drive. Congratulations!
By following these steps, you can now enjoy the benefits of additional storage space, backups of your important files, and the flexibility of accessing your data from different devices.
Conclusion
Transferring files from a Mac to an external hard drive is a straightforward process that allows you to free up space, create backups, and organize your data effectively. By following the step-by-step instructions outlined in this article, you can easily move your files and ensure their safety on the external drive.
Starting with connecting the external hard drive to your Mac, you then located and selected the files you wanted to transfer. Next, you copied the selected files to the external hard drive, being careful not to disconnect it until the transfer was complete. Finally, you properly ejected the external hard drive to safeguard your data and prevent any potential issues.
Remember to double-check your file selection before the transfer and ensure that the external hard drive has enough storage space to accommodate your files. Additionally, it is always recommended to make regular backups of your important files to prevent data loss in case of unforeseen circumstances.
By mastering the skill of transferring files from a Mac to an external hard drive, you gain greater control over your digital assets, enhance file organization, and improve the overall performance of your Mac.
We hope this guide has been helpful in simplifying the process for you. Now, you can enjoy the benefits of efficient file management and increased storage capacity, all thanks to successfully transferring files from your Mac to an external hard drive.
Happy file transferring!