Introduction
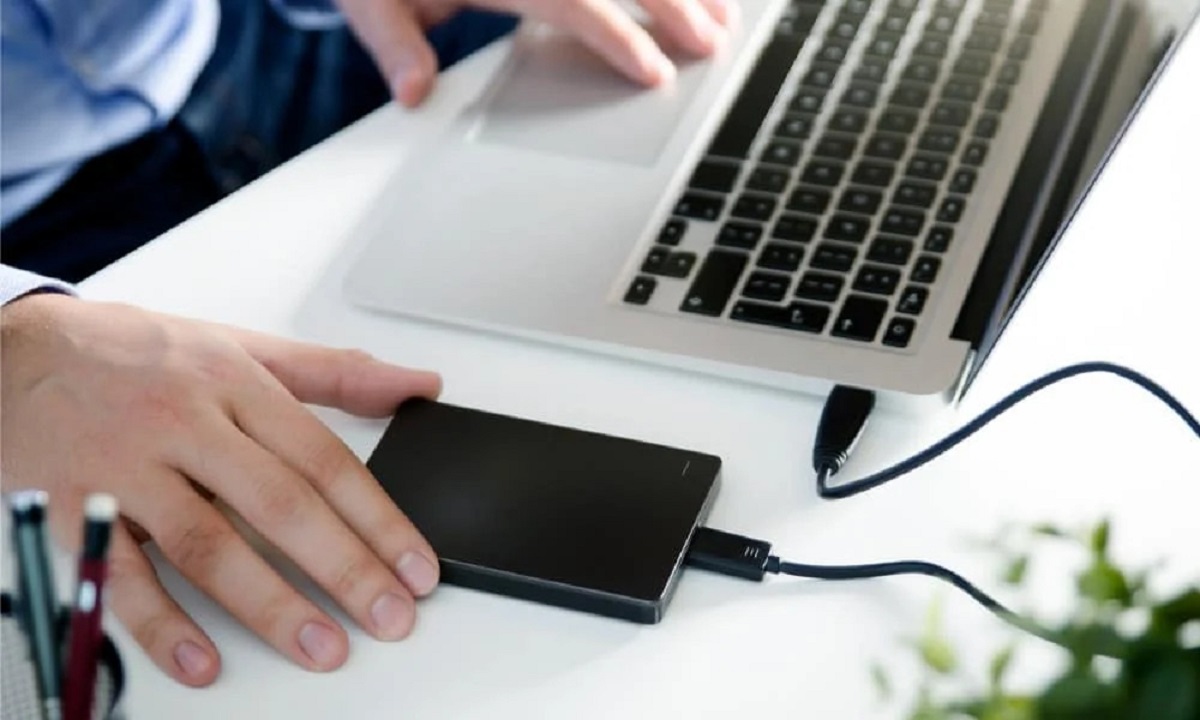
Opening an external hard drive on Windows 11 is a straightforward process that allows you to access and manage your stored data. Whether you need to transfer files, back up important documents, or retrieve information, being able to open your external hard drive is essential.
External hard drives provide a convenient and portable storage solution for both personal and professional use. They allow you to have additional storage space for large files, such as videos, photos, and documents, that may consume too much space on your computer’s internal drive. However, some users may find it a bit challenging to open their external hard drives on the latest Windows operating system, Windows 11.
In this guide, we will walk you through the necessary steps to open your external hard drive on Windows 11. We will cover various troubleshooting methods and provide you with the knowledge you need to ensure a seamless experience when accessing your external storage device.
Before we dive into the specific steps, it’s important to note that the process may differ slightly based on the type and brand of external hard drive you are using. However, the general principles we will outline in this guide should apply to most external hard drives compatible with Windows 11.
Now, let’s get started with the first step: checking the hardware connection of your external hard drive to ensure it is properly connected and recognized by your computer.
Checking the Hardware Connection
The first step in opening an external hard drive on Windows 11 is to ensure that the hardware connection is secure. Sometimes, a loose or faulty connection can prevent the operating system from recognizing the external hard drive. Follow these steps to check the hardware connection:
- Start by disconnecting the external hard drive from your computer.
- Inspect the USB cable for any physical damage, such as frayed wires or bent connectors. If you find any issues, consider replacing the cable.
- Once you have inspected the cable, reconnect it firmly to both the external hard drive and an available USB port on your computer. Ensure that you hear a click or feel a secure connection.
- If the external hard drive requires an external power source, make sure it is properly connected and powered on.
After you have checked and ensured a secure hardware connection, proceed to the next step: updating the drivers for your external hard drive.
Updating the Drivers
Outdated or incompatible drivers can often hinder the proper functioning of external hardware, including external hard drives. To open your external hard drive on Windows 11, it’s important to ensure that you have the latest drivers installed. Follow these steps to update the drivers for your external hard drive:
- Open the Start Menu and type “Device Manager” in the search bar. Click on the Device Manager app that appears in the search results.
- In the Device Manager window, expand the category labeled “Disk drives” by clicking on the small arrow next to it.
- Locate your external hard drive from the list of disk drives. It is usually displayed with the brand name or model number.
- Right-click on the external hard drive and select “Update driver” from the context menu. If this option is not available, you can try selecting “Properties” and then going to the “Driver” tab to update the driver from there.
- Choose the option to automatically search for and install updated drivers. Windows will search for the latest driver software and install it if available.
- Follow any additional prompts or instructions provided by Windows during the driver update process.
Once the driver update is complete, restart your computer and reconnect the external hard drive. Windows 11 should now be able to recognize your external hard drive and allow you to open it.
If updating the drivers did not resolve the issue, you may need to assign a drive letter to the external hard drive. This will ensure that Windows can identify and access the drive properly. Proceed to the next section for instructions on how to assign a drive letter.
Assigning a Drive Letter
Assigning a drive letter to your external hard drive is a crucial step in making it accessible on Windows 11. Sometimes, Windows may fail to assign a drive letter automatically, which can prevent you from opening the external hard drive. Follow these steps to manually assign a drive letter:
- Open the Start Menu and type “Disk Management” in the search bar. Click on the Disk Management app that appears in the search results.
- In the Disk Management window, you should see a list of all the drives connected to your computer. Locate your external hard drive from the list. It will be labeled as “Unallocated” or may not have a drive letter assigned to it.
- Right-click on the external hard drive and select “Change Drive Letter and Paths” from the context menu.
- In the new window that appears, click on the “Add” button.
- Choose a drive letter from the drop-down menu. You can select any available letter that you prefer.
- Click “OK” to save the changes and assign the drive letter to the external hard drive.
Once the drive letter has been assigned, you can close the Disk Management window and proceed to open your external hard drive using File Explorer.
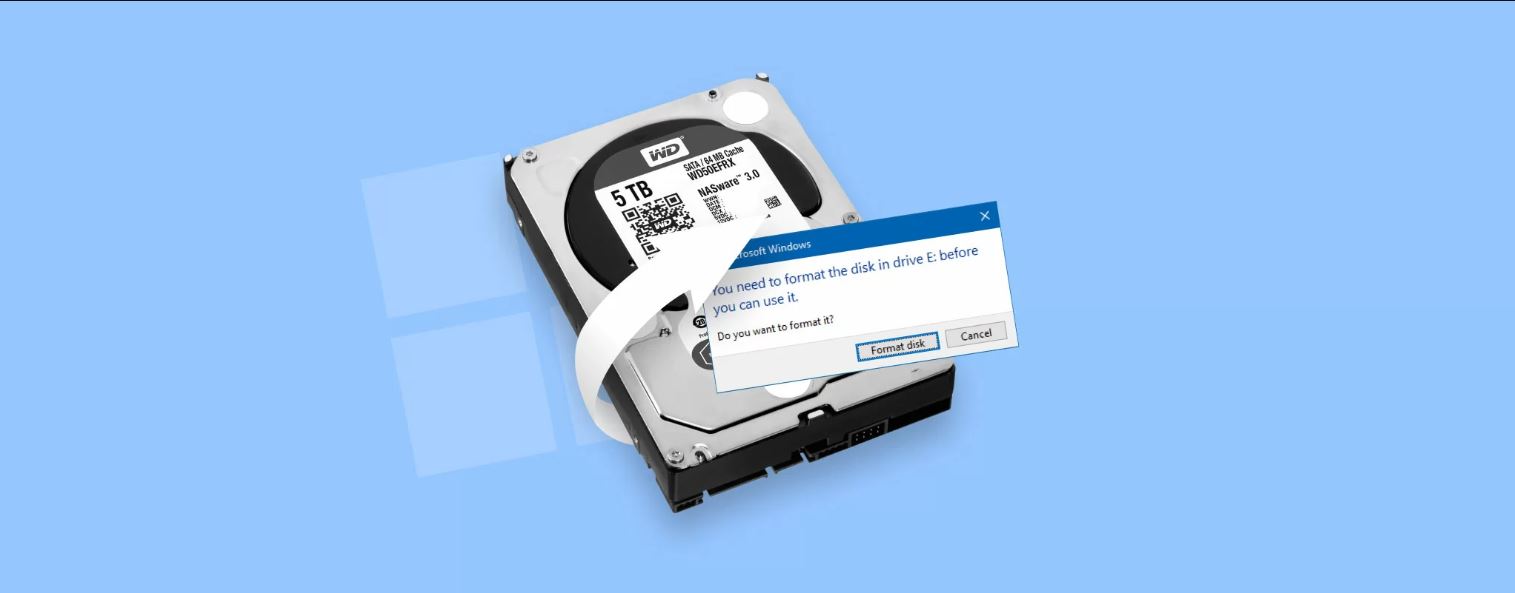
If you encounter any issues or error messages while assigning a drive letter, you may need to format the external hard drive. Keep in mind that formatting will erase all the data on the drive, so make sure to back up any important files before proceeding. If formatting is required, you can do so by right-clicking on the external hard drive in Disk Management and selecting the “Format” option.
Now that you have successfully assigned a drive letter to your external hard drive, you are ready to access it using File Explorer. Continue reading to learn how to do this in the next section.
Using Disk Management to Open the External Hard Drive
If you are unable to access your external hard drive through File Explorer, you can use Disk Management, a built-in Windows utility, to manually open it. Disk Management provides a comprehensive view of all the connected drives and allows you to perform various disk-related operations. Follow these steps to open your external hard drive using Disk Management:
- Open the Start Menu and type “Disk Management” in the search bar. Click on the Disk Management app that appears in the search results.
- In the Disk Management window, you will see a list of all the drives connected to your computer. Locate your external hard drive, which will be labeled with its assigned drive letter.
- If the external hard drive shows a status of “Offline,” right-click on it and select “Online.”
- Right-click on the external hard drive and select “Open” from the context menu. Alternatively, you can also double-click on the drive to open it.
Disk Management will now open your external hard drive, allowing you to view and access its contents. You can copy, move, or delete files, create new folders, and perform other file management tasks within the external hard drive.
Keep in mind that if your external hard drive at any point becomes disconnected or goes into sleep mode, you may need to repeat these steps to open it again. Additionally, if you encounter any error messages or issues while using Disk Management, you can try troubleshooting common problems, which we will cover in the next section.
Now that you know how to open your external hard drive using Disk Management, let’s explore an alternative method using File Explorer in the next section.
Using File Explorer to Access the External Hard Drive
File Explorer is a user-friendly interface that allows you to navigate and manage files and folders on your computer. It also provides a convenient way to access your external hard drive on Windows 11. Follow these steps to open your external hard drive using File Explorer:
- Connect your external hard drive to an available USB port on your computer.
- Open File Explorer by clicking on the folder icon in the taskbar or pressing the Windows key + E.
- In the left navigation pane of File Explorer, you should see a section labeled “This PC” or “Computer.” Click on it to expand.
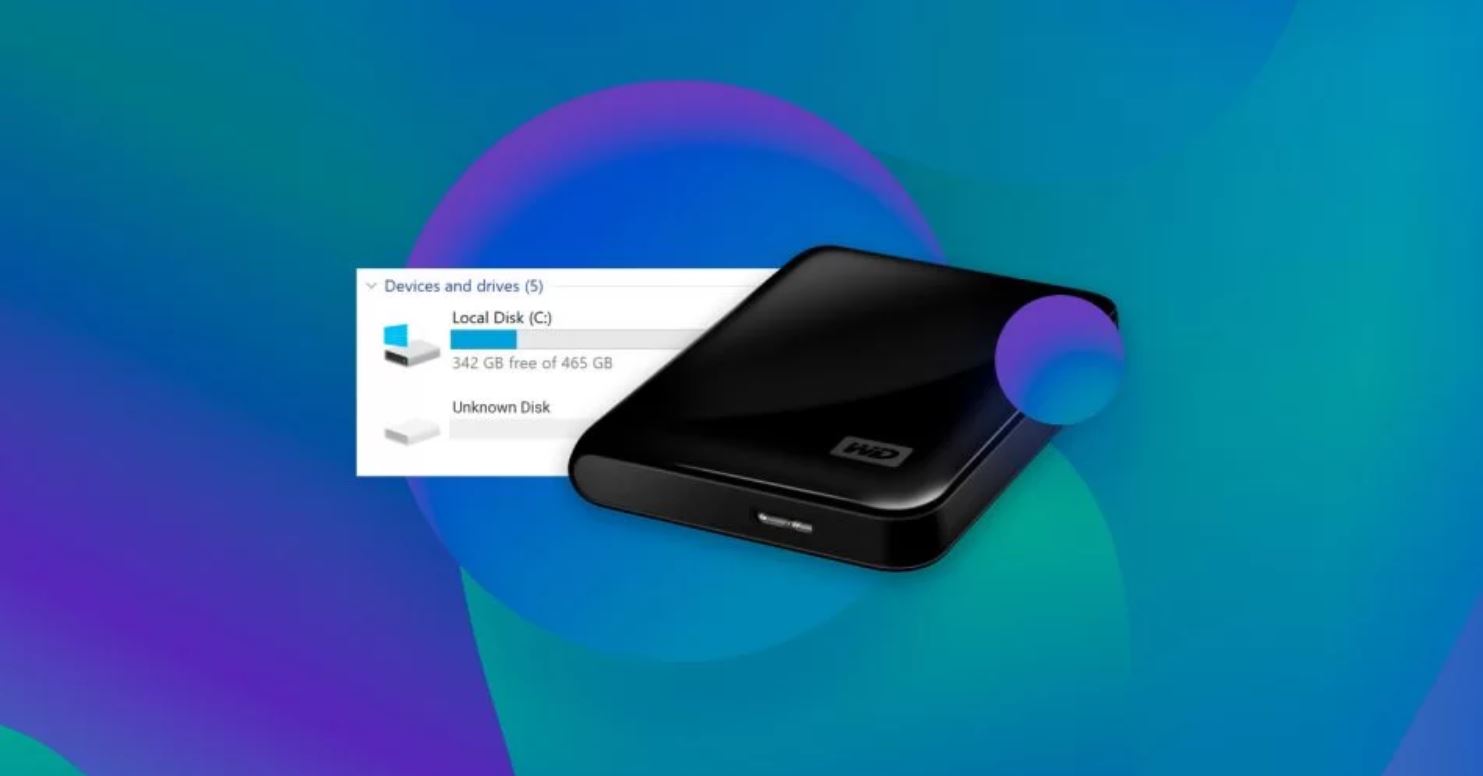
- Locate your external hard drive under the “Devices and drives” section. It will typically be displayed with its assigned drive letter and label.
- Double-click on the external hard drive icon to open it in File Explorer.
File Explorer will now display the contents of your external hard drive, allowing you to browse, copy, delete, or perform any other desired actions on your files and folders.
If for some reason your external hard drive is not appearing in File Explorer, you can try a couple of troubleshooting steps. First, you can unplug the external hard drive and then reconnect it to a different USB port on your computer. Sometimes, the USB port you initially connected the drive to may encounter issues. Additionally, you can also restart your computer and try opening File Explorer again to see if the external hard drive appears.
By utilizing File Explorer, you can conveniently access your external hard drive and manage its contents without needing to use any additional specialized software or utilities.
In the event that you encounter any difficulties or errors while using File Explorer, refer to the troubleshooting section in the next part of this guide for solutions to common issues when opening an external hard drive on Windows 11.
Troubleshooting Common Issues
While opening an external hard drive on Windows 11 is usually a straightforward process, there are some common issues that you may encounter. Here are a few troubleshooting steps to resolve these issues and ensure smooth access to your external hard drive:
- Check USB cable and ports: Ensure that your USB cable is not damaged or faulty. Try using a different USB cable or connecting to a different USB port on your computer to rule out any connectivity issues.
- Update USB drivers: Outdated or incompatible USB drivers can cause conflicts and prevent your external hard drive from being recognized. Update your USB drivers by following these steps:
- Open the Device Manager.
- Expand the Universal Serial Bus controllers category.
- Right-click on the USB controller and select “Update driver.”
- Choose the option to automatically search for updated drivers.
- Restart your computer after the driver update is complete.
- Restart your computer: Sometimes, a simple restart can resolve temporary glitches or conflicts that may be preventing your external hard drive from being recognized by Windows 11.
- Try a different computer: If possible, connect your external hard drive to a different computer to see if the issue persists. This will help determine whether the problem lies with your computer or the external hard drive itself.
- Run Disk Cleanup and Disk Check: Use the built-in Windows utilities, Disk Cleanup and Disk Check, to clean up unnecessary files and check for any errors on your external hard drive. To run Disk Cleanup, follow these steps:
- Open File Explorer.
- Right-click on the external hard drive and select “Properties.”
- In the Properties window, click on the “Disk Cleanup” button.
- Follow the on-screen prompts to clean up unnecessary files.
To run Disk Check, follow these steps:
- Open Command Prompt as an administrator.
- Type the command “chkdsk X: /f” (replace “X” with the drive letter assigned to your external hard drive) and press Enter.
- Allow Windows to scan and repair any detected errors on the drive.
These troubleshooting steps should help resolve common issues that may arise when opening an external hard drive on Windows 11. If you continue to experience difficulties, it’s recommended to consult the manufacturer’s support documentation or contact their customer support for further assistance.
With these potential solutions in mind, you can now navigate any challenges and successfully open your external hard drive on Windows 11, ensuring convenient access to your important files and data.
Conclusion
Opening an external hard drive on Windows 11 is a crucial skill that allows you to access and manage your stored data conveniently. By following the steps outlined in this guide, you can overcome common challenges and ensure a smooth experience when accessing your external storage device.
We began by emphasizing the importance of checking the hardware connection and updating the drivers for your external hard drive. These steps ensure that your computer recognizes the device and allows you to access its contents. Furthermore, we discussed the process of assigning a drive letter to your external hard drive, enabling Windows 11 to identify it properly.
We then explored two methods to open your external hard drive: using Disk Management and File Explorer. Both of these approaches provide easy-to-follow steps to access your external hard drive and manage its files and folders effectively.
In addition, we provided troubleshooting steps to address common issues that may arise, such as connectivity problems, outdated drivers, or errors. By following these troubleshooting steps, you can overcome these obstacles and enjoy seamless access to your external hard drive.
It’s important to note that the specific steps and methods outlined in this guide may vary slightly based on the type and brand of your external hard drive. Therefore, it’s always advisable to consult the manufacturer’s documentation or seek customer support for any device-specific instructions or concerns.
Opening an external hard drive on Windows 11 is a skill that can save you time and frustration when it comes to managing your files and data. With the knowledge and guidance provided in this guide, you can confidently open your external hard drive and harness its full potential to store, transfer, and protect your important files.
So, go ahead and connect your external hard drive to your Windows 11 computer, follow the steps mentioned in this guide, and unlock the possibilities of seamless data access and management!